
If you’ve ever stitched a bat-wing hem or hand-sewn the trim on a haunted heirloom, you already know the satisfaction of a well-placed stitch. But even the most seasoned Halloween crafter needs a go-to finish that’s sturdy, stylish, and simple. Enter the blanket stitch. This classic edge treatment is practical, pleasing, and perfect for ghoulish goodies.
Whether you’re sealing up a felt treat bag, adding charm to a spooky stuffie, or hand-finishing a felt banner, this trusty technique brings just the right touch of handmade magic.
If the thought of mastering this stitch makes your dark heart flutter, then grab your favorite floss and cue up your eerie playlist. We’re diving into the blanket stitch – step by step – with tips, tricks, and a free printable cheat sheet to keep by your cauldron (or sewing basket).
The blanket stitch is a hand-sewing technique traditionally used to finish the raw edges of blankets – hence the name. But in the world of handmade Halloween, it’s the perfect way to add a charming, vintage finish to fabric or felt edges. It creates a tidy line of thread with tiny perpendicular tacks that almost resemble little teeth (how appropriate).

The blanket stitch is more than just a functional closure; it’s a decorative frame for your felt curios. This section breaks down the mechanics of achieving consistent tension and spacing, ensuring your “haunted” projects look like professionally curated heirlooms rather than quick crafts.
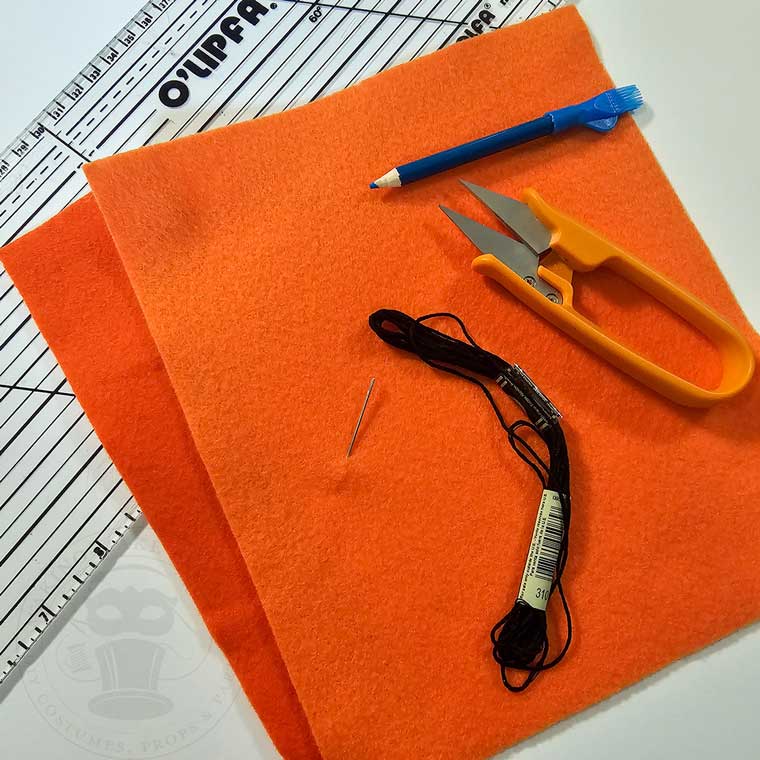
For this tutorial, we will need:
Felt or fabric
Embroidery floss or strong thread
Embroidery needle
Scissors
Ruler (optional)
Fabric marker or chalk (optional)
Have you ever tried to do a blanket stitch and found that your stitches aren’t uniform in spacing or length, causing you to want to throw in the towel?
Well, I’m here to let you in on a little secret to get those stitches just the way you want them – no magic required.
First, determine the spacing you’d like between each stitch. I usually opt for 1/4″, but you can make yours as close or as far as you like.
Next, decide how long you want your stitches to be. Again, I like 1/4″.
Now that we know what we’re going for, we can mark this out on our material using a ruler and a fabric marker or chalk.
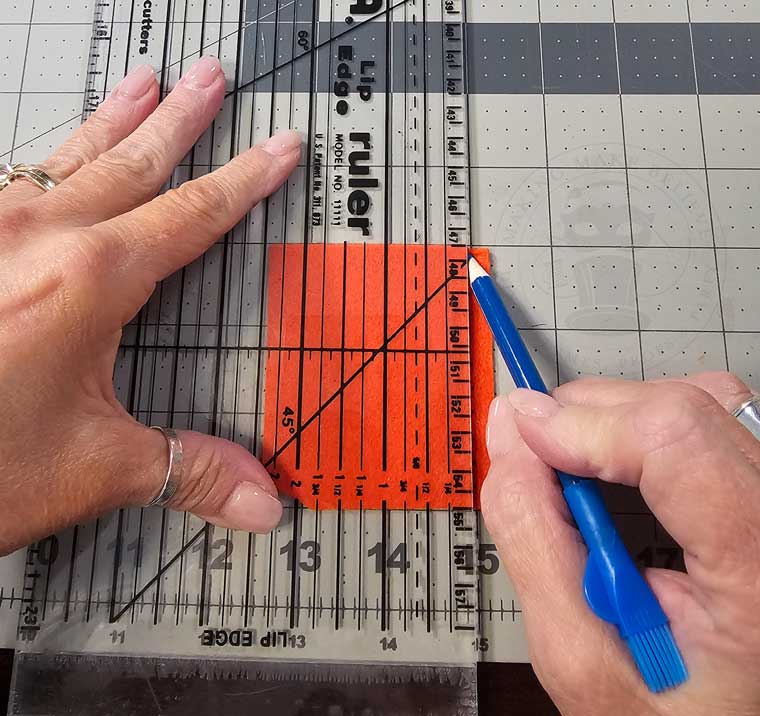
By marking our depth with a straight line and our width with small dots, we can easily make a consistent stitch from start to finish!
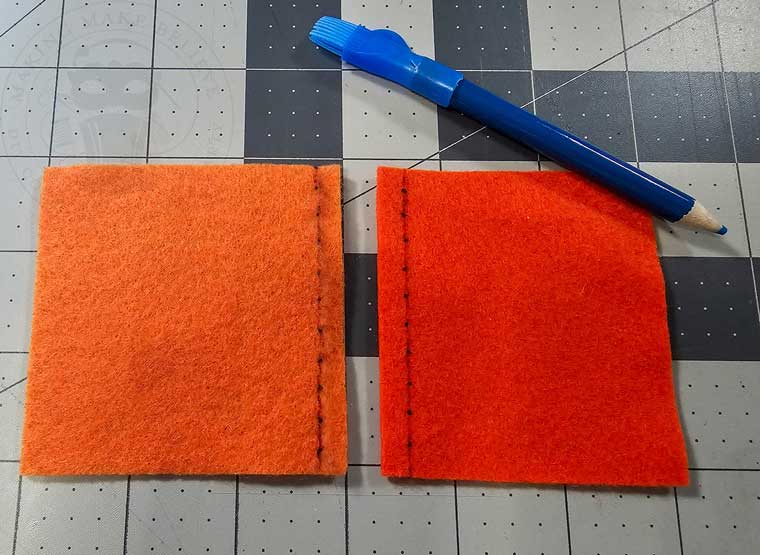
Note: In the example above I used a permanent marker so it would show up for this demonstration. Chalk and fabric markers will appear much lighter on felt.
If spacing is more of a concern than stitch length, you can forgo marking out your stitches and mark up your finger instead.
For this method, use an ink pen to mark the spacing on your finger to reference while you stitch.

I’ve finished many pieces without prepping and marking out stitches, and though I’ve become more consistent over time, it often results in a less uniform look.
That’s ok! If you prefer a more handmade or primitive look to your piece – skip the prep and dive on in.
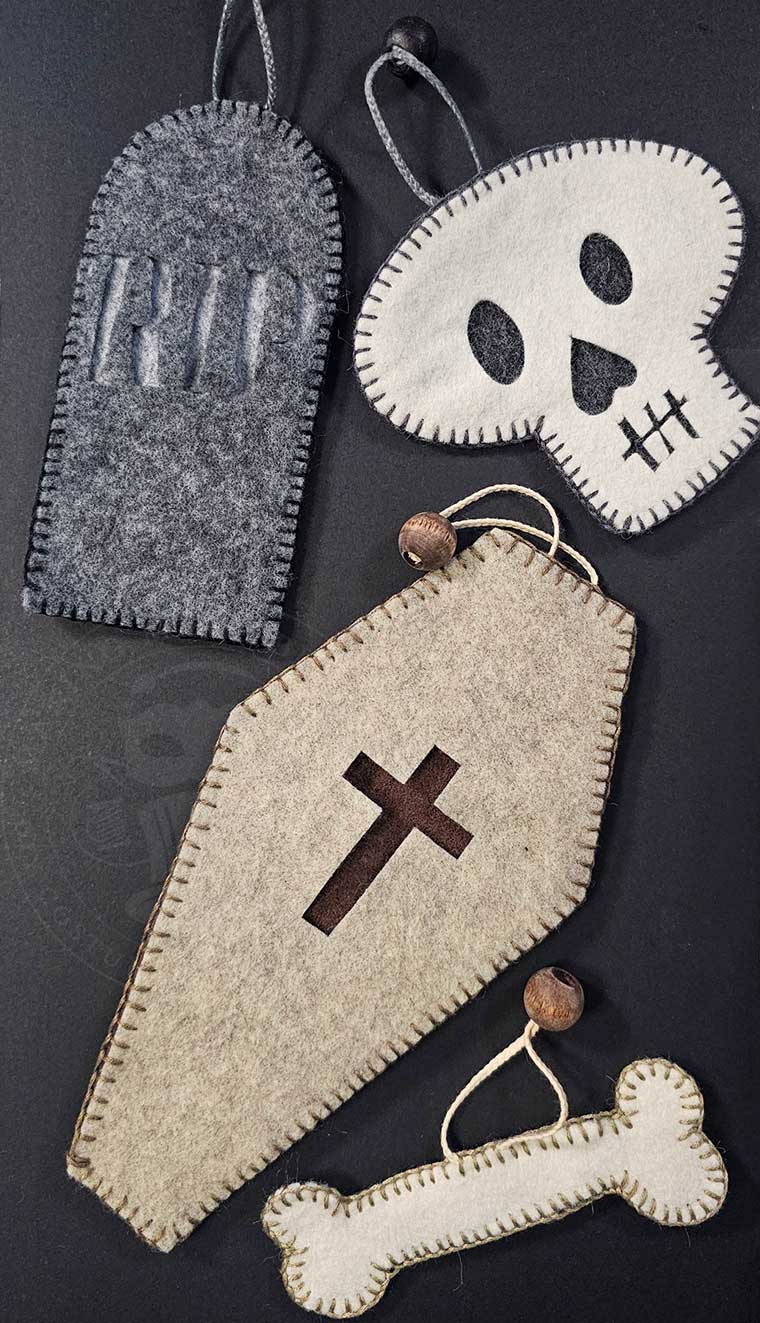
Notice the uneven and imperfect spacing on the Graveyard Gang above. This freestyle stitching produces a more handmade, natural look.
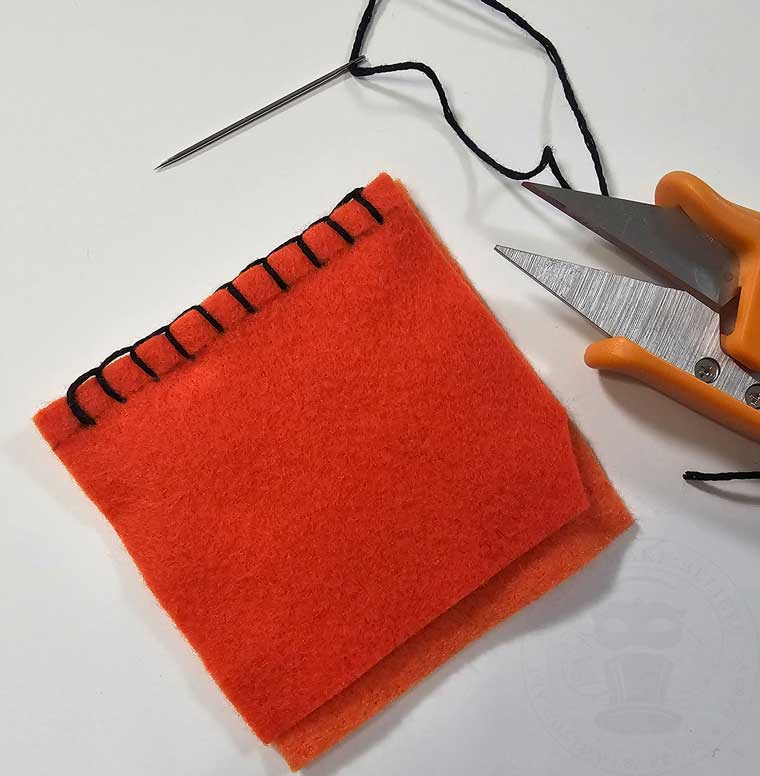
Cut a piece of embroidery floss about 18–24″ long.
I typically use all six strands when working on felt, but you can adjust the number according to your project.
Knot one end and thread the other through your needle. (Don’t pull the floss double unless you want a thicker stitch.)
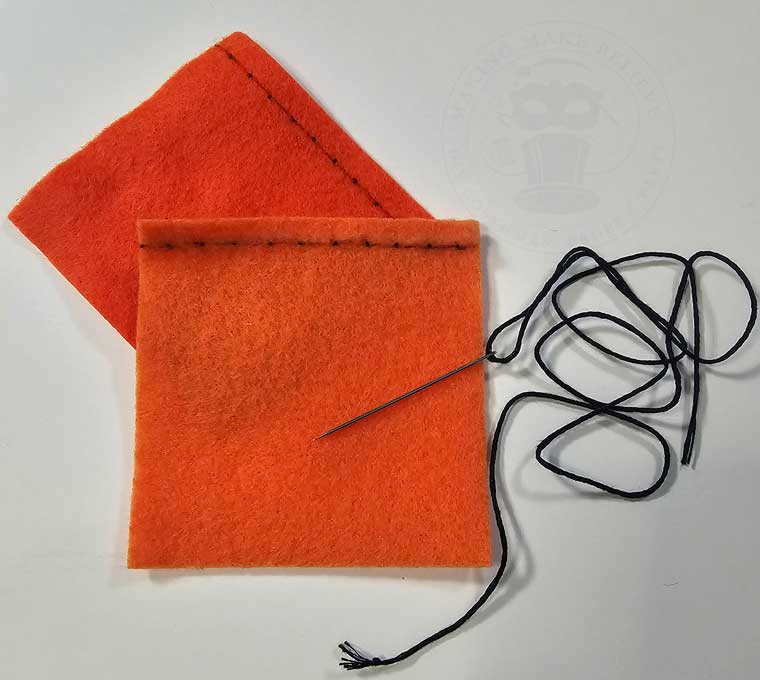
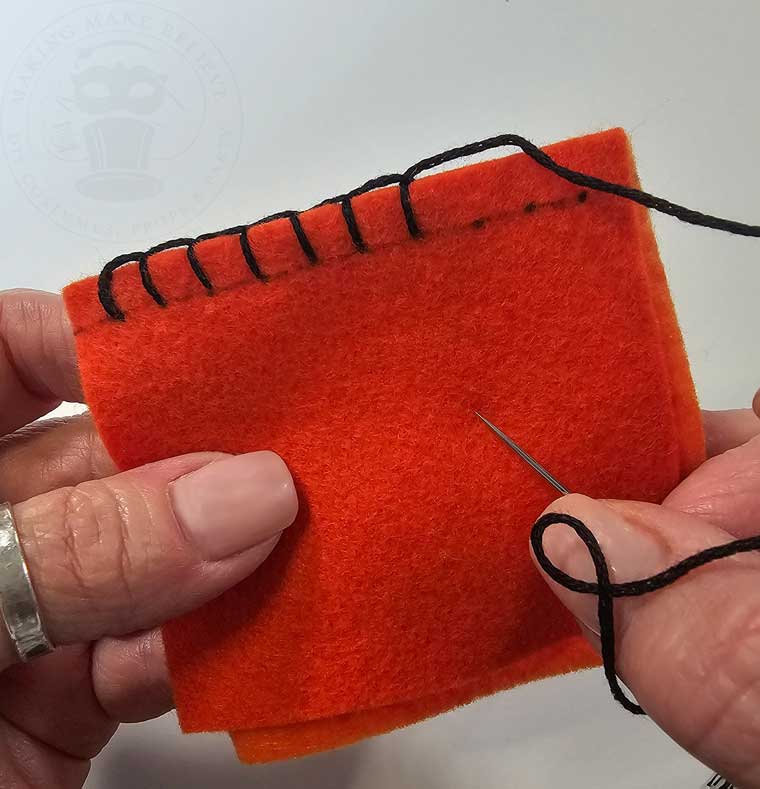
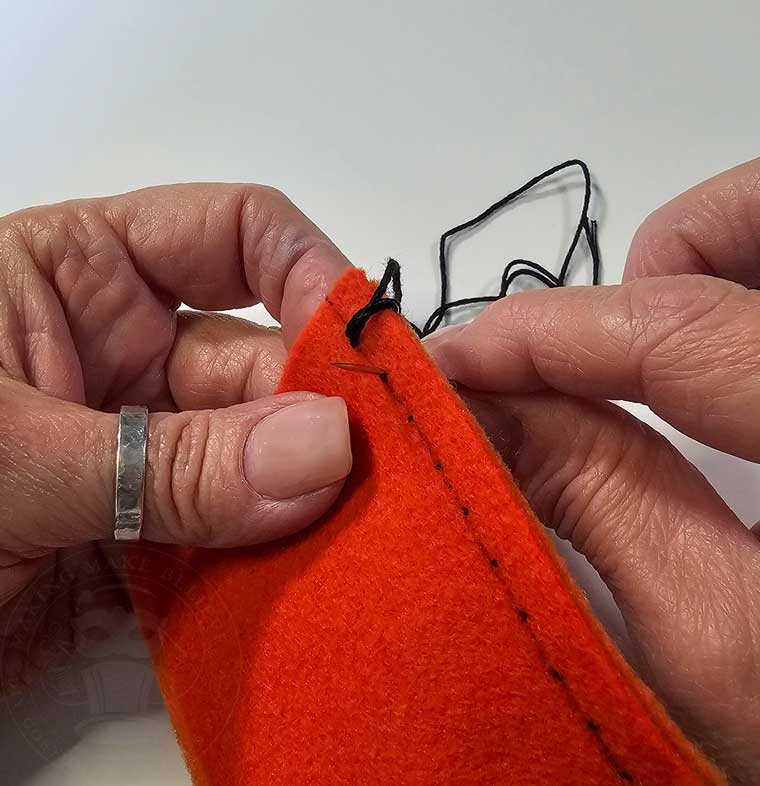
Place your two pieces of felt together. Slip your threaded needle in between the layers and push it through the front piece at your marked line and dot.
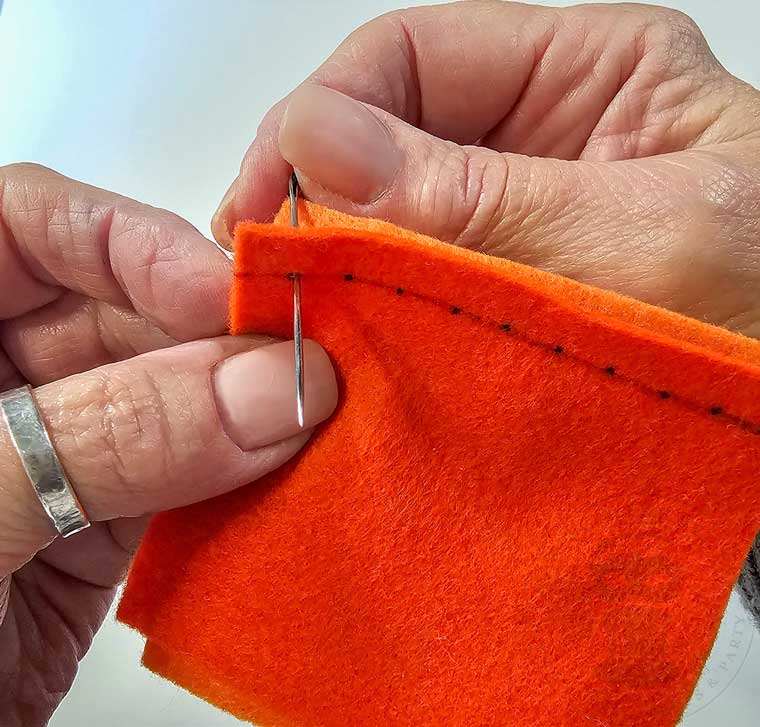
Tuck your knot, then take your needle to the back side and push it through both layers of felt, coming out in exactly the same spot on the front.
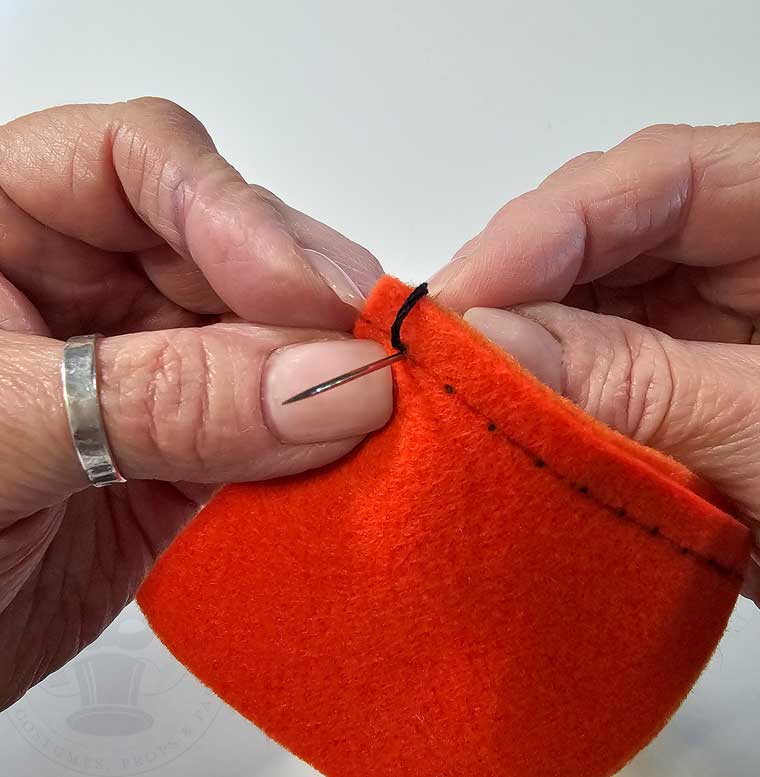
Pull the floss, leaving just a small loop. Push your needle through this loop from right to left and pull the floss to secure the stitch.
Note: I’m right-handed and I’m working from left to right. Adjust direction to fit your preference.
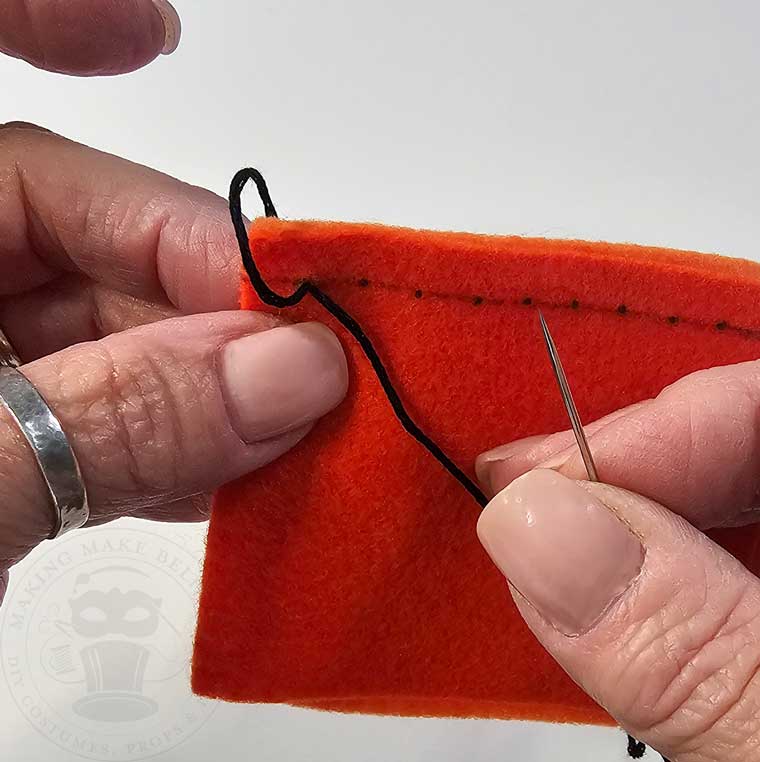
Move your needle over the width of your stitch (again, mine is 1/4″), and working from the back, push your needle through to the front, pulling your floss and catching the loop before drawing the floss snug.
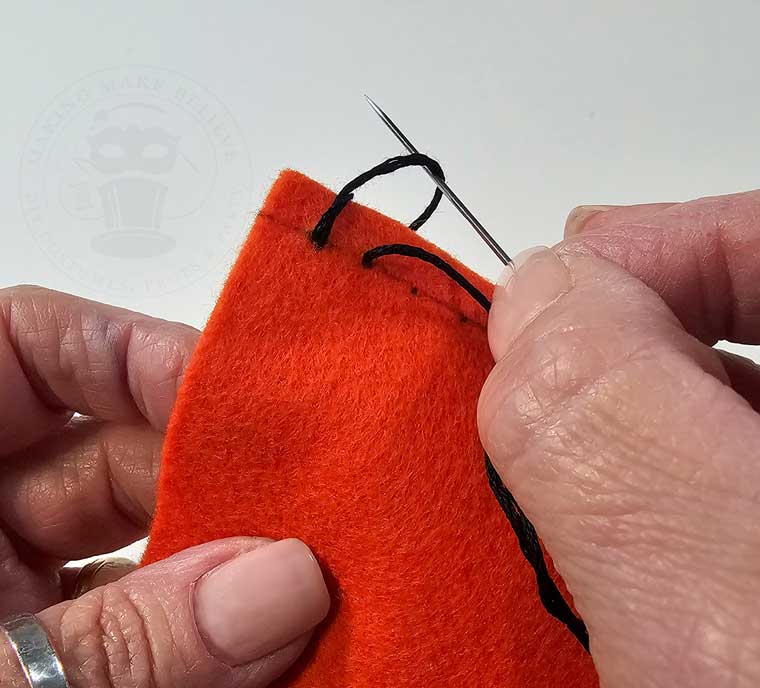
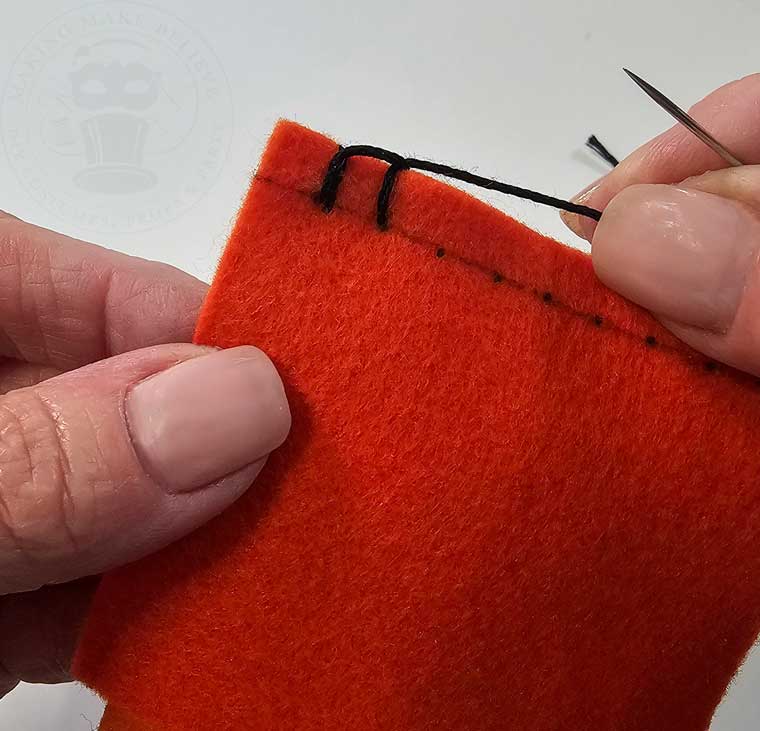
Repeat this stitch the length of your fabric.
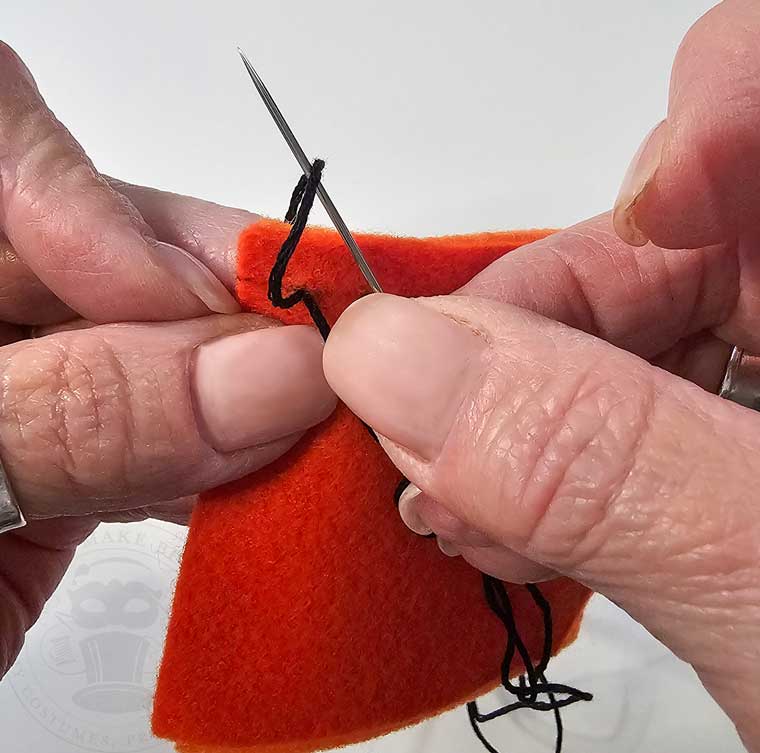
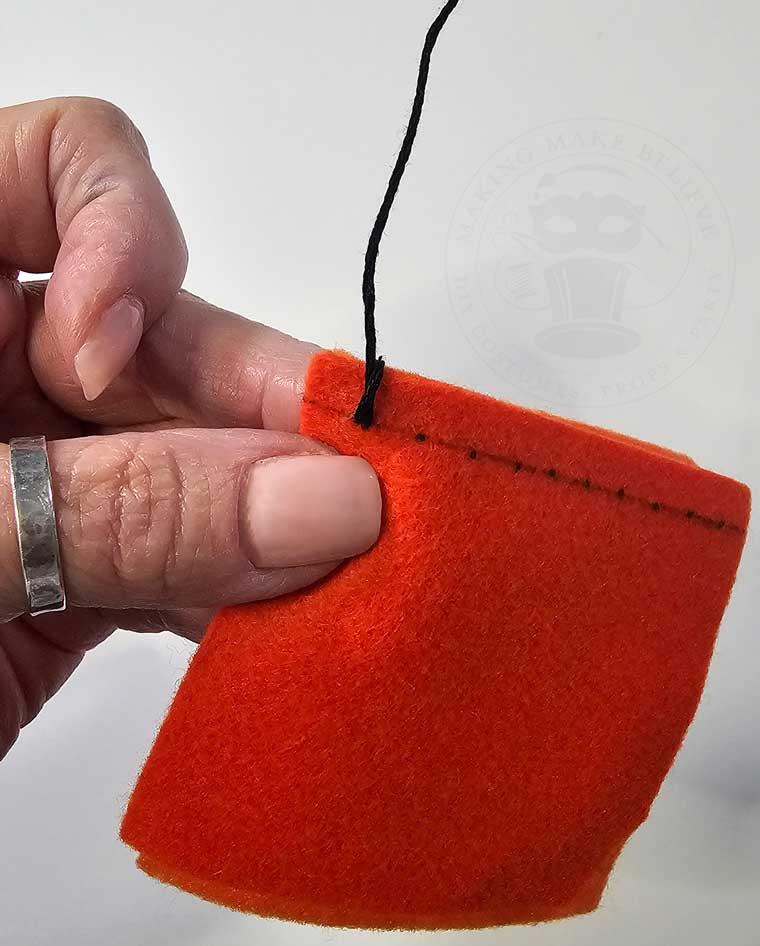
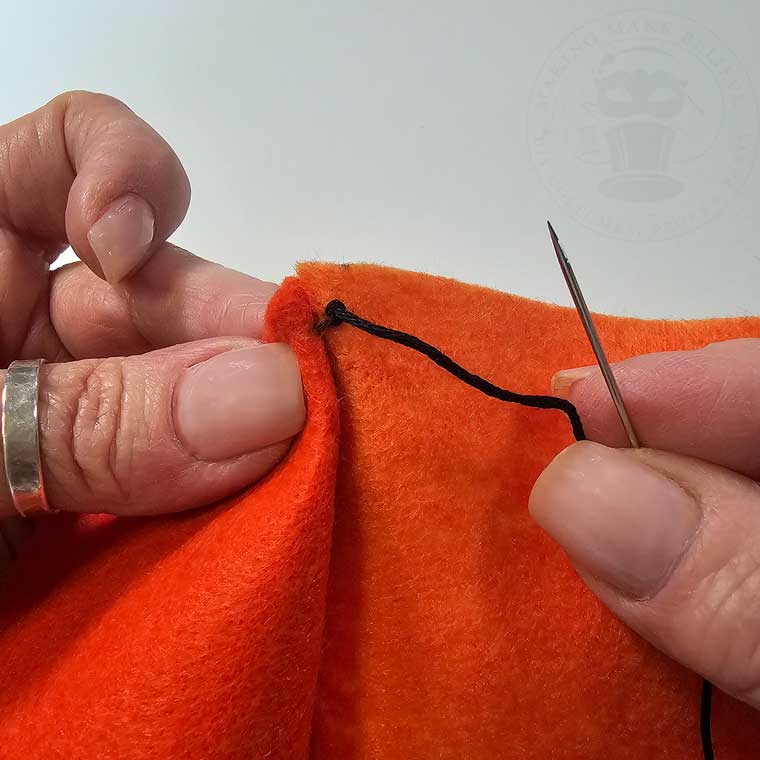
When you reach the end of your project, make one final vertical stitch, knot the end, and tuck the knot between your layers.
- Use a contrasting thread color for a decorative pop.
- Don’t yank or over-pull the thread – gentle snugness is all you need.
- Going around corners? Stitch twice in the same hole for a smooth turn.
- No joining required – use as a decorative (non-functional) stitch along a fabric edge.
The real magic of blanket stitch is in its versatility. Try it on:
- Felt treat bags
- Halloween ornaments and garlands
- Fabric appliqués on banners or costumes
- Mending or embellishing vintage finds
Ready to dive in? Here are a few of the projects you can find at Making Make Believe that use the blanket stitch.
- Jester Collar
- Graveyard Gang Ornaments
- Halloween Sachets
- Skeleton Stuffie
- Halloween Boo Bags
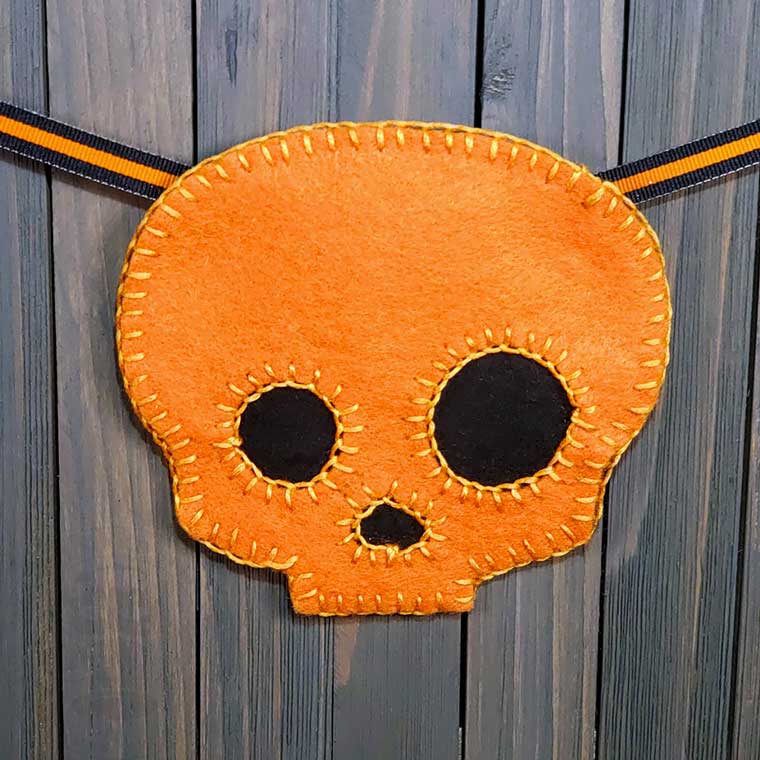
- Skull Banner
- Halloween Fabric Fillers
Don’t forget to grab your free Blanket Stitch Cheat Sheet from the Haunted Library.

The blanket stitch is a staple in my Halloween maker’s toolkit. It’s equal parts decorative and functional, and once you’ve practiced it a bit, it becomes second nature.
Whether you’re whipping up eerie decor or finishing your handmade creations, a good edge stitch can make all the difference.
Now go forth and stitch and, until next time – stay spooky.