4.7K






Jester- Style Clown Collar
Have you ever been lured by a costume in a bag that looked stunning on the cover, only to find it disappointingly thin and lifeless when you tried it on?
The costume in a bag is notorious for its shortcuts in character creation.
The fabrics of these costumes are so thin, they’re practically see-through, and they’re as delicate as a spider’s web, ready to fray or tear at the slightest touch.
And the accessories? Those are either flat and lifeless or sold separately.
I ran an online Halloween shop for nearly 20 years, and I, too, was often excited when I saw the costume in the catalog, only to be disappointed when I received the actual costume.
To be fair, most manufacturers make their costumes with one-time wear in mind, adding as many embellishments as possible while still trying to stay within a desired price range.
So, what is one to do when the costume in a bag is what you got but not what you want?
Accessorize.
Costume accessories are the key to transforming a dull, boring costume into a brilliant one.
Collars are an easy accessory that almost any character can wear. This blog offers a few DIY options, and today, we’re adding one more.
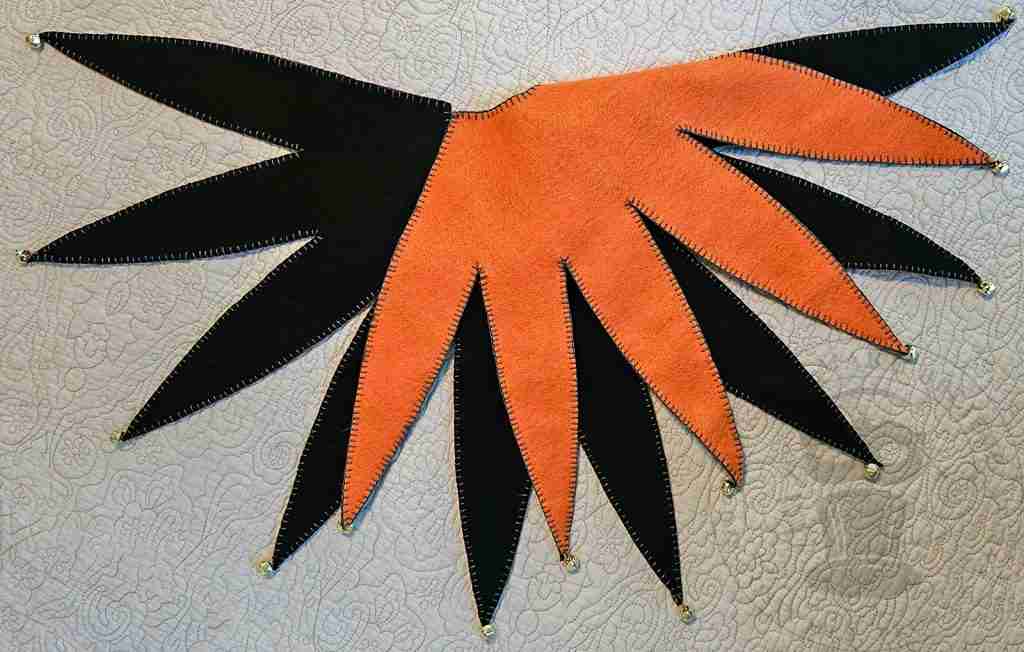
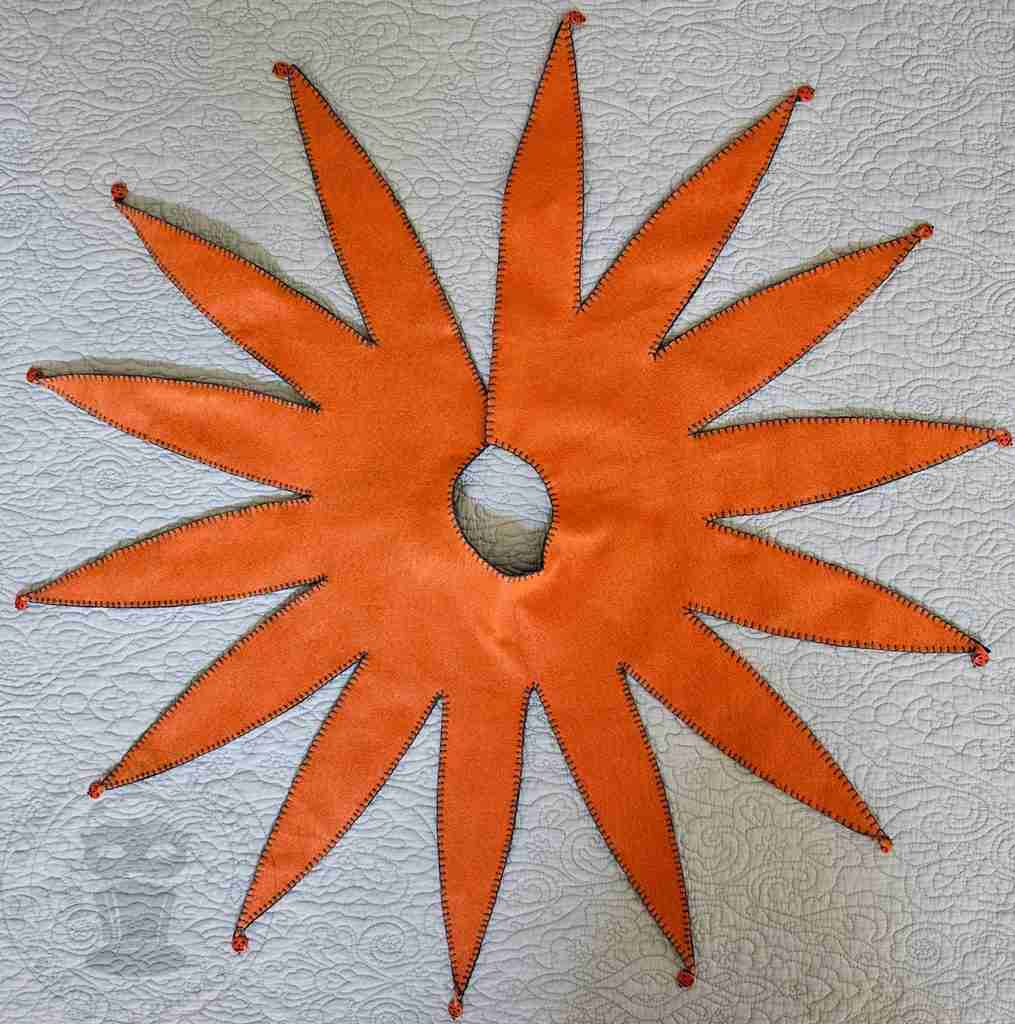
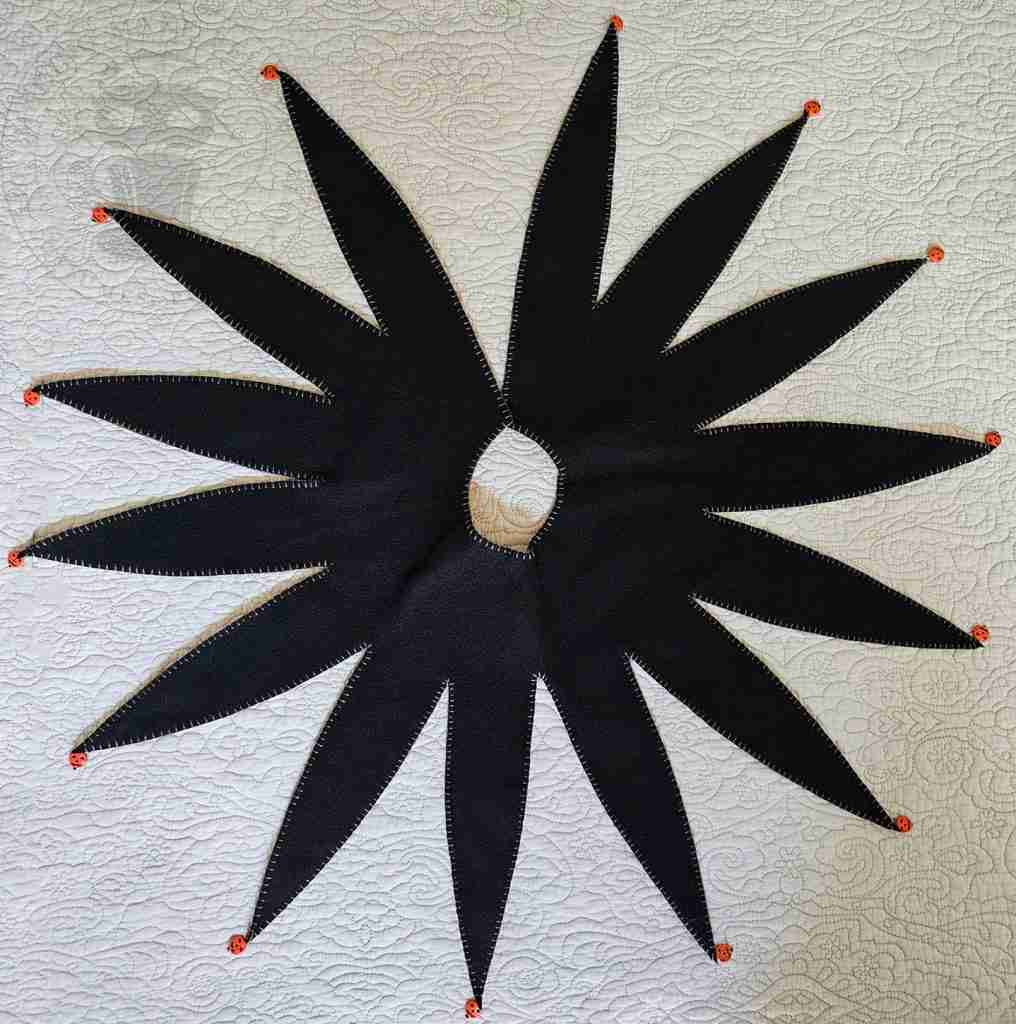
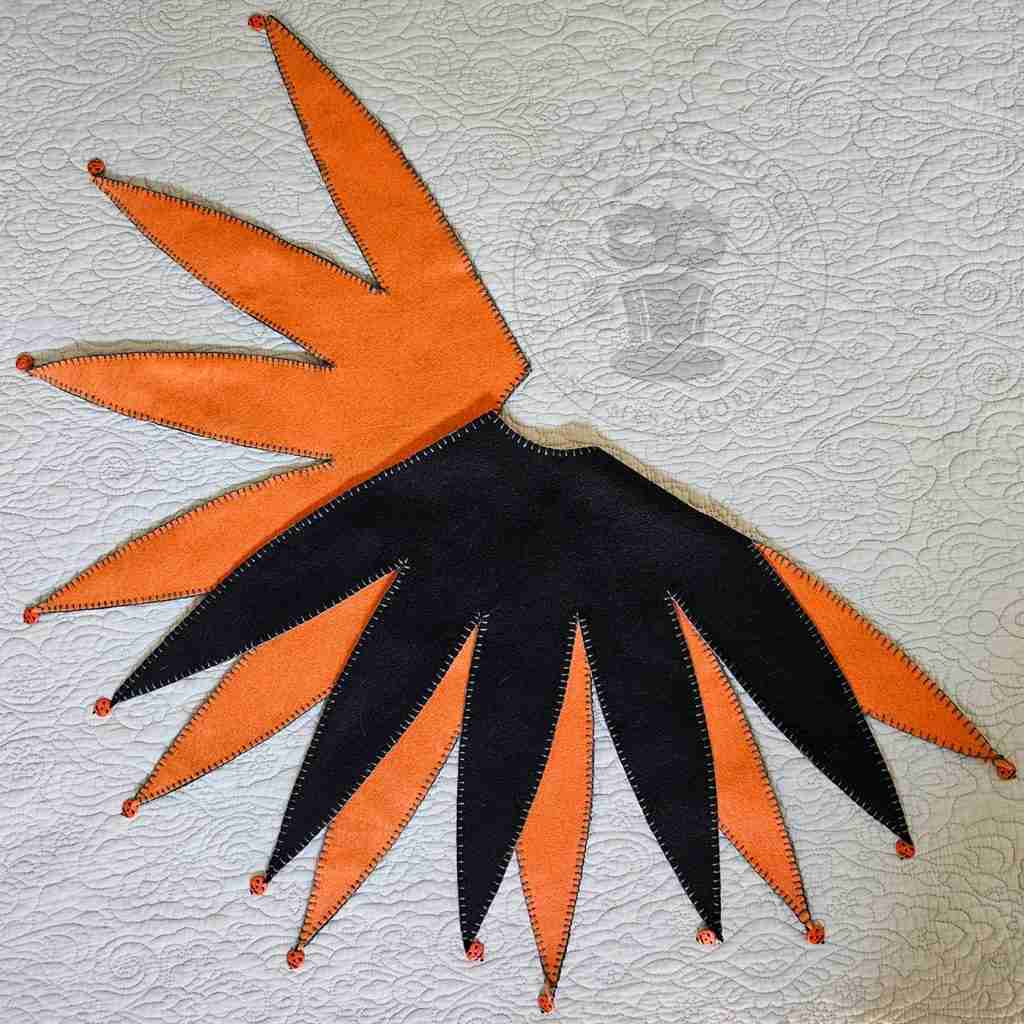
This jester-style clown collar makes a big and bold statement but comes together quickly, making it a perfect accessory for cute and creepy clowns alike.
So, let’s get started.
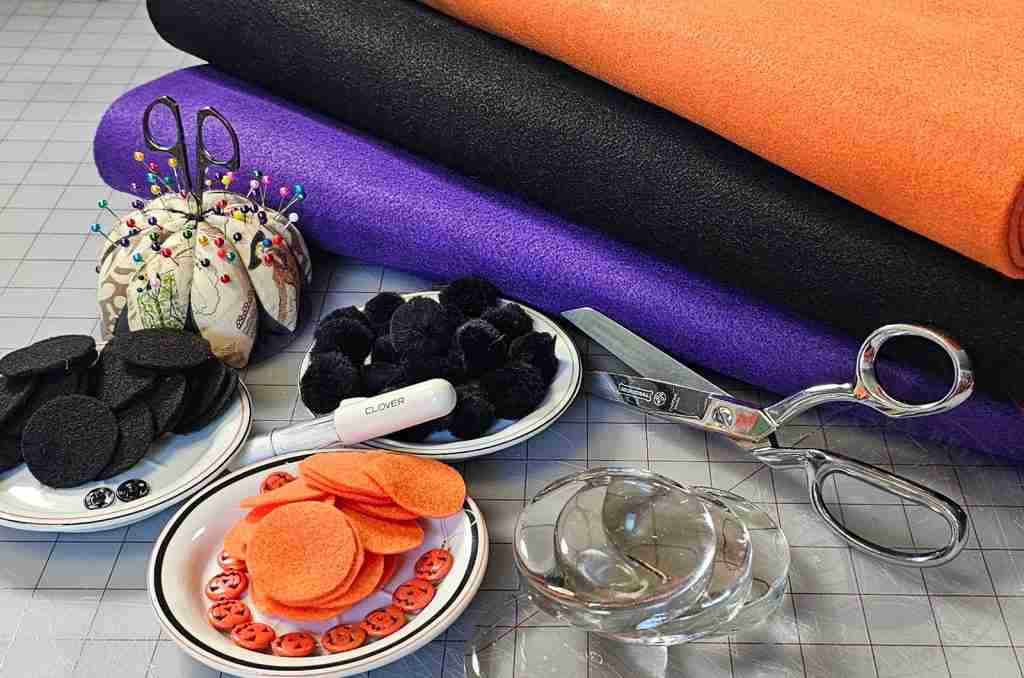
For this project, we will need:
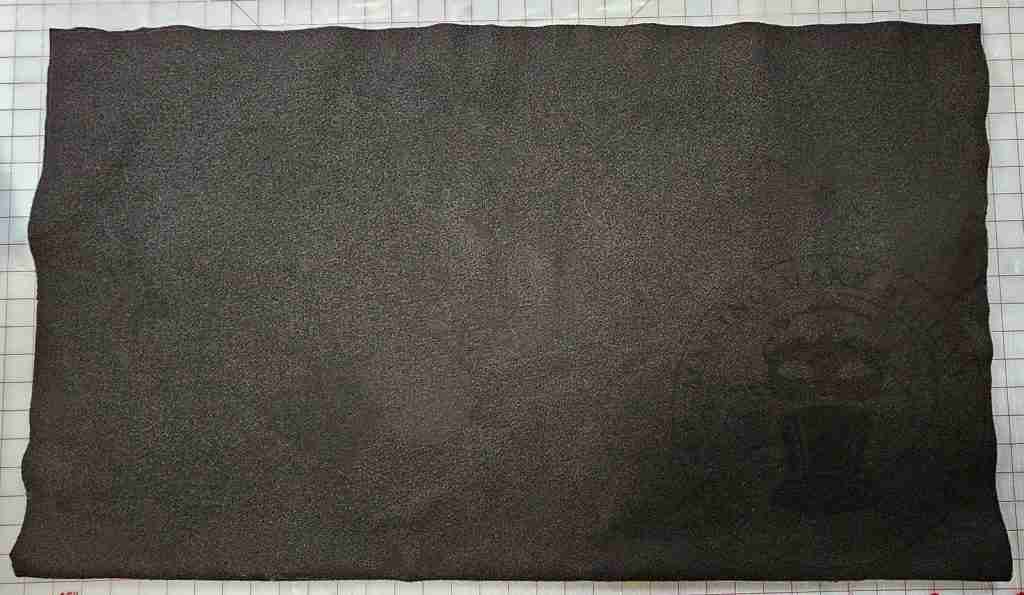
1 yard of 72″ wide felt fabric
Printer and paper (not shown)
Tape
Pins or pattern weights (optional)
Chalk – I’m using the Clover Chalk Liner
Scissors
Needle and thread
Snap, ribbon, or hook and loop fastener
Embellishments such as bells, pom-poms, etc. (optional)
We will also need the Jester Clown Collar PDF template from the Haunted Library.
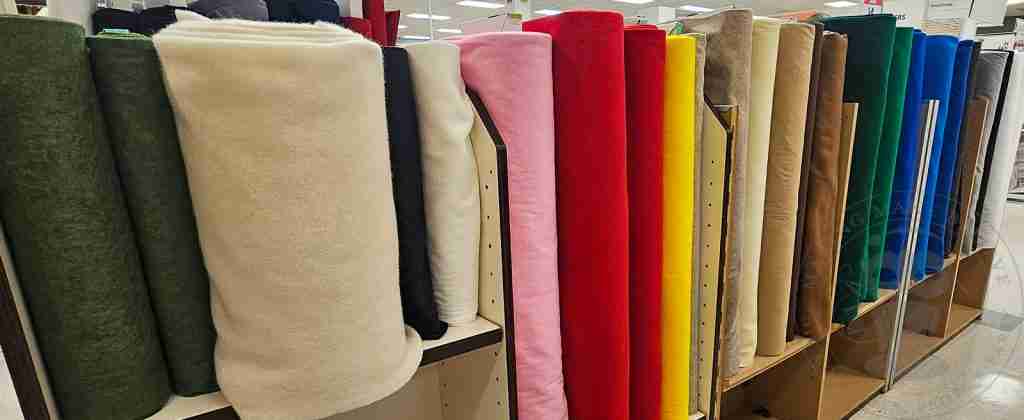
If you’re unfamiliar with felt fabric, I’ll show you where to find it so you can quickly pull this project together.
The amount of felt fabric we need to make this clown collar will require a quick trip to the fabric store, where it is available on a fabric bolt.
Don’t let this intimidate you. The only decision we need to make is what color(s) we want.
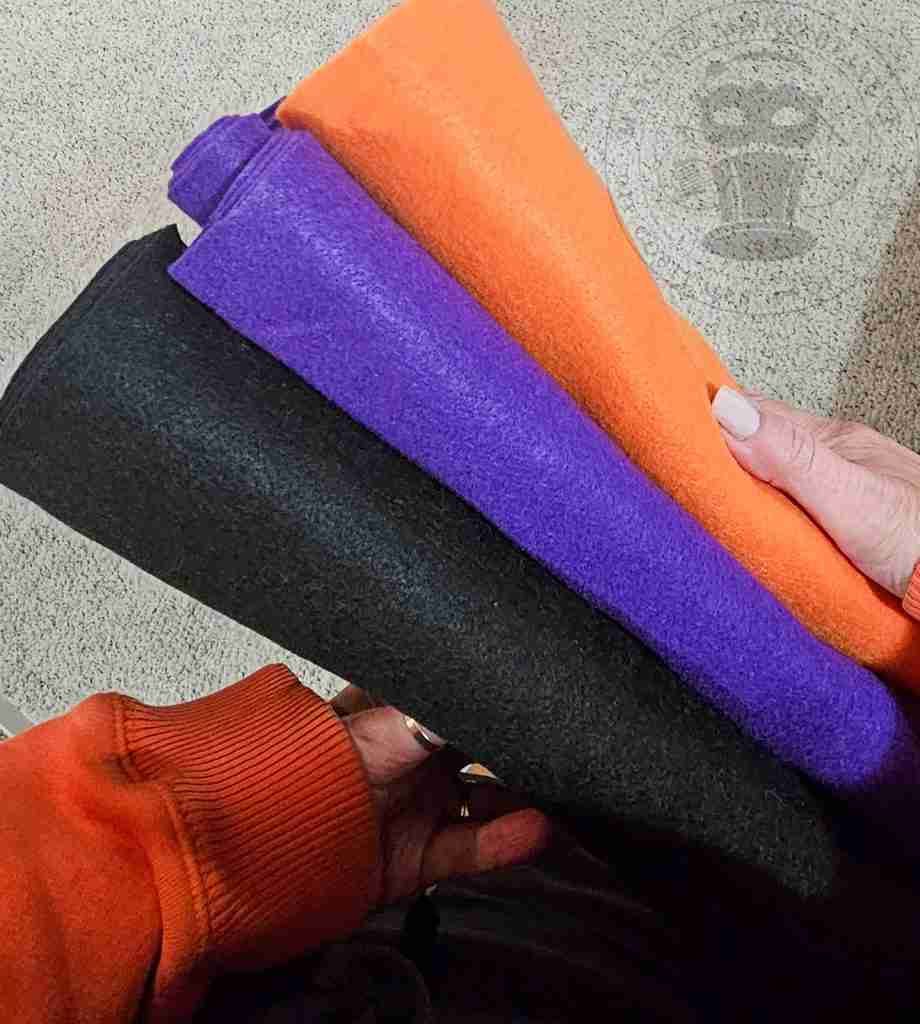
Grab the color(s), head for the cutting table, and request 1 yard.
One yard of each color is enough to make three collars.
That’s it! You’re all set.
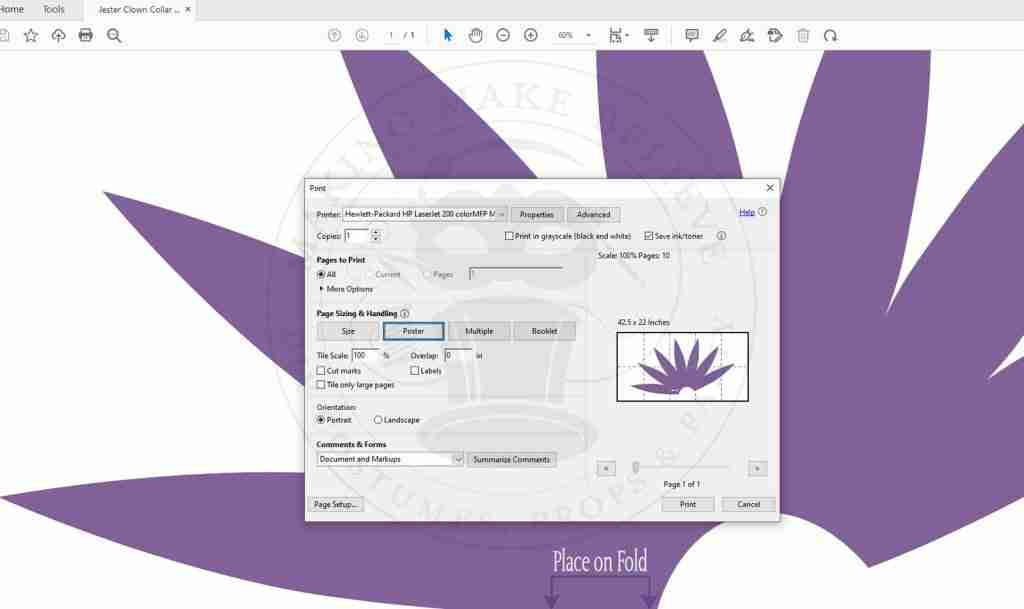
Open the Jester Clown Collar PDF in your favorite viewer (Adobe, FoxIt, etc.).
Print your template, ensuring the pages are set to print at Actual Size, and select the Poster option under Page & Size Handling.
Print out the template.
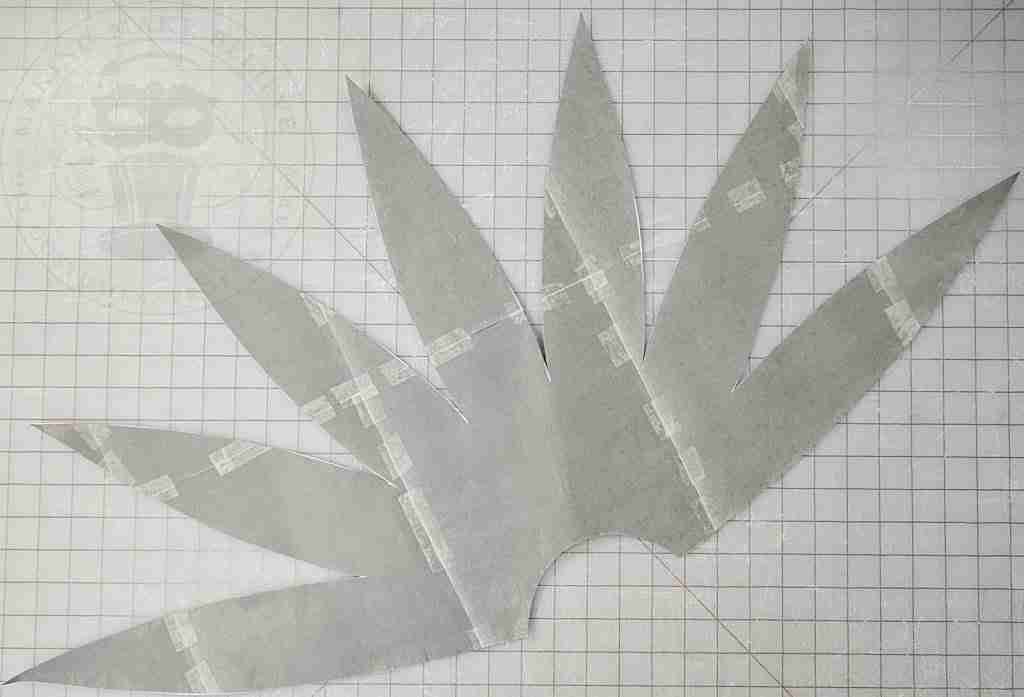
Keep all the pages in order and assemble the template by matching each section and taping the sheets together.
Then, cut out your template.
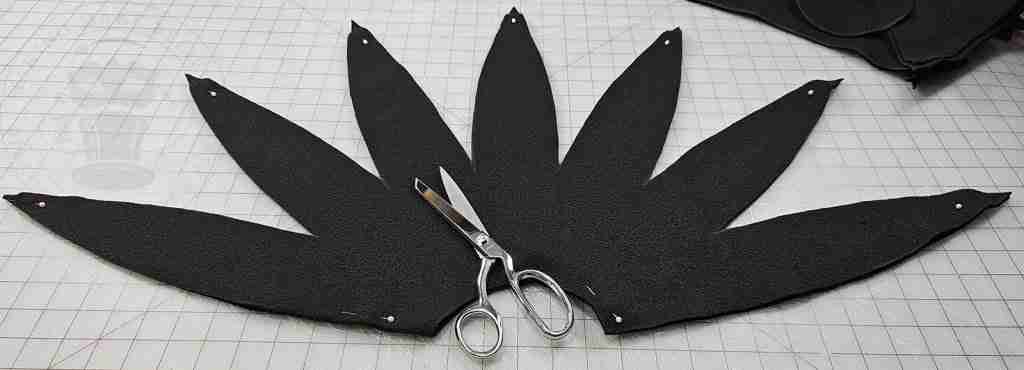
To begin, lay out the felt and fold it in half aligning the short (selvedge) ends.
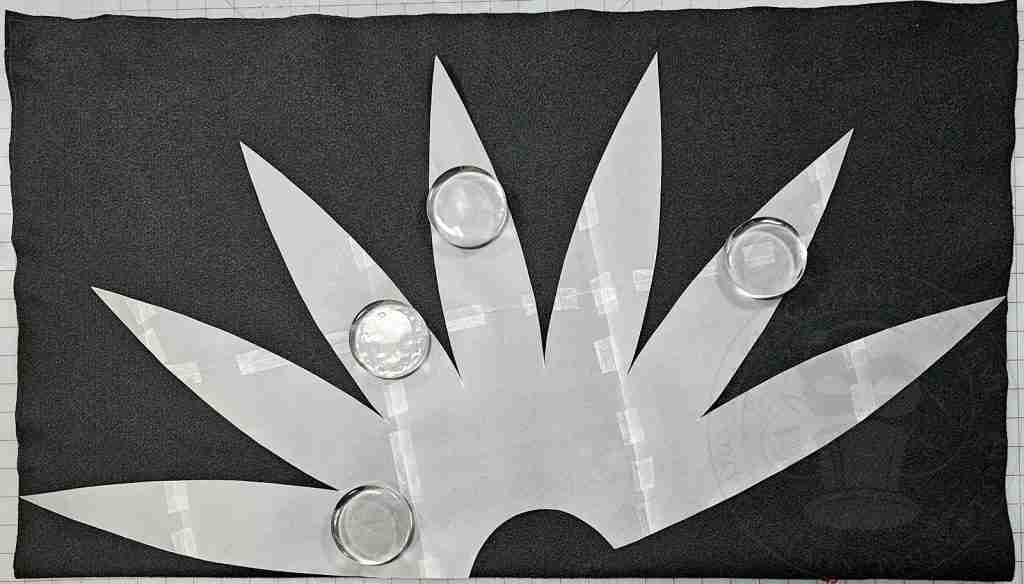
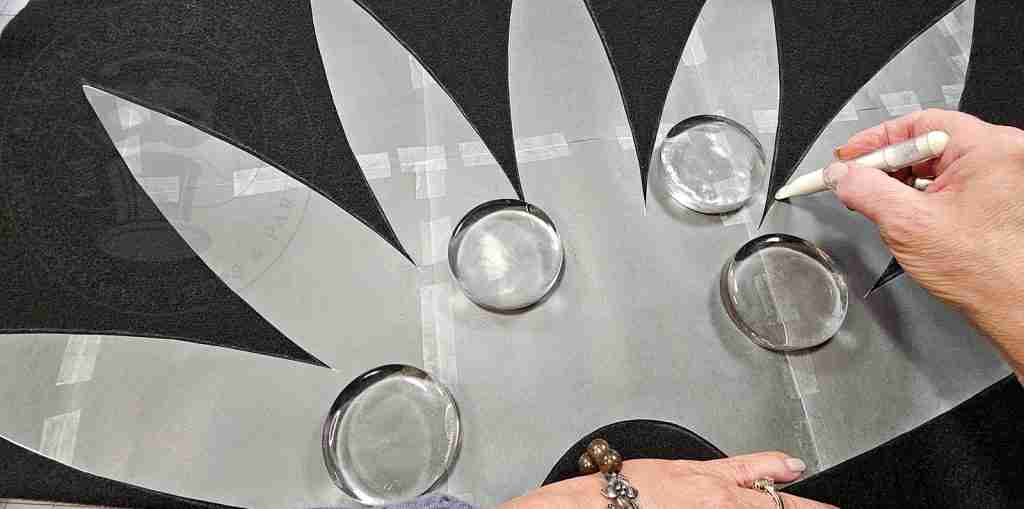
Align the template along the fold as shown.
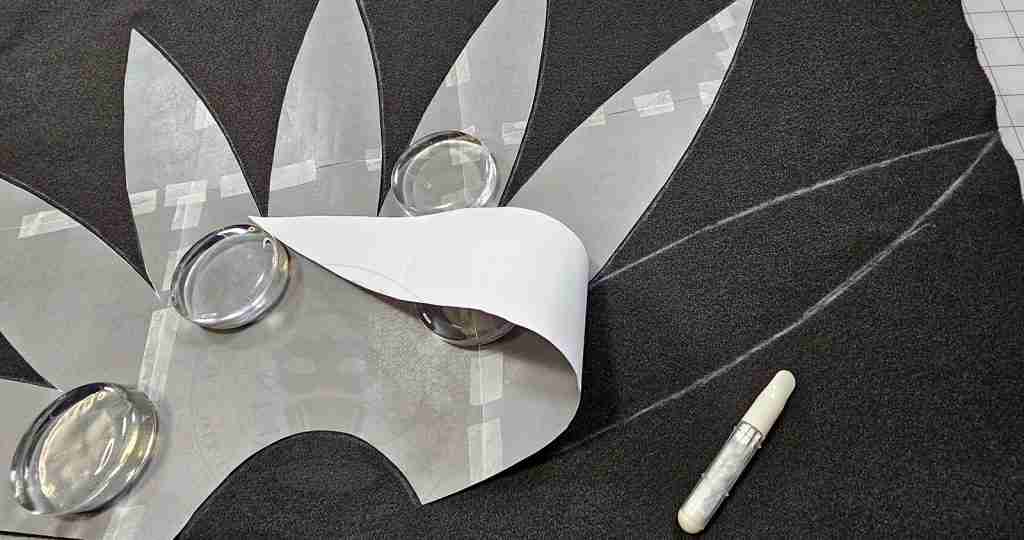
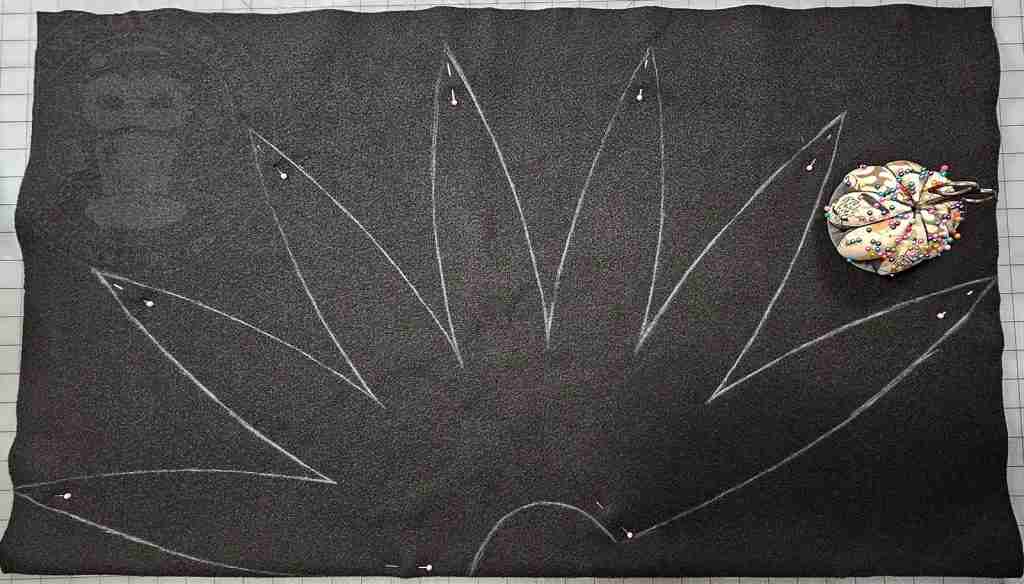
Hold down your template and trace it onto the felt using a chalk pencil.
I’m using pattern weights, but this is optional, and anything a bit heavy will work.
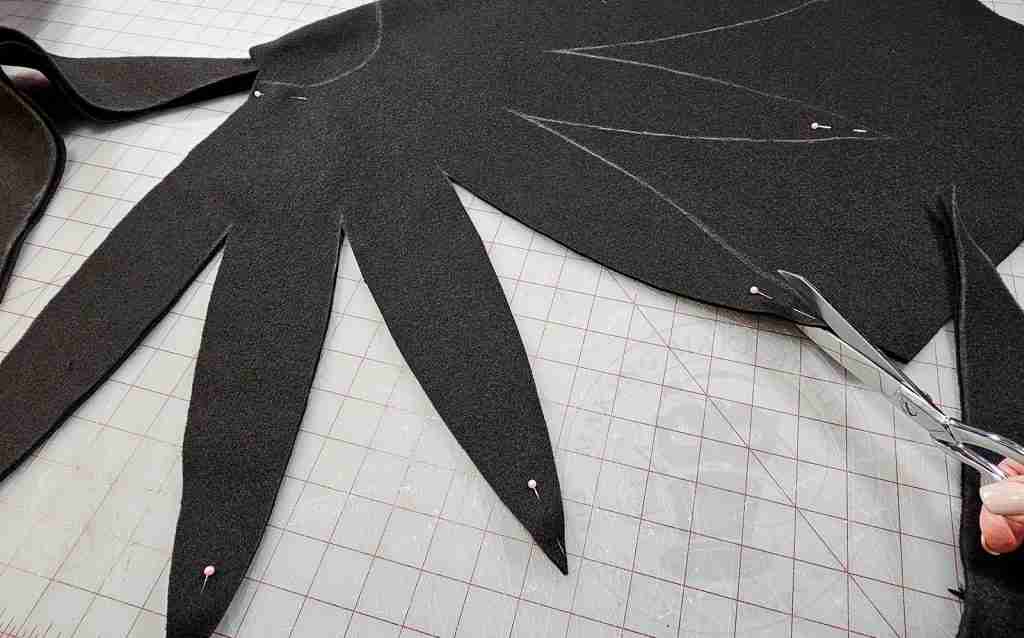
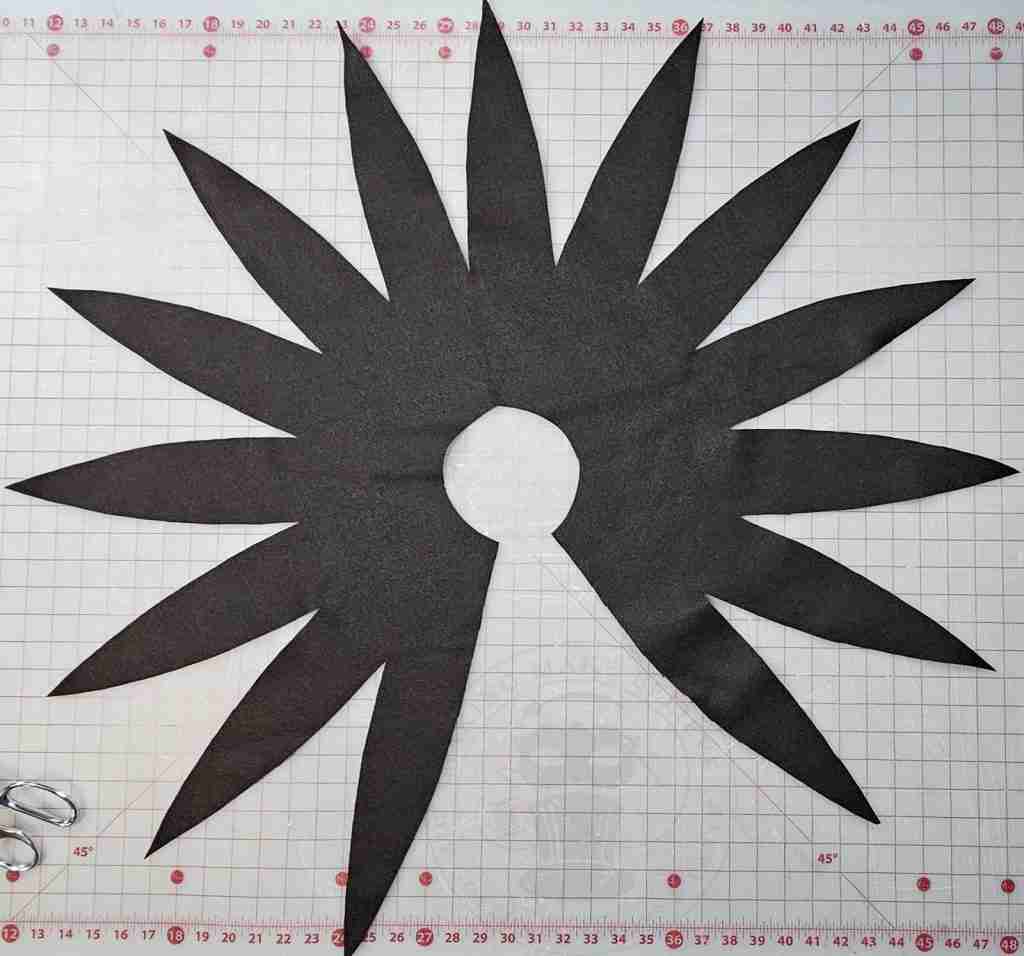
Cut out the collar.
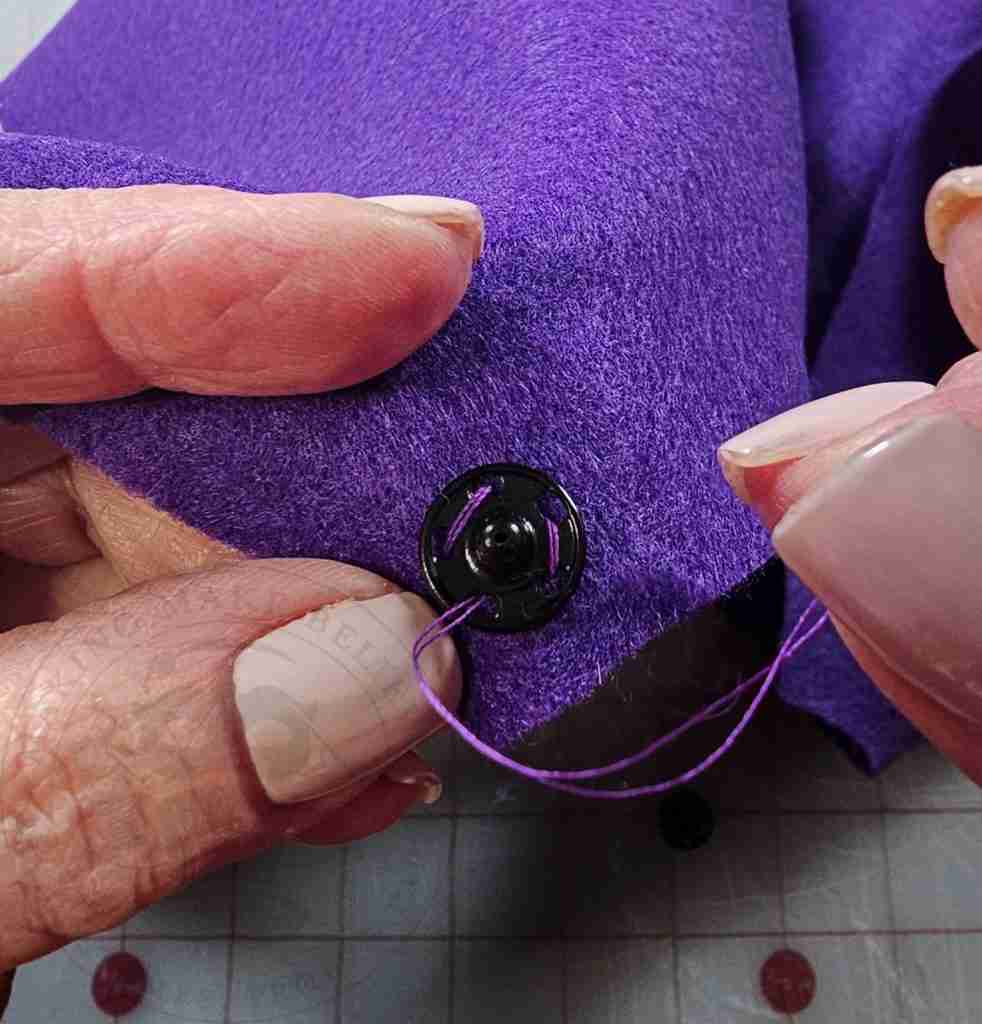
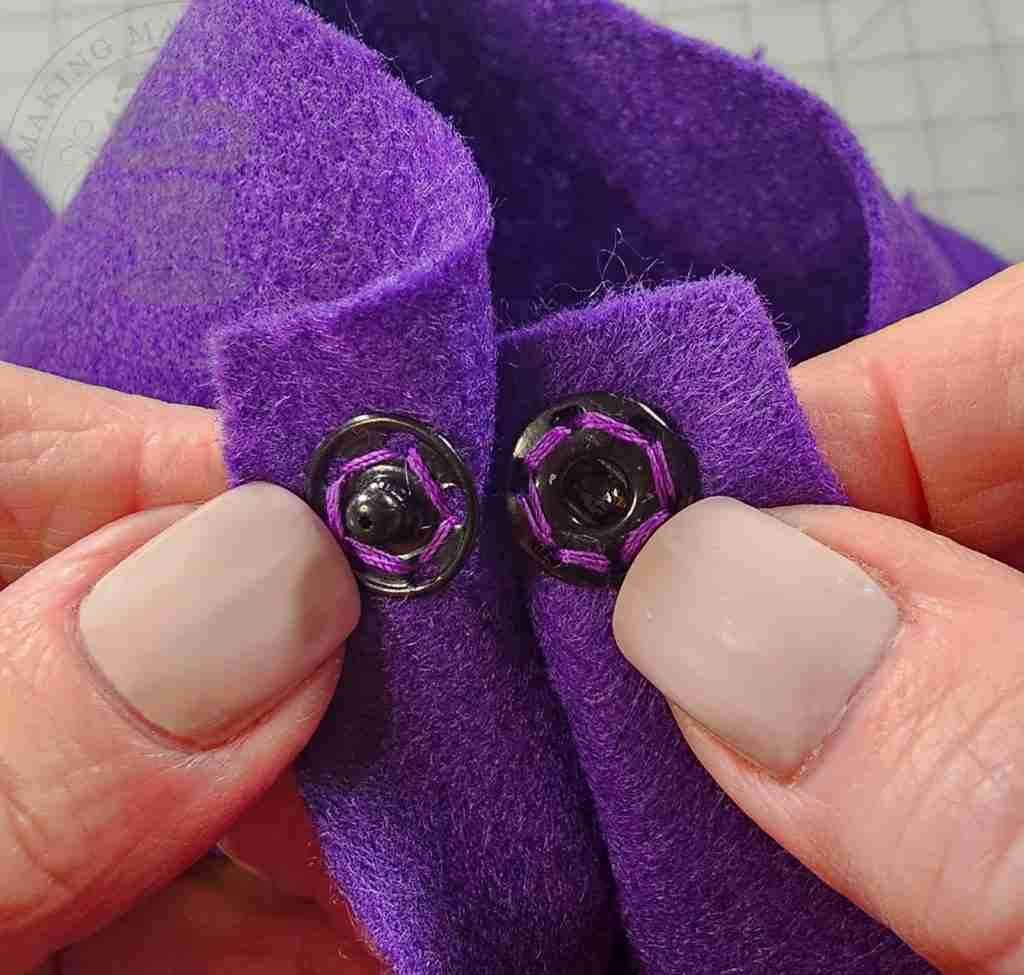
Fasten the back edges of the collar with a snap, hook-and-loop closure, or ribbon ties.
Now for the fun part!
Embellish your jester clown collar however you wish.
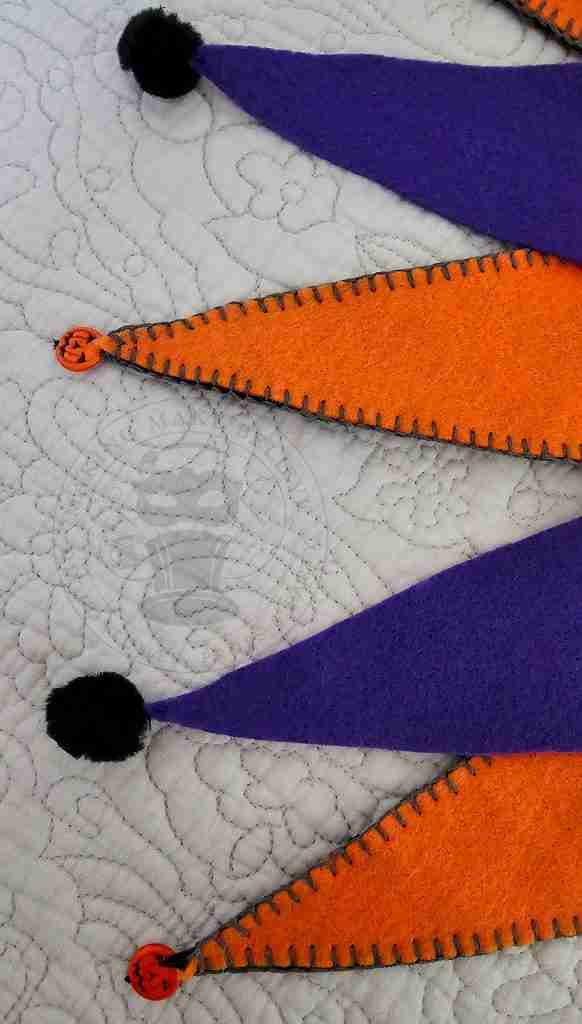
I like to add bells, beads, or pom-poms to each collar point.
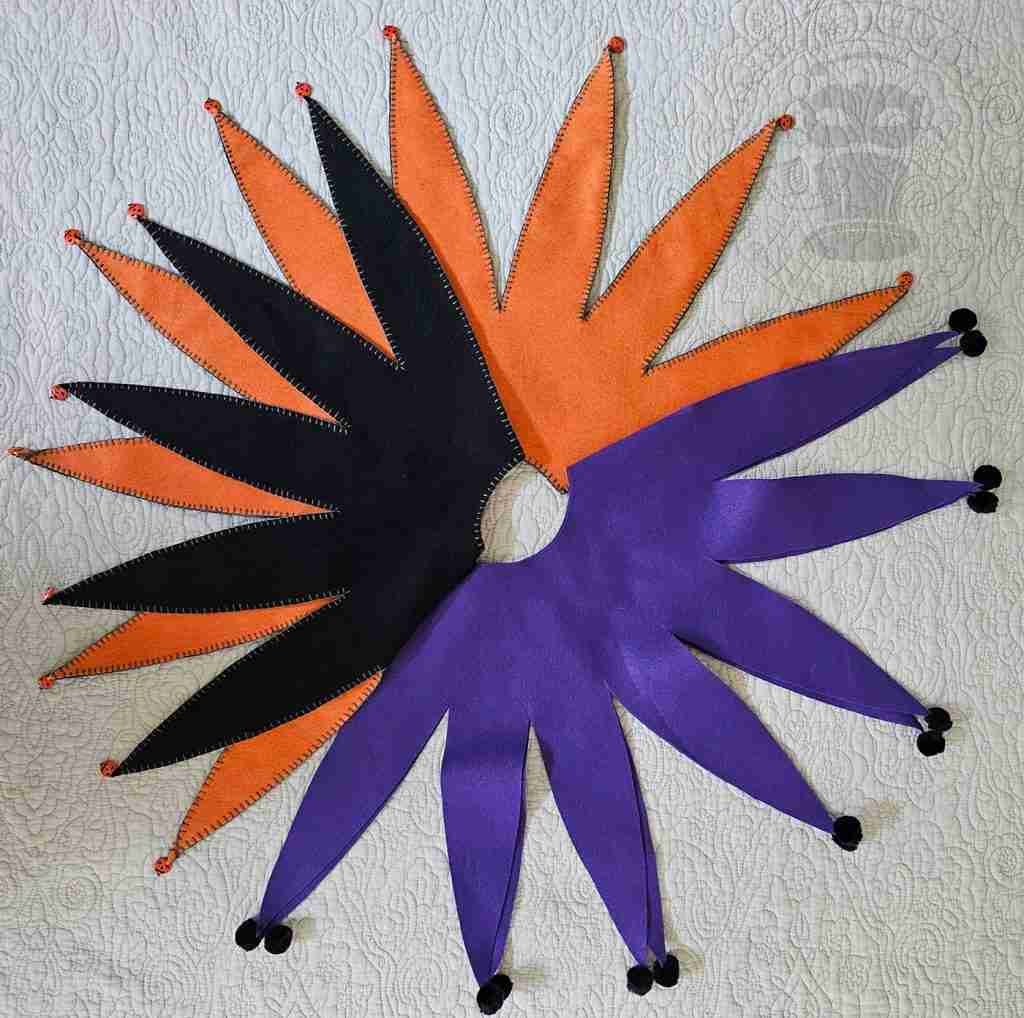
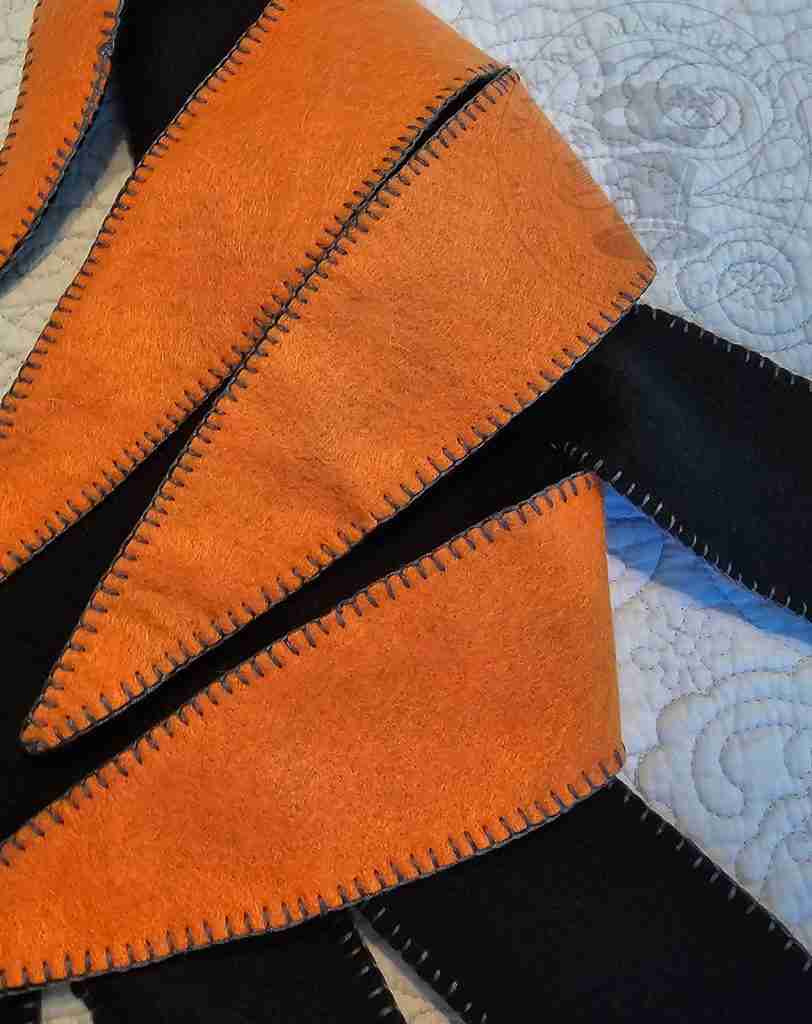
These collars look great when stacked, so you can pile up as many as you like.
My personal favorite is stitching two collars together using a blanket stitch.
How do you like your clown – creepy or cute?
Until next time – stay spooky.

Check your email for the Haunted Library password.
Don’t miss a moment of the mischief.
Add hello@makingmakebelieve.com to your address book.
Join us and get access to our Haunted Library stocked with templates, printables, cut files, and exclusive content. Plus, you’ll receive Eerie Emails just for our subscribers.
*Stay as long as you like. Unsubscribe at any time.