2.9K


We hosted our first annual Halloween party in 1994. The invitations were shaped like ghosts, and we used an orange marker, that was too large for the tightly spaced black lines, to write out the party details.
We served homemade chili and cinnamon rolls, awarded the best costumes, and sent the guests on a citywide scavenger hunt. These things became the foundation of every party to follow.
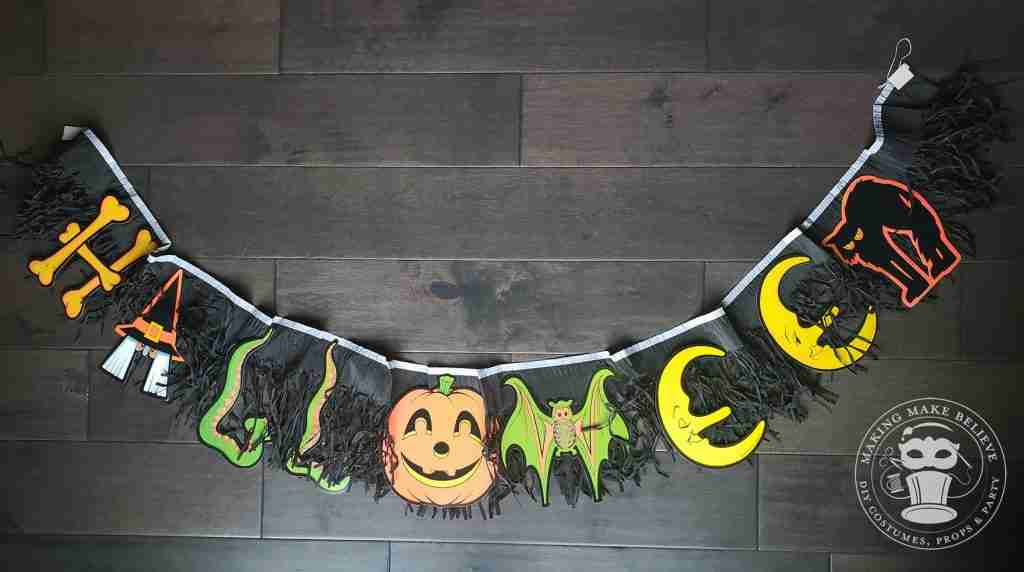
There was no theme and, though we did have decorations, the only piece I remember was a banner that I just loved and still have to this day.
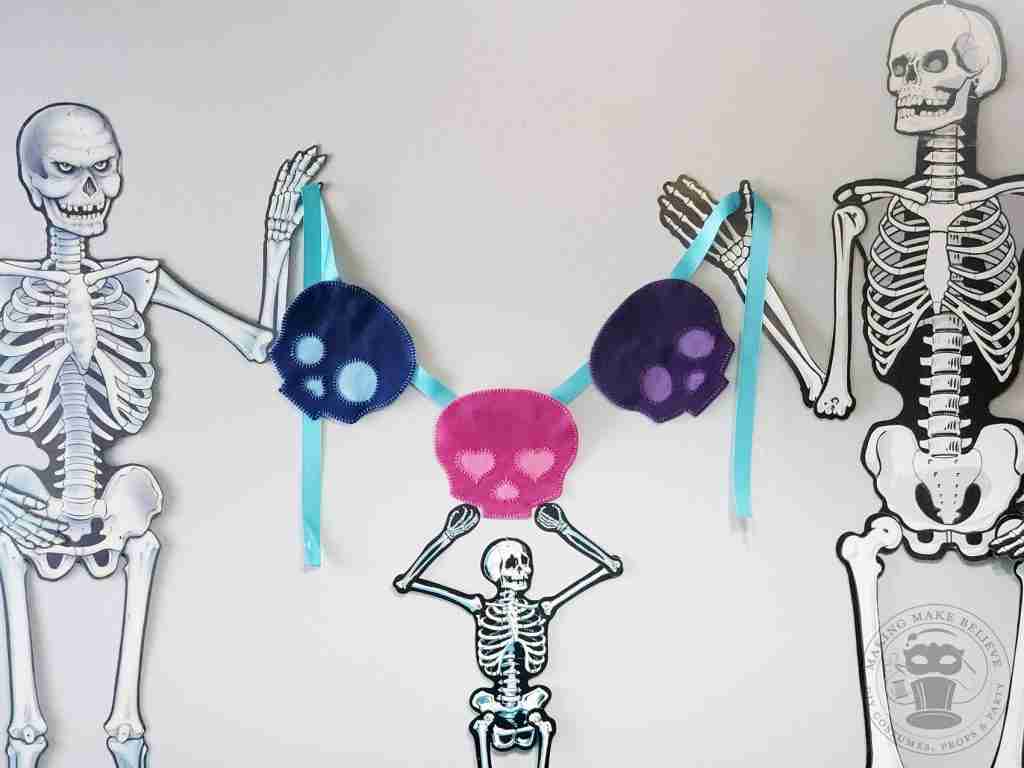
Every Halloween season, party or no party, I dig out a few banners to add to the spooky decor. I have one for most all holidays as they are easy to display, hang from almost anywhere, and are usually large enough to make an impact. So, it was a no-brainer to create a banner from this pattern.
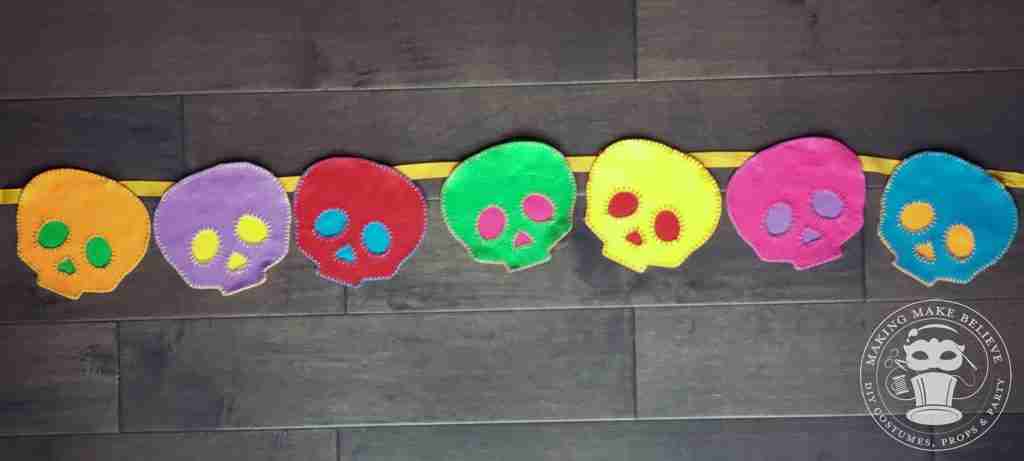
The pattern comes with three skull faces. You can mix it up or use the same face for your entire banner. One color or multiple colors, the choice is yours. You can make it as small or large as you want to fit any space. Best of all, you can make it as long as you want based on your skull size and how many skulls you use.
These skellies are simple enough to cut by hand but your Cricut Maker will whip these out so fast you’ll be able to wrap up this project in record time. Decorative hand-stitch is my preferred method, but a sewing machine or glue will get the job done.
This felt DIY Halloween skull banner is crafted with our Skull Trio Party Pattern. Check out the introduction post to see what else you can do with these skellie faces.
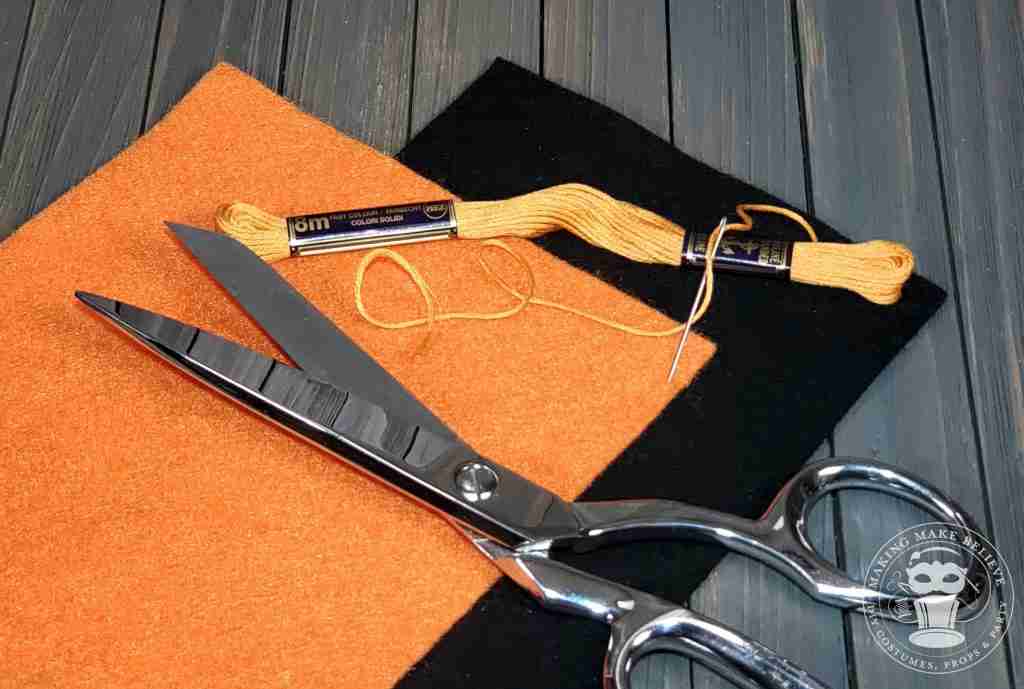
For this project, we will need:
Craft felt in two colors
Cutting machine or scissors
Embroidery floss or thread and needle
Ribbon (not shown)
We will also need the Skull Trio Party Pattern from the Haunted Library.
We will also need the Skull Trio Party Pattern from the Haunted Library.
To machine cut, upload the pattern into your design software. I’m using Cricut Design Space.
To hand-cut, print, cut out the pattern and trace onto your felt.
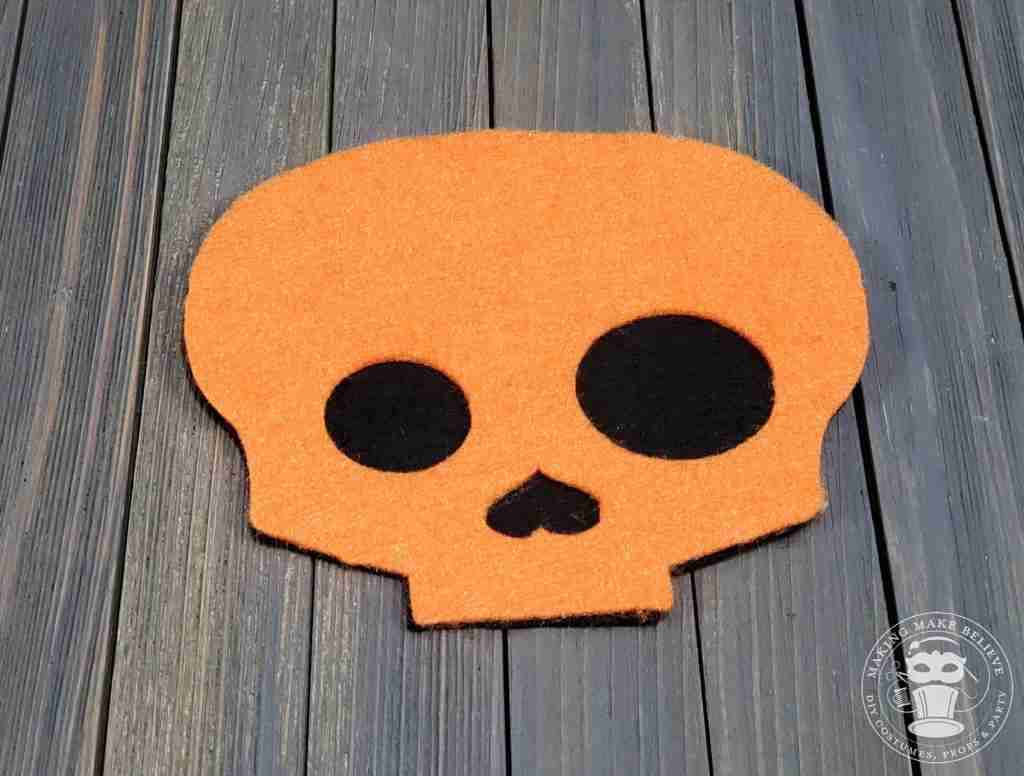
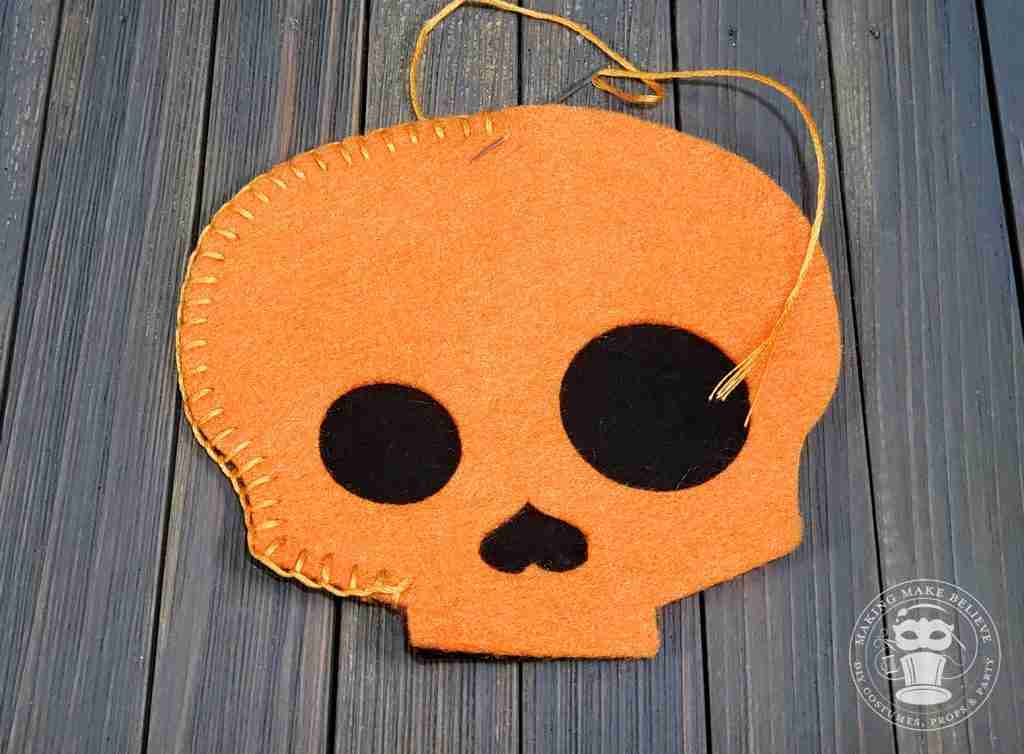
Cut one skull face and one base skull, each from a different color of felt.
Position the skull face on top of the skull base.
With your needle and embroidery floss, secure the two pieces together using a blanket stitch.
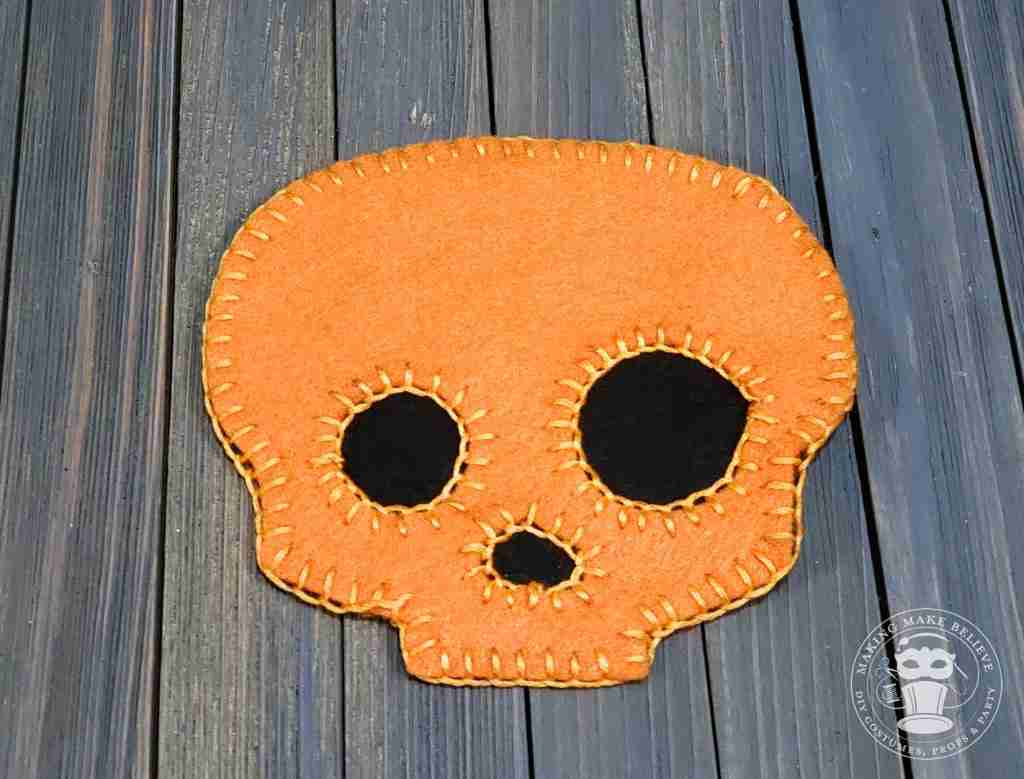
I like a chunky boarder, so I used all six strands of embroidery floss but you can use any number you wish.
The blanket stitch can be tricky around the eyes and nose. For a more simple approach, these areas can be secured with a simple straight stitch.
Optional: Use a straight or decorative stitch around the eyes and nose.
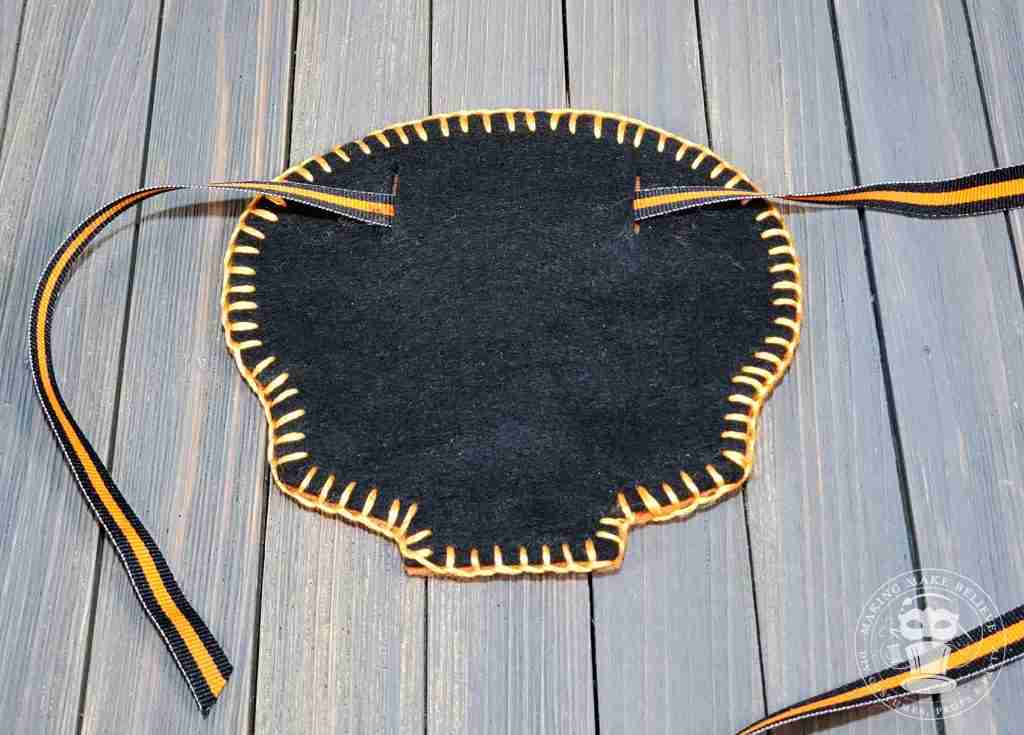
Run ribbon through the slits in the back of the base skull and hang.
To secure your skulls in place and prevent them from sliding down the ribbon, use a ribbon that fits tightly in the slits or secure with a small stitch.
That’s it! Now you’re ready to party.
Until next time – stay spooky.

Check your email for the Haunted Library password.
Don’t miss a moment of the mischief.
Add hello@makingmakebelieve.com to your address book.
Join us and get access to our Haunted Library stocked with templates, printables, cut files, and exclusive content. Plus, you’ll receive Eerie Emails just for our subscribers.
*Stay as long as you like. Unsubscribe at any time.