2.3K


Halloween Seed Pack
Spring is in the air, and I, for one, am welcoming it with open arms. I’m ready for warmer weather, longer days, and blooming plants.
I’m not a gardener, and I don’t have much of a green thumb. But, my newest project has me feeling inspired, and I think I might try growing some veggies this year.
For this project, I snapped up several varieties of pumpkin seeds. At first, I thought I’d gift them, but as they’ve been sitting here, I’ve grown a bit attached, so I’m going to see if I can grow a few.
We accidentally grew pumpkins several years ago. There was a field behind our house, and we would set our rotting pumpkins behind our fence for the wildlife to enjoy. To our surprise, the pumpkins grew up the following year, and we had our very own home-grown Jack O’Lanterns for Halloween.
In the years that followed, rotting pumpkins never again produced vines, and so our pumpkin gardening days were short-lived. However, I am inspired after seeing all of the fun pumpkin varieties.
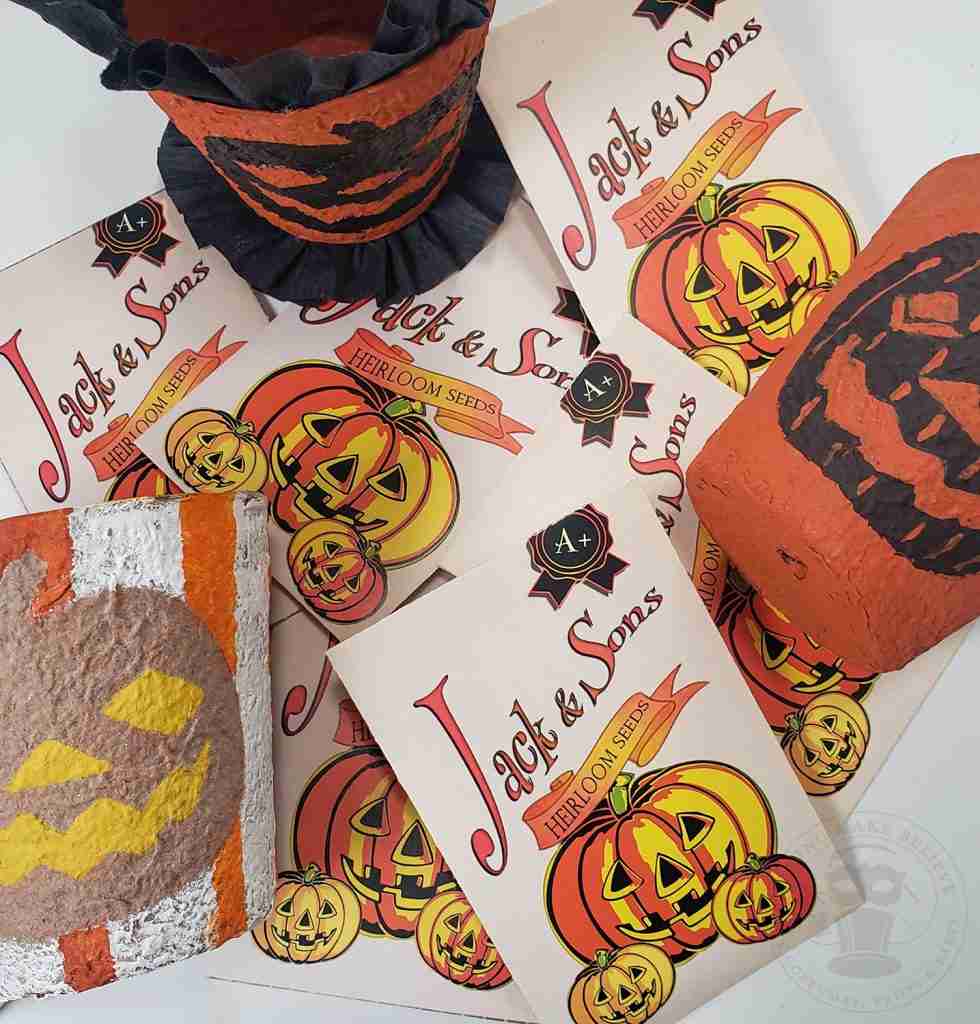
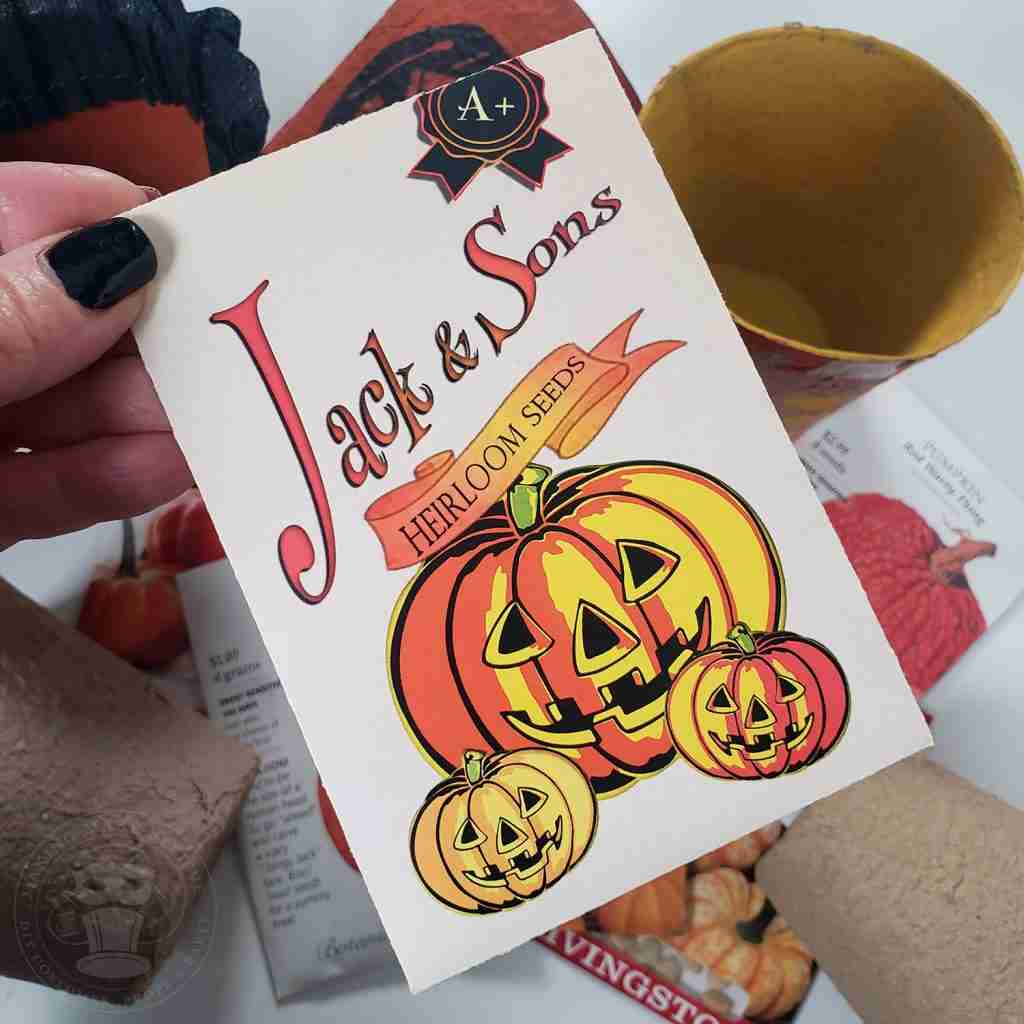
A trip to the garden stores produced Jack O’Lantern pumpkins, Jack Be Littles, Mini Harvest Blend, Early Sweet Sugar Pie, and Red Warty Things. I love the artwork on the Botanical Interests seed packs, but I thought we could haunt things up a bit and make a Halloween seed pack version.
My inspiration for the trio of grinning pumpkins in this project came from a vintage Jack O’ Lantern cutout that is, unfortunately, not yet in our collection. The fictitious seed company of Jack & Sons is a play on words, and, for good measure, the packet touts seeds to be heirloom with an A+ rating.
So, let’s get started.
Here’s what we need:
Cardstock
Printer
Cutting machine (with scoring tool) or scissors (with a straight edge and bone folder)
Glue stick – I like this one
Pumpkin seeds
We will also need the free Halloween Seed Pack printable from the Haunted Library. You can choose from the SVG cut file if you want to use your cutting machine’s Print Then Cut feature or select the PDF if you’re going to hand-cut your seed pack.
To use a cutting machine such as Cricut, upload the Halloween seed pack image and the score line SVG files to your design software.
Note, these images may load larger than the machine allows for Print Then Cut. If so, resize the seed pack to 7.25 inches wide by 6.75 inches high and the score lines to 3.48 inches wide by 5.057 inches tall.
Select the score line image and change it from Basic Cut to Score. Then, position the score line box on the seed pack as shown.
Select both images and click Attach.
Add your cardstock to the printer and print the seed pack. Once printed, transfer to your cutting mat, load your blade and a scoring tool into your machine and proceed to cut out the seed pack.
To hand cut, open the PDF file and size as desired. For example, my seed packs are 7.25 inches wide by 6.75 inches high. Then, print and cut out the packet.
Score the fold lines for your seed pack by referring to the included Score Line Diagram image using a straight edge and bone folder.
Overlap flaps as shown and secure with the glue stick. There are gaps at the creases, so be sure not to glue a flap to the interior.
And, that’s it! So, now you have your own vintage-inspired Halloween seed packs. Pop your favorite seed variety packet inside and include it in a card, or add it to one of our Pumpkin Peat Pots.
As for my pumpkin patch, I can confidently say that I have no idea what I’m doing. I have been studying how to grow pumpkins in containers, so standby and cross your fingers that I can get at least one gourd from this experiment.
I’ll keep you posted.

Check your email for the Haunted Library password.
Don’t miss a moment of the mischief.
Add hello@makingmakebelieve.com to your address book.
Join us and get access to our Haunted Library stocked with templates, printables, cut files, and exclusive content. Plus, you’ll receive Eerie Emails just for our subscribers.
*Stay as long as you like. Unsubscribe at any time.