2.2K


I love when Autumn rolls around, and I start seeing all the fabulous Halloween fabric prints rolling across my social feeds. Often, I will screenshot the ones I want, check those against what I have and then head out to see what my local shops have in stock.
Ok, I don’t actually check to make sure I haven’t already bought a specific print. I just end up buying it again but, hey, if you love it, can you really have too much?
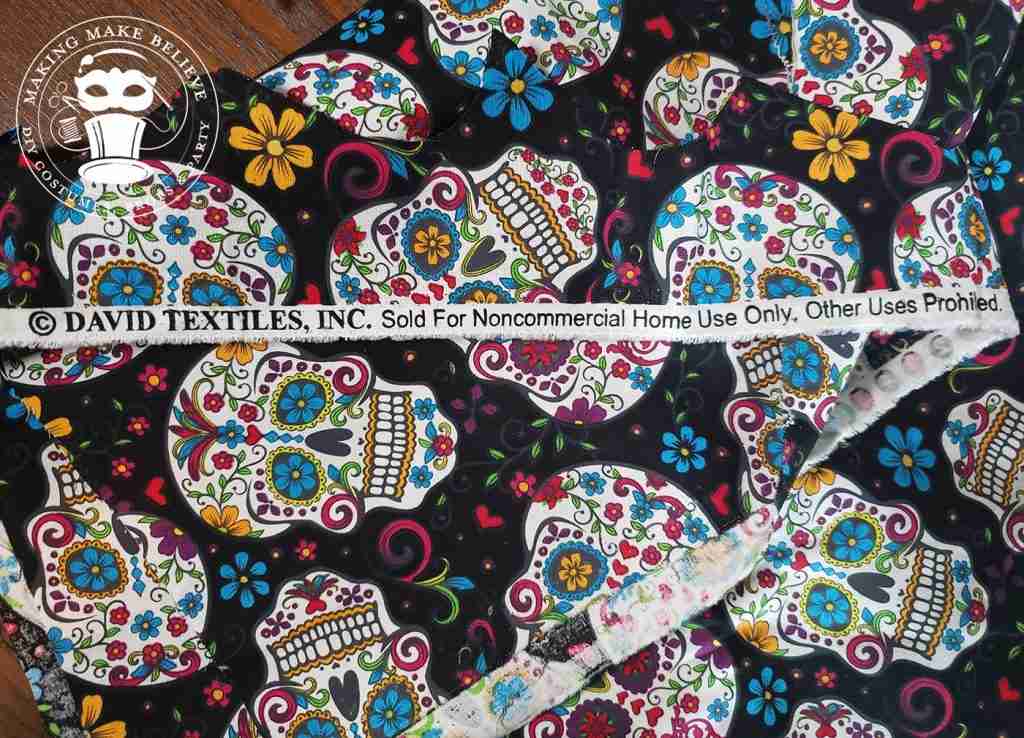
Such as it was with the David’s Textiles Sugar Skulls fabric. I must really love this one because I purchased it on two different occasions.
It’s super fun, right?
I purchased this with a specific Halloween fabric hack in mind. I like how the sugar skulls are spaced out a bit and don’t overlap each other. Though not a necessity for this project, it’s what I prefer.
Selecting your fabric is probably the most challenging part of this project. In addition to having space between the images, I also look for images that are at least 2-3 inches high and wide. (These skulls are about 2 1/2″ wide and 3″ high.)
The amount of fabric you need depends on how many images you want to craft and how many are in a yard. For example, I used a total of 12 sugar skulls which, in this fabric, could have been done with about 1/6 of a yard, so don’t overlook the remnant section.
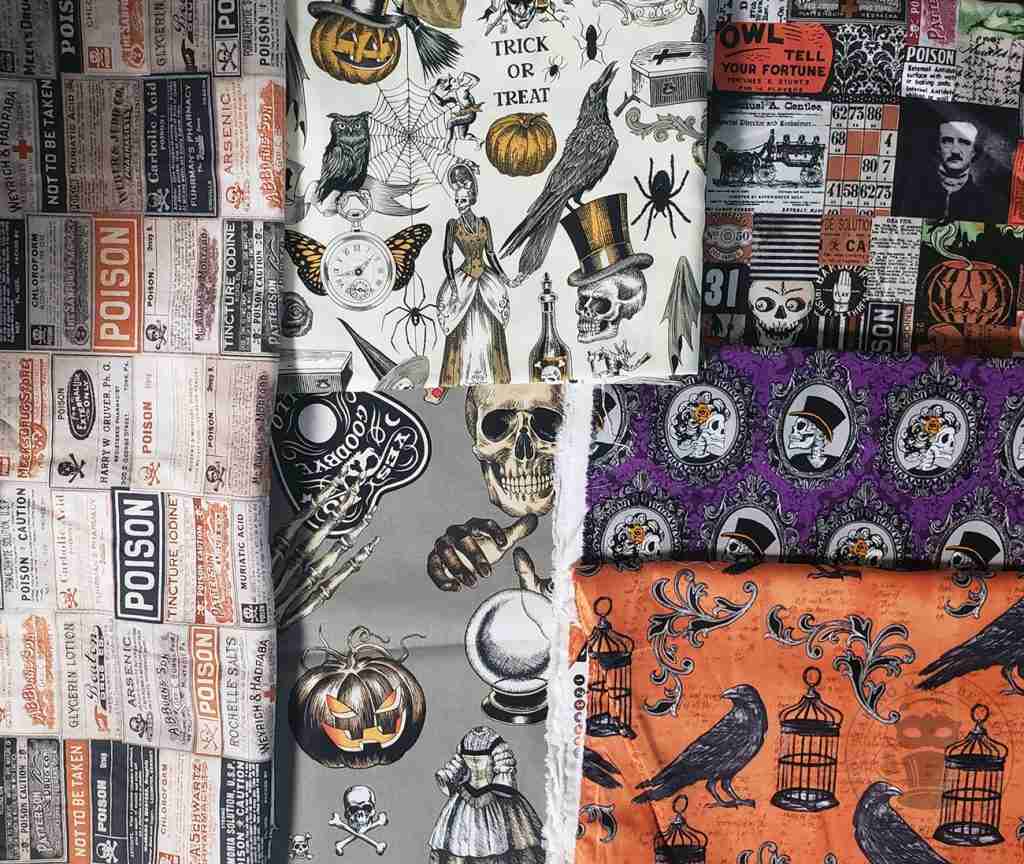
Below are a few examples of what I look for but feel free to experiment and see what works best for you.
Clockwise from the left: Apothecary by Tim Holtz, Trickery by Alexander Henry, 31st by Tim Holtz, skeletons Exclusively for JoAnn Fabrics, crows Exclusively for JoAnn Fabrics and Seance by Alexander Henry.
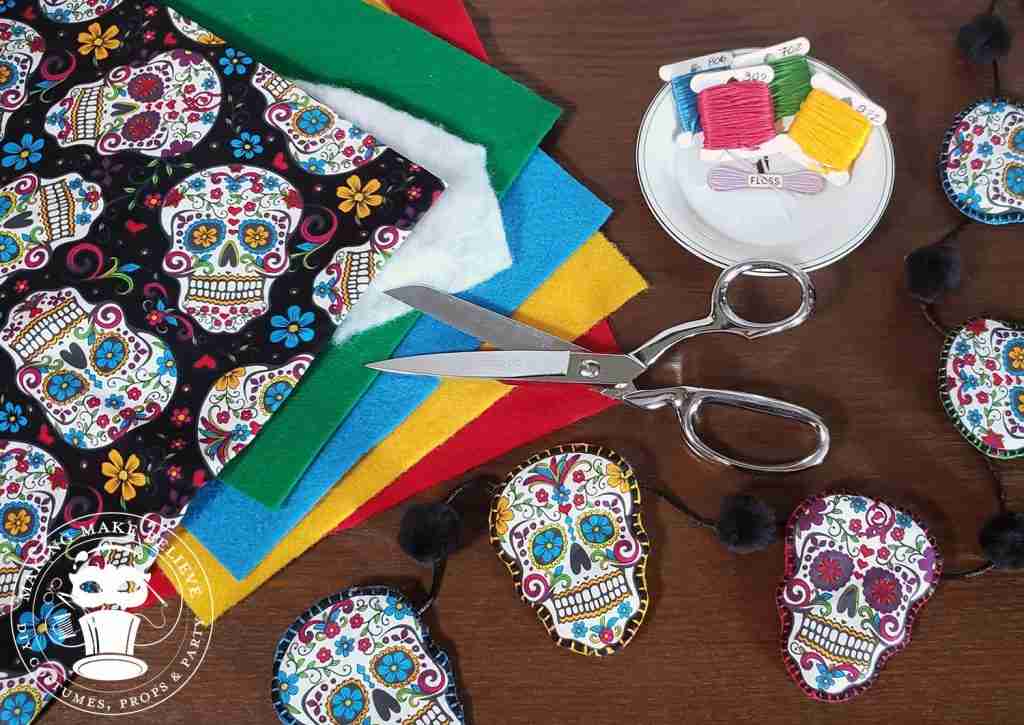
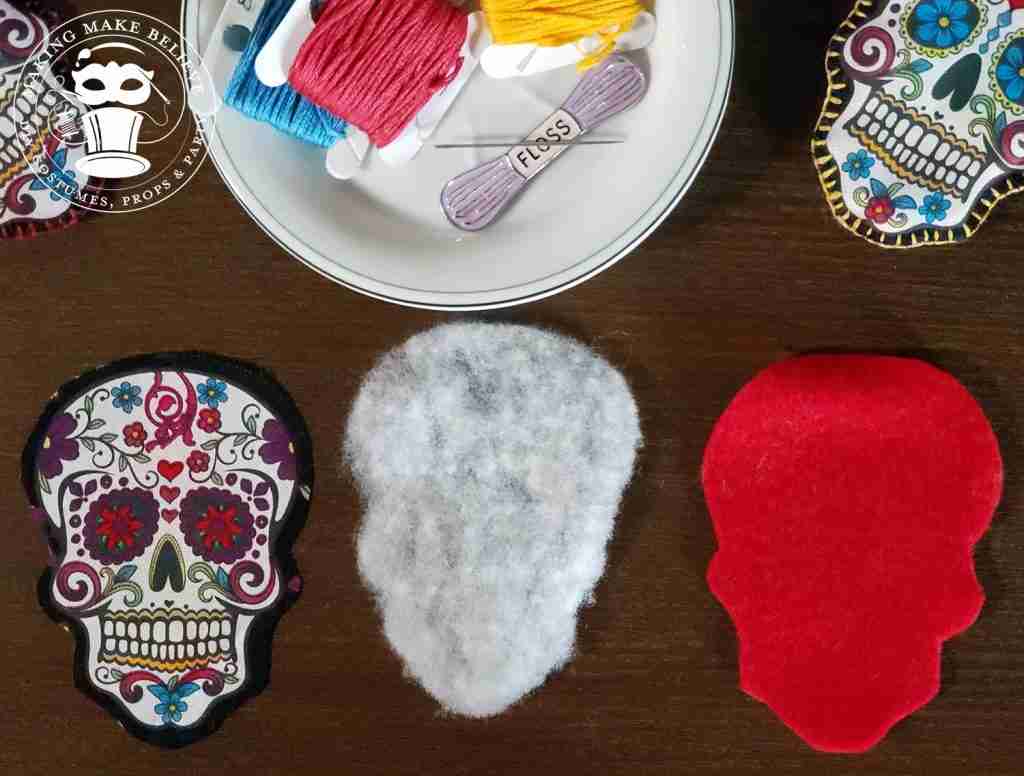
You will also need coordinating felt, batting, and embroidery floss. If you have a scrap felt pile, this is a great project to use some of it up.
You will also need scissors and a needle as well as a fabric pencil or marker (optional).
Look over your fabric and determine what images you want to use. If you wish, you can take a fabric pencil and trace about 1/4″ around the images or, if comfortable, just begin cutting them out.
Place your fabric image onto your felt, trace around it and cut it out.
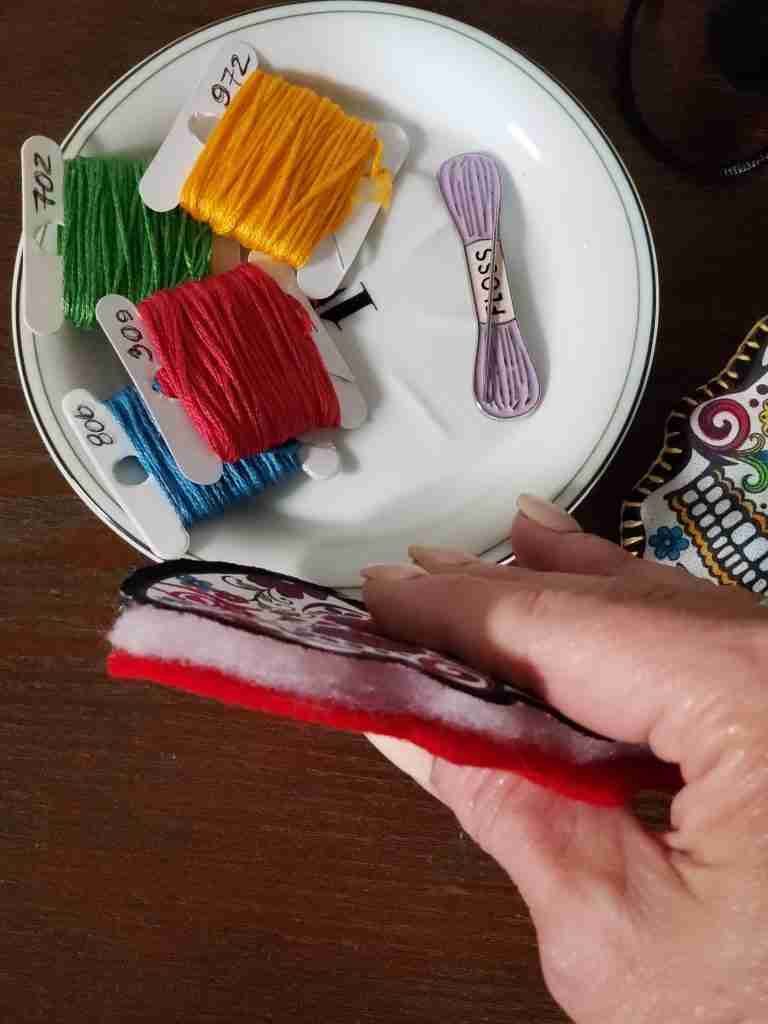
Place your felt piece onto your batting and carefully cut the batting to the same shape. Set your felt aside and trim down your batting a bit as it will be sandwiched between your fabric and felt, and you don’t want it peeking out.
I kept my batting super thin (one layer) for these, but you can use more layers and make them thicker.
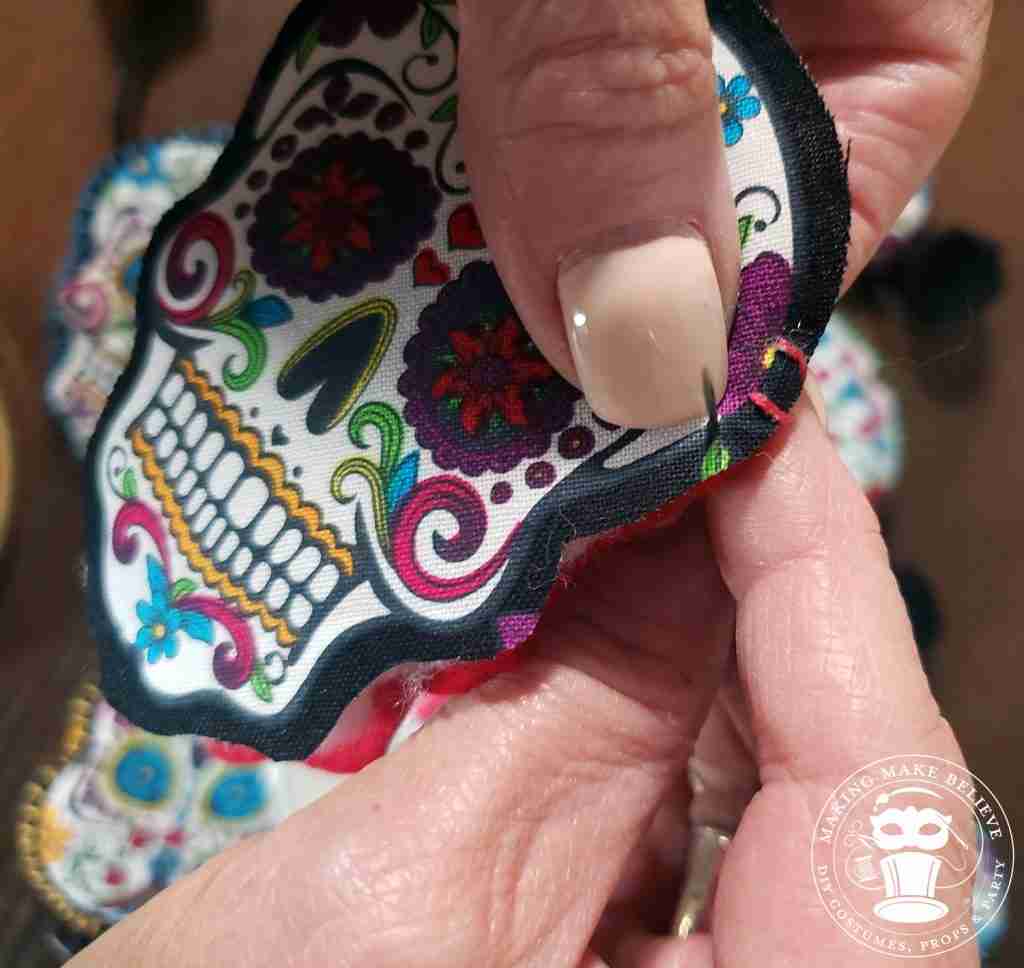
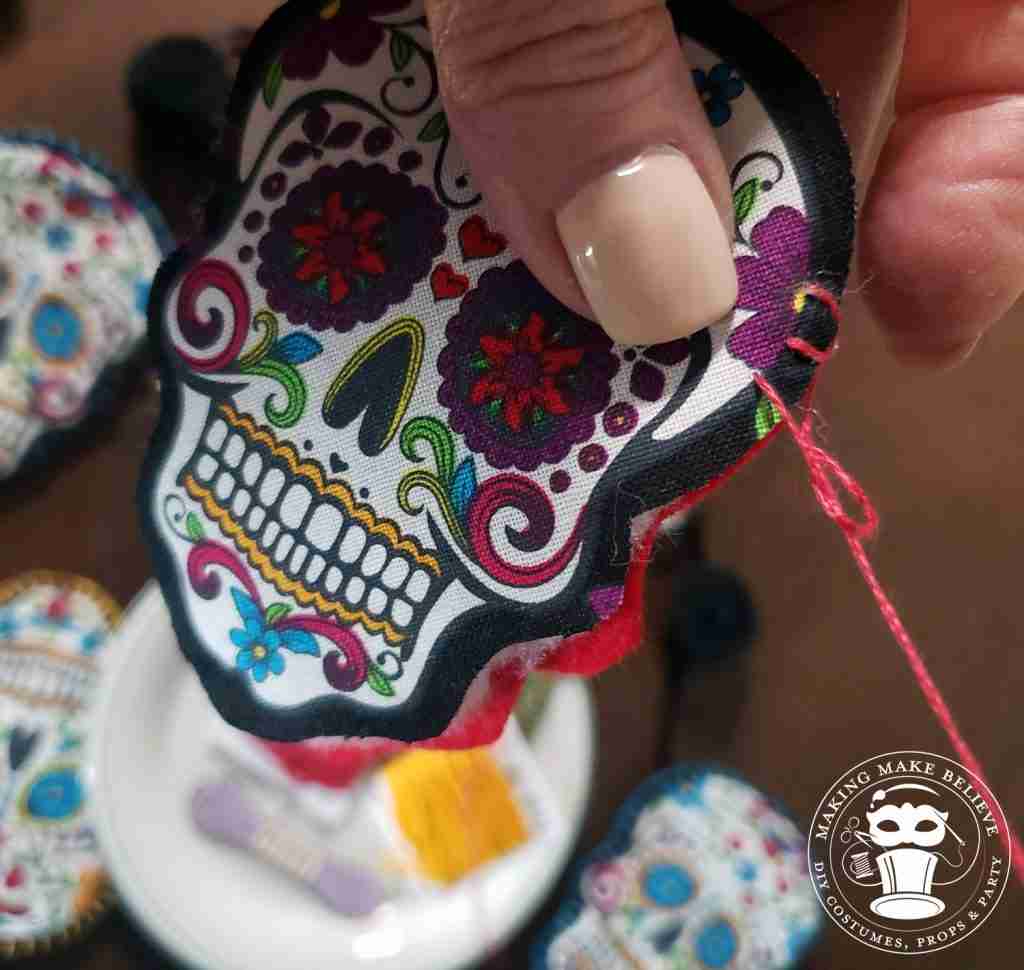
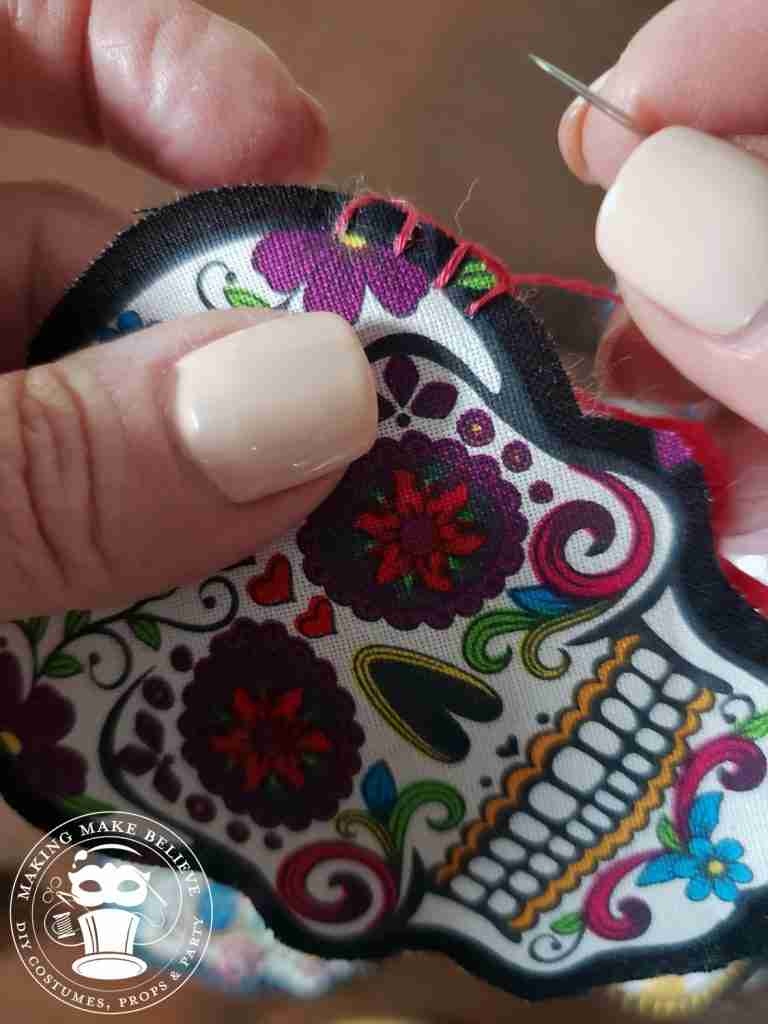
With the batting between the fabric and the felt, begin stitching the pieces together using two lengths of embroidery floss.
You can use any stitch you want. I love the blanket stitch so that’s the one I went with here.
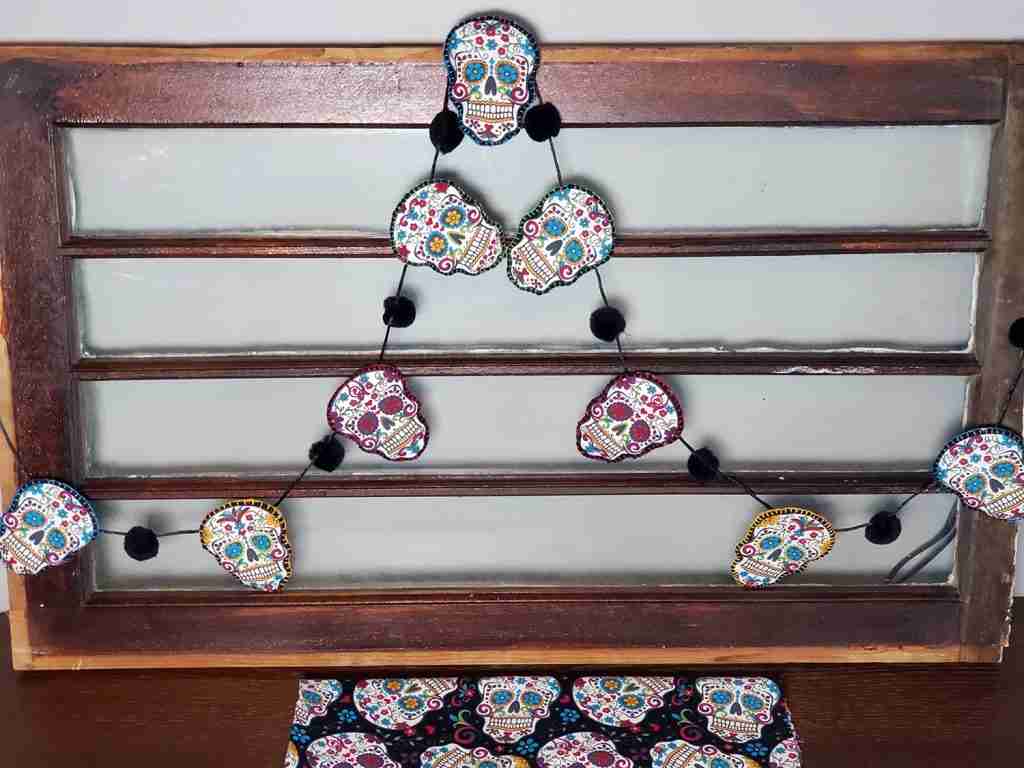
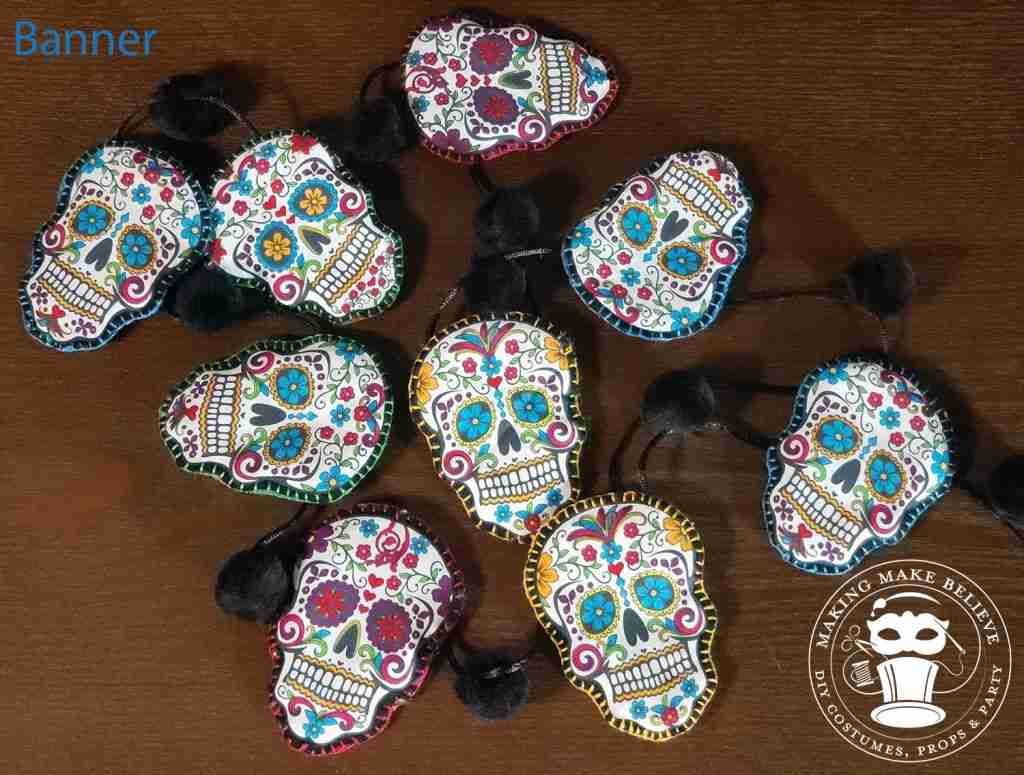
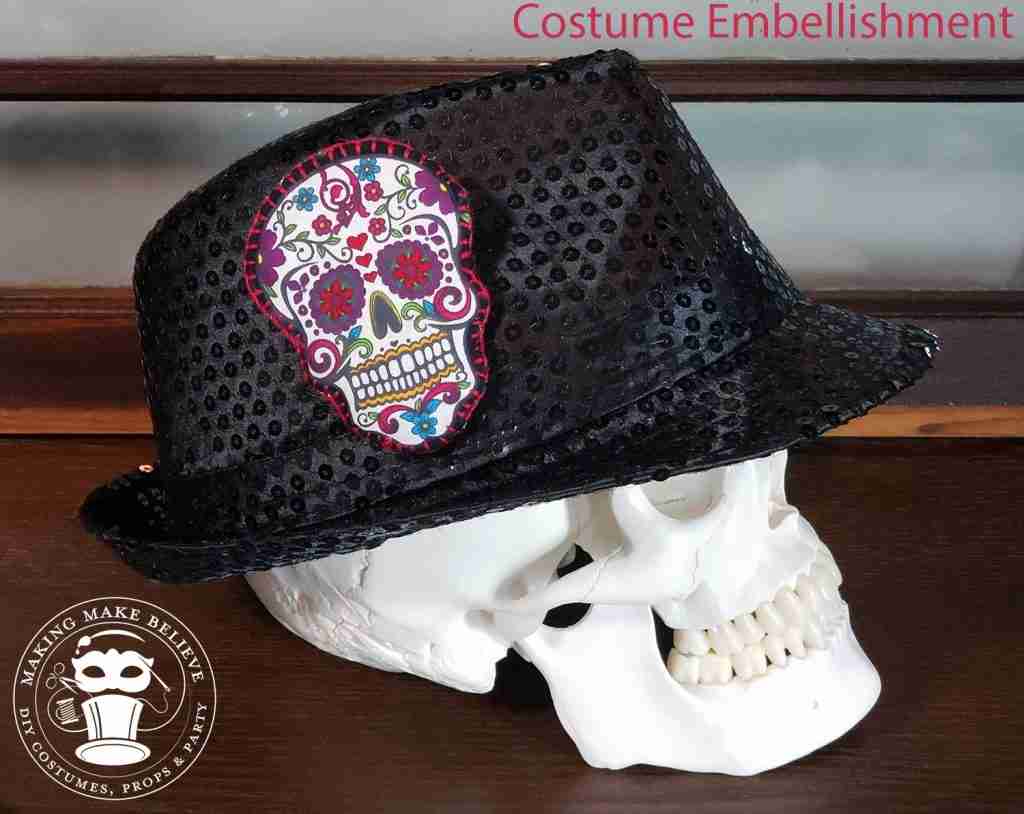
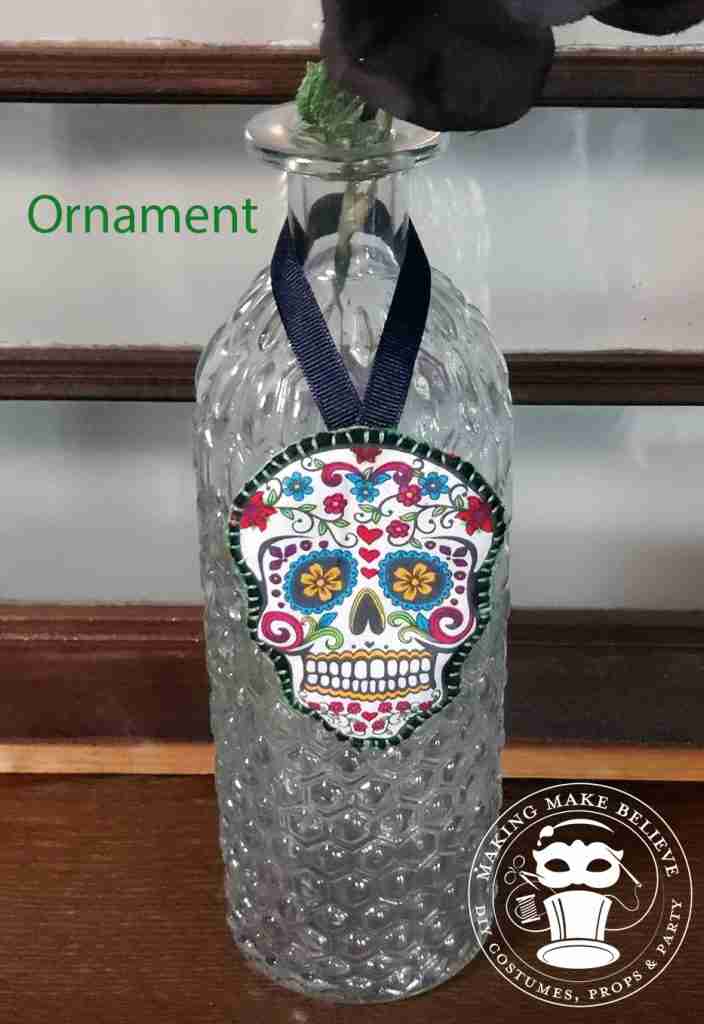
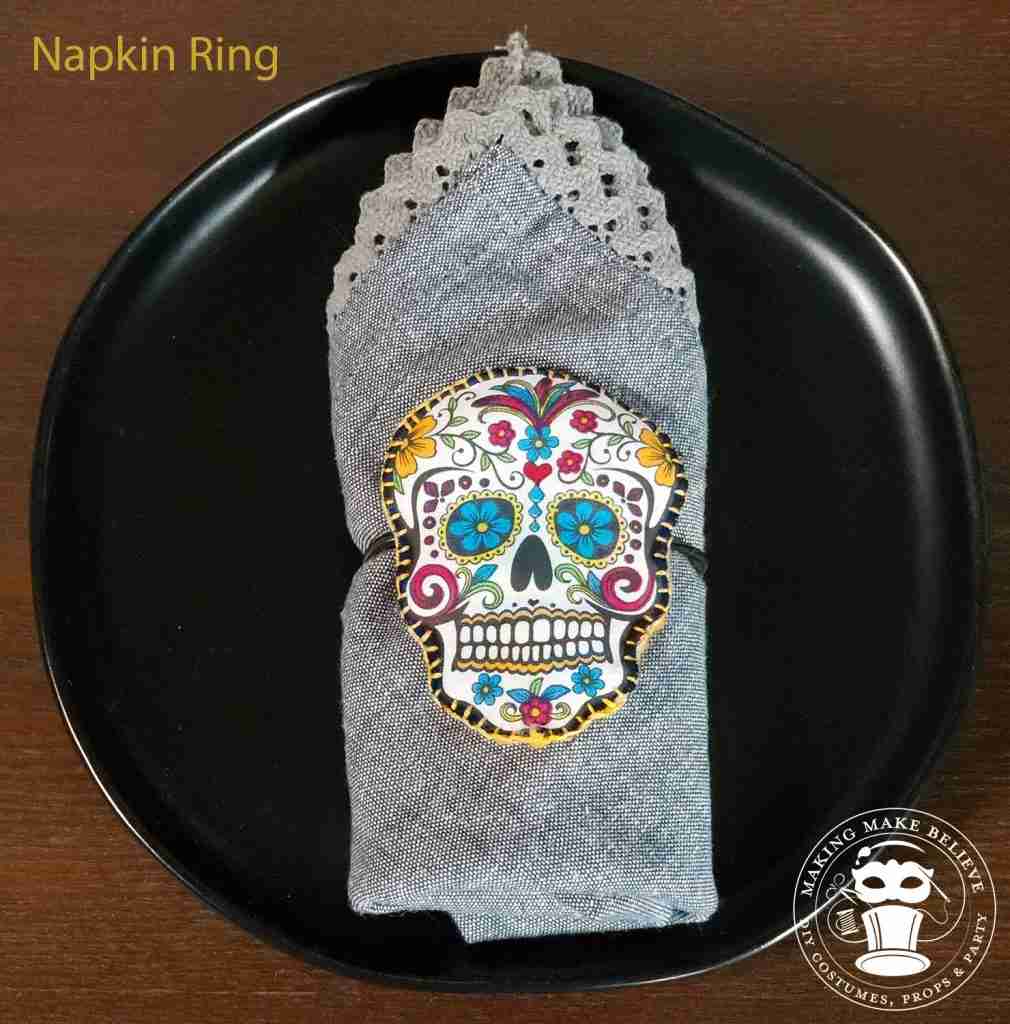
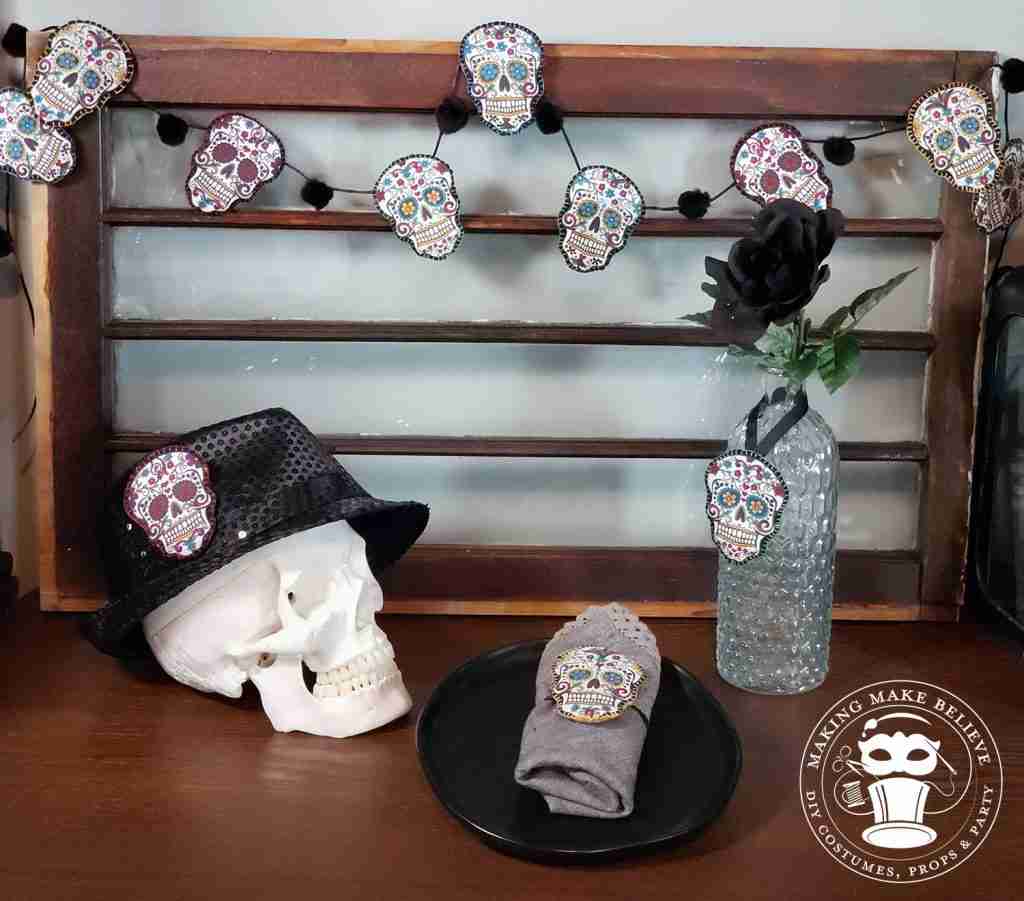
Now you can sprinkle the spooky into your decor or use these to elevate a costume piece.
Here are a few ideas:
Until next time.
Creepy crafting!

Check your email for the Haunted Library password.
Don’t miss a moment of the mischief.
Add hello@makingmakebelieve.com to your address book.
Join us and get access to our Haunted Library stocked with templates, printables, cut files, and exclusive content. Plus, you’ll receive Eerie Emails just for our subscribers.
*Stay as long as you like. Unsubscribe at any time.