3.9K


DIY Jointed Skeleton
As a child growing up in the 70s, we had only a few Halloween decorations. Every year we would make a corn stalk teepee, carve a pumpkin, and place our Halloween blow mold in the front window.
We would also hang a jointed skeleton. We had a great time posing the skellie – waving, dancing, or doing the splits.
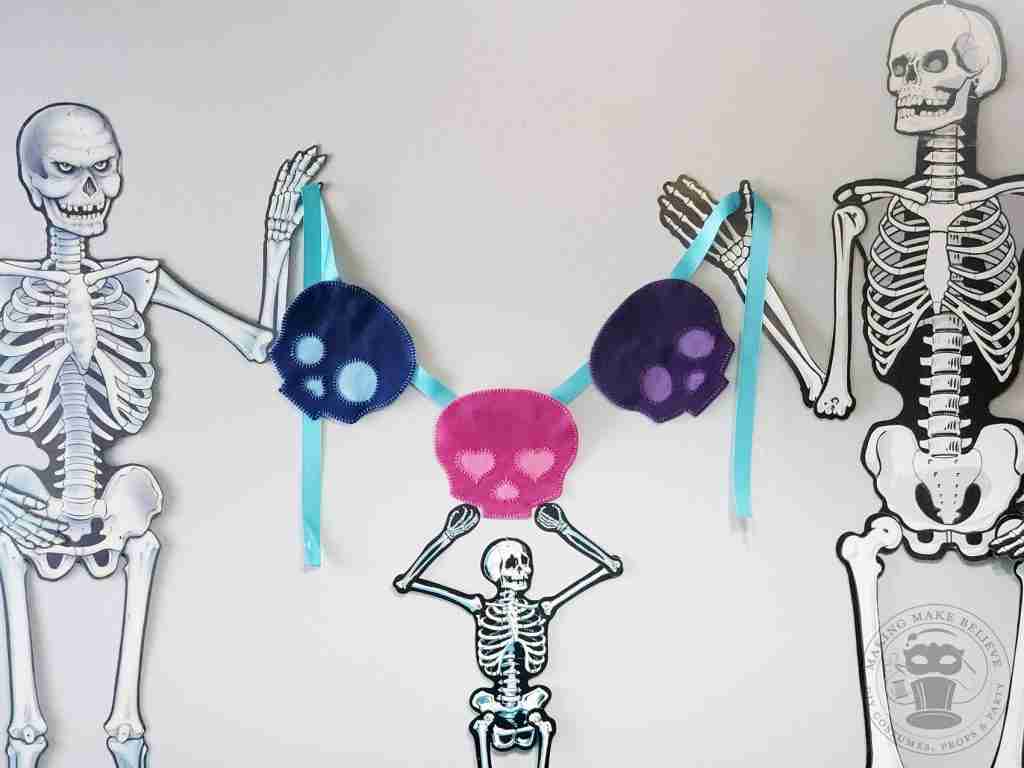
I’ve collected several jointed skeletons over the years. Each is unique and often very detailed for a simple paper party piece.
Some are smiling, some are sneering, and others look surprised.
Some are simple white on black, others are outlined in an eerie blue, and some glow in the dark.
Facing forward, looking to the side, skinny, stalky, tall, or short – the variety of these simple decorations is unending.
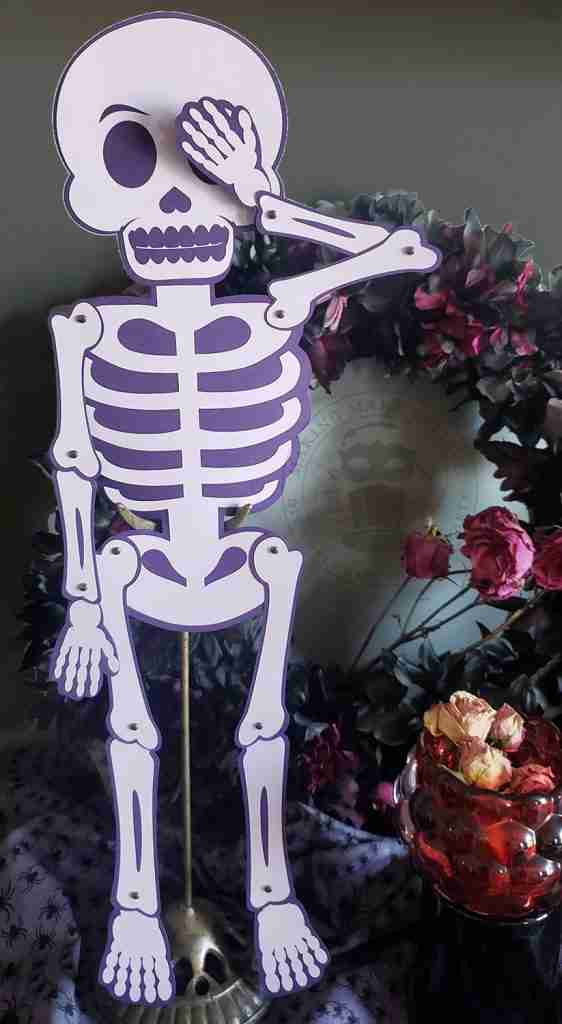
Recently, I decided that I’d like to have a more whimsical jointed skeleton with a conspicuous cranium that I could craft in any color. I didn’t look forward to cutting this by hand, so I designed it towards cutting on my Cricut Maker.
About a month ago, I mentioned that I was working on this DIY jointed skeleton project and that I had planned to make it available in the first part of August.
And that would have been the case had I not done a test piece and realized that I had over-complicated the design.
The original and more complicated attempt.
Well, best-laid plans, you know.
But all is well. It is now officially September, and I have reworked the project. So, without further adieu, let’s make a jointed skeleton.
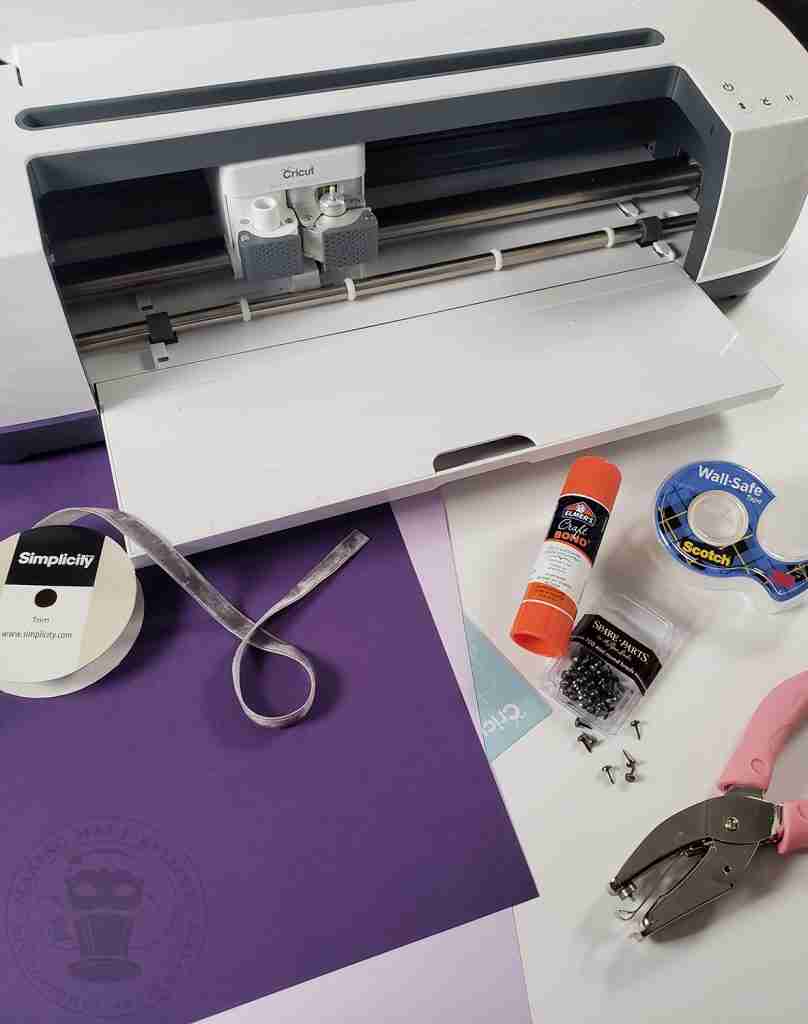
We will need.
Cardstock – two colors
Glue – I like Elmer’s Craft Bond and Scotch Tacky Glue
Hole punch – I love this mini punch
Brads – I used mini brads for my small jointed skeleton and standard size for the larger one
Cutting machine – I’m using the Cricut Maker
Ribbon (optional)
Tape (optional) – I’m using Scotch Wall Safe Tape
We will also need the Jointed Skeleton SVG cut file. You can find it for free in the Haunted Library.
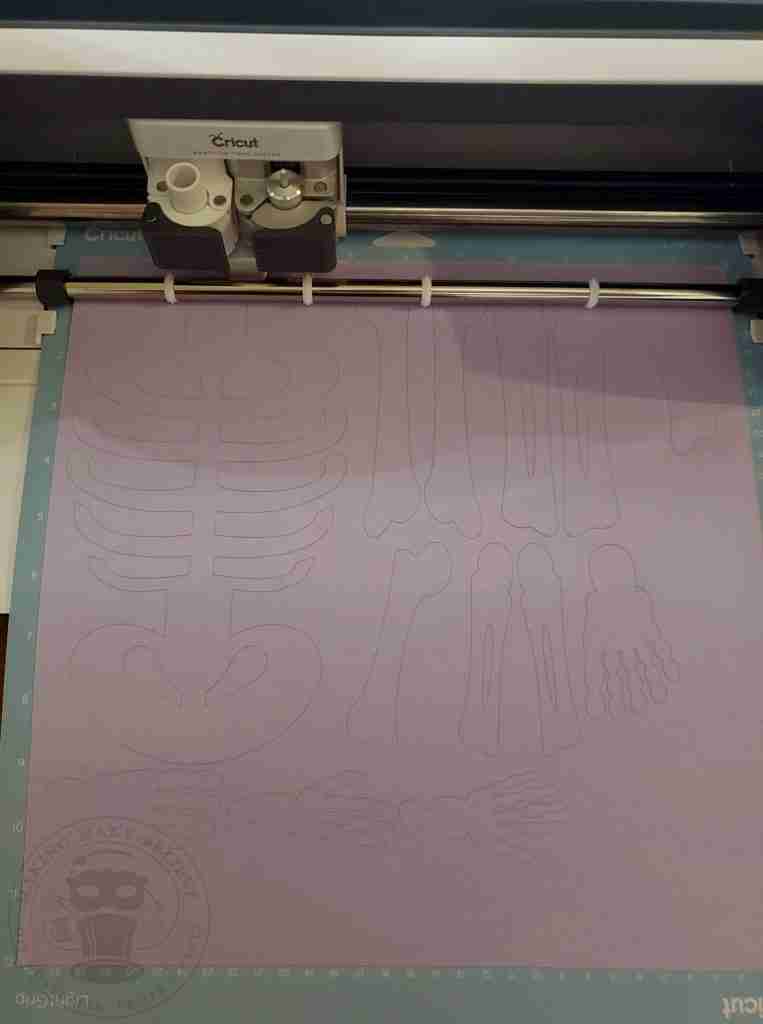
Upload the SVG file into your design software. I’m using Cricut’s Design Space.
You can customize the size of your skeleton. When resizing, be sure to adjust all elements (bones and background) at once so everything will fit together.
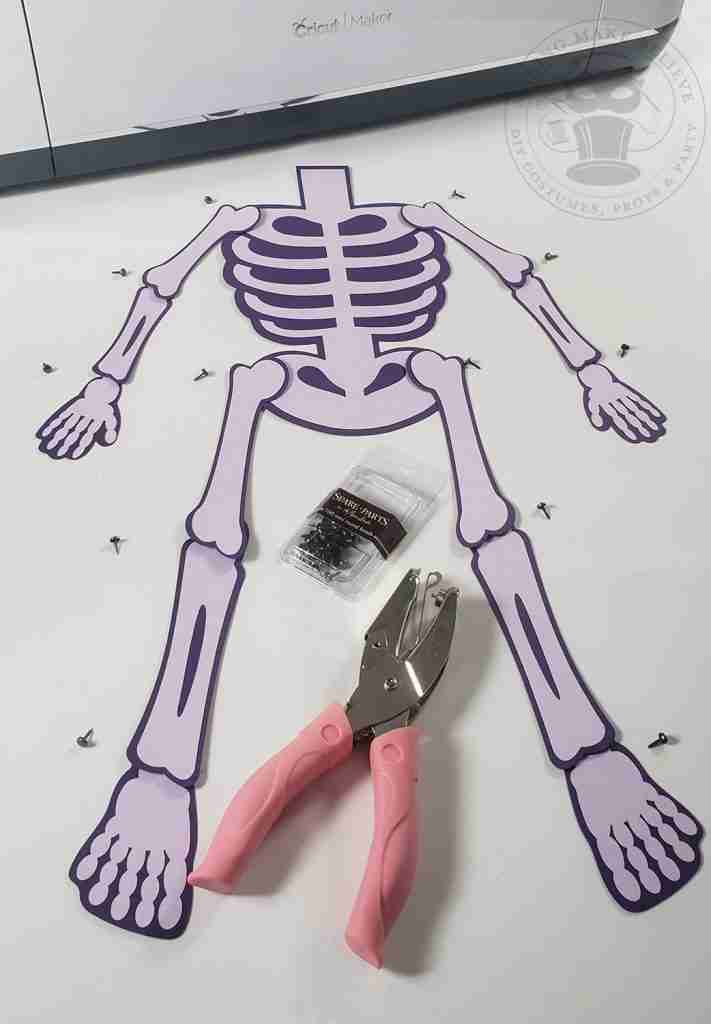
Once your skeleton is sized, cut the background from one cardstock color and the bones from the other color.
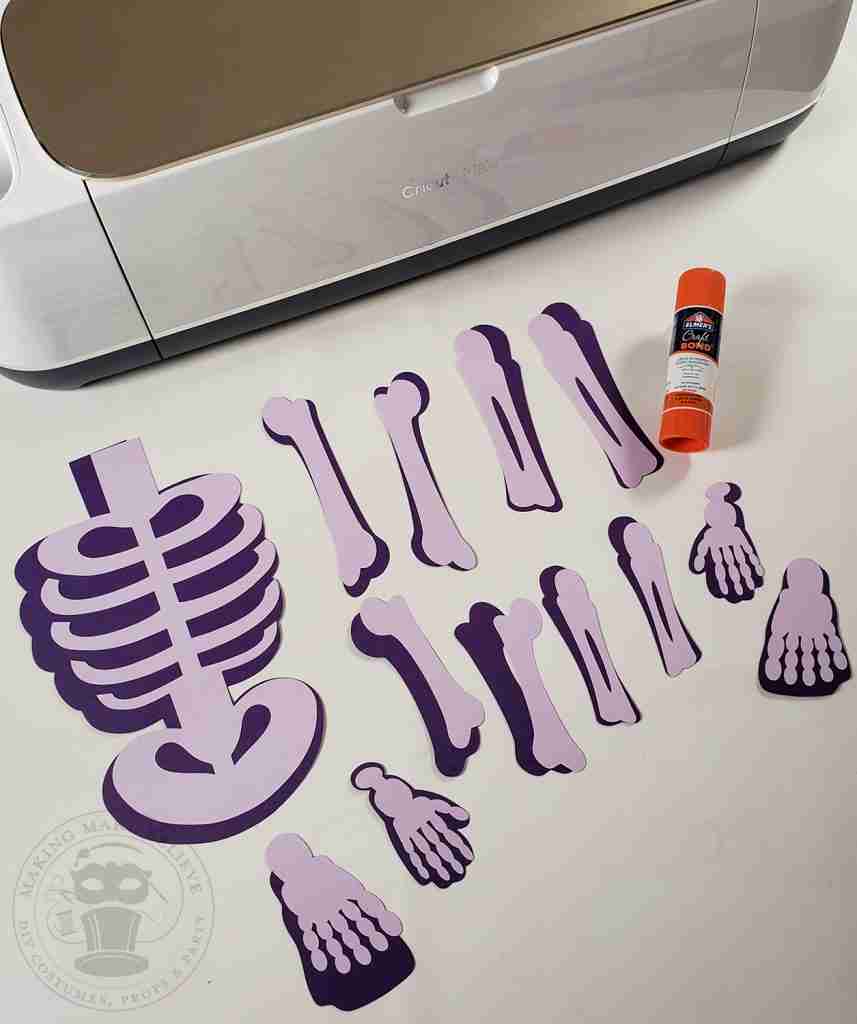
I like to pair up my background and bone pieces to ensure I attach everything properly.
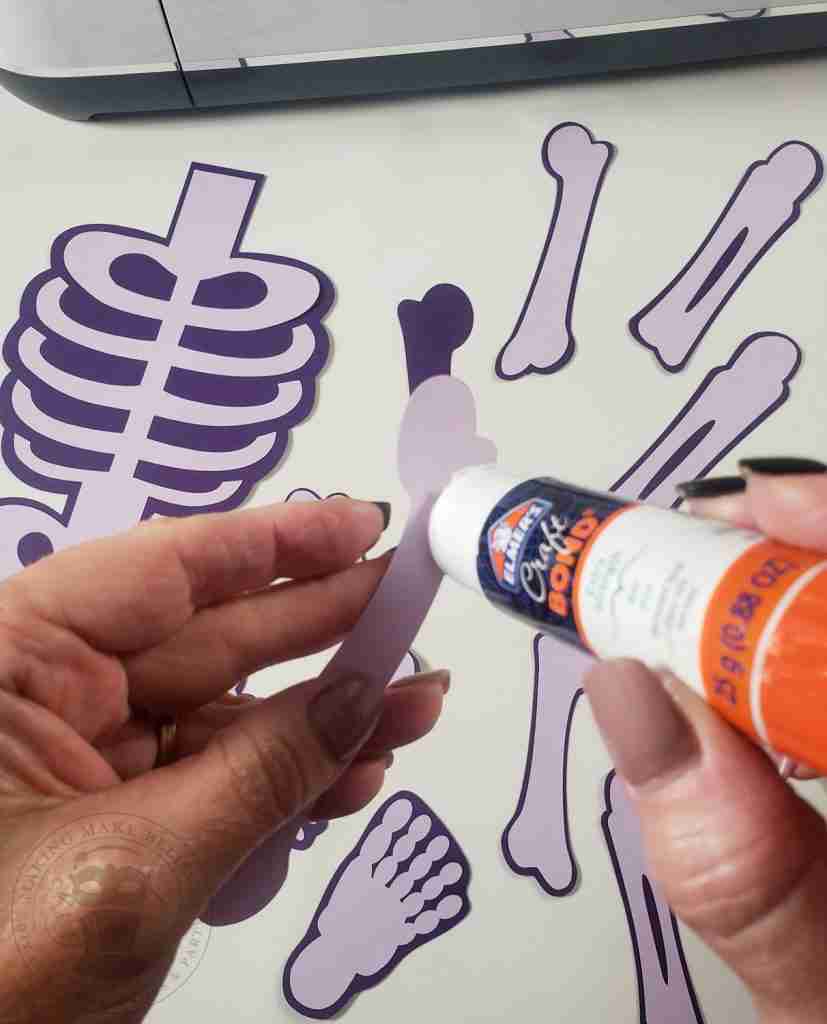
Next, glue each bone piece onto its corresponding background piece.
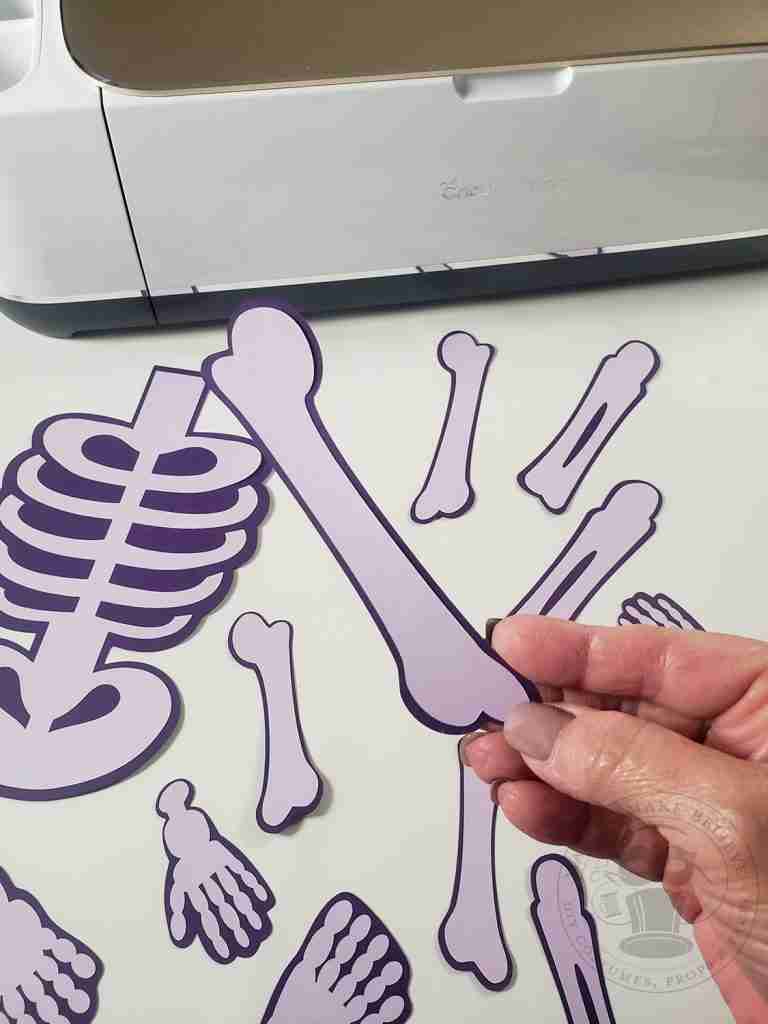
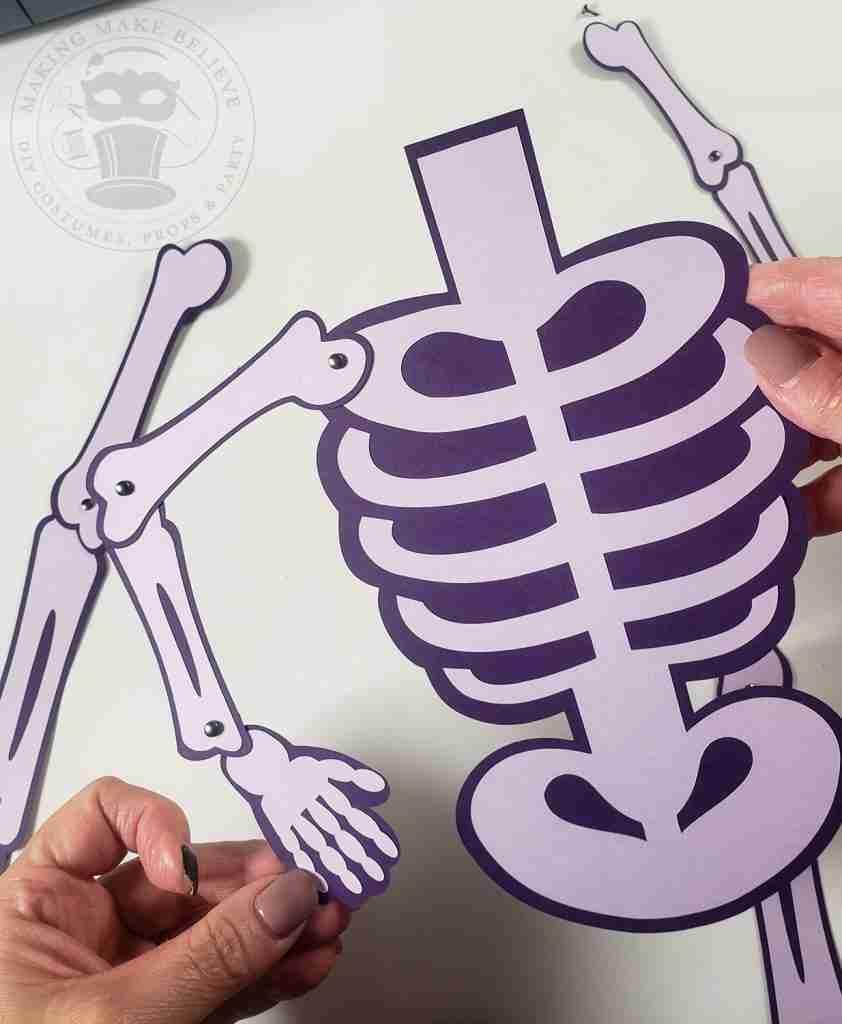
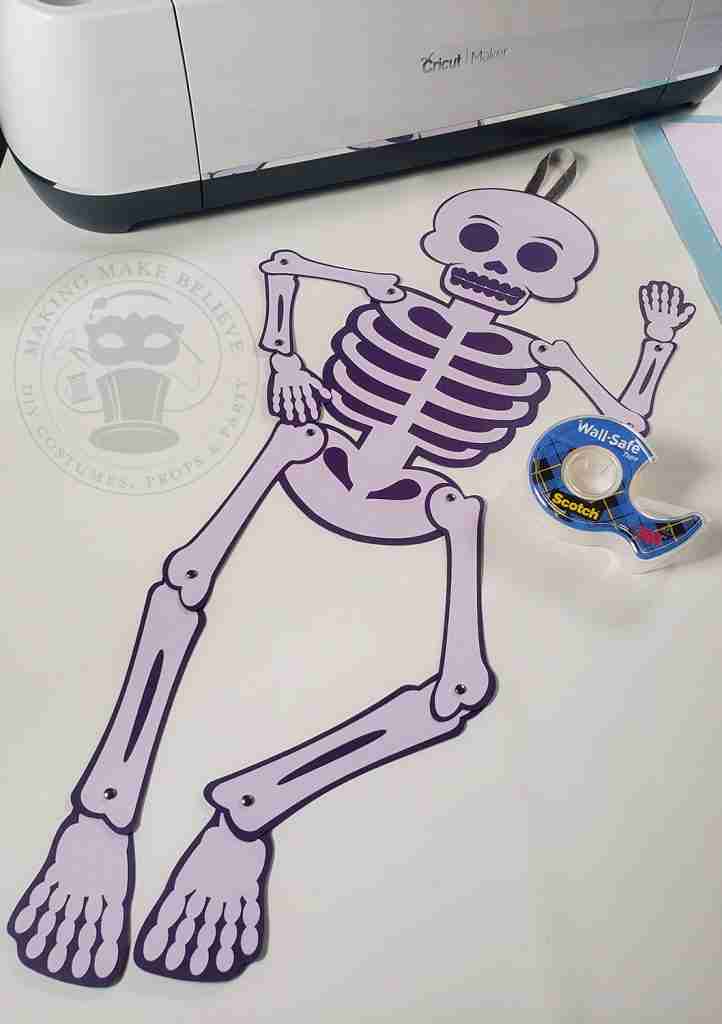
Now, lay out all of the bones to form the skeleton.
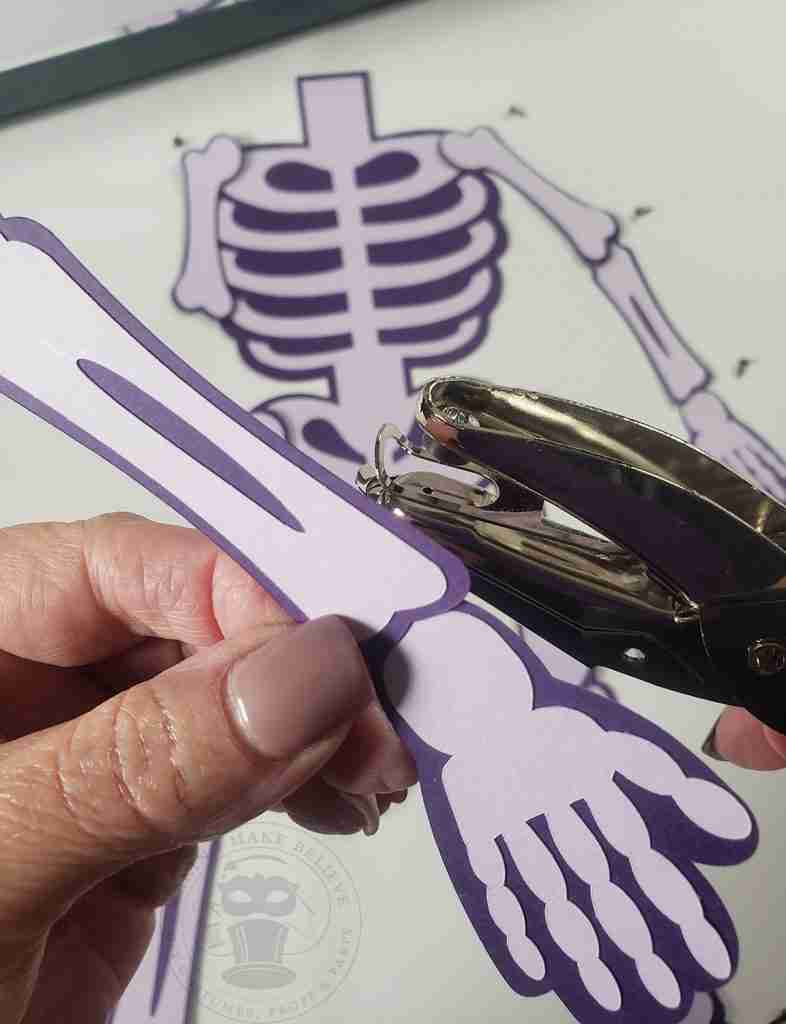
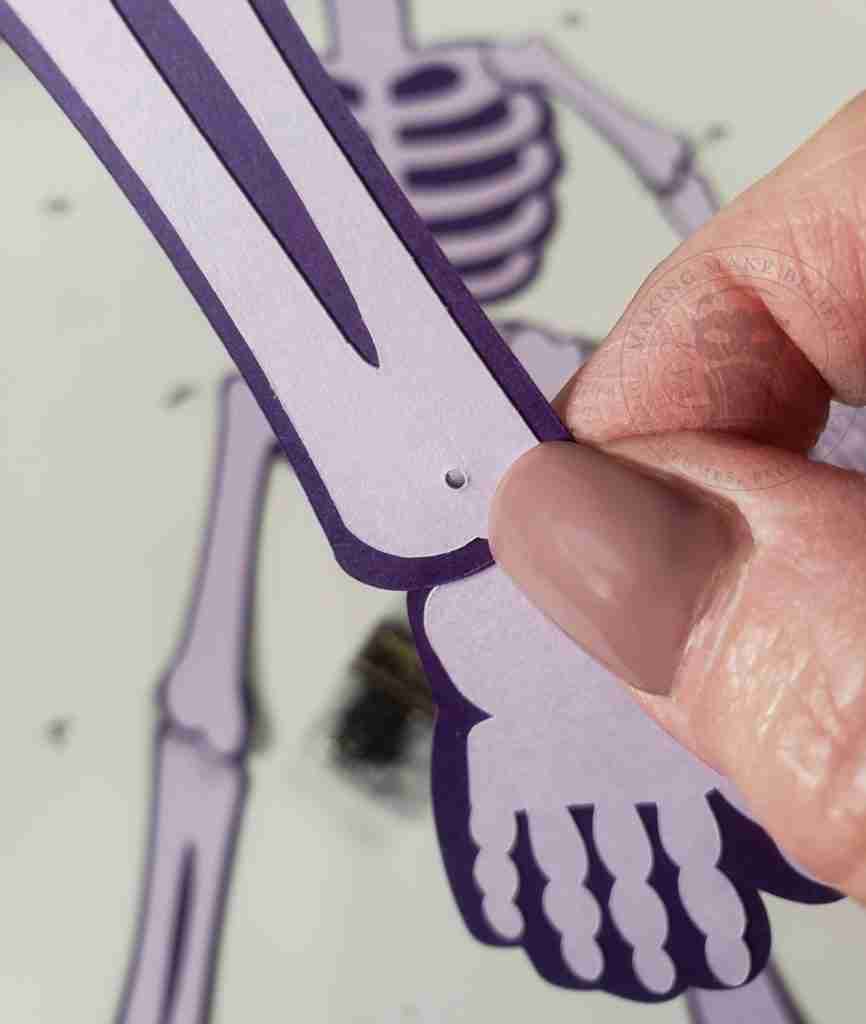
Begin connecting the pieces by overlapping one bone onto another and using the hole punch to make a small hole.
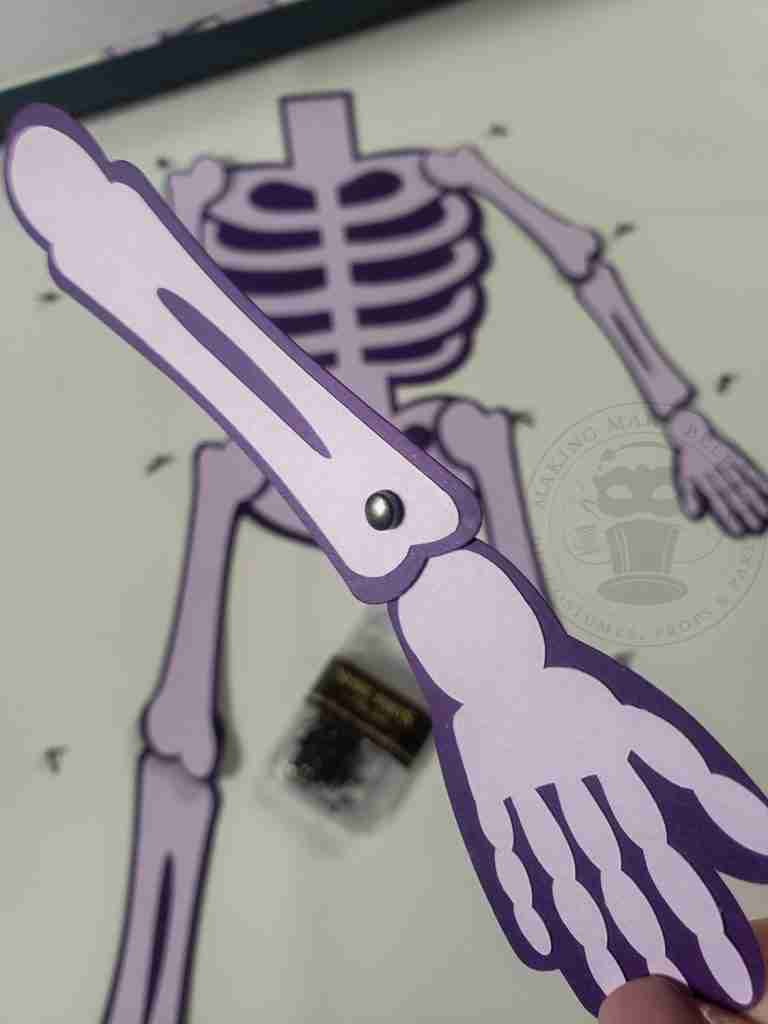
Slip the brad into the hole and secure. Repeat for all of the joints.
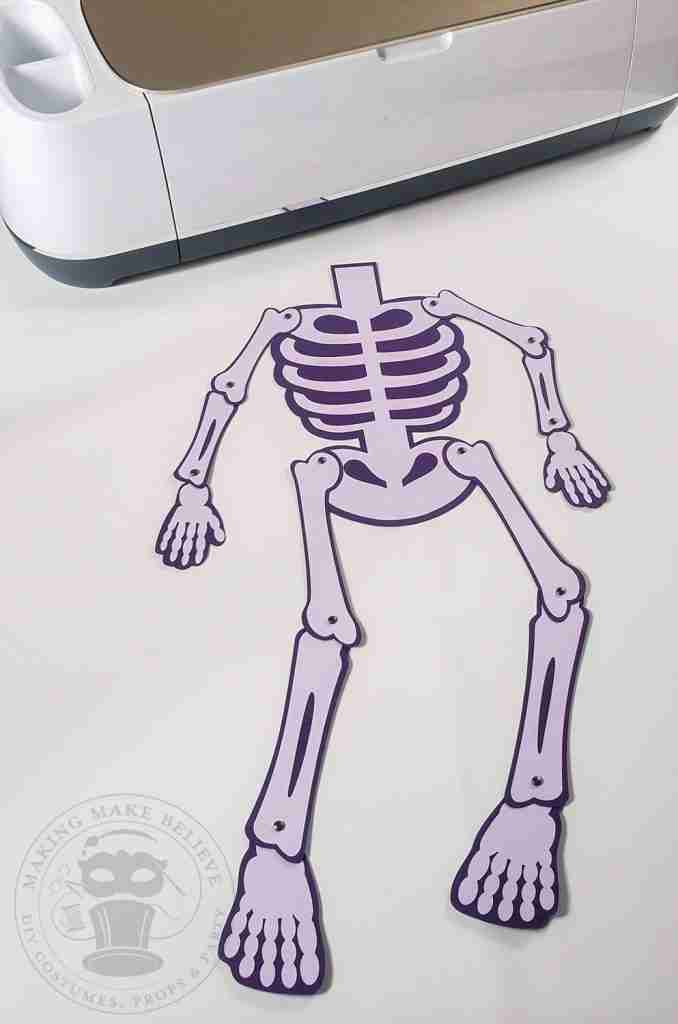
Attach the limbs to the body.
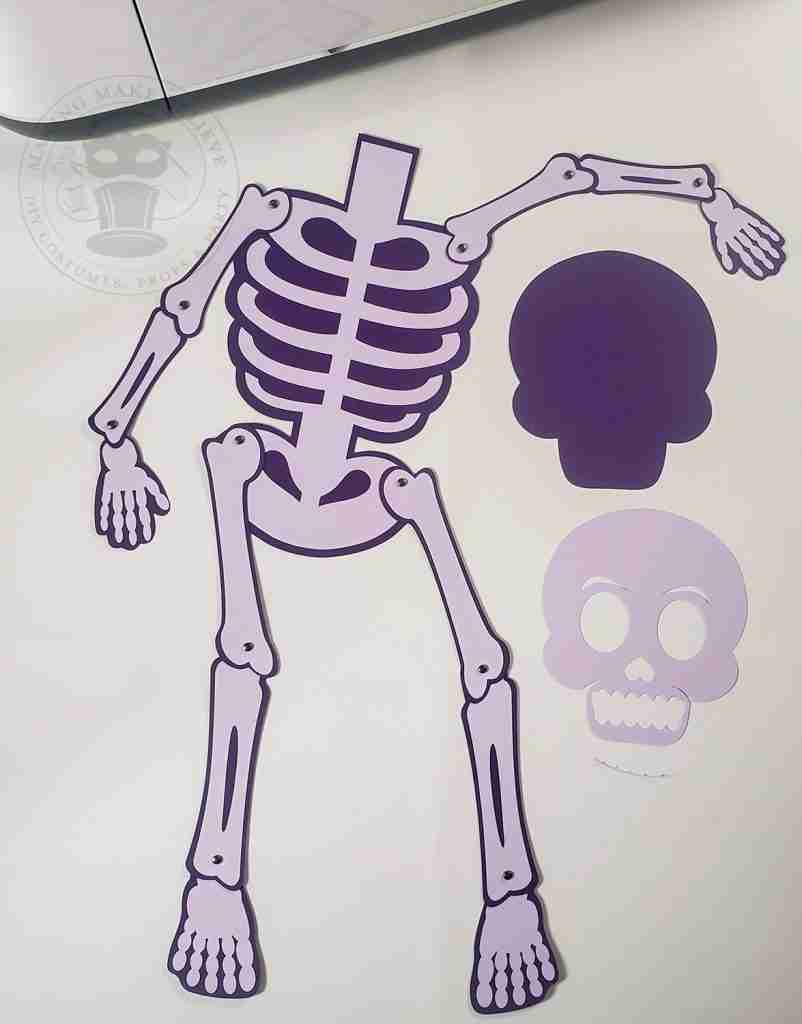
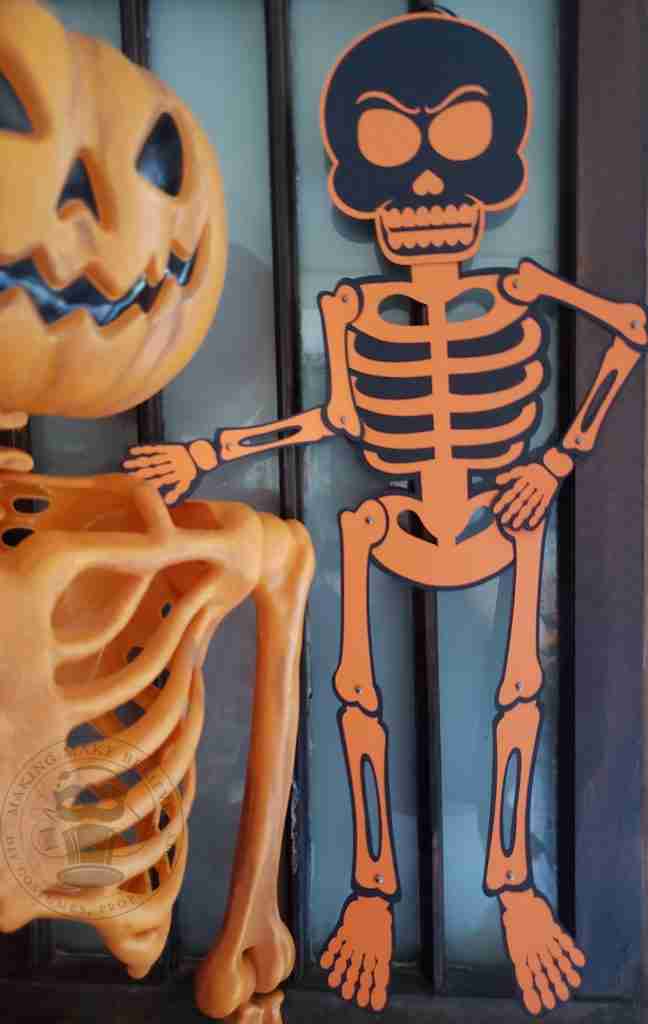
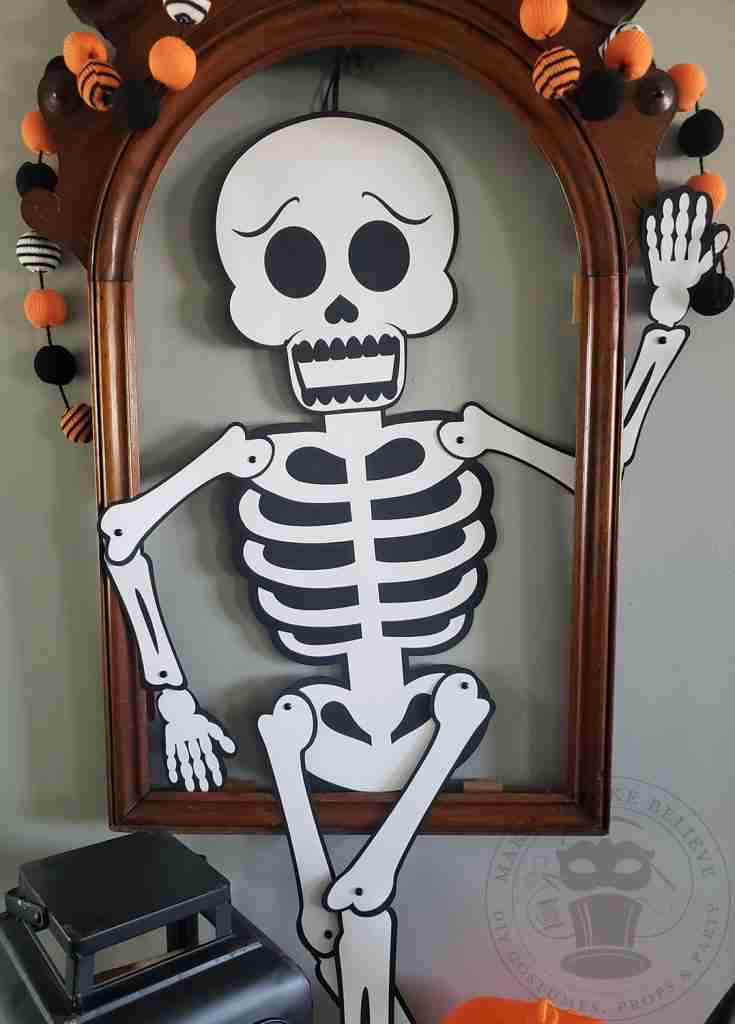
With your skeleton body complete, it’s time to pick out a face.
There are three skull options, each featuring a different facial expression – happy, angry, and surprised.
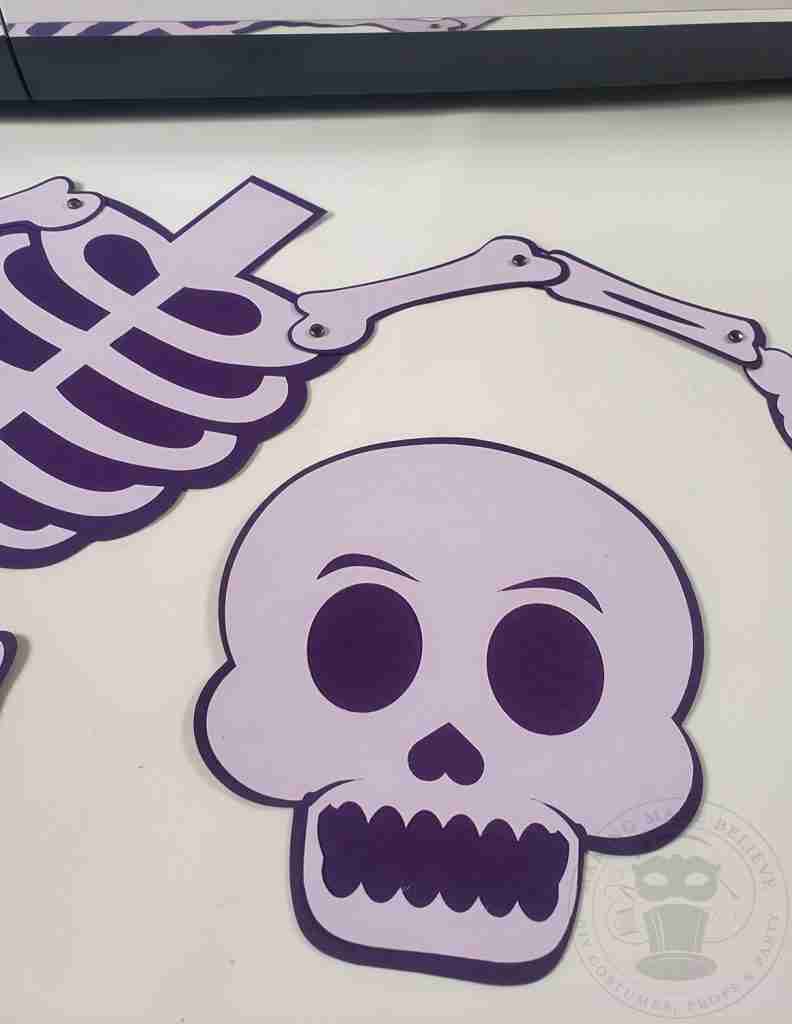
Cut the face background and skull from your cardstock papers.
Glue the face onto the background. As an option, you can add the small cutout of the opening between the teeth if desired.
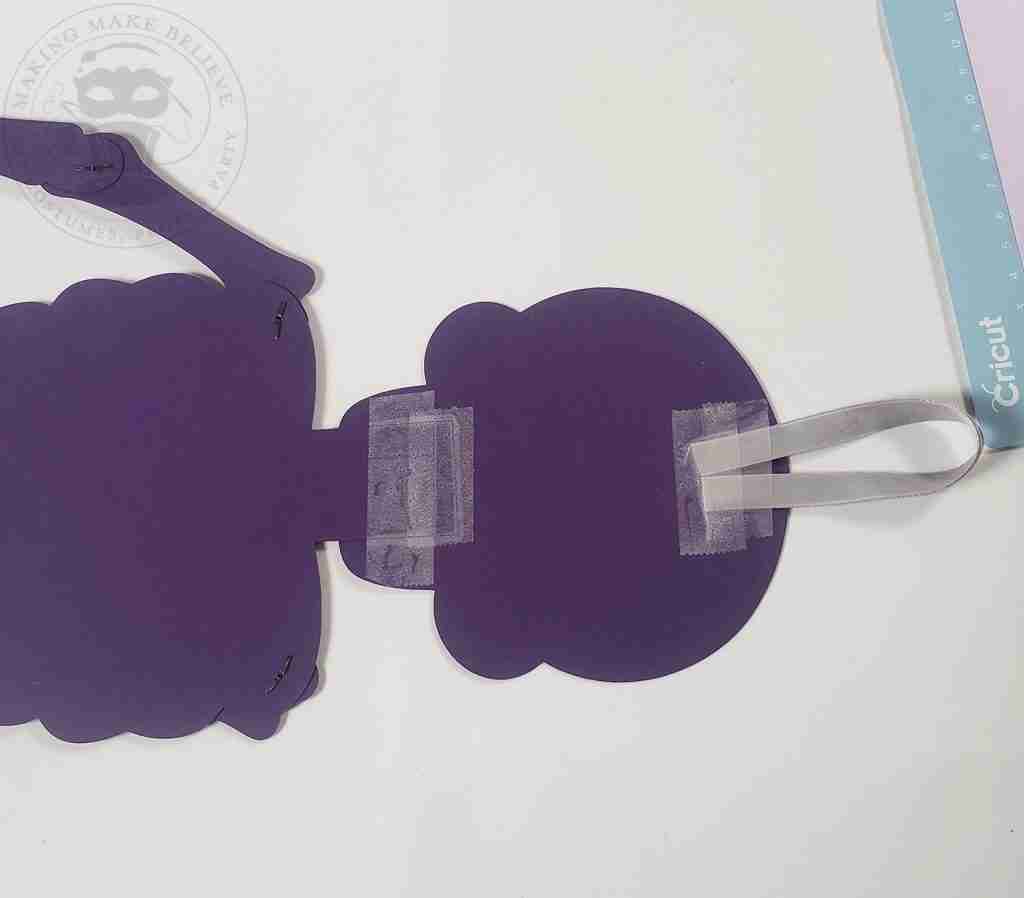
Flip your skeleton over and position the neck onto the back of the skull. Glue or tape into place.
I like to use wall-safe tape as it allows repositioning of the head later should I want to change things up.
Use wall-safe tape or add a ribbon to hang the skeleton.
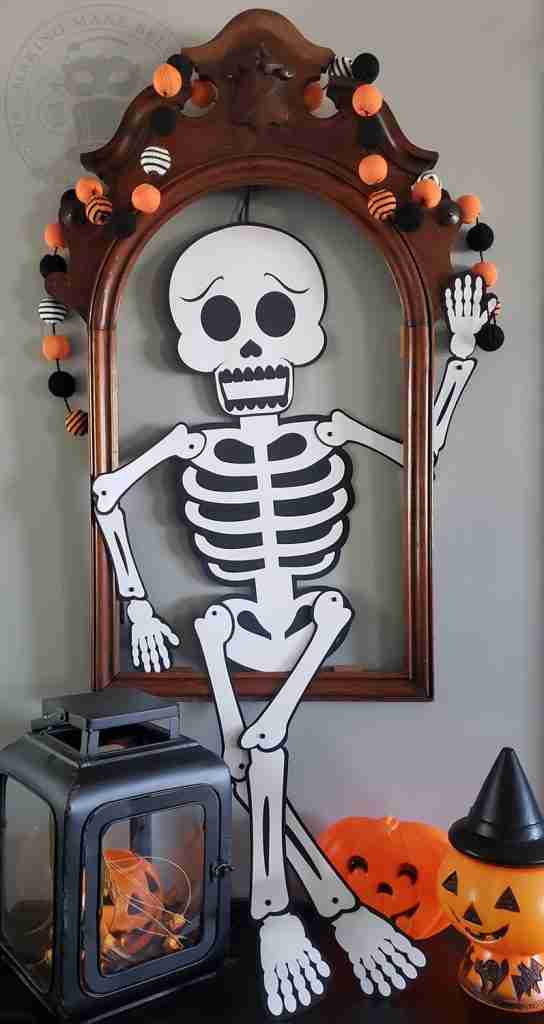
And that’s it! This easy DIY jointed skeleton is ready to ring in the Halloween season. Hang in your window, your Halloween tree, or dangle from the rear-view mirror.
See how to make an easy and inexpensive Halloween wreath to display with your jointed skeleton.
Just for fun, I crafted this bone pile with a larger cranium. He stands nearly 50 inches tall.
I’ve already made a few of these, and I’m sure I will have a crypt full in time for Halloween.

Check your email for the Haunted Library password.
Don’t miss a moment of the mischief.
Add hello@makingmakebelieve.com to your address book.
Join us and get access to our Haunted Library stocked with templates, printables, cut files, and exclusive content. Plus, you’ll receive Eerie Emails just for our subscribers.
*Stay as long as you like. Unsubscribe at any time.