3.2K


Vintage Pillowcase Ghost Doll
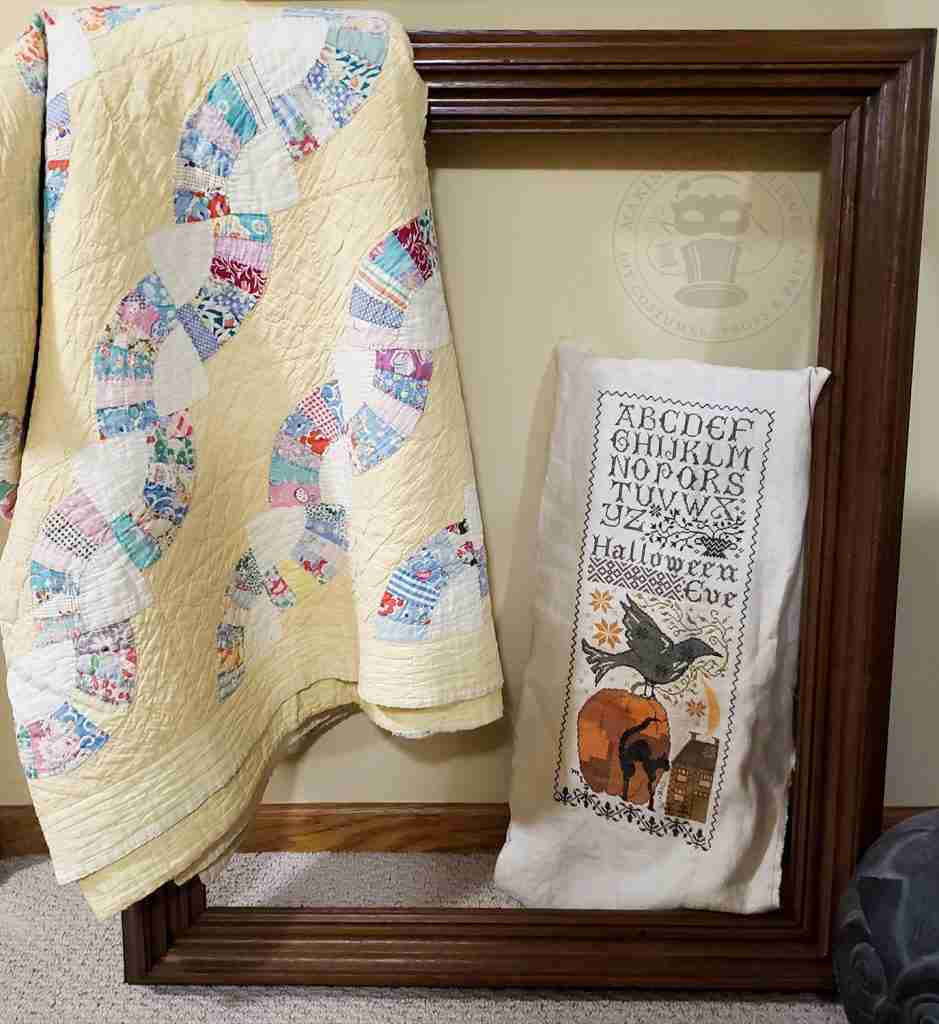
Recently I learned of a new trend – grandmillennial or grandma chic. Floral wallpaper, chintz, needlepoint (yes!), china cabinets, oversized frames, and quilts appear to be the must-haves for this style.
I don’t typically follow decor trends to a tee, but I will sprinkle bits of the look that fit my style into my home.
I may be well on my way into grandma chic, given that I have too many large frames to count, several vintage quilts, and oodles of cross stitch – a cousin to needlepoint.
One thing I do not have is any grandma chic spooky decor. Hmm, is that even a thing?
The photos depicting this style take me back to the ’80s when the prairie look (also now making a comeback) was in fashion. And, falling down the rabbit hole in my mind sparked a memory of the pillowcase doll.
If you’re unfamiliar with this simple doll, it is precisely what it says it is – a doll created from a pillowcase. I used to have one that lay on my bed. (Wonder where that went??)
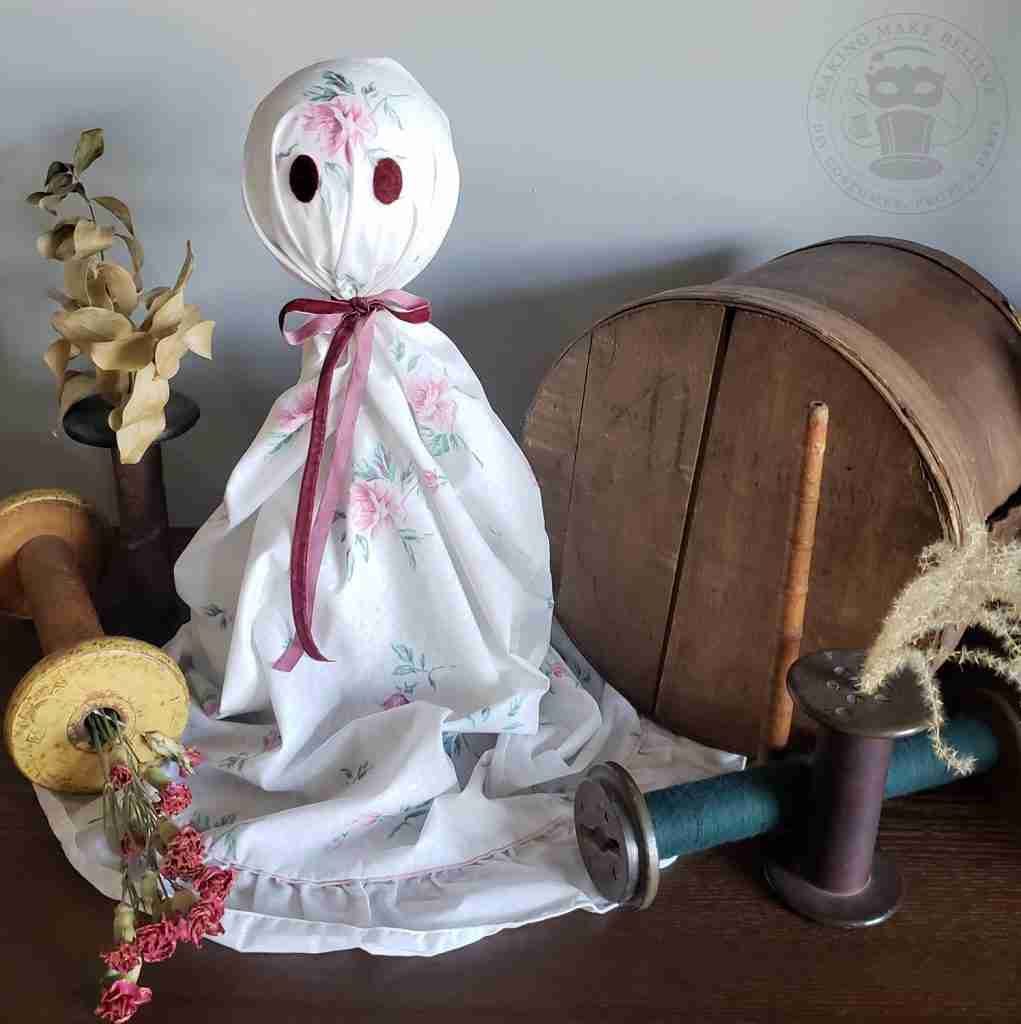
So, why not take that inspiration and craft up a vintage pillowcase ghost doll – grandma chic style?
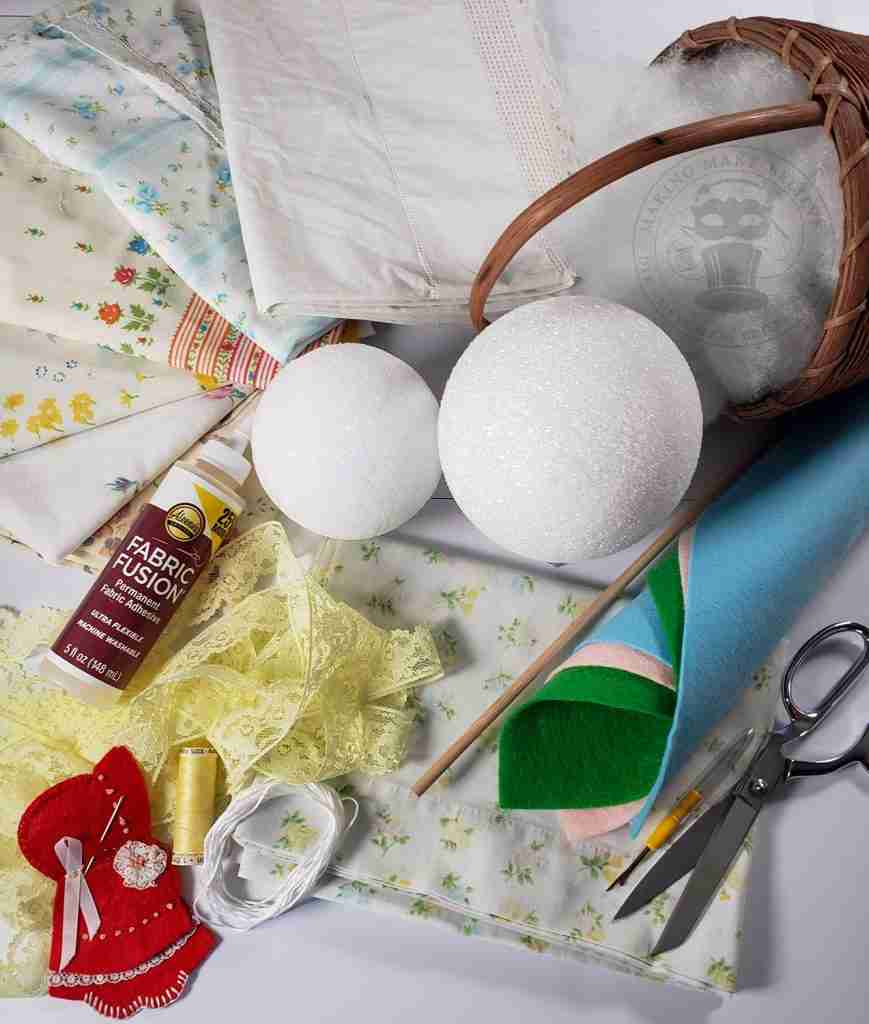
First, we are going to need to gather up a few things.
A 4-5″ styrofoam ball or pillow stuffing
Embroidery floss, string, or yarn
Lace or other trim
Ribbon
Wooden dowel (optional)
Sewing machine or needle and thread
Iron or steamer
Fabric glue
Seam ripper
Scissors
Scrap felt
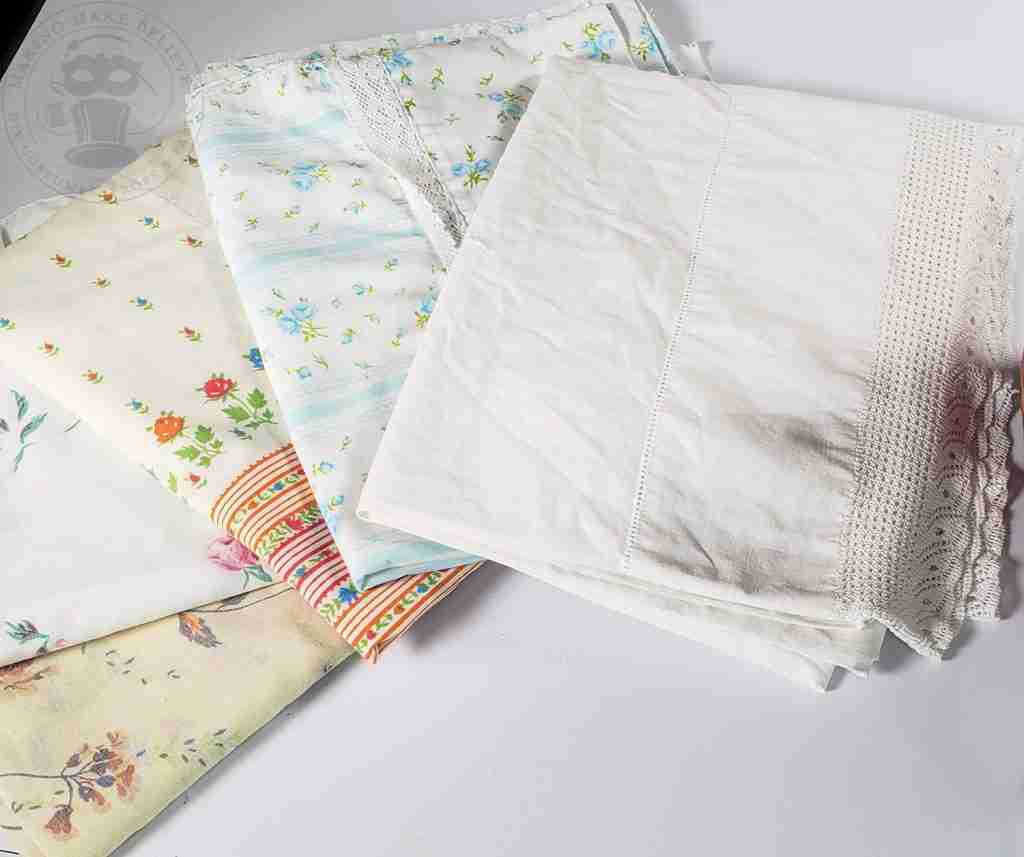
We also need a vintage pillowcase. I shopped several stores in search of delicate floral pillowcases, and my best luck was at the thrifts.
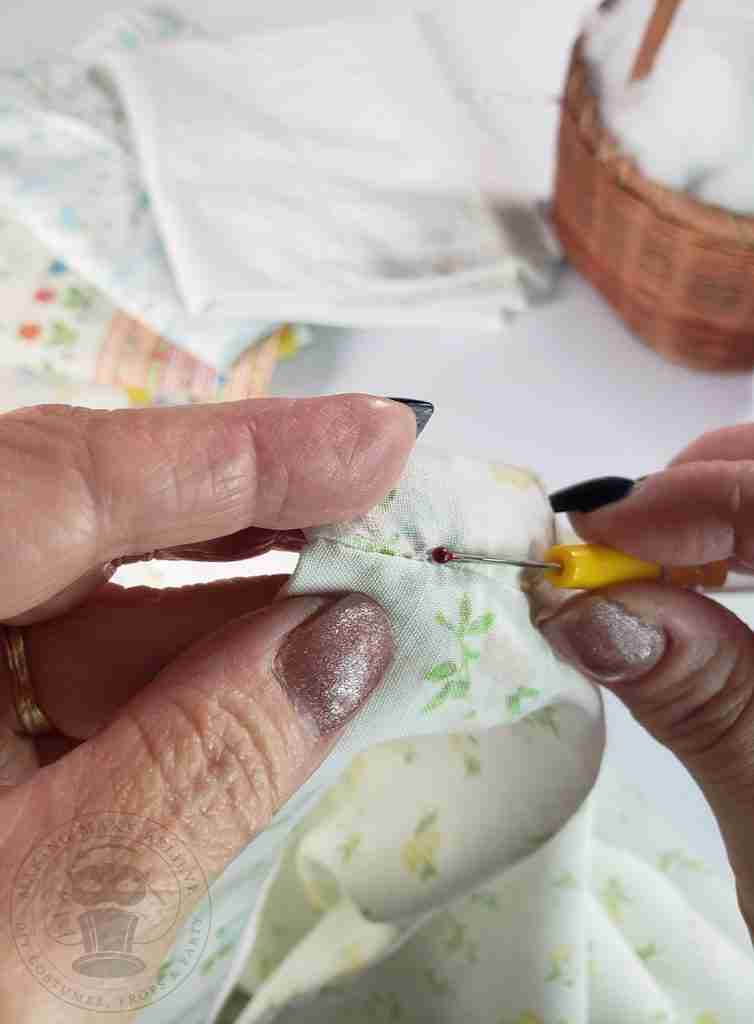
To begin, take the seam ripper and open all the seams, so you have one large rectangular piece of fabric.
Iron flat.
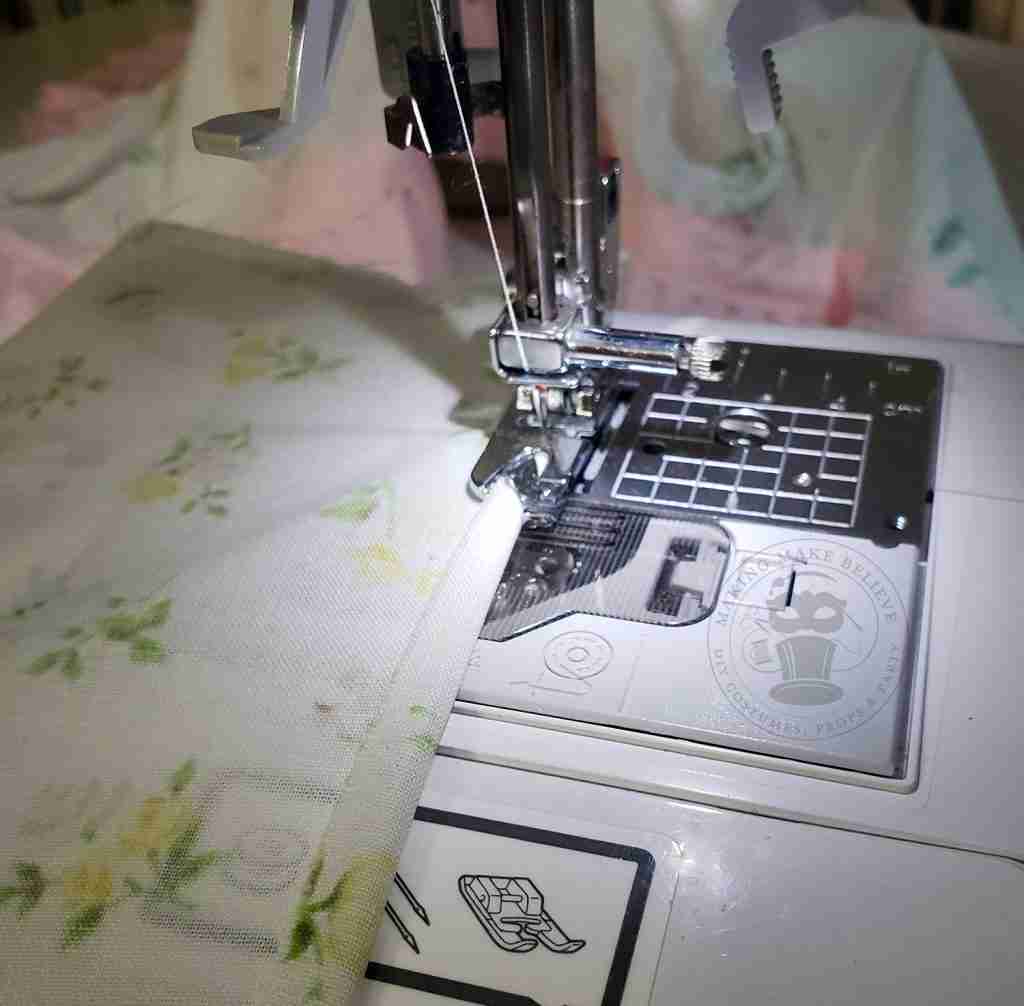
Don’t fear trying new techniques. This project was my first attempt using my rolled hem foot on my machine. The results weren’t perfect, but this ol’ dog is learning new things.
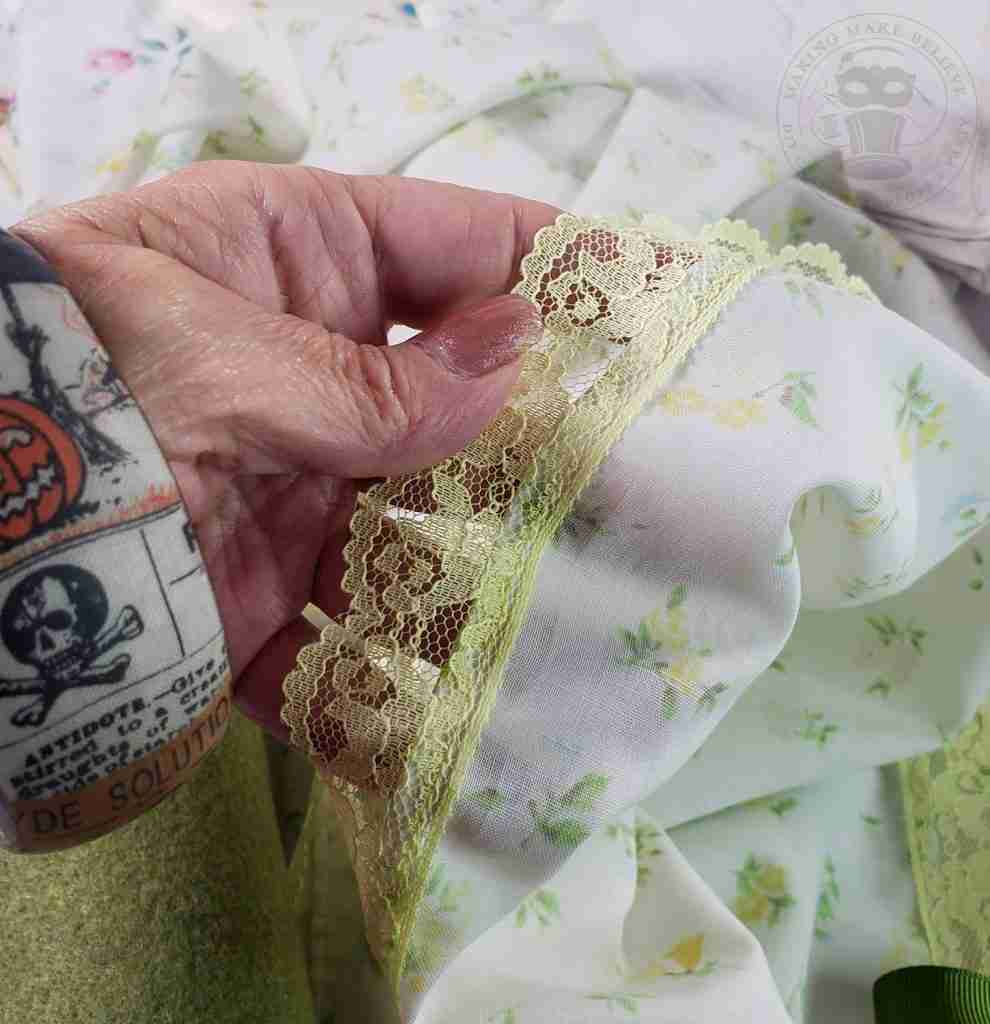
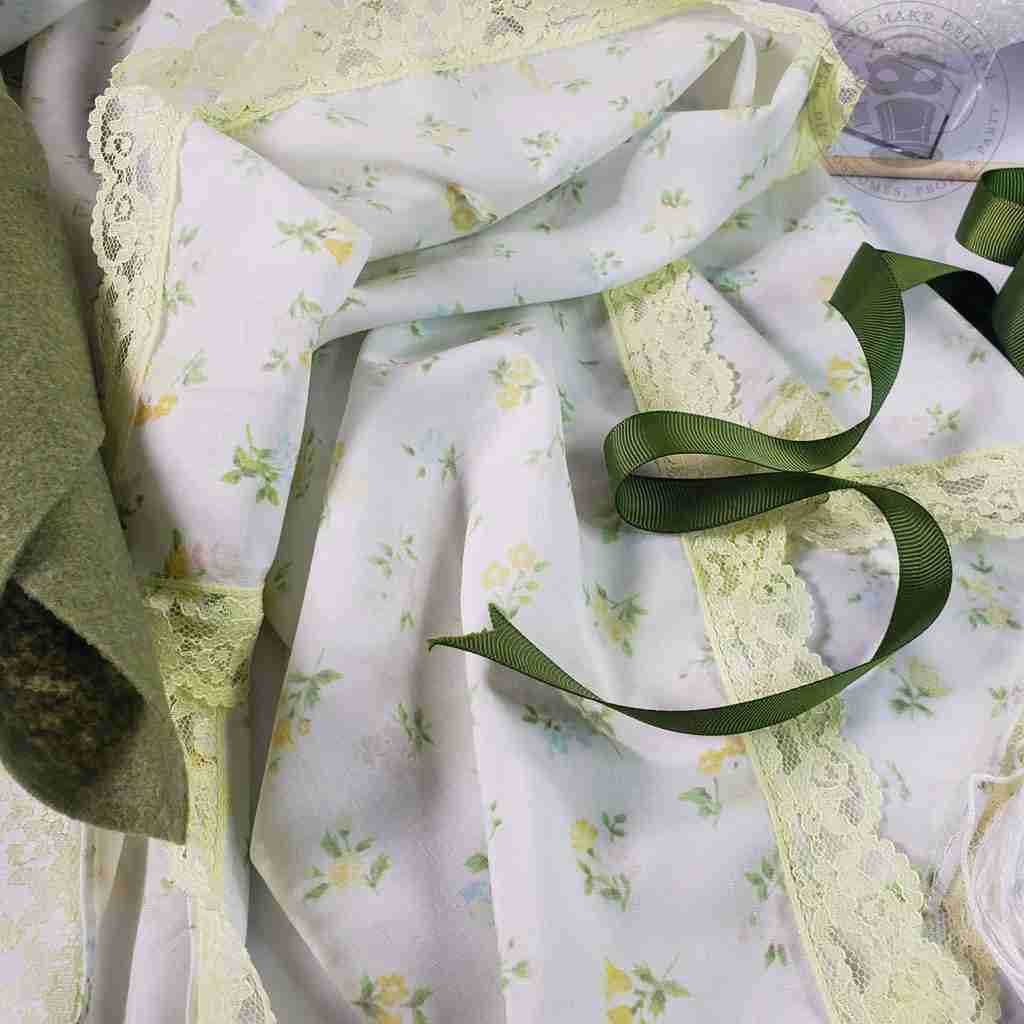
Now we will add some trim. Again, I stitched mine on my machine, but Heat n Bond or glue will work just as well.
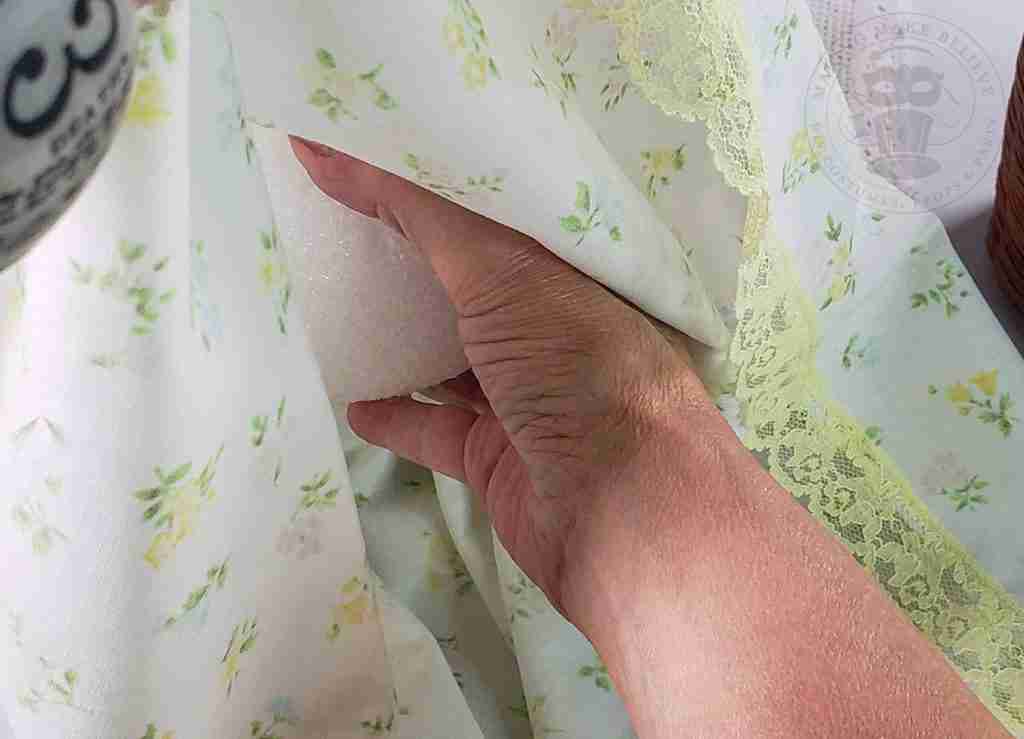
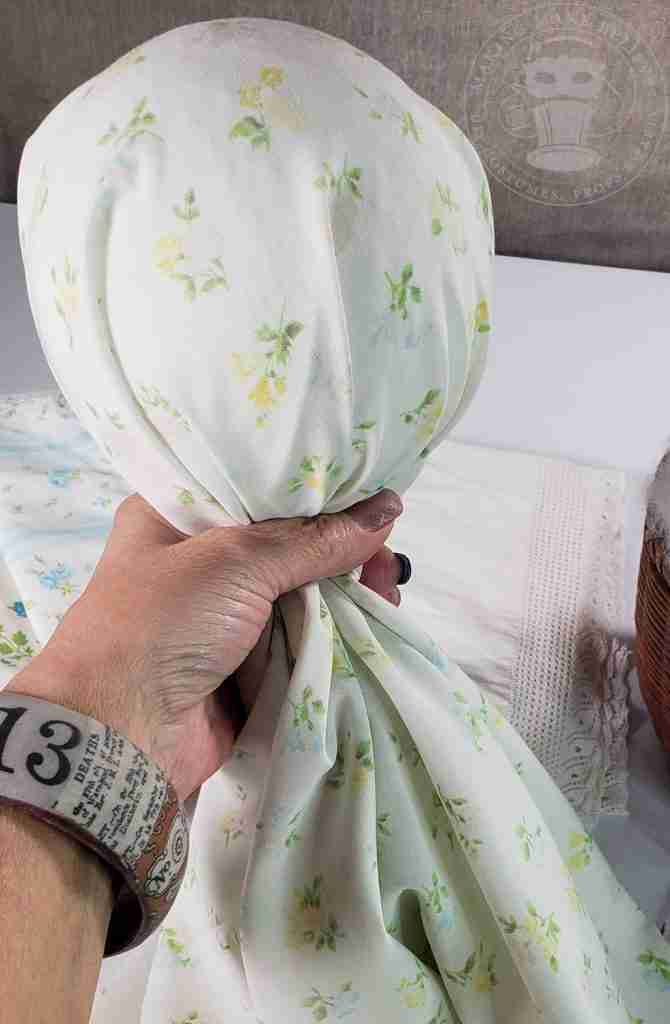
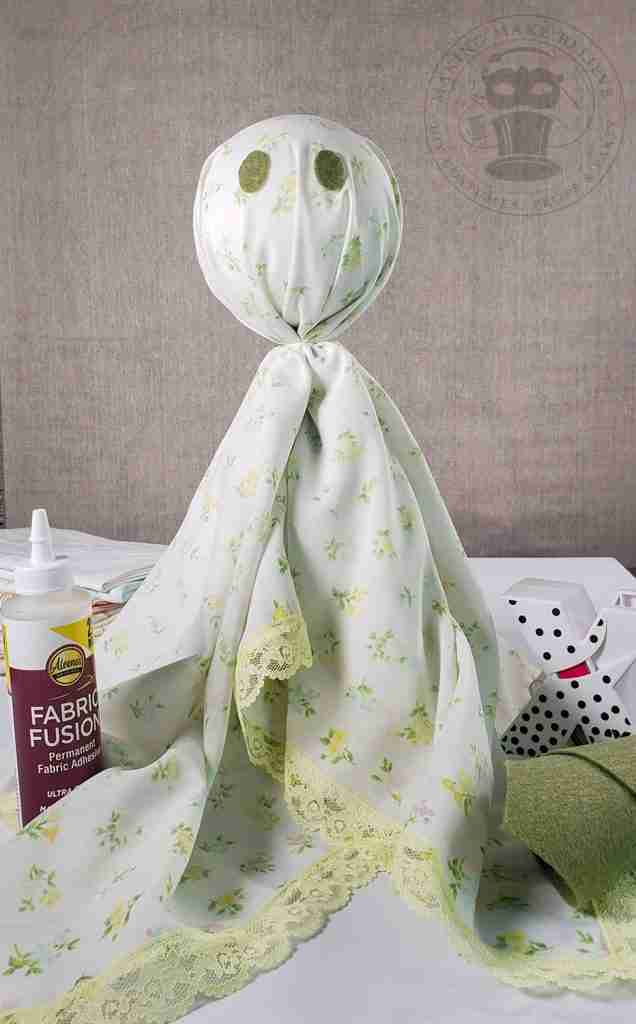
Next, drape the pillowcase over the styrofoam ball.
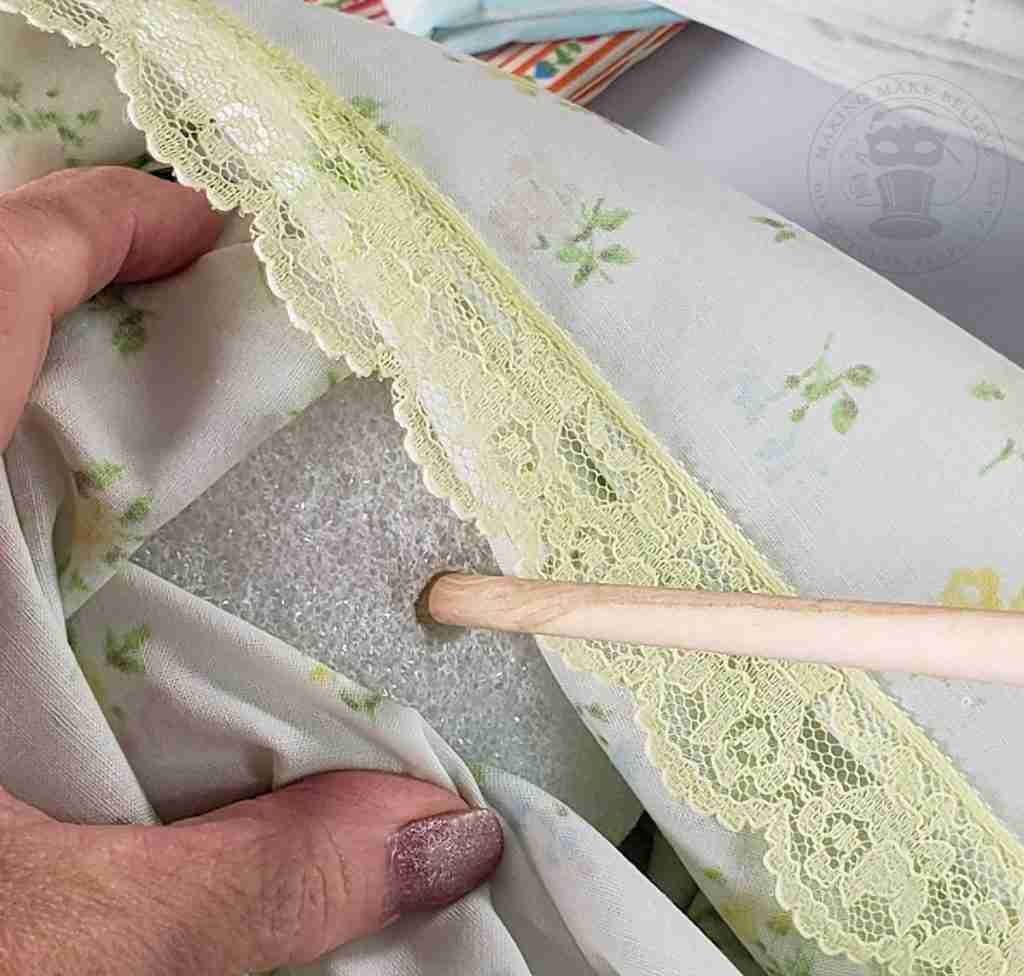
If using a wooden dowel, insert it into the styrofoam ball.
Gather the fabric underneath the ball, forming a neck for your ghost doll.
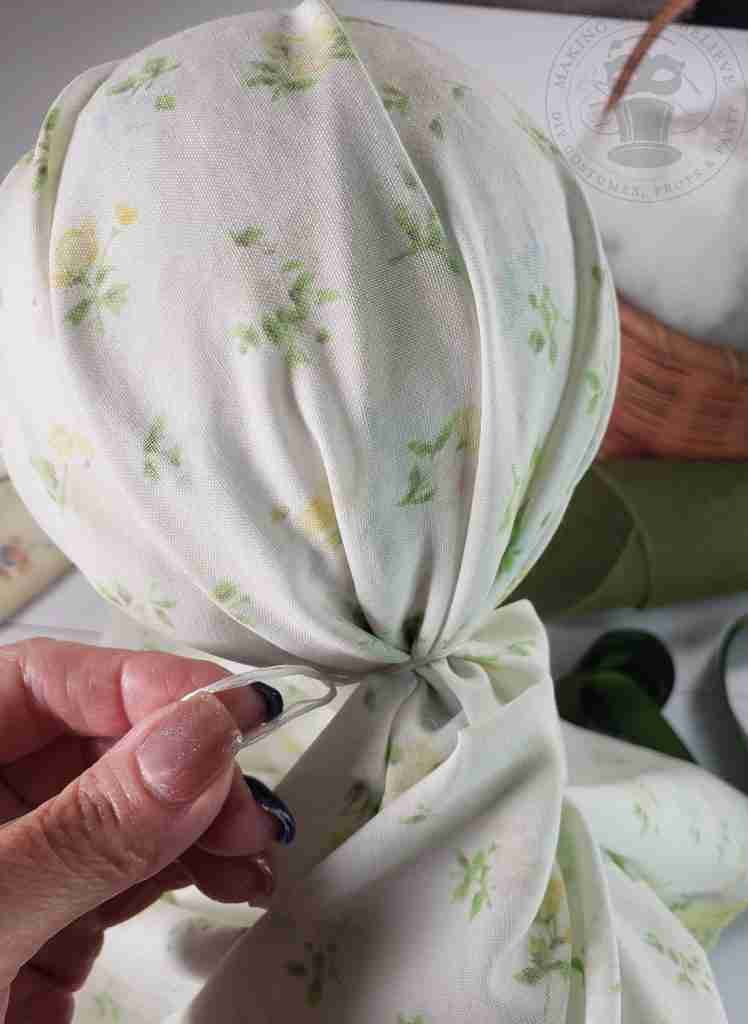
Tie off the neck of your ghost doll using embroidery floss or string.
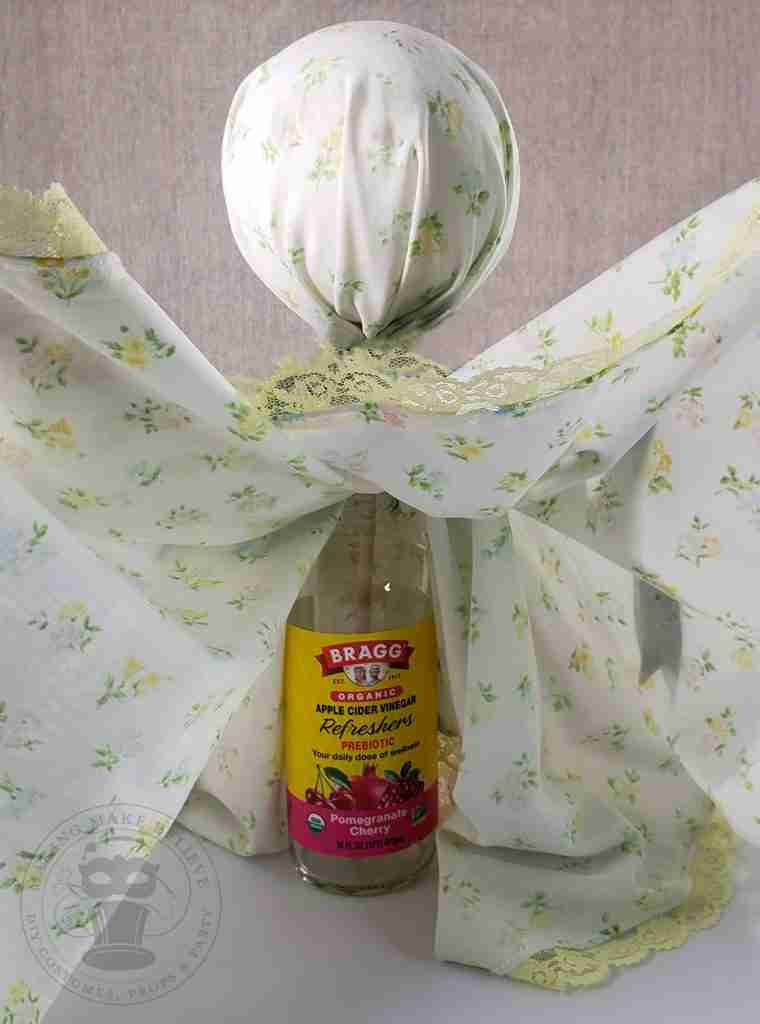
If you opted to use a dowel, your ghostie can now stand up. Just slip the dowel into a glass bottle.
Drink your prebiotics and prop up your ghostie!
Now we are ready to add the eyes. I had initially planned to match the felt color to colors within the pillowcase but instead opted to go darker, so I changed my ribbon trim and felt colors at the last minute.
I cut 1-inch ovals from felt for the eyes; circle shapes look great too. These can be stitched or glued onto the ghost doll. I turned mine into stickers with my Xyron sticker machine, which also worked very well.
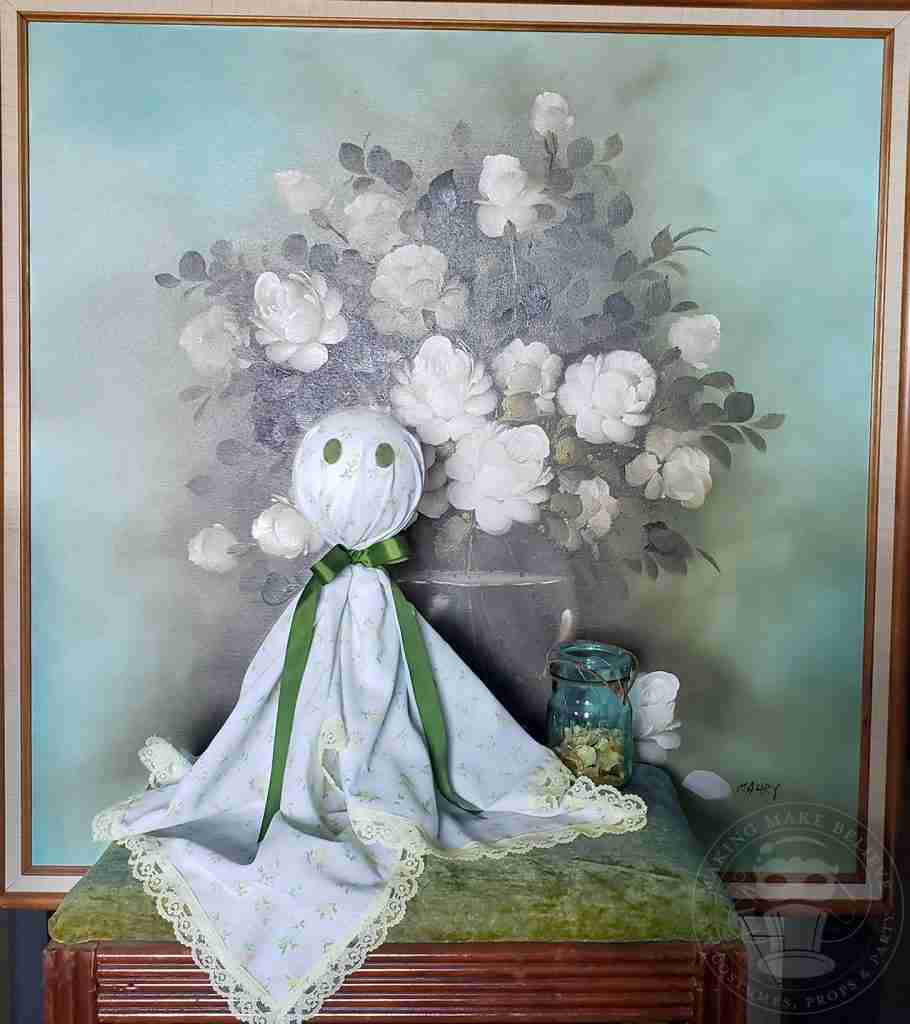
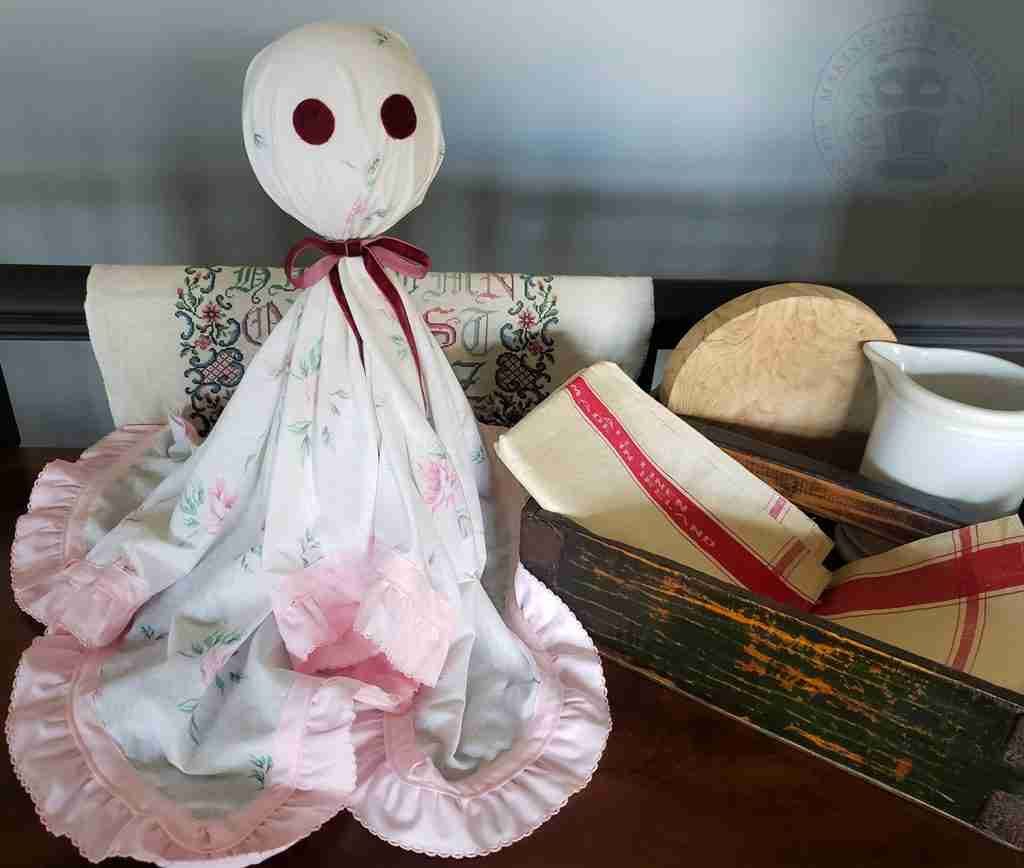
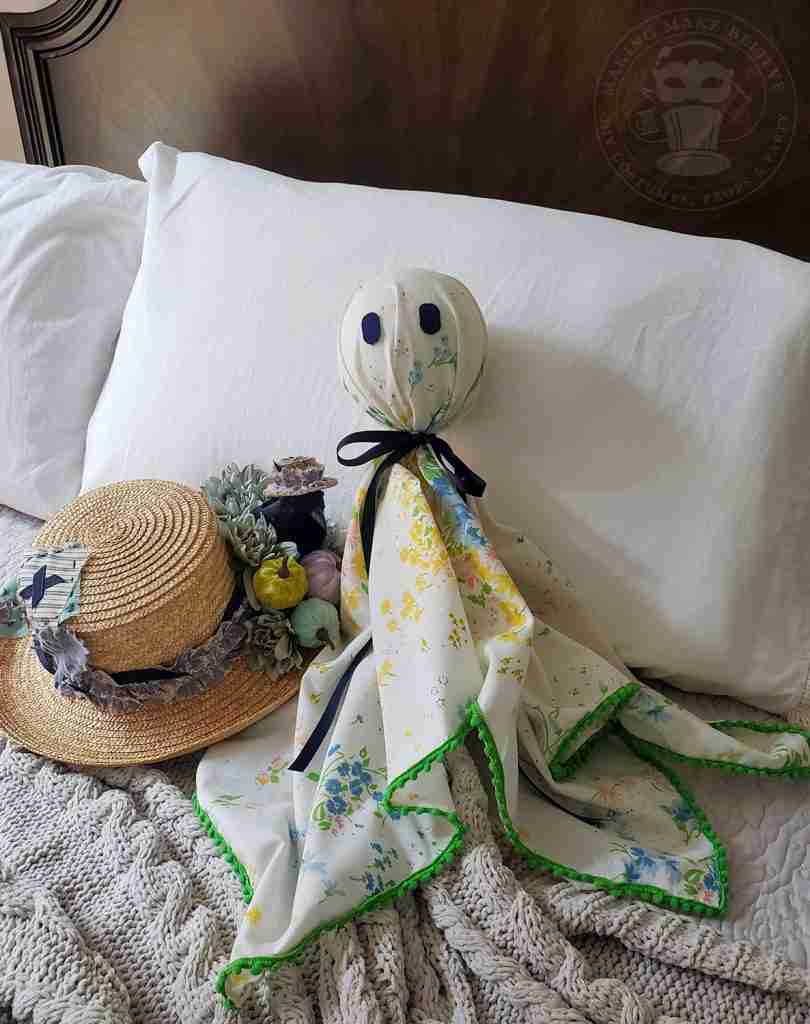
Finally, tie a ribbon bow at the neck, and our vintage pillowcase ghost doll is ready to haunt it up!
Grandma Chic Haunting Up A Vintage Canvas
Feeling Farmhouse
Autumn Cottage Core + Our DIY Scarecrow Straw Hat
Prairie-style Spooky (Super-Quick Version)
Pastel Halloween is not my typical go-to, but I think these little vintage pillowcase ghost dolls are just too cute.
Until next time, keep it spoopy!

Check your email for the Haunted Library password.
Don’t miss a moment of the mischief.
Add hello@makingmakebelieve.com to your address book.
Join us and get access to our Haunted Library stocked with templates, printables, cut files, and exclusive content. Plus, you’ll receive Eerie Emails just for our subscribers.
*Stay as long as you like. Unsubscribe at any time.