

Supplies and tools for Slip On Headband Cover

Cut two pieces from pattern

Stack pieces and pin together

Stitch sides and one end

Leave one end open
I’ve been in full-on headband creating mode. After I made the No-Stitch Headband Cover, I decided I should probably create a removable one too.
This cover just slips onto your headband and, if you leave one end open, you can switch it out. Now you can have unlimited looks with only one headband.
The design is simple, but it lends itself to many options. For example, use two different fabrics so not only is it removable, but it’s also reversible. Experiment with contrasting thread, a decorative stitch, or embroidery. This project is great for beginners and gives seasoned creatives a base to build on.
I wanted to create this quickly, so I opted to use my sewing machine, but this could easily be handstitched.
Remember to check the sizing against your headband before you cut into your last bit of a favorite fabric. I suggest making a test template with some scrap.
Slip-On Headband Cover Tutorial
Materials:
- ¾” headband, plain plastic with no teeth
- Scrap felt, fleece or other material of choice that is at least 17″ long x 4″ wide
- Thread
NOTE: This pattern has been tested on a ¾”, smooth, plastic headband. Adjust the length and width of the pattern as needed to fit your specific headband.
Supplies and tools for Slip On Headband Cover
Tools:
To machine cut:
- SVG Cut File
- Cutting machine with mat and blade
- Straight pins or clips (optional)
- Sewing machine or sewing needle
NOTE: If using a cutting machine, be sure to secure your material to the proper mat for your machine. The size of this cut may require a larger than standard cutting mat. Select the appropriate cutting settings and install the correct cutting blade for the material.
To hand cut:
- Pattern PDF
- Scissors or rotary cutter
- Cutting mat (optional)
- Pencil, fabric marker or straight pins
- Straight pins or clips (optional)
Before You Get Started:
Download the free Slip-On Headband Cover Pattern PDF or SVG Cut File from the Haunted Library.
If you are going to use a cutting machine, upload the pattern file to your design software. To cut by hand, print, cut out the pattern, and trace onto materials.
Steps:
Cut two pieces from pattern
1. Cut out Headband Cover from felt.
TIP: Adjustments to size can be made by decreasing or enlarging the pattern to account for the difference in headband size, the stretch of fabric, etc.
Stack pieces and pin together
2. Place WRONG sides together.
TIP: If using fleece, typically, the right side is nubby, and the wrong side is smooth. However, some fleece is smooth on both sides. In either case, for projects such as these, you can select whichever side you prefer as the right side.
3. If needed, clip, or pin pieces together.
Stitch sides and one end
4. Beginning at the bottom end of one side, stitch along the edge of the cover, leaving a 1/4″ seam allowance. Stitch around the other end and back down the opposite side, leaving the remaining end open.
Leave one end open

Slip headband into cover
5. Slip the headband into the opening of the cover.
TIP: If you do not wish to make your cover removable, stitch the opening closed after you insert headband.

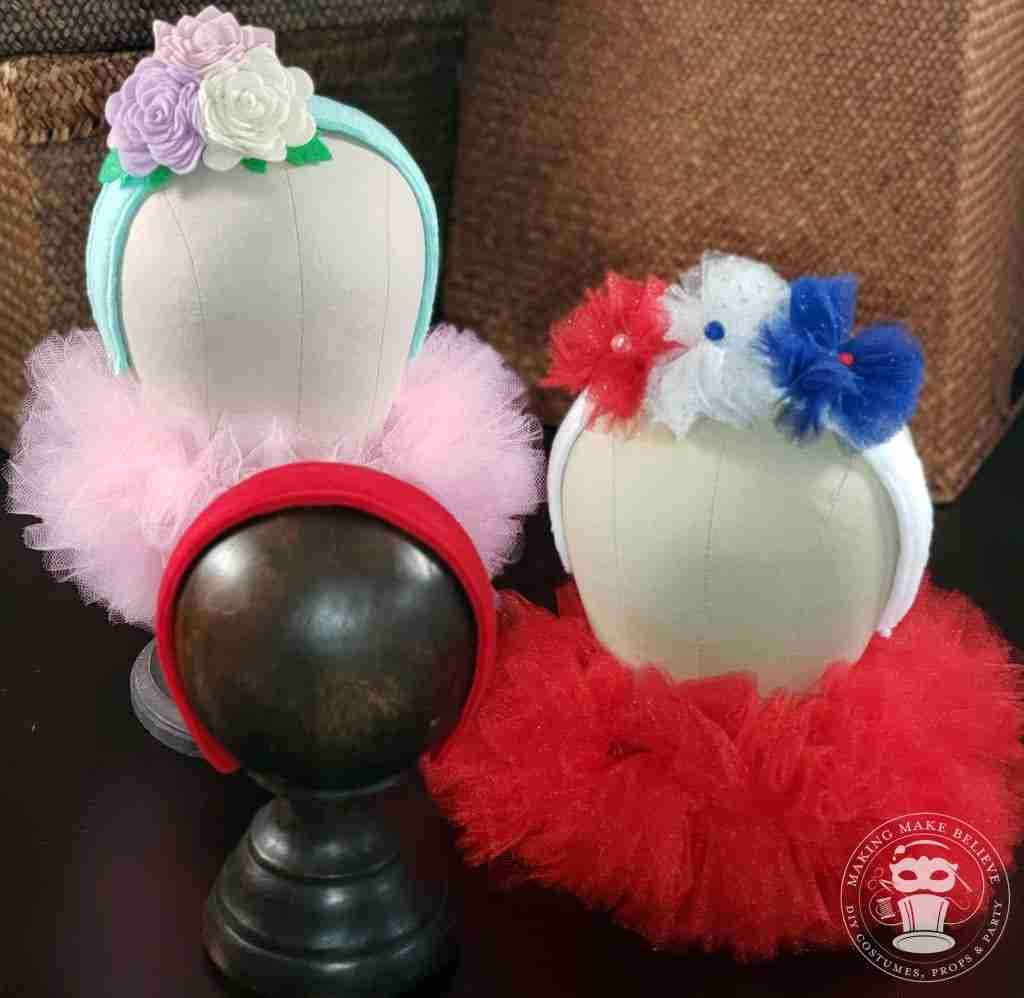
Complete Slip On Headband Cover
6. Embellish headband as desired.
TIP: For a quick and easy embellishment, be sure to check out our Tulle Flower Puff tutorial.

Slip headband into cover
Complete Slip On Headband Cover
