2.5K


My Top 10 Craft Glitter Tips
Ah, glitter! The bane of most crafters’ existence.
The allure of creating a shiny object can quickly be squashed at the mere thought of having to craft with glitter.
But who doesn’t love a little sparkle, a little glam, a little bling?
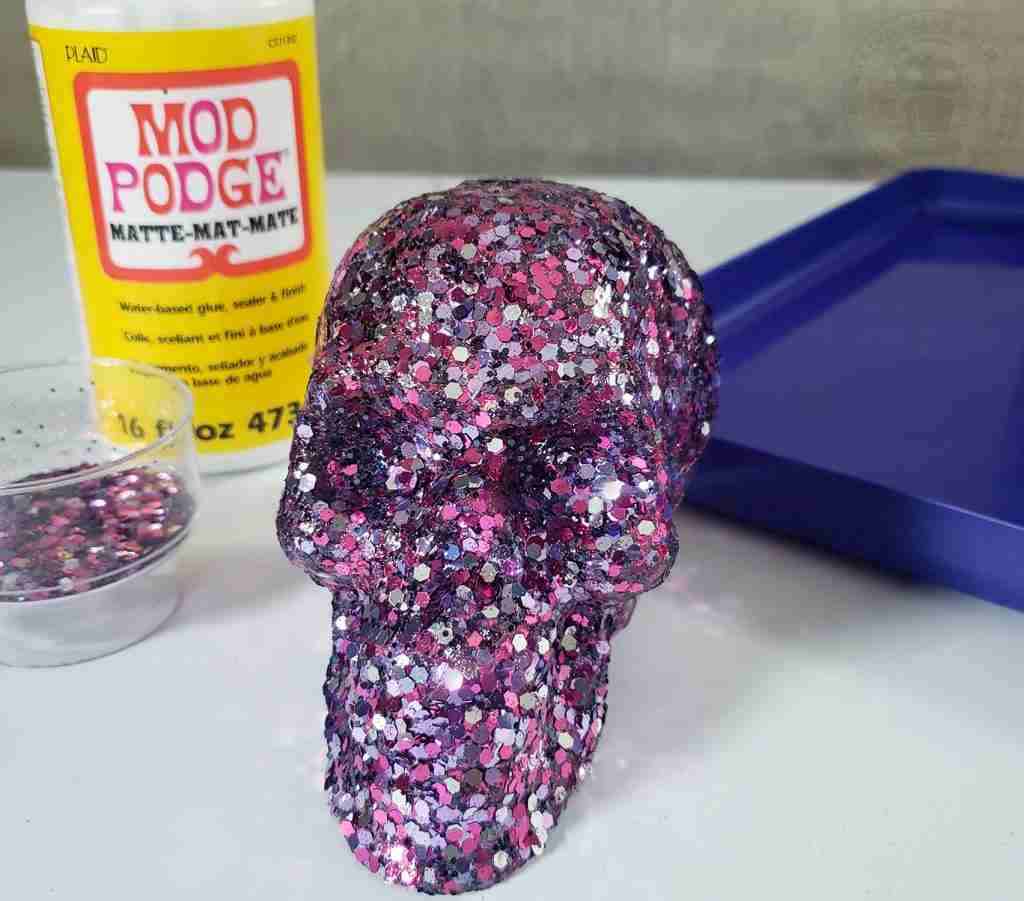
The urge to bedazzle a braincase with shimmering specks may be too great to ignore.
If that’s case, allow me to share my Top 10 Craft Glitter Tips to add sparkle to your spooky.
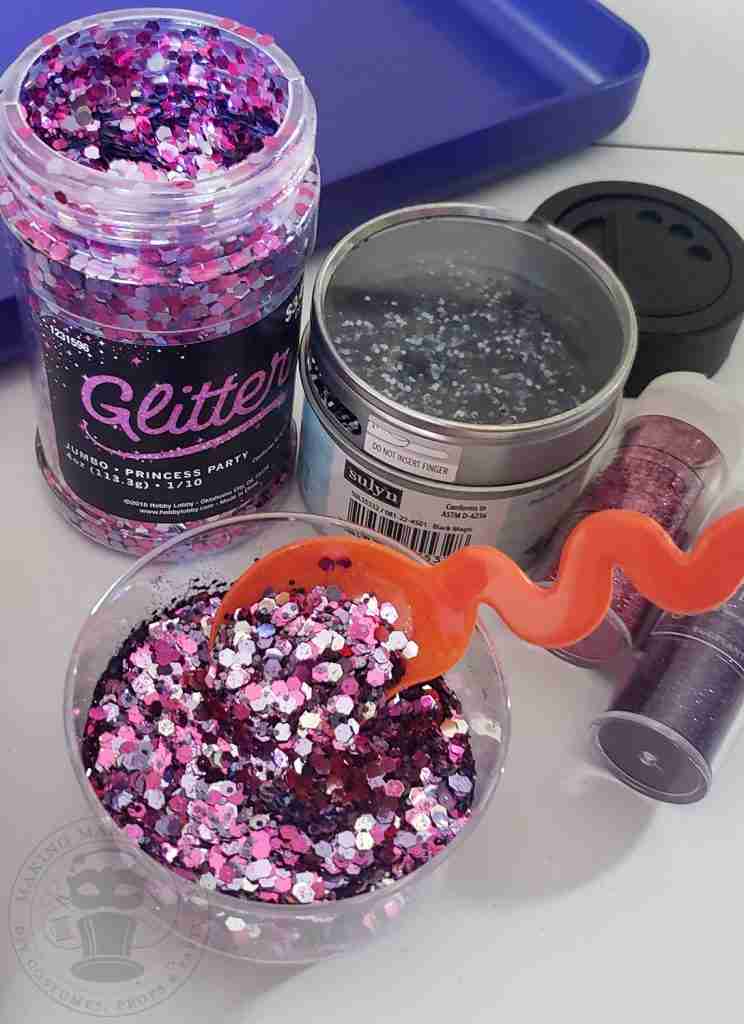
You don’t have to settle for the glitter mixes in stores. No, you do not!
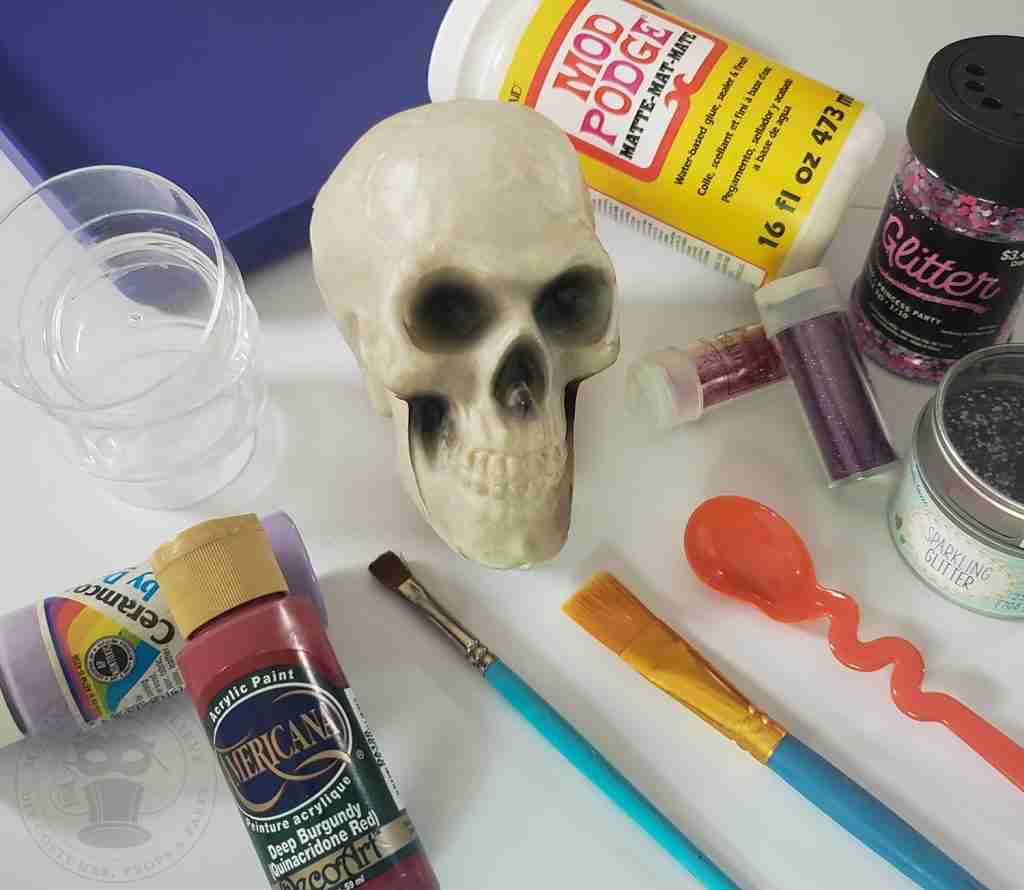
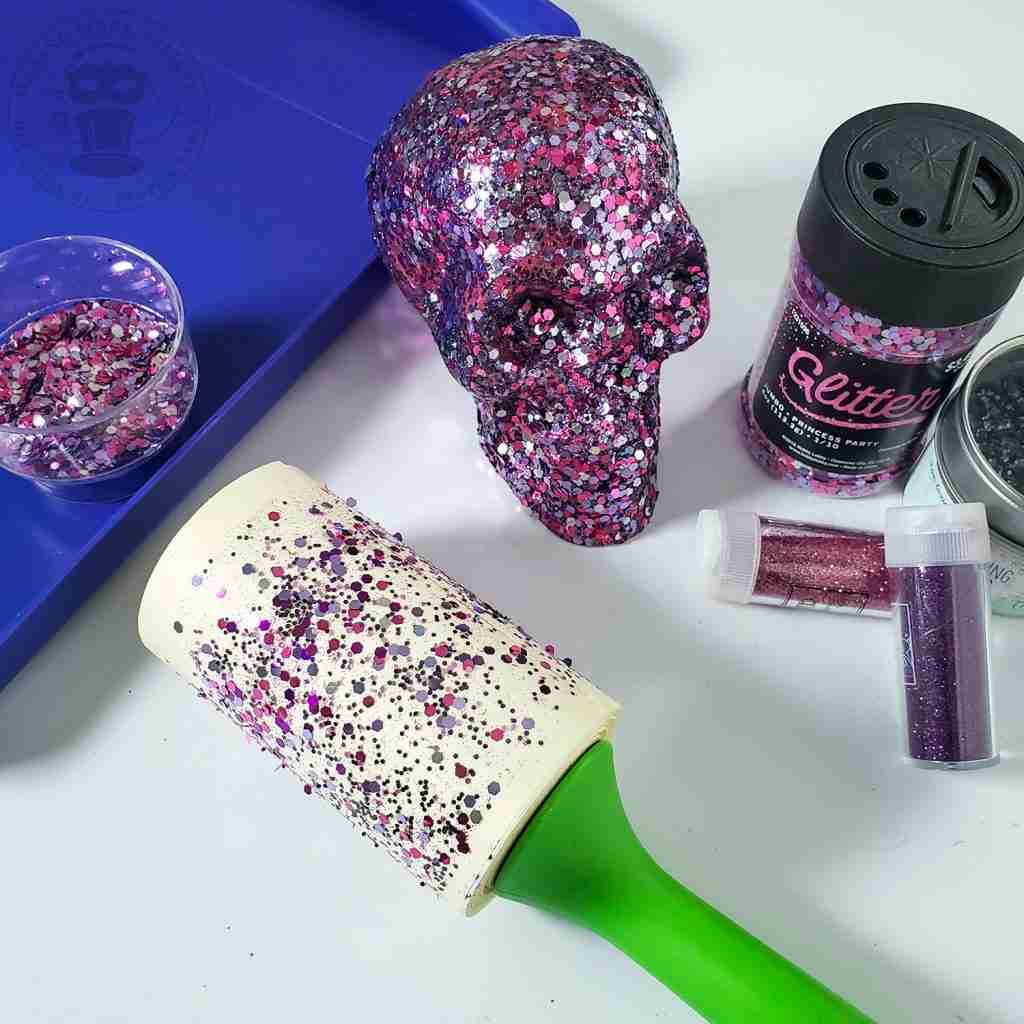
Instead, grab an assortment of craft glitters in various shades and textures.
Combine ultra-fine, fine, chunky, mica, diamond dust, or powders in your desired colors for a custom look that matches your haunted style.
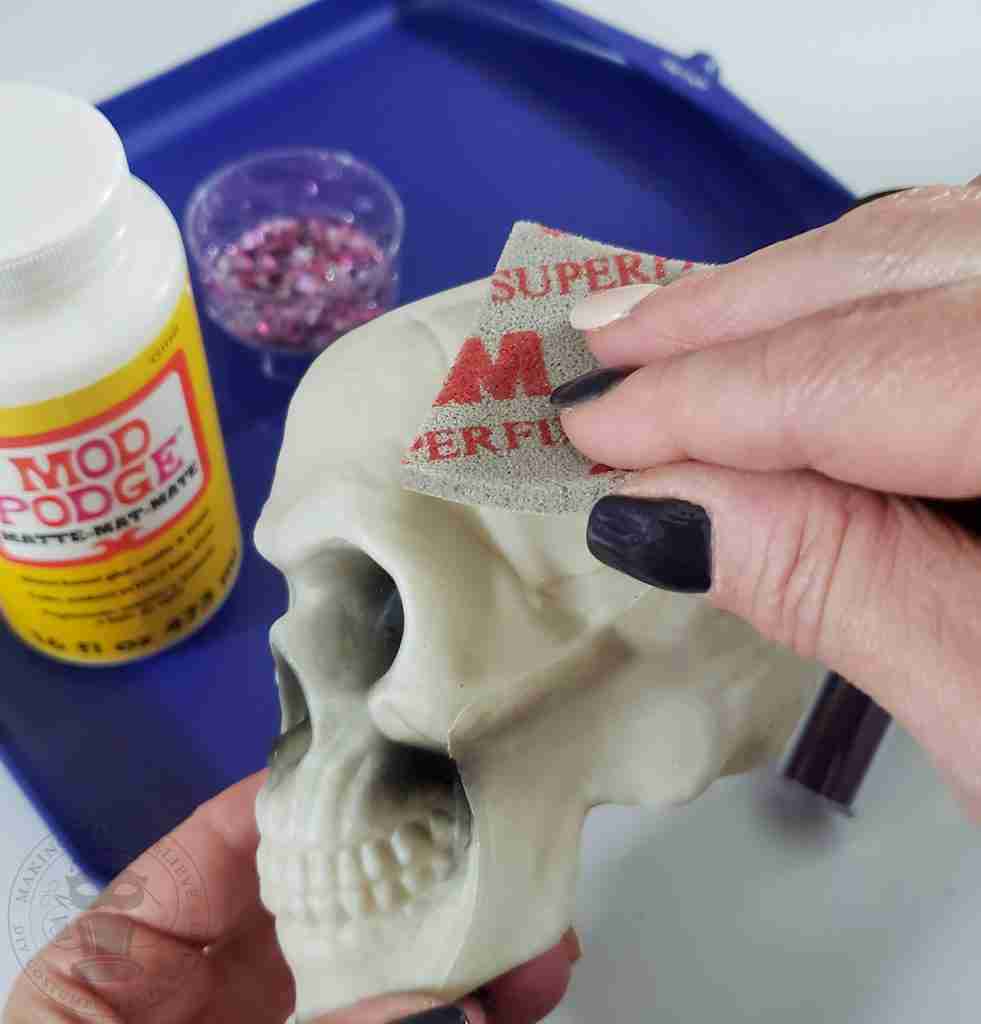
Plastic, resin, glass, and super smooth woods will need a bit of sanding to help your glitter hold on.
First, use a fine sanding pad to lightly rough up the surface, then wipe away any sanding dust before breaking out the glitter.
Put down a base coat. Grab a paint color that matches your glitter, and give your prop a quick coat or two.
The paint will disguise any areas that lack good glitter coverage, allowing you to complete the project faster using less glitter.
As a bonus, the paint also conceals damage from any glitter that flakes off over time.
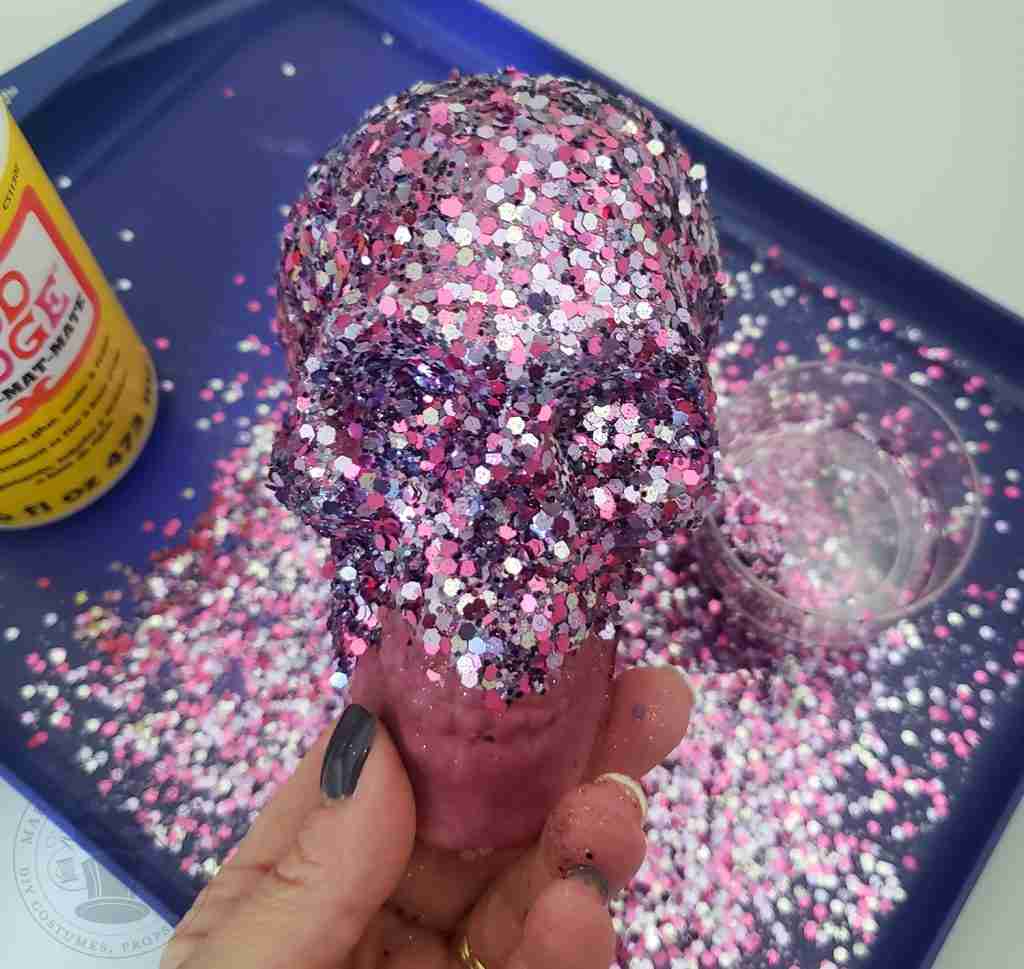
Use a glitter tray or a simple piece of paper under your project to corral glitter overspill and add it back to your bottle, saving you time and money.
This tip alone can keep you from chasing glitter for days on end.
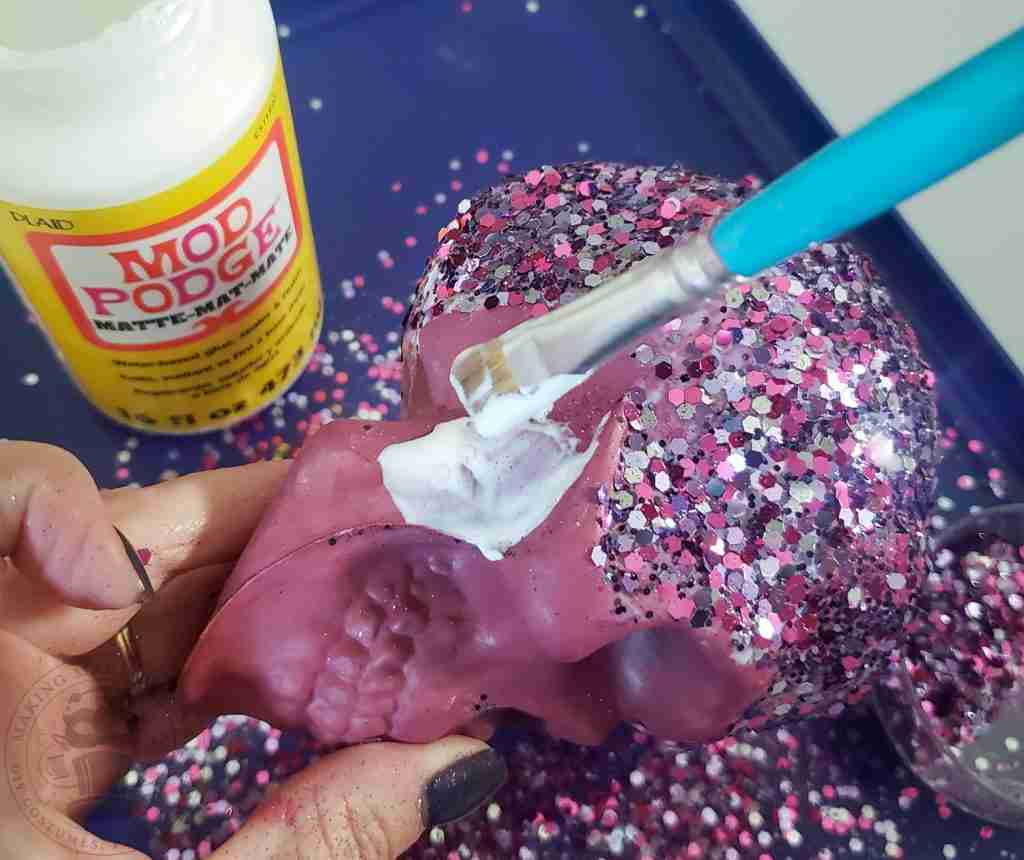
There is no need for fancy adhesives or special glues; white (school) glue or Mod Podge will do the trick for most projects. And spray adhesives work well for ultra-fine glitters.
A medium-thin coat of glue will work for most glitters. Adjust the amount of glue based on the size of the flakes. The finer the glitter, the less glue required.
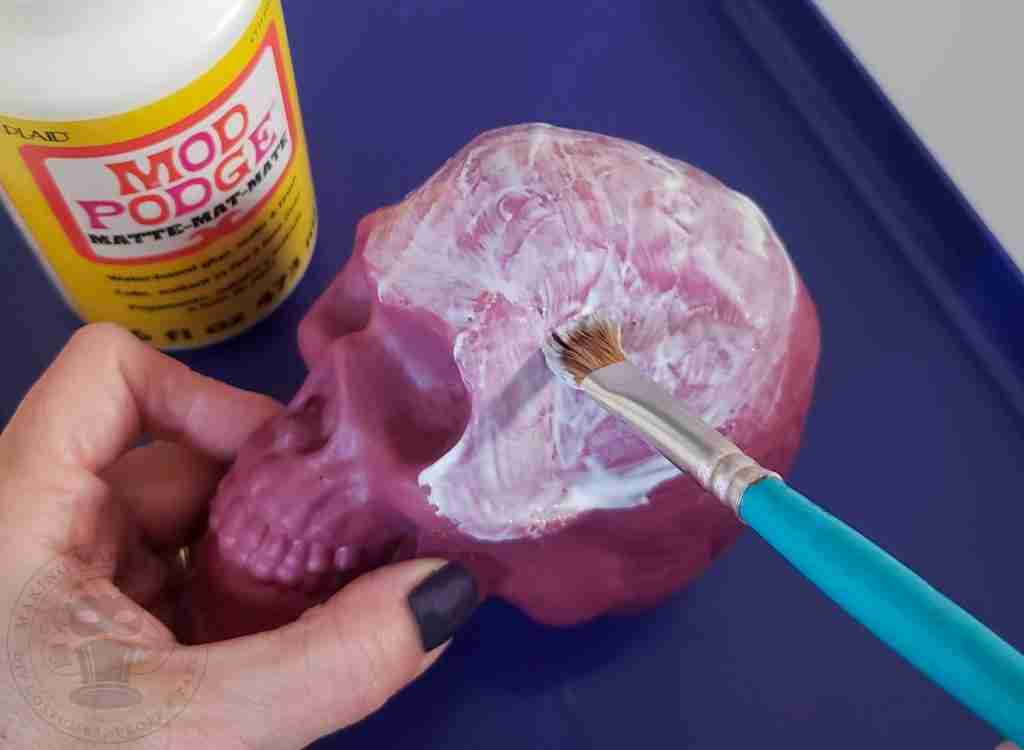
An inexpensive craft brush will help get the glue in all the nooks and crannies, and it’s also easy to clean up with soap and water.
Working in sections will ensure your glue doesn’t start to dry before you apply the glitter.
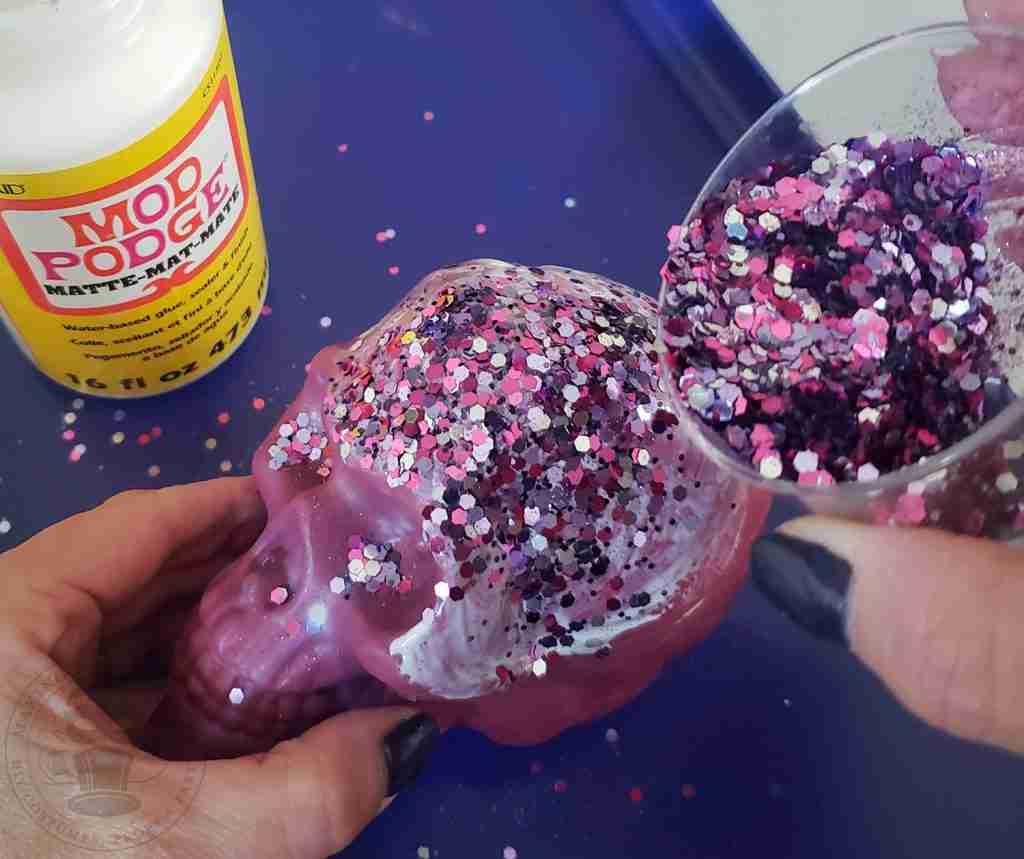
Add glue to a small section, sprinkle with glitter, then move on to the next section. Repeat until all areas are covered.
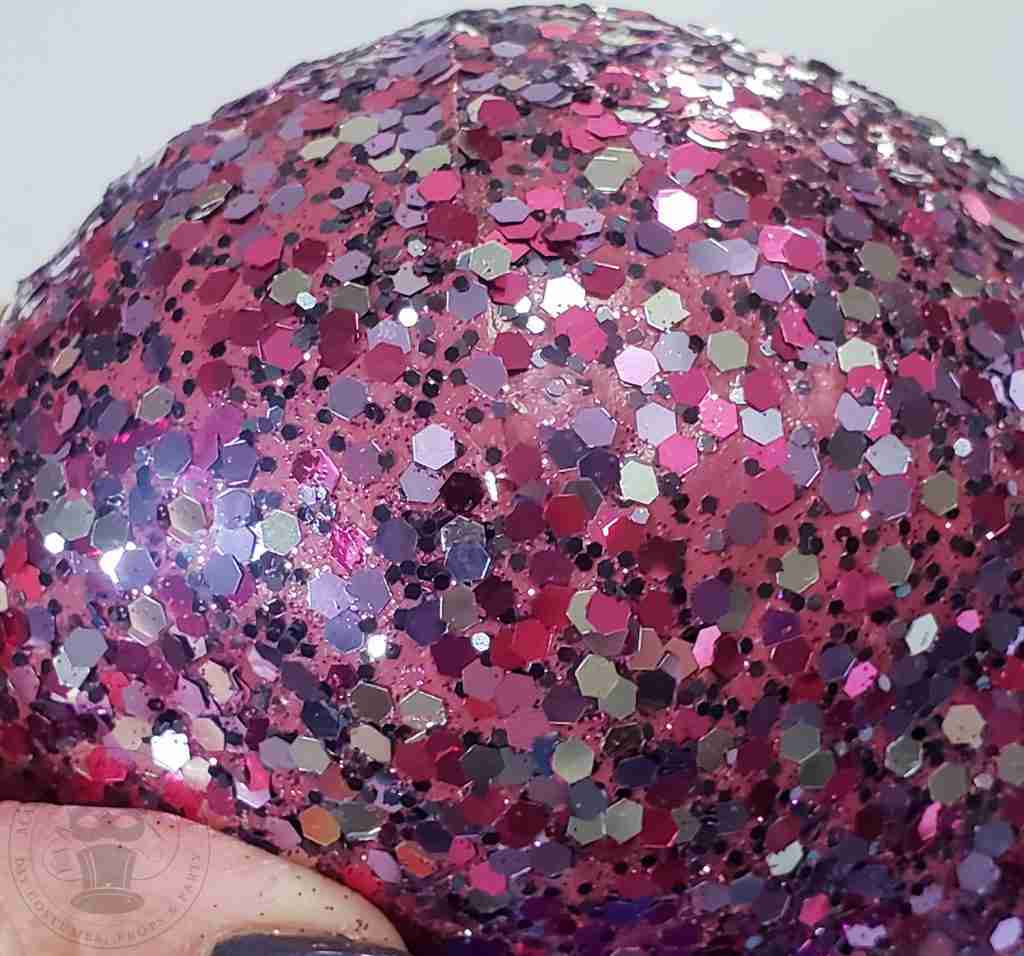
After you have covered the entire piece with glitter, allow it to dry completely, then carefully apply a second coat of glue and another layer of glitter.
Two passes will give you better, more complete coverage.
First coat of glitter and glue.
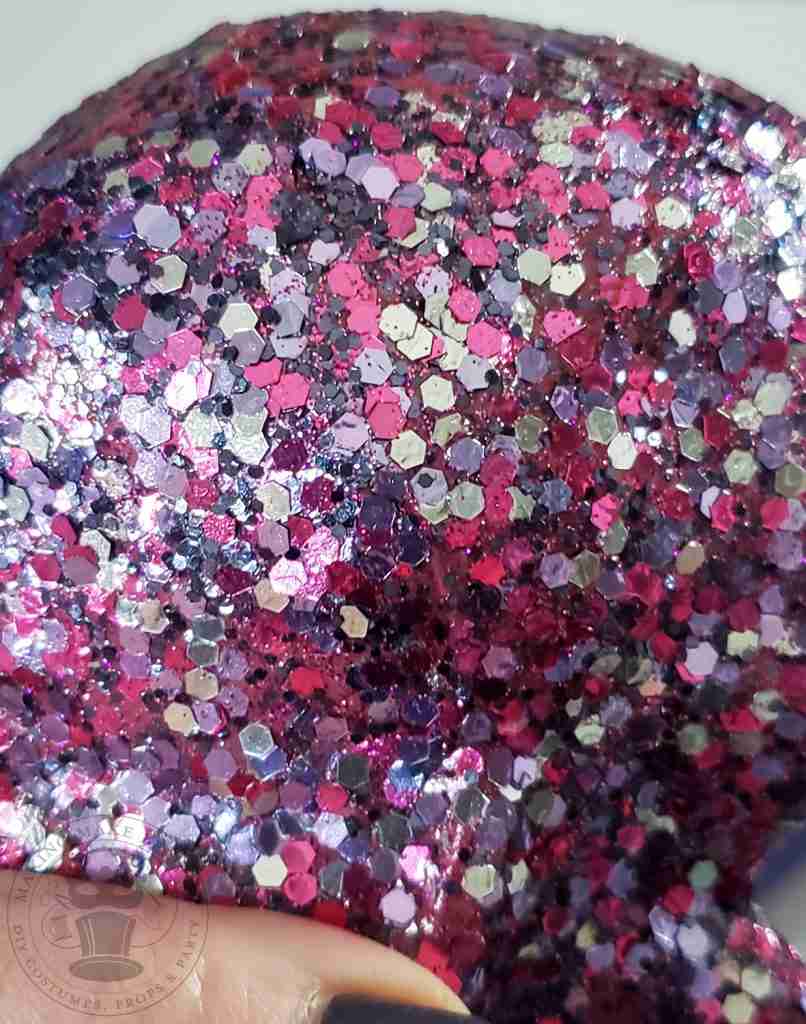
Second coat of glitter and glue.
Once you have the look you want, allow the piece to dry completely before adding a clear coat.
Adding your clear coat before the piece is thoroughly dry may cause the glitter to slide off or move.
So, to avoid disappointment and future regret, don’t rush your glitter.
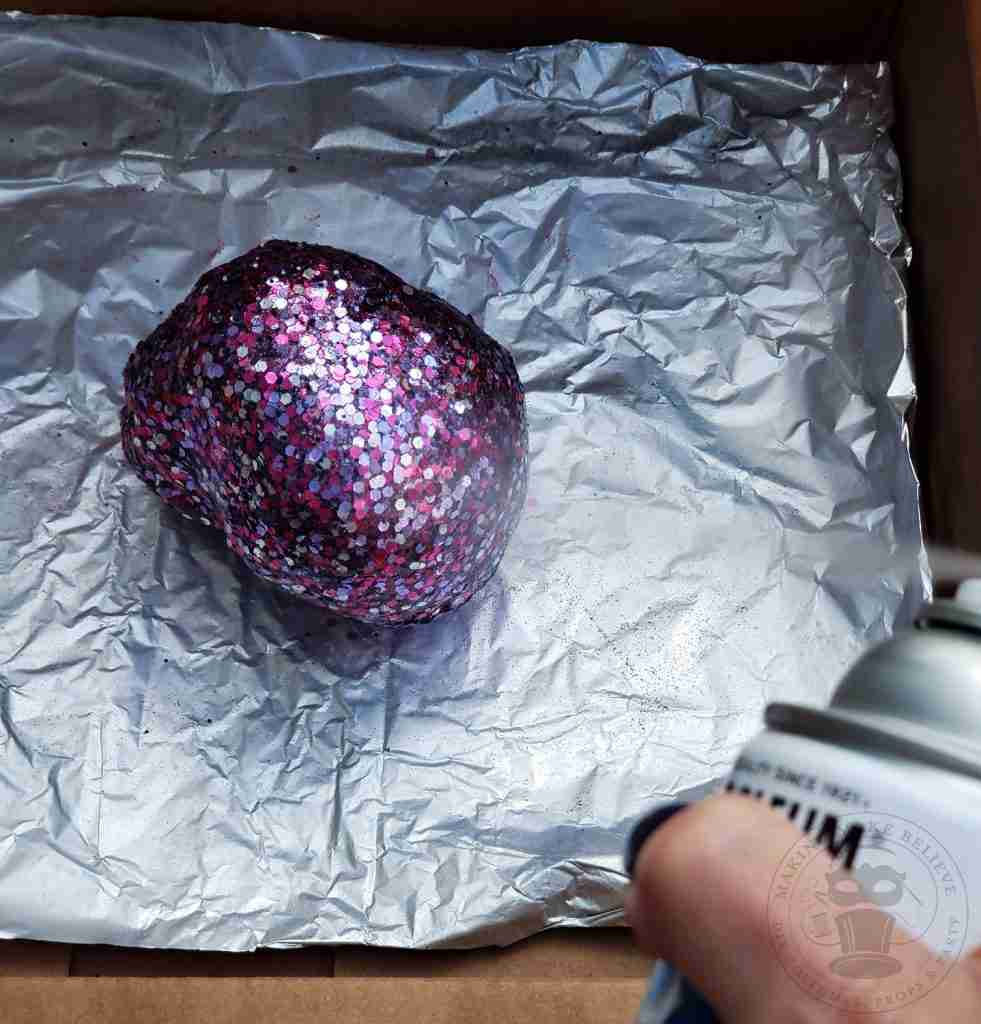
Add a clear coat to keep your prop from flaking and leaving a trail of glitter in its wake.
Gloss Mod Podge or any clear gloss spray such as Krylon or Rustoleum will work. Glitter Blast Spray is another option.
Choose your workspace wisely, grasshopper.
Glitter has a reputation for regenerating and multiplying faster than rabbits so pick an area that is easier to clean up.
For example, choose a room with tile or hardwood floors instead of carpet, and avoid tabletops and counters with grooves when possible.
Keep in mind that these blingy bits are notorious for migrating everywhere once unleashed, so arm yourself with a sticky lint roller to combat any escapees.
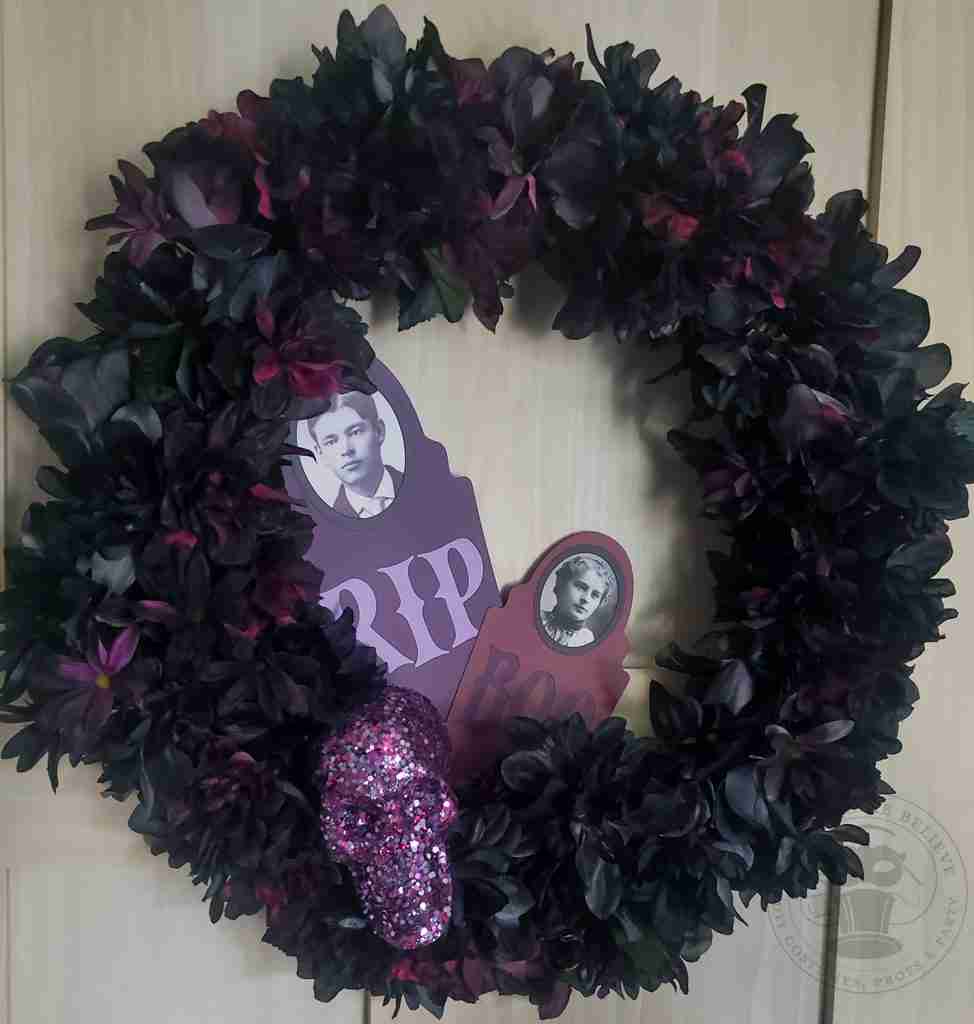
This skull now rests in our Tombstone Portrait Wreath.
Until next time, keep your sparkle on!

Check your email for the Haunted Library password.
Don’t miss a moment of the mischief.
Add hello@makingmakebelieve.com to your address book.
Join us and get access to our Haunted Library stocked with templates, printables, cut files, and exclusive content. Plus, you’ll receive Eerie Emails just for our subscribers.
*Stay as long as you like. Unsubscribe at any time.