1.6K


DIY Halloween Party Decorations
Our local Party City is closing, and I’m a bit bummed about it.
While I’m not a regular customer per se, I do pop in whenever I need that little something to start a costume or when I need to grab party staples.
I also stop by several times during the Halloween season to peruse their selection. I usually pick up a thing or two, and I often find some inspiration for a costume or party.
Party City is a nice option to have when you need a last-minute piece. And even though I DIY Halloween party decorations, I think I will miss having this resource just minutes away.
Speaking of making my own DIY Halloween party decorations, I have been working on some spine-tingling pieces, and I’m dying to share them with you.
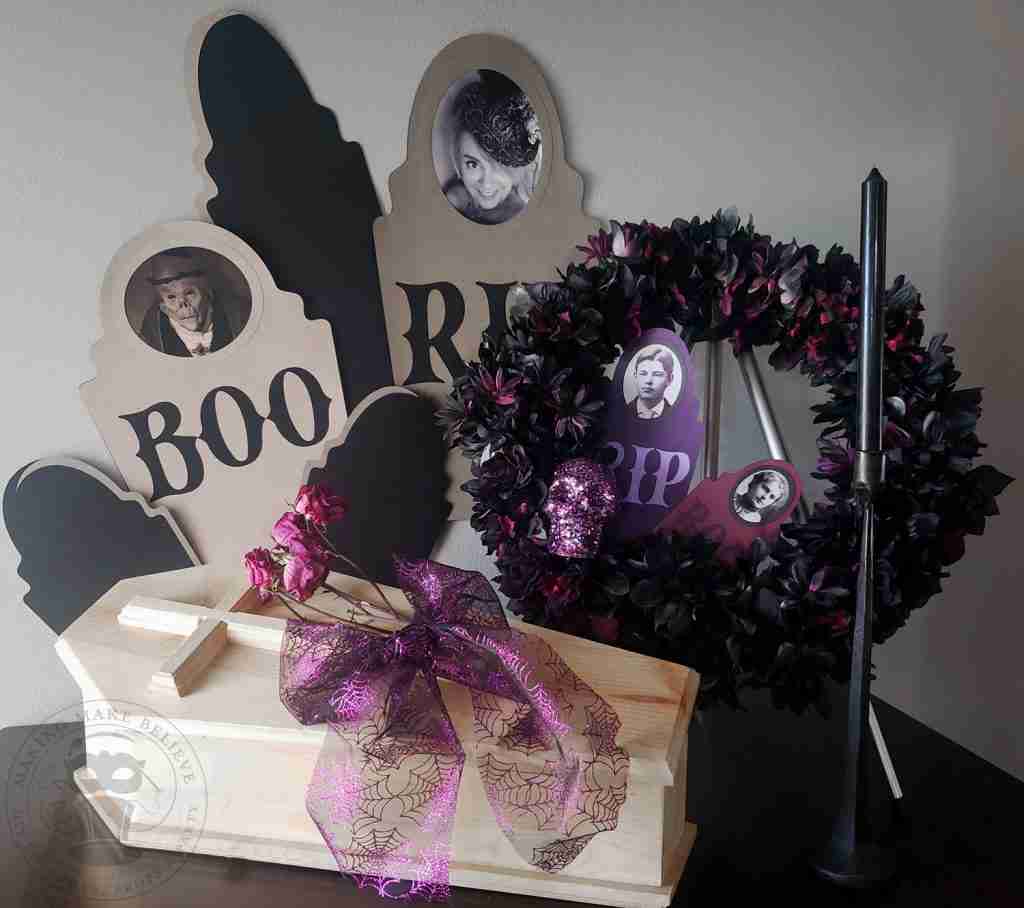
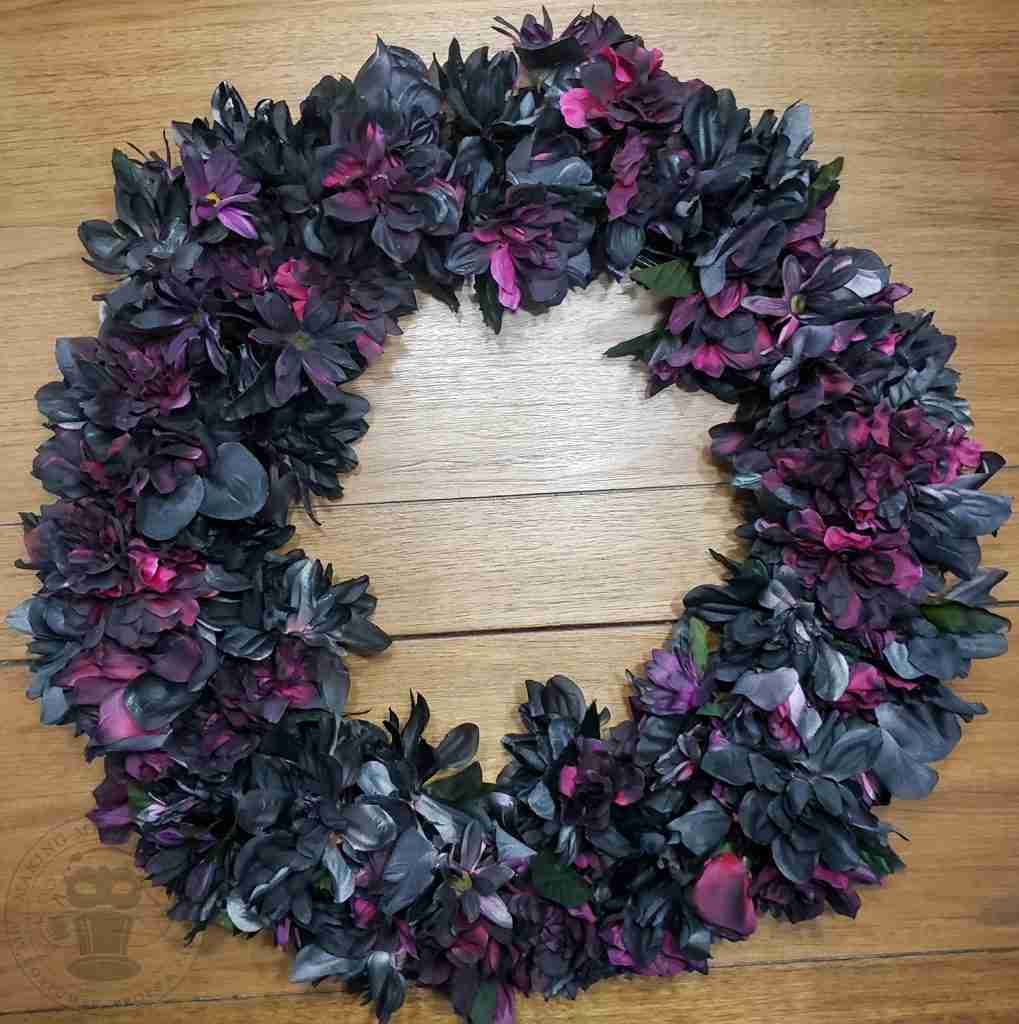
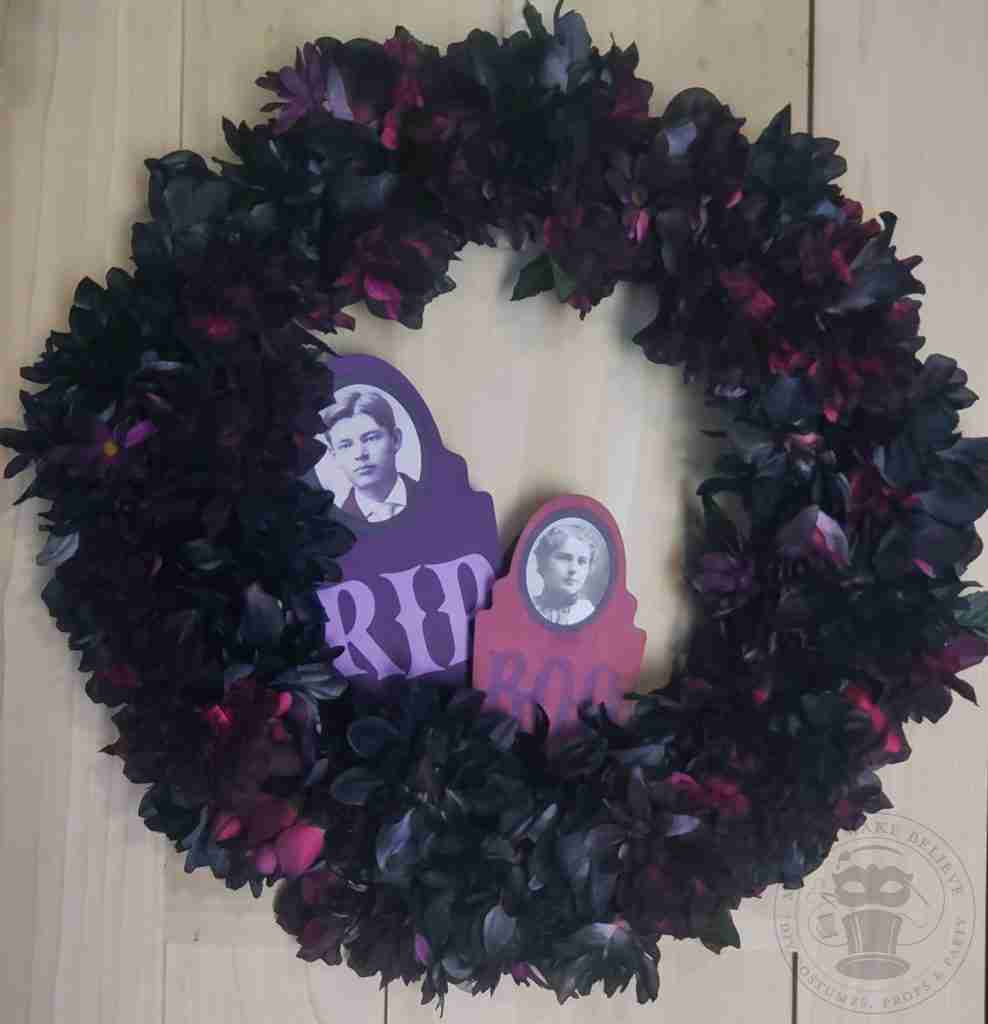
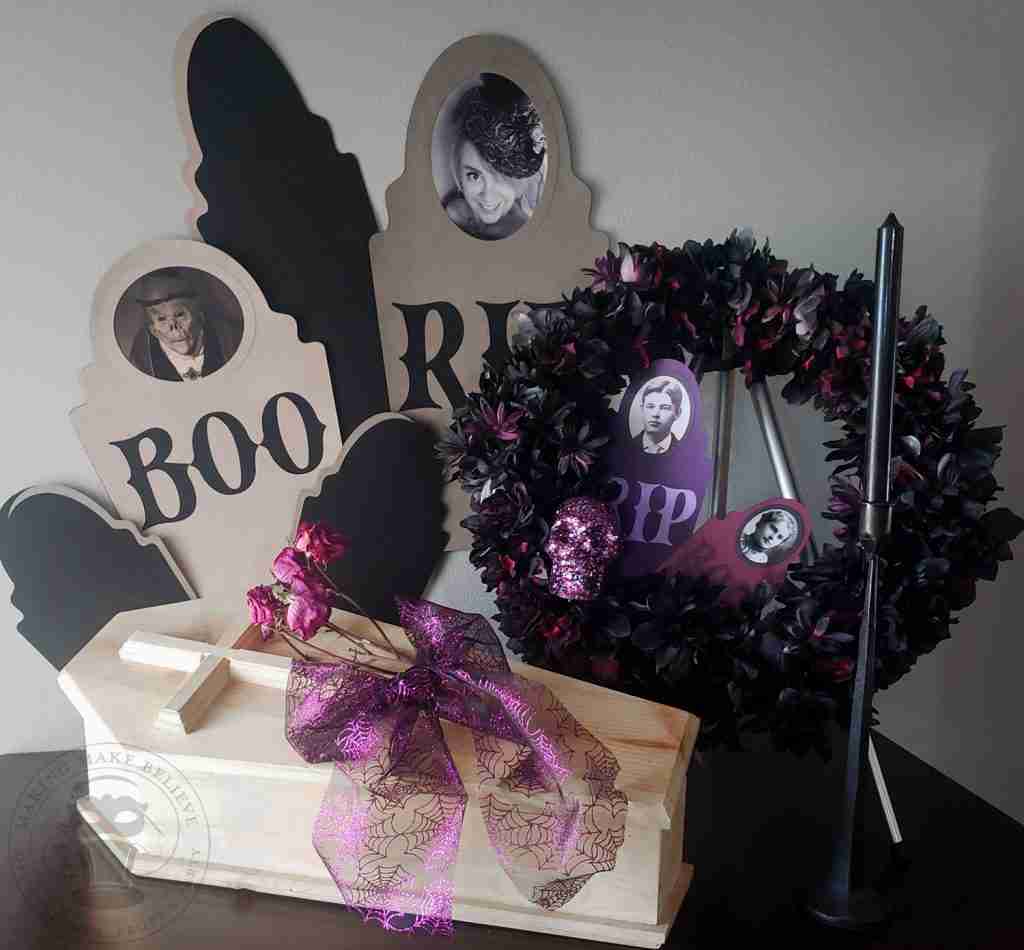
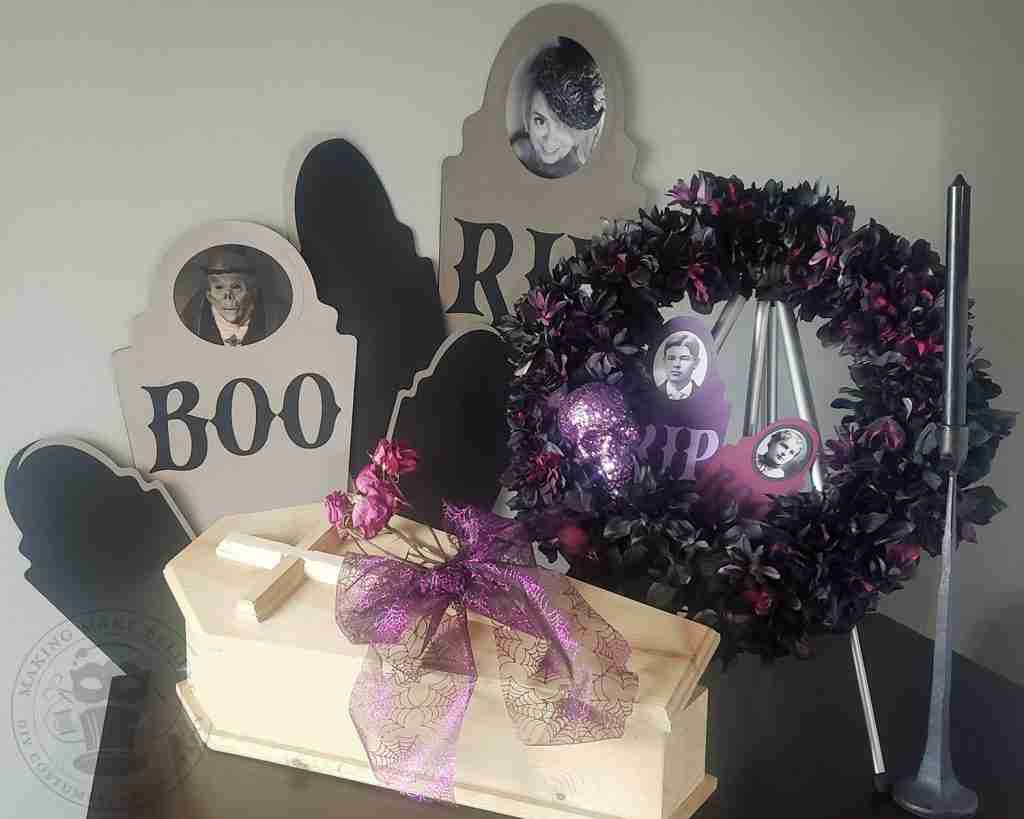
I like to begin my party decor outside so guests can have a complete experience of the theme from the minute they hit the driveway. But, even if you don’t want a full yard display, don’t overlook decking out your front door with a wicked welcome wreath.
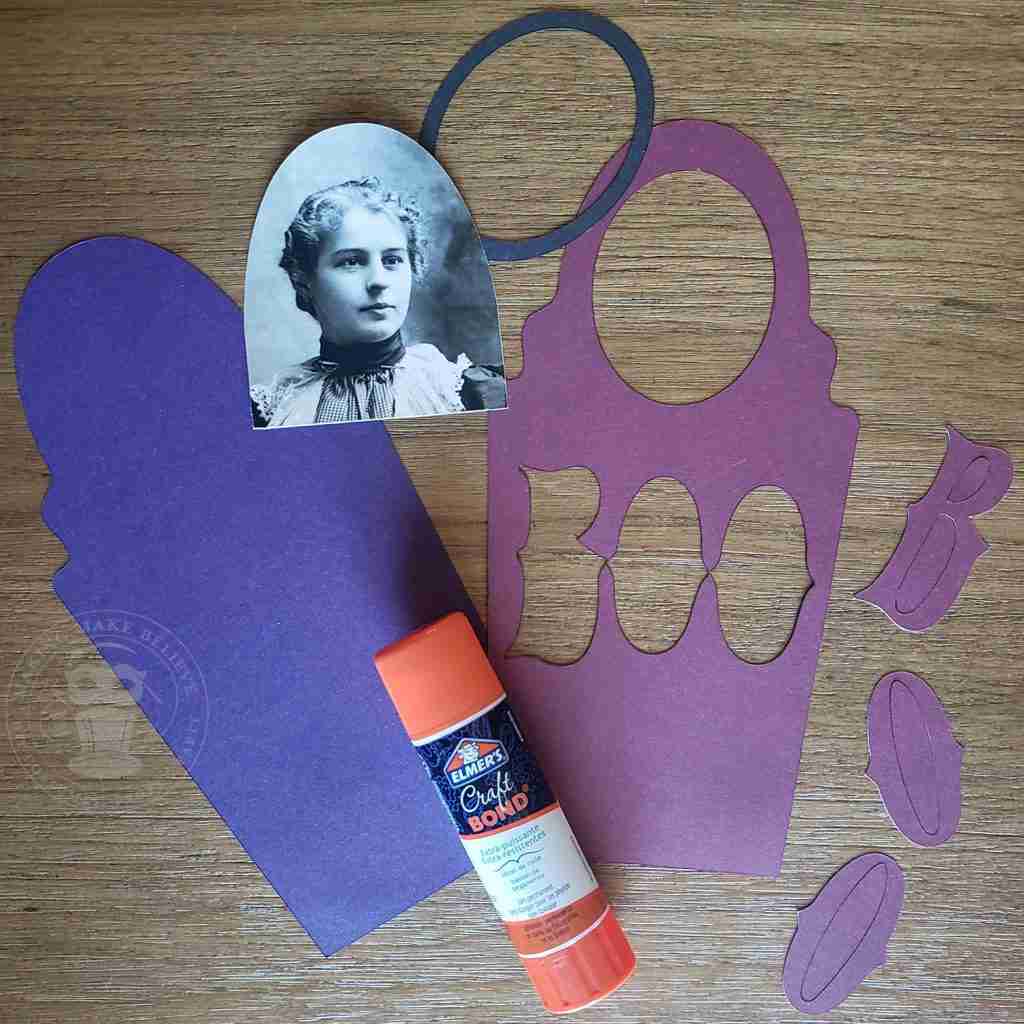
We will need:
A wreath. Store-bought is great, but if you want to have a custom look at a fraction of the cost, check out this Easy and Inexpensive DIY Halloween Wreath tutorial.
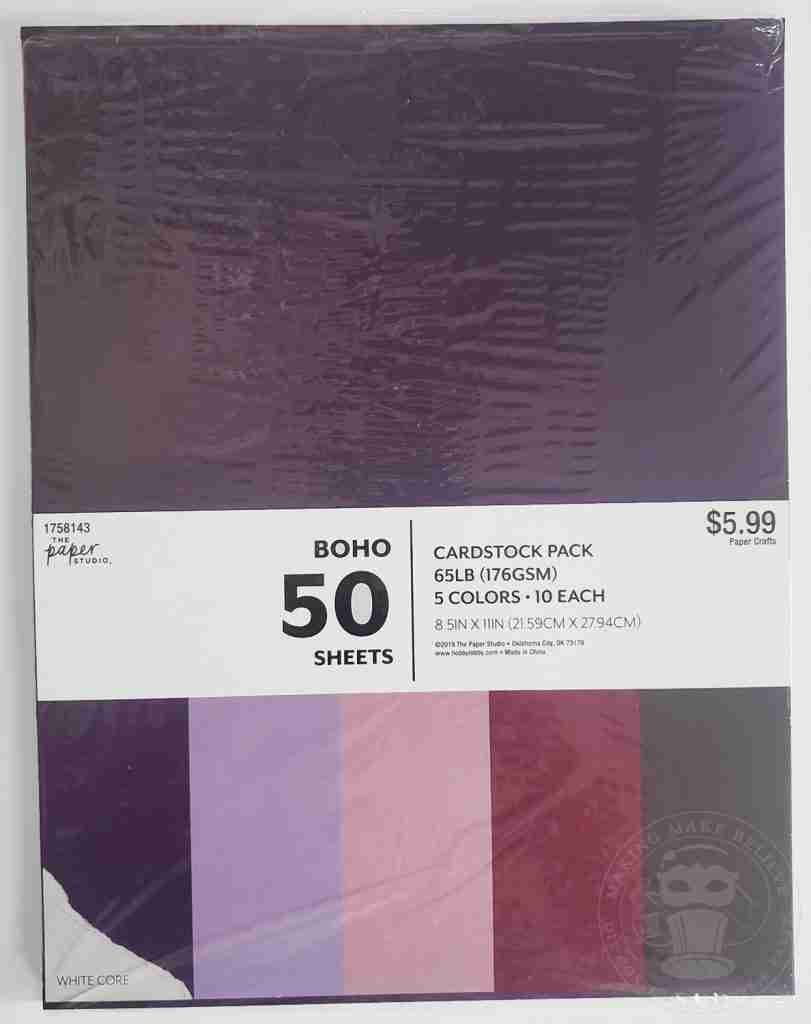
Once you have your wreath, gather up some cardstock in the colors of your choice and a glue stick (this one is my fave).
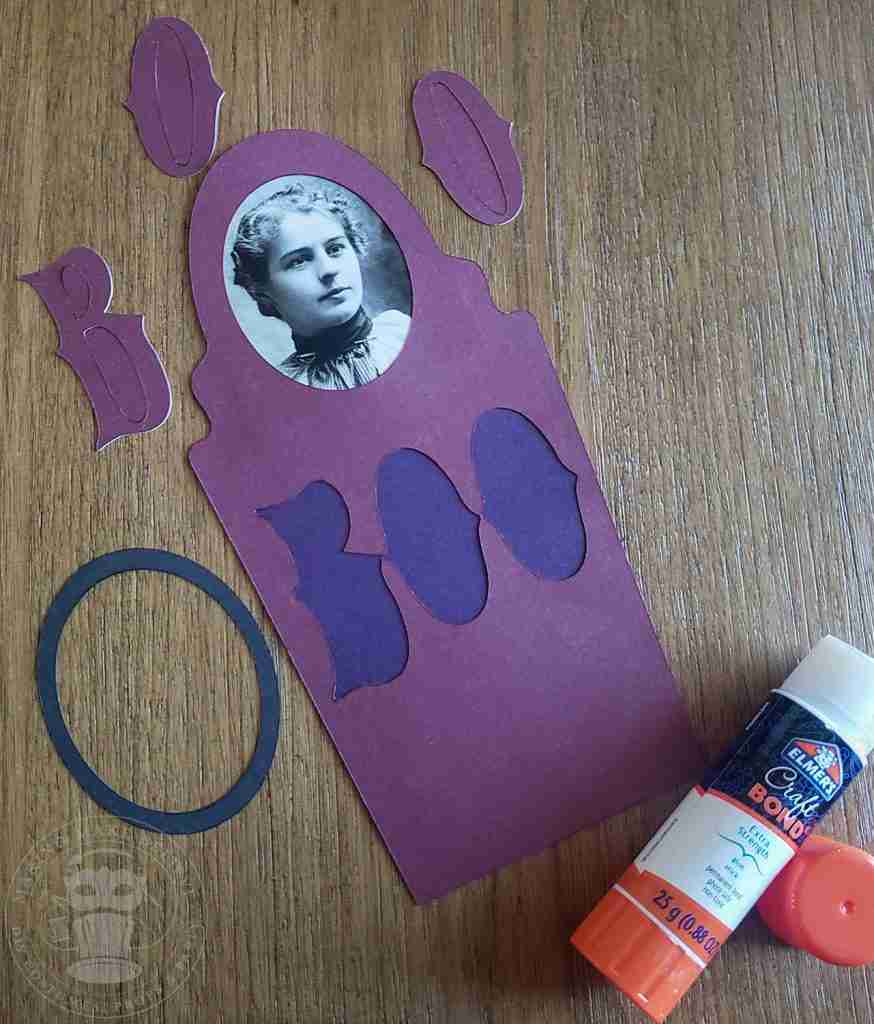
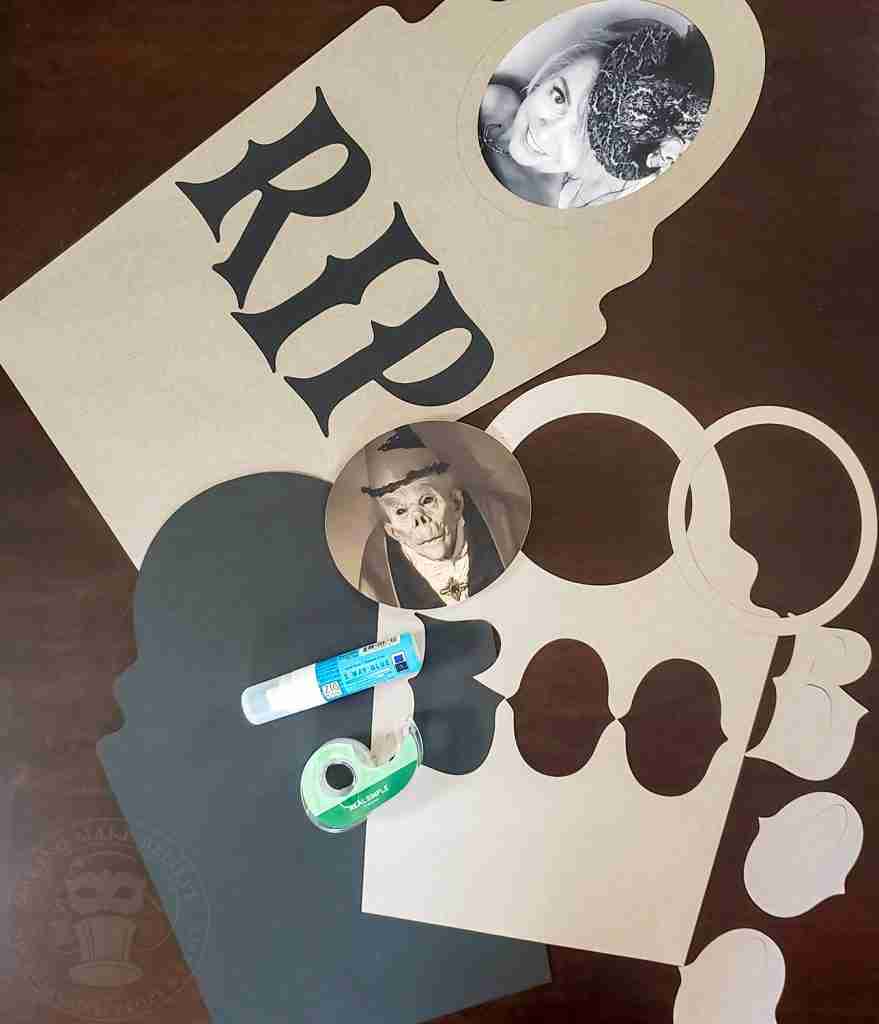
We will also need the Tombstone Portrait cut files (SVG and PDF available) that you can find for free in the Haunted Library.
To create a tombstone portrait, we will need to cut the following:
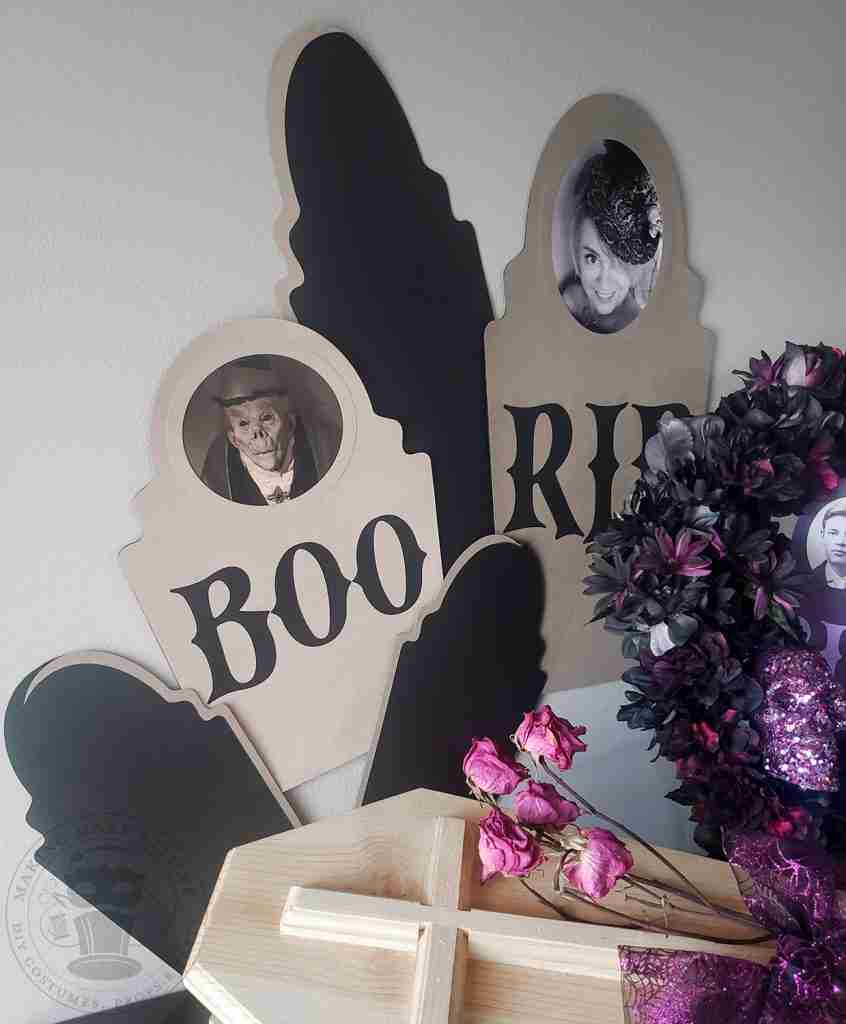
Solid tombstone base
Tombstone with epitaph cutout (choose from RIP or BOO)
The oval frame (if desired)
A vintage portrait* (choose from gentleman, lady, or girls) or photo of your choosing
*The vintage portraits included in the free files are ready for “Print Then Cut” in Cricut Design Space.
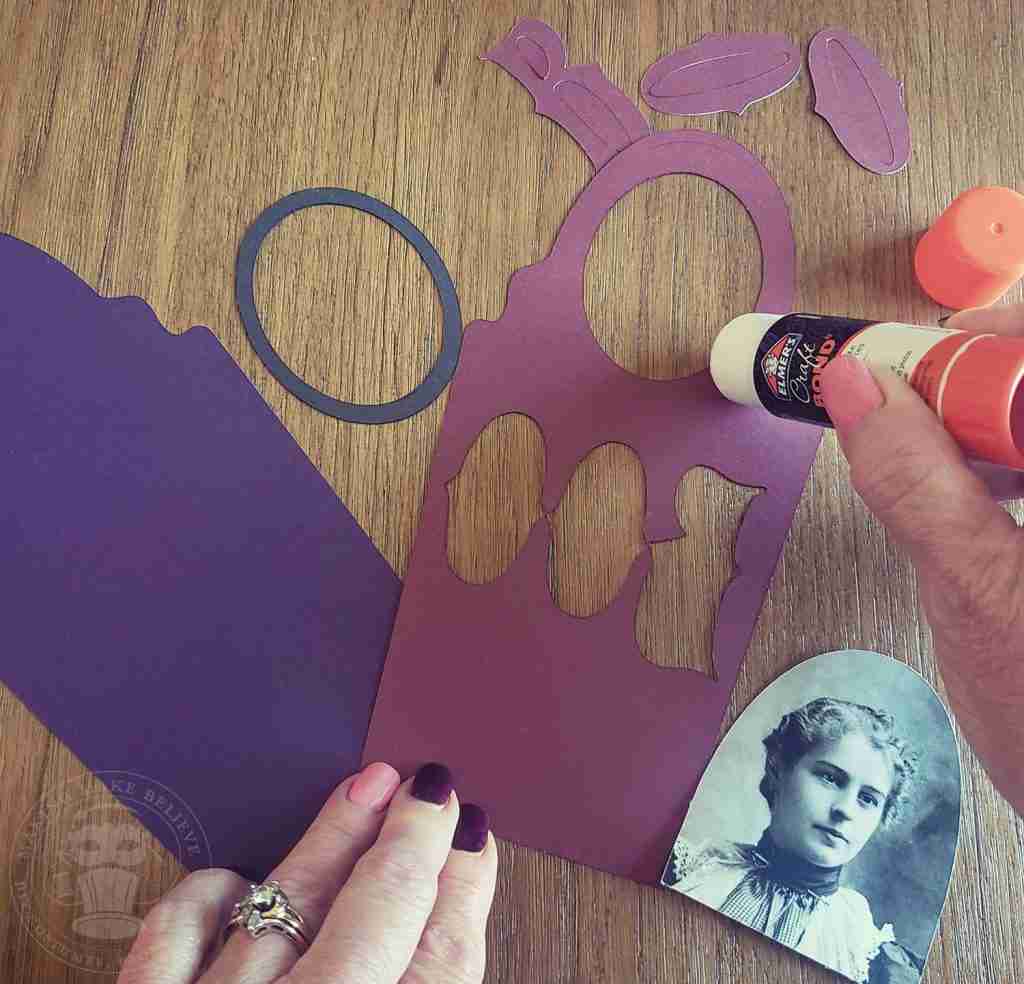
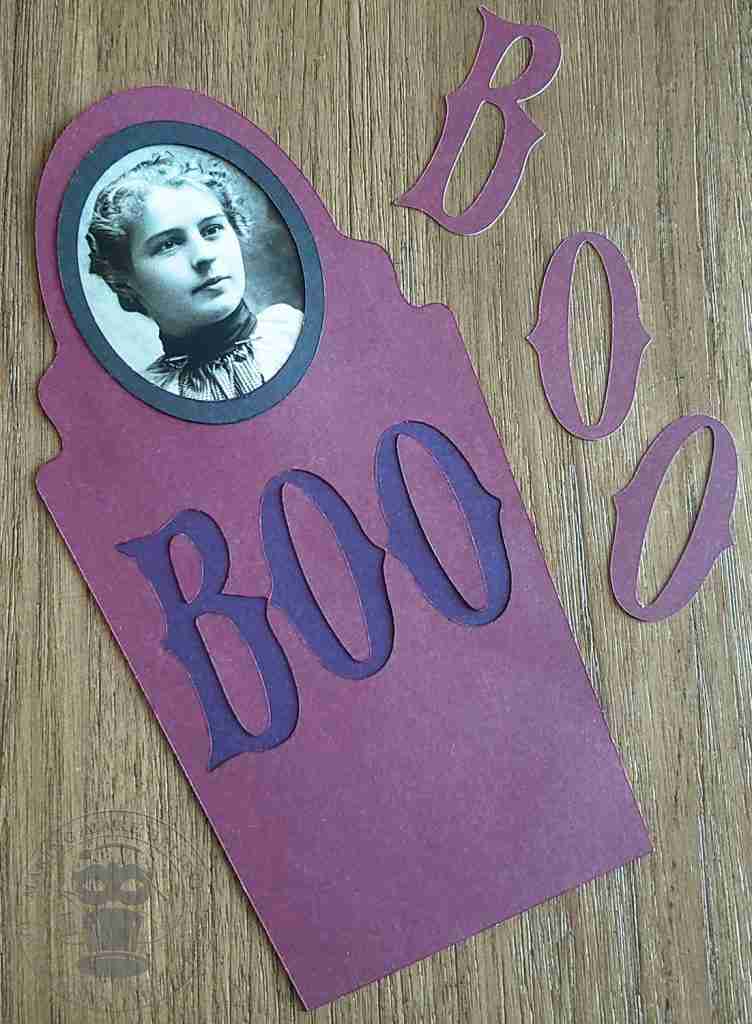
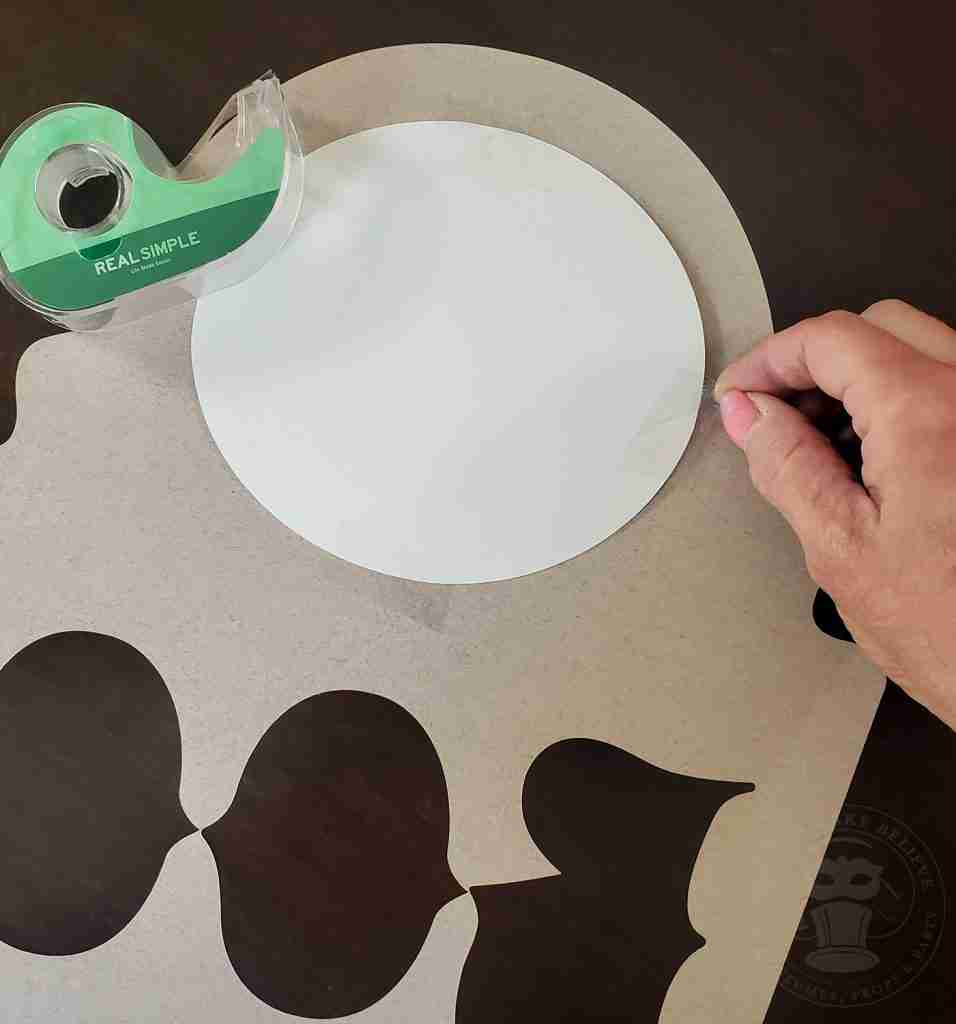
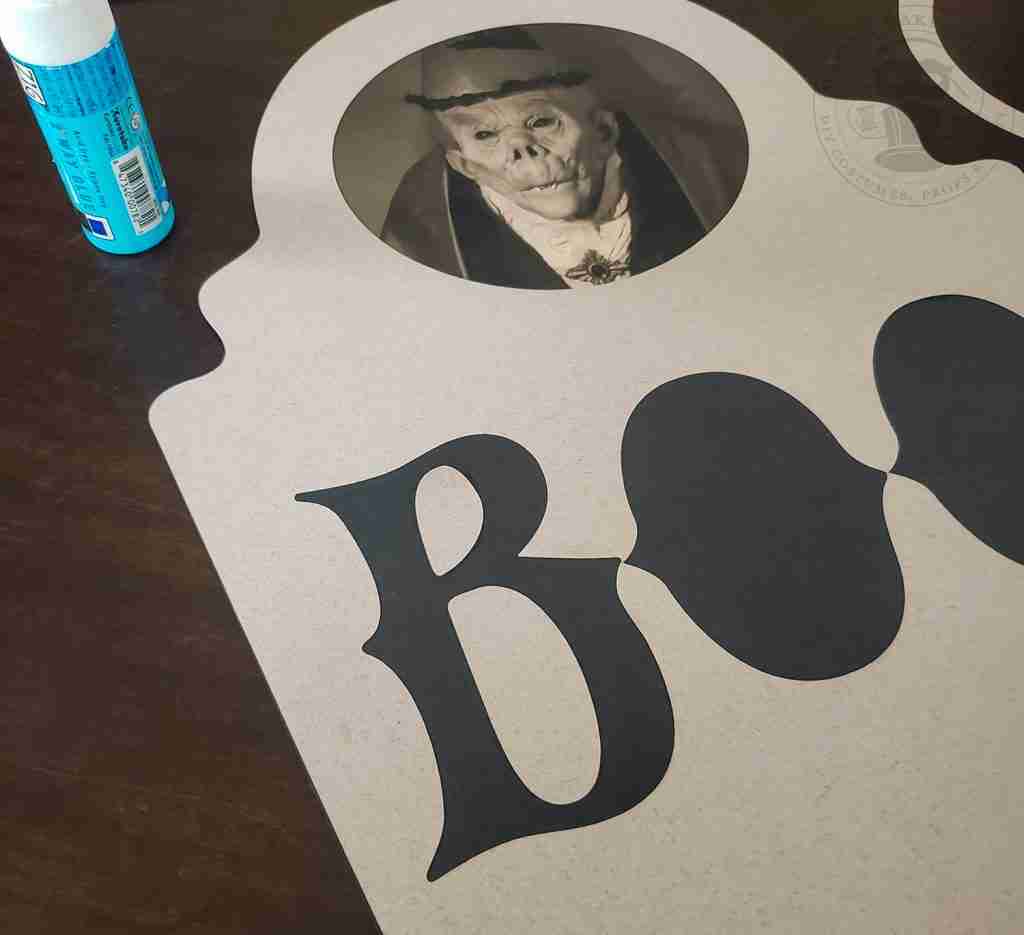
Now that your pieces are cut, remove the letters from the epitaph tombstone and set them aside.
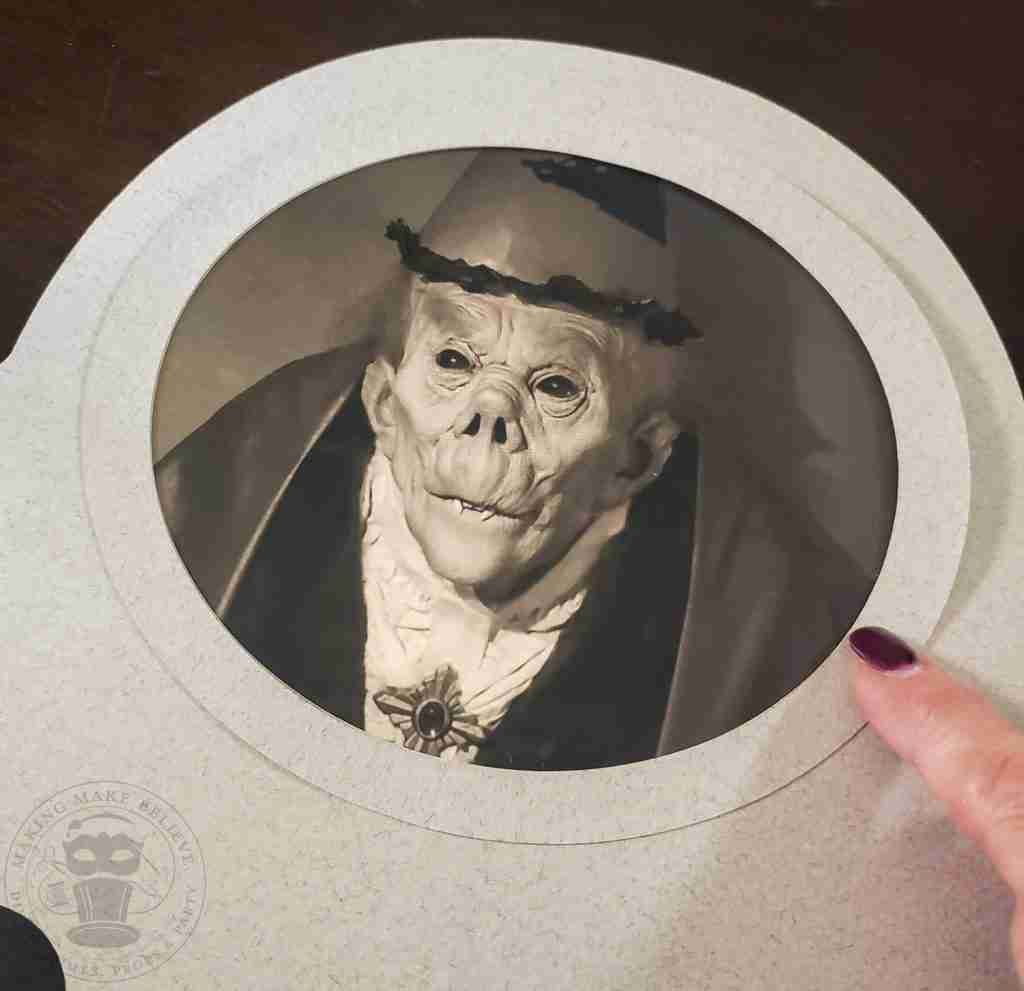
First, position the portrait behind the oval opening and glue or tape it into place. I’m using my favorite glue stick, Elmer’s Craft Bond.
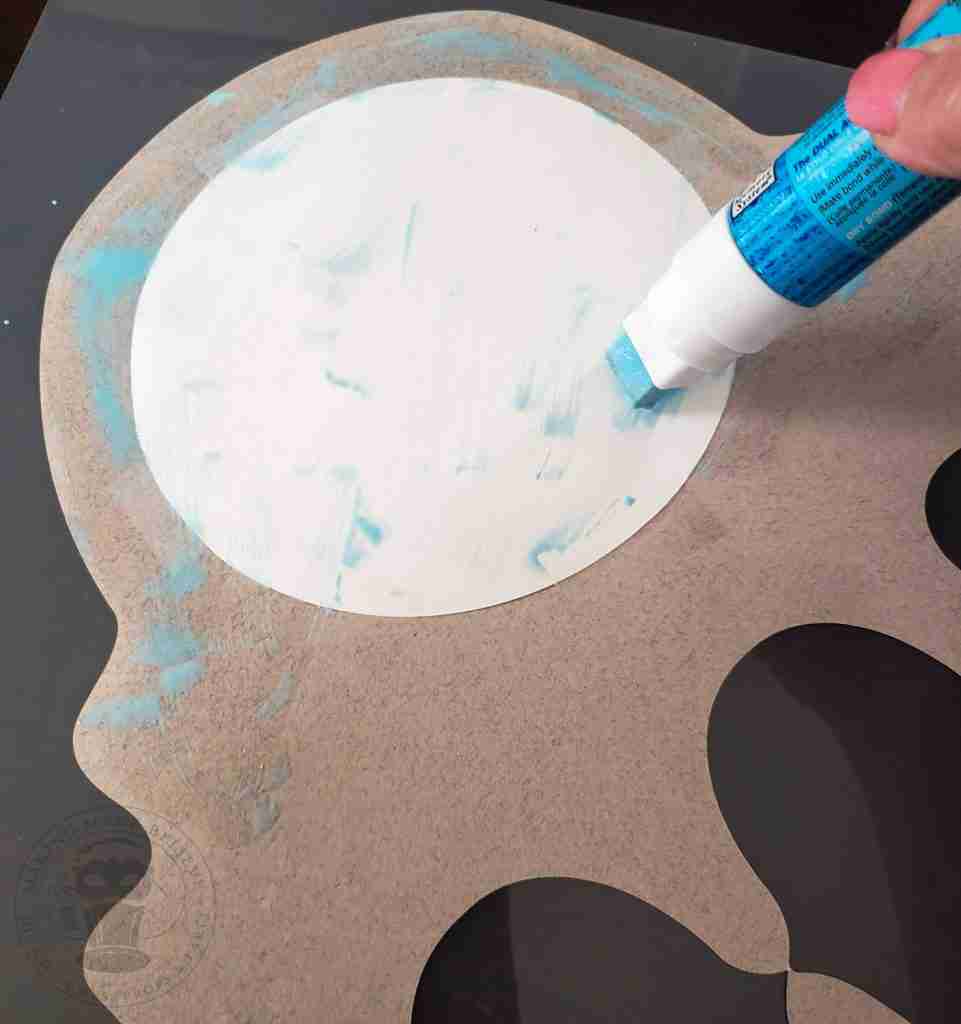
Next, generously spread the glue stick onto the back of the tombstone epitaph and attach it to the base tombstone.
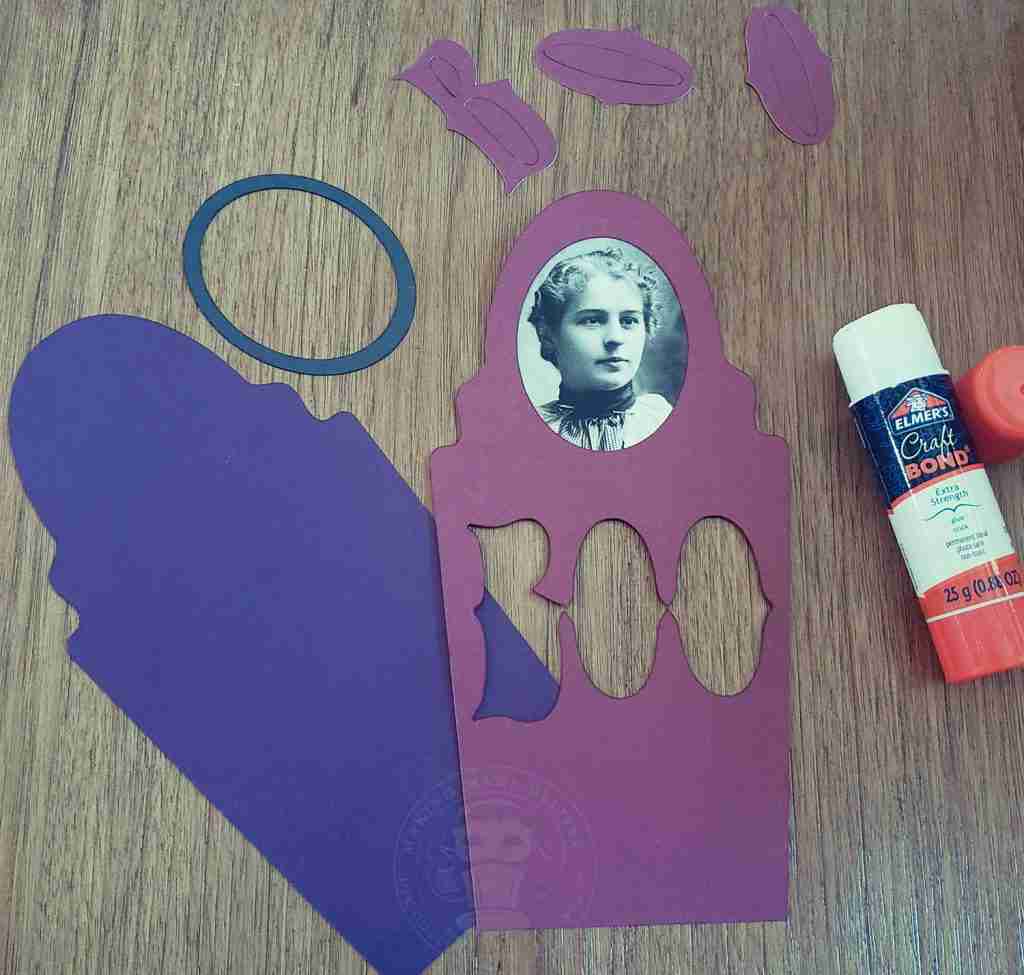
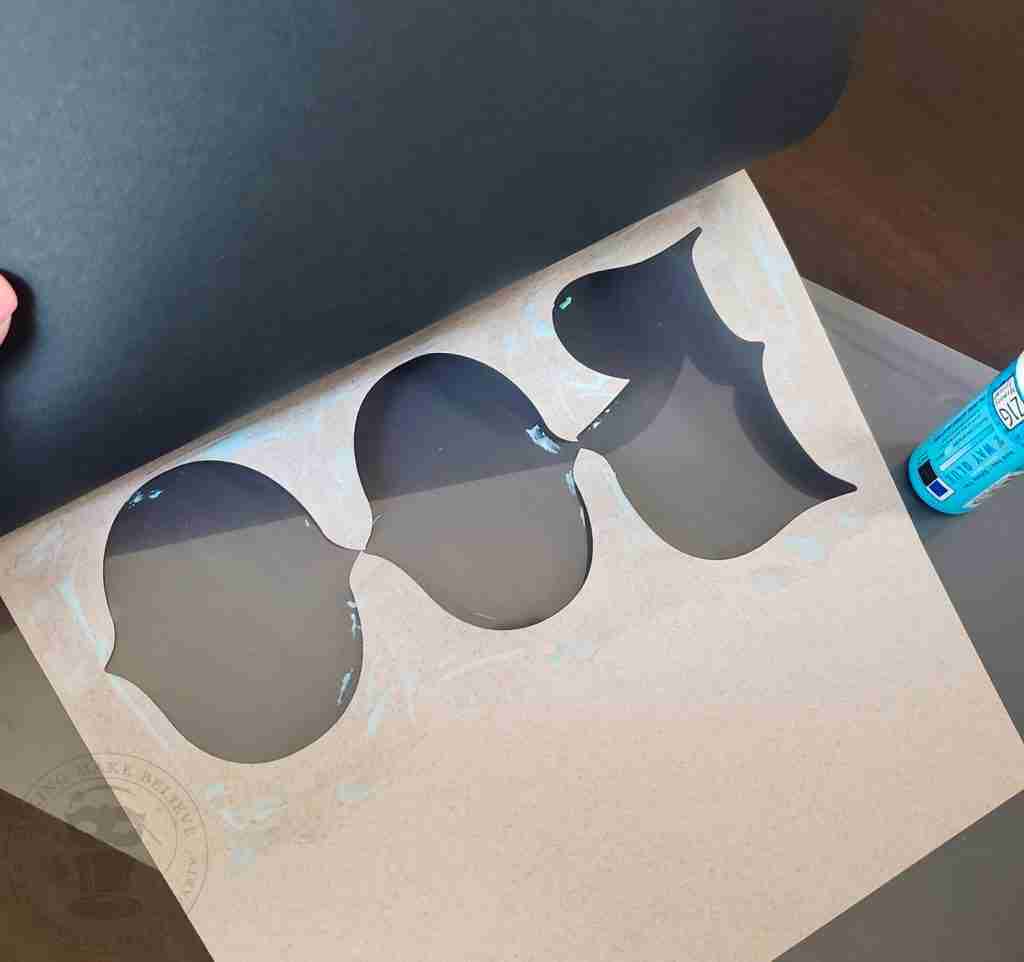
If desired, add the oval frame and the interior of the letter cutouts. (See the next project below for more detail on adding the letter cutouts.)
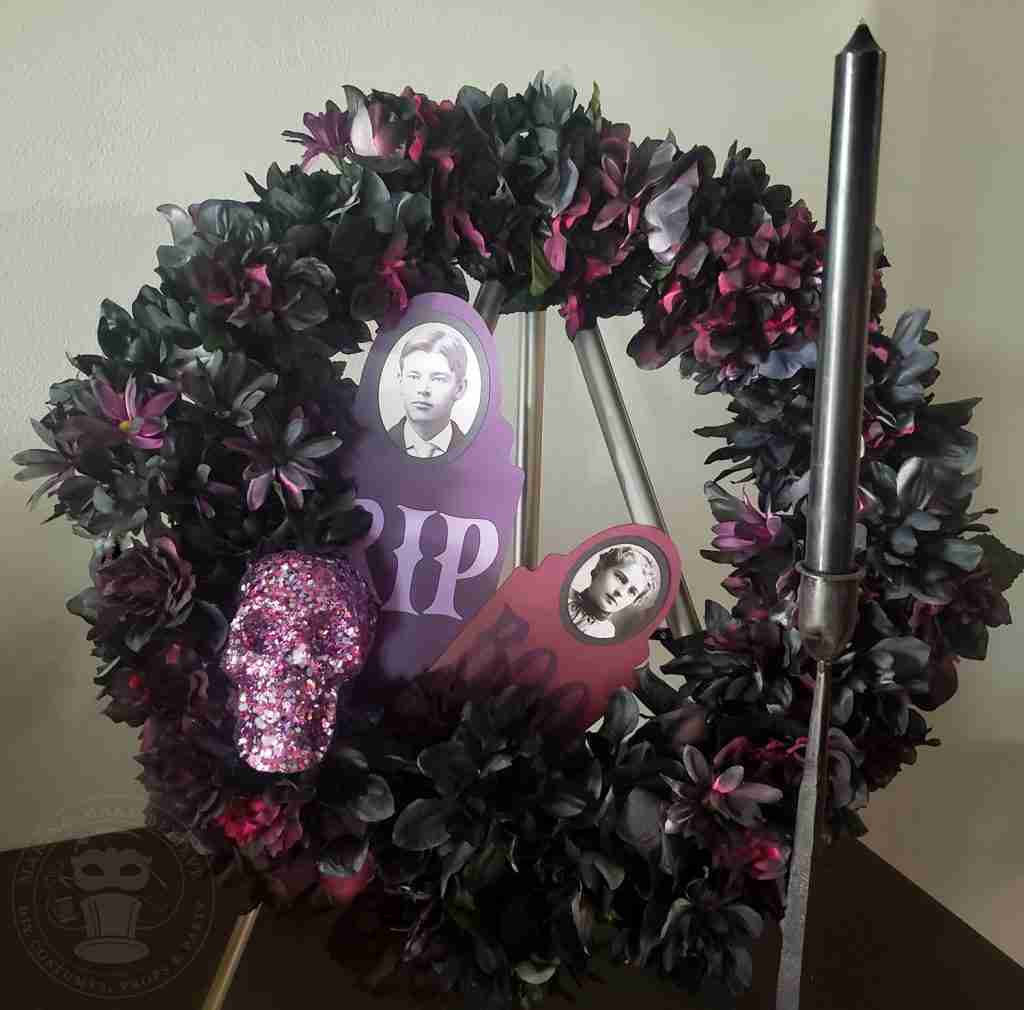
Glue, wire, or clip the tombstone portraits onto your wreath.
And, just like that, you created your own Halloween welcome wreath to greet guests and trick-or-treaters.
I included a glittered skull to my gravely greeting to add a touch of sparkle and give the wreath a more light-hearted look.
Check back next week to see how you can easily craft your own bedazzled braincase.
After welcoming your guests at the door, continue the theme inside with some coordinating wall decor. It’s super easy, and your guests will be impressed with your customized creepy scenery.
Using the same Tombstone Portrait files from the Haunted Library, let’s craft some easy wall decor.
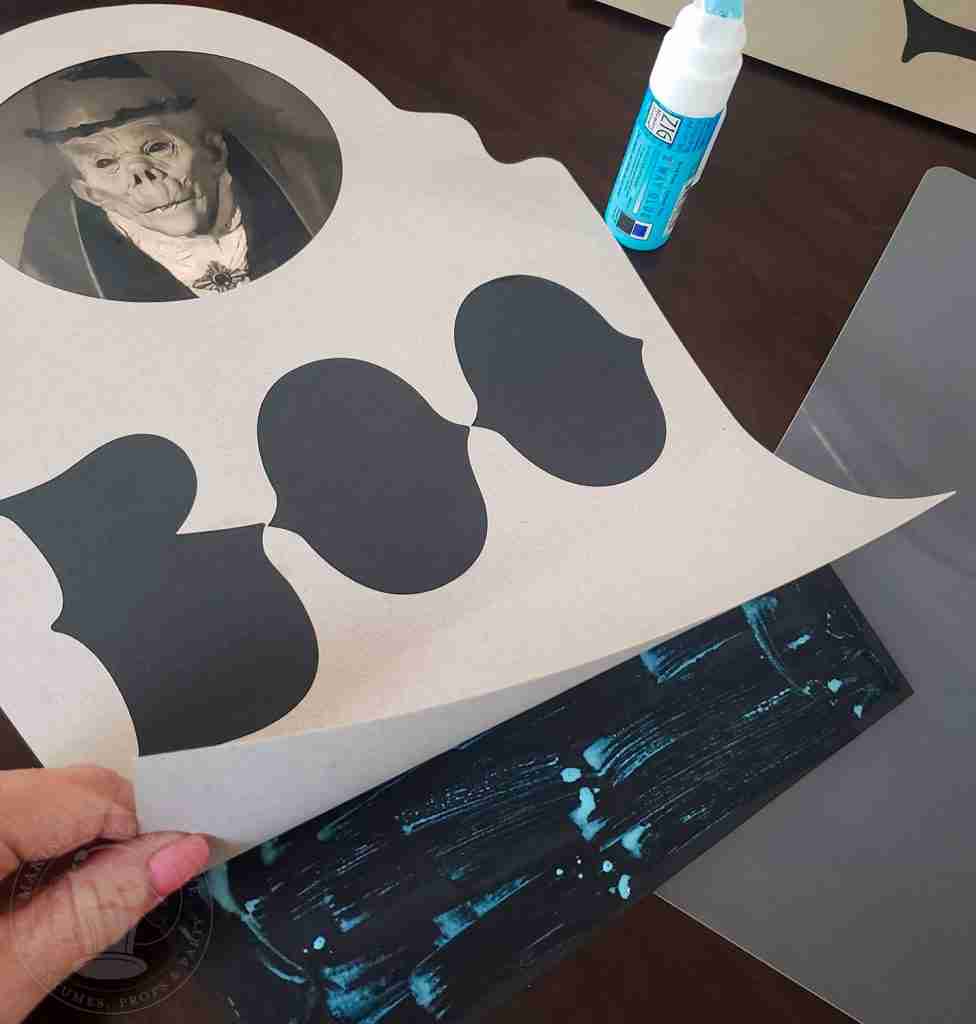
I wanted to cut these on my Cricut Maker yet still make a grand statement, so I opted to use art papers that measure approximately 19″ x 25″. My selections included Moonstone and Felt Grey, plus I also picked up two of the heavyweight art papers in black.
This size worked great. I was able to trim it down to fit my mat, and I had plenty to craft several tombstones.
I resized the tombstone pieces in Cricut Design Space to fit my mat. If you do this, be sure to resize all of the elements that go into one tombstone (epitaph, base, portrait, and oval frame) so that everything will fit together.
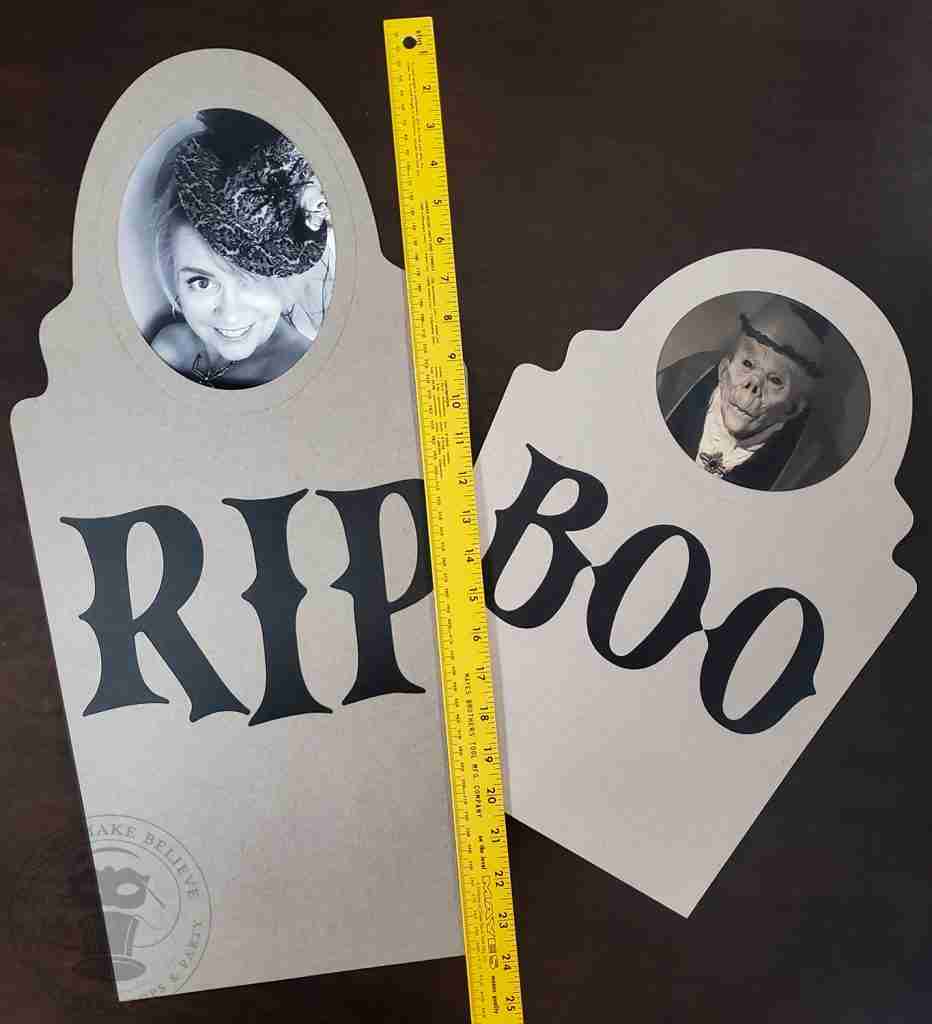
Instead of the Vintage Portraits included in the free files, I opted for more fun and whimsical pics.
I pulled up a photo of myself in costume and desaturated it, giving it an old-timey look for the first tombstone.
Then I took a pic of the office mascot, Drac, desaturated the color, and added a sepia tone for the second tombstone.
You can add any photos you like. For example, if you’re hosting an annual party, consider adding pics of last year’s costume winners to your tombstones, giving them a place of honor and more bragging rights.
Grab some tape and glue, and let’s put these together.
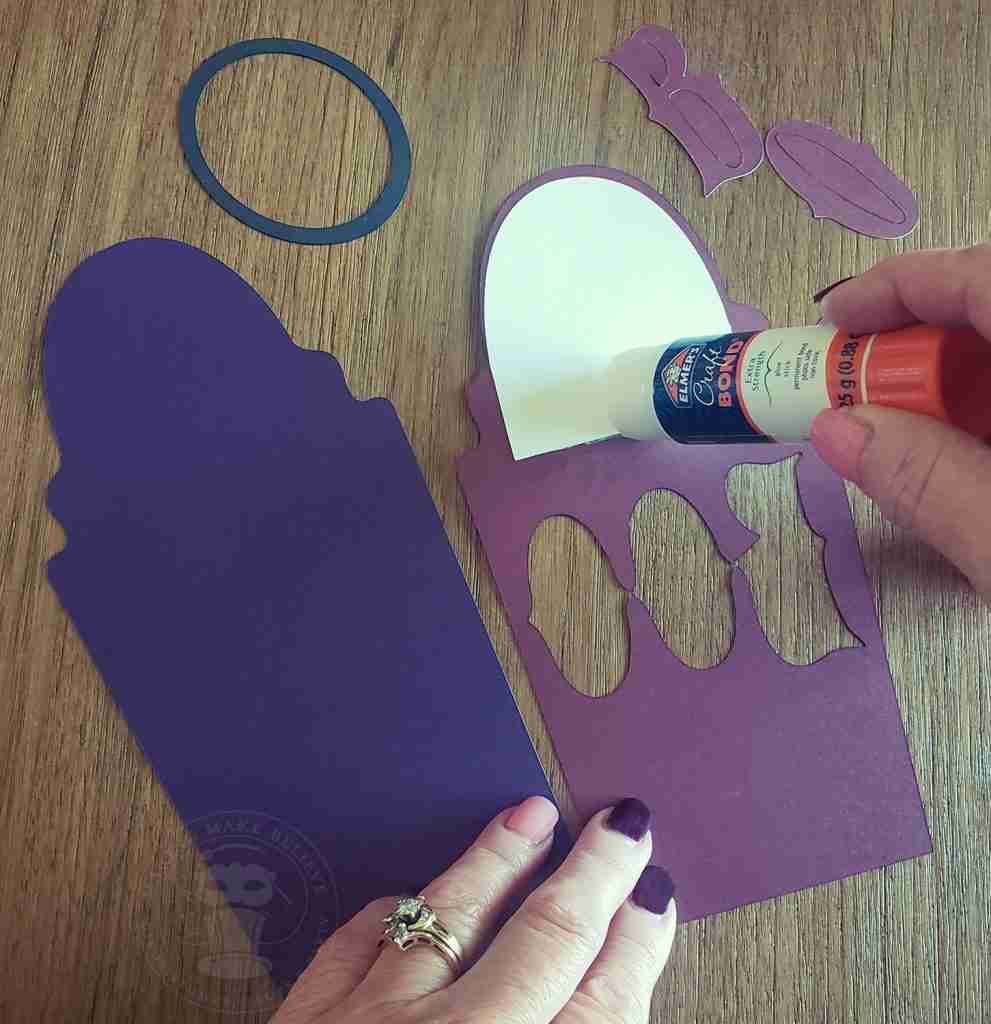
First, tape the portrait behind the oval opening.
Next, working in sections, add glue to the epitaph tombstone and adhere it to the base tombstone. Make sure the glue you choose allows you enough work time. The Zig 2-Way Glue Jumbo Pen is great, but you need to move quickly before it dries. As an alternative, double-stick tape also works well.
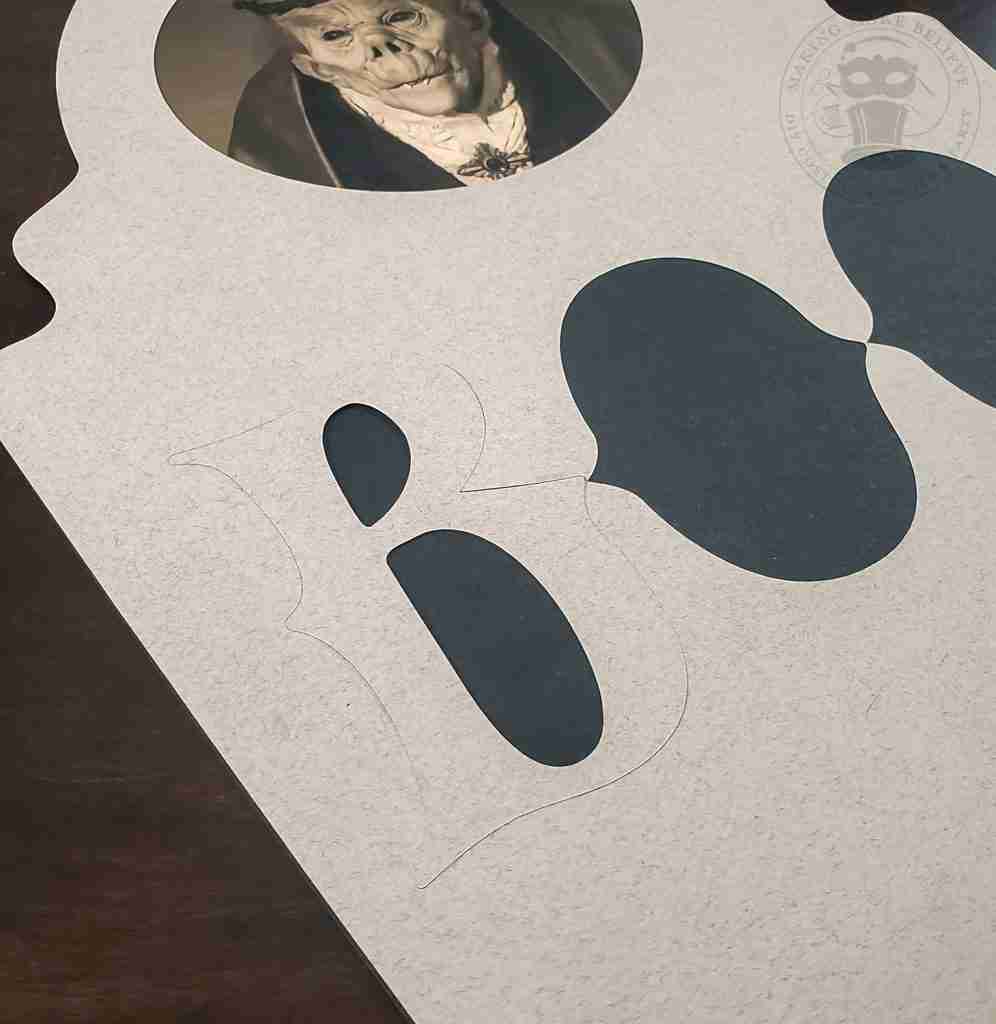
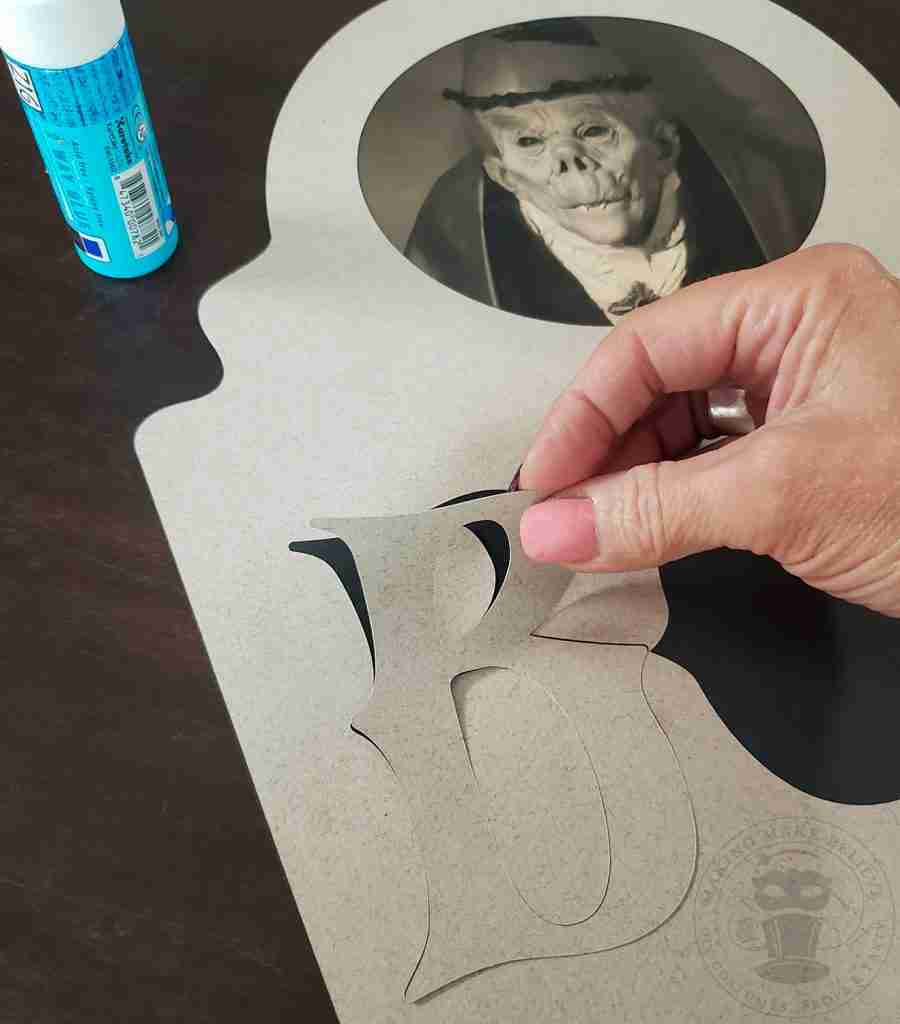
I like to add the interior letters to the tombstone to define the epitaph.
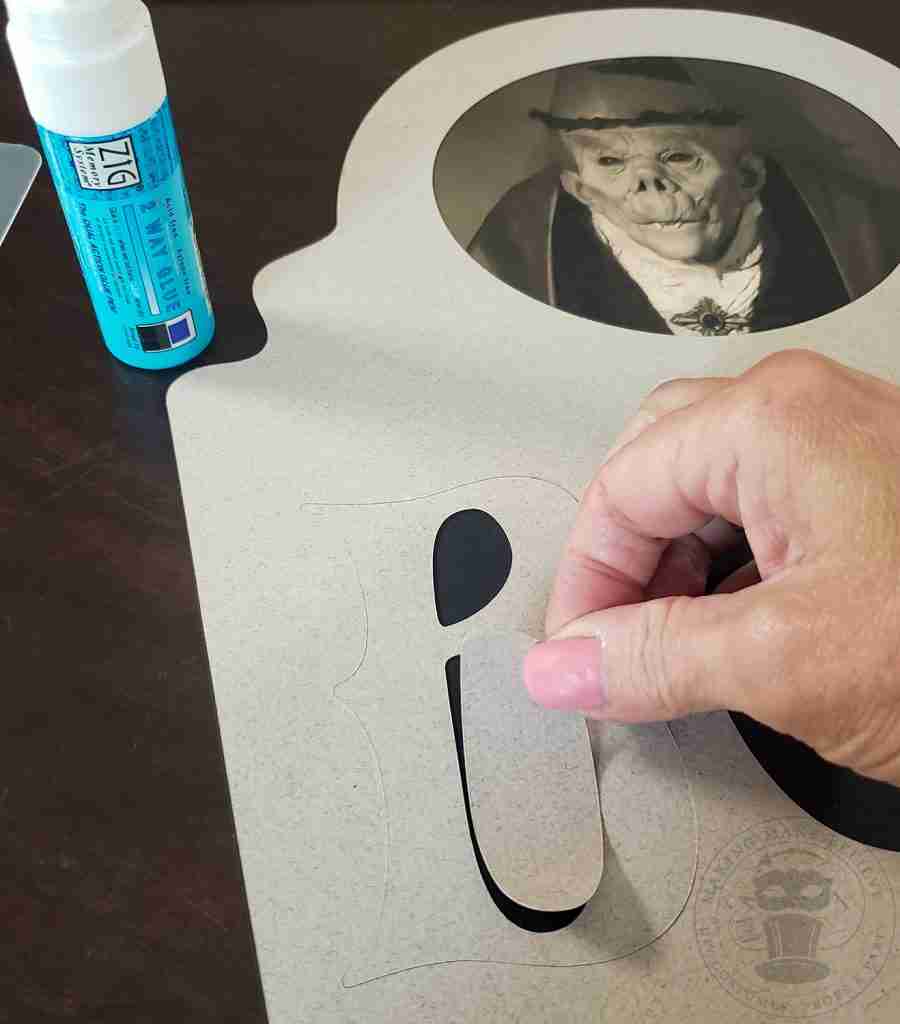
The easiest and most accurate way is to set the entire letter back into the cutout section. Don’t add any glue; just lay it into place.
Add glue to the back of the interior cutout, carefully position it onto the tombstone, and press it into place.
Remove the letter.
Add the oval frame if desired.
Check out the size of these tombstones!
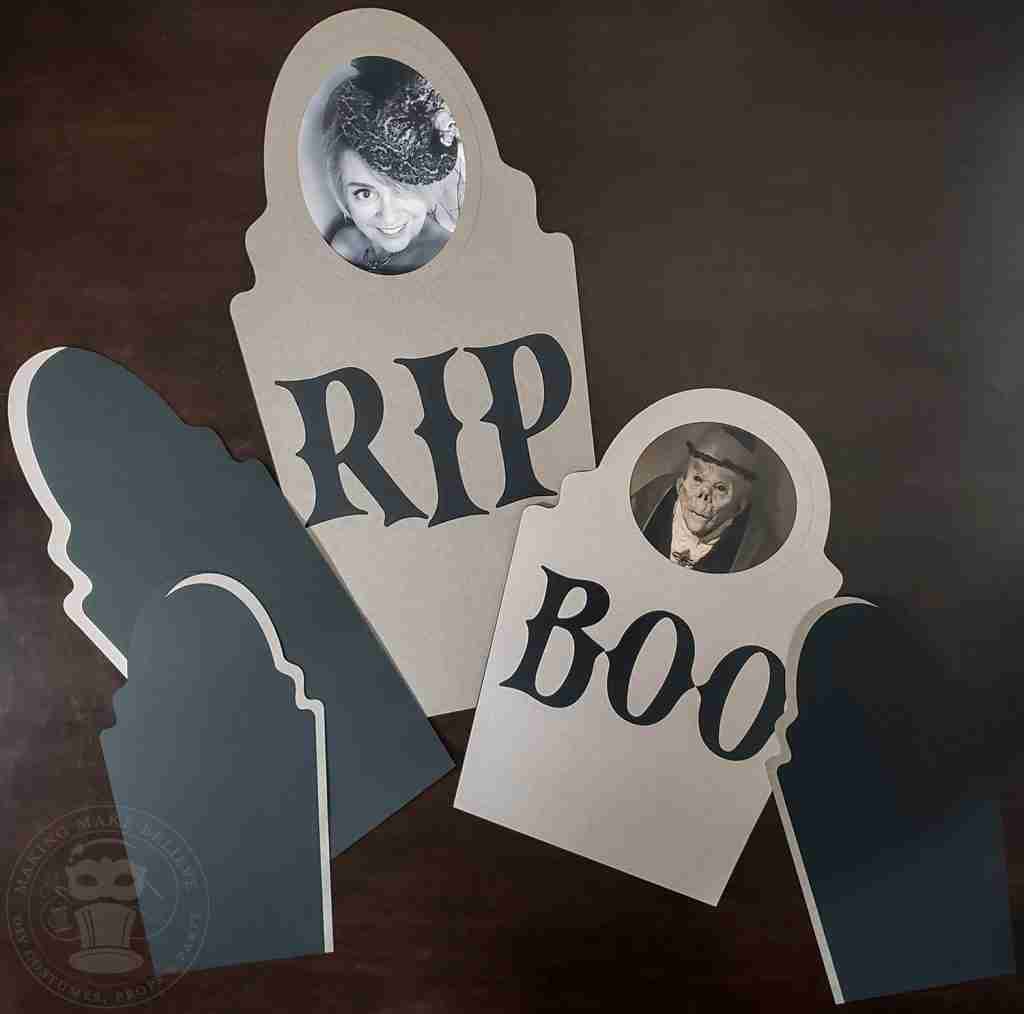
I crafted some plain tombstones in leftover black paper to fill out the display and add more interest.
There’s no limit to what you can create, and you can customize it to your theme and colors and use your portraits to personalize the look.
Until next time, stay undead!
P.S. Want more tombstone portrait decor? Party table pieces are coming soon!

Check your email for the Haunted Library password.
Don’t miss a moment of the mischief.
Add hello@makingmakebelieve.com to your address book.
Join us and get access to our Haunted Library stocked with templates, printables, cut files, and exclusive content. Plus, you’ll receive Eerie Emails just for our subscribers.
*Stay as long as you like. Unsubscribe at any time.