3.9K


Decorate Paper Mache Letters
It’s beginning to look a lot like Christmas. Everywhere you go…
Go ahead, sing along. You know you want to.
I think that we can all agree that 2020 has been a heck of a year. Typically, I get a little irked when Christmas encroaches on the Thanksgiving holiday. This year I am making an exception. So far, we have exterior lights up and on, breaking a long-standing rule in our house of no lights lit until Thanksgiving evening.
I pretty much skipped the turkey decorations. I might sneak a few out for the day even though we will be celebrating as a much smaller party of three.
Yep, this year is truly like no other and, with that in mind, I’m crafting a new holiday party centerpiece for our table. I want something fun, festive, and a bit whimsical, but I also need it to work with our traditional colors and vintage accents.
I began by digging out some lesser-used holiday pieces in our collection and decided on a Santa theme and his famous phrase “Ho, Ho, Ho.”
The table will get its holiday makeover on Friday after feast day. I’m still crafting some of the pieces, so today, I’m going to show you how I decorated the paper mache letters that will be the focus.
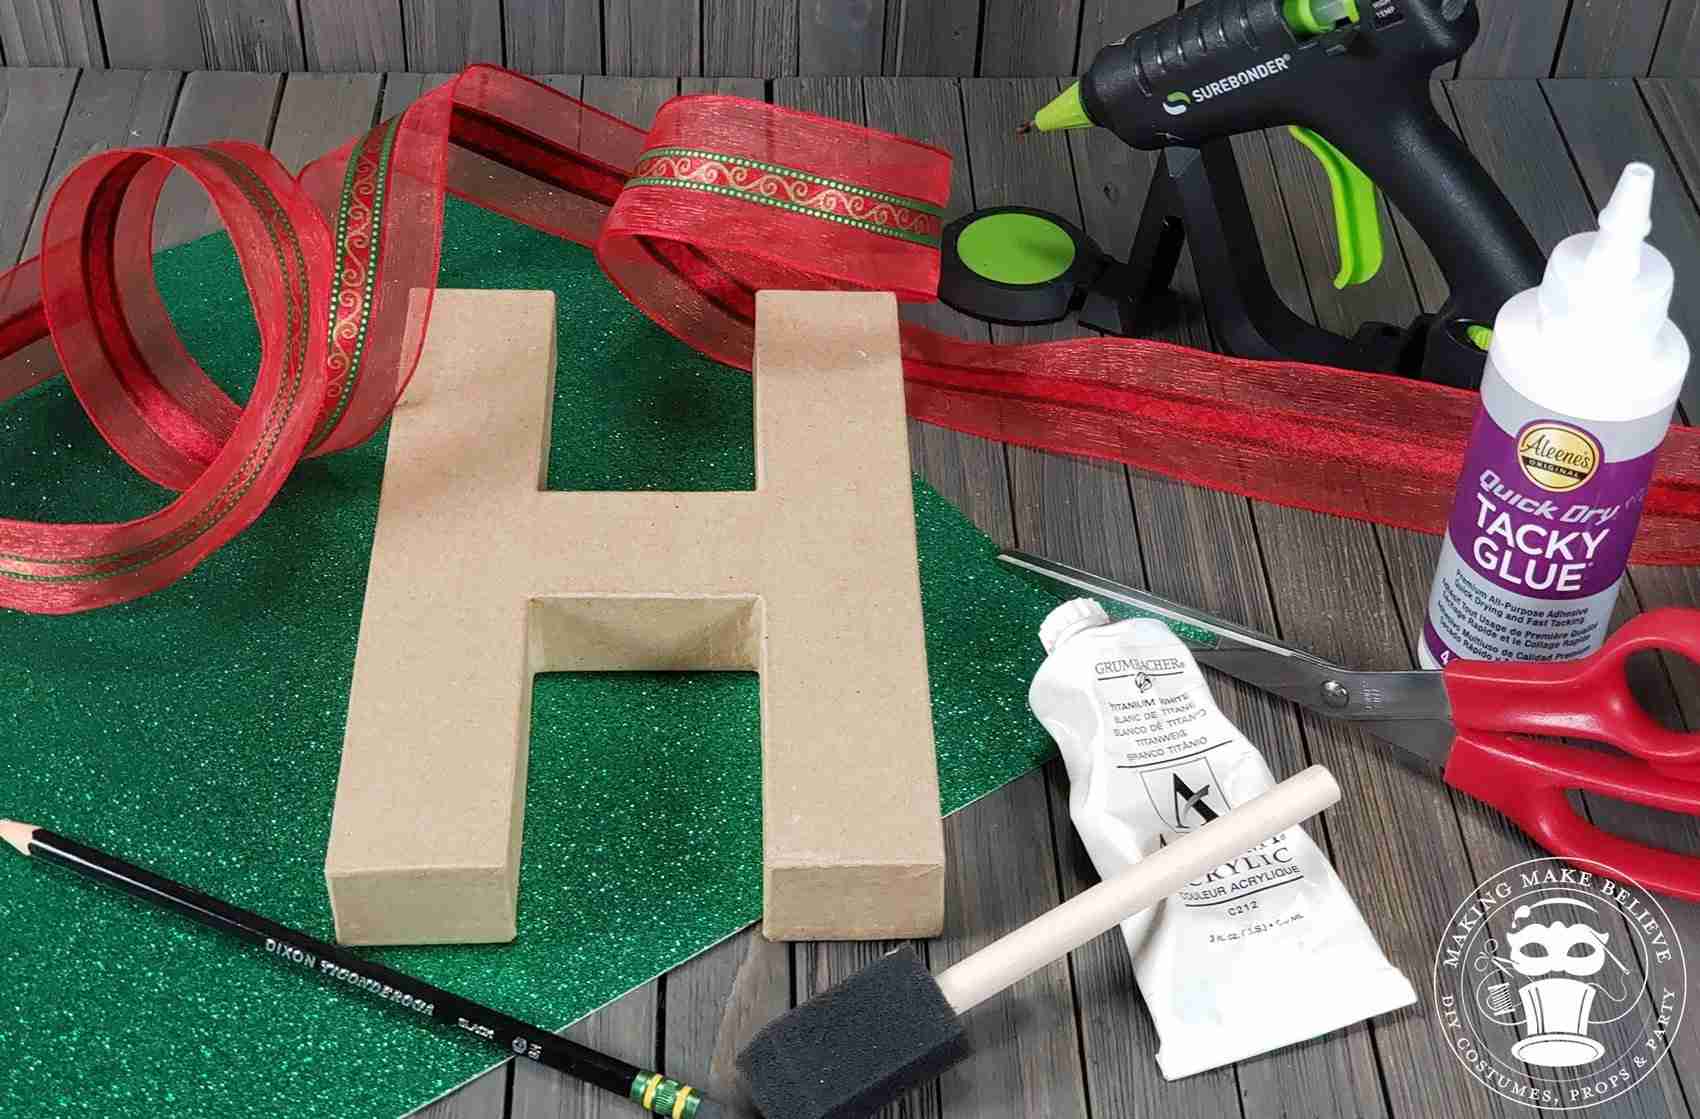
First up, a trip to Hobby Lobby to get some ready-made 8.25-inch paper mache letters.
Next, I grabbed an assortment of scrapbook papers, cardstock, craft paints, glitters, ribbons, and trims.
Get the glue gun heating up and grab the Aleene’s Quick Dry Tacky Glue, scissors, a foam brush, and pencil.
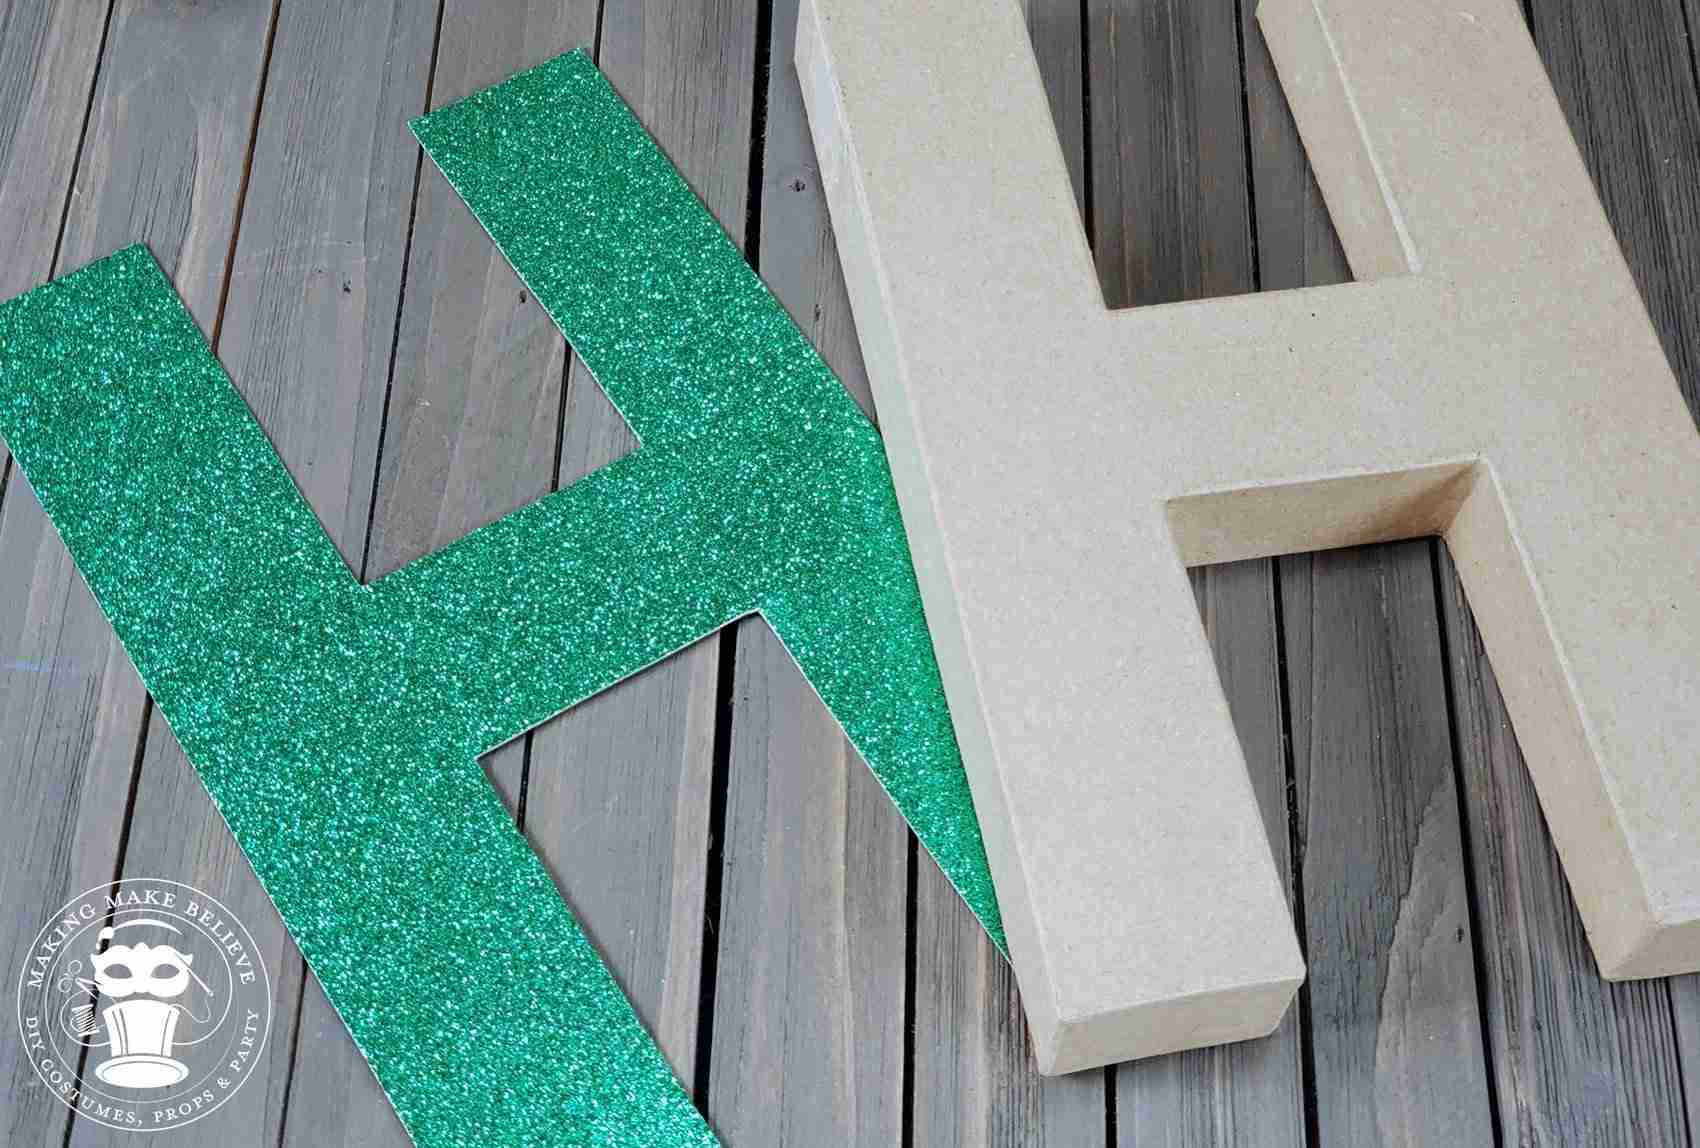
Now I’m ready to get this craft party started. Position the letter on the back side of the paper and trace.
TIP: For decorative papers, keep in mind how you want the design to display on the front of the letter and position accordingly before tracing and cutting.
Next, cut out the letter from your paper.
TIP: Cut just inside the pencil line for a better fit onto your paper mache letter.
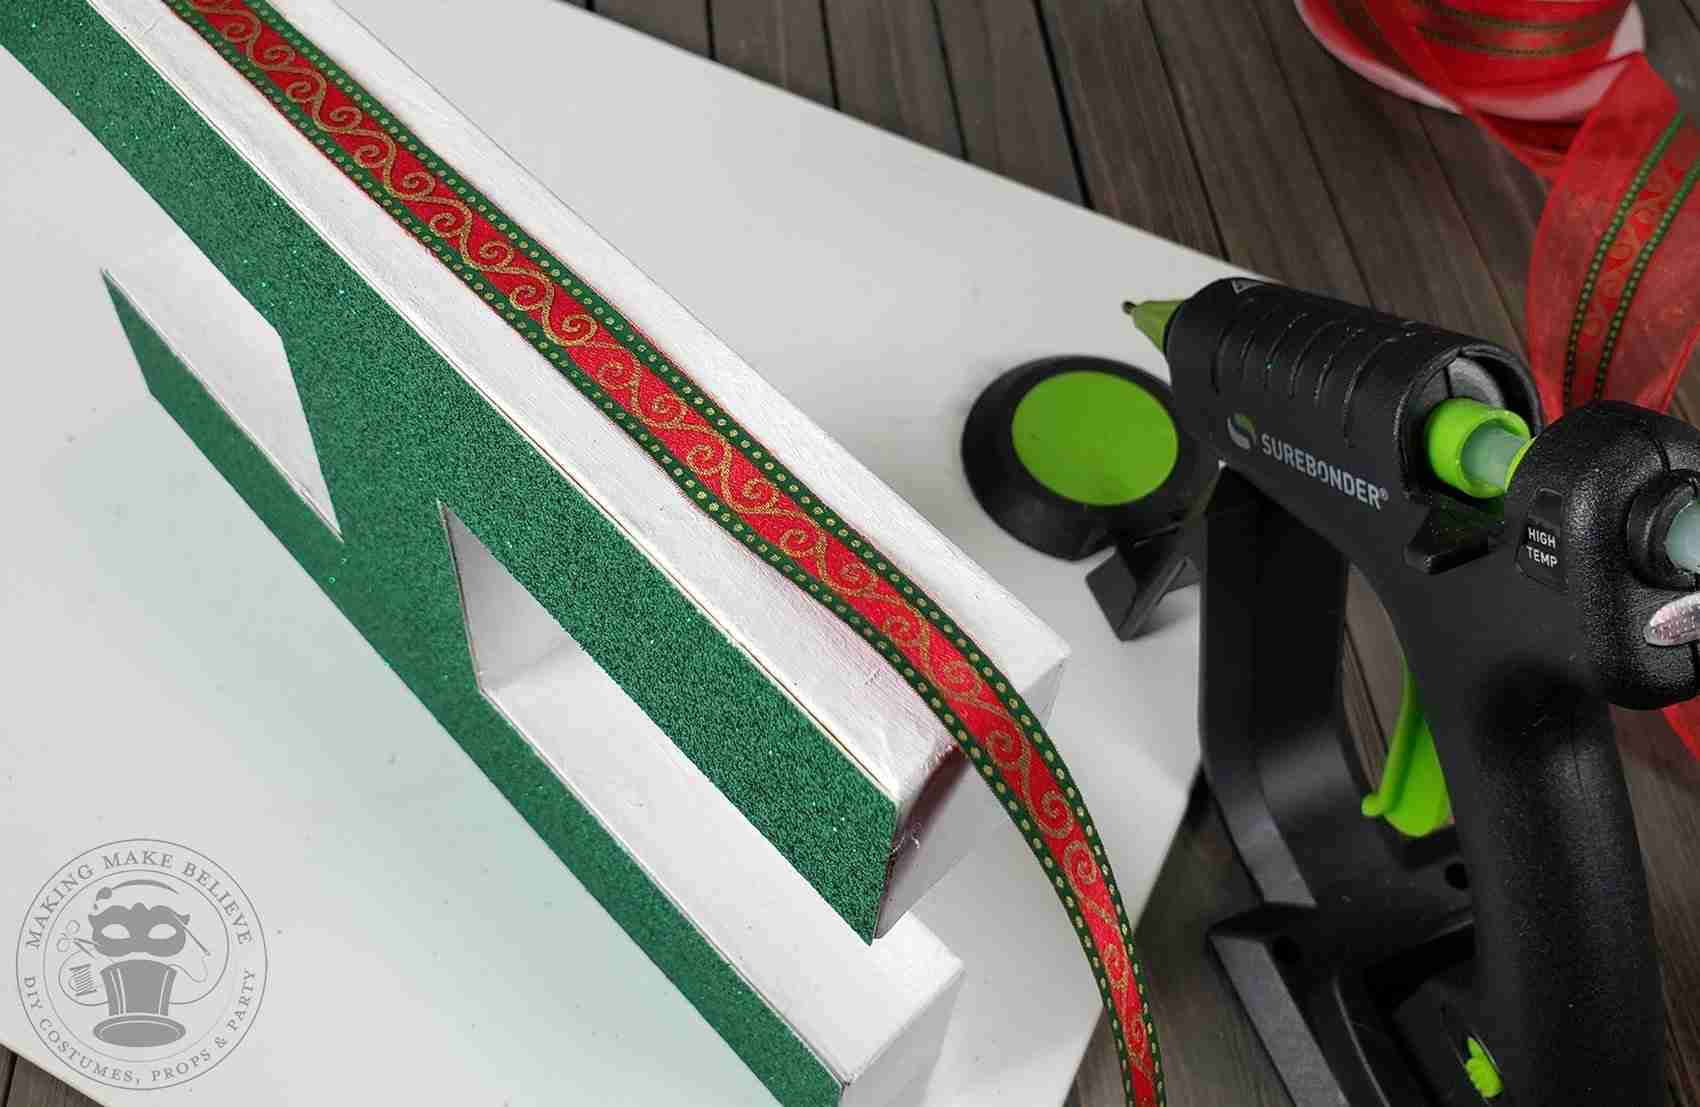
Take the paper mache letter and grab some craft paint. Paint the sides (inside and out) and back. I like to do 2-3 thin coats.
Once the paint is dry, spread the Aleene’s Quick Dry Tacky Glue on the letter’s unpainted front and attach the paper letter cutout.
Now for the fun part! It’s finally time to embellish.
I selected ribbons, trims, and glitters that could pass as vintage in traditional colors of white, red, and green and just a touch of black.
A simple design was added to the back for a more finished look. This makes the letters reversible and gives me more display options.
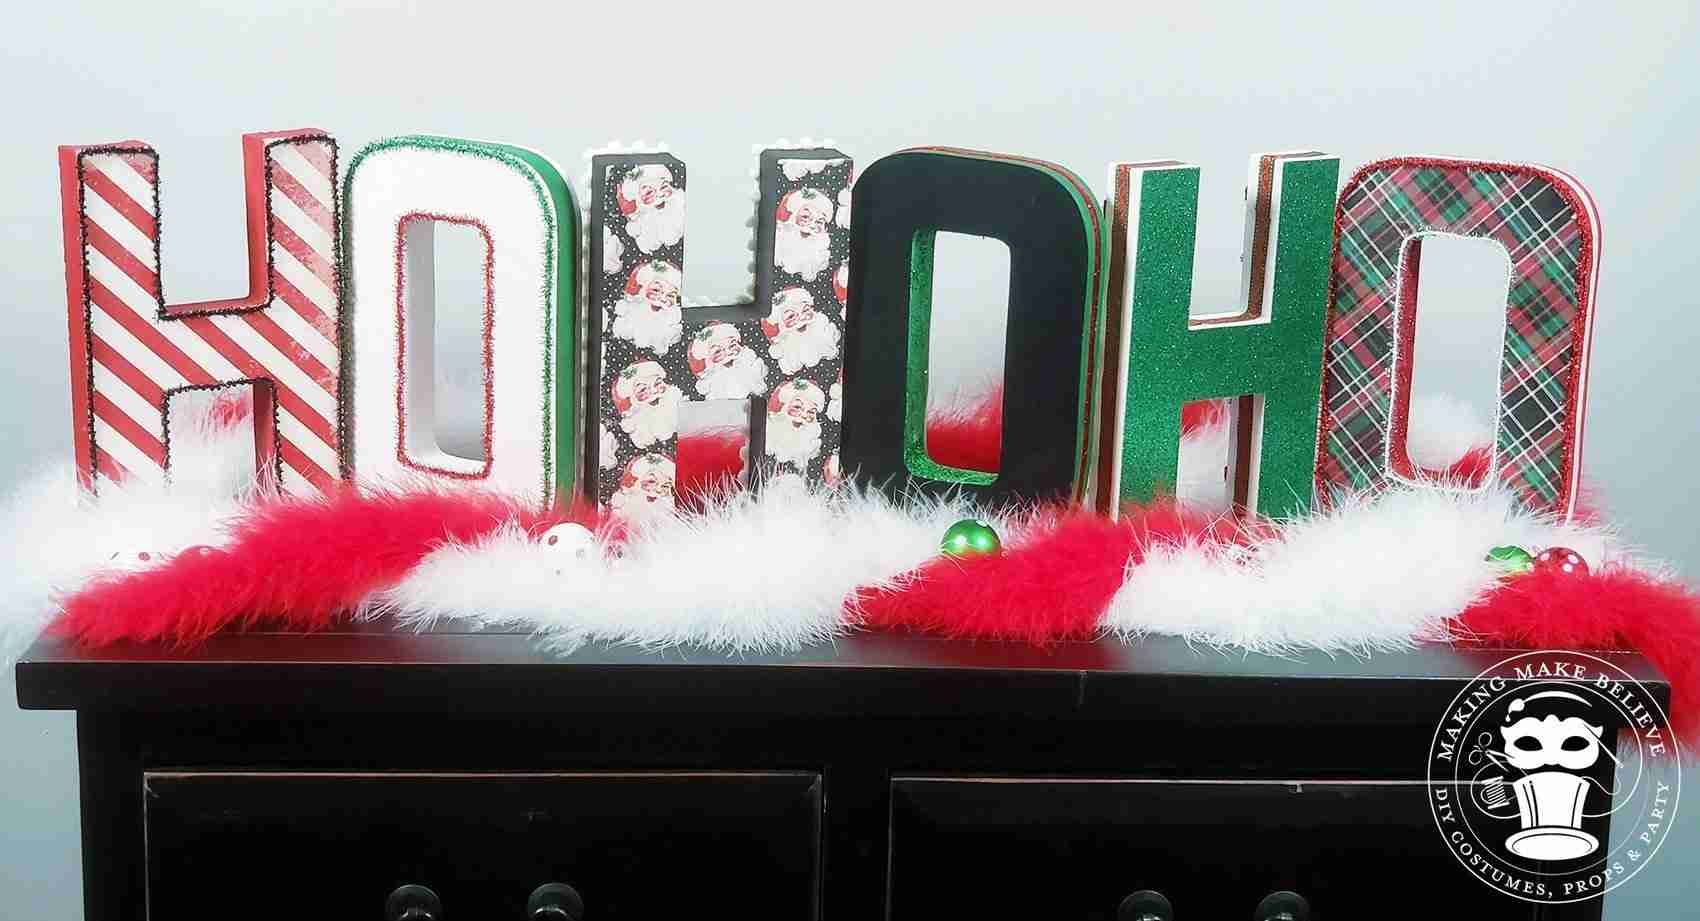
This is how the Ho Ho Ho looks with all of the pieces in place.
This is the front side.
And, this is the back.
Of course, I can switch up the order and flip the letters which allows for several display options.
Here’s a closer look: (Click a pic to enlarge.)
I love how this turned out with the vintage-inspired tones and the ability to mix up the order for a different look. I currently have it on display on a small cabinet with some feather boas and mini ornaments. It’s a perfect fit, and it looks like it belongs there, so I’m going to leave it there for now.
Did you decorate your own letters? I’d love to see them, so be sure to tag me on Instagram or Facebook!
Want more ideas for the holidays? Check out these Festive Tabletop Trees for starters.

Check your email for the Haunted Library password.
Don’t miss a moment of the mischief.
Add hello@makingmakebelieve.com to your address book.
Join us and get access to our Haunted Library stocked with templates, printables, cut files, and exclusive content. Plus, you’ll receive Eerie Emails just for our subscribers.
*Stay as long as you like. Unsubscribe at any time.