3.6K
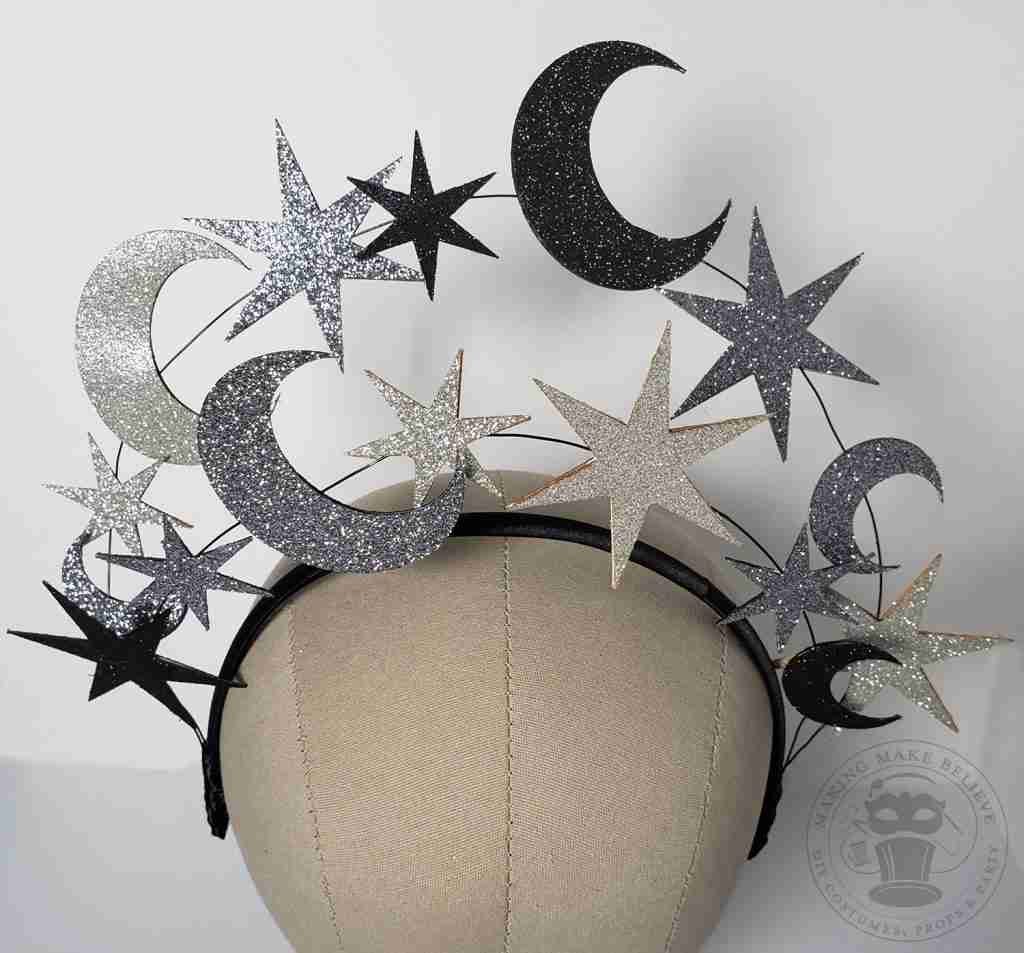


New Year’s Eve Crown
2021 is almost a wrap and, while I’m sure that many of us are more than happy to bid it adieu, I plan to close the year on a positive note. So, before we say farewell, I’m doing one final project to mark the occasion.
I wanted to create something elegant that could be worn at an end-of-year gala or while toasting in the new year with a few close friends. And, I wanted it to be easy – because who says simple can’t be stunning, right?
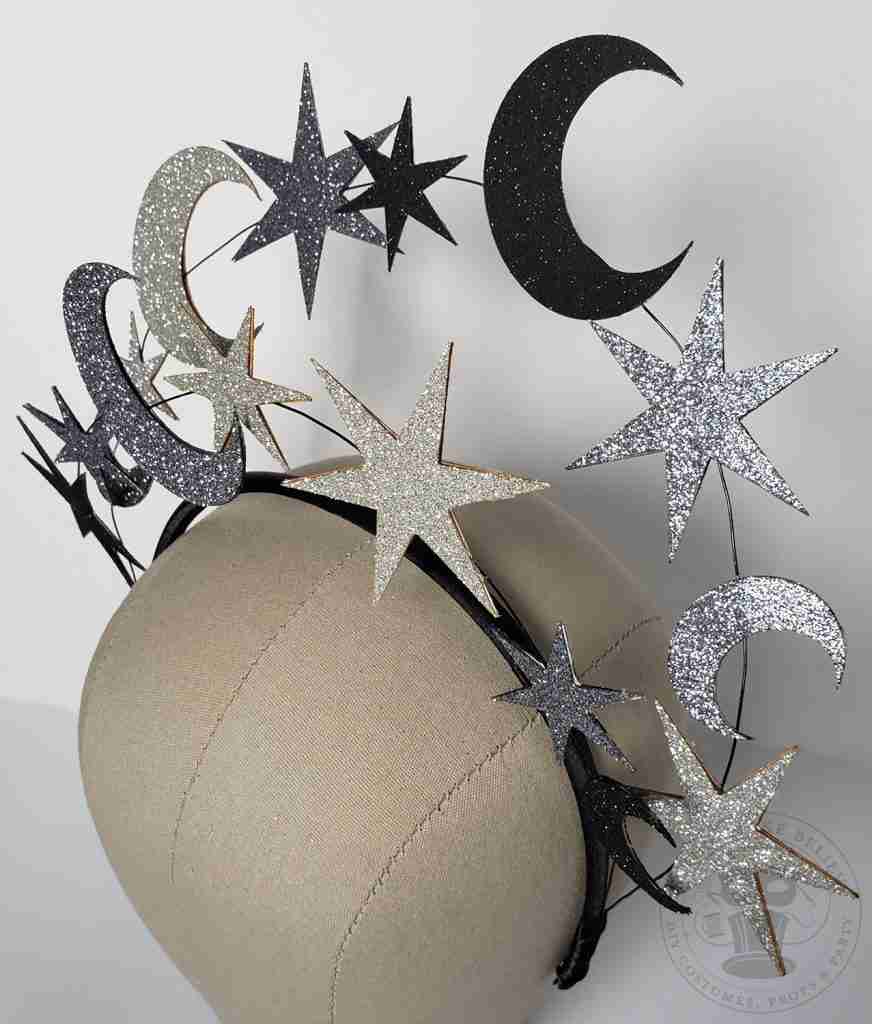
I decided to go with a crown, but I didn’t want one with the year emblazoned across my forehead, so I opted for something more out of this world with a vintage, art deco vibe.
We’ve got no time to waste, so let’s get started.
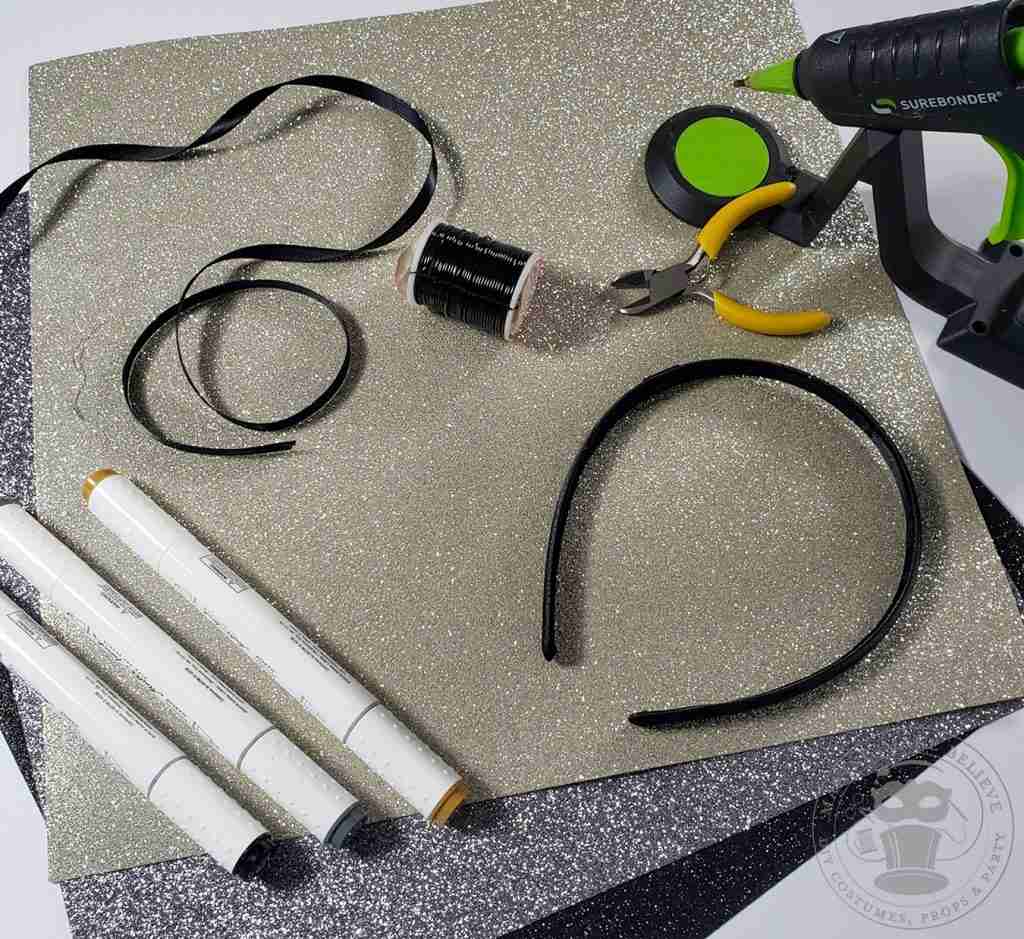
First, we need a headband. I’m using a thin satin headband in black. We also need 20 gauge wire in black, wire cutters, a bit of ribbon to match our headband, hot glue, glitter cardstock, a cutting machine or scissors, and a marker (optional).
We also need to drop by the Haunted Library and grab the Stars, Moons, and Orbs file.
Select the SVG Cut File if you are using a cutting machine or the PDF file if you plan to cut by hand.
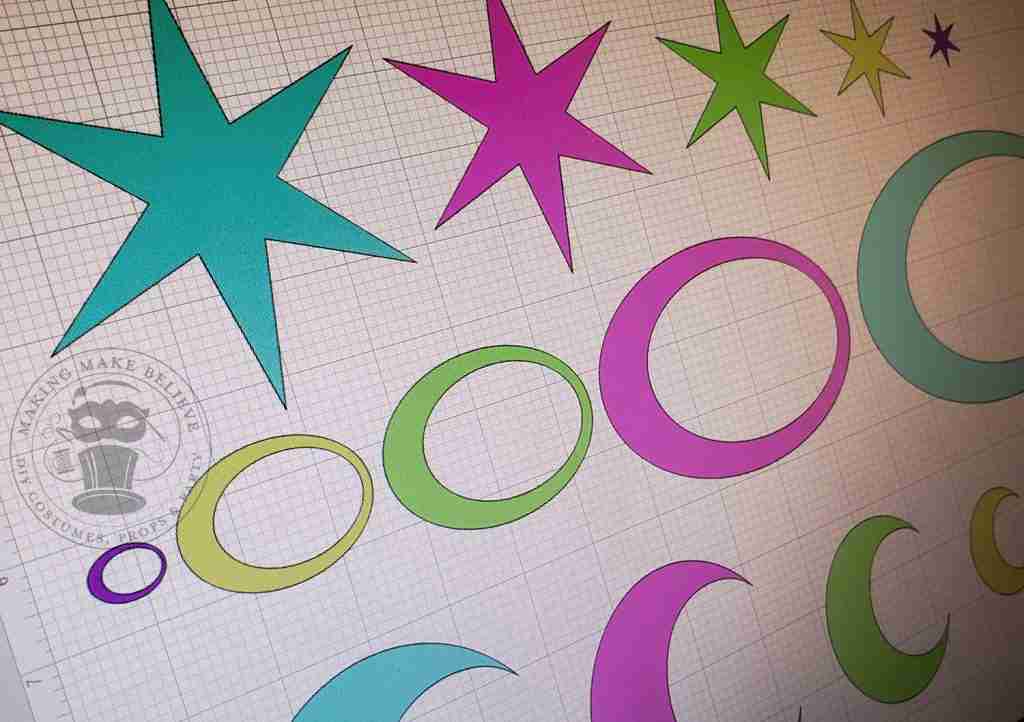
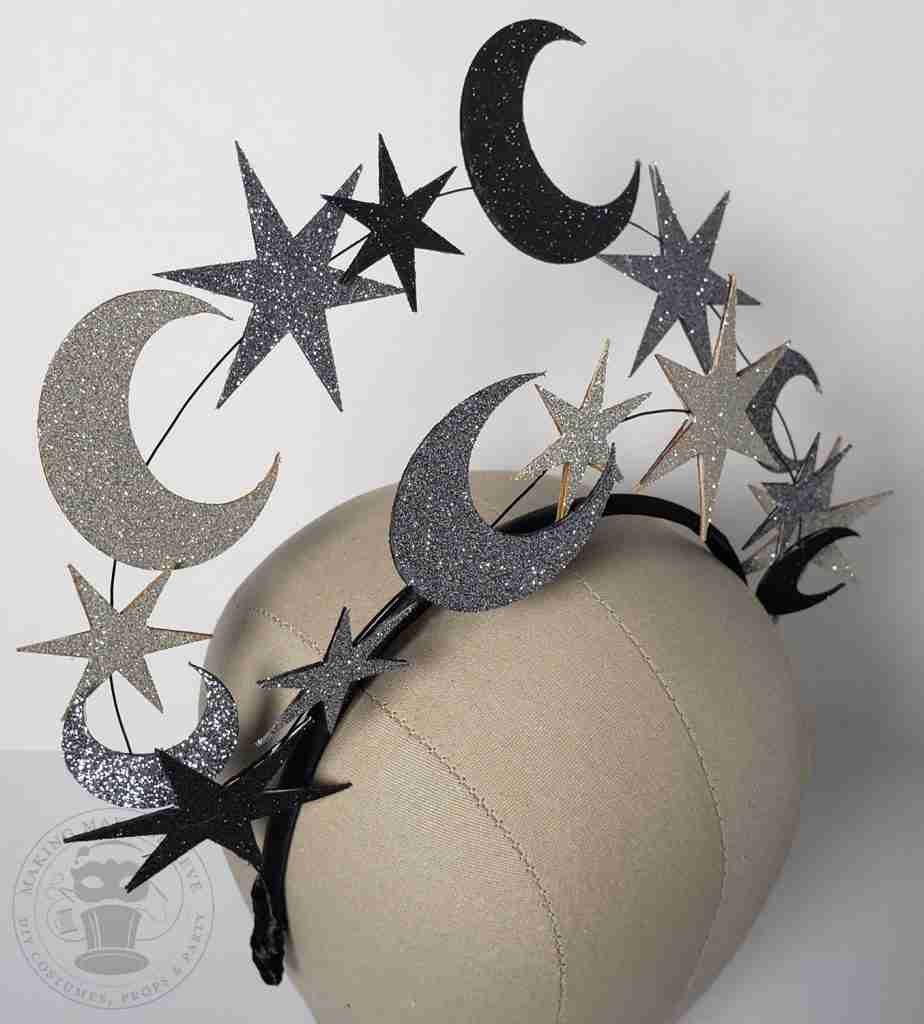
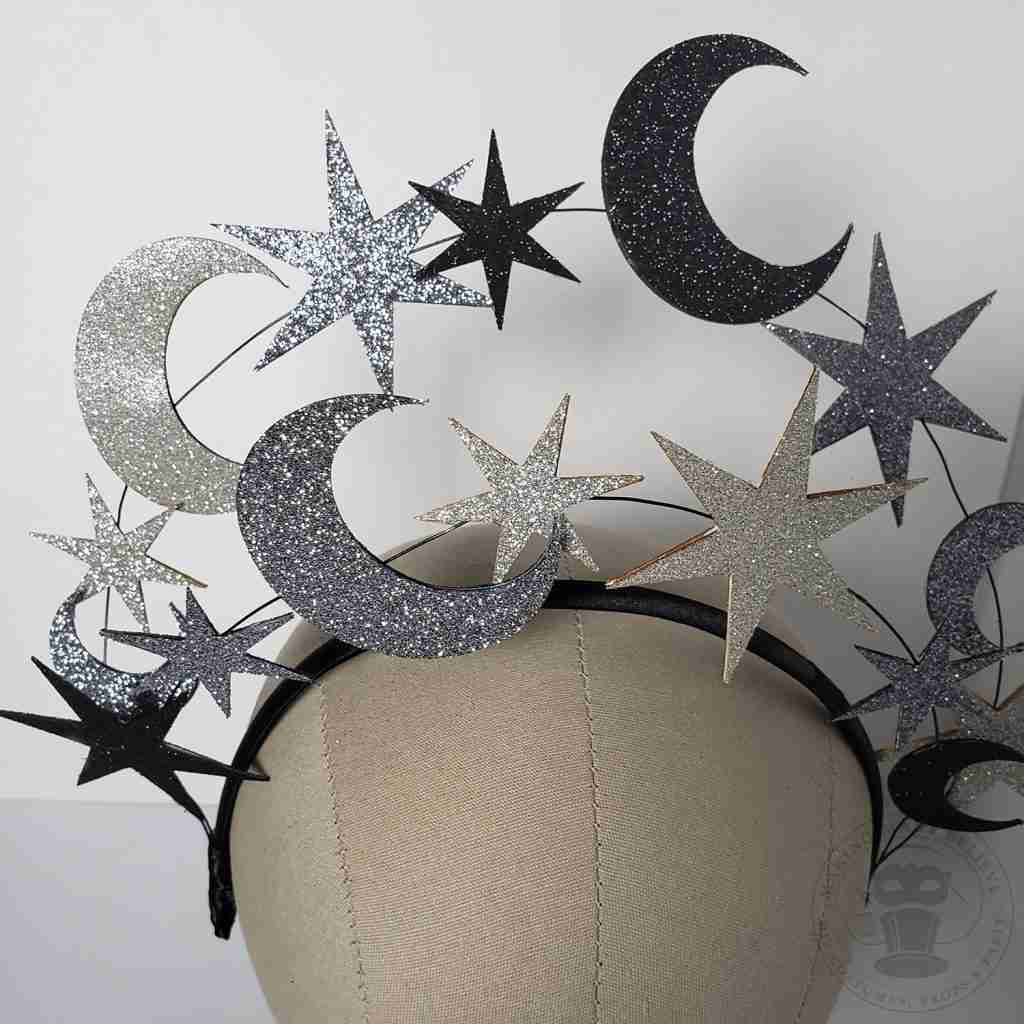
The file contains fives sizes of each of three celestial elements – stars, moons, and orbs. Select any configuration you desire.
For reference, I am using the second and third smallest moons, and the second and the third smallest stars (shown in yellow and green within the file).
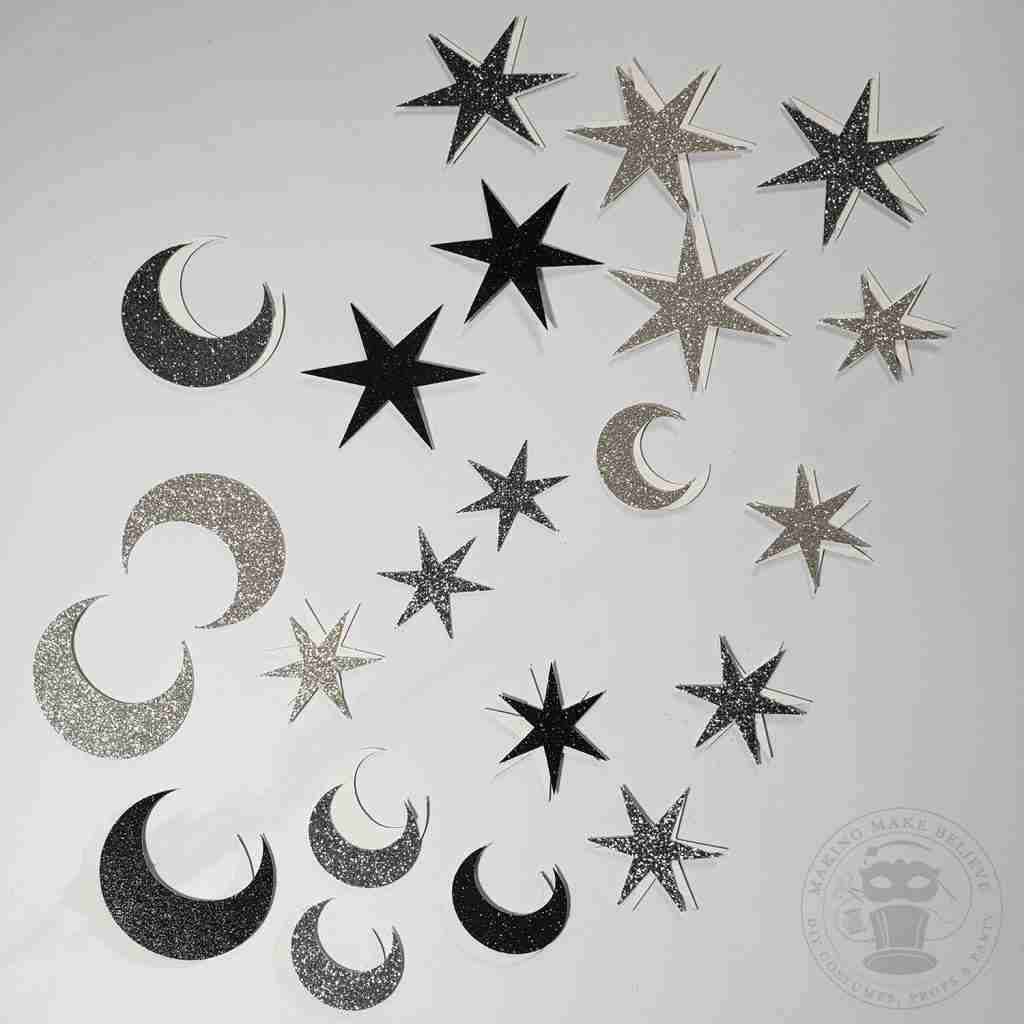
I cut an assortment of the stars and moons for the front-facing pieces, and, as the elements are not designed to be symmetrical, I then mirrored those same pieces to create the backward-facing pieces.
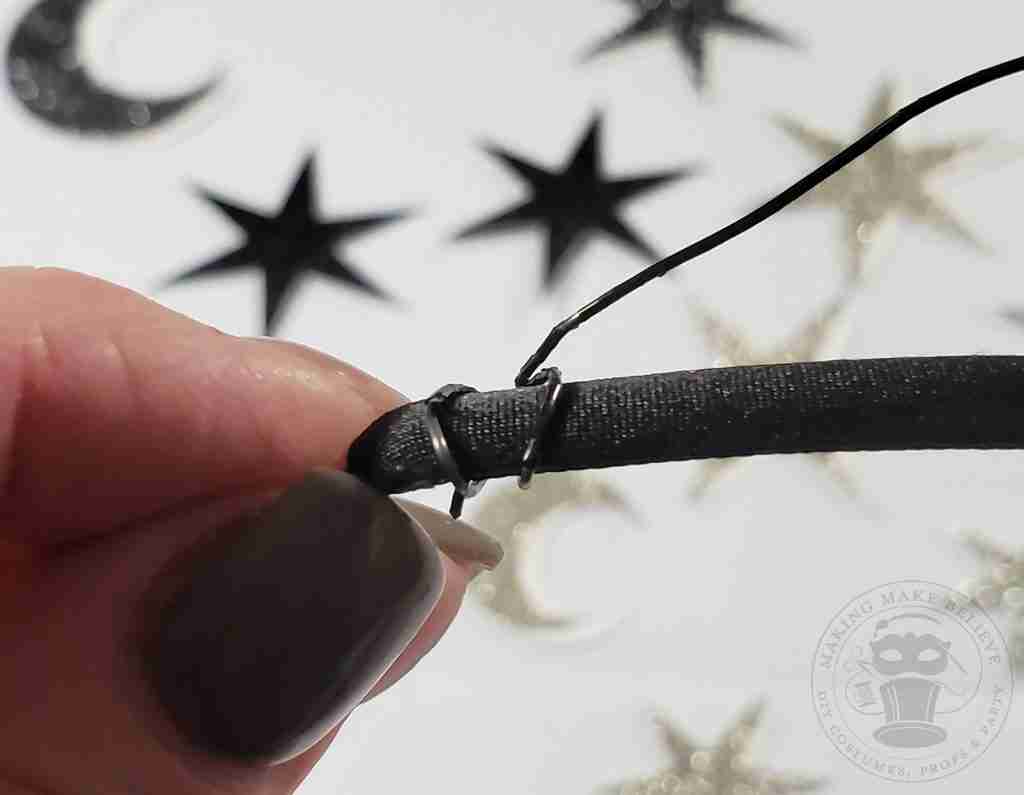
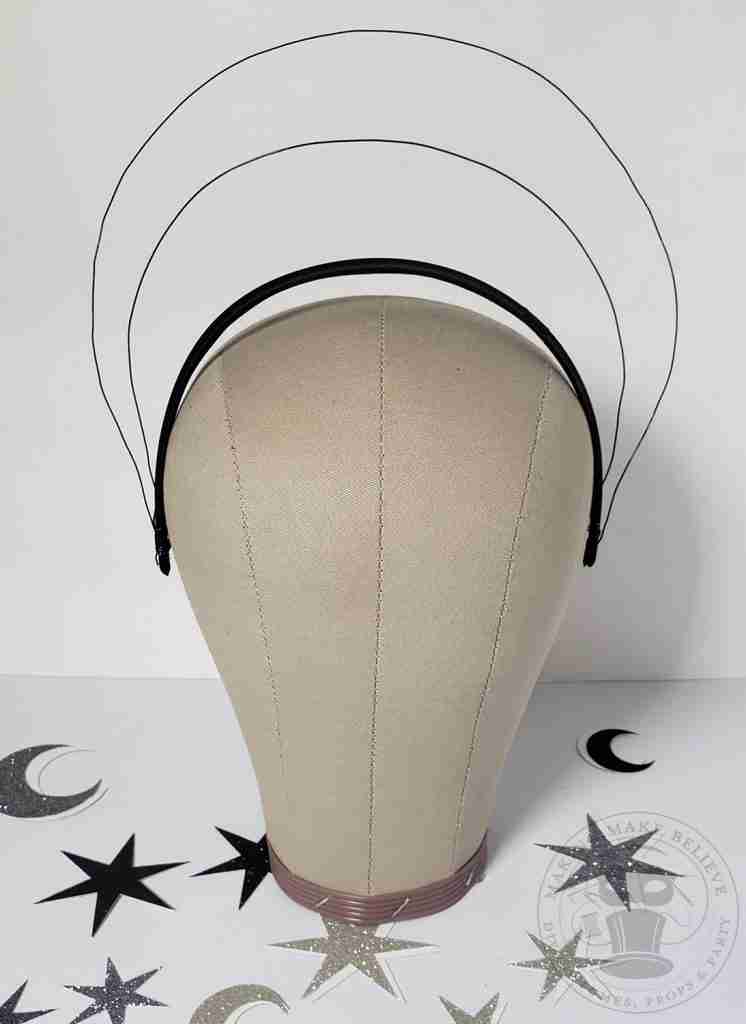
Next, cut a piece of wire approximately 19″ in length. Wrap one end of the wire around one end of your headband. Repeat at the other side, forming your wire in an arch over your headband.
For a two-tiered crown, cut a second length approximately 24″ in length and attach it to your headband in the same way, forming a taller arch.
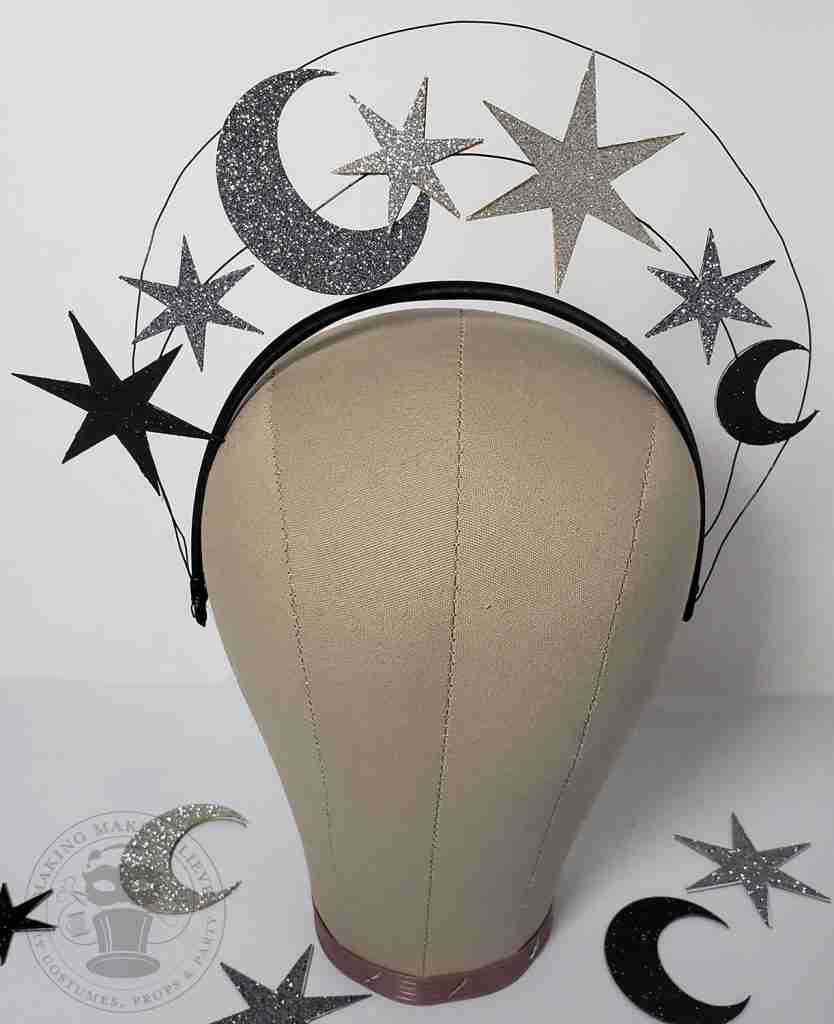
Now, glue a star (moon or orb) to the wire. Glue another star to the back sandwiching the wire in between, giving a finished look from both sides.
If you’re cardstock is white along the edges like mine, take a marker that matches your paper and color the edges.
Continue adding elements until you have the look you want.
Cover the wire end by wrapping them with the ribbon and glue to secure.
And, now we are ready to ring in the new year!
As we prepare to bid farewell to the old and welcome the new, I want to thank you for visiting Making Make Believe, and I wish you a very happy year ahead.

Check your email for the Haunted Library password.
Don’t miss a moment of the mischief.
Add hello@makingmakebelieve.com to your address book.
Join us and get access to our Haunted Library stocked with templates, printables, cut files, and exclusive content. Plus, you’ll receive Eerie Emails just for our subscribers.
*Stay as long as you like. Unsubscribe at any time.