1.9K




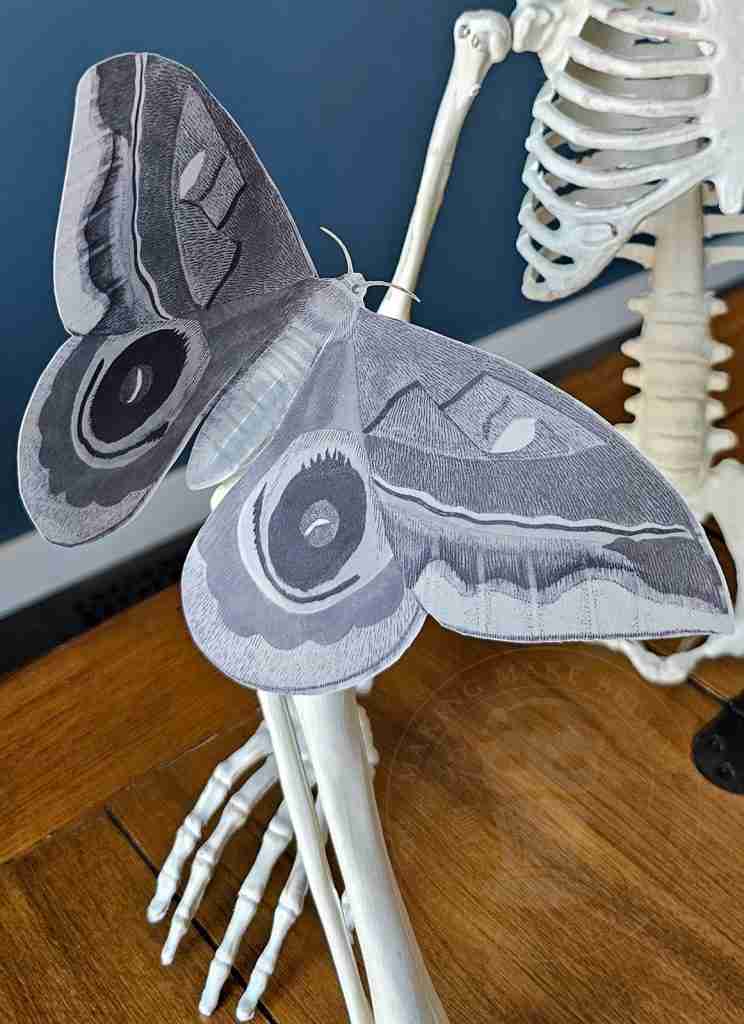
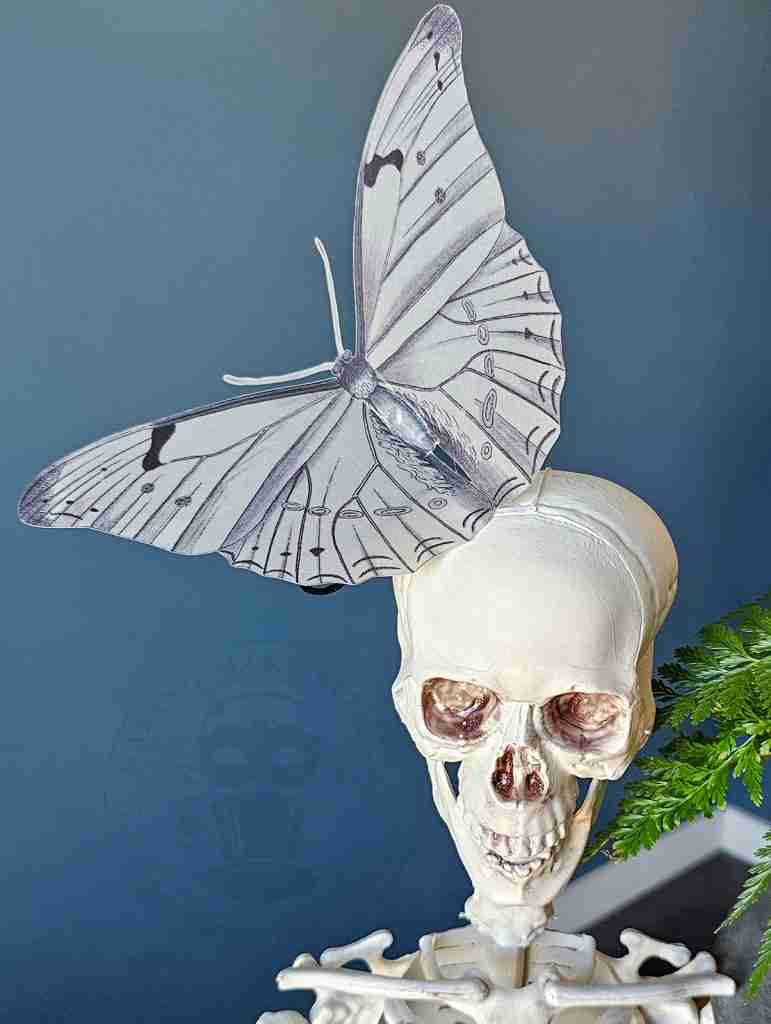
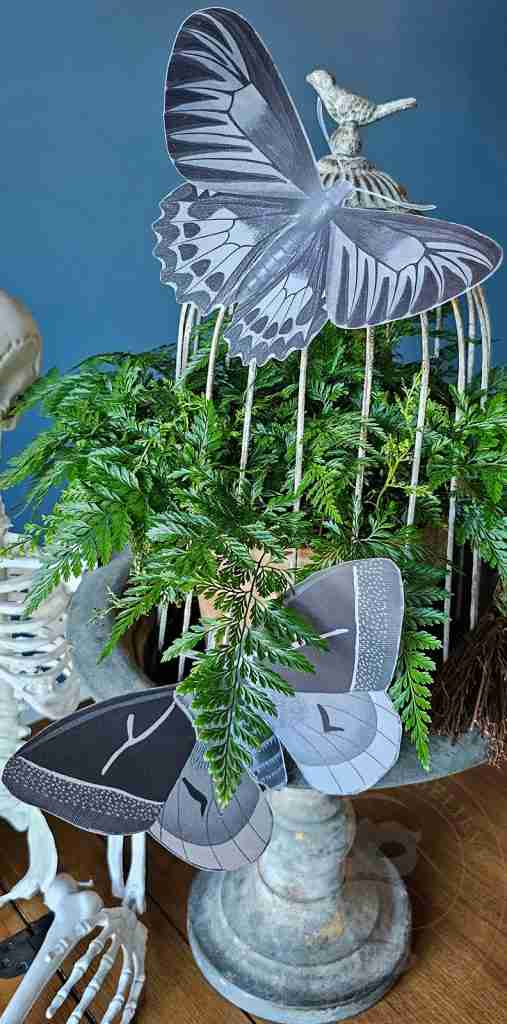

Ghost Butterfly Decoration
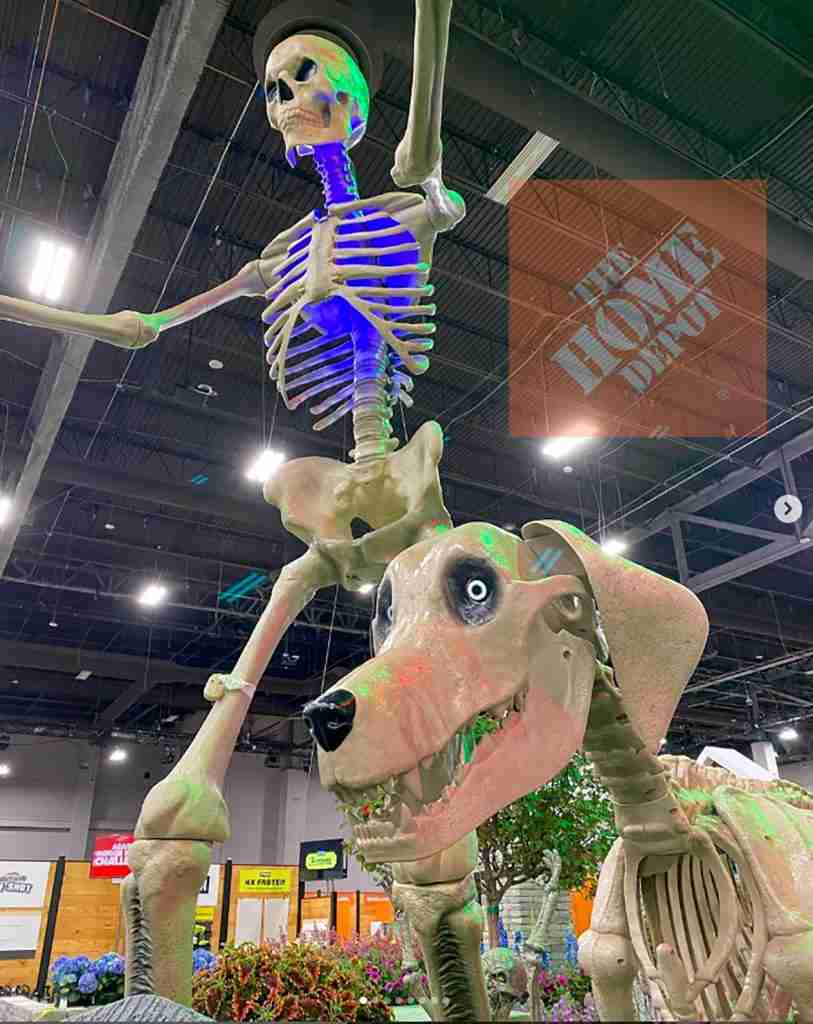
Home Depot, known for its 12-foot skeleton, released its lineup for Halloween 2024 in mid-March.
MID-MARCH!
Spring had not even sprung, and they were already teasing out the spooky.
There is no launch date yet, but rumors from the pumpkin patch state that the giant home improvement retailer may launch a limited selection as soon as this month (April).
The closest Home Depot to me is an hour and a half away, and that’s probably a good thing.
While it’s always fun to see what’s in store for the season, I find myself shopping less for decorations and more for inspiration.
While the giant props are awesome, I’m focusing more on the tiny details—something unusual, unexpected, and unique. And, I think I have just the thing.
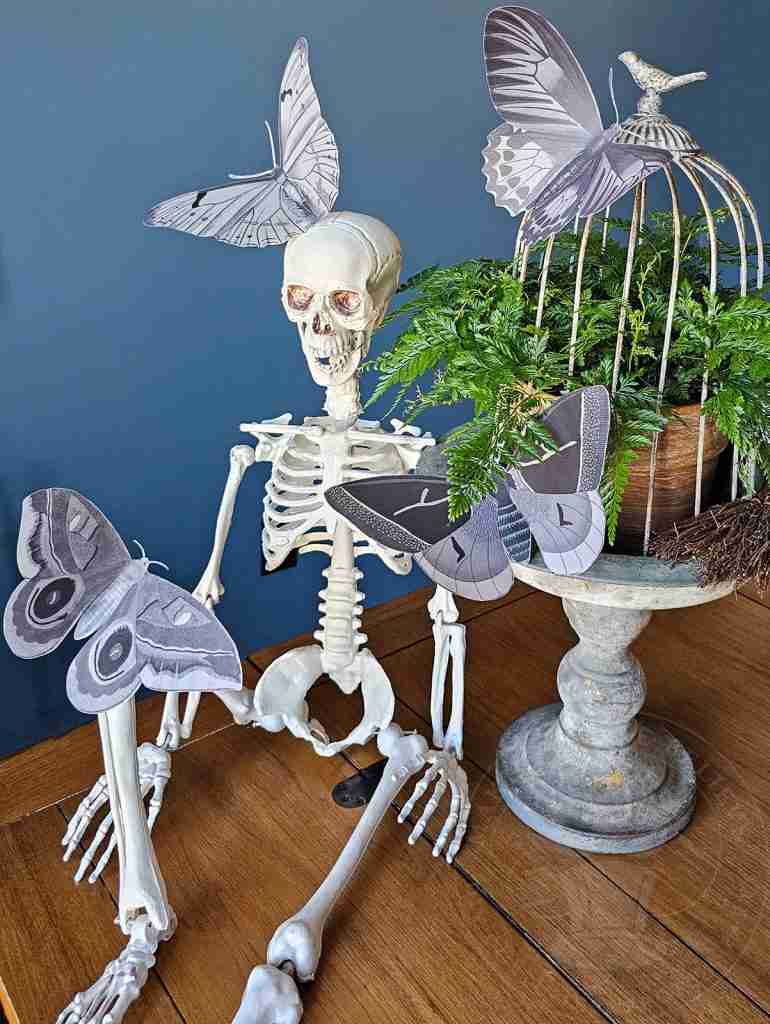
I made a sample of this project a couple of years ago, but I set it aside and didn’t get back to it. So, today, I’m picking up where I left off with an easy and unexpected addition to our haunted cemetery – ghostly butterflies.
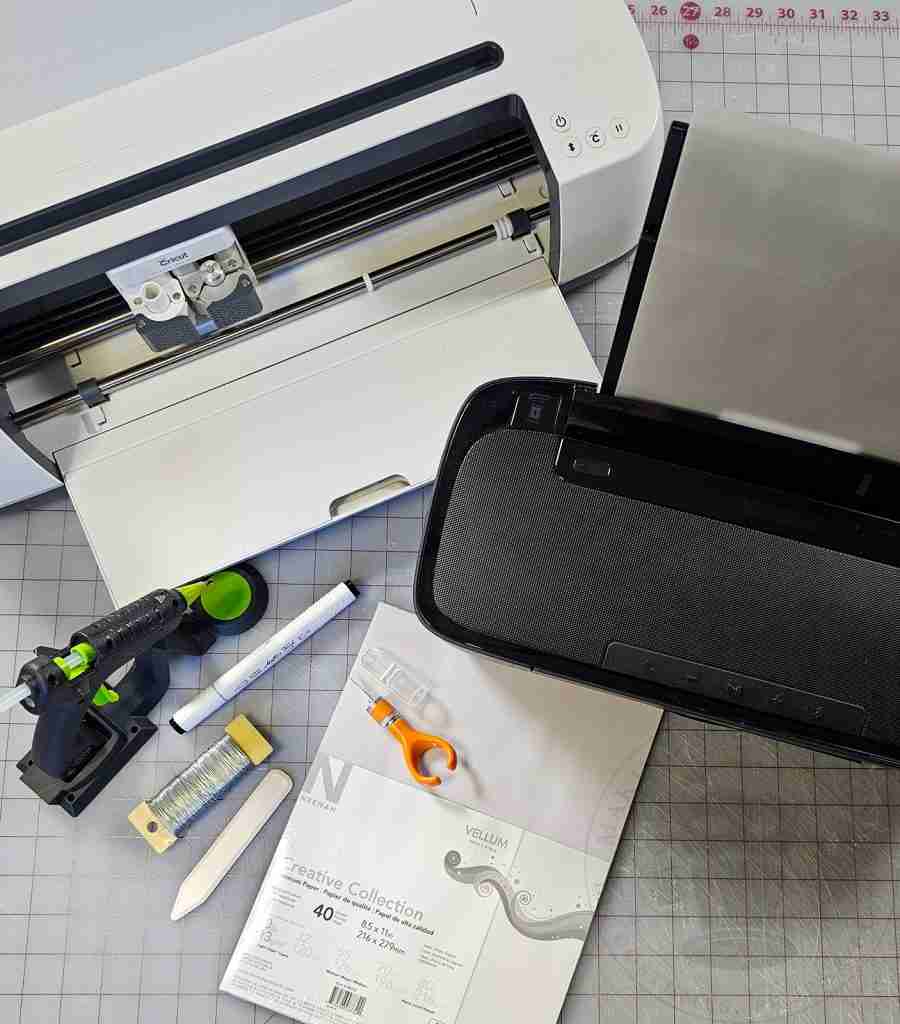
For this project, we will need:
Printable vellum
Copy paper and clear tape (if machine cutting)
Printer
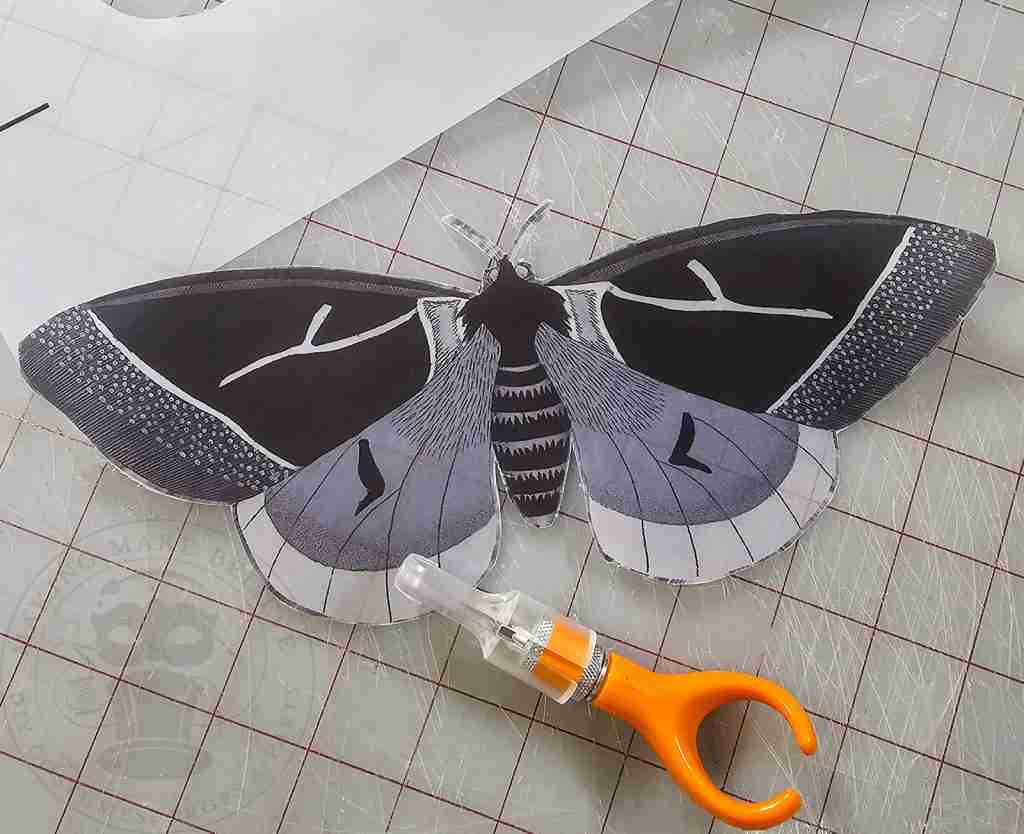
Scissors or a cutting machine – I’m using the Cricut Maker
Bone folder or popsicle stick (optional)
Hot glue or other adhesive
Wire
Black marker (optional)
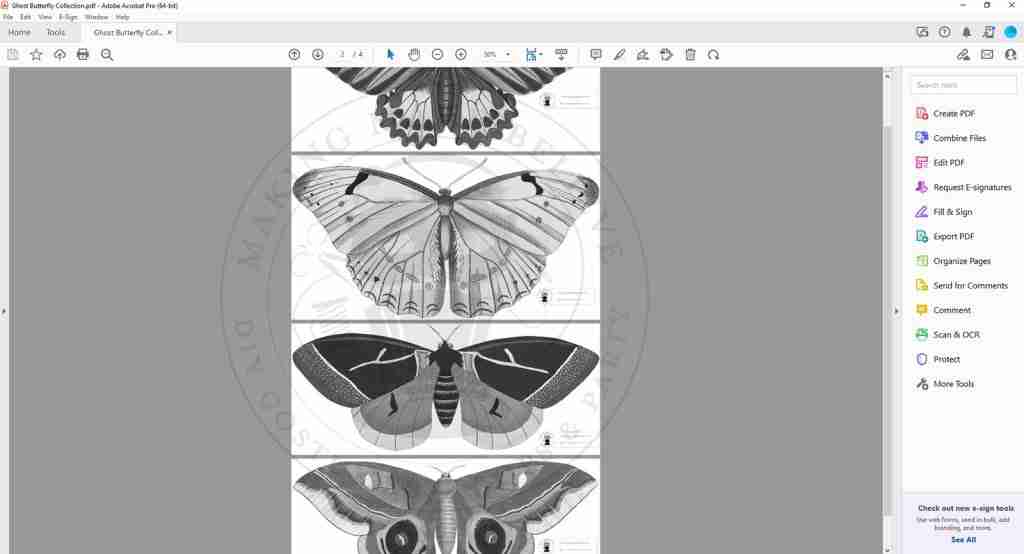
We will also need the Ghostly Butterfly Collection from the Haunted Library.
Select the PDF file for hand cutting or the PNG Print Then Cut file for machine cutting.
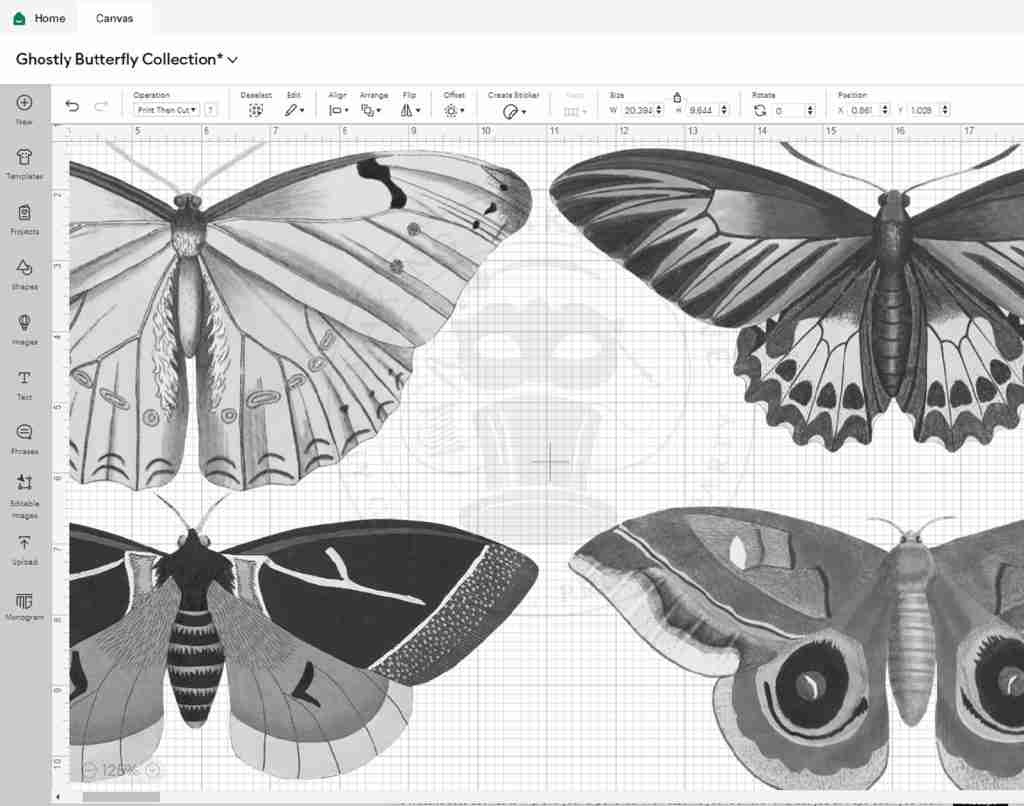
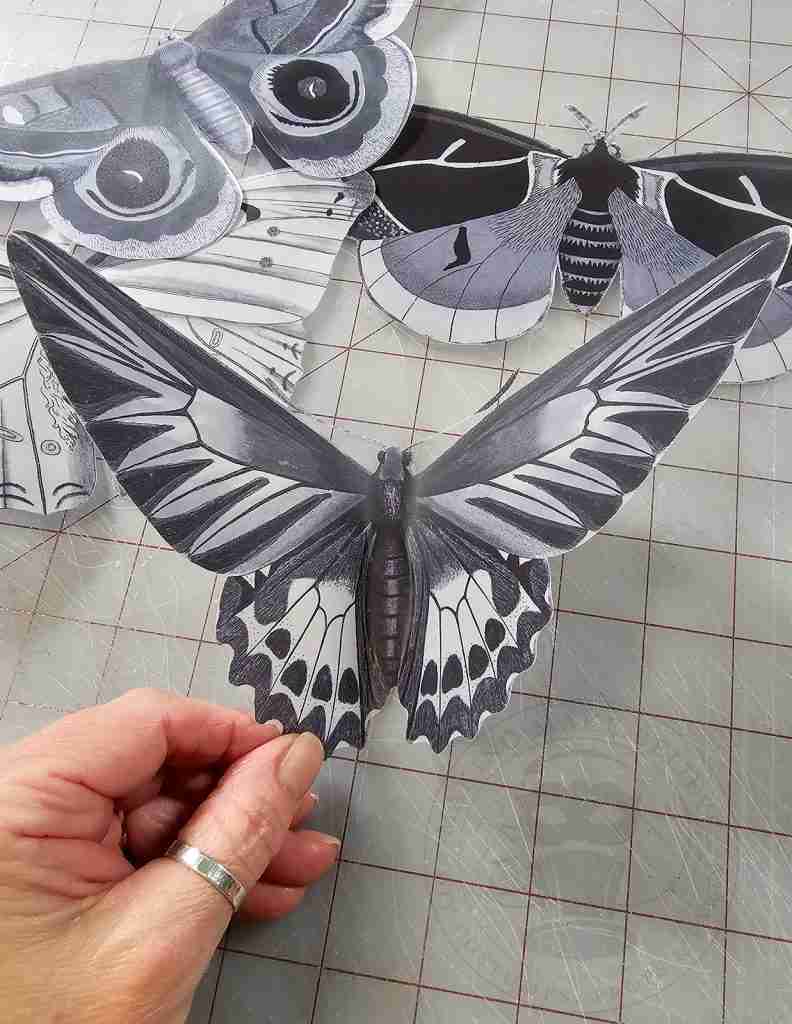
The Ghostly Butterfly files include two butterflies and two moths.
To cut by hand, select the one(s) you wish to make and open it in your favorite PDF reader (Adobe, FoxIt, etc.).
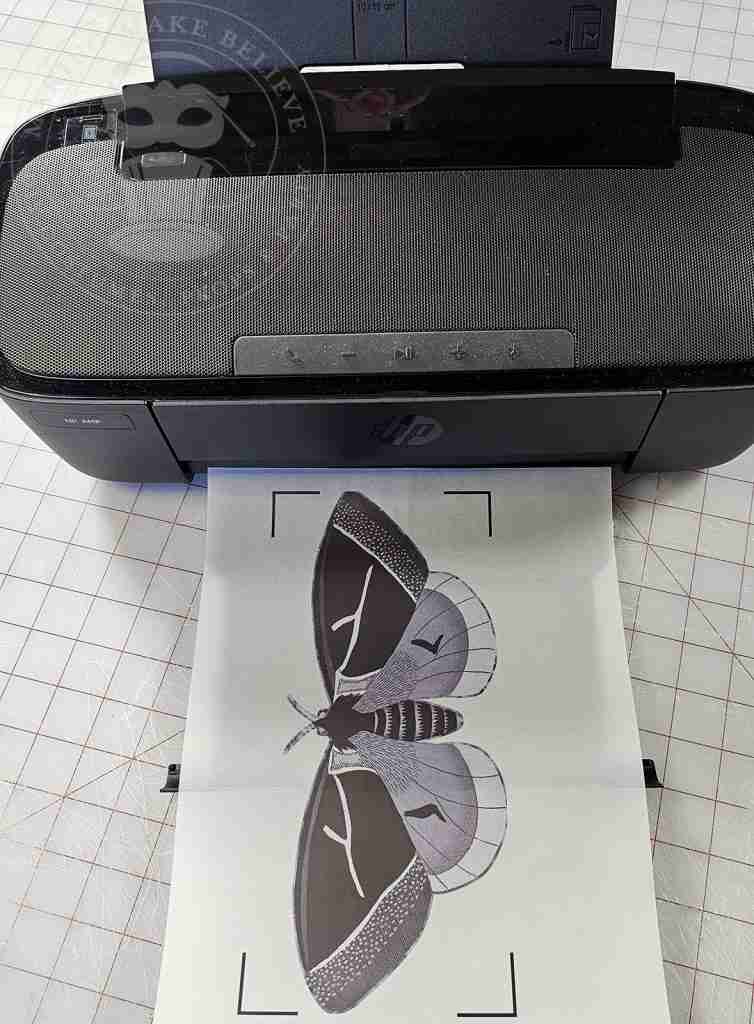
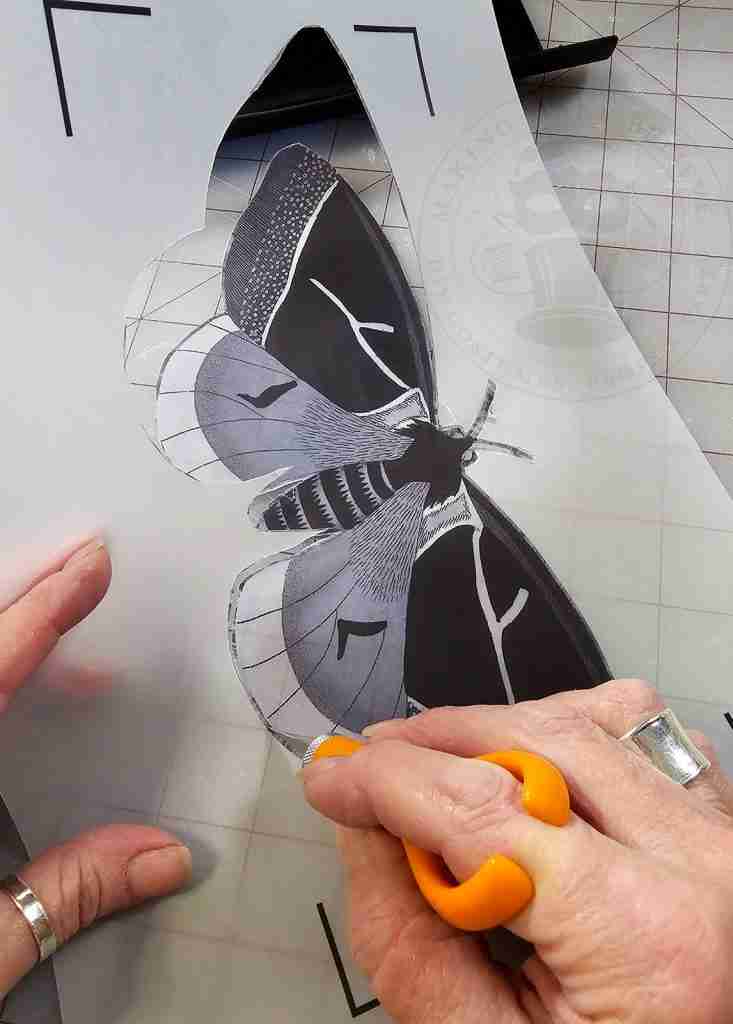
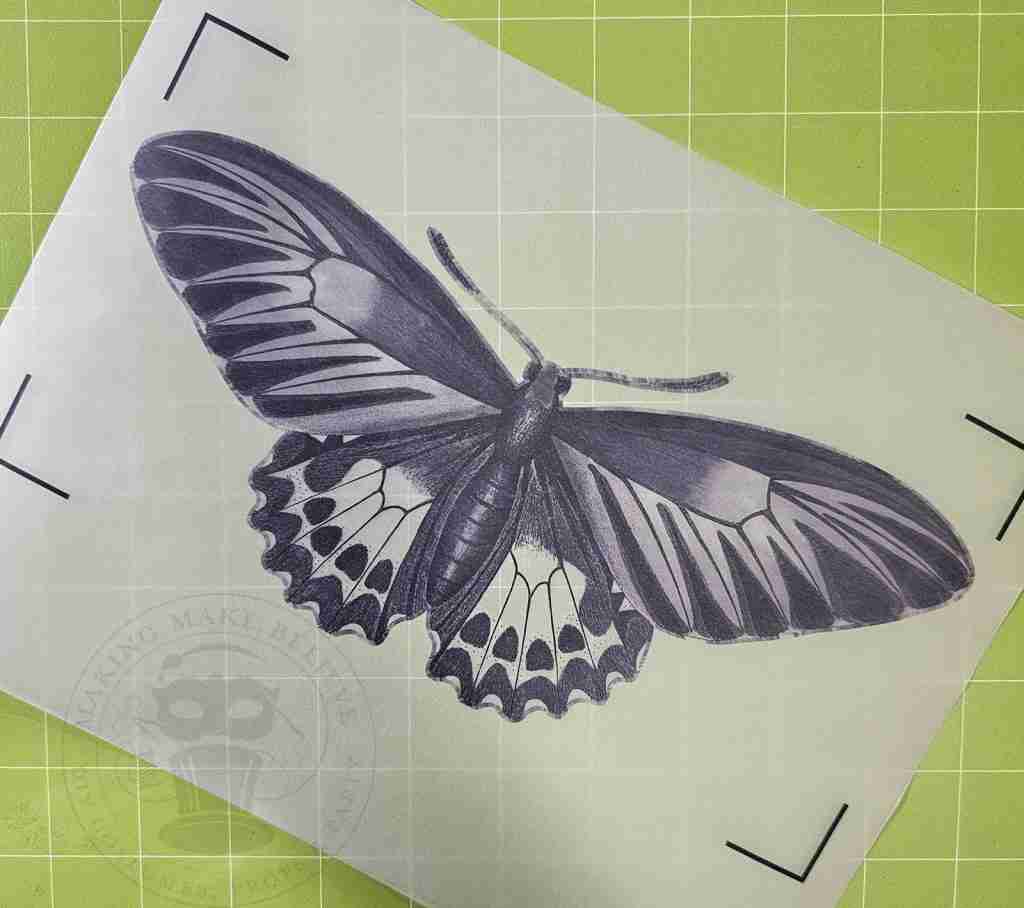
Print the ghost butterfly onto the printable vellum, taking care not to smear the ink when removing it from the printer, then cut out the image.
For machine cutting, upload the PNG file to your design software, such as Cricut Design Space, as a Print Then Cut image.
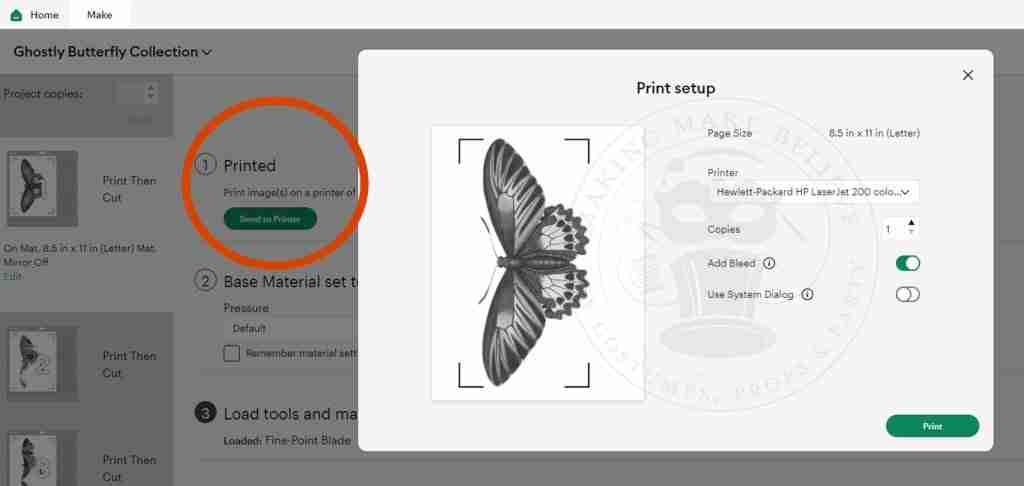
The Print Then Cut feature prints the image with black corner marks. These are registration marks that tell the Cricut where to cut. Cricut recommends using only white paper for this feature, but we have a workaround.
Using the Print Then Cut operation, select Make It and then Send To Printer as usual.
When complete, remove the vellum print from the printer, taking care not to smear the ink, and set it aside.
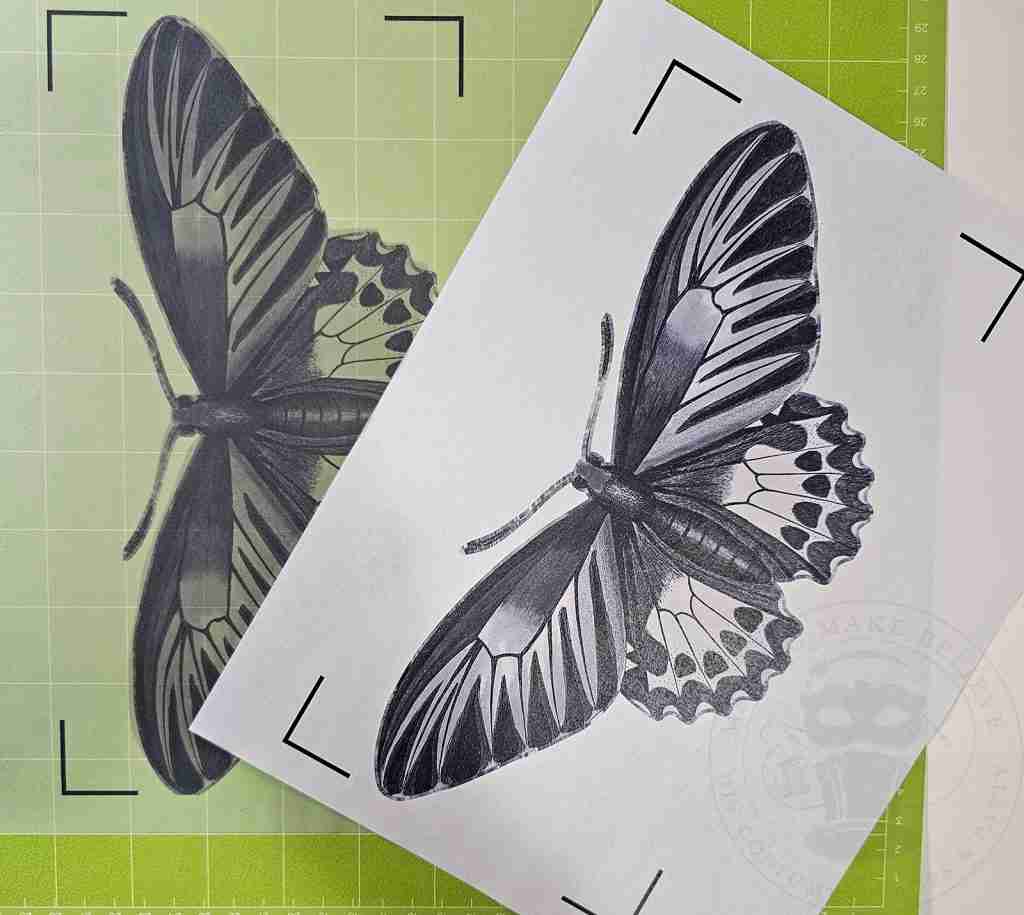
Staying on the same screen, again click Send To Printer, this time printing on regular copy paper.
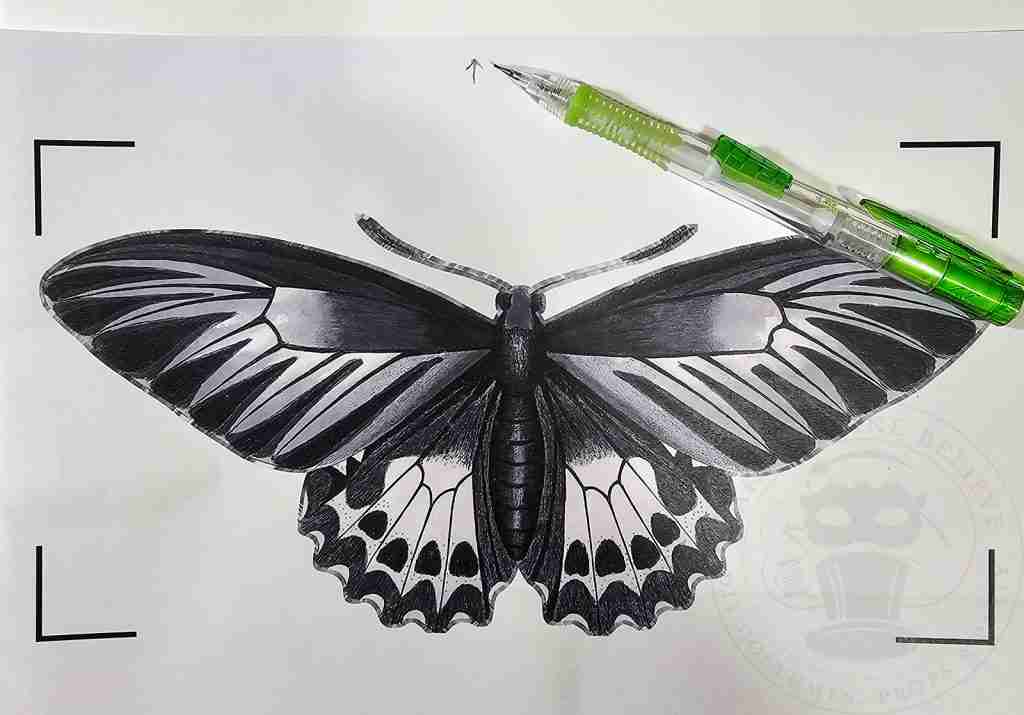
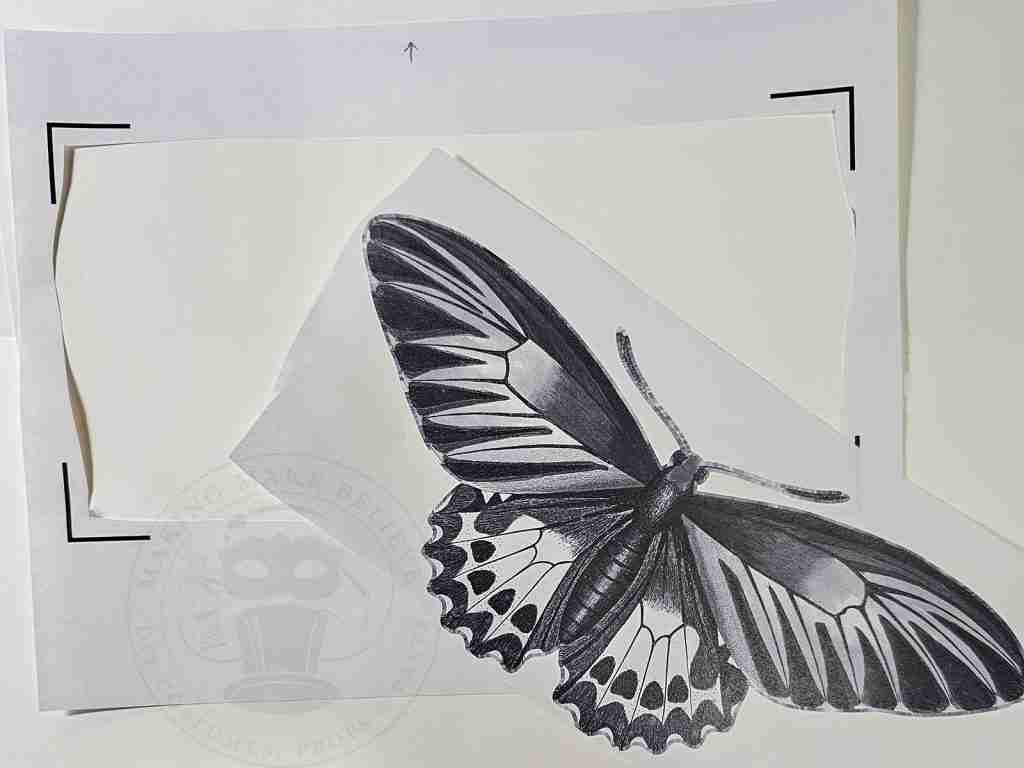
Mark the top of the paper so you remember how the image is aligned, then cut away the image from the inside of the registration marks.
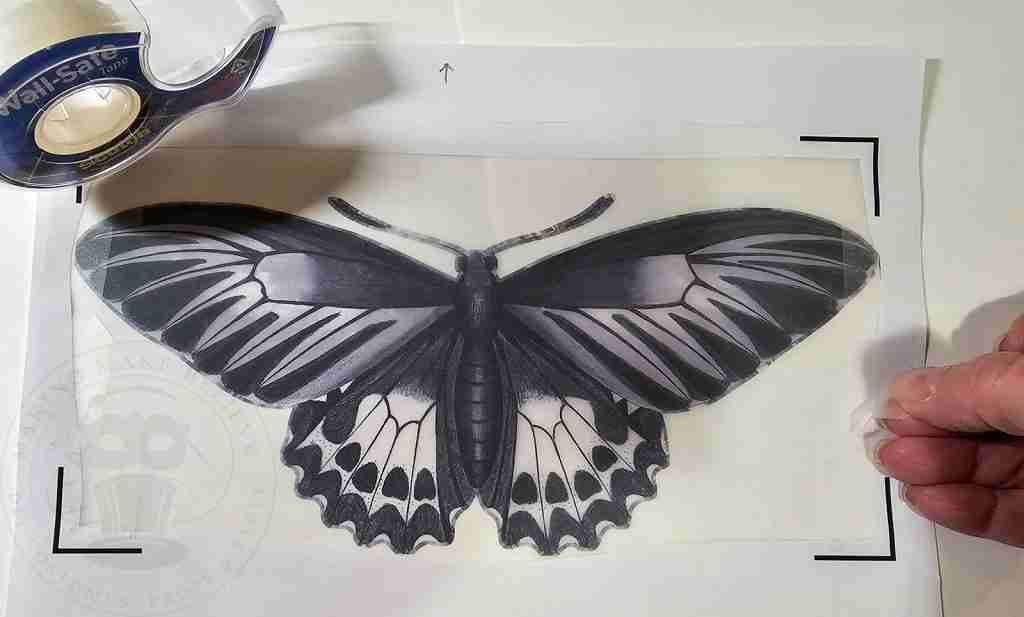
Lay the copy paper over the vellum print, carefully line up the registration marks, and tape the white paper to the vellum, taking care not to tape over the marks.
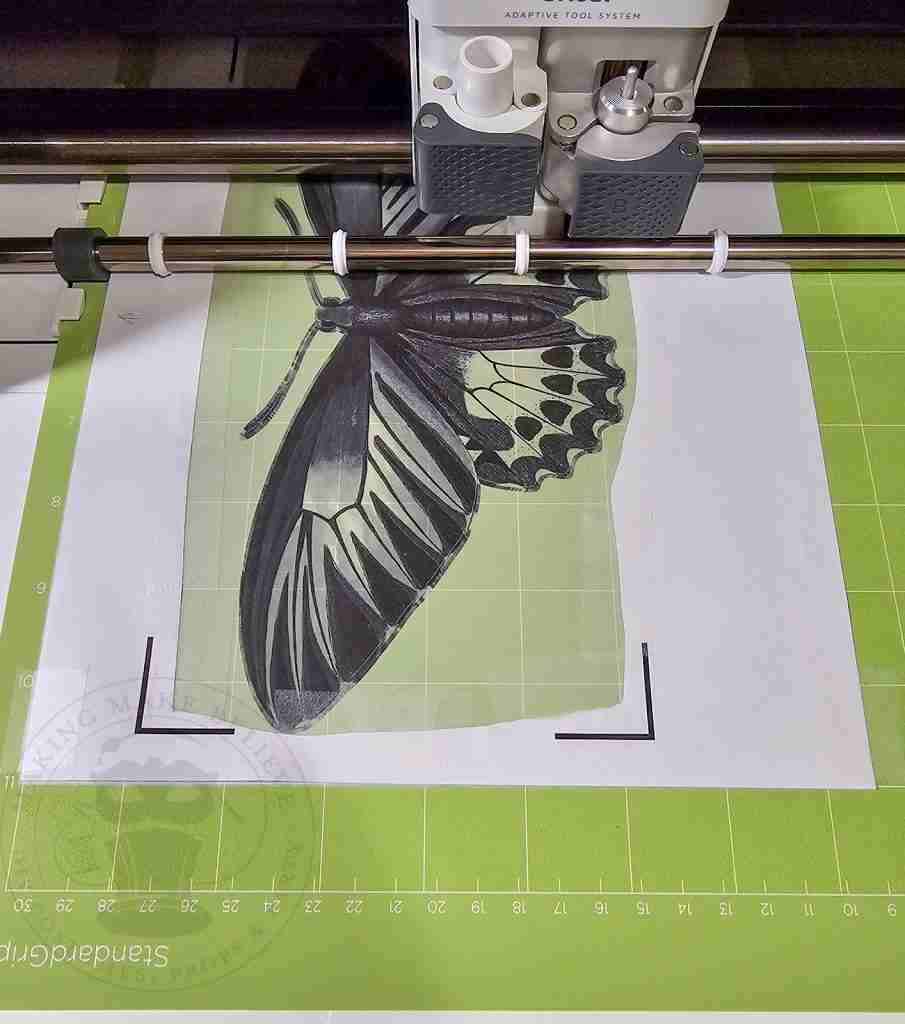
Now, the image is ready to cut using the vellum setting.
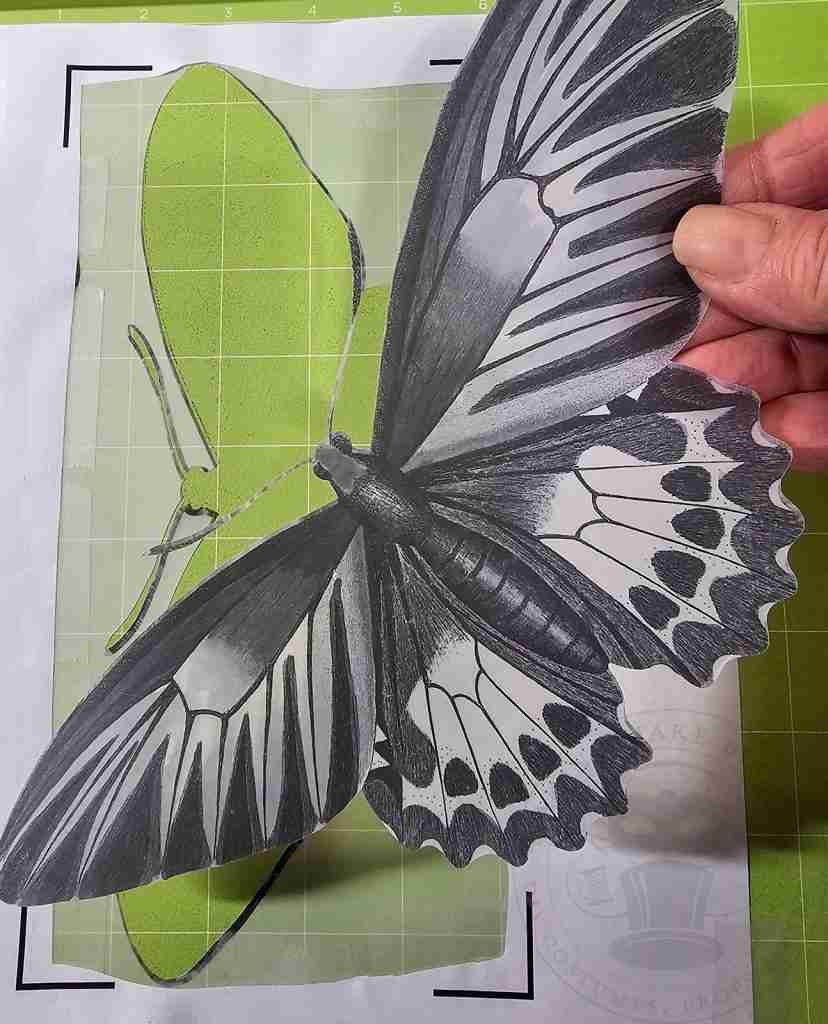
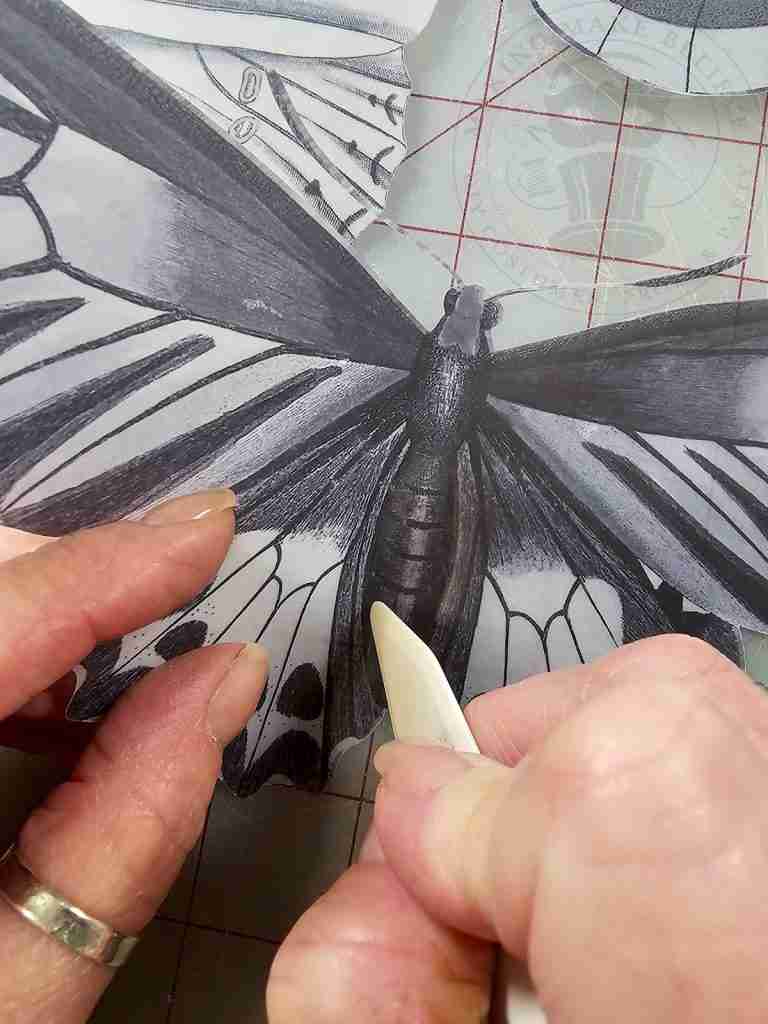
To give the butterfly some dimension, run the tip of a bone folder (or similar) along the sides of the butterfly’s body and slightly bend the wings upward.
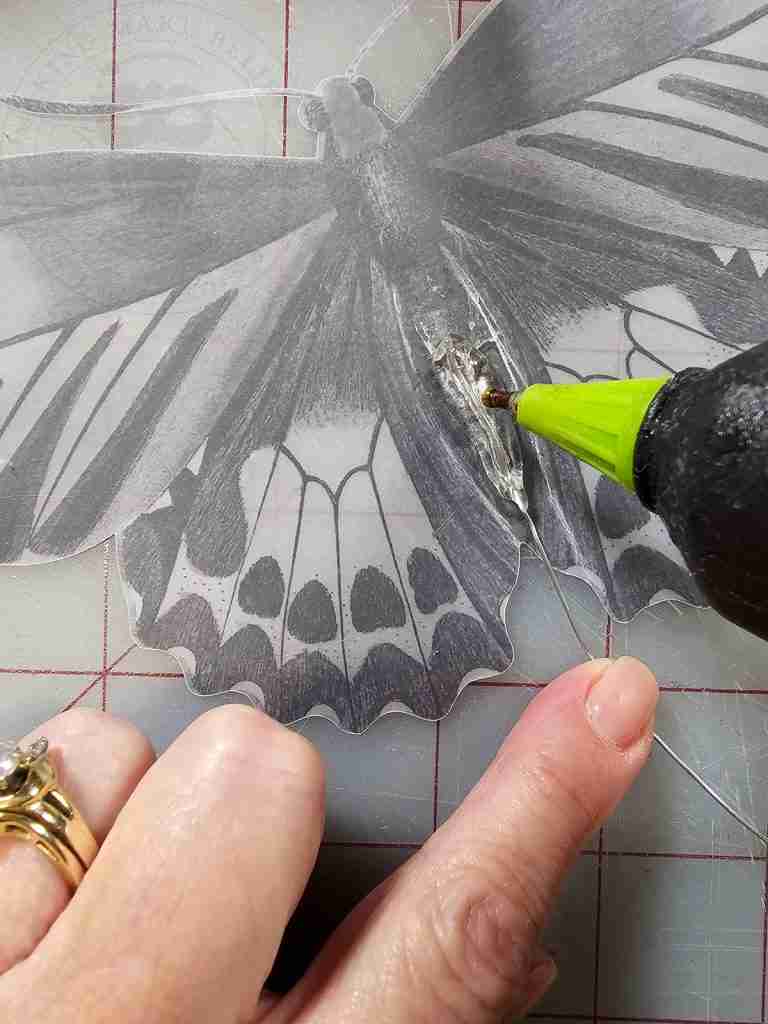
Cut a length of wire and attach it to the butterfly’s underside with hot glue.
Shape the wire and position the ghost butterflies in your display.
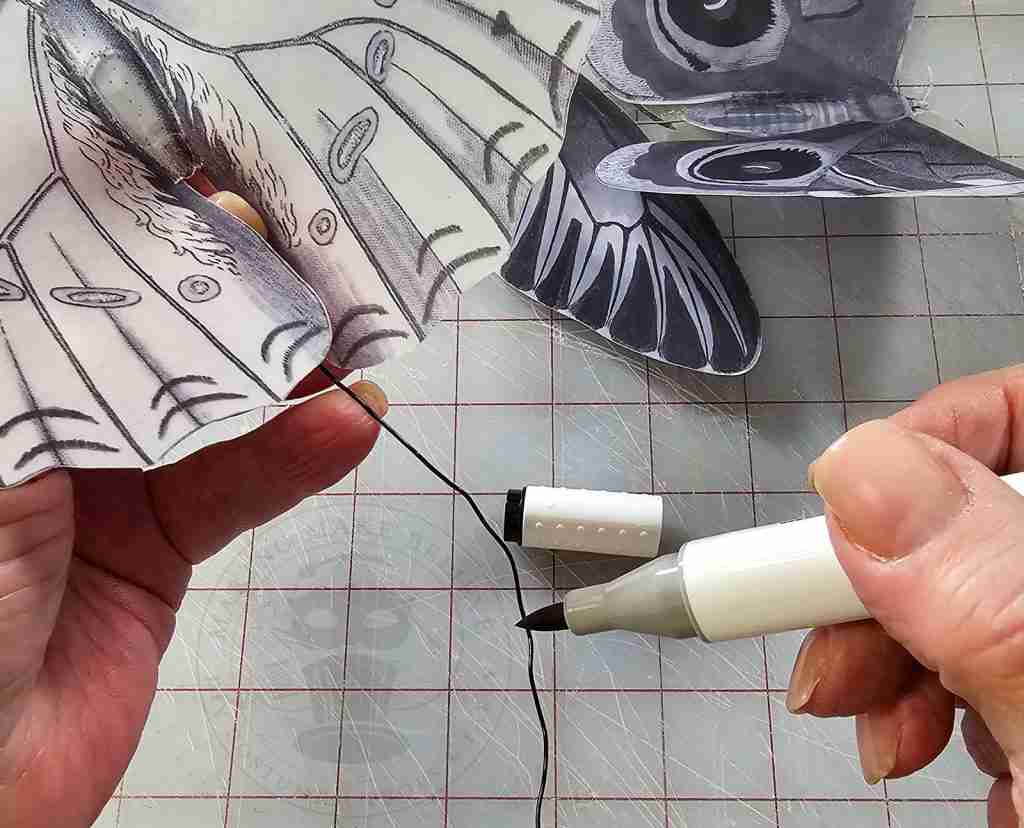
My wire is silver, so I colored it with a black marker to disguise it and make the light less reflective.
And now your fluttering frights are ready to take flight.
These awe-inspiring apparitions are perfect for a haunted garden, a ghostly tea party, or as a tiny companion to your giant Home Depot skelly.
I can’t wait to add these to our display this year.
Until next time – stay spooky.

Check your email for the Haunted Library password.
Don’t miss a moment of the mischief.
Add hello@makingmakebelieve.com to your address book.
Join us and get access to our Haunted Library stocked with templates, printables, cut files, and exclusive content. Plus, you’ll receive Eerie Emails just for our subscribers.
*Stay as long as you like. Unsubscribe at any time.