1.6K


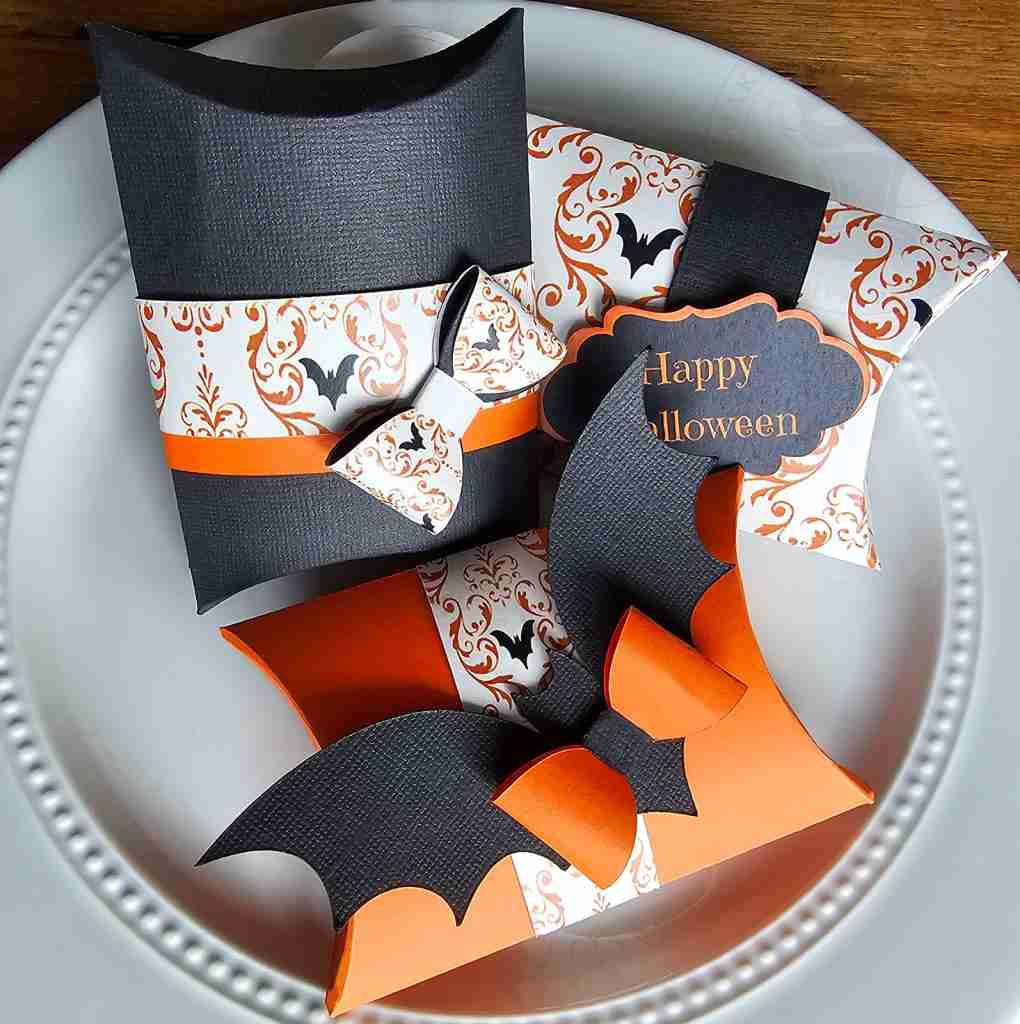
Halloween Pillow Box Party Favors
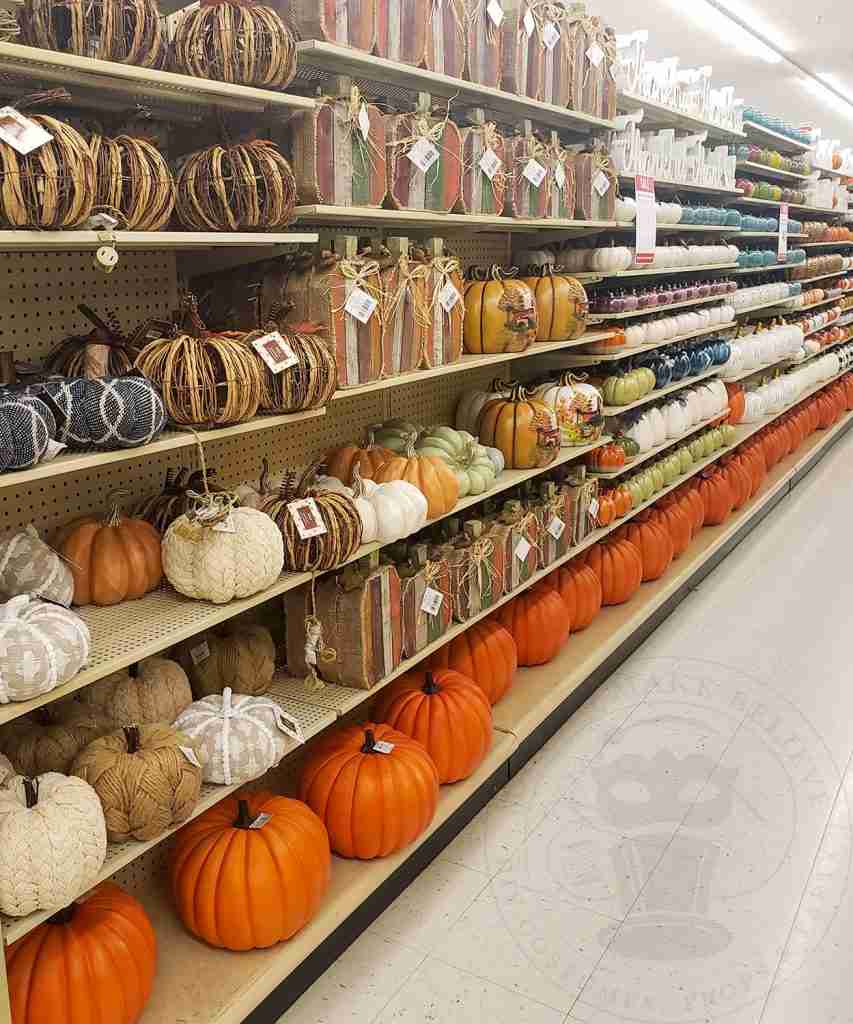
There’s one major holiday standing between now and Halloween, but that’s not keeping some stores from putting out pumpkins.
On a recent trip to Hobby Lobby, I sailed right through the red, white, and blue and dropped into an aisle of Autumn.
Every year, I’m caught off-guard by the creeping in of the creepy when we haven’t even kicked off summer. I guess Spring O’ween is a thing now? Who knew?
I’m not mad about it, but I miss the days when Halloween trickled onto the shelves after back-to-school was clearing out.
The early arrival takes away a bit of the charm and makes me feel like I’m behind schedule.
I am looking forward to trick-or-treaters this year, and I’ve already whipped up some fabric treat bags to fill with goodies. Today, I want to make some Halloween pillow boxes to add to the candy bucket.
A cutting machine makes these boxes quick and easy to construct, yet the design is simple enough that hand-cutting is also an option.
Colored cardstock in traditional Halloween colors mingles with festive print-then-cut elements to customize the boxes, perfect for both kids and adults.
I’m excited about the simplicity of these little Halloween pillow boxes, and since there is no time to waste, let’s get started.
For this project, we will need:
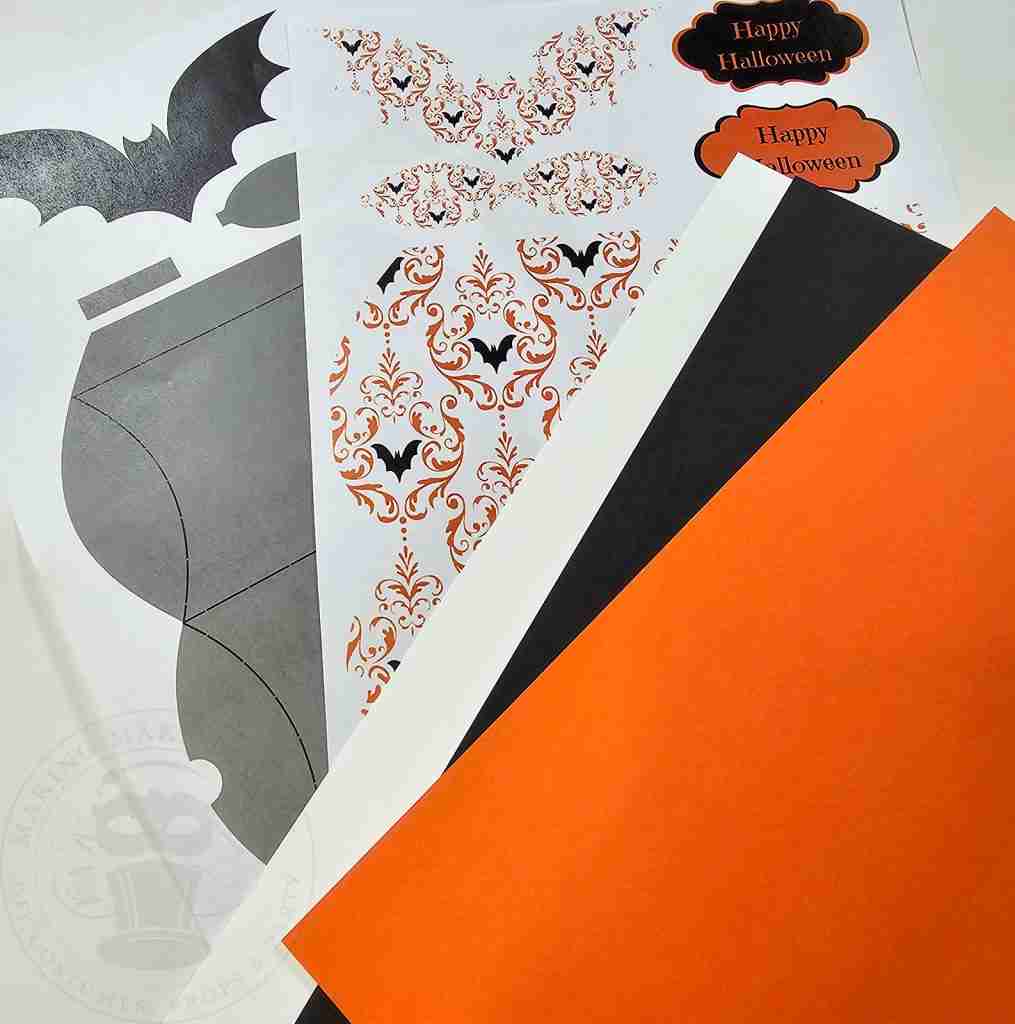
Colored cardstock
White cardstock (for print-then-cut elements)
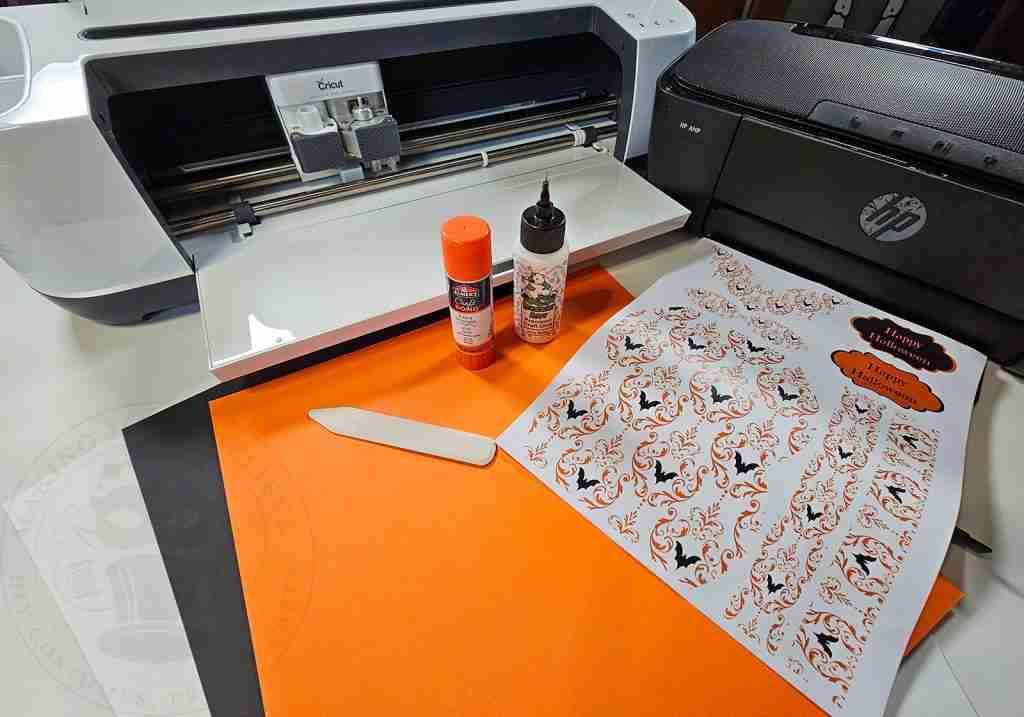
Cutting machine with a scoring blade (I’m using the Cricut Maker) or finger blade
Color printer
Bone folder or other scoring tool if hand-cutting
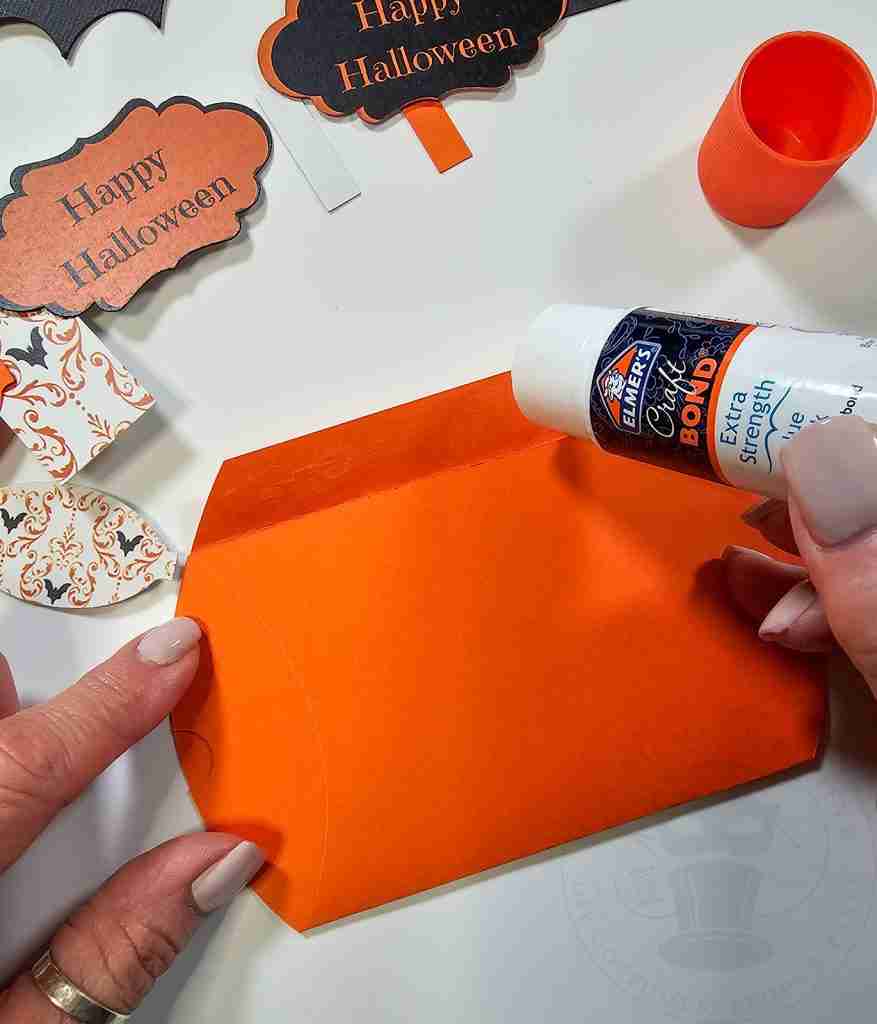
Adhesive – such as Elmer’s Craft Bond Glue Stick or Bearly Art Precision Craft Glue
We will also need the Batty Bats Halloween Pillow Box template from the Haunted Library.
Select the SVG / PTC for machine cutting and the PDF for hand-cutting.
As Design Space sometimes brings Print-Then-Cut elements in much larger than needed, I’ve included a PDF Dimension Sheet so you can ensure your pieces are the correct size.
Upload the SVG / PTC cut files into your design software for machine cutting. I’m using Cricut Design Space.
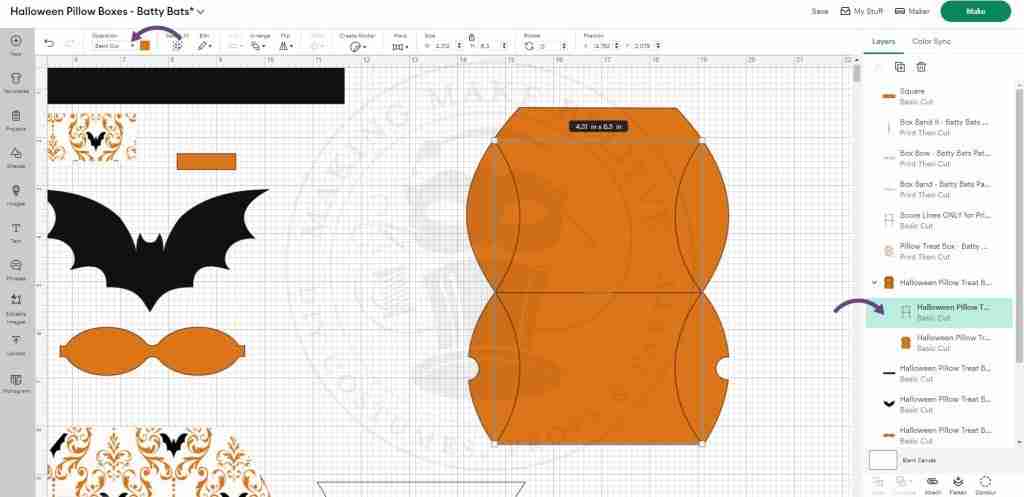
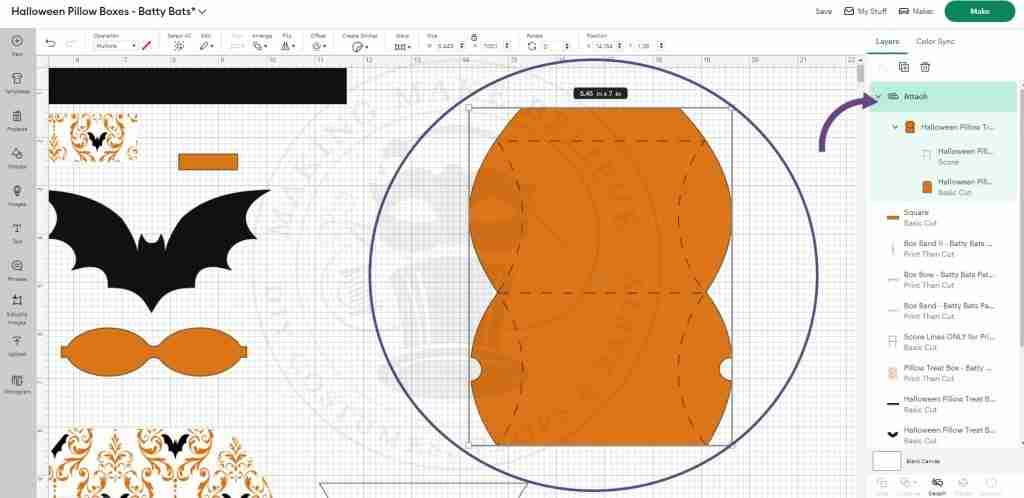
Open the file, select the image, click Ungroup, and resize if necessary.
Select the line within the pillow box piece.
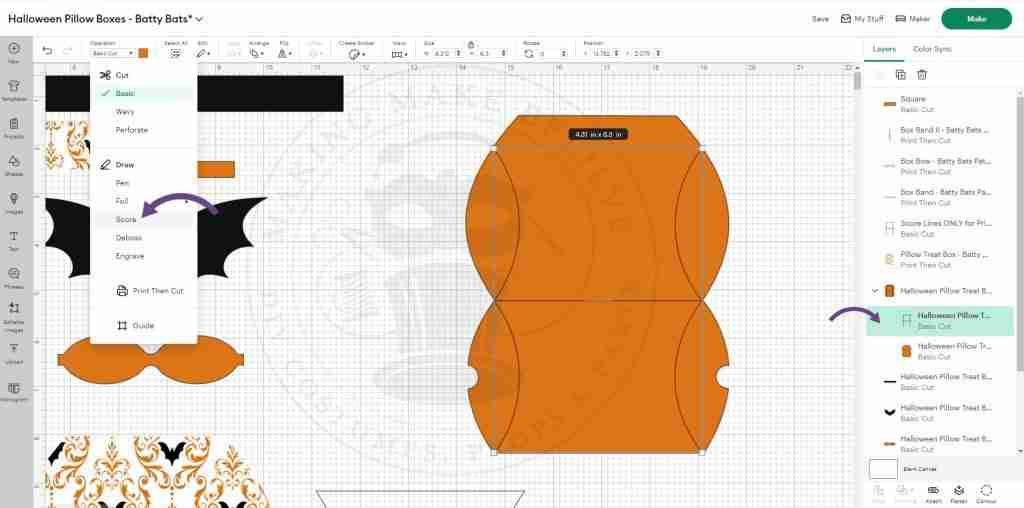
By default, the line will be shown as a Basic Cut.
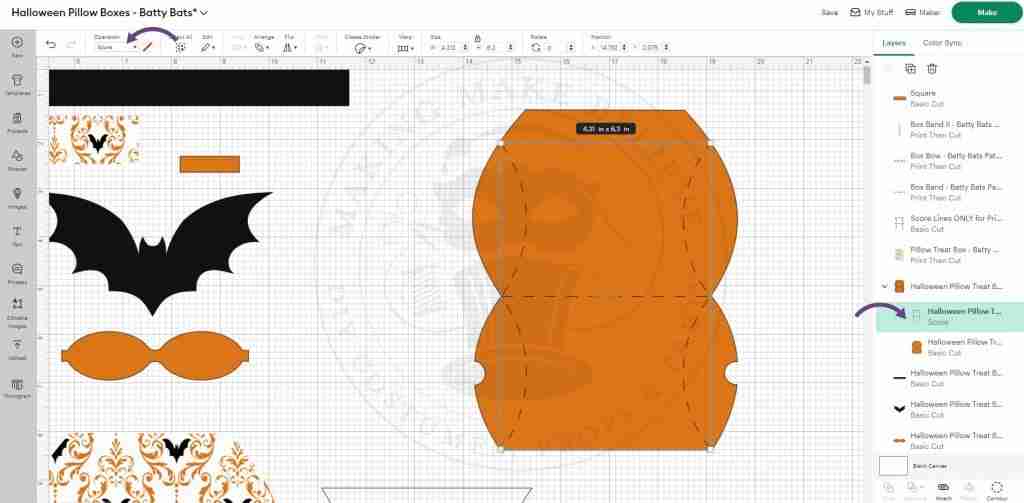
Keep the line selected, and select Score from the Operation drop-down list.
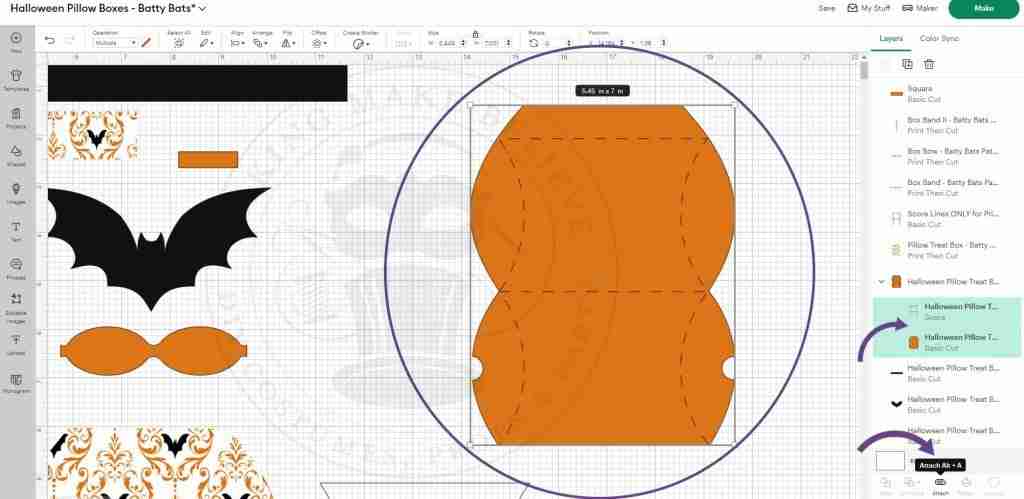
Select the pillow box and score lines, and click Attach. This piece is now ready to cut and score.
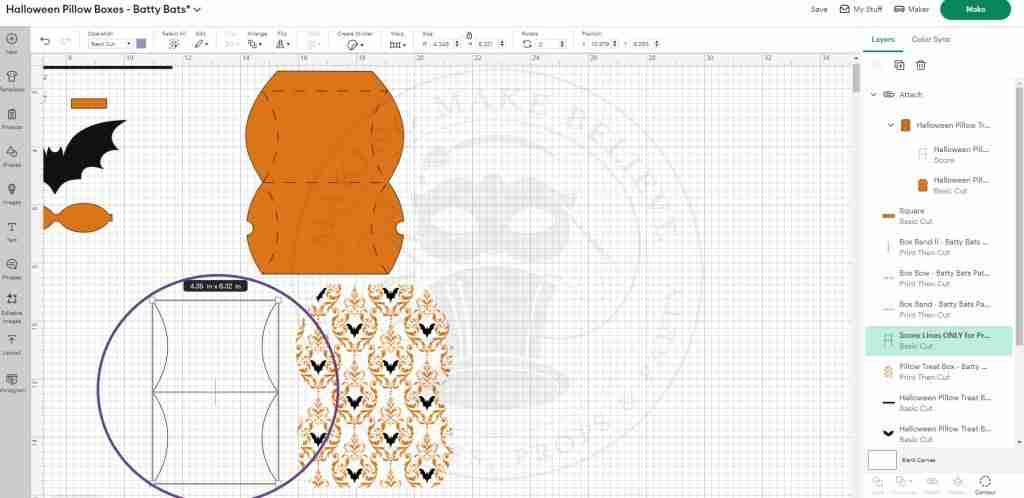
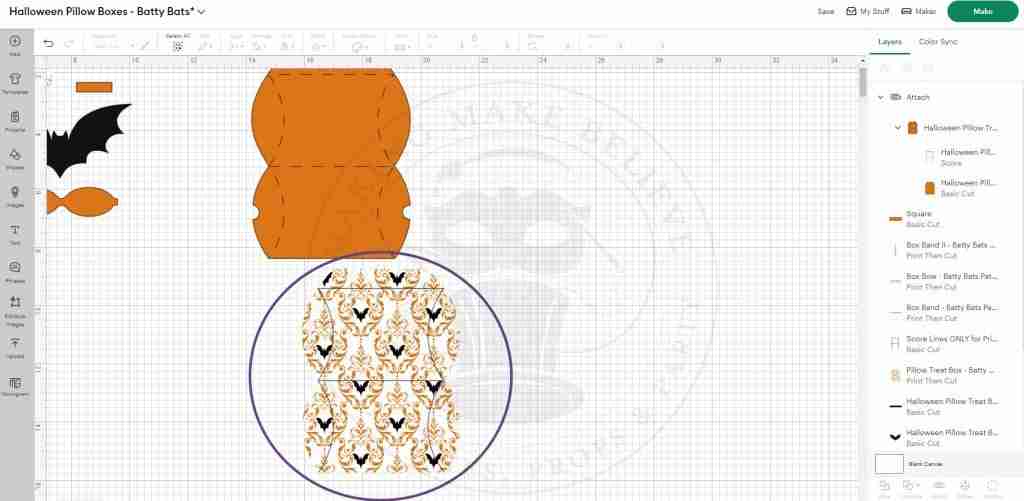
To prepare the score line for the print-then-cut pillow box, align the score mark over the Batty Bats box, using the plain pillow box as a reference.
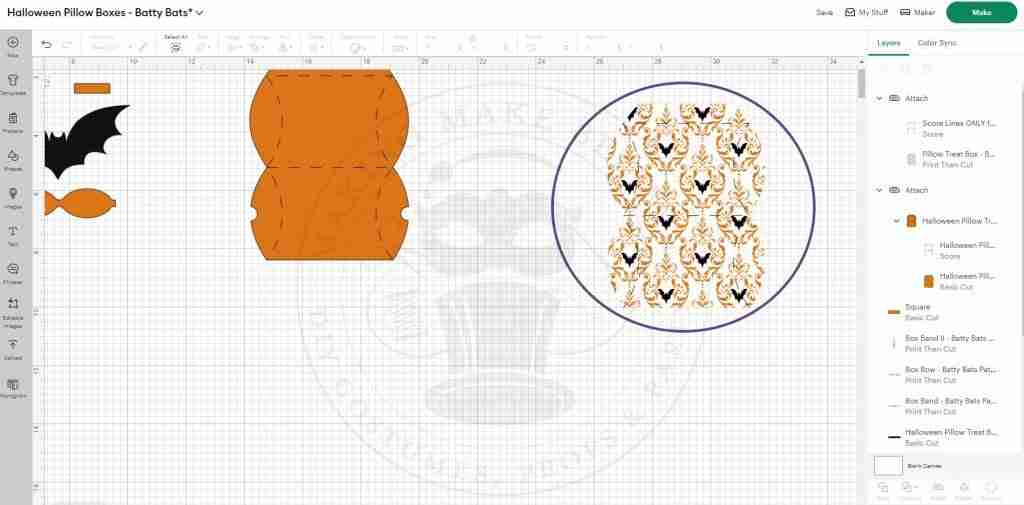
Now, we can repeat the process we used on the plain pillow box by selecting the score line, changing the operation from Basic Cut to Score, selecting the pillow box and score lines, and clicking attach.
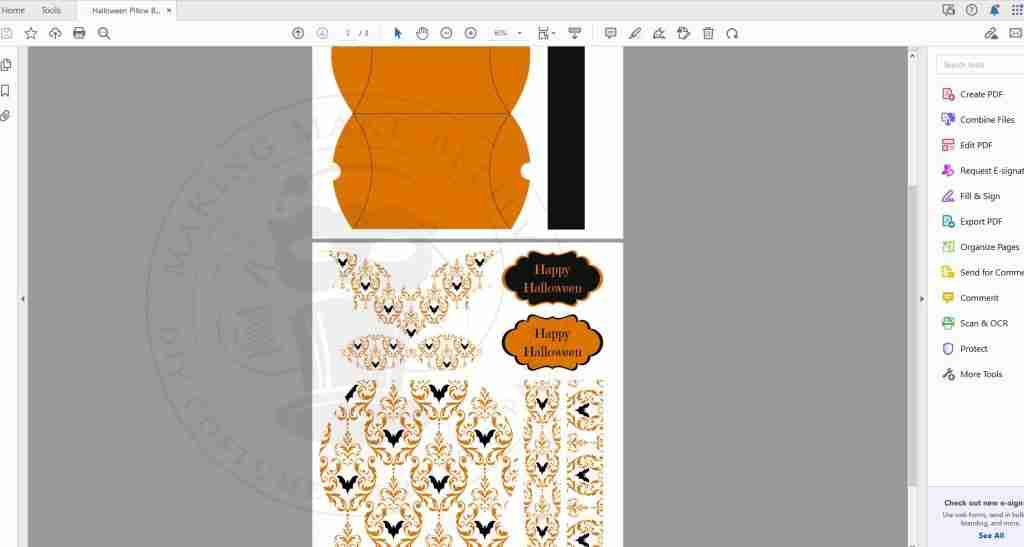
To cut by hand, open the template with your favorite PDF reader (Adobe, FoxIt, etc.).
Print the required pieces at Actual Size onto copy paper and transfer the pattern to your plain cardstock.
The Batty Bats printable pieces can be printed directly onto white cardstock and cut.
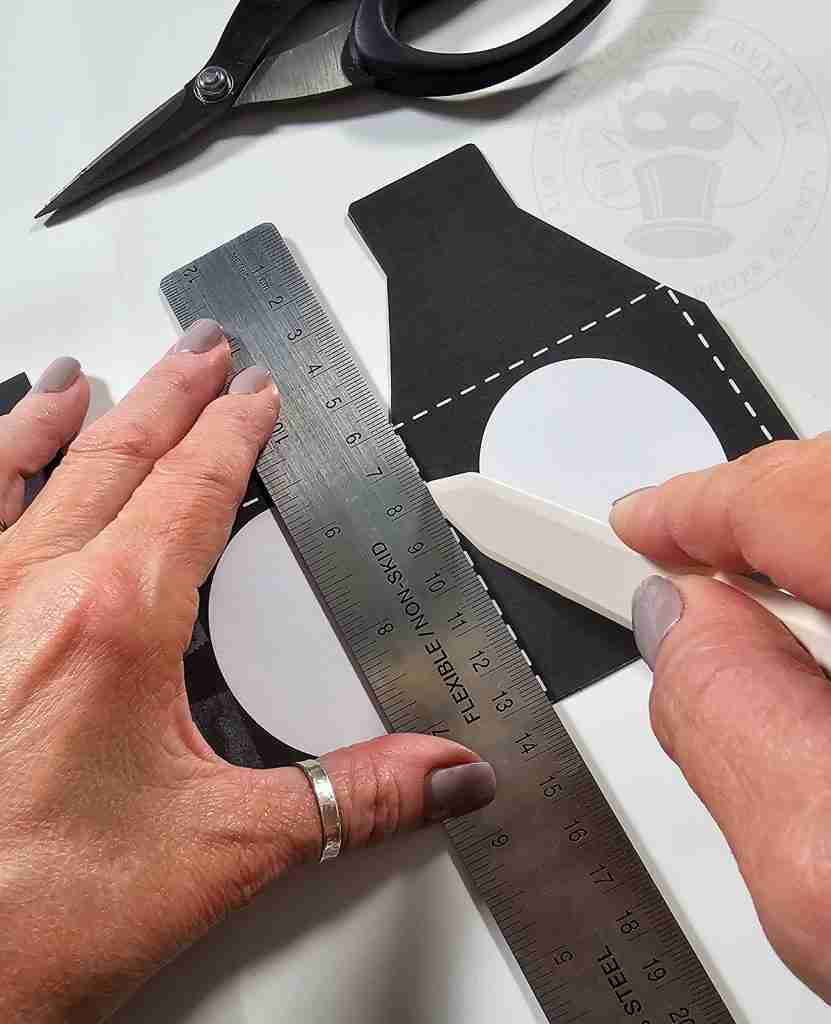
You can transfer the score line by pressing a bone folder or dull knife along the score mark, indenting the cardstock.
Example of how to use a bone folder to make score marks.
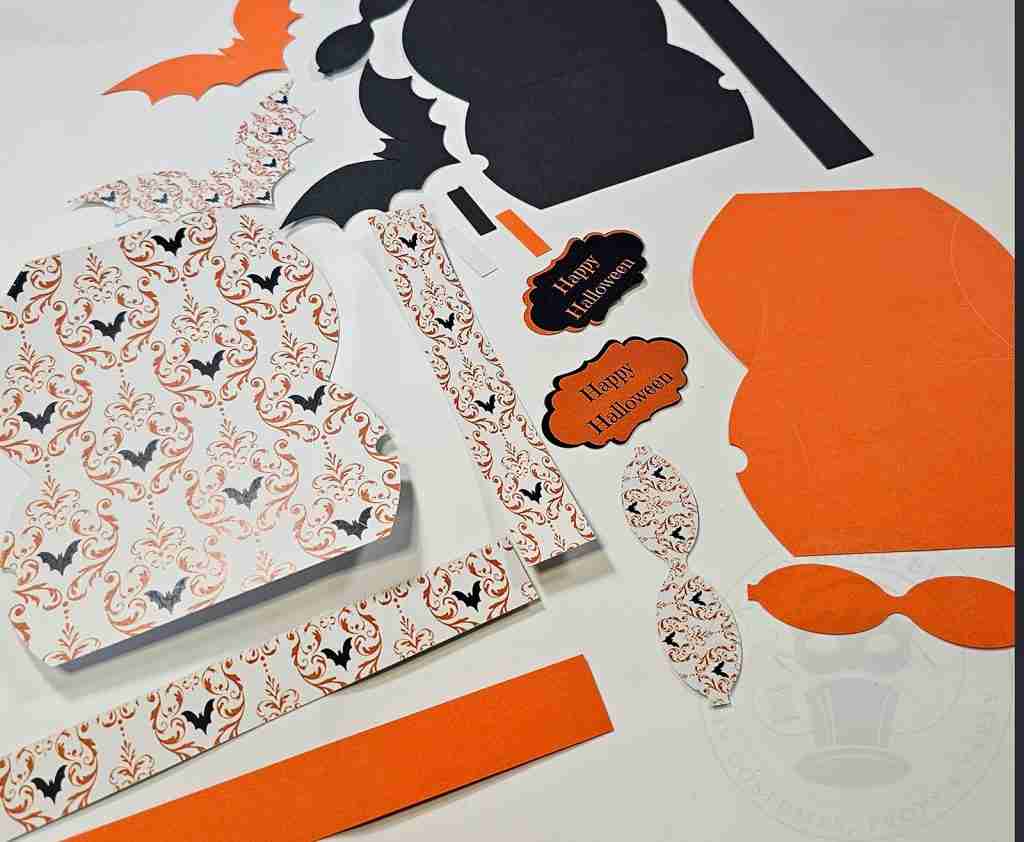
Cut out your desired elements.
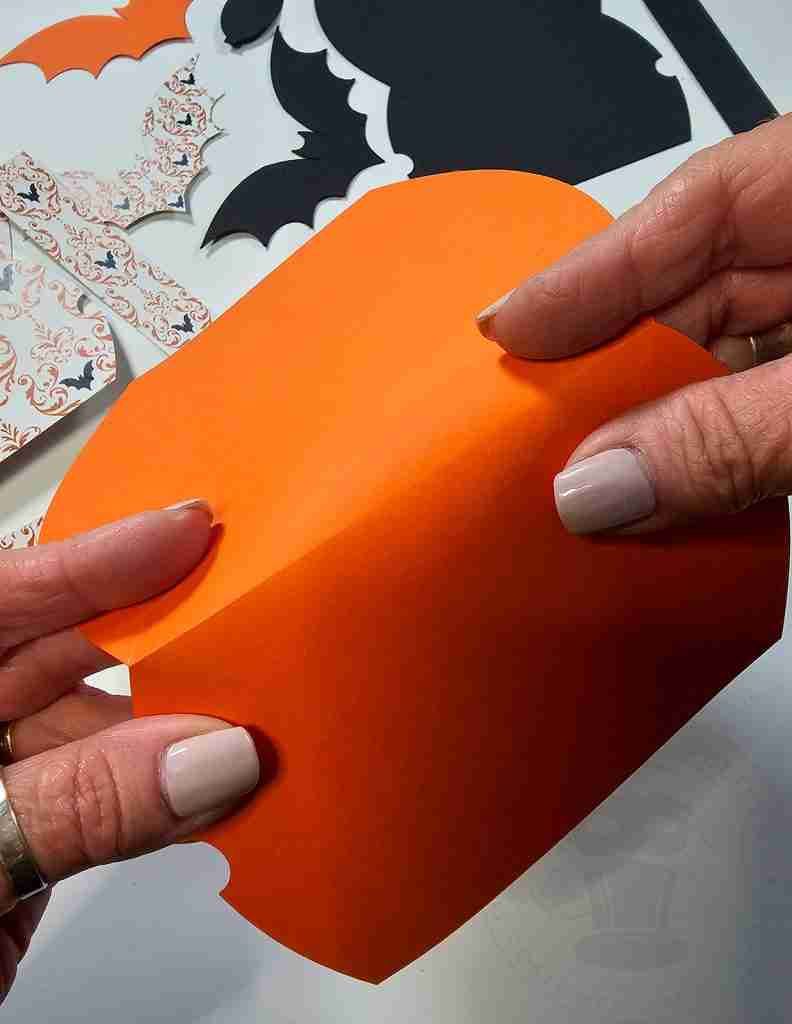
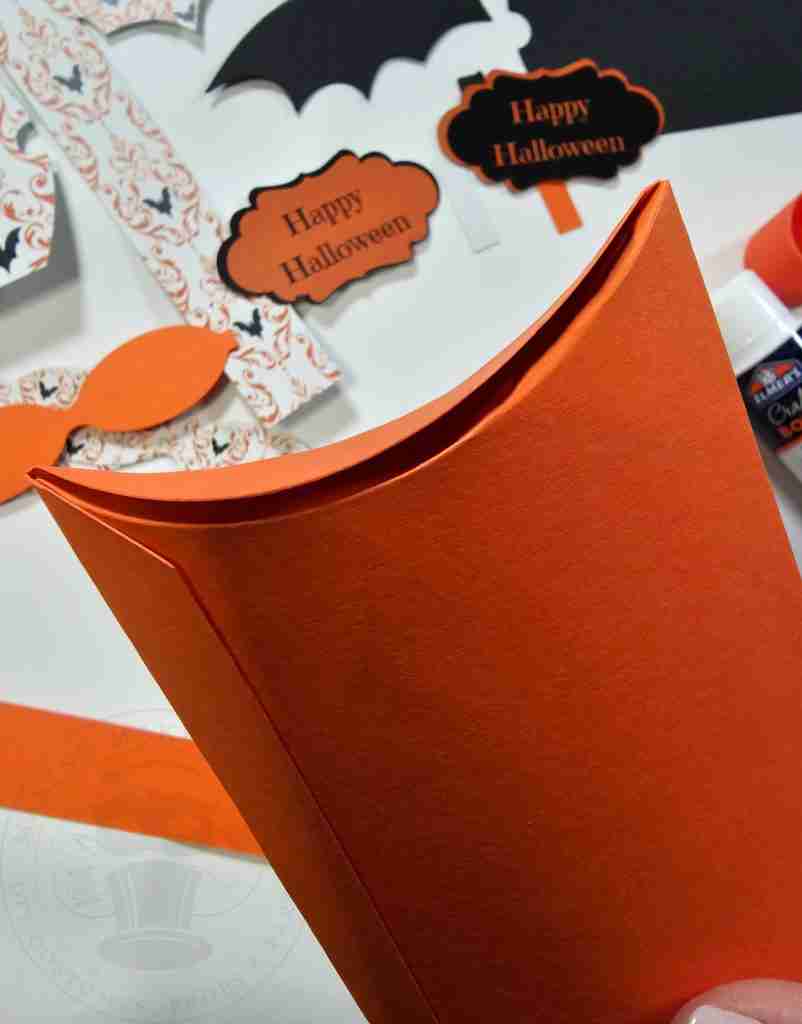
To assemble the treat box, fold along the center score line.
Fold over the end flap and glue.
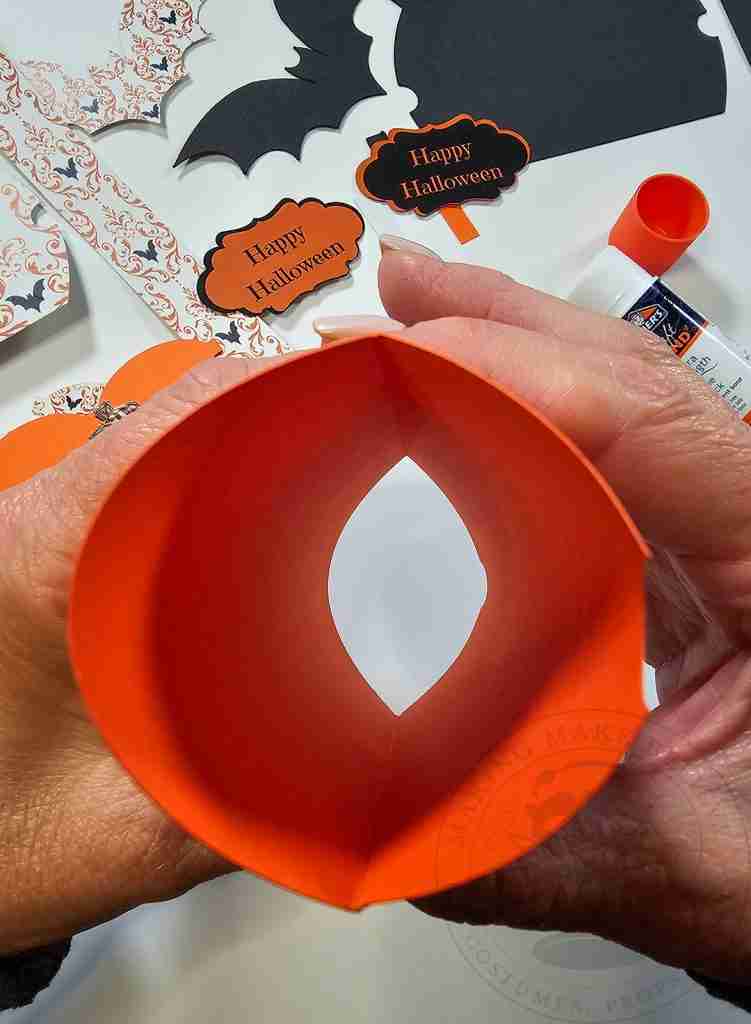
Hold the box along the sides and gently push in so that the box rounds out.
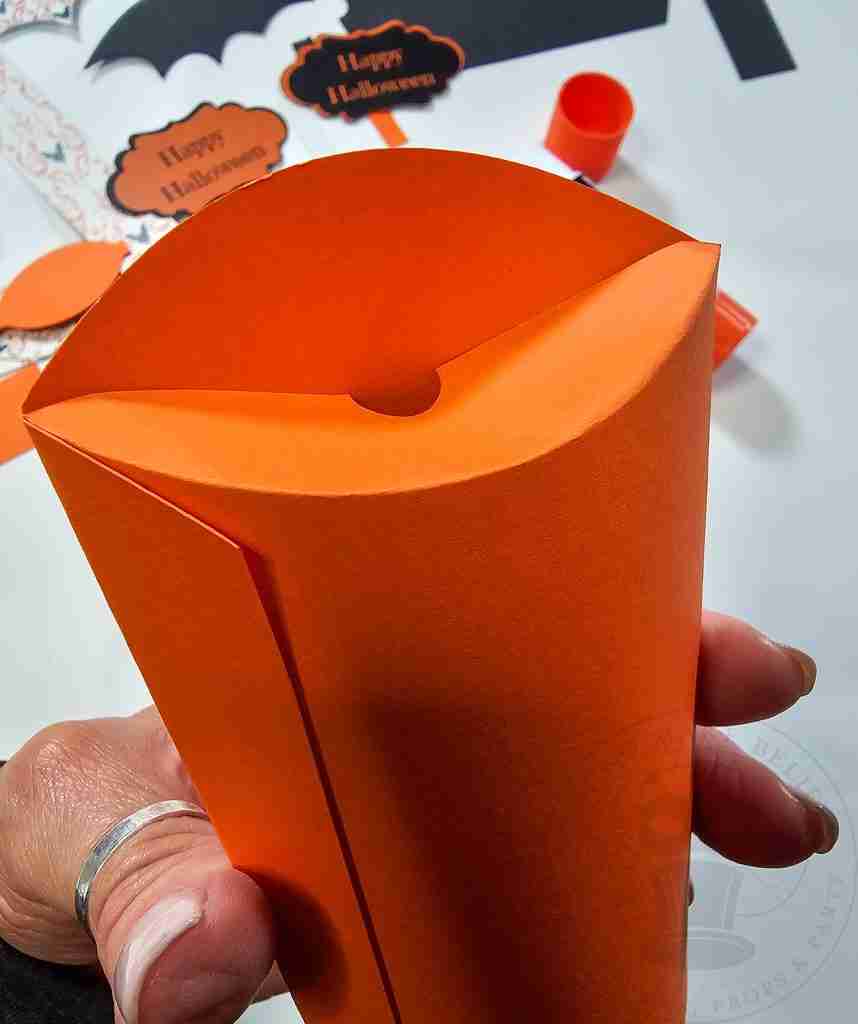
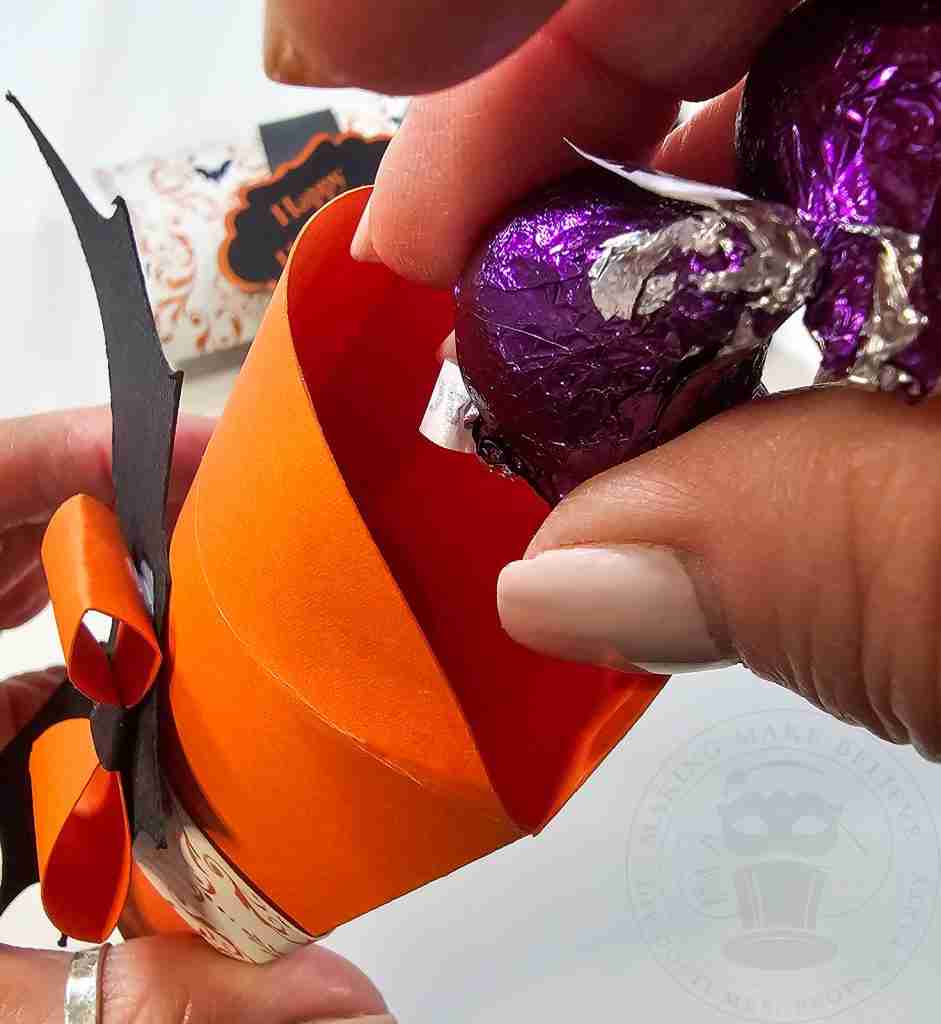
Press the end with the cut out towards the inside of the box. Repeat on the opposite end.
Fold over the remaining tab on both ends.
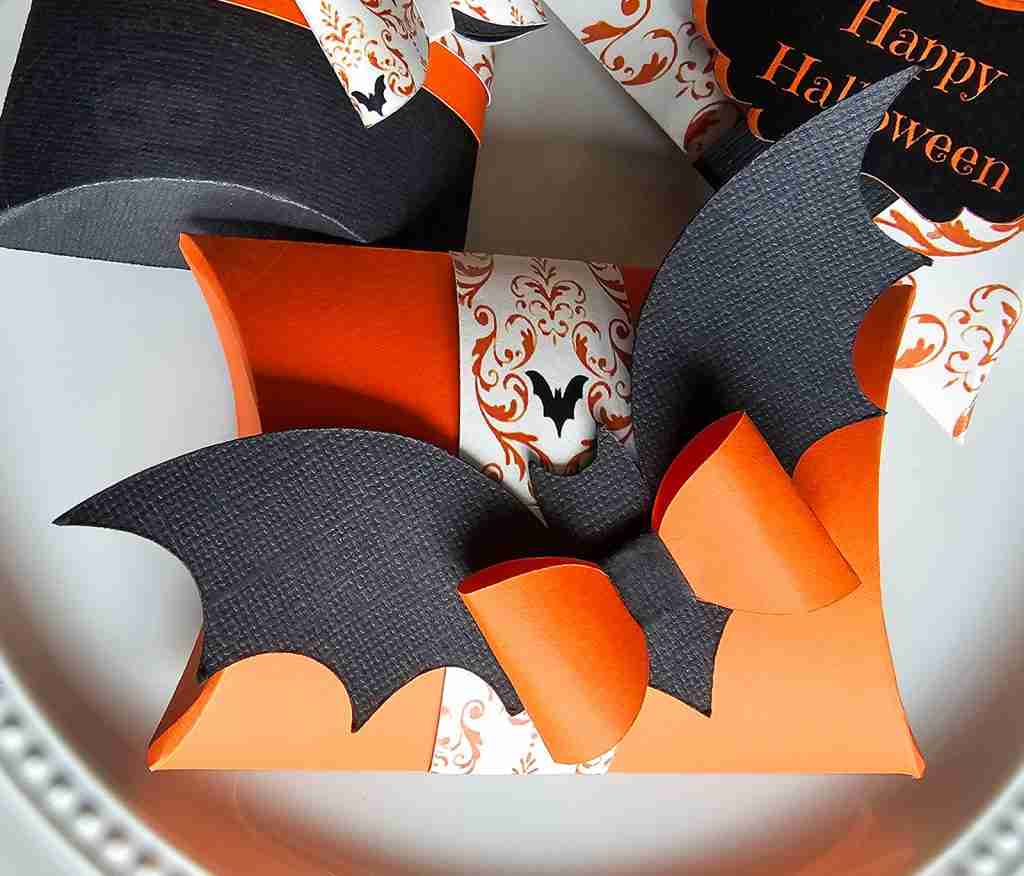
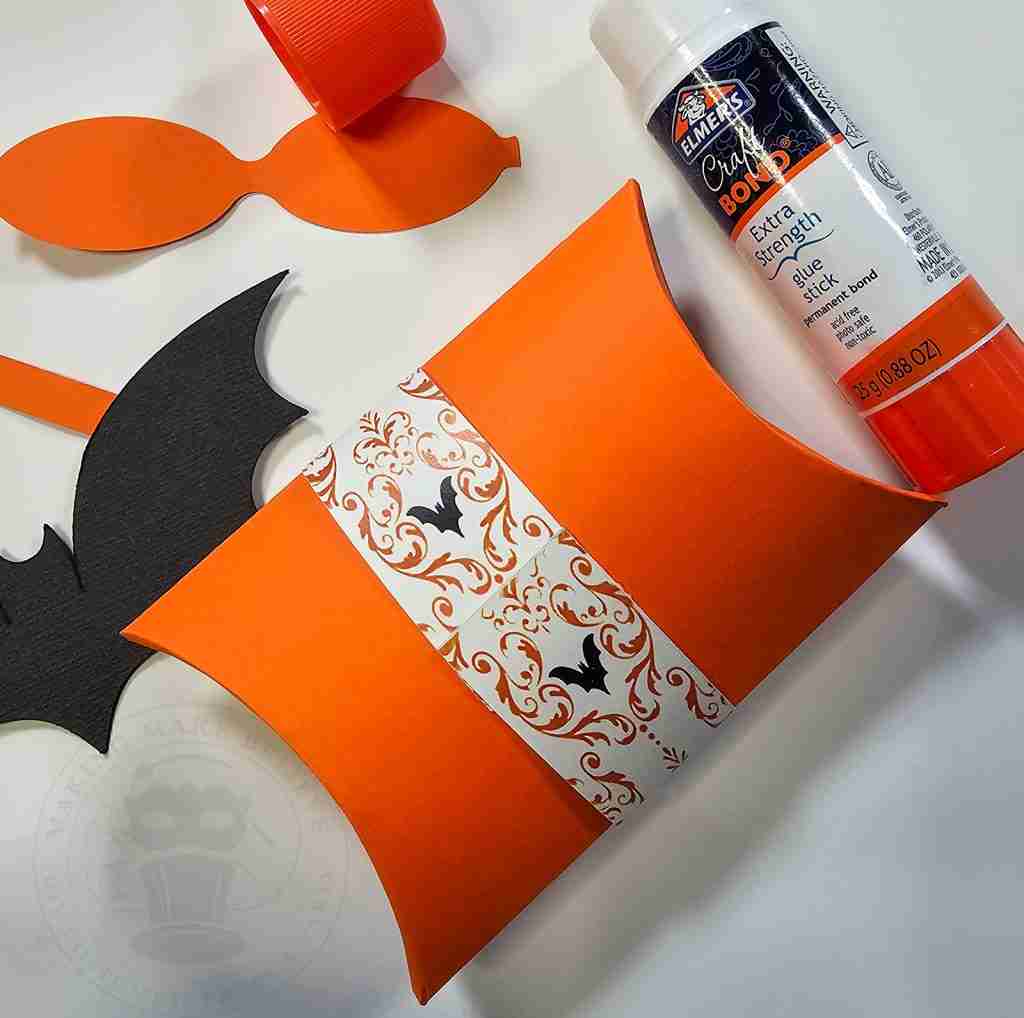
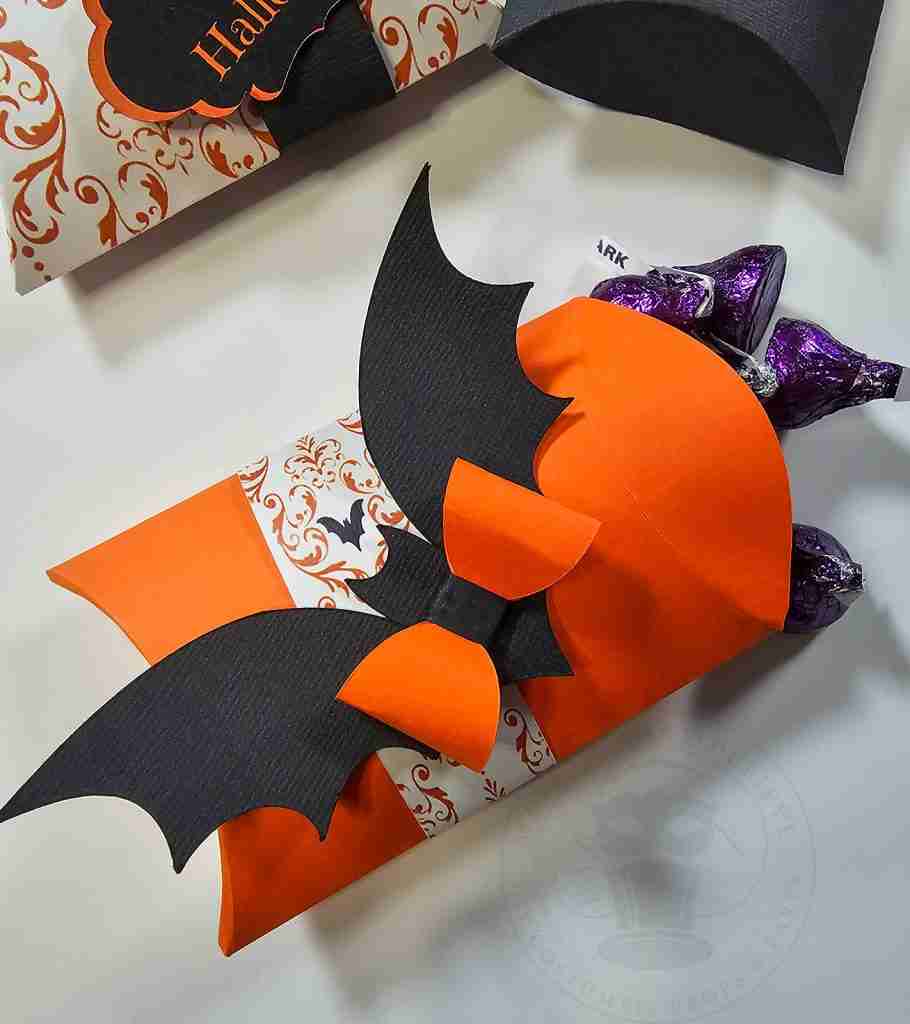
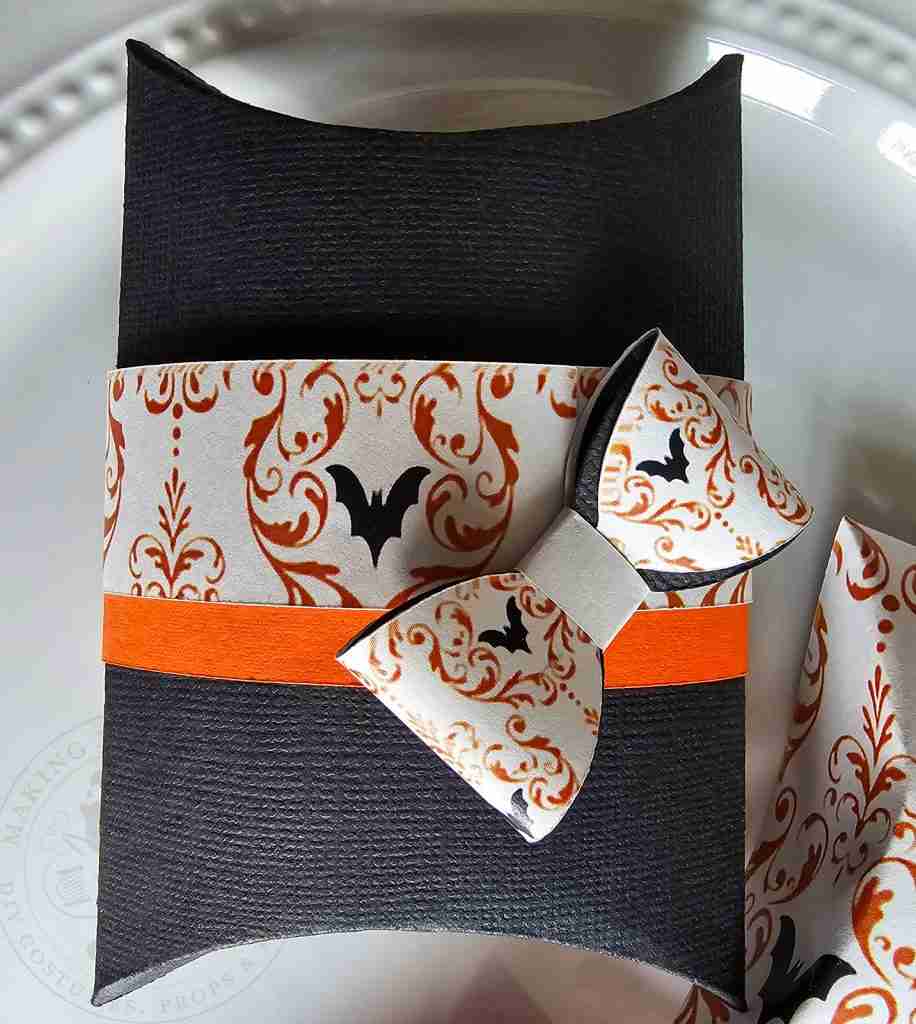
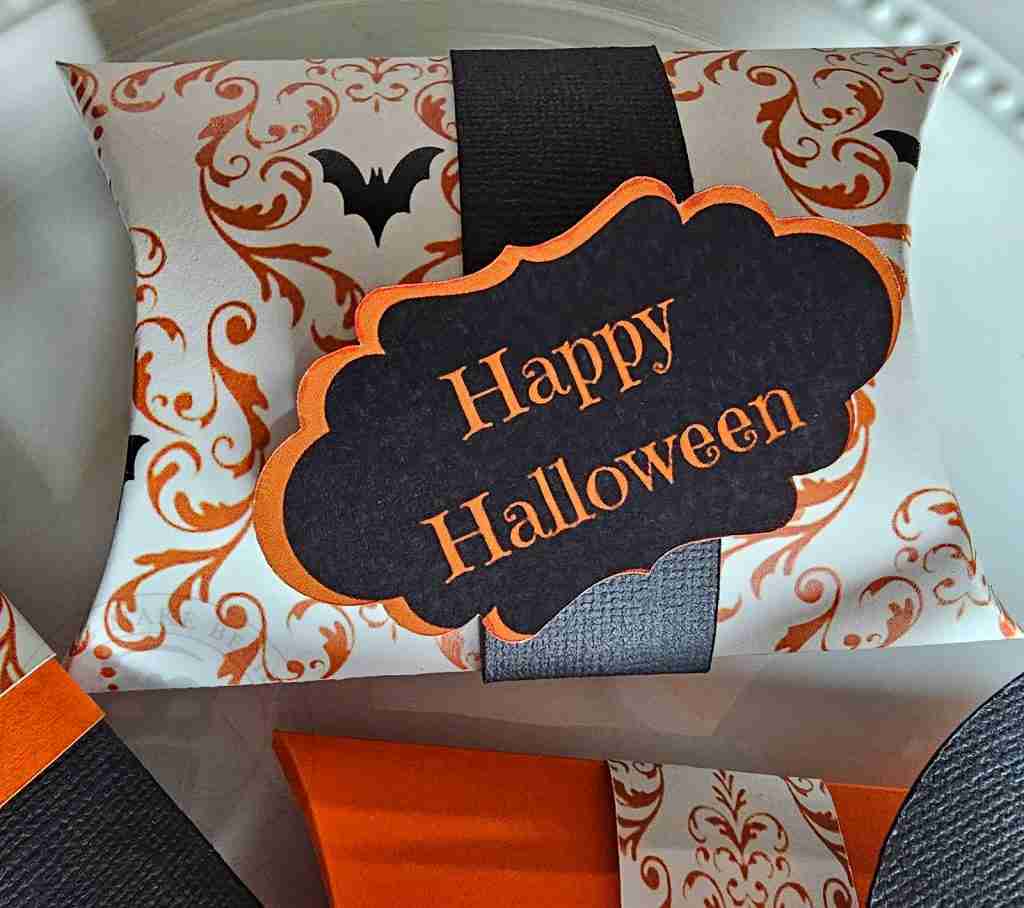
To decorate your box, wrap a band around the center. You can cut the band from plain cardstock or use the Batty Bats printable design.
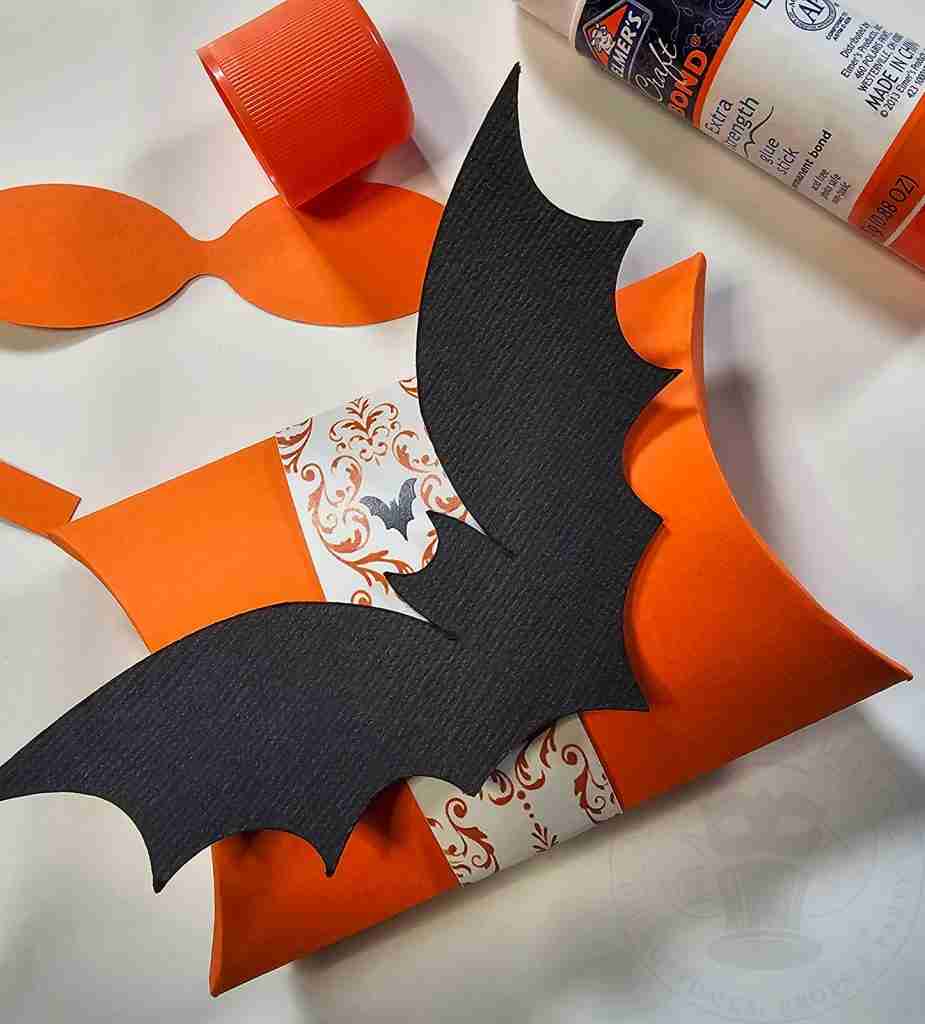
Then, add a bat cut-out or Happy Halloween emblem to your box.
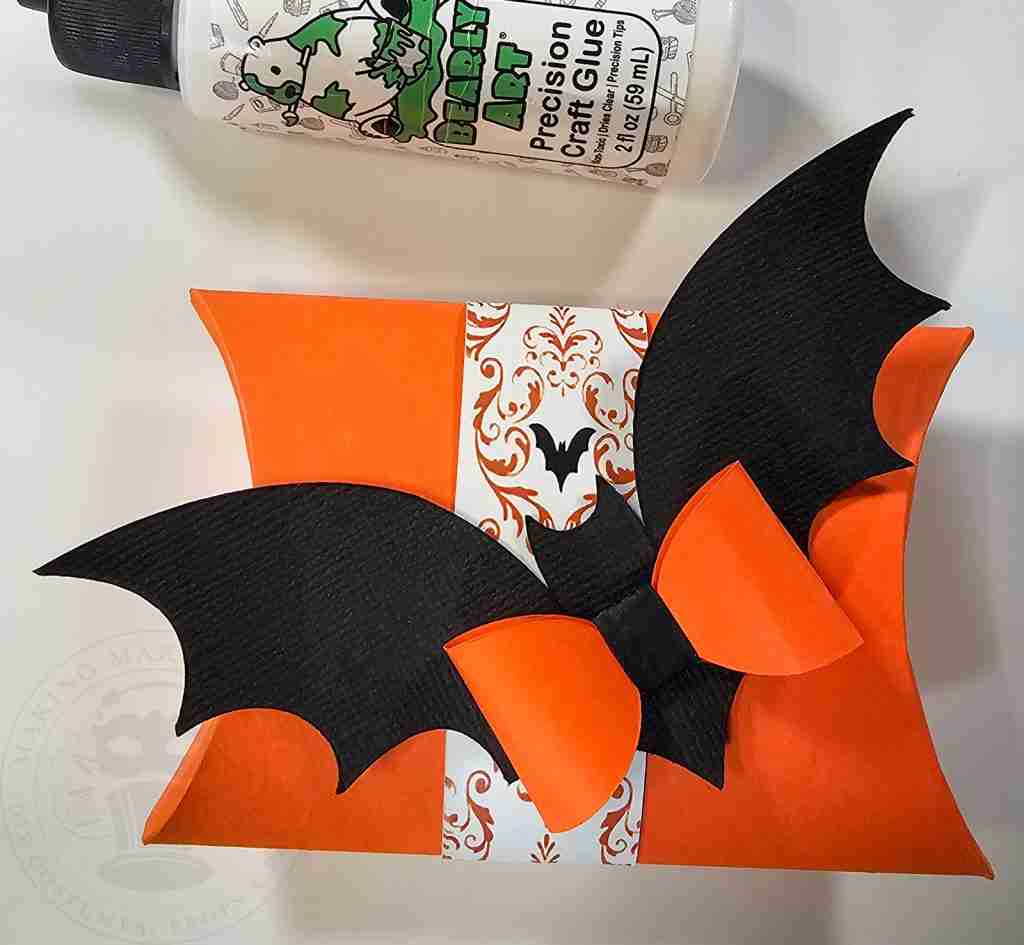
To make the bow, gently roll each end of the bow to the center and glue.
Wrap the mini band around the center of the bow and glue on the backside.
Open one end of the box, fill it with some terrifying treats, and get ready to impress your guests.
These are fun to make and decorate, and they are simple enough to make as last-minute party favors – for us procrastinators, of course.
Until next time – stay spooky!

Check your email for the Haunted Library password.
Don’t miss a moment of the mischief.
Add hello@makingmakebelieve.com to your address book.
Join us and get access to our Haunted Library stocked with templates, printables, cut files, and exclusive content. Plus, you’ll receive Eerie Emails just for our subscribers.
*Stay as long as you like. Unsubscribe at any time.