1.6K




Mini Paper Witch Hat
I get excited about items I can use in multiple applications, and Halloween pieces are no exception.
If a costume accessory can serve as a wall decoration – I love it!
If a centerpiece can pull double-duty as a wreath – I love it!
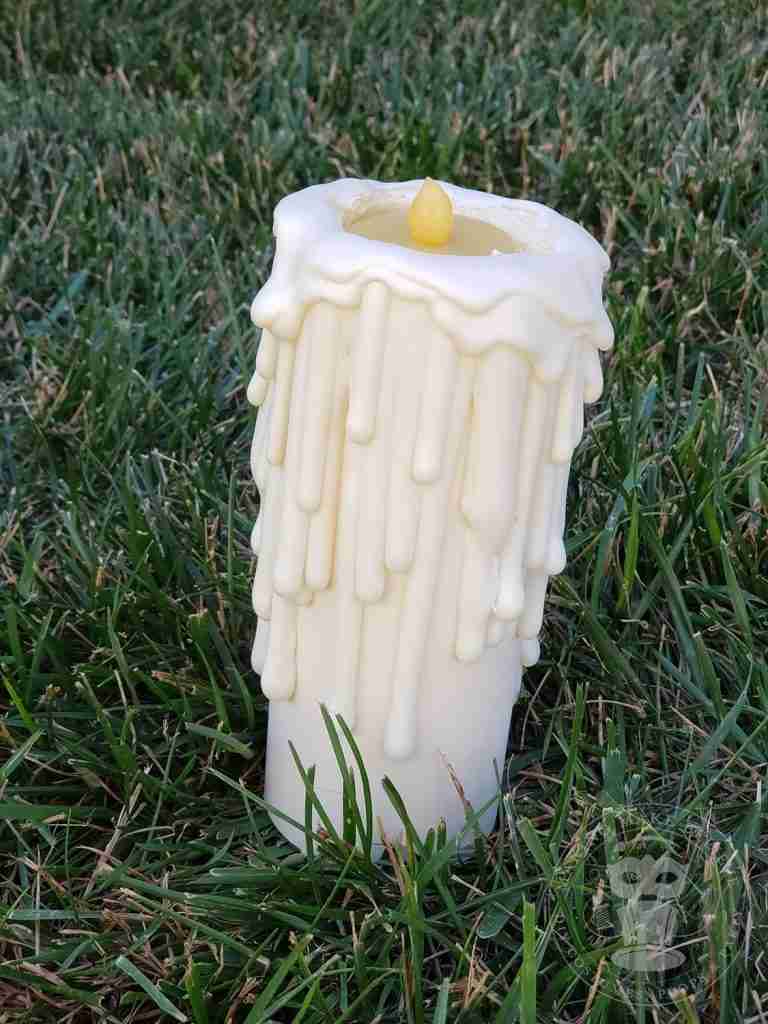
And, if those Christmas candles can cast light on our graveyard tombstones? I’m over the moon! It’s like getting two for the price of one, and I love it!
So, you can imagine that I was a bit giddy when I realized that a project I started as a costume accessory could also be fashioned into a garland or function as a table decor treat box. Win, win, win!
So, what is this triple threat?
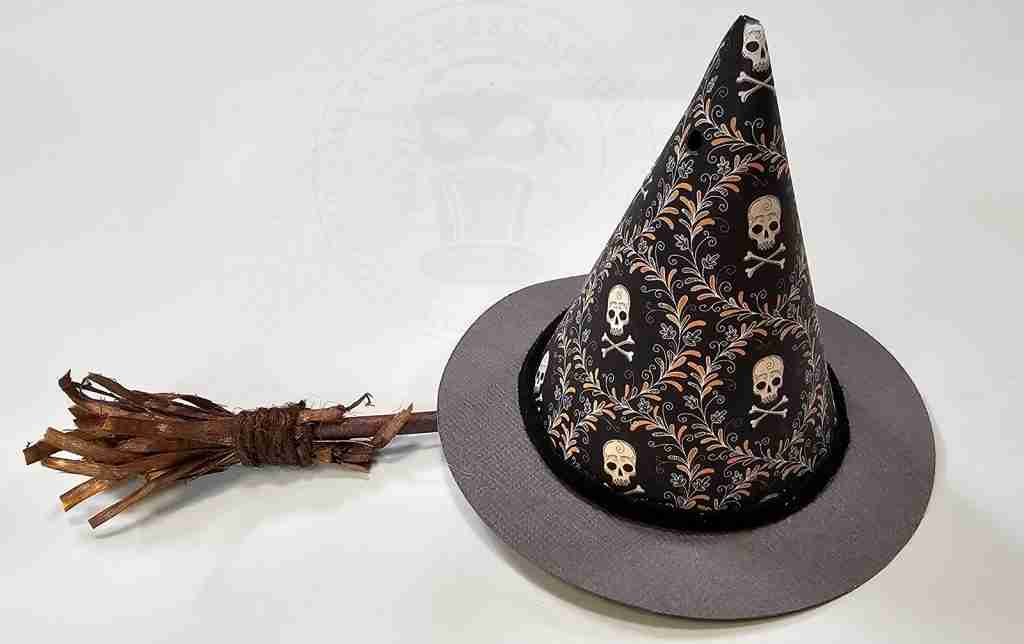
The conical witch hat. One of the most iconic elements of Halloween.
During the Halloween season, it is everywhere, in nearly any color, and bedazzled with everything from sequins to feathers.
It’s an easy go-to for those in need of a costume. Simply add a black dress or t-shirt with jeans, and you’re ready to cackle with the best of them.
Today, we’re making a mini paper version that is super versatile.
So, let’s get started.
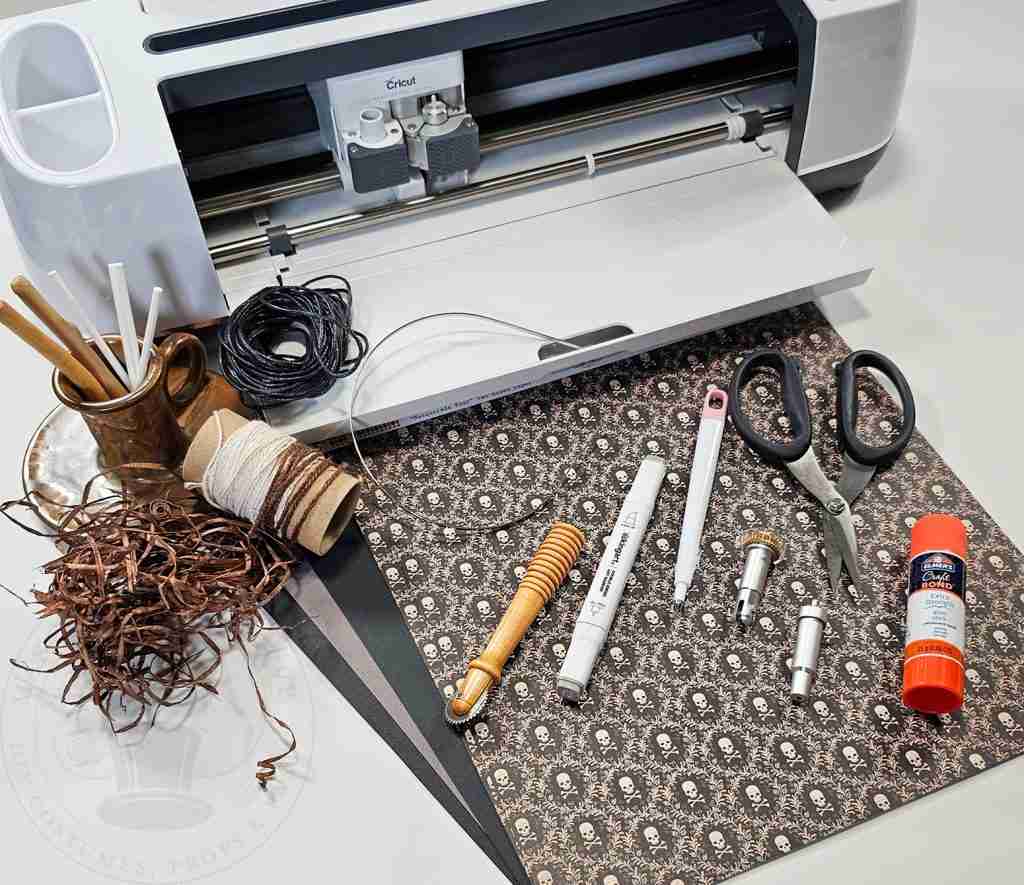
For this project, we will need:
Cardstock in the color of your choice
Scissors or a cutting machine with a fine point blade, scoring tool (garland version), perforation tool (treat box version)
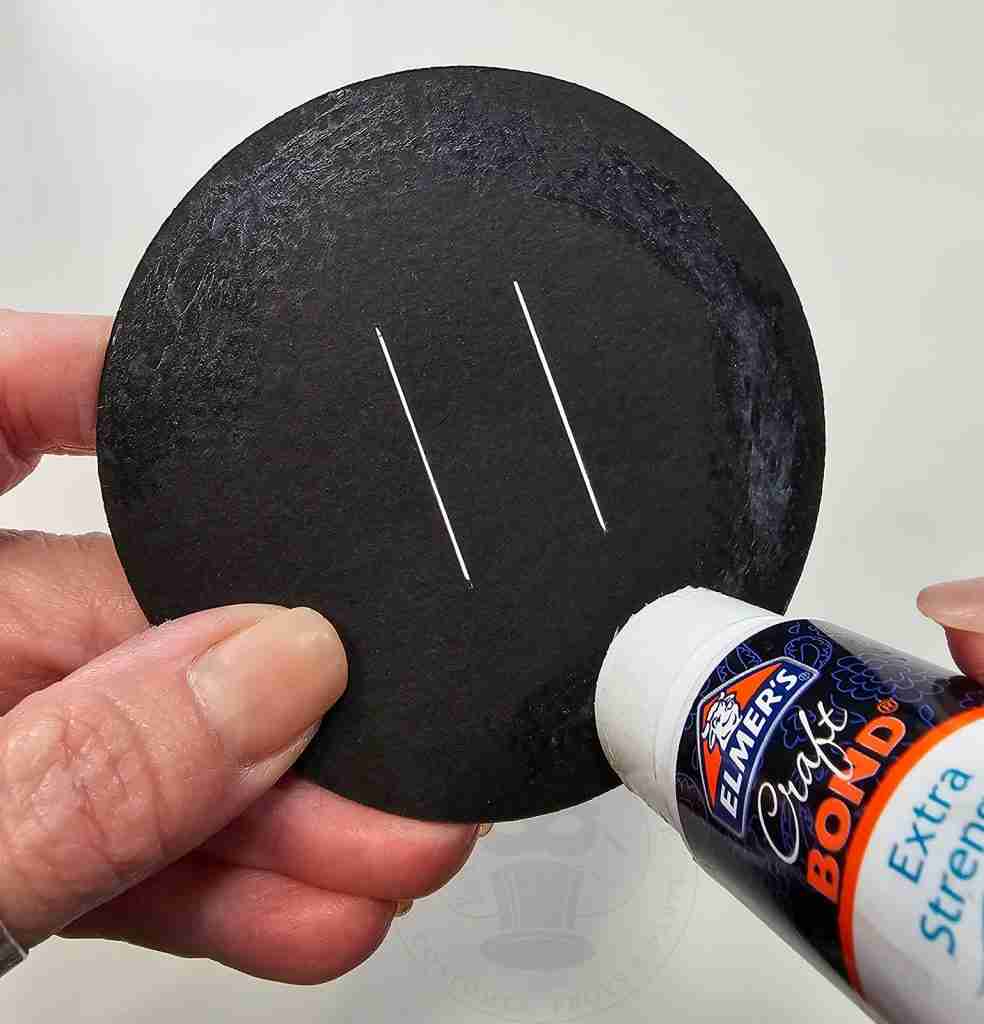
Tape or adhesive such as Elmer’s Craft Bond Glue Stick
Embellishments (optional)
Headband or hair clip (wearable version)
Lollipop sticks or thin branches (garland version)
Raffia and string (garland version)
Cording (garland version)
Color maker (optional – garland version)
Pattern tracing wheel (hand cutting – treat box version)
We will also need the Mini Paper Witch Hat template from the Haunted Library. Select the SVG for machine cutting or the PDF for hand cutting.
The Mini Paper Witch Hat template includes several options based on how you plan to use your hat.
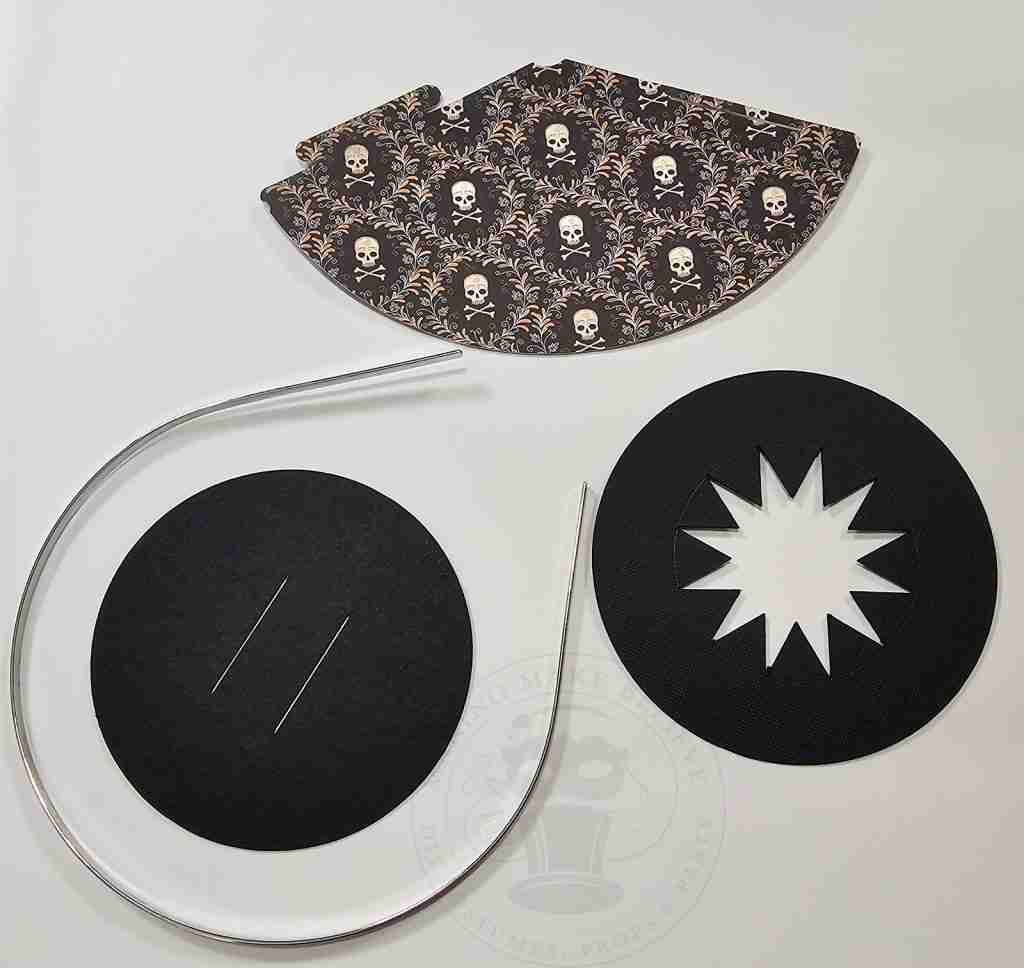
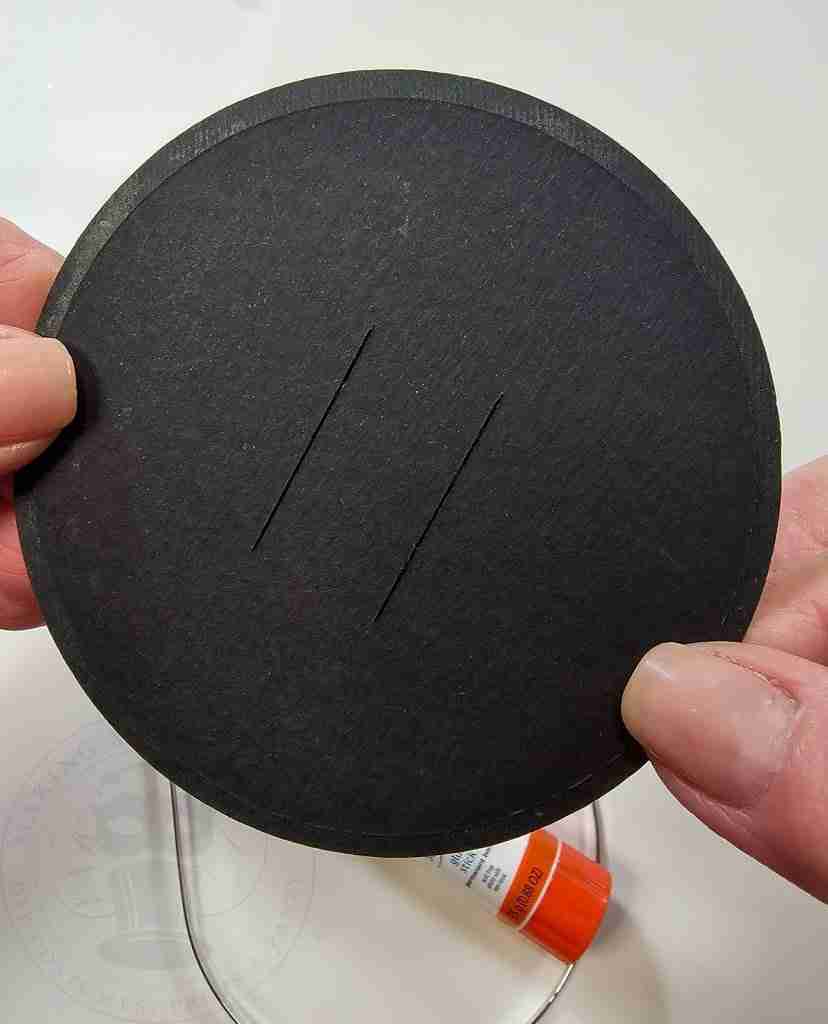
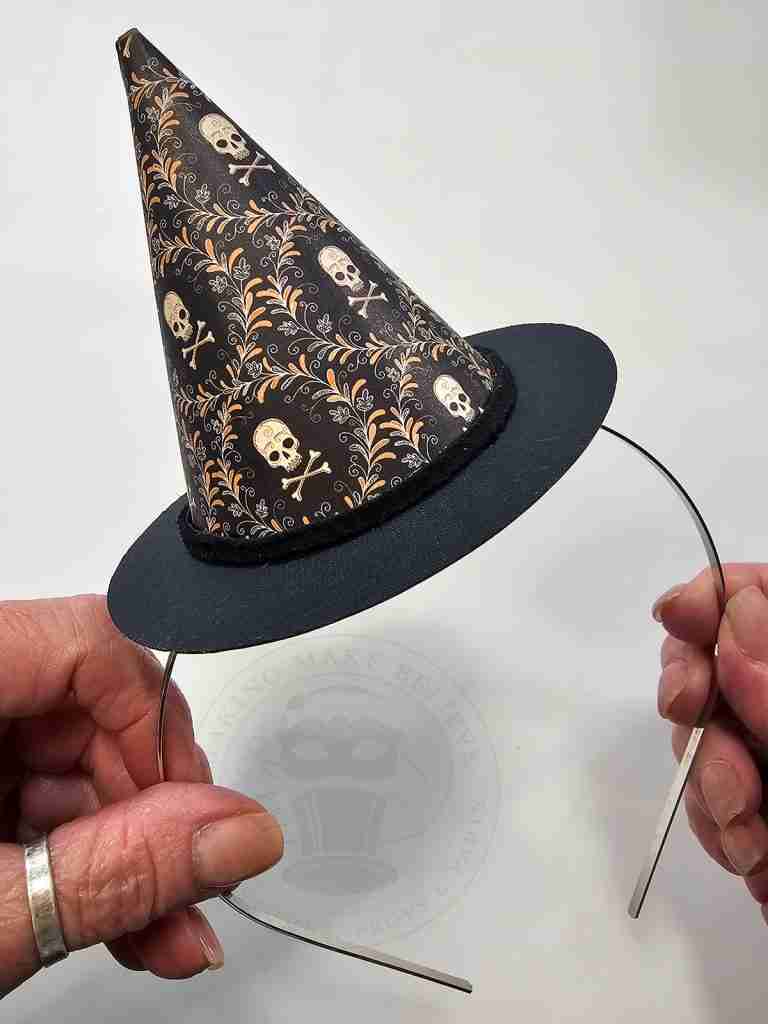
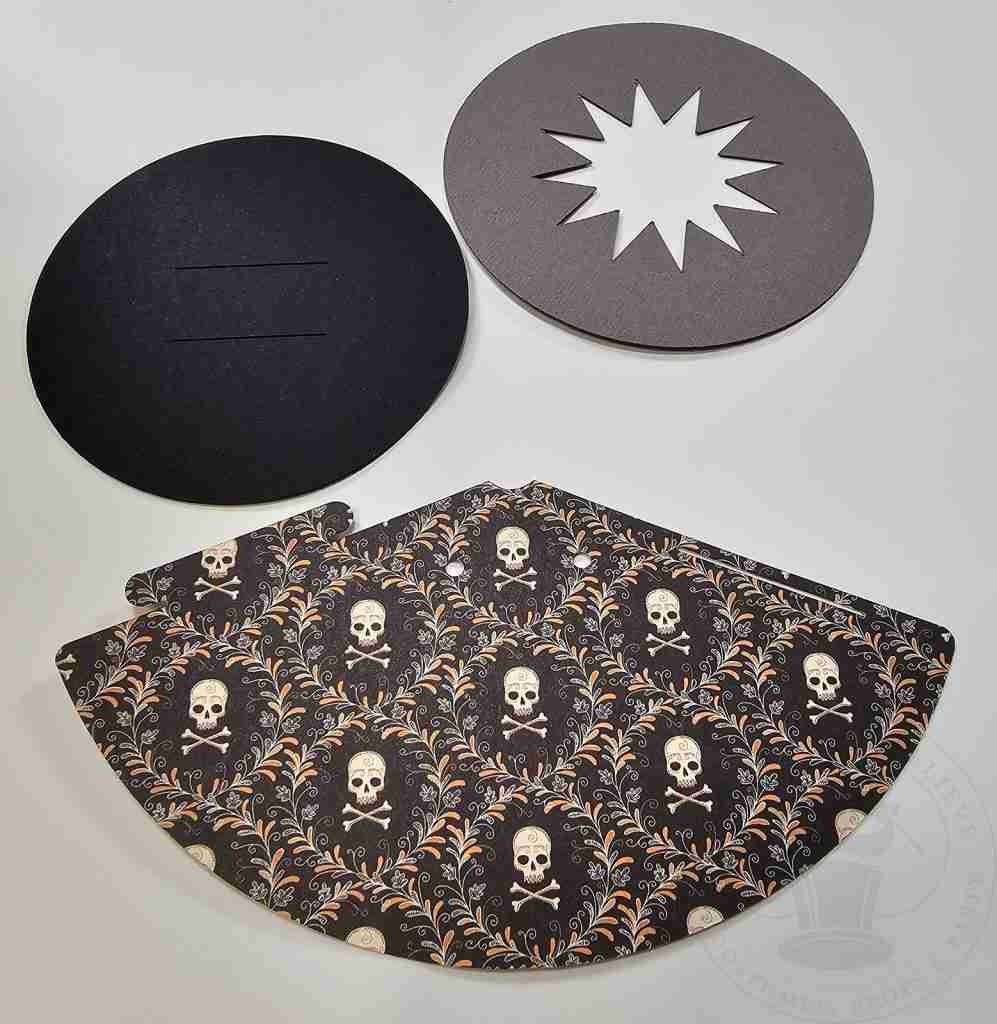
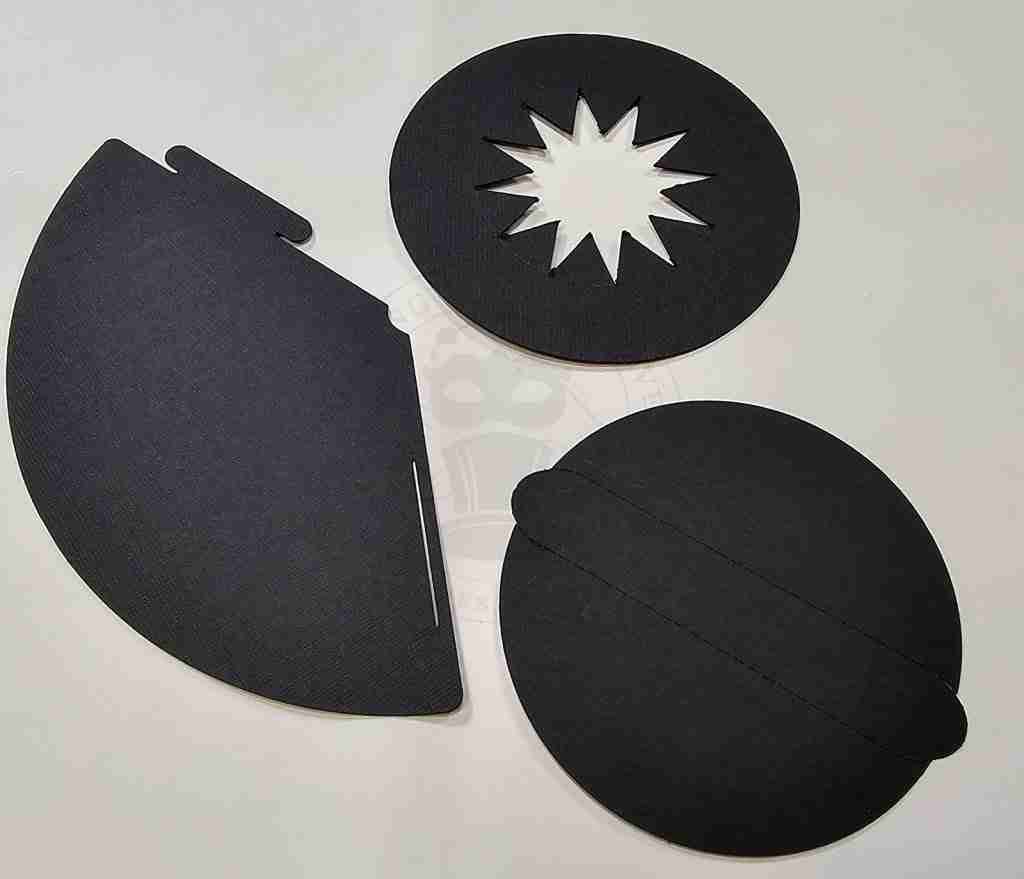
For the wearable version, we will need the cone without the punched holes, the brim with the star center, and the brim cover with the slits.
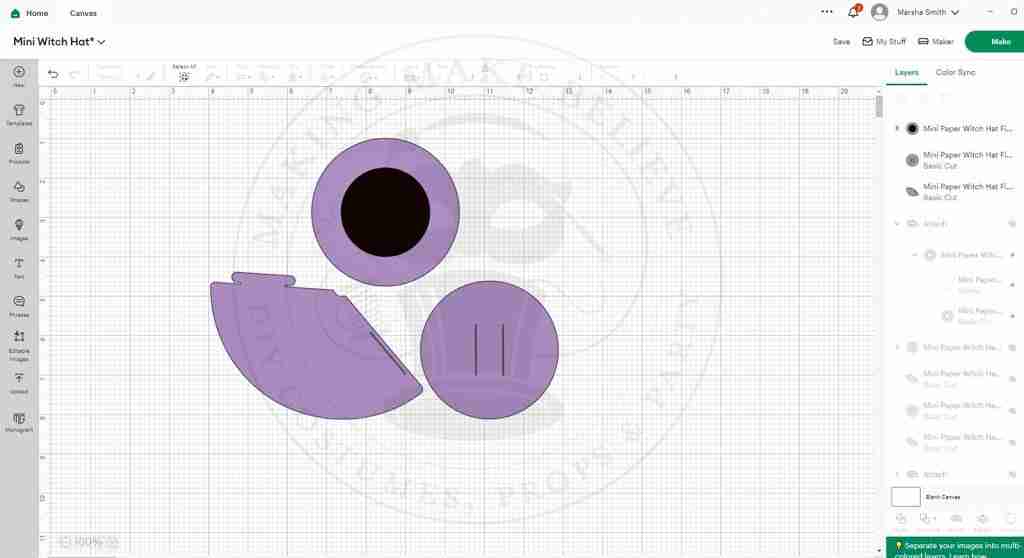
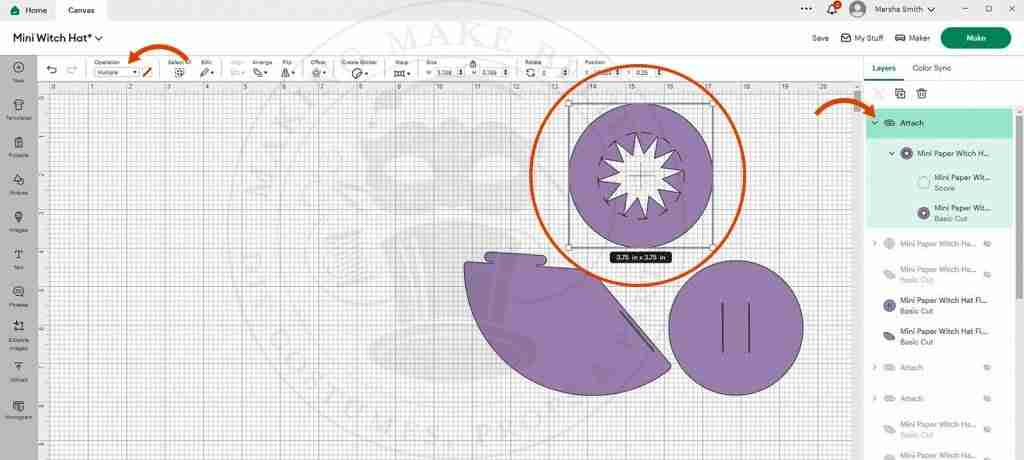
For machine cutting, upload the witch hat template into your design software. I’m using Cricut Design Space.
Open the file, select the image, and click Ungroup.
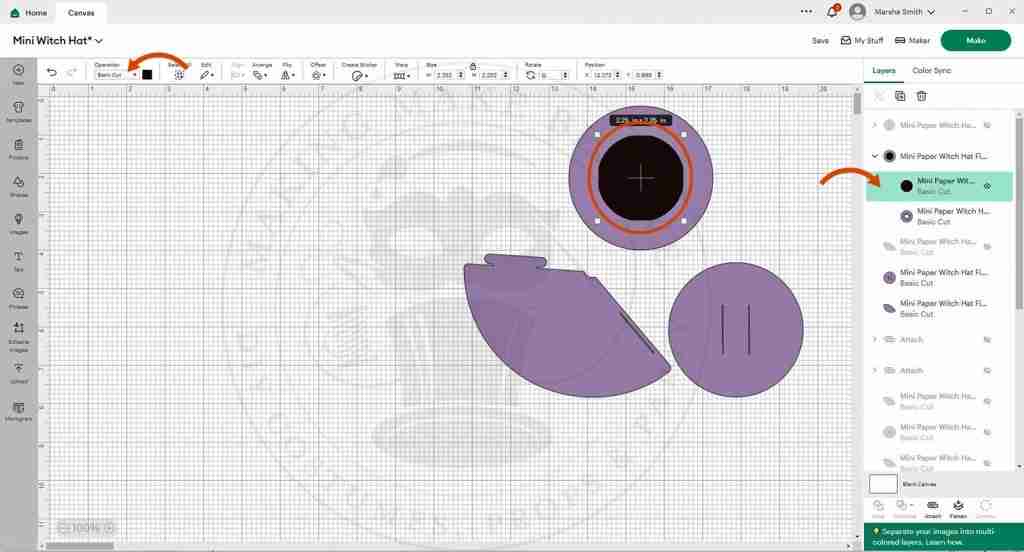
Select the line encircling the star center. *Note that in Design Space, it displays as a solid black circle.
By default, the line will be shown as a Basic Cut.
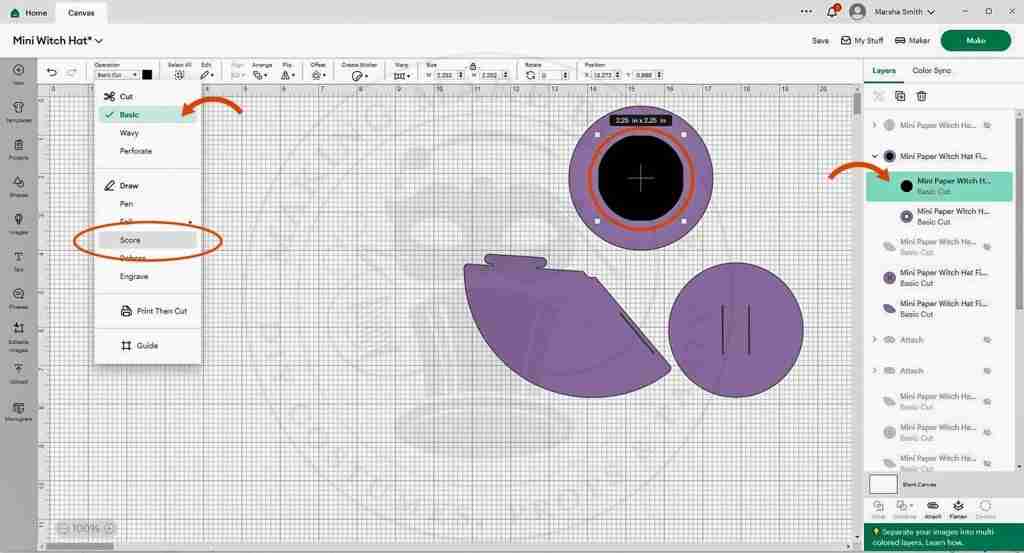
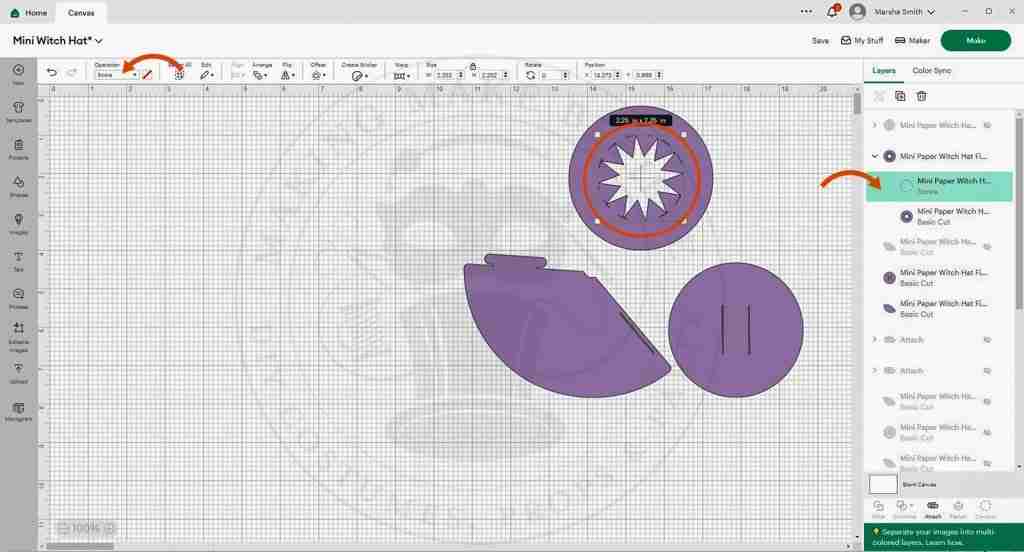
Keep the line selected, and select Score from the Operation drop-down list.
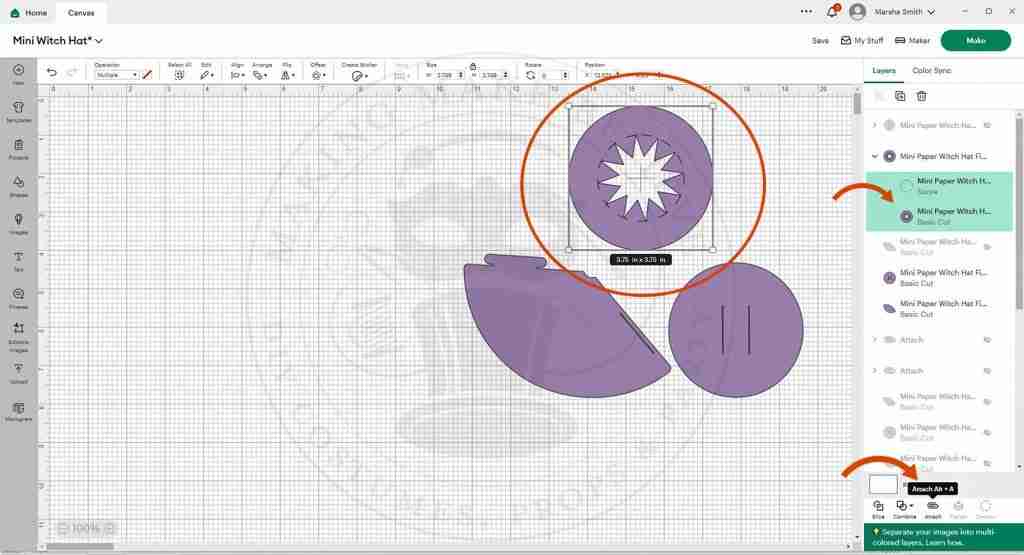
Now, select the brim and the score lines, and click Attach.
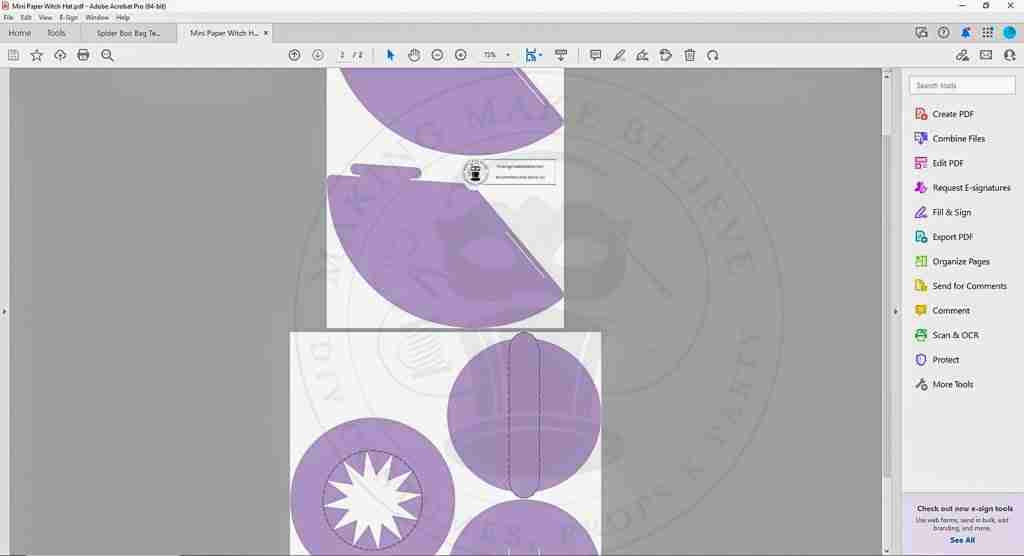
To cut by hand, open the template with your favorite PDF reader (Adobe, FoxIt, etc.).
Print the required pieces at Actual Size onto copy paper and transfer the pattern to your cardstock.
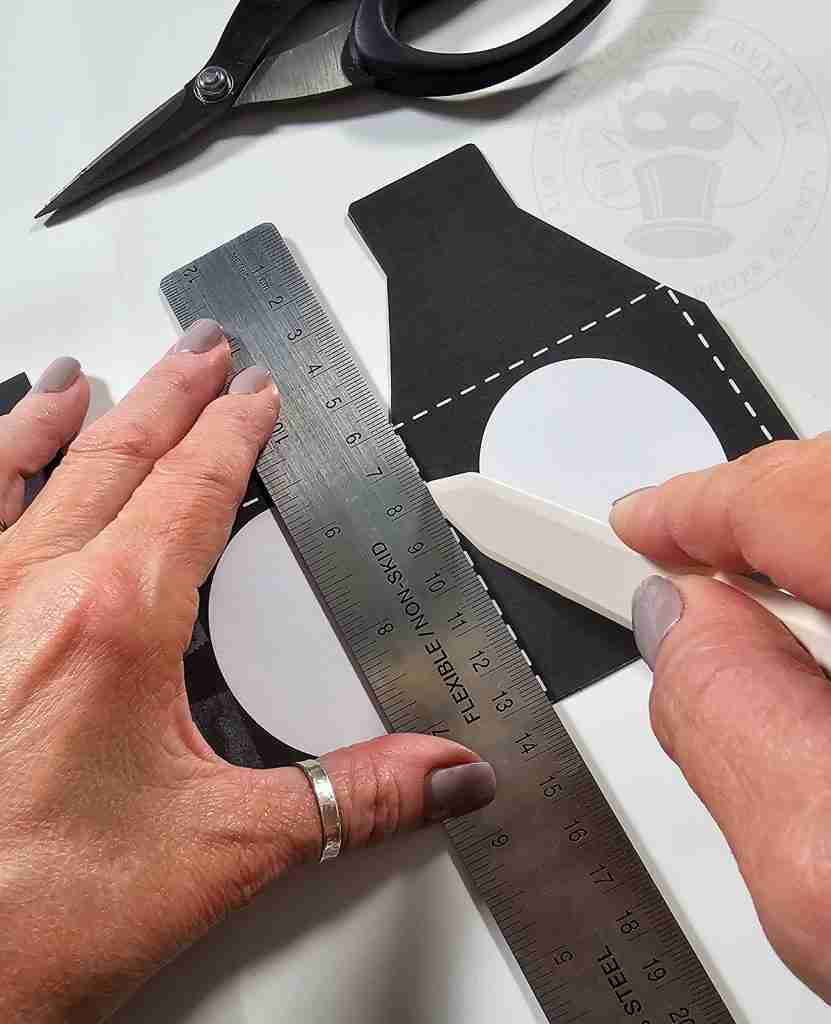
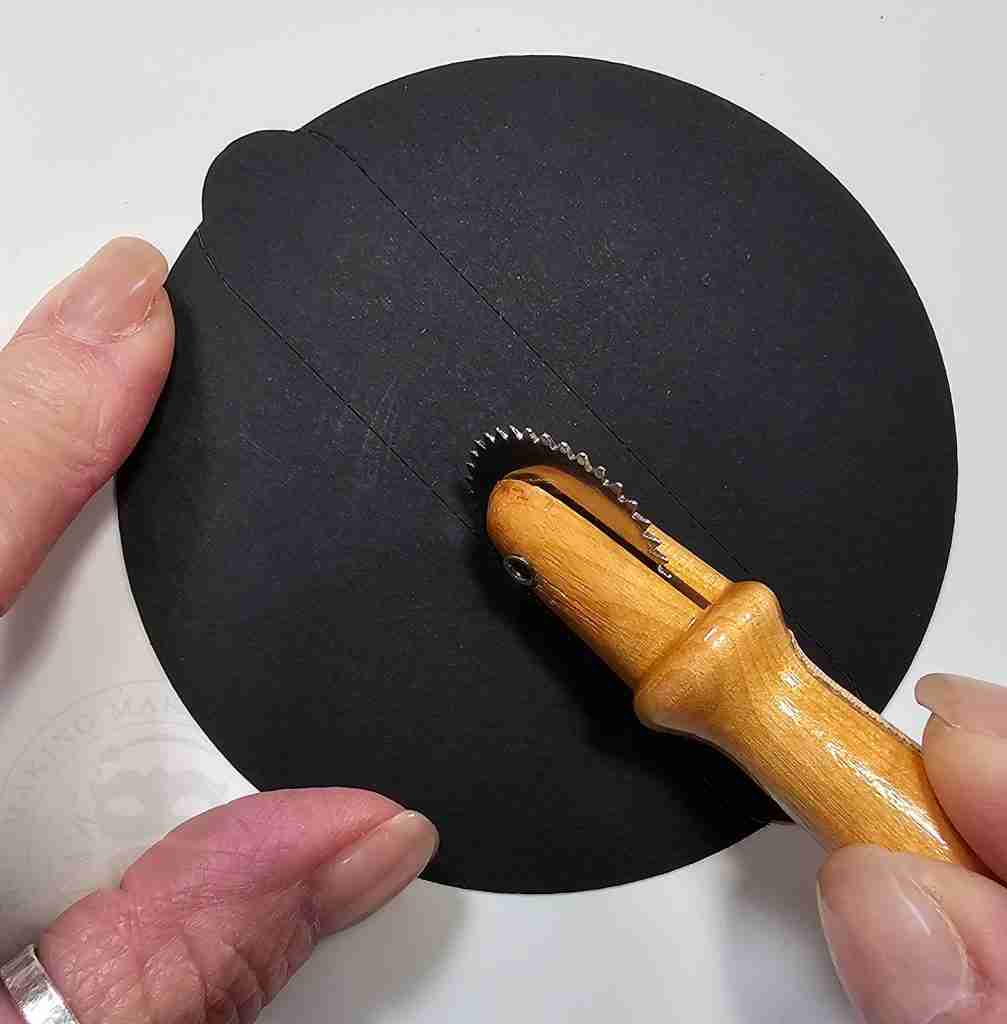
You can transfer the score line by pressing a bone folder or dull knife along the score mark, indenting the cardstock.
Example of how to use a bone folder to make score marks.
For each hat, cut one cone, one brim with a star center, and one brim cover with slits.
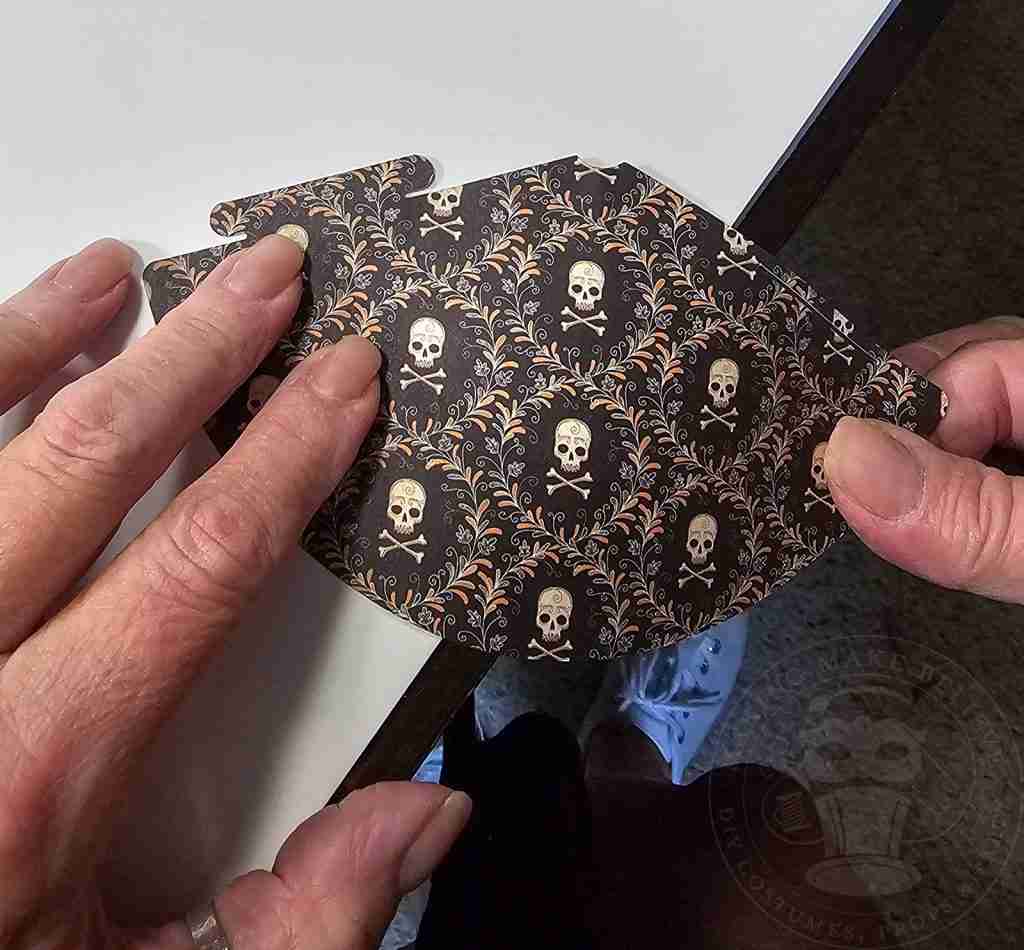
To assemble the hat, gently curl the cone by rolling it along the edge of a table.
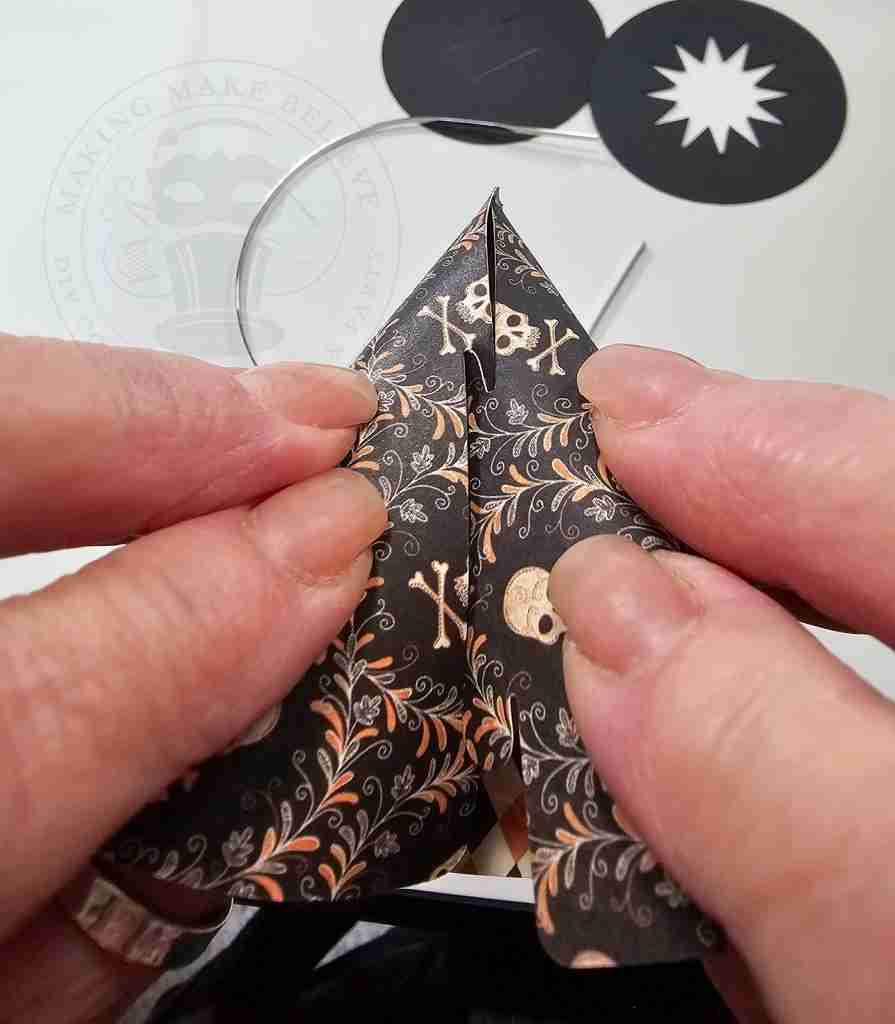
Insert the tab into the slit. It’s a tight fit, so take your time.
Secure the tab with tape if desired.
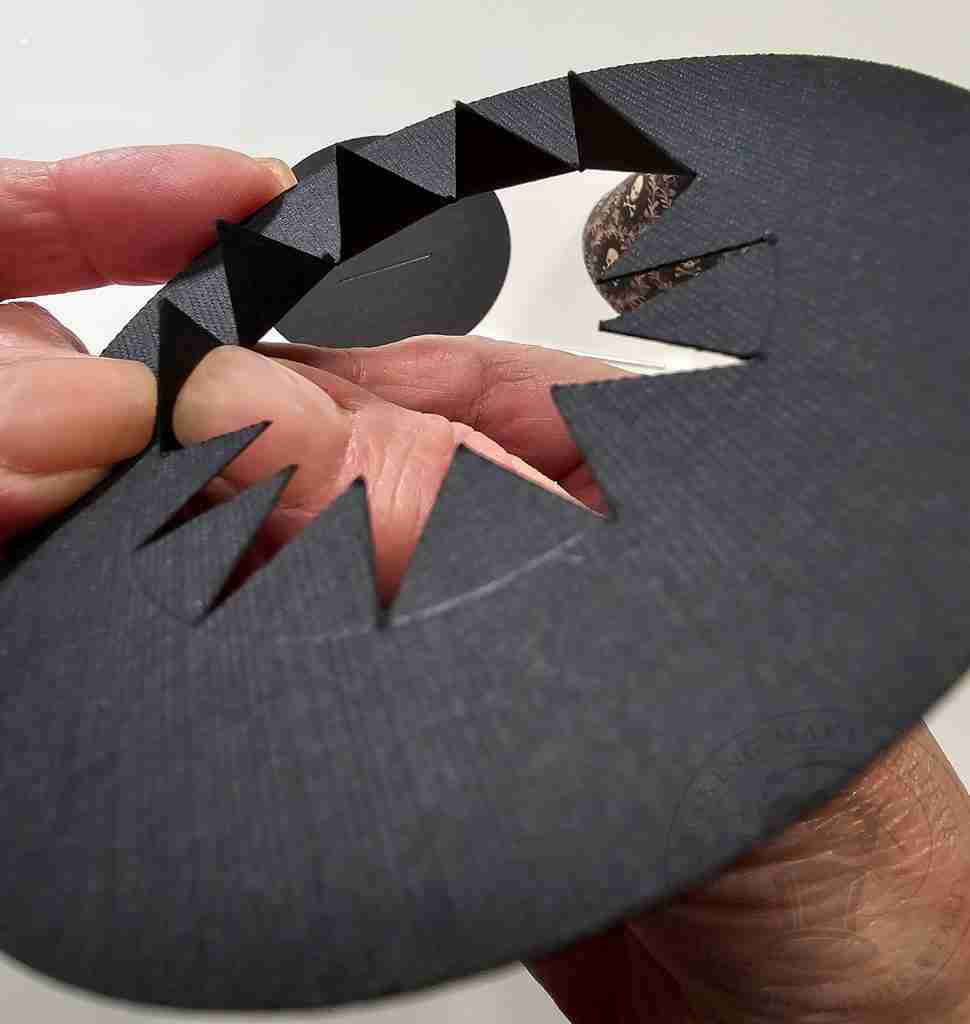
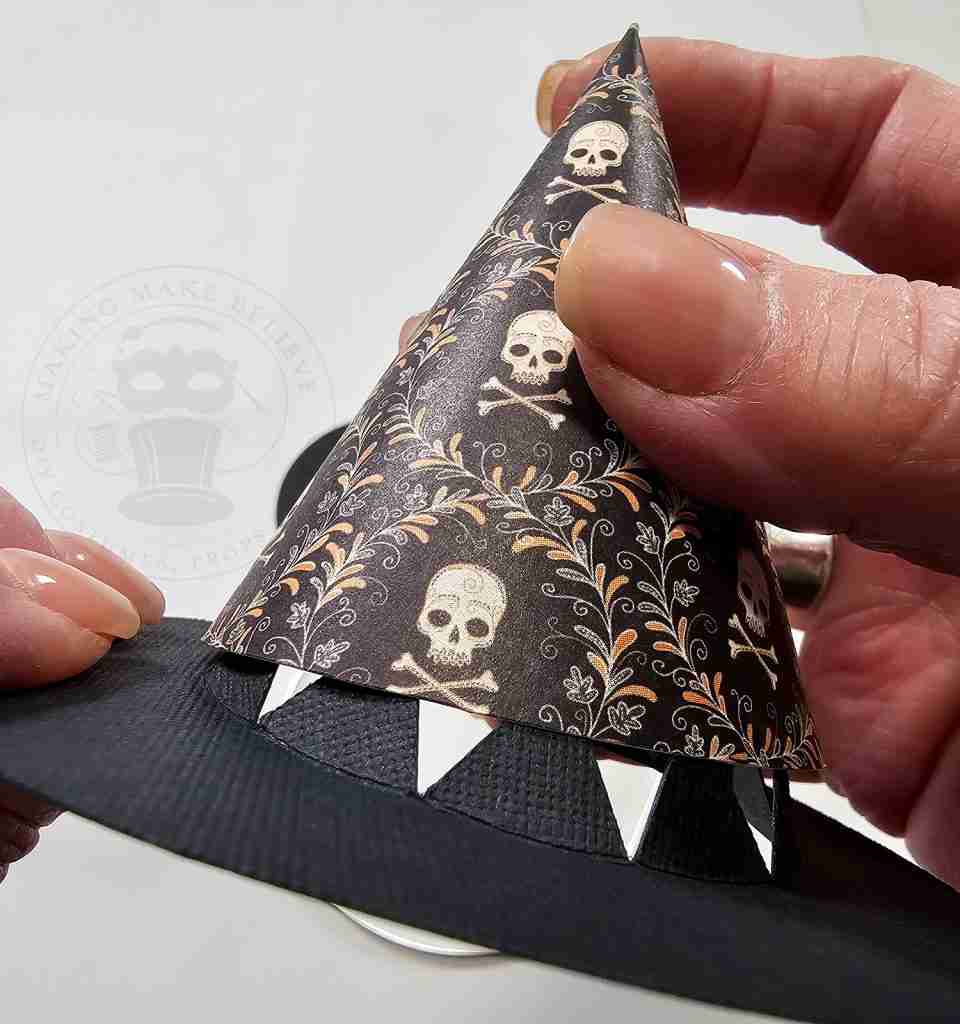
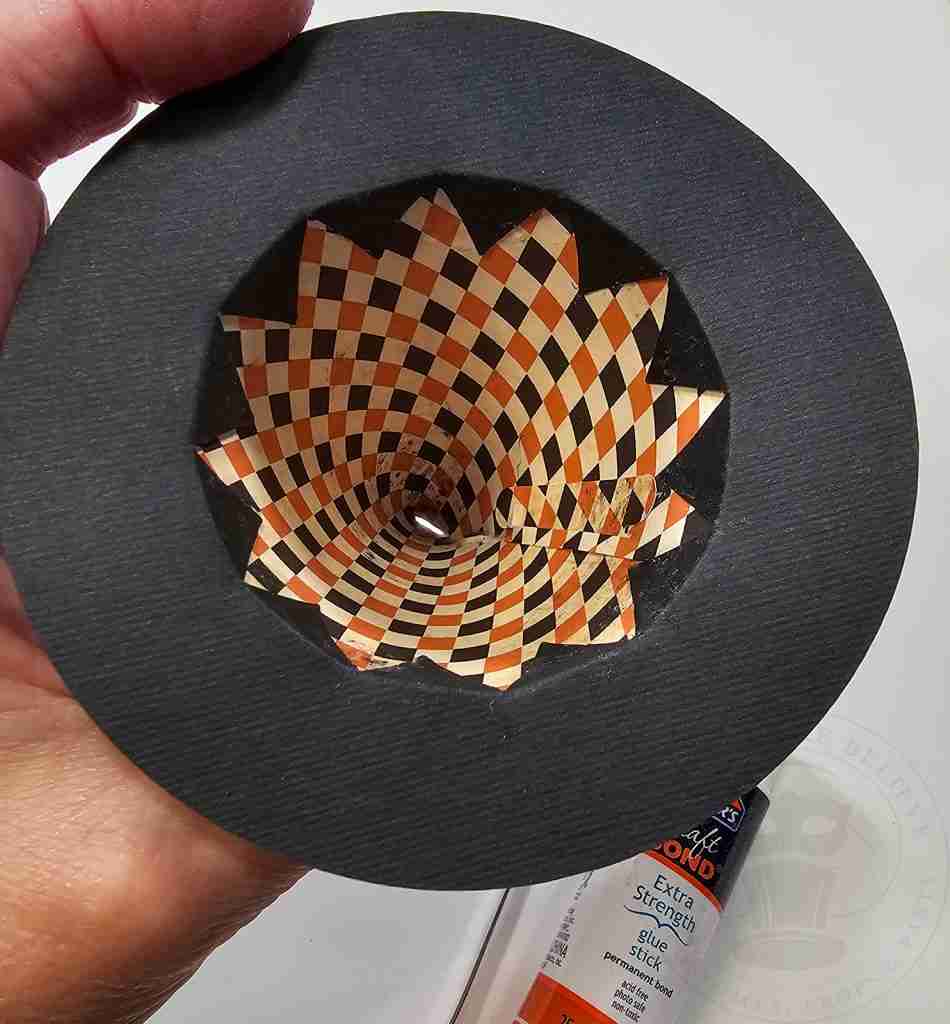
Next, fold the scored brim pieces upward and slide them into the cone of the hat.
Secure with tape or glue.
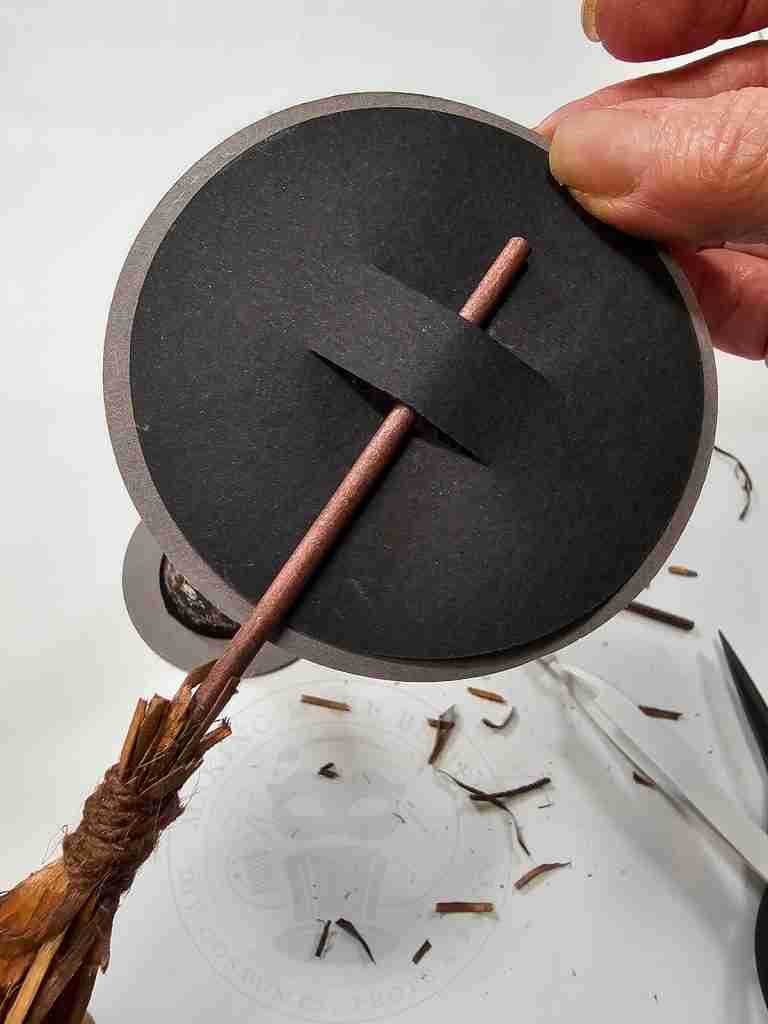
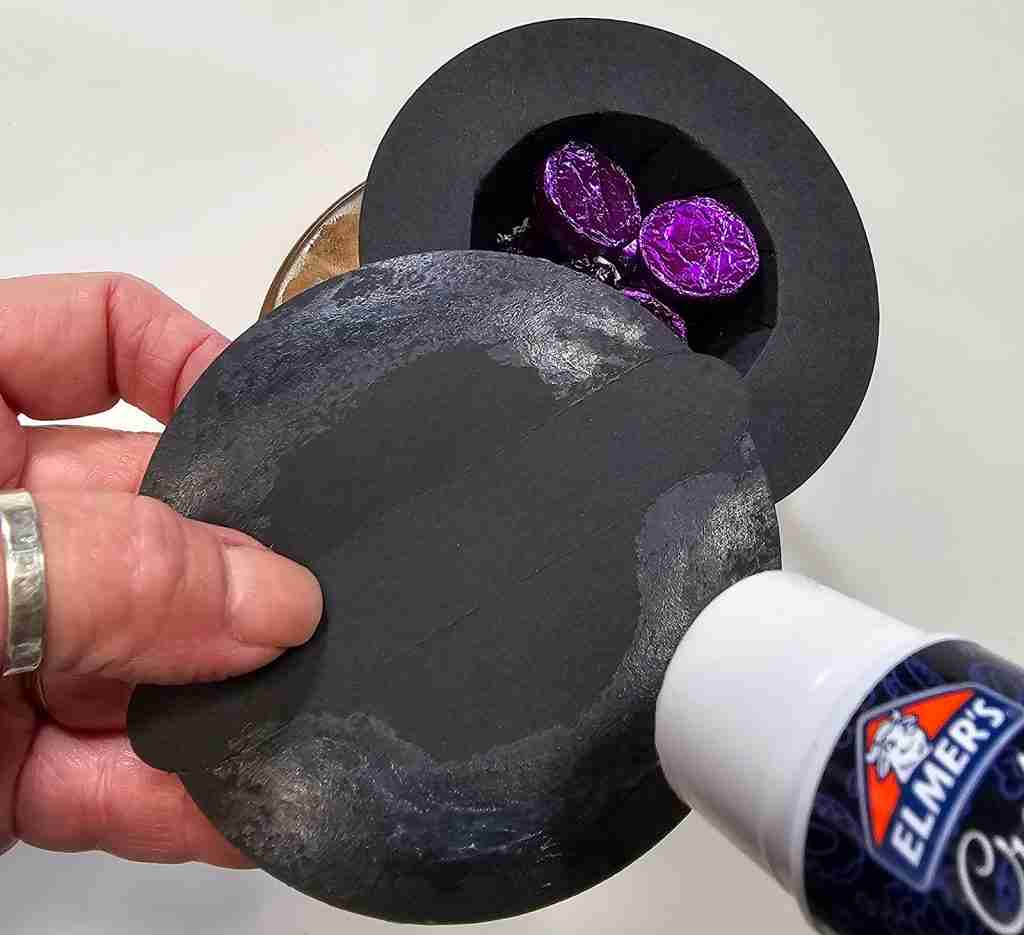
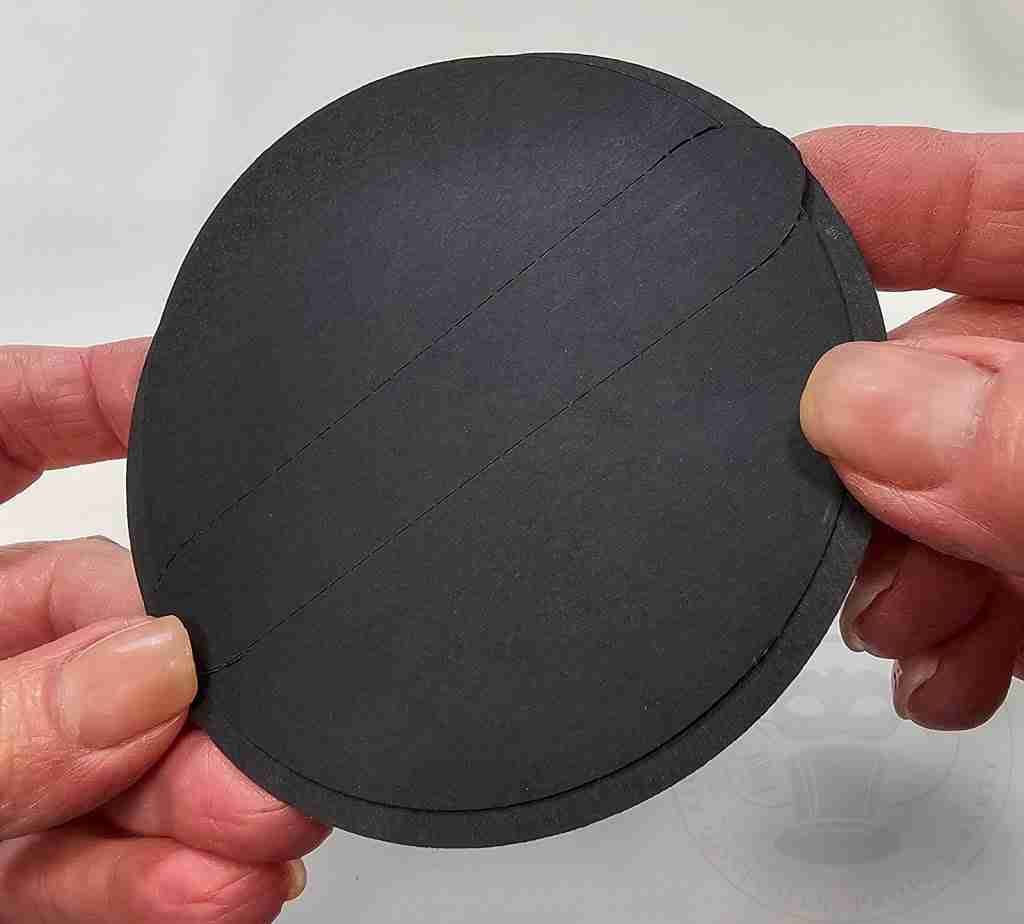
Center the brim cover with the slits to the underside of the hat and glue into place.
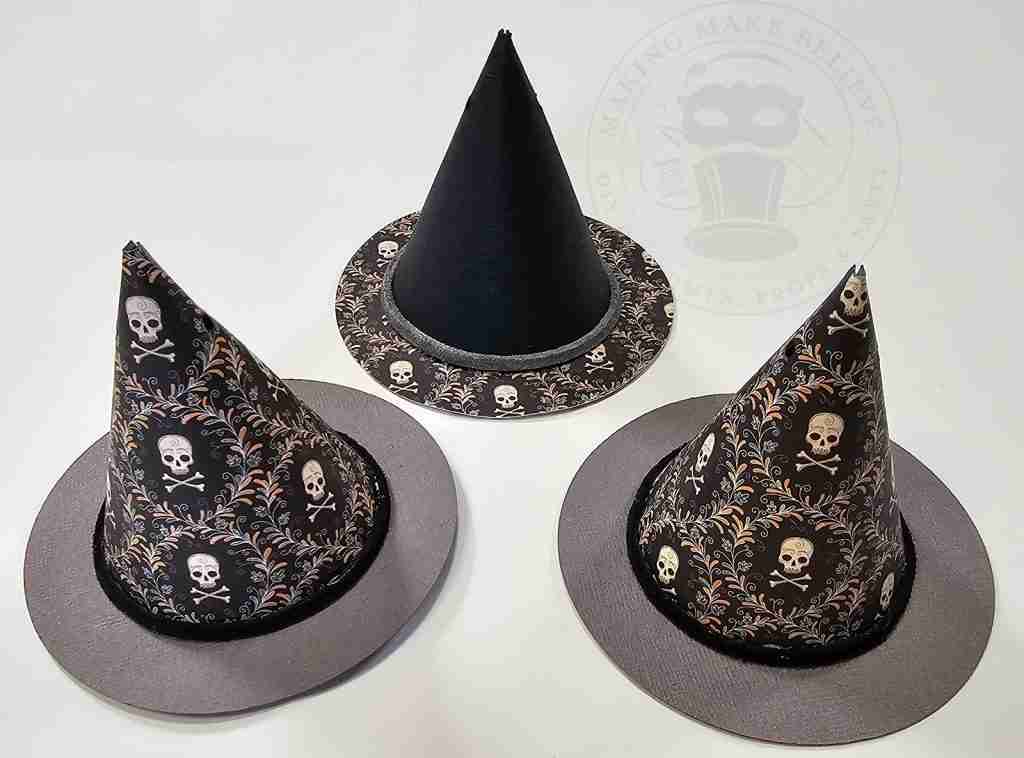
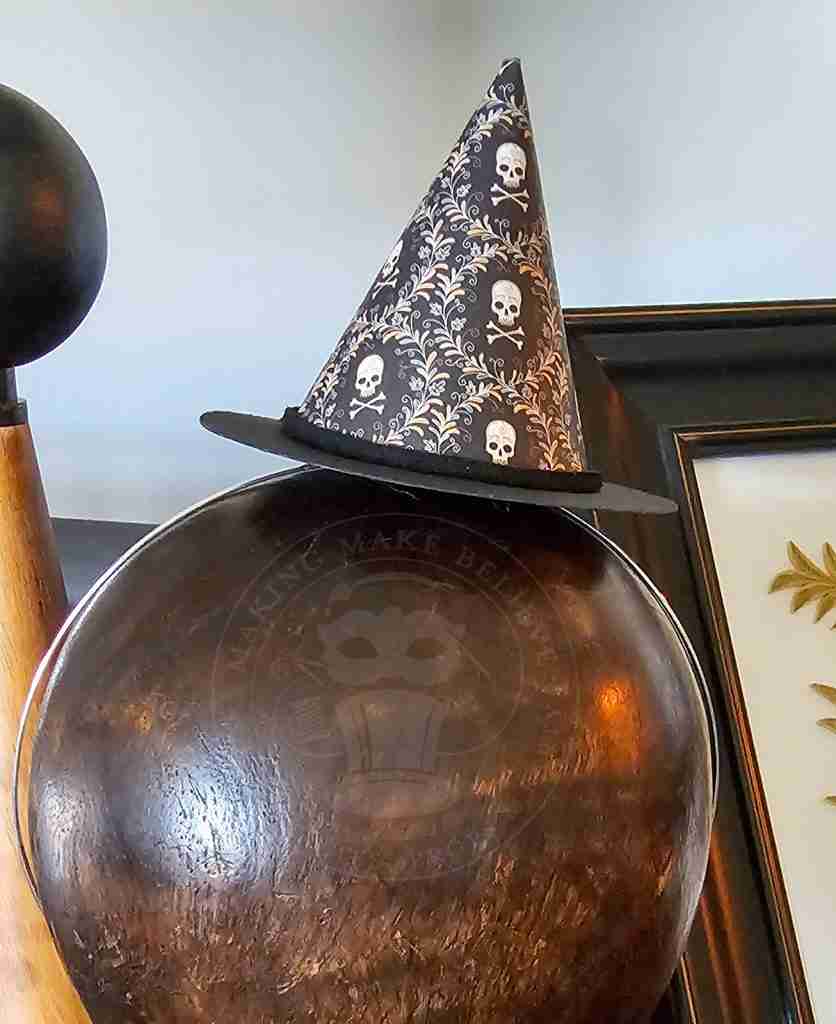
Now, you can decorate your hat however you wish.
I opted for a simple leather band.
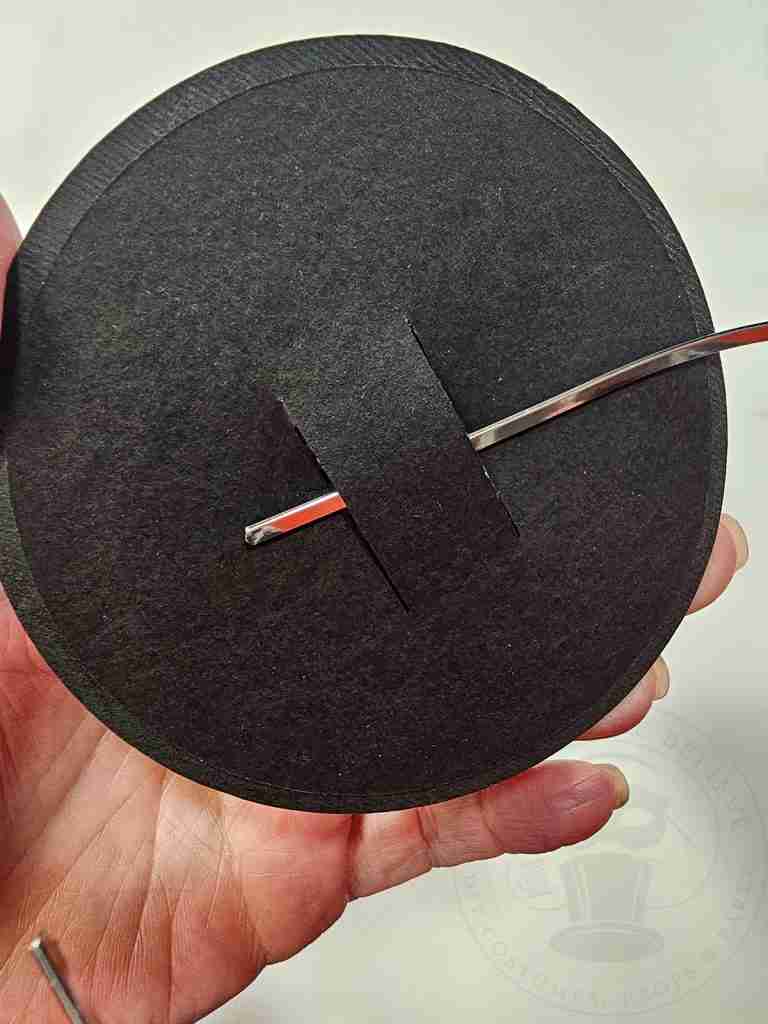
To wear, slip a headband or hair clip through the slits, secure to your hair, and you’re ready for the costume party.
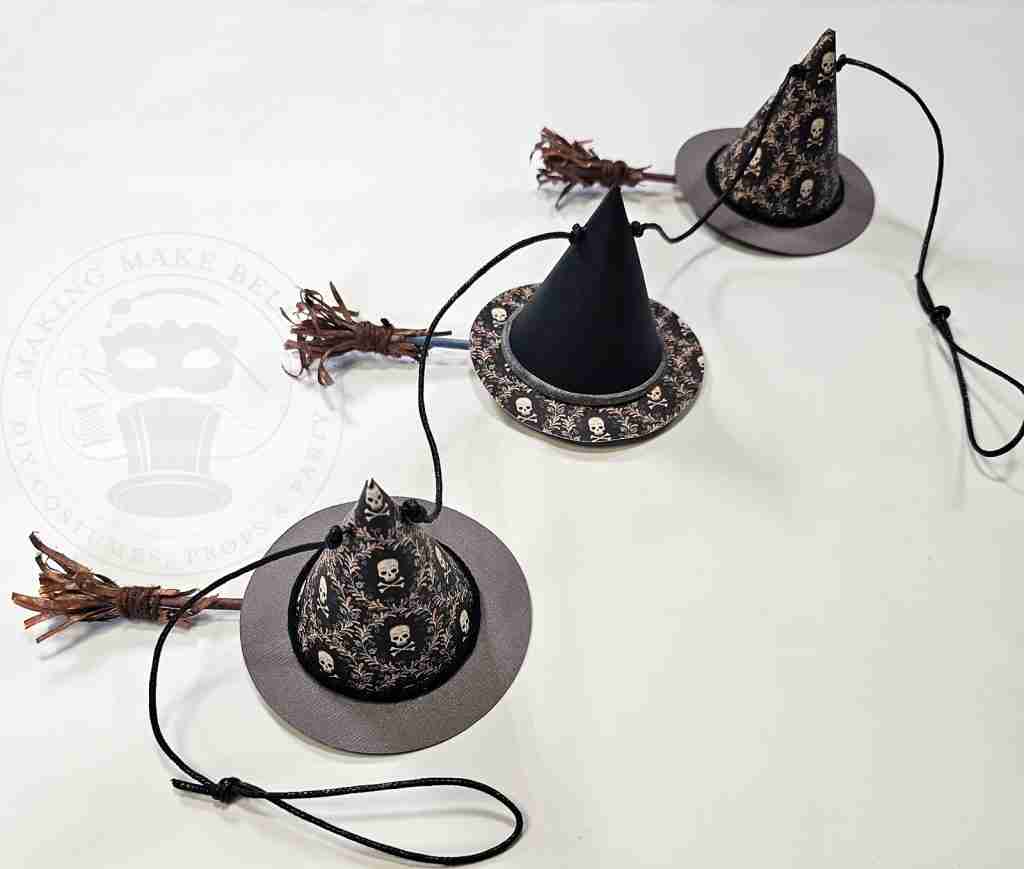
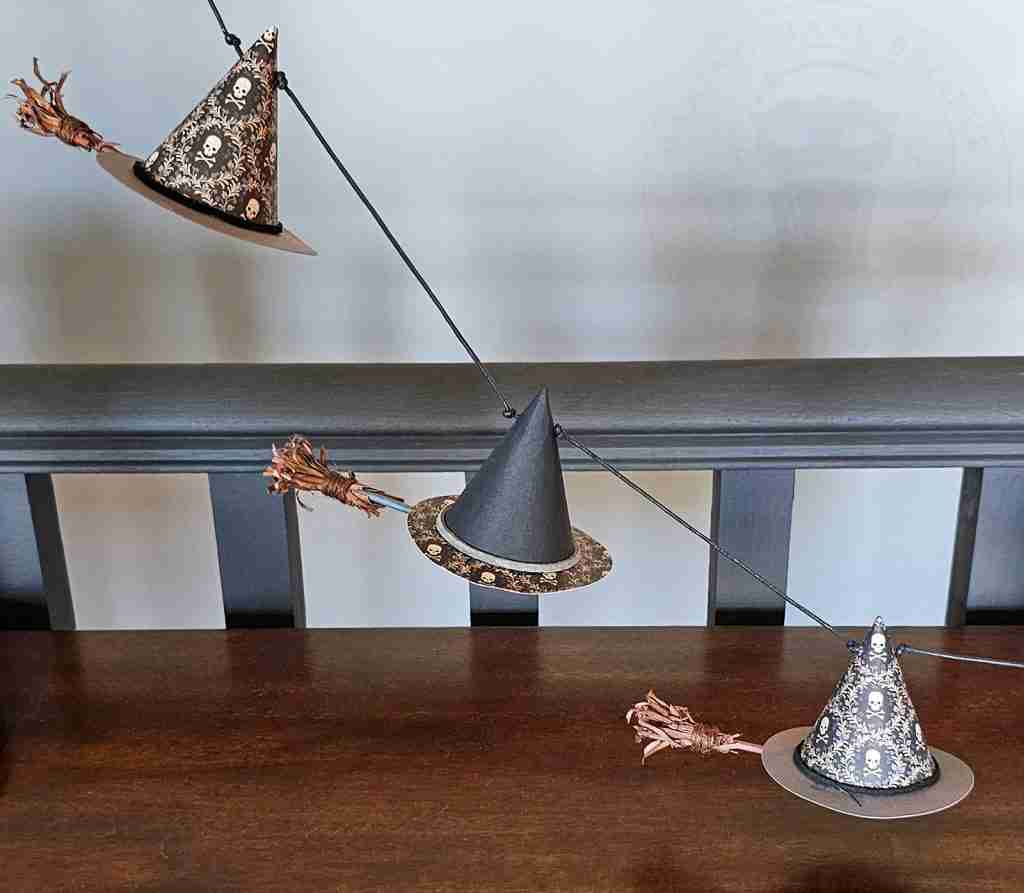
To make the Mini Paper Witch Hat Garland, cut one cone with the punched holes, one brim with the star center, and one brim cover with slits.
Follow the same process above for cutting and assembly, and decorate your hat as you wish.
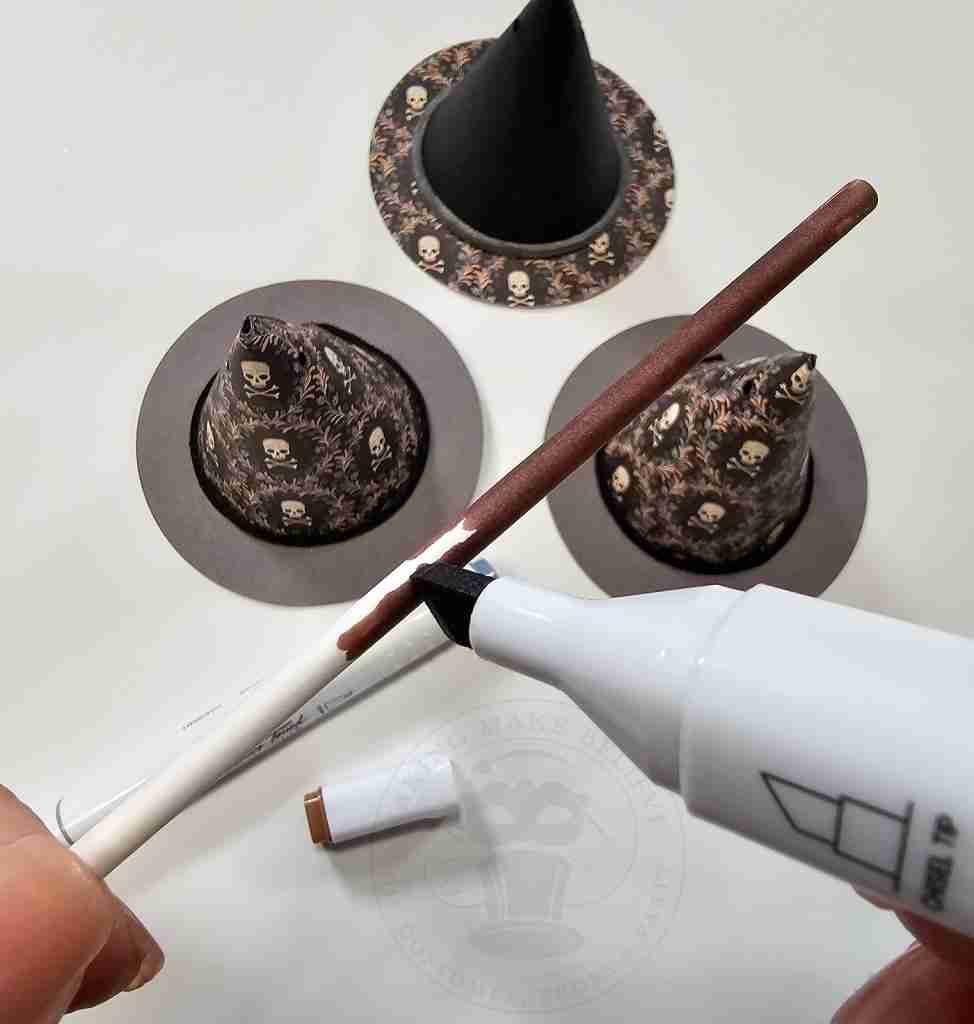
If desired, color or decorate the lollypop stick.
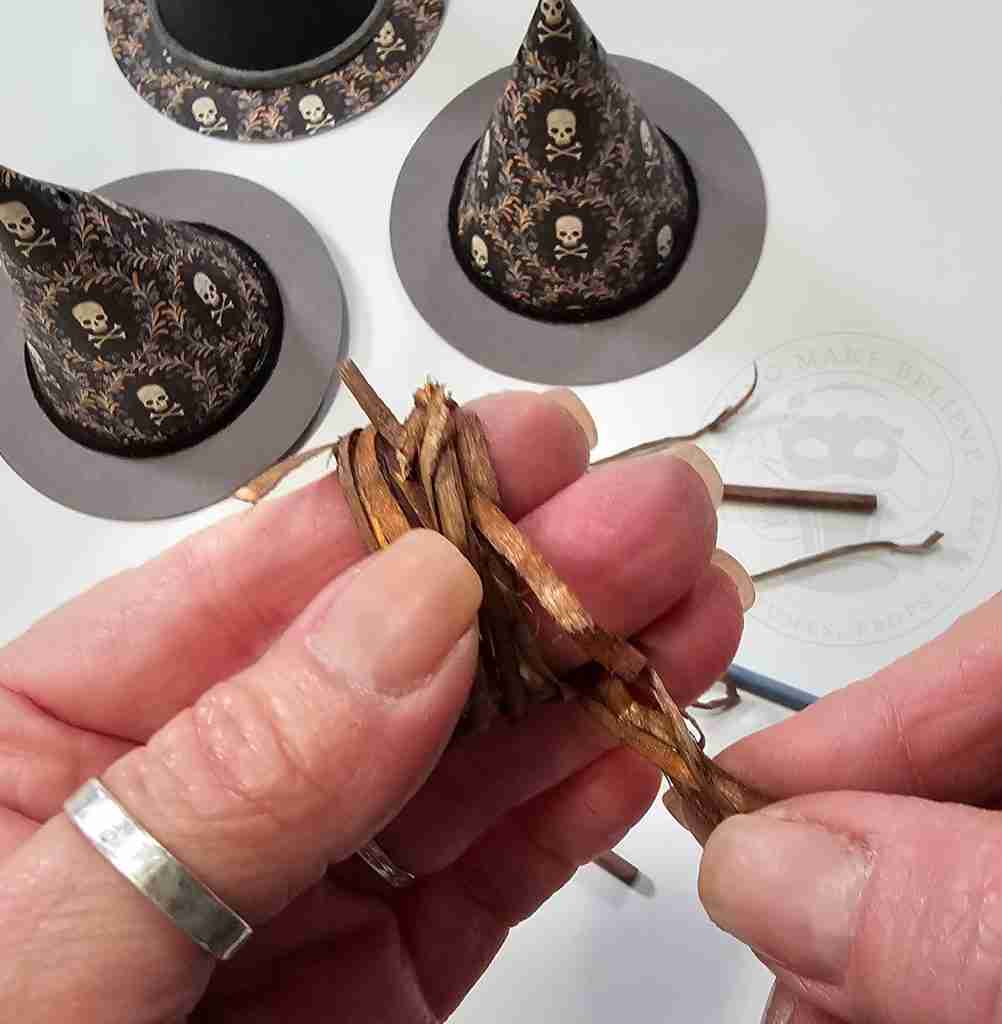
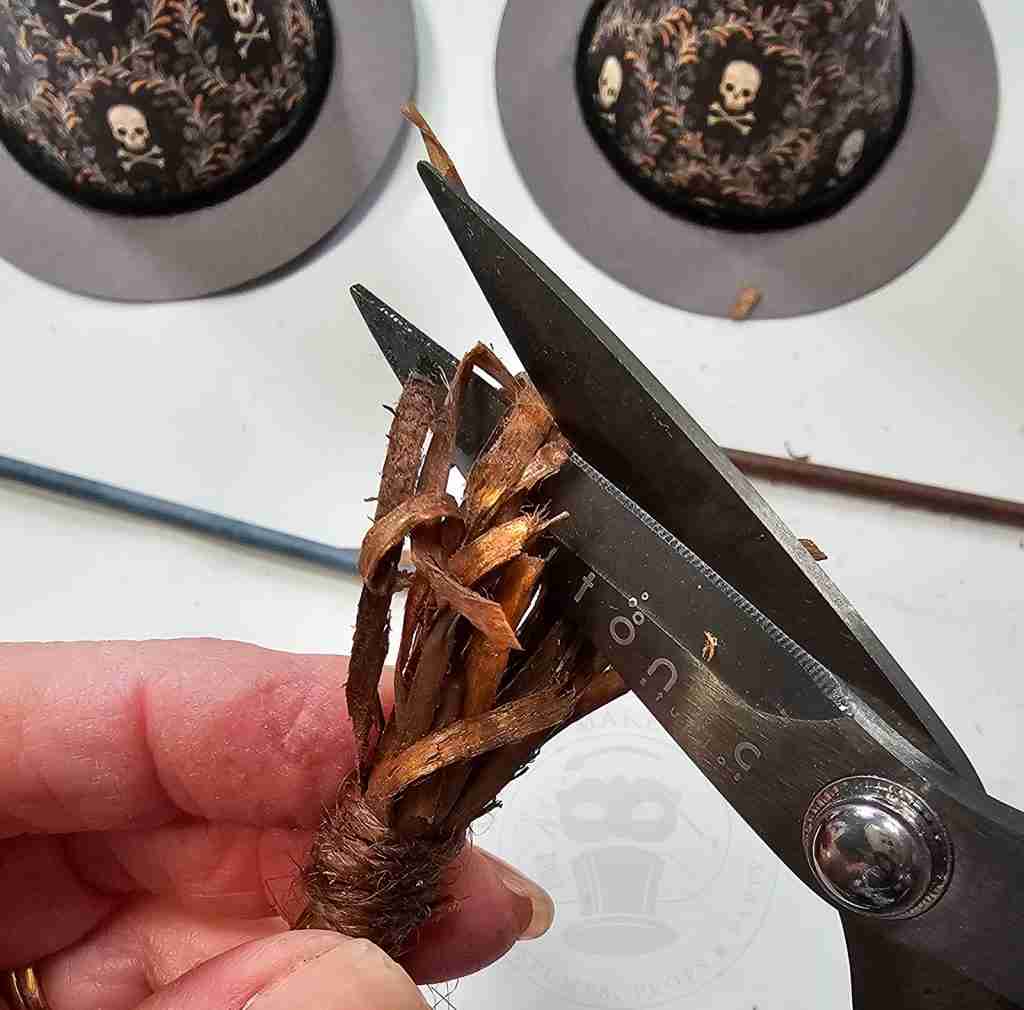
Then, gather a small amount of the raffia and wrap it around your fingers to make a loop.
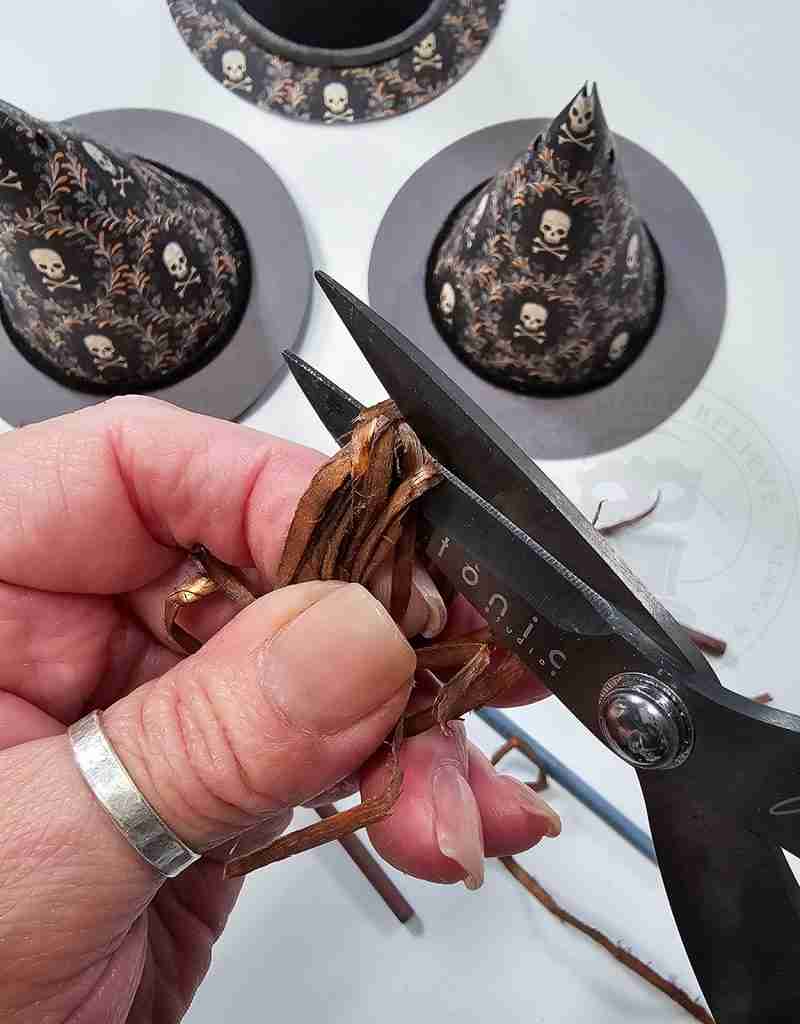
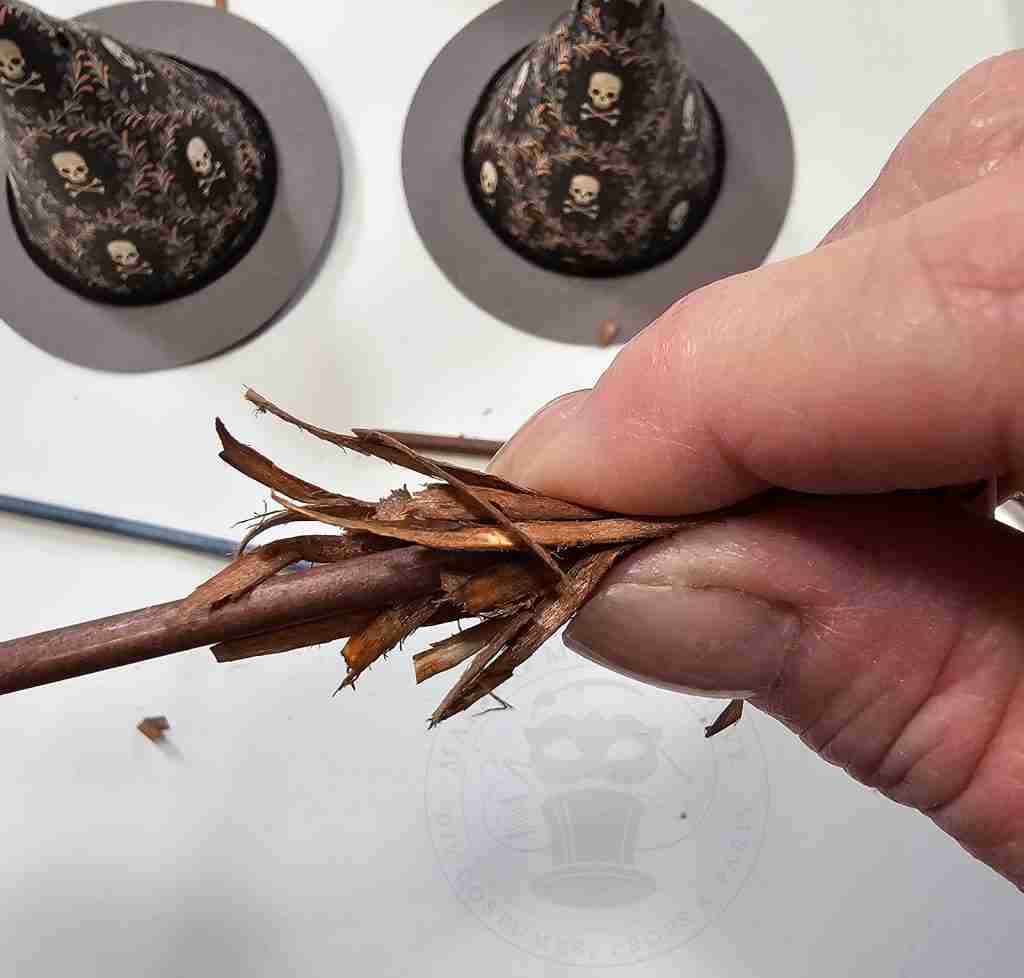
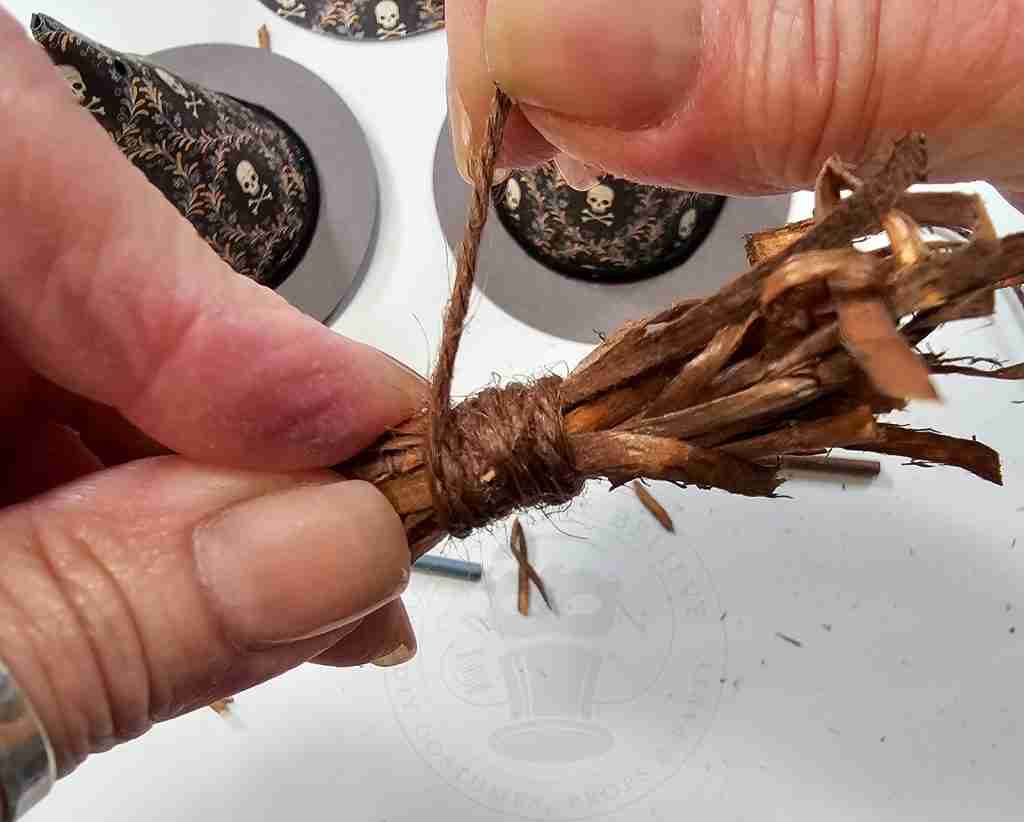
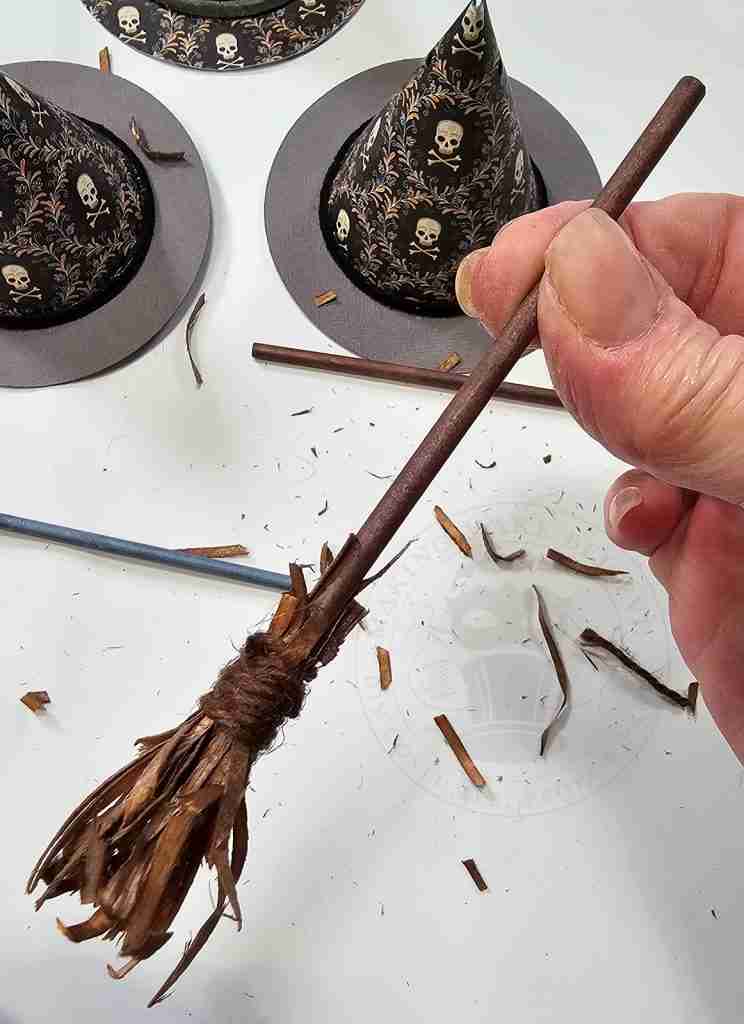
Cut off one end of the loop, form it around the lollypop stick, and secure it with string.
Cut the loop at the other end and trim and fluff as desired.
Insert the broom into slits.
Run a ribbon or cording through the punched holes in the cone, adding a knot on each side to secure the hat in place.
Add a loop at each end, and it’s ready to hang!
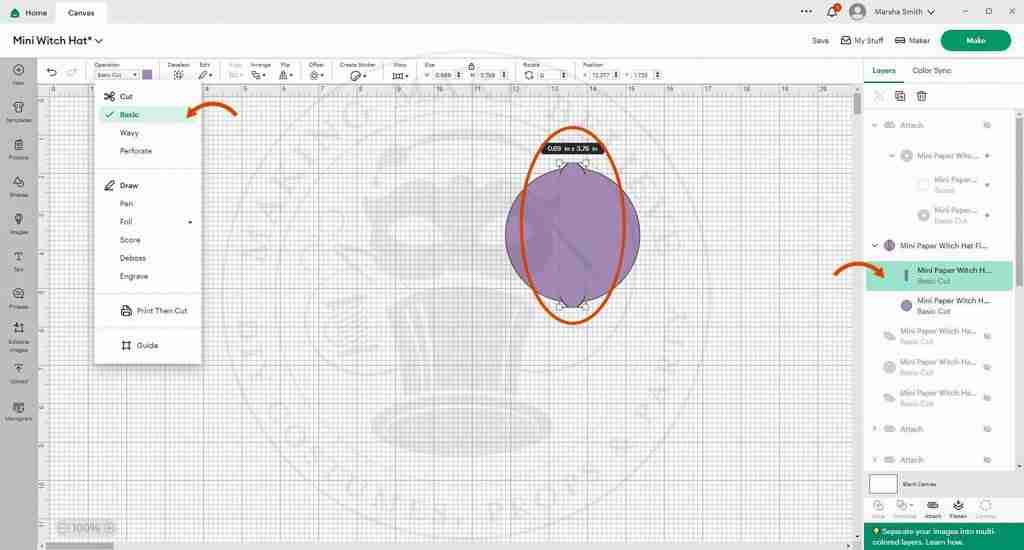
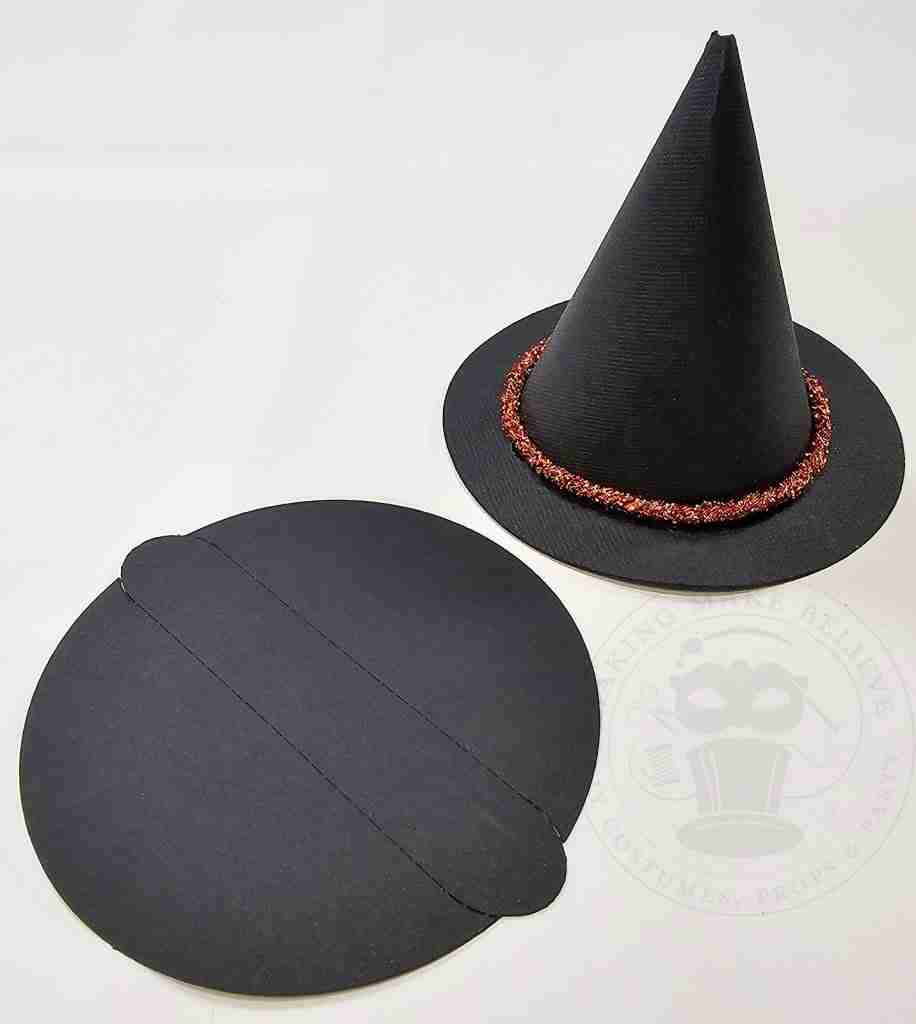
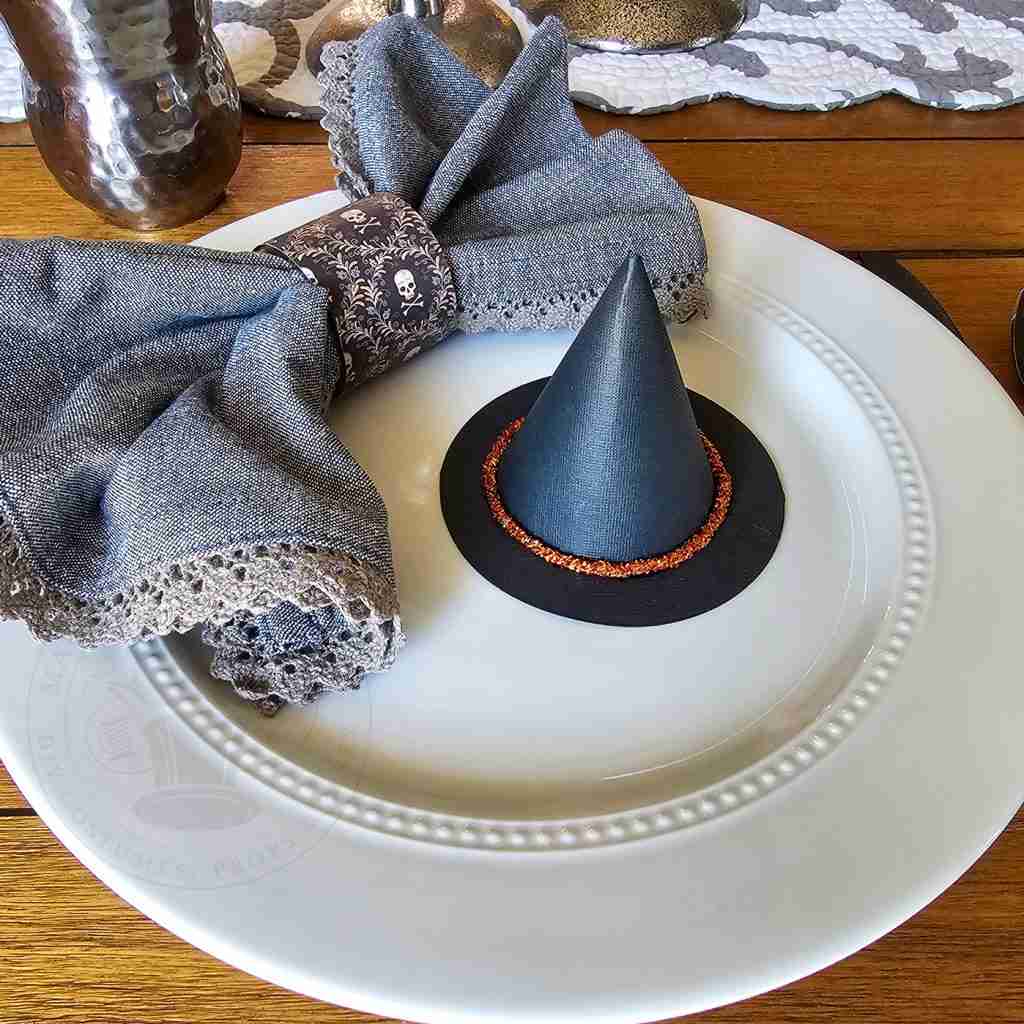
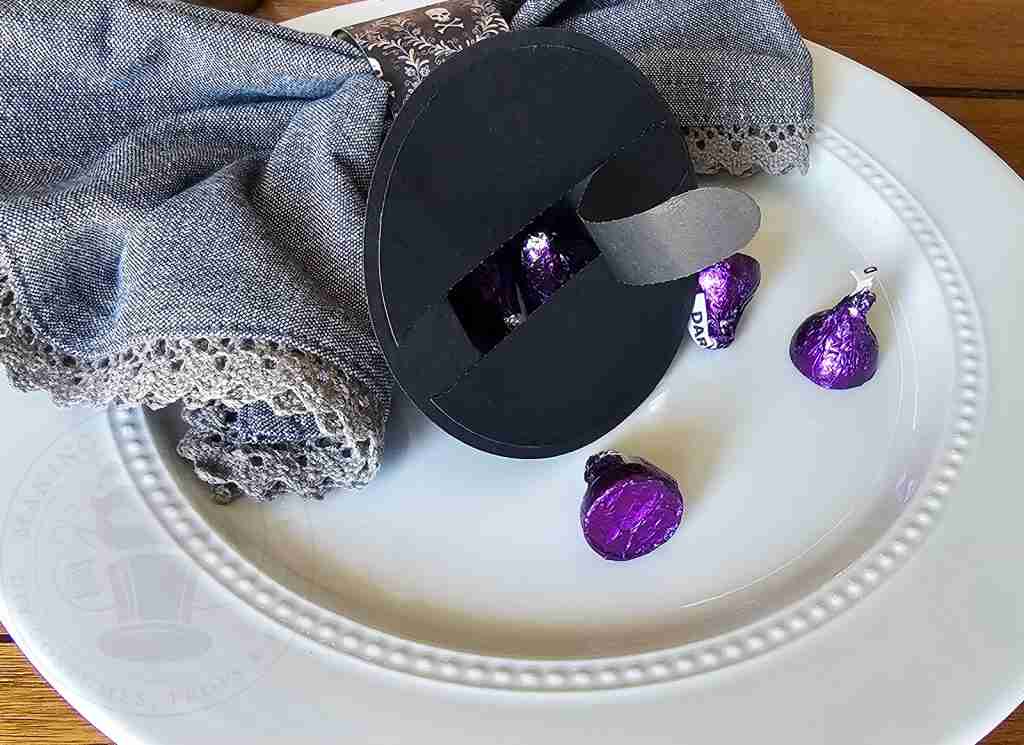
To use your Mini Paper Witch Hat as table decor with a hidden surprise, cut one cone without the punched holes, one brim with the star center, and one brim cover with the pull tab.
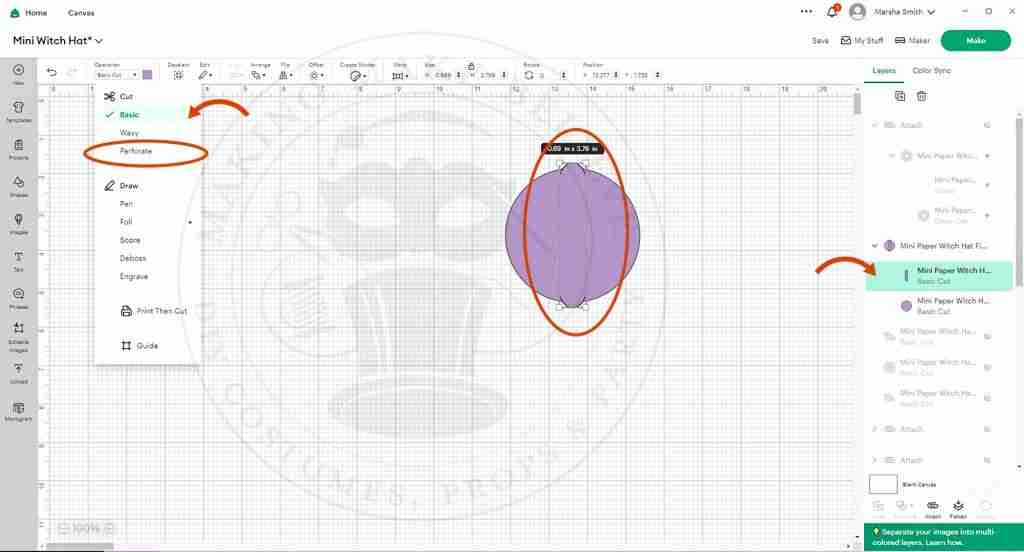
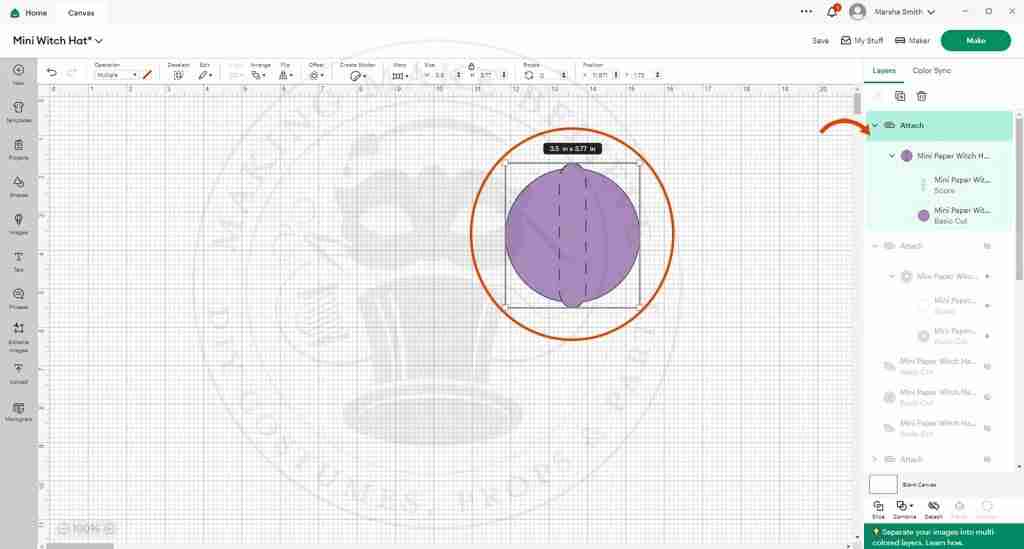
Follow the directions above for machine cutting the wearable hat, but after selecting the lines of the pull tab, choose Perforation from the Operation drop-down menu.
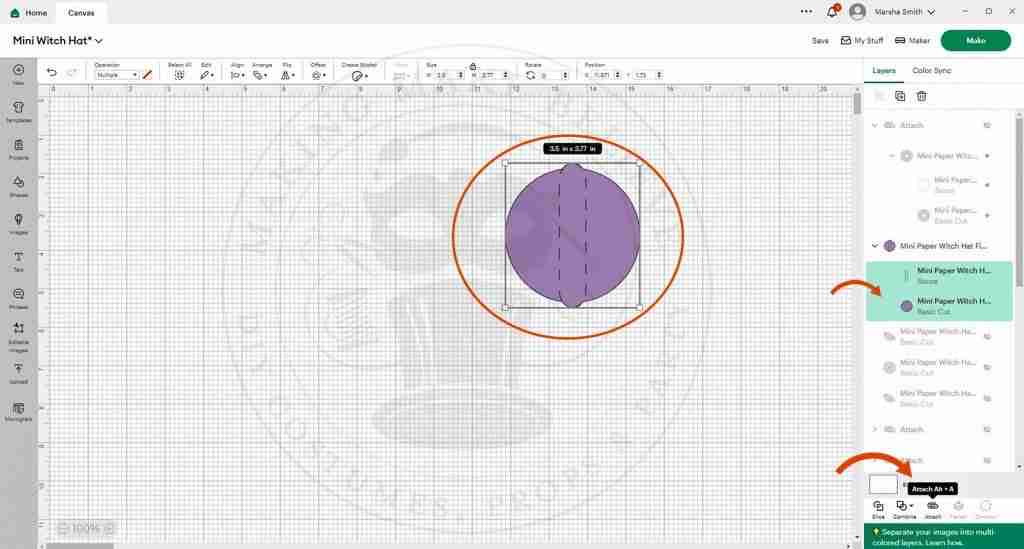
Now, select the brim and the perforated lines, and click Attach.
If you are cutting by hand or do not have the perforation tool, you can create your perforations using a pattern tracing wheel.
Follow the same process above for assembly, and decorate your hat as desired.
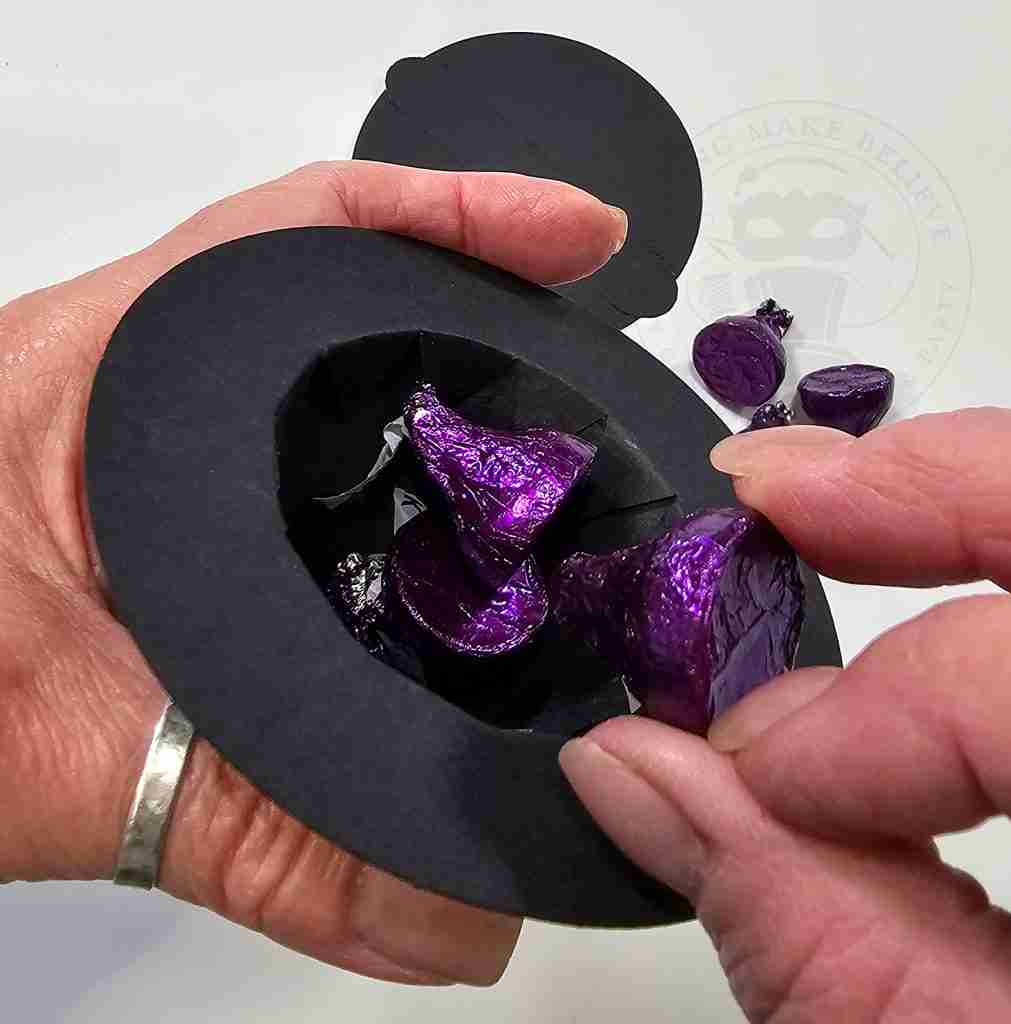
Fill the cavity with small treats.
Center the pull tab brim to cover the opening and glue around the edges, avoiding the pull tab ends.
Add to your table setting for a spooktacular surprise.
That’s a lot for one little hat!
Ok, that’s all I got.
Until next time – stay spooky.

Check your email for the Haunted Library password.
Don’t miss a moment of the mischief.
Add hello@makingmakebelieve.com to your address book.
Join us and get access to our Haunted Library stocked with templates, printables, cut files, and exclusive content. Plus, you’ll receive Eerie Emails just for our subscribers.
*Stay as long as you like. Unsubscribe at any time.