9.9K


DIY Bunny Tail
Easter season is on the horizon, which means dyed eggs, chocolate bunnies, Peeps, family gatherings, and Easter egg hunts.
Now, I don’t know what plans you have for this Easter holiday season, but whatever you have in mind, you may find that you require a bunny butt – a bunny tail, that is.
If so, I have a quick and easy DIY for a super fluffy bunny tail that can be sized to fit “anybunny.”
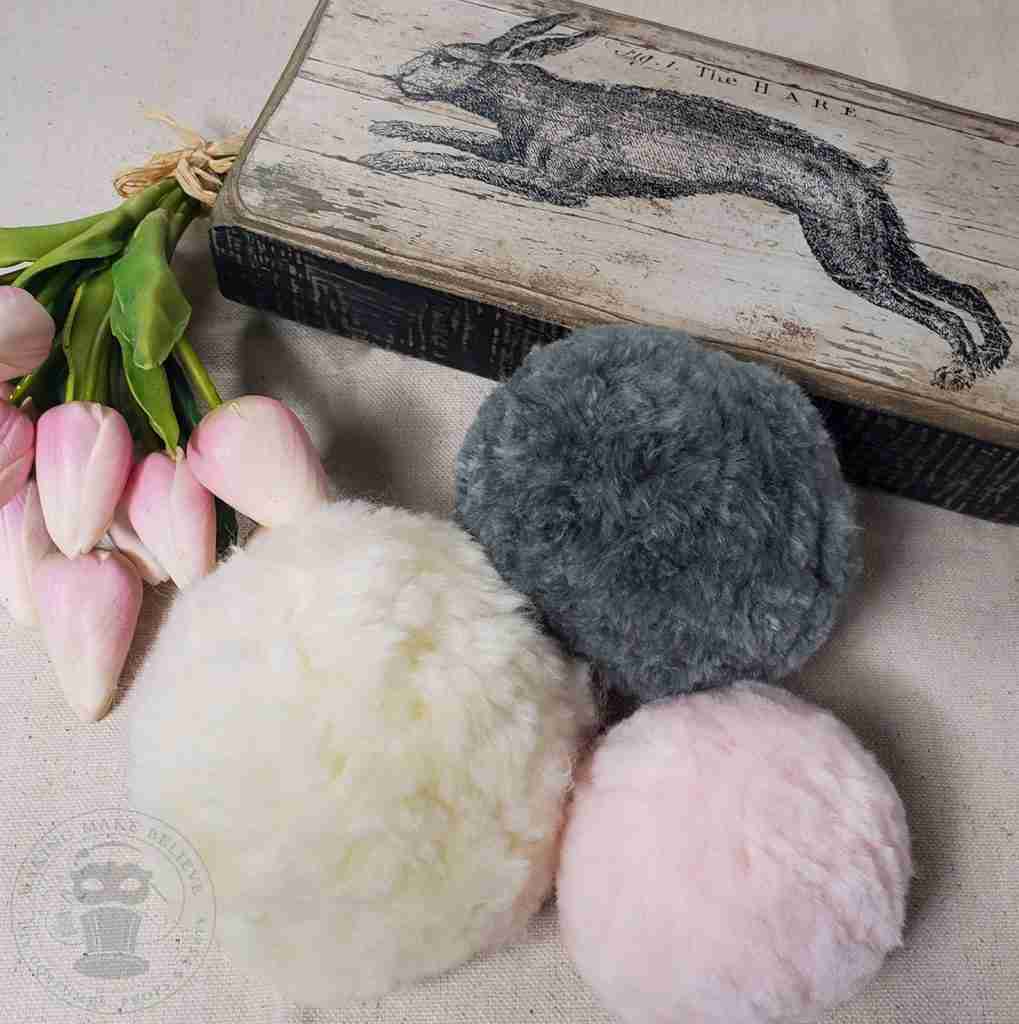
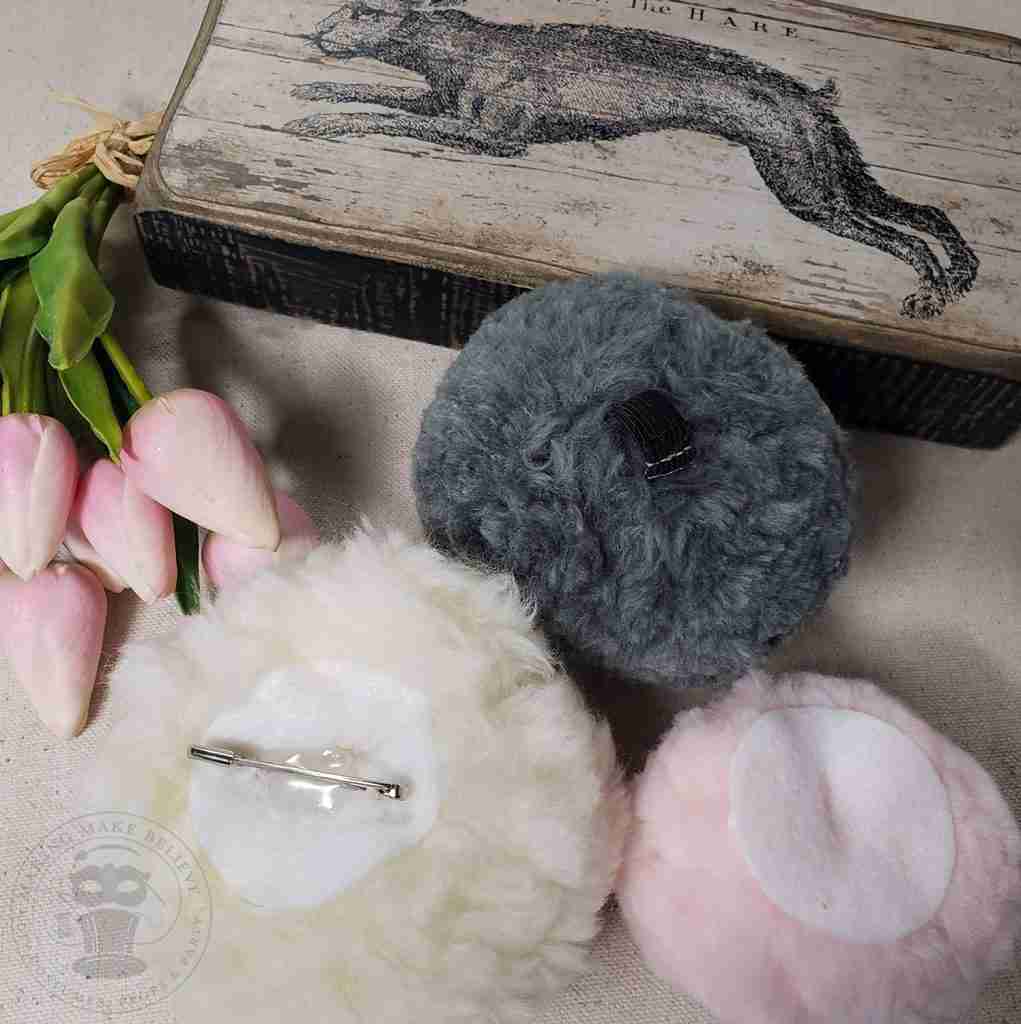
The secret to this tail is the yarn. A few years ago, I conducted a little experiment in bunny butt construction. I made bunny tails from minky fleece, sherpa, faux fur, and various yarns, but the Showstopper yarn by Yarn Bee quickly became my favorite.
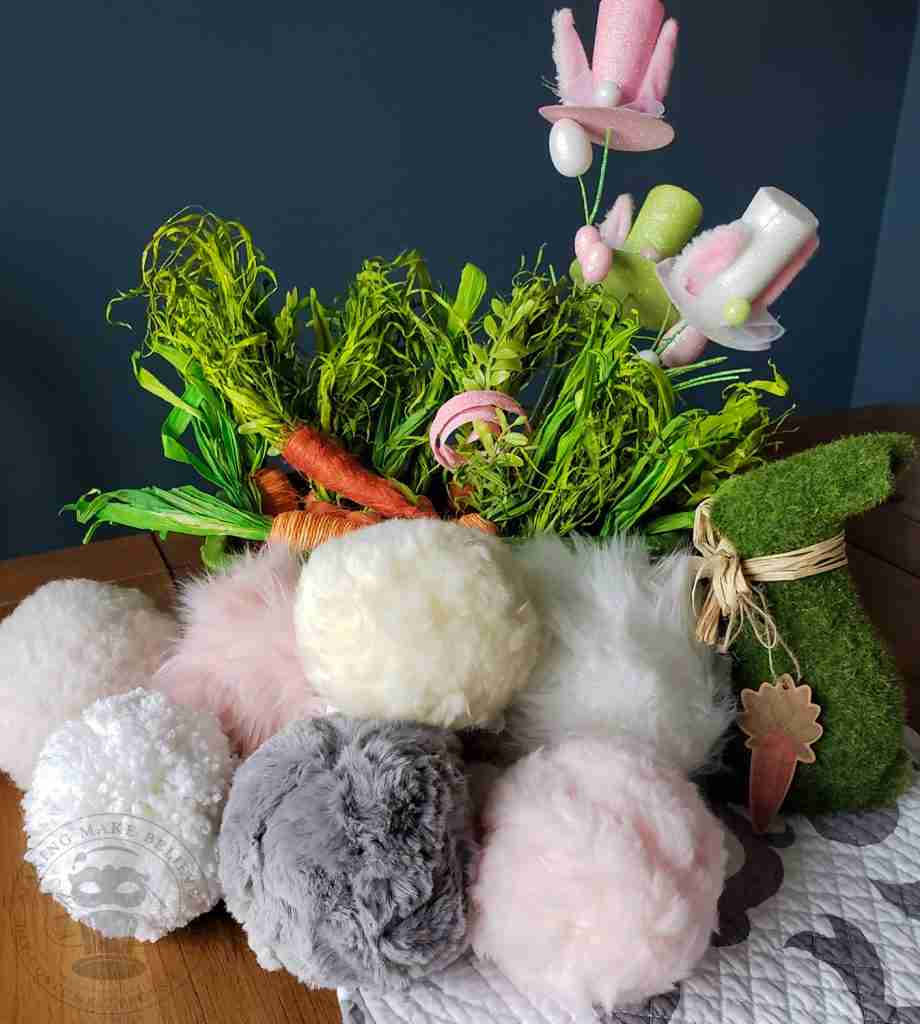
Assortment of bunny tails from the Great Bunny Butt Experiment
This yarn makes a super fluffy bunny tail that you can craft to any size you need, and it can be attached to the costume with one of three options; belt on, glue on, or pin on.
So, let’s hop to it. (Sorry – I couldn’t resist the pun.)
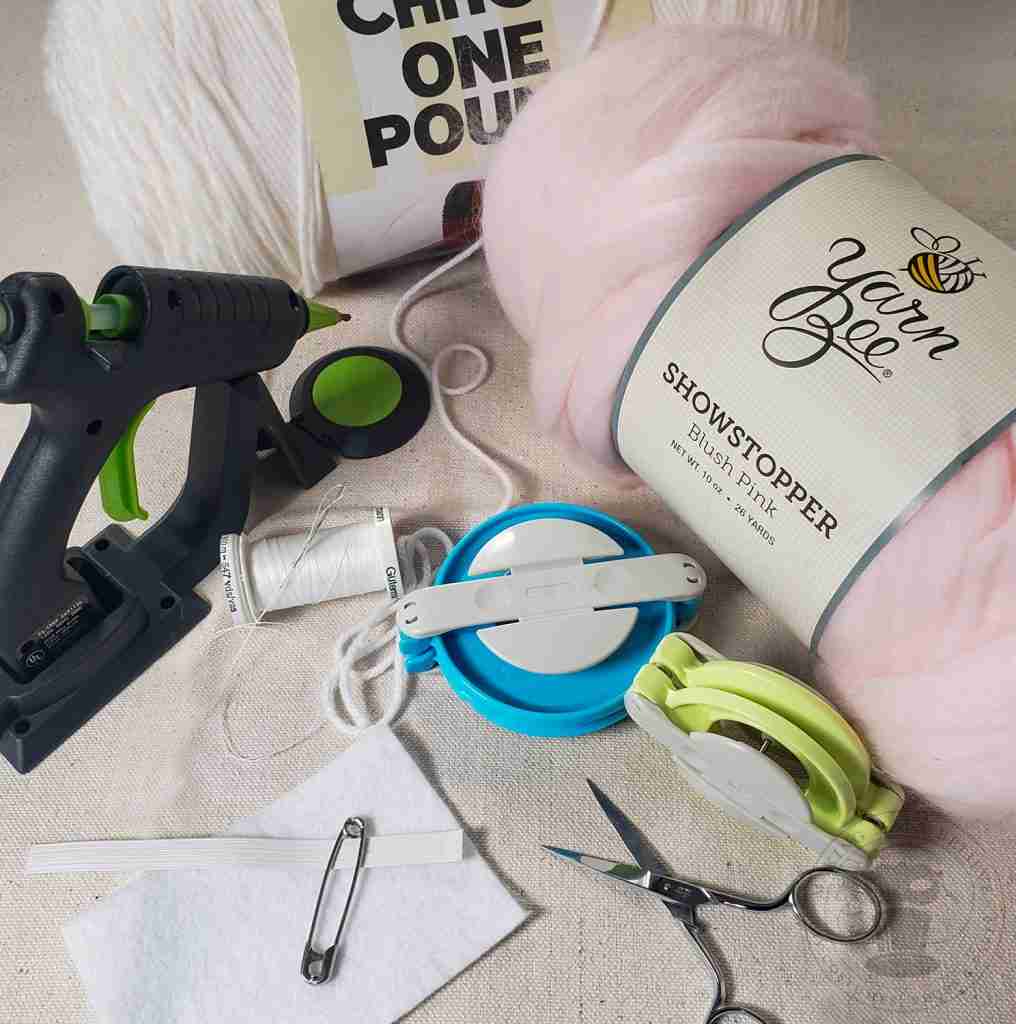
To craft the tail, we will need:
Yarn Bee Showstopper Yarn or similar
Pom Pom maker – I’m using this one by Clover
Sharp scissors
About 18″ of a sturdy yarn such as Caron
To wear, choose one of the following:
Glue on – scrap felt and hot glue
Pin on – scrap felt, hot glue, and large safety pin
Belt on – 3/8″ elastic, needle and thread, and, of course, your belt
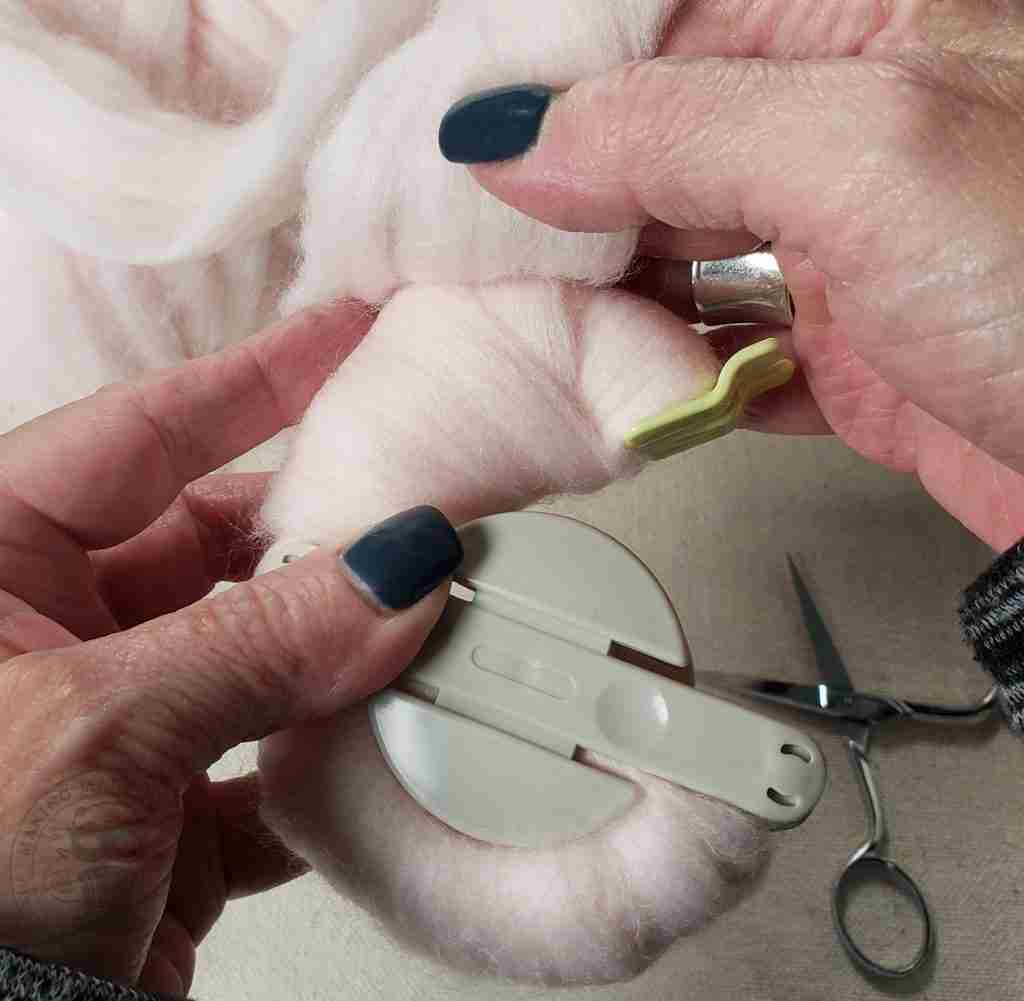
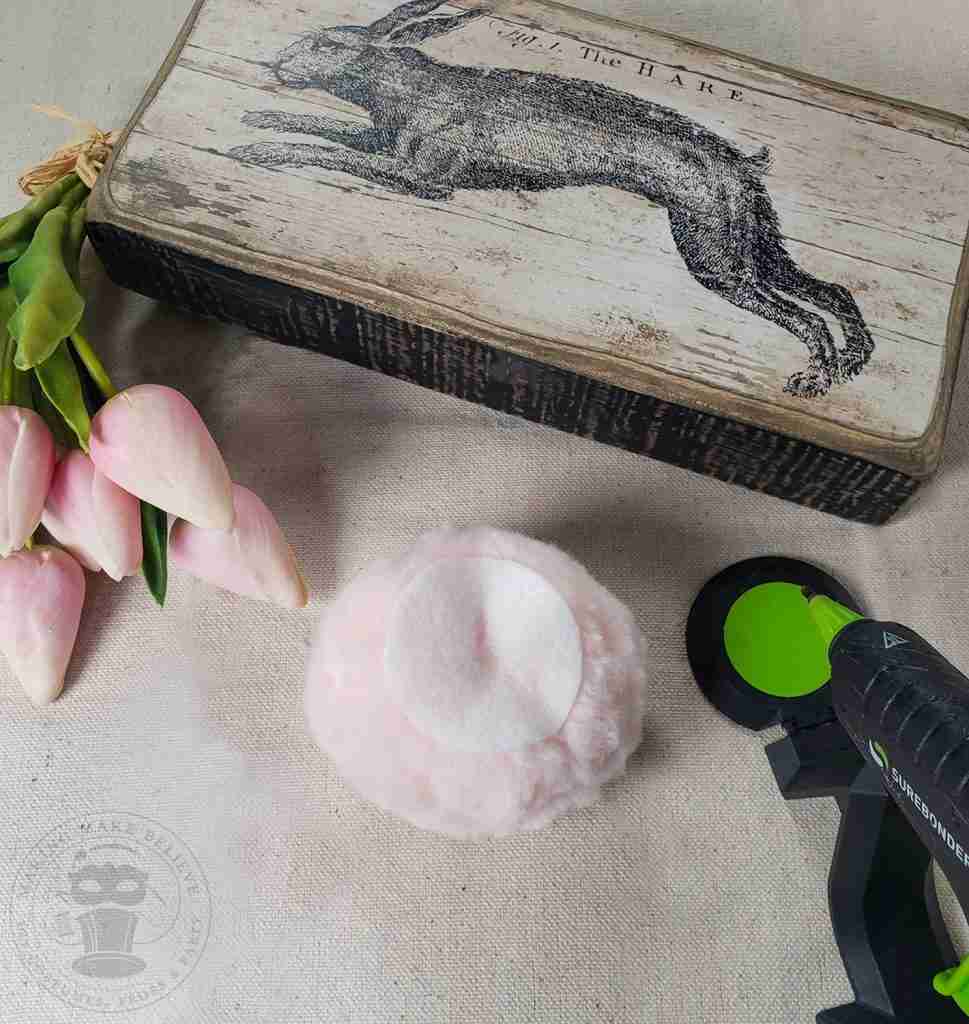
Assemble your pom maker in the size of your choice and begin wrapping the Showstopper yarn. I try to cover evenly from end to end and fill the pom maker as full as possible.
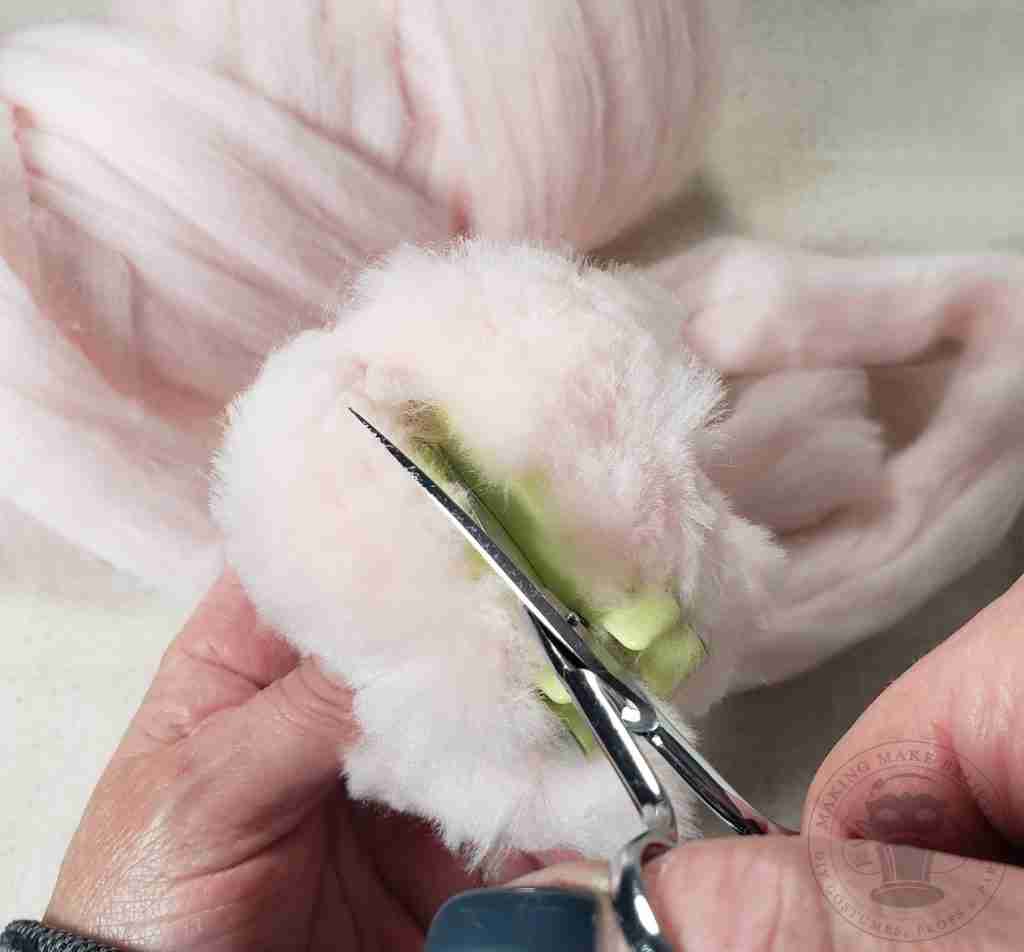
Next, following the groove, cut through the layers of yarn with your scissors.
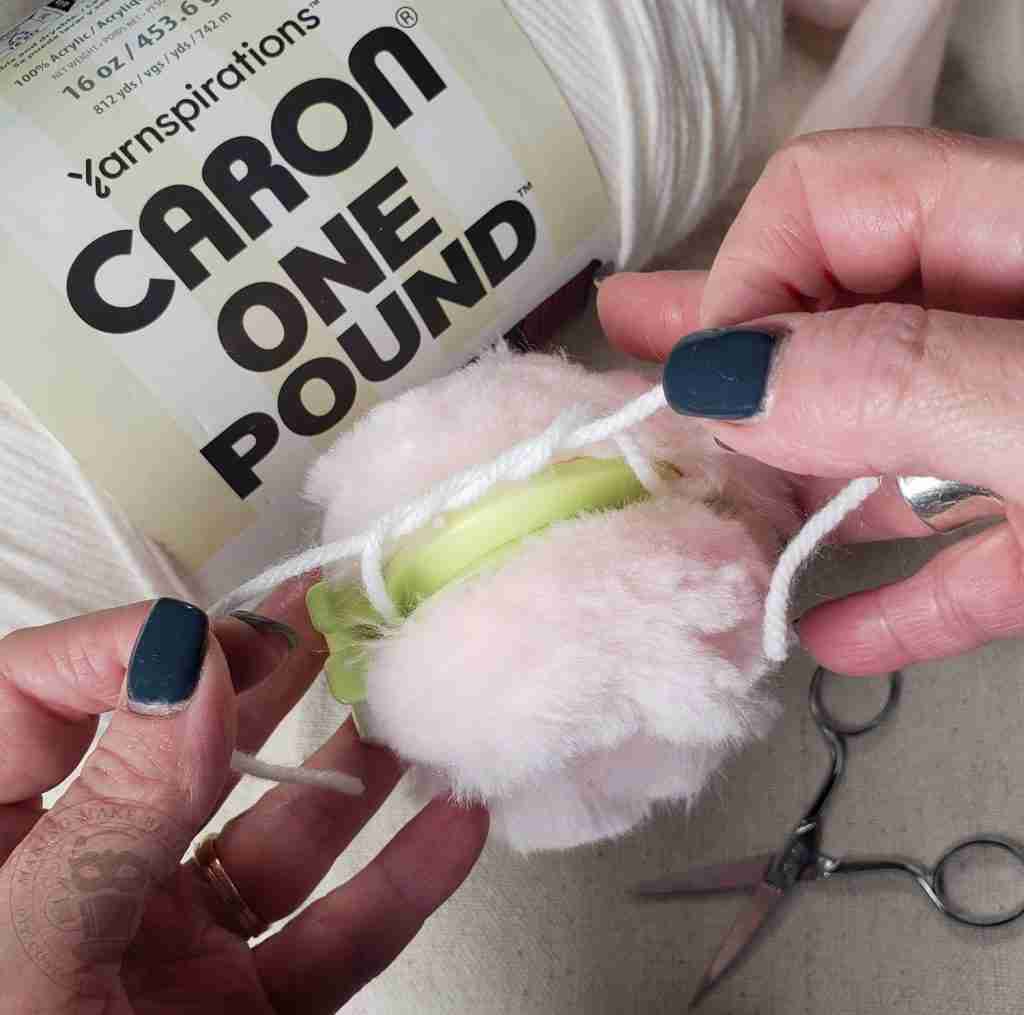
Take the Caron (or similar) yarn and slip in between the grooves of the pom maker.
Wrap the yarn around twice before pulling the knot closed as tightly as possible.
Pull yarn around to other side and knot again to secure.
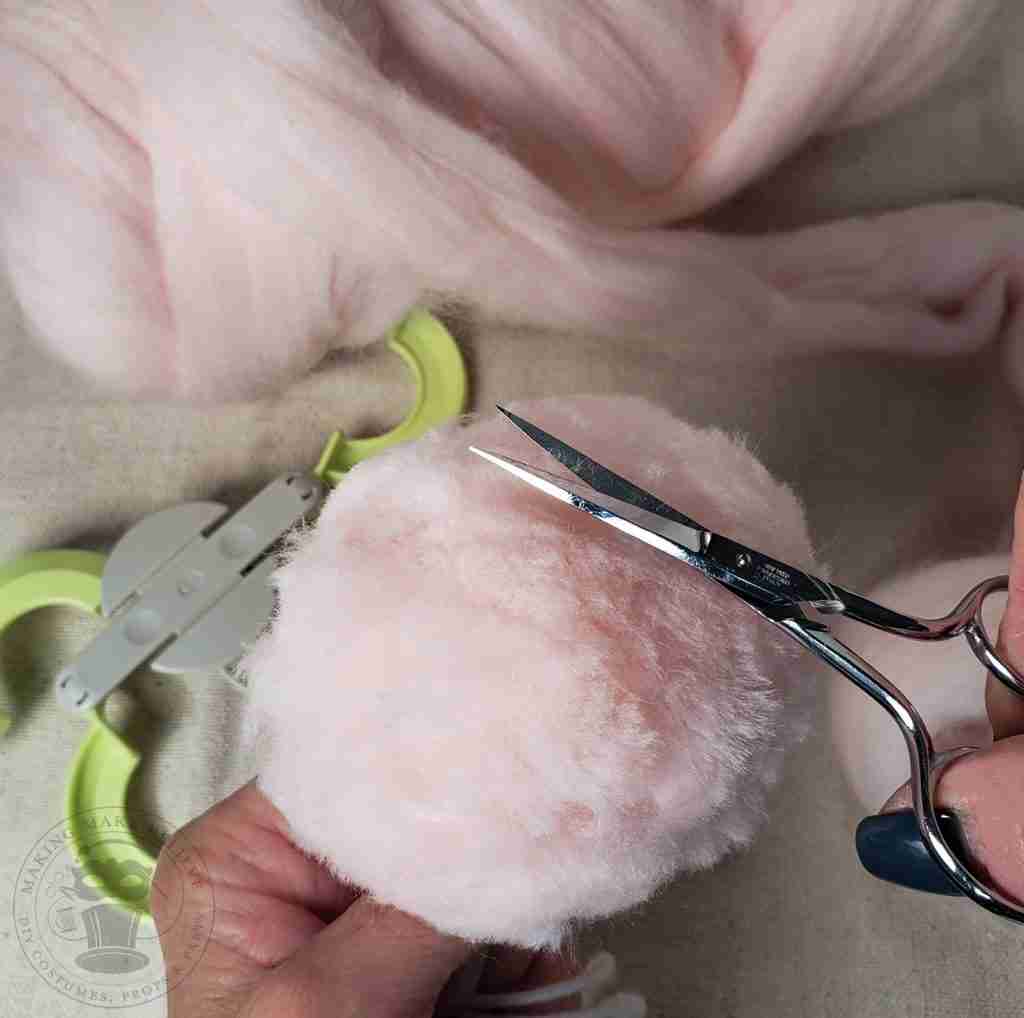
Leave the ends of your knotted yarn long for now and trim your pom.
First, cut a piece of your scrap felt smaller than the diameter of your pom.
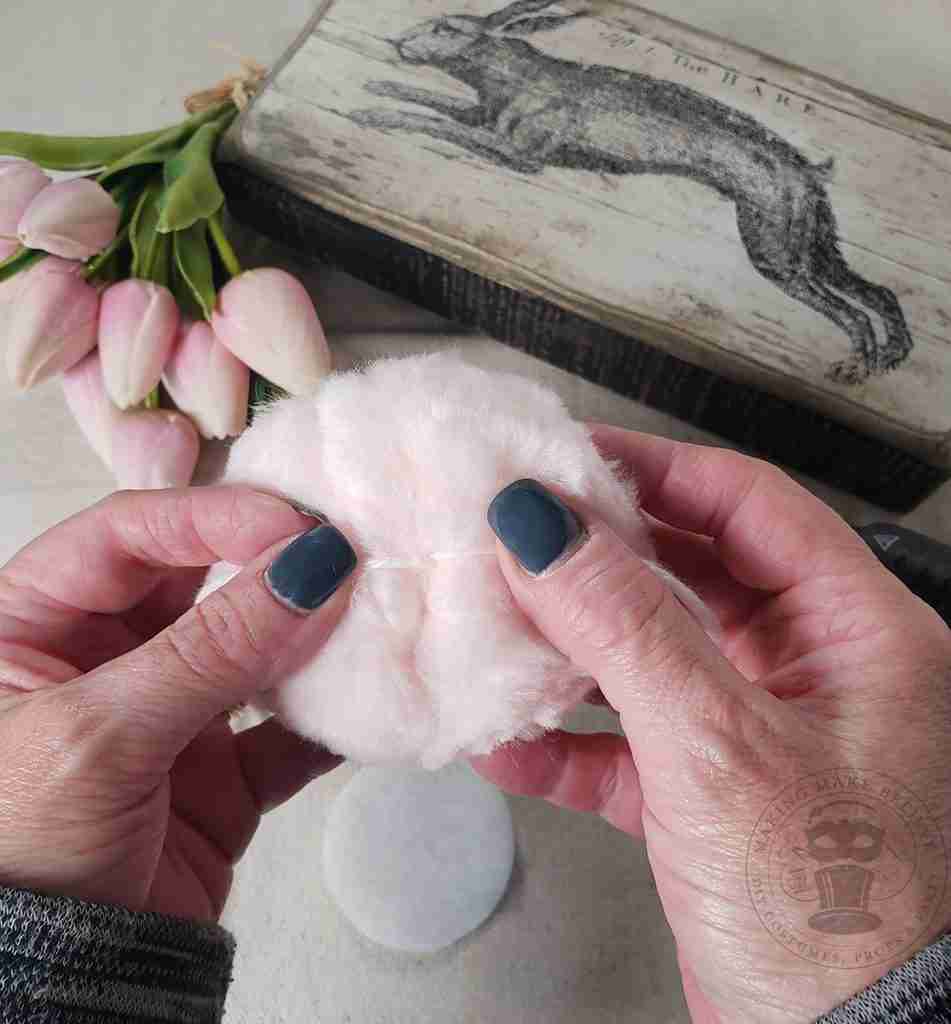
Locate the knot buried within your pom by following the two long strands of yarn and slightly flatten the bunny butt with your fingers.
Hot glue the scrap felt onto the pom and cut the tails from the knot.
Now your bunny tail is ready to be glued onto your costume.
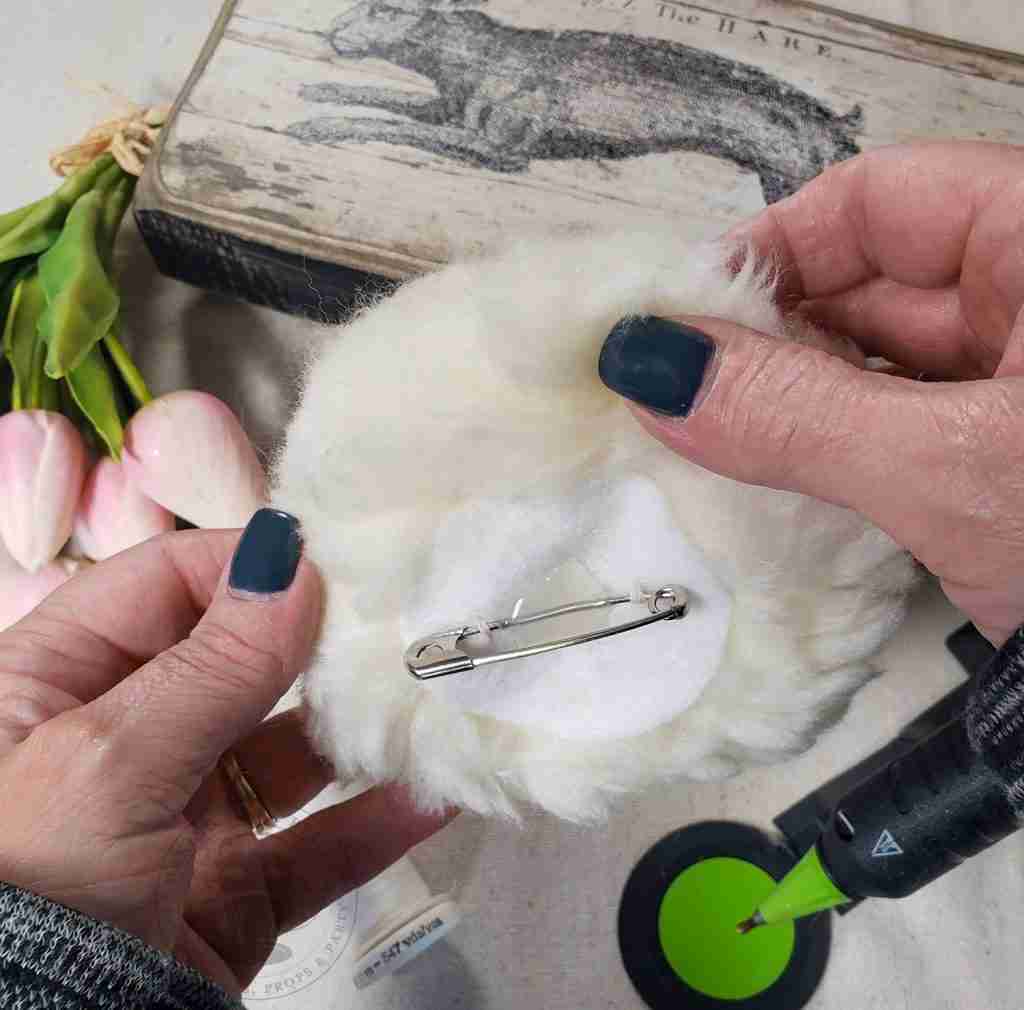
To make a removable bunny tail, repeat the same process for the Glue It On method above, except before you glue the felt to the pom, attach a safety pin to the felt with hot glue. I also like to tack the pin onto the felt with a few stitches for extra security.
Caution – take extra care if using this method with babies and small kiddos. Take steps to ensure the pin does not come open. As an alternative, baste-stitch the felt to your costume so you can remove it later.
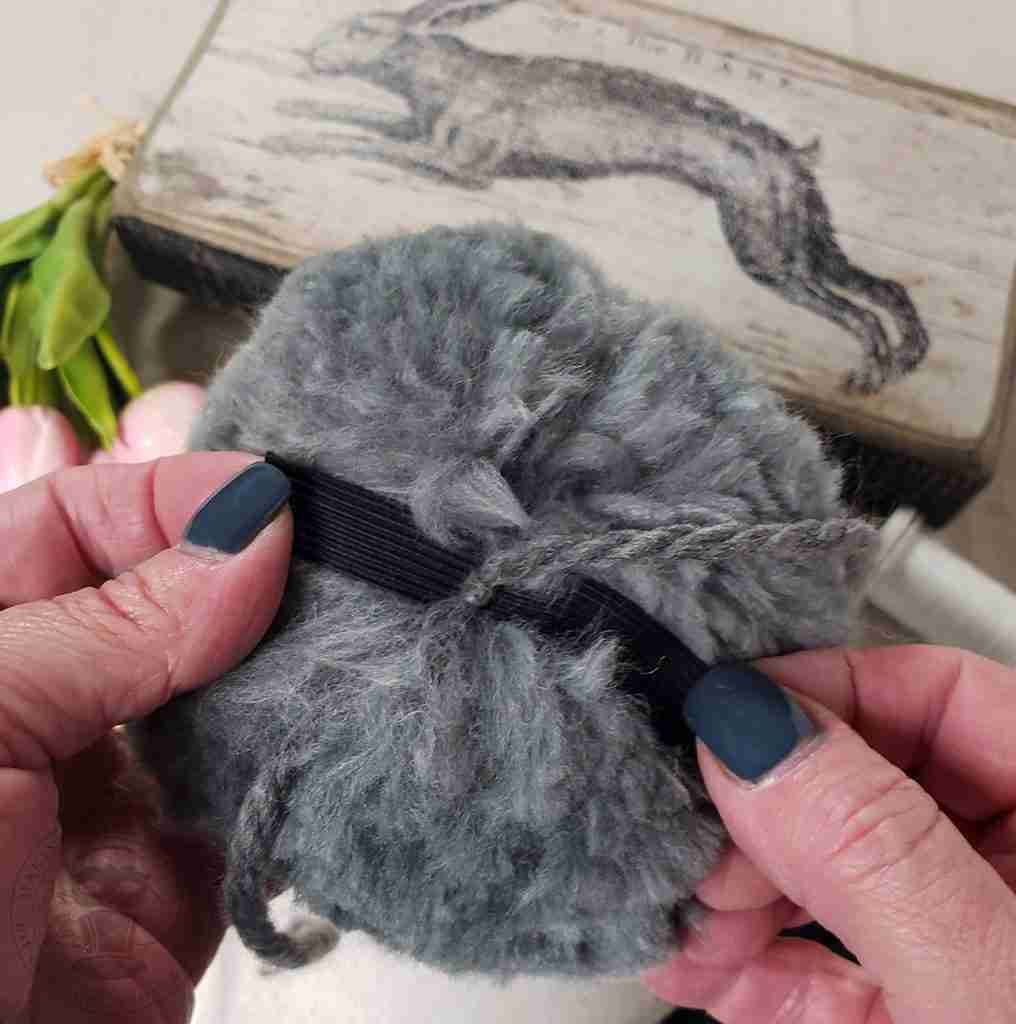
To wear on a belt, cut a piece of elastic double the width of your belt. For example, if your belt is 1″ wide, cut your elastic about 2″ long.
Locate the knot buried within your pom by following the two long strands of yarn and slightly flatten the bunny butt with your fingers.
Carefully slip the elastic under the knot and try not to displace any of the pom’s yarn.
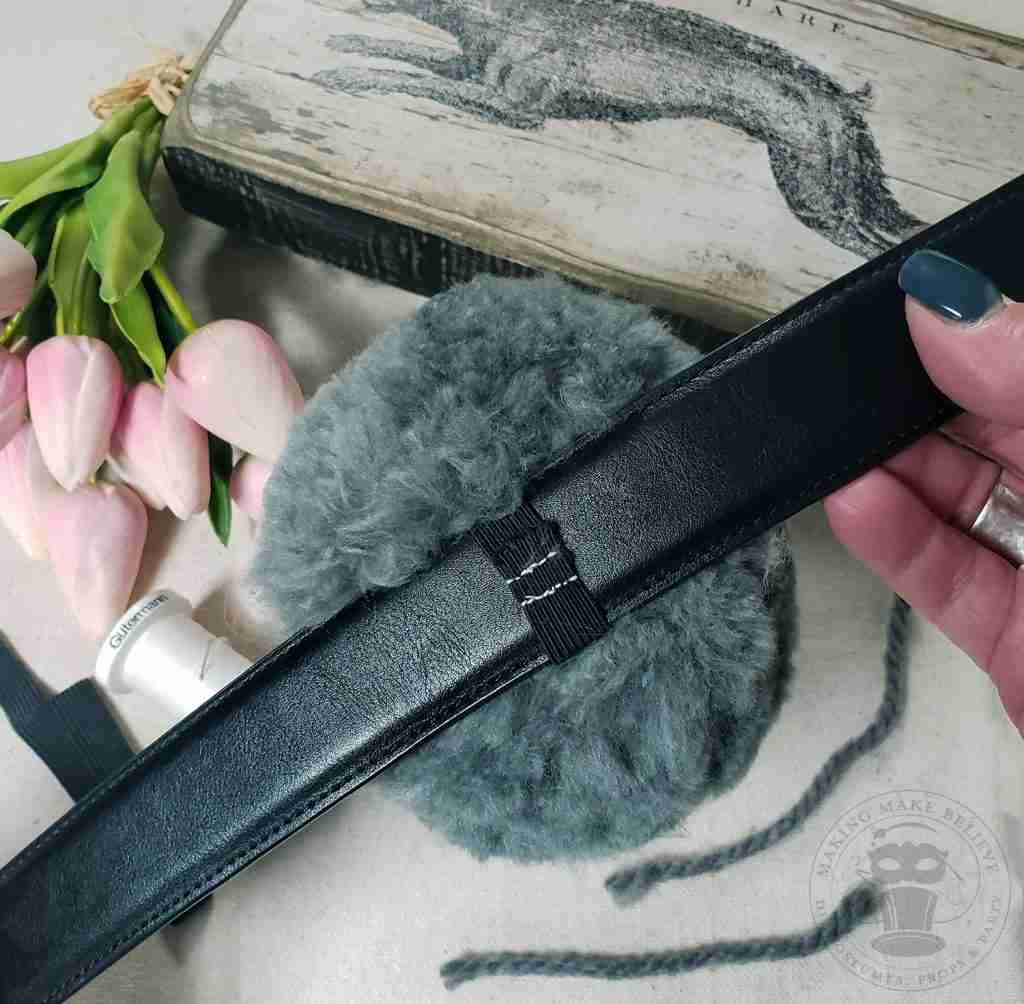
Overlap approximately 1/2 ” of one end of the elastic onto the other end and stitch to secure. I like to make a couple of rows of stitches for extra durability.
Now you can cut the tails from the knot.
Slip the elastic onto your belt, and your bunny butt is ready to go
Pair this tail with a set of bunny ears or our DIY Simple Bunny Face Mask, and you have the perfect last-minute costume for Easter, a photoshoot, or any other bunny event.
I absolutely love this yarn for this project. It makes the softest, most fluffy bunny bottom that even Peter Cottontail will envy.
Until next time.

Check your email for the Haunted Library password.
Don’t miss a moment of the mischief.
Add hello@makingmakebelieve.com to your address book.
Join us and get access to our Haunted Library stocked with templates, printables, cut files, and exclusive content. Plus, you’ll receive Eerie Emails just for our subscribers.
*Stay as long as you like. Unsubscribe at any time.