2.1K















Mini DIY Halloween Paper Lanterns
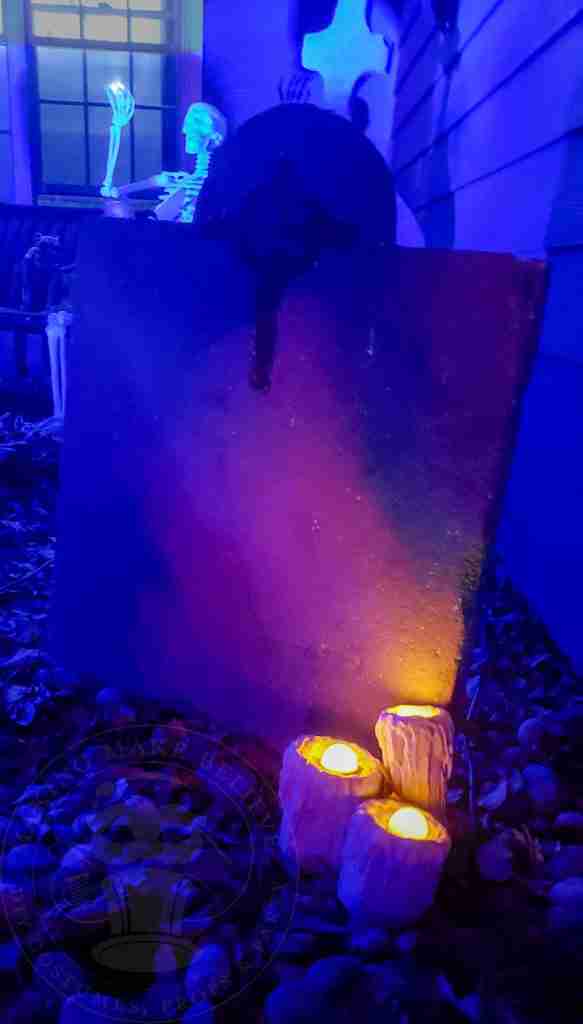
Lighted decorations are among the most popular for Halloween.
Skeletons, bats, and cats with glowing eyes, eerily lit faces carved into pumpkins, and candlelit lanterns – all intended to provide a glimmer of light on a haunted night.
I love the look of flickering lights, so I sprinkle them throughout the house and yard to set a mysterious mood.
I’ve got plenty of candles and Jacks, but one thing I need is more lanterns. I have some store-bought ones and some vintage paper pieces, but I could use a few more.
Rather than go on the hunt, I decided to make my own.
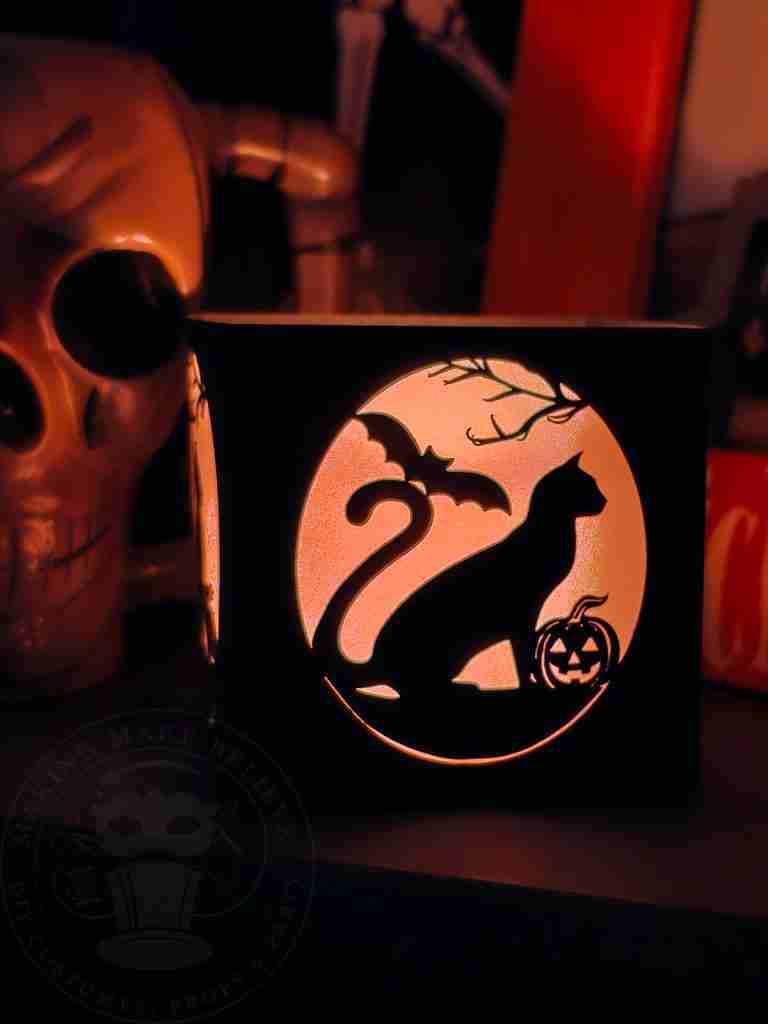
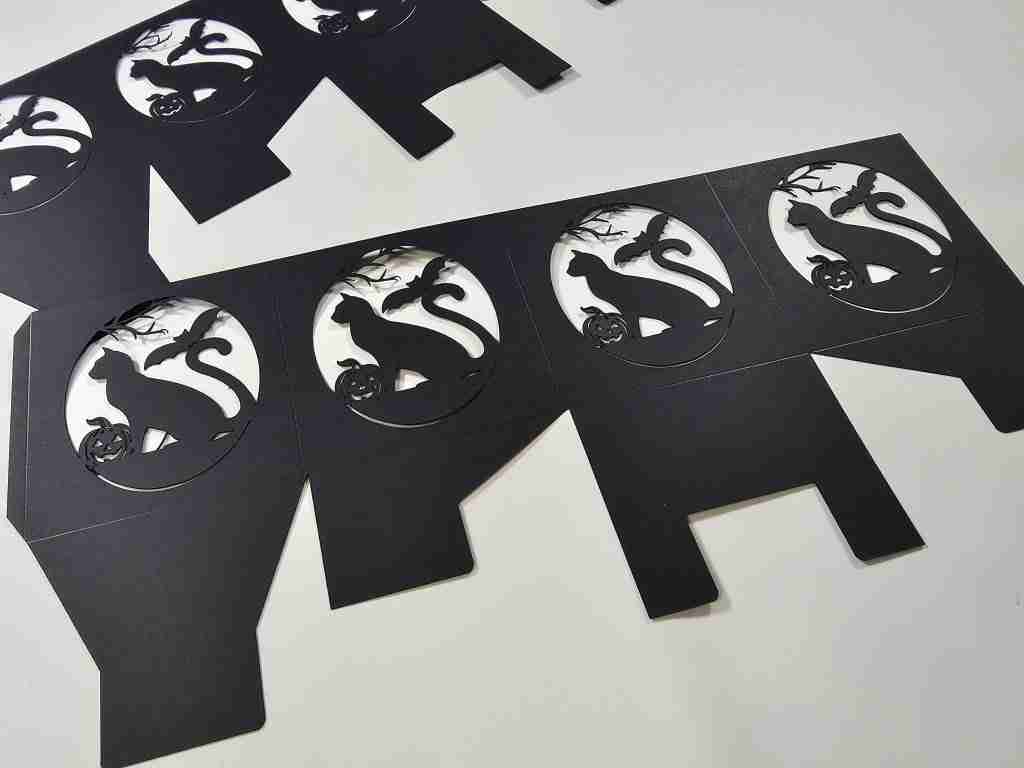
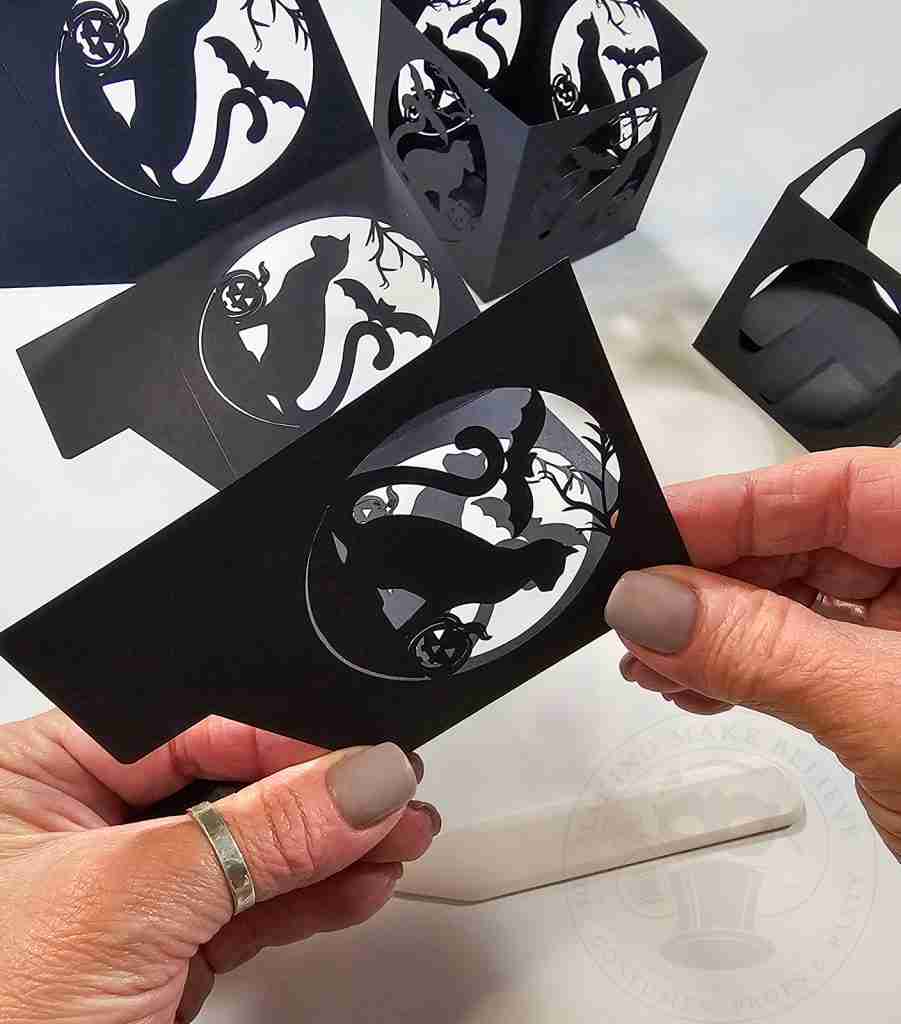
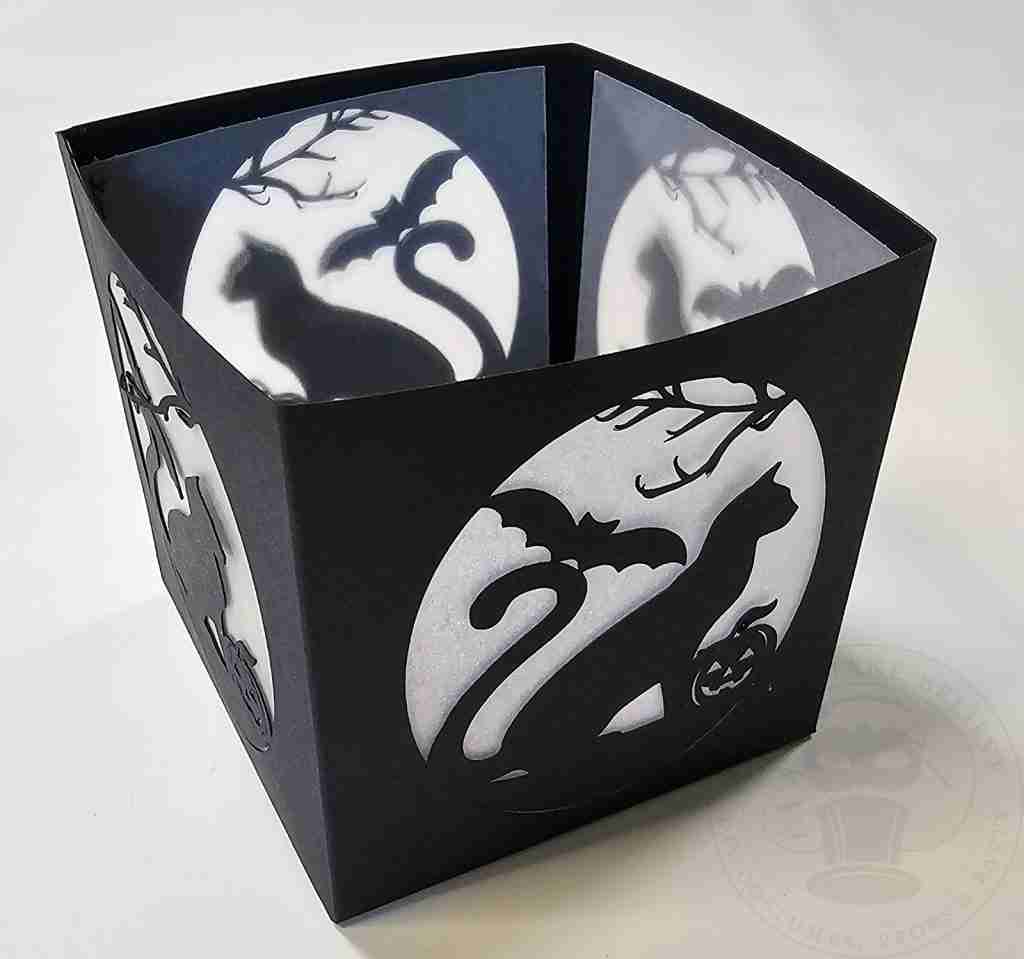
For my first design, I opted to go small, so I crafted a tealight-size lantern with a few of my favorite Halloween icons.
The cutting is very detailed, so a cutting machine is recommended. But, I created two alternate versions that can be made quickly using your printer and a finger blade or scissors.
So, let’s get started.
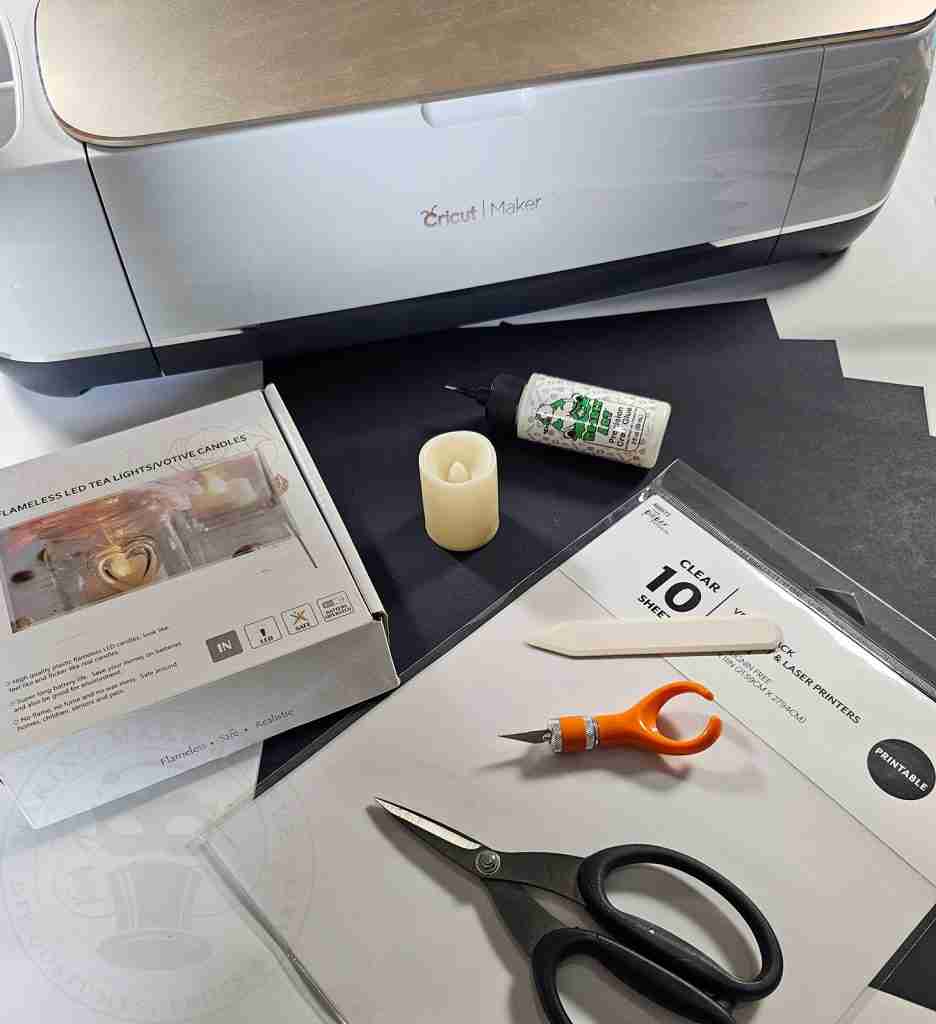
For this project, we will need:
12″ x 12″ black cardstock
Fingerblade, scissors, or a cutting machine with a blade and scoring tool
Vellum or Printable Vellum if hand-cutting
Bone folder or other scoring tool if hand-cutting
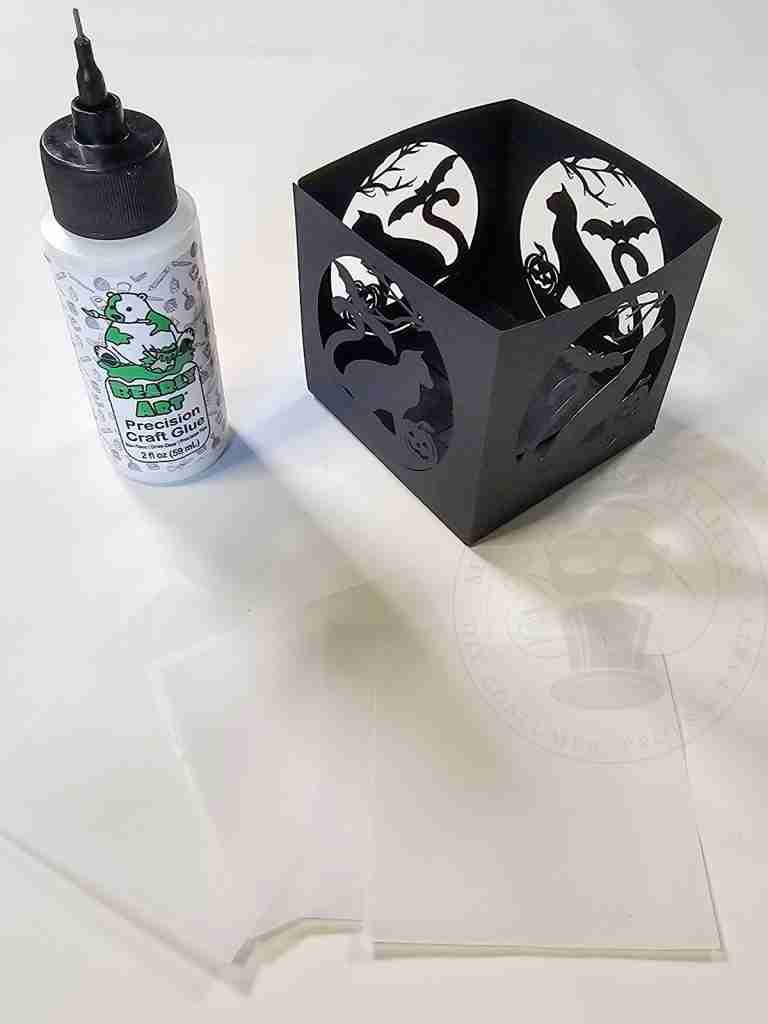
Adhesive, I’m using Bearly Art Precision Craft Glue
Flameless Votives
We will also need the Cat, Bat & Jack Mini Halloween Lantern Box template from the Haunted Library.
Select the SVG for machine cutting or the PDF if cutting by hand.
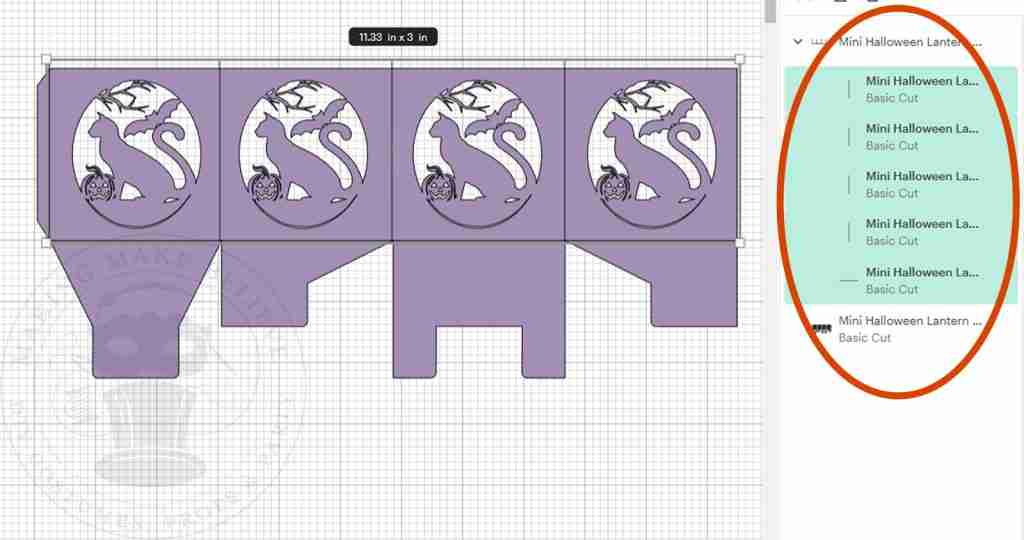
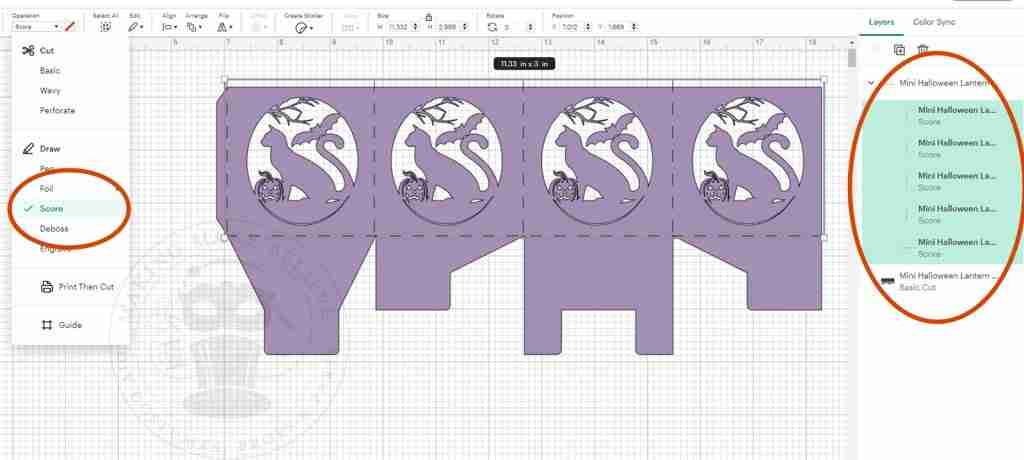
To machine cut, upload the SVG cut file into your design software. I’m using Cricut Design Space.
Open the file, select the image, and click Ungroup.
Select all five of the vertical and horizontal lines. As a default, all the lines will be shown as a Basic Cut.
With the lines selected, from the Operation drop-down list, select Score.
Now, select all elements, the score lines, and the lantern, and click Attach.
Now, your lantern is ready to score and cut.
To cut by hand, open the PDF file in your favorite reader (Adobe, FoxIt, etc.)
Select the Poster option under the Page & Size Handling section, and print onto copy paper.
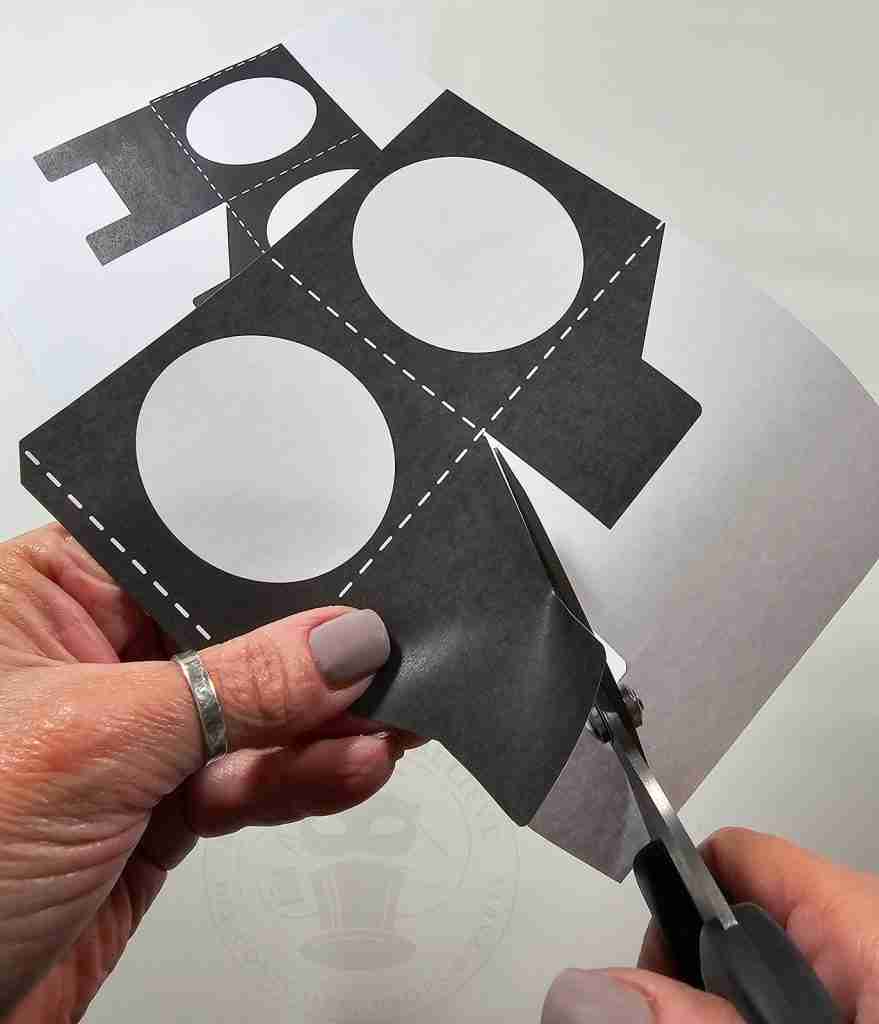
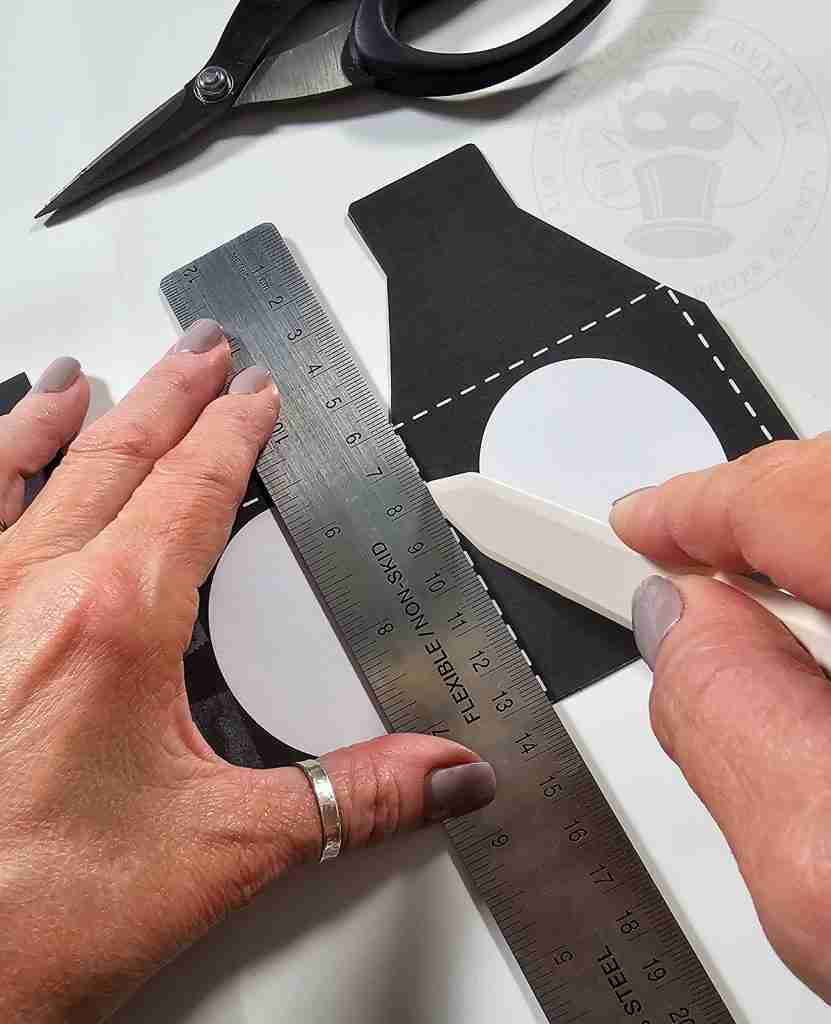
Cut out the template, transfer it to your cardstock, and mark the score lines by indenting along the dotted lines with a bone folder or a dull knife.
Finally, cut out the lantern.
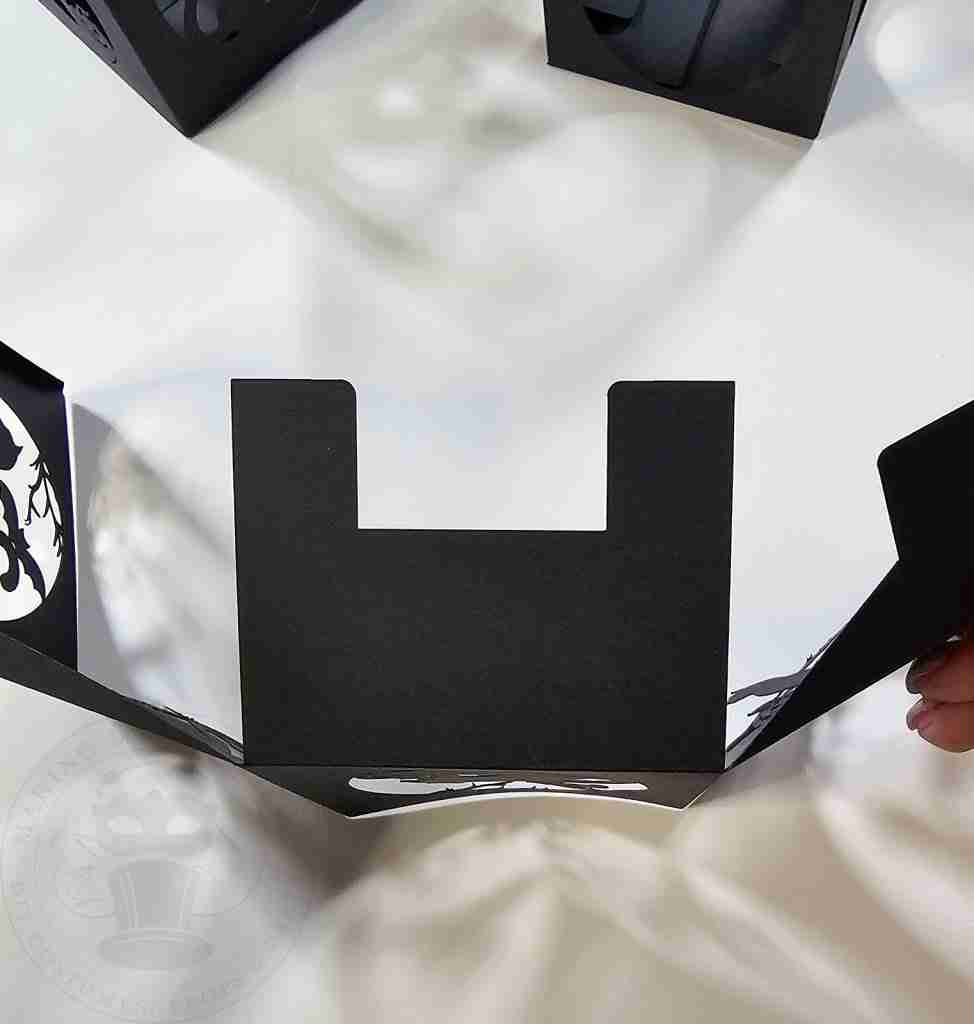
Fold along each scored line.
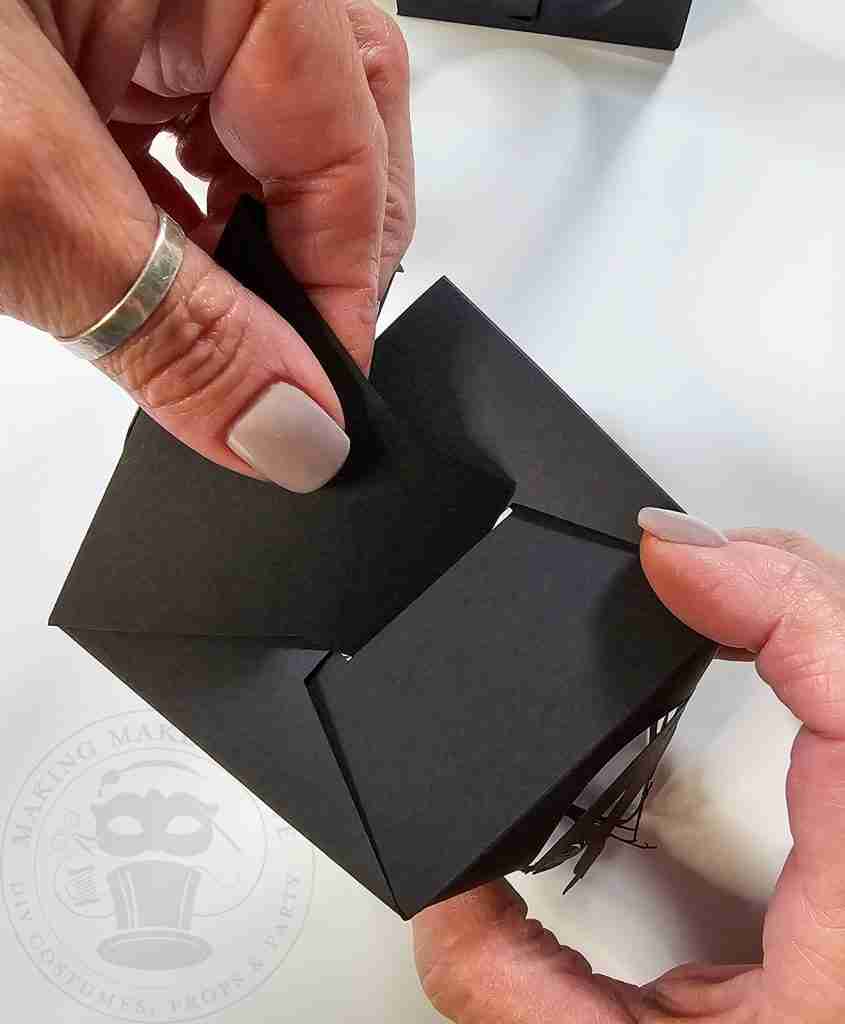
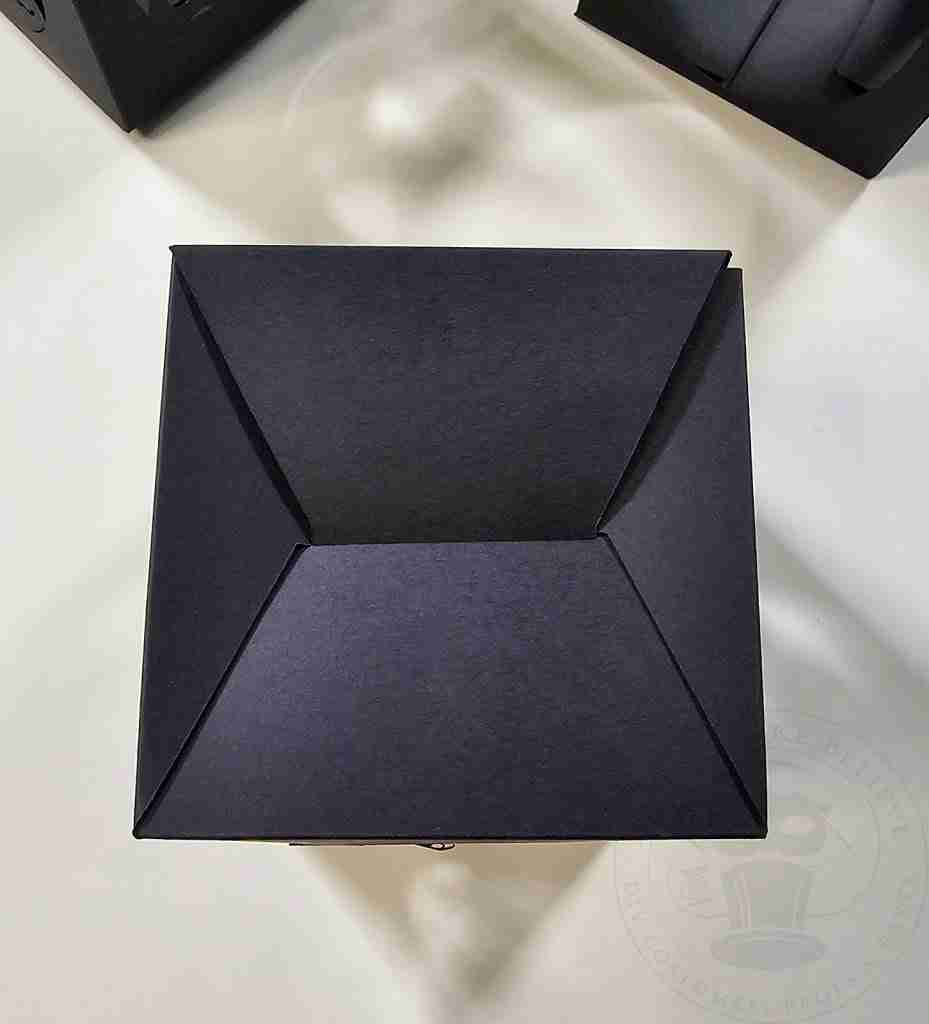
To form the box, fold the bottom tabs on top of the indented flap and then tuck in the tab.
Lastly, run glue along the side tab and glue to the inside of the box.
For the machine-cut version, cut the squares from the vellum and glue them behind each window.
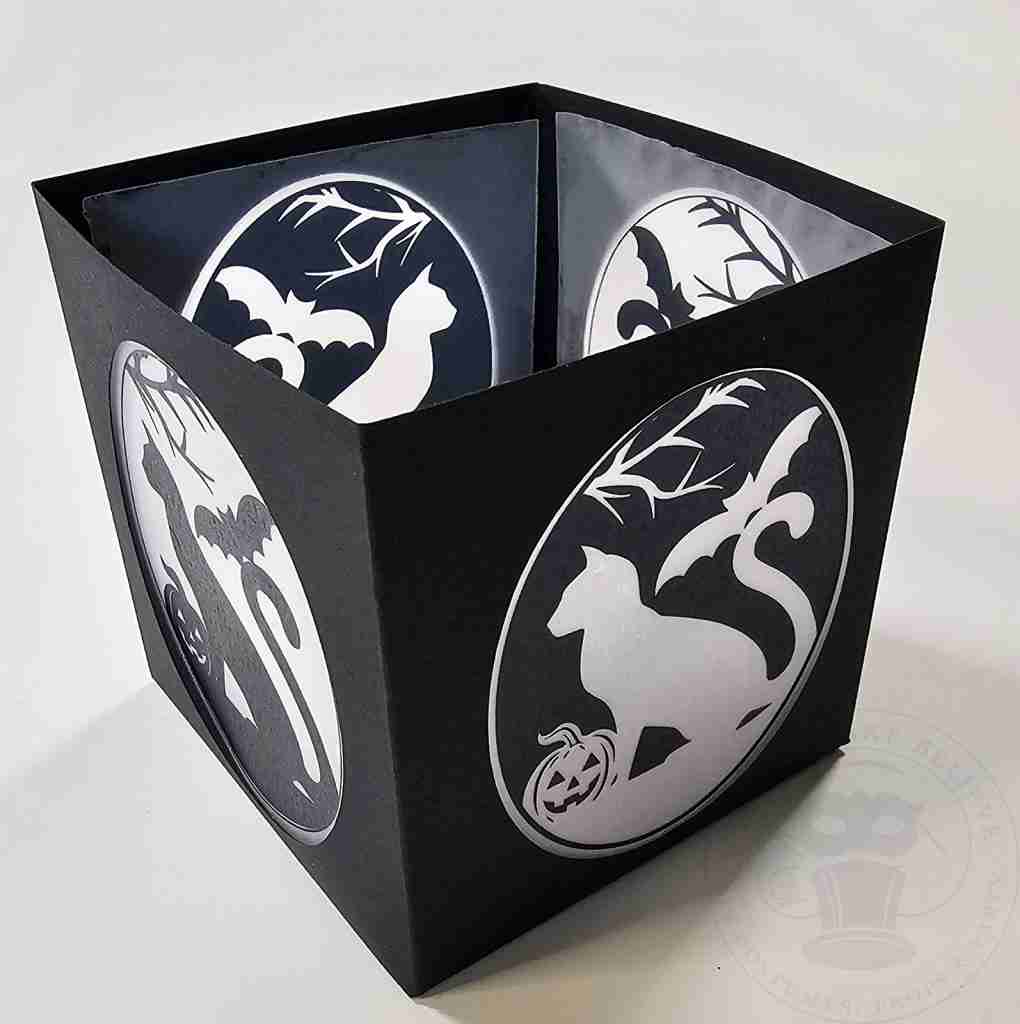
For the hand-cut version, print the design on printable vellum.
Because you know I like options, I created two versions of these Halloween paper lanterns you can choose from.
Take care not to smear the ink when removing it from the printer.
Allow the designs to dry thoroughly, then cut them out and glue them to the inside of the lantern box.
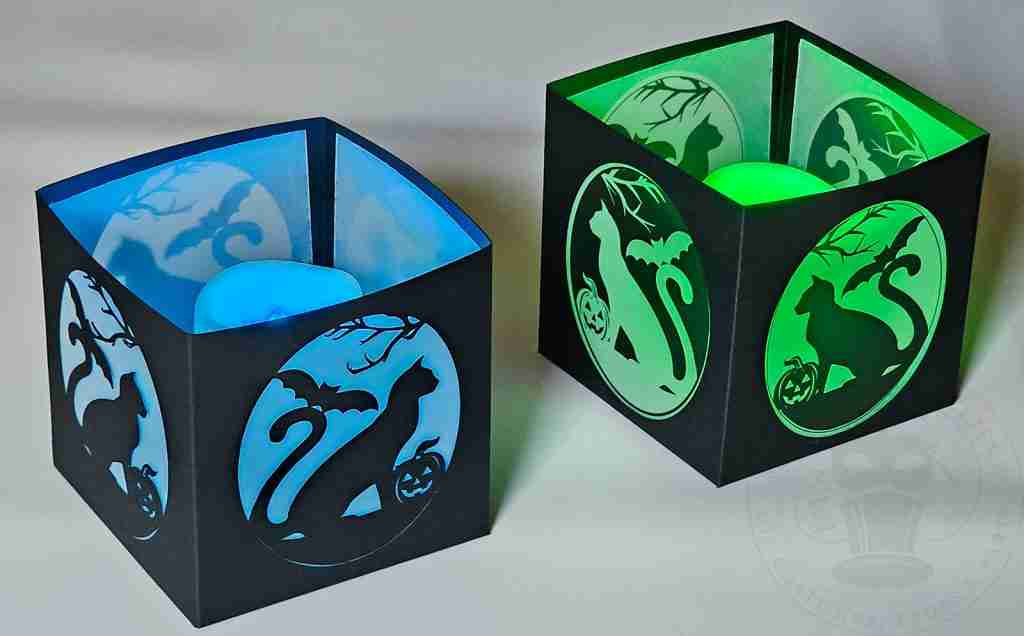
Insert the flameless votive, set it to your preferred color, and enjoy the eerie ambiance.
For a different look, experiment using Colored Printable Vellum and a clear tealight.
I like these mini Halloween paper lanterns so much that I’m already planning future designs!
Until next time – stay spooky.

Check your email for the Haunted Library password.
Don’t miss a moment of the mischief.
Add hello@makingmakebelieve.com to your address book.
Join us and get access to our Haunted Library stocked with templates, printables, cut files, and exclusive content. Plus, you’ll receive Eerie Emails just for our subscribers.
*Stay as long as you like. Unsubscribe at any time.