
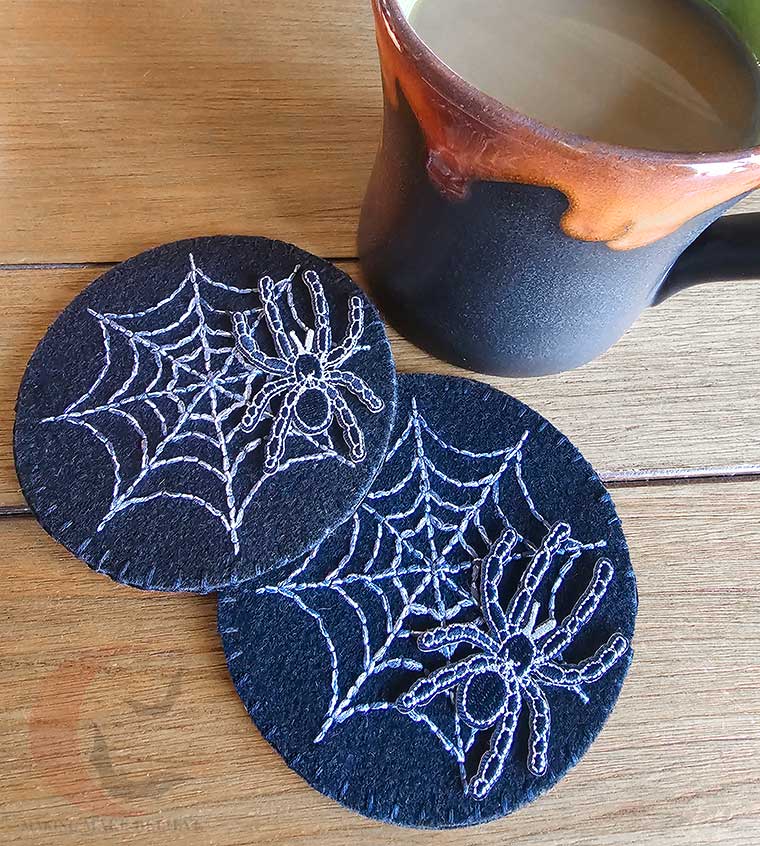
I’m in full-on Halloween making mode! While I have the good fortune of creepy crafting year-round, the moment September rolls in, my creative engine shifts into high gear. I want to make all the spooky things!
Truth be told, I’m feeling extra motivated this season because very little on store shelves is igniting that nostalgic spark. My seasonal purchases so far have been delightfully simple – a cozy autumn candle, the latest issue of Somerset Studio, and some divine spiced apple marmalade soap.
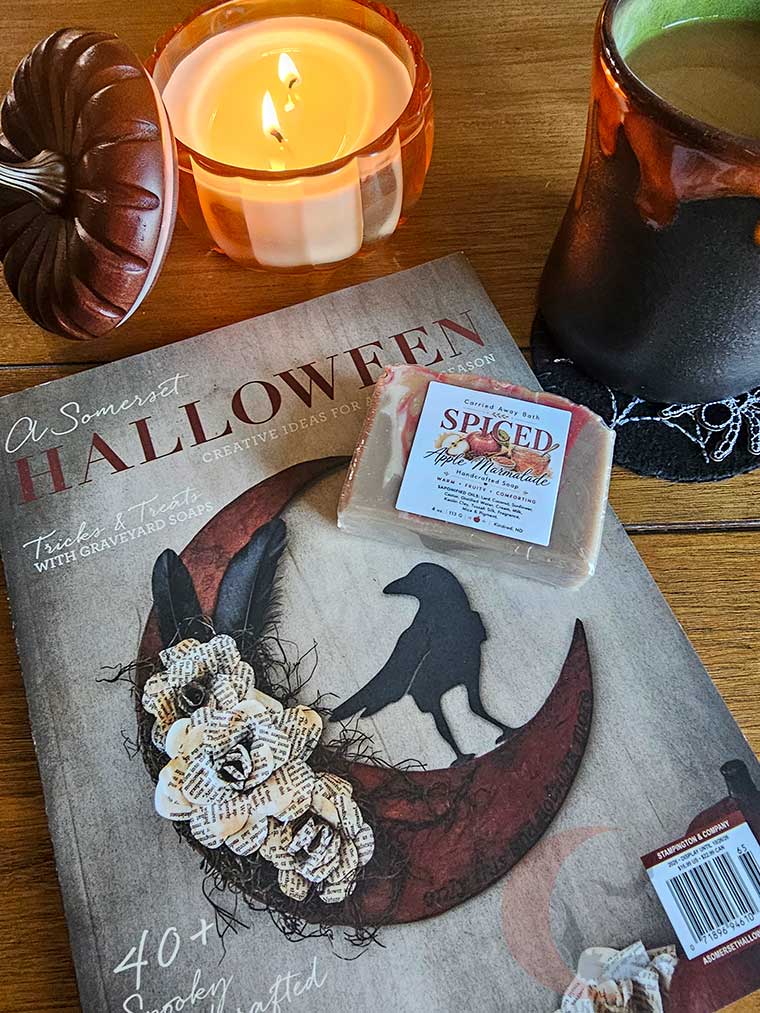
It’s certainly not a lack of enthusiasm for acquiring new haunted goodies, nor is it a space issue (that’s never stopped me before!) I’m simply drawn to vintage charm and handmade details. Whenever I look through our Cabinet of Curiosities, I’m deeply inspired by the artisans who created such wonderfully eerie treasures decades ago. How incredible would it have been to spend a career designing haunted home goods in the heyday of Halloween paper arts?!
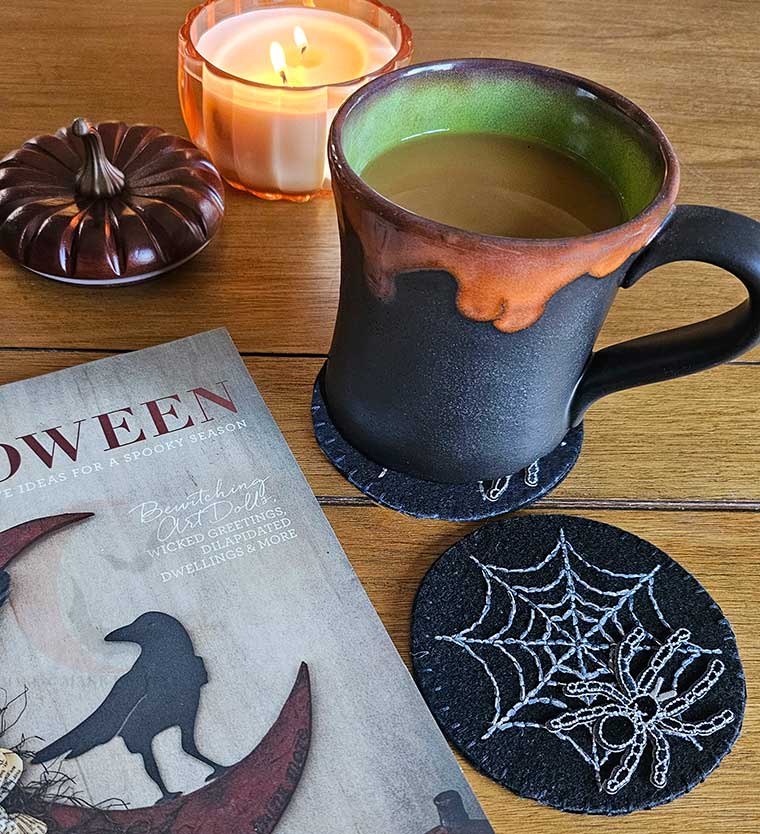
While I’m not designing for mid-century novelty giants like Beistle, Whitney, or Dennison, I do get to bring my own spooky visions to life here in the studio, and I’ve got a new one for you today – hauntingly easy DIY spider web coasters.
Completely customizable, you can choose the materials for any aesthetic or color style your haunted little heart desires. If you’re ready to spin a web of ghoulie goodness for your Halloween table – or craft a special gift for your favorite fright fanatic – this project is for you.

Learn how to make charmingly eerie DIY spider web coasters in just a few quick steps. Tap to start crafting your new favorite Halloween decor!
For this project, we will need:
Felt – I’m using Kunin Premium Felt in black (Creatology may be similar)
Scissors
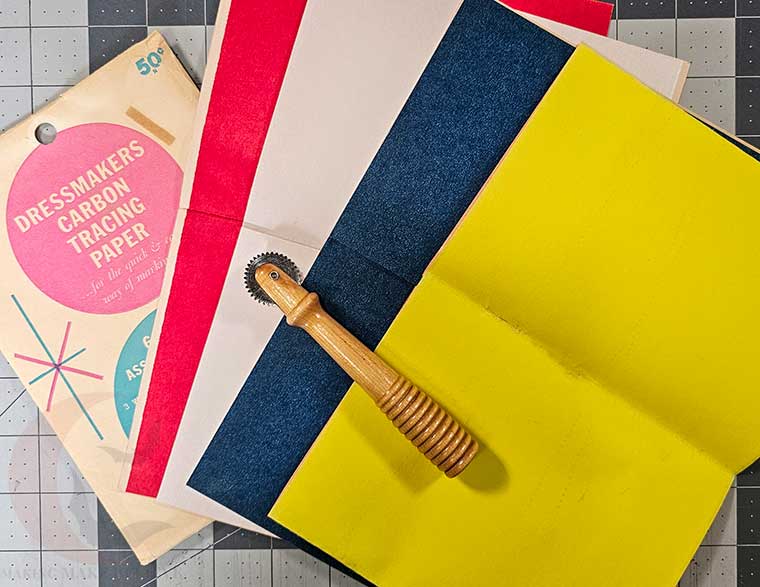
Sulky Stick N Stitch or a tailor’s wheel and tracing paper
Printer (not shown)
Embroidery floss and needle
Pellon 805 Wonder-Under iron-on adhesive and iron (optional)
Spider appliques (optional)
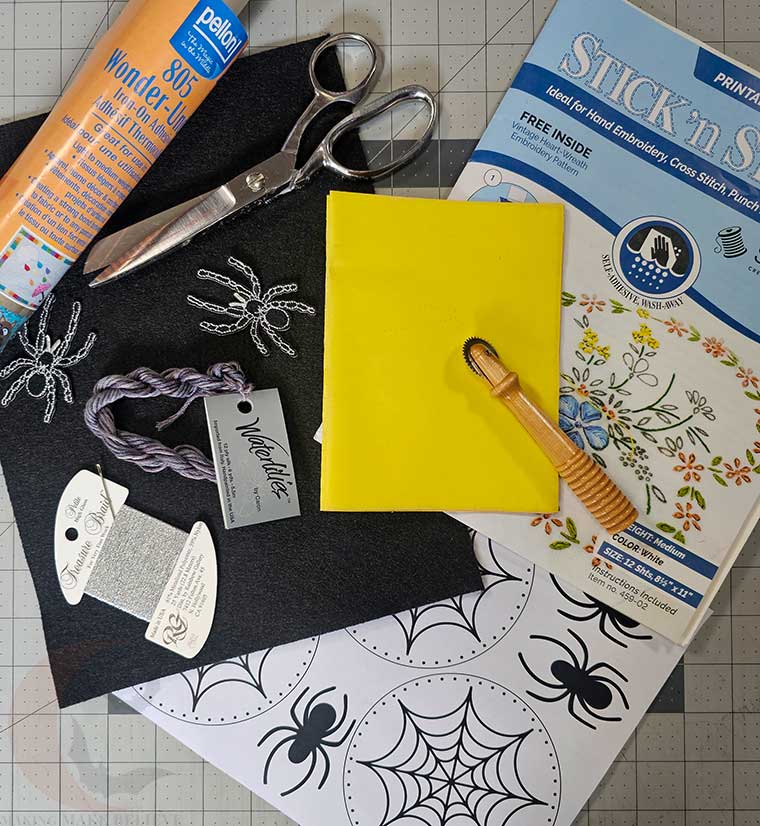
We will also need the Webs & Spiders Printable Template PDF from the Haunted Library. The template includes the spider web and blanket stitch pattern, plus bonus spider templates.

To begin, download the Webs & Spiders Printable Template PDF and open it in your favorite reader (Adobe, FoxIt, etc.).
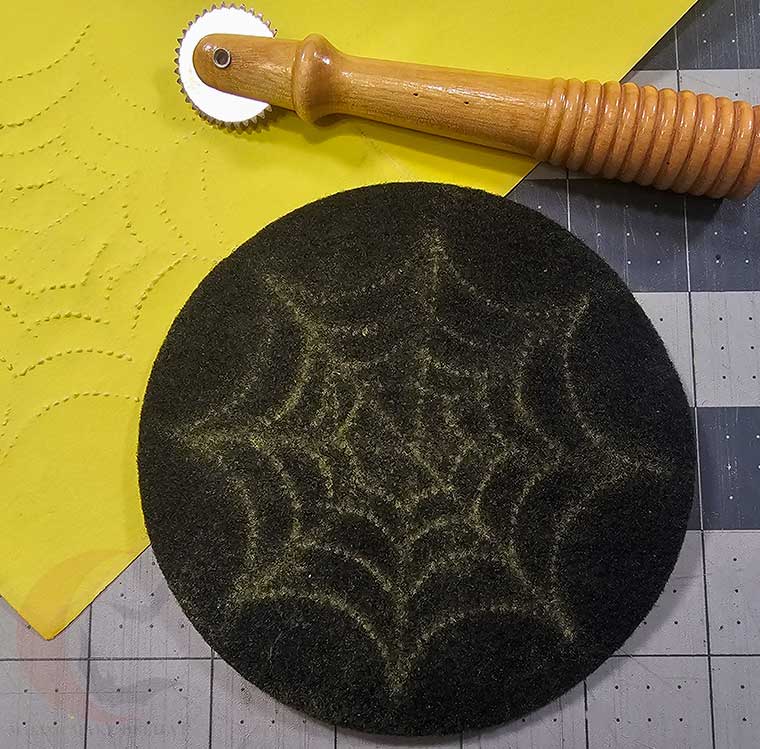
If you are transferring your template with a tailor’s wheel and tracing paper, print and cut out a web template. Choose a tracing paper color that contrasts with your felt. For example, you will need a light color (white or yellow) if transferring onto black felt so it is visible.
Transfer the coaster base (the solid line exterior circle around the web) onto your felt and cut out two of the base pieces for each coaster.
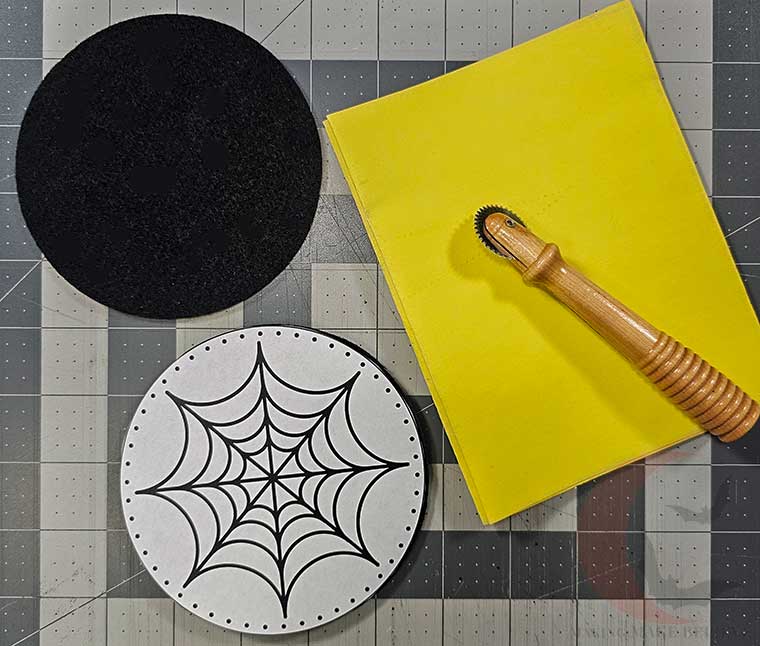
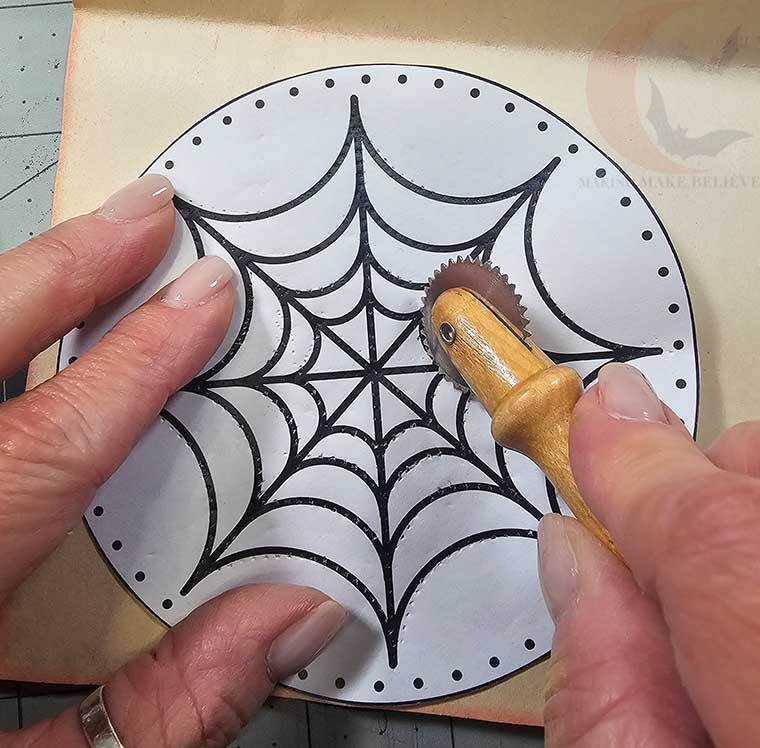
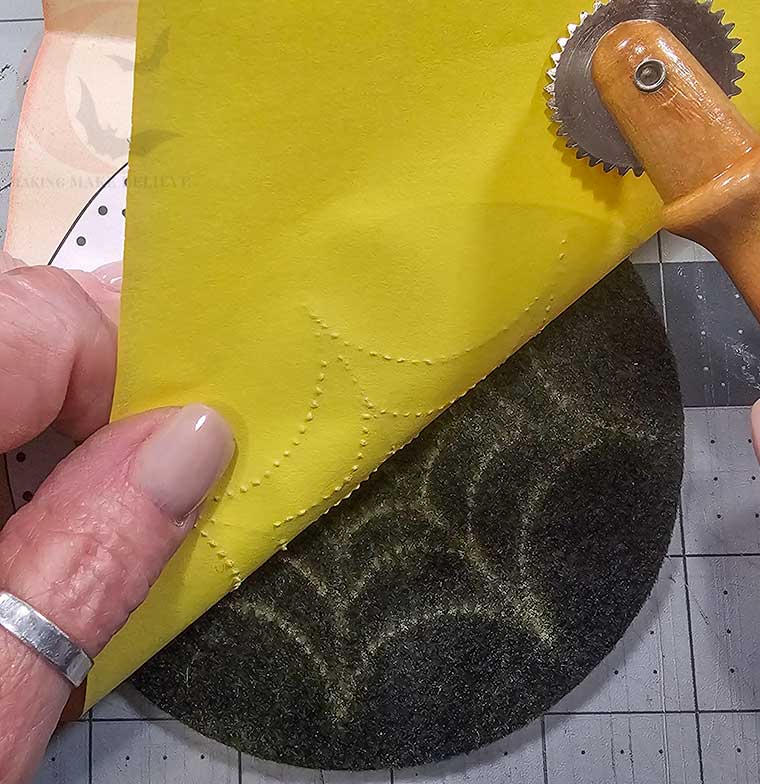
Next, transfer the web design onto one coaster base piece. Press the tracing wheel firmly along the pattern to ensure the strongest color transfer. Before removing the template, lift one side and make sure the pattern is complete. Repeat tracing if needed.
The product I’m using today is Sulky Stick ‘n Stitch, which is a self-adhesive, wash-away stabilizer on which you can print your template.
Quick note: I’m using a craft felt which is acrylic. While these would be great in wool or wool-blend felt, keep in mind the felt may shrink when wet, so test it first or transfer the pattern using the tracing wheel method above.
Using an inkjet or laser printer, print the Webs & Spiders template onto the fabric side of the Stick ‘n Stitch sheet.
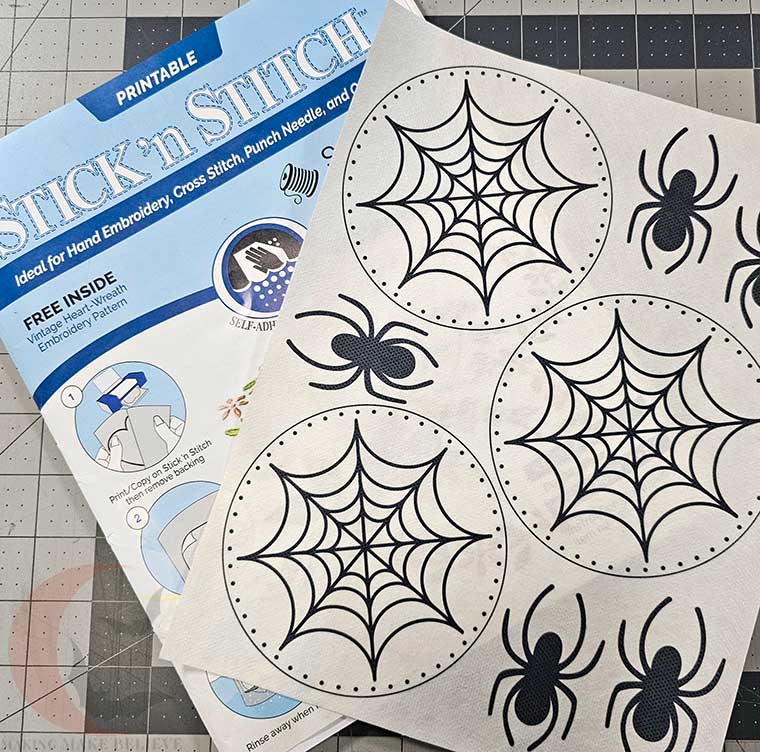
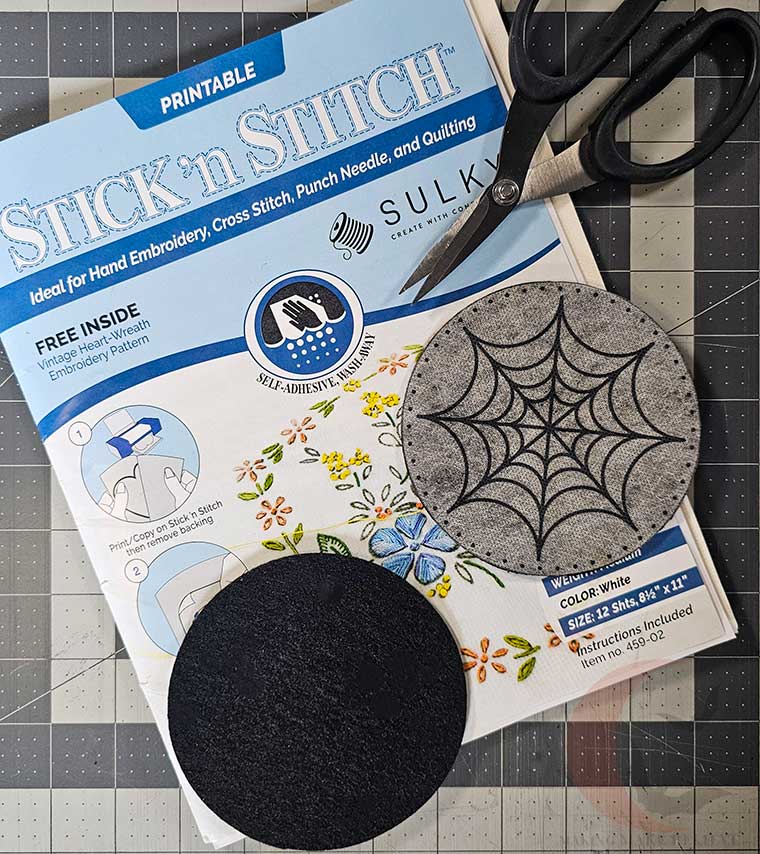
Cut apart the template and stick it onto the felt. Using the solid line exterior circle around the web, cut out your coaster base. Then stack this piece onto your felt, cut a second base piece, and set it aside.
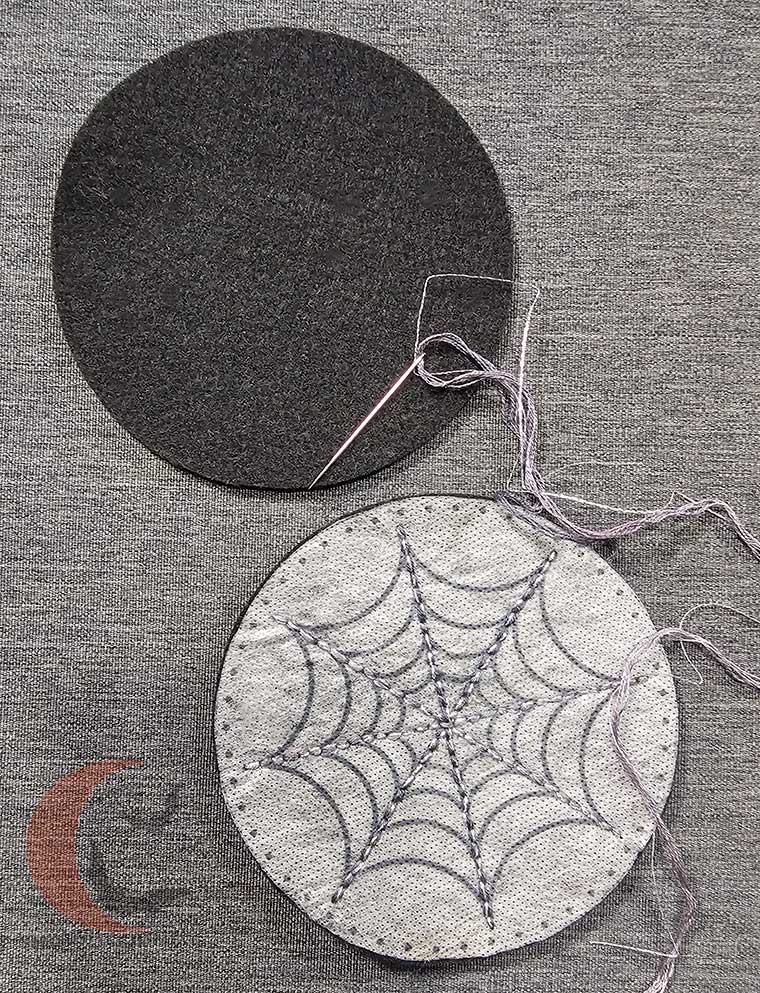
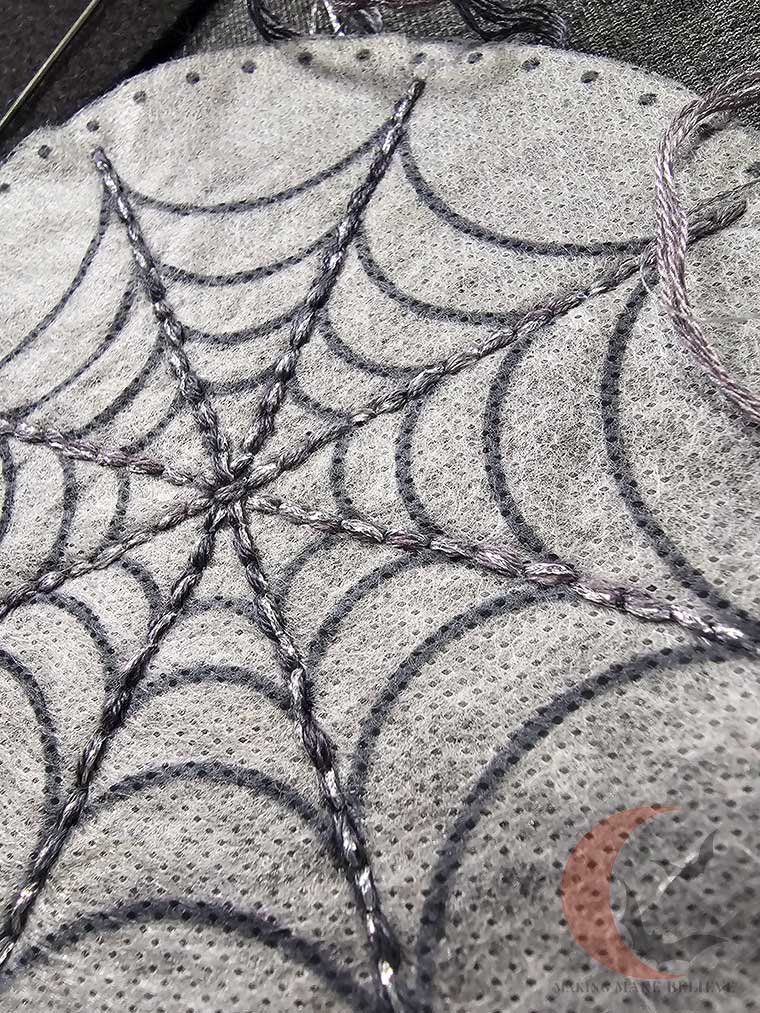
Using your preferred straight stitch, begin at one of the radii or anchor lines that cross the coaster and stitch from one side to the other. I am using the backstitch, but a running stitch is another great option.
Use as many of as few floss strands as you like. I’m making my web pretty chunking with six strands of Waterlilies silk in Graphite mixed with one strand of Rainbow Gallery Petite Treasure Braid PH02 metallic silver.
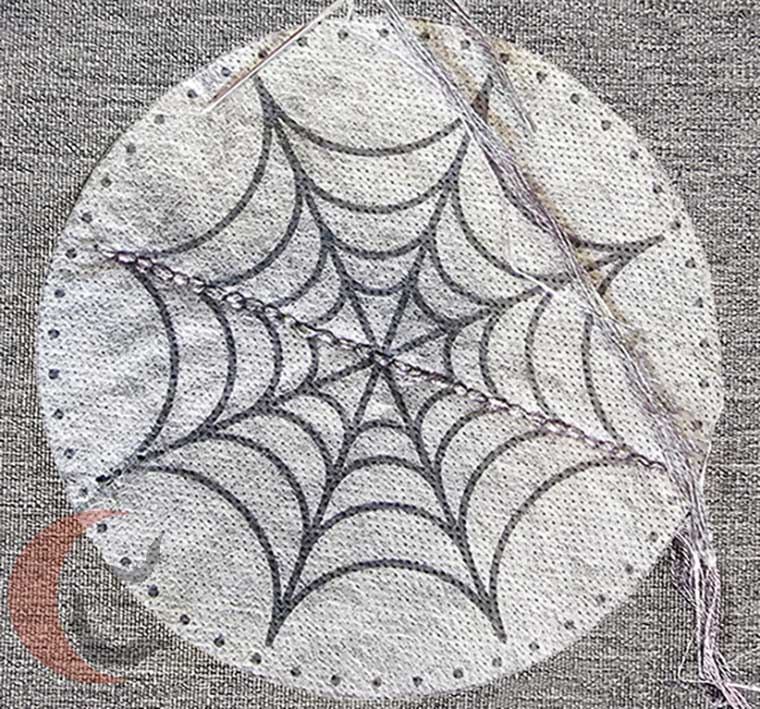
Continue until all anchor lines are stitched.
Next, stitch the spirals.
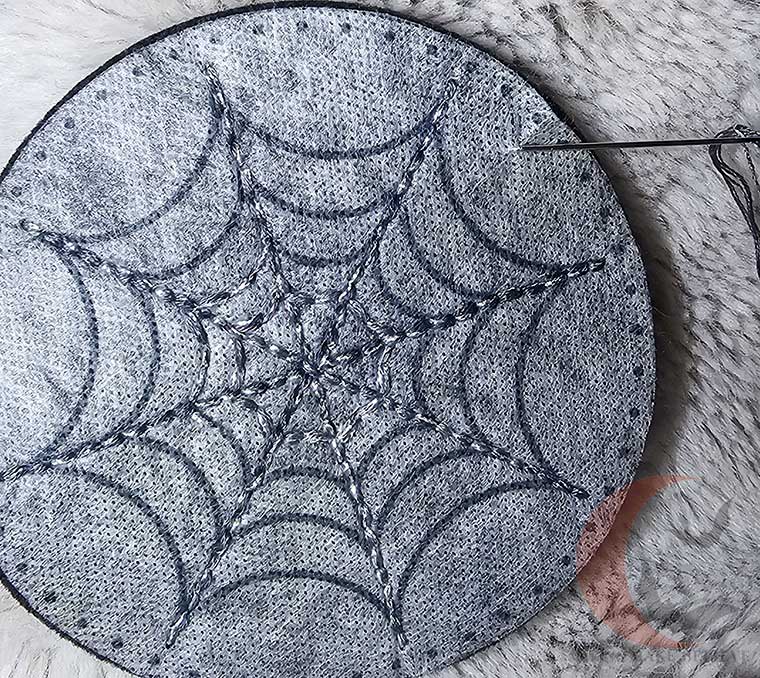
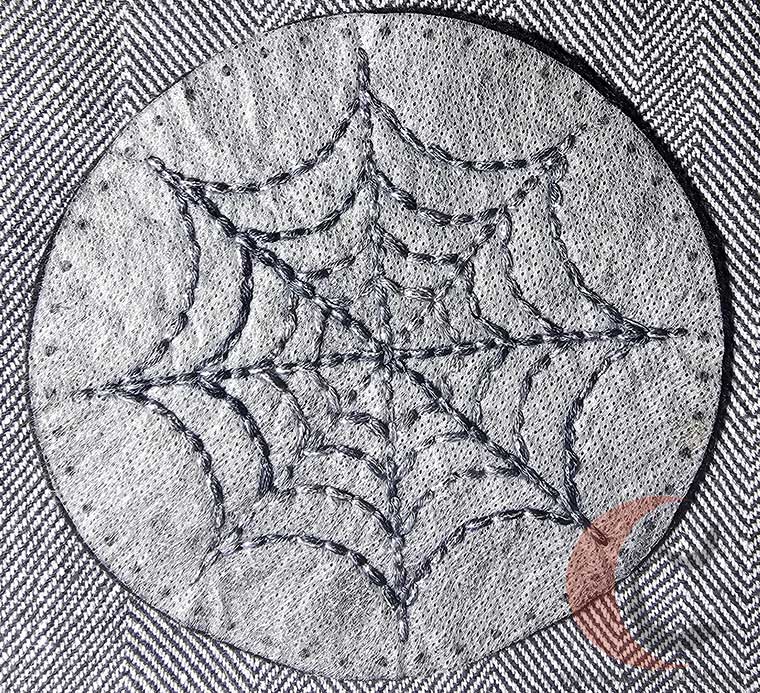
To finish the coaster, stack the stitched base on top of the plain base and follow the dotted outline as a spacing guide for your blanket stitch.
If you prefer to bond your bases together prior to stitching, I recommend Pellon 805 Wonder-Under or HeatNBond Lite. This is optional but can add more stability to thinner felt.
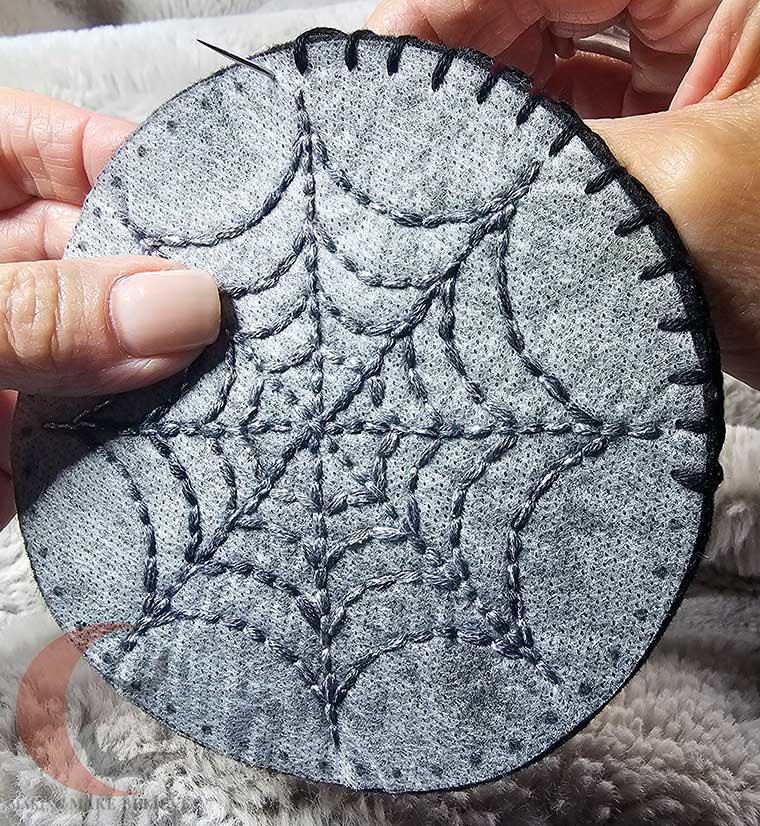
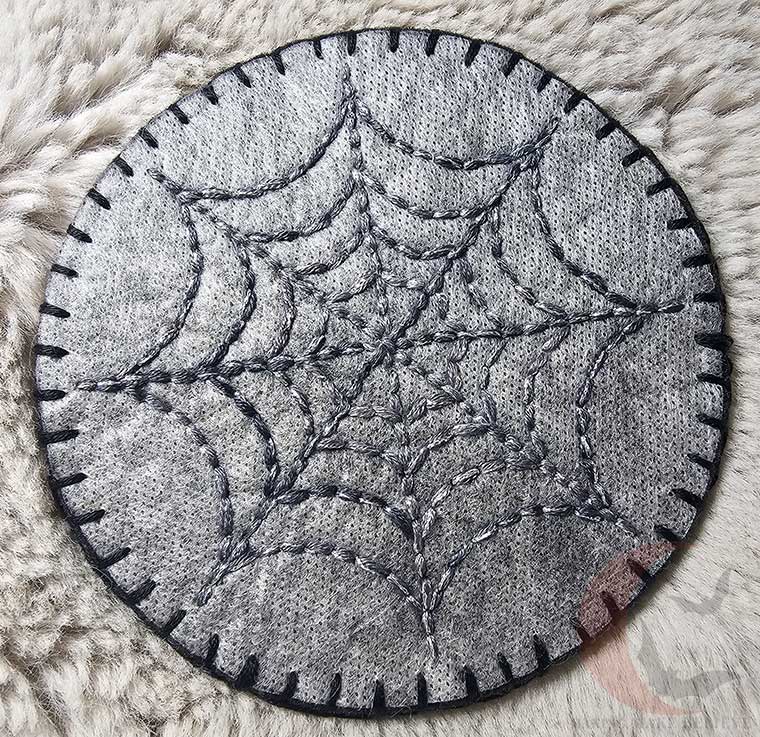
Now that our stitching is complete, we can remove the Stick N Stitch. Immerse the coaster in cool water and gently rub off the template.
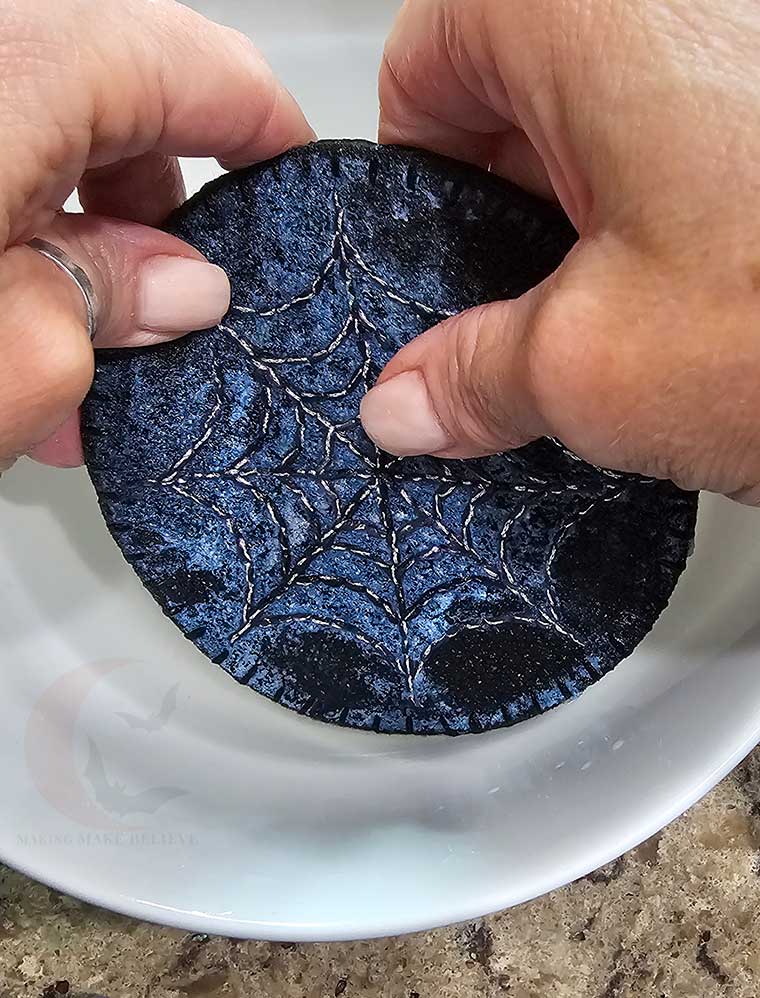
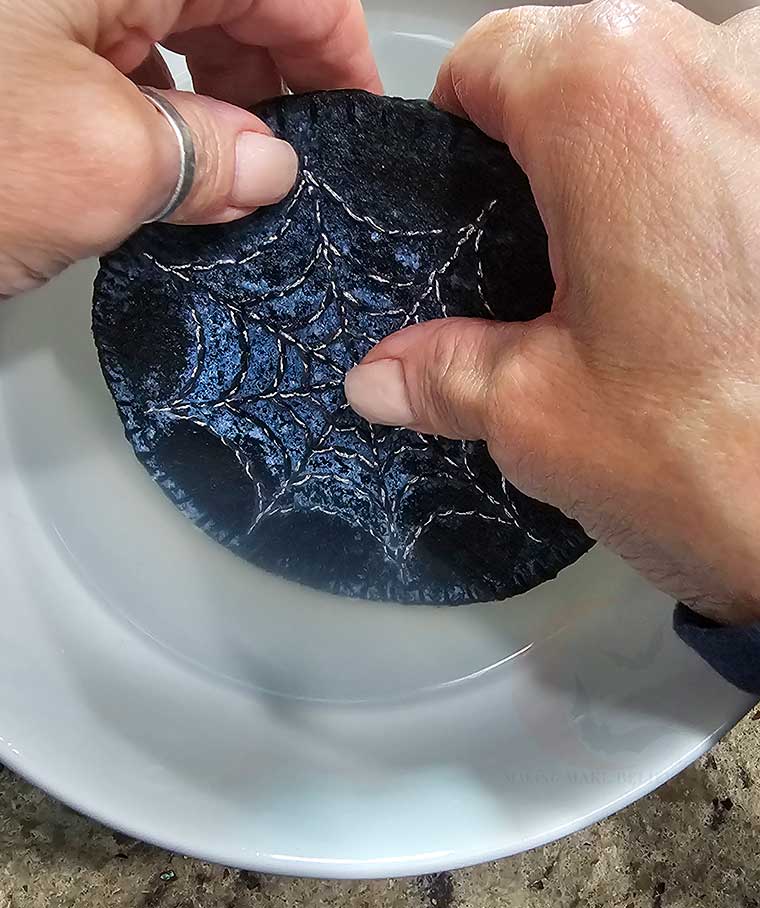
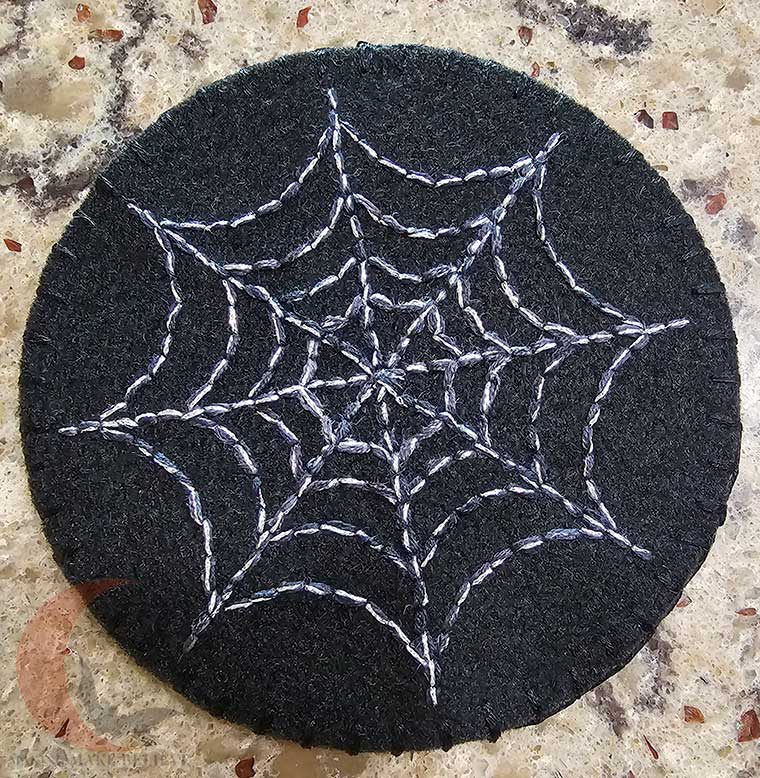
Press the coaster between towel layers and gently press out the water. Allow to dry fully.
I grabbed these spinetingling spiders to stitch onto my Halloween spider web coasters, but I’ve also included a spider template so you can embroider your own.
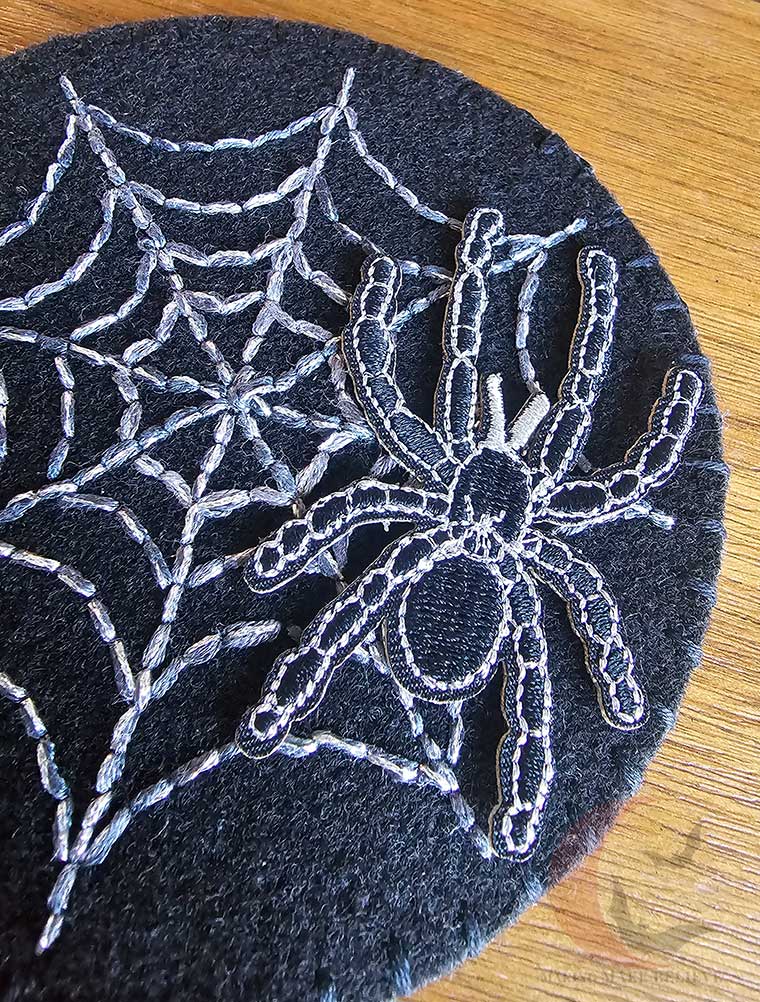
These Halloween spider web coasters turned out so elegant! I’m excited about the possibilities, as you can craft these in a primitive, retro, or vintage style simply by swapping out colors and floss types.
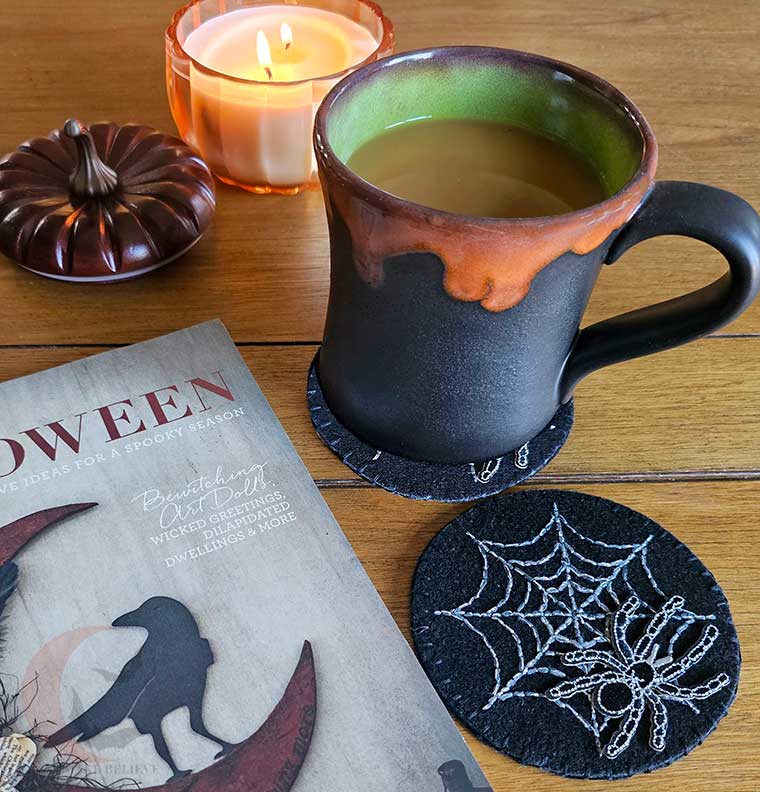
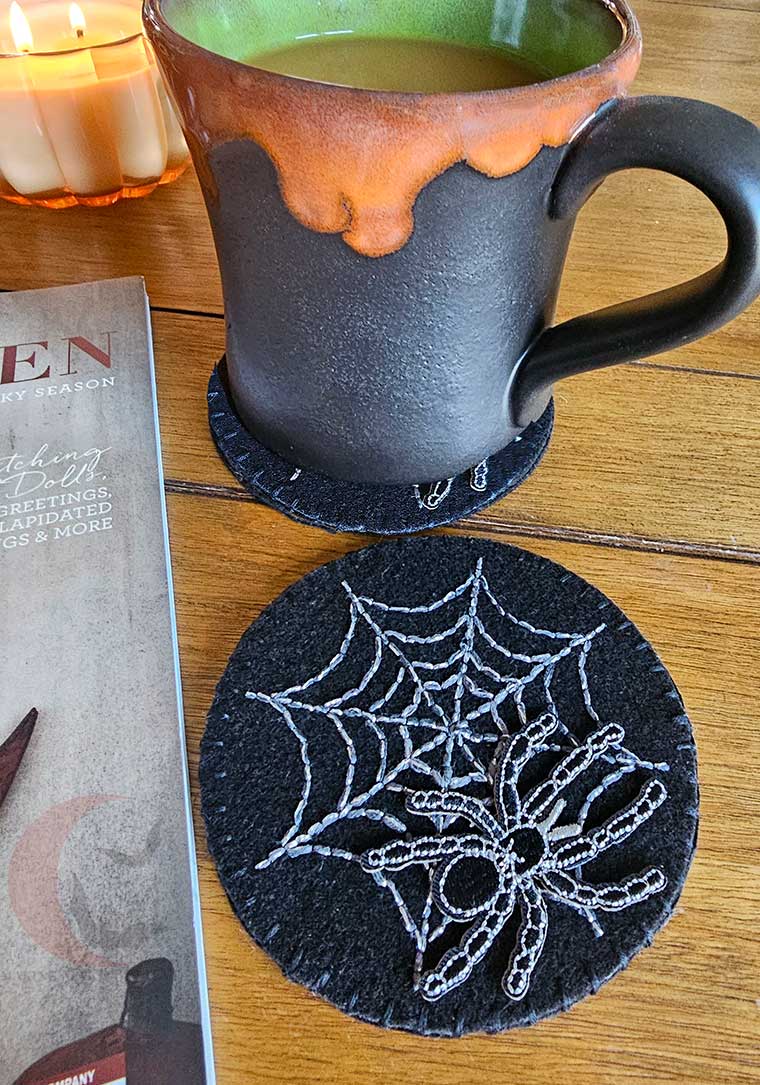
Until next time – stay spooky.

