
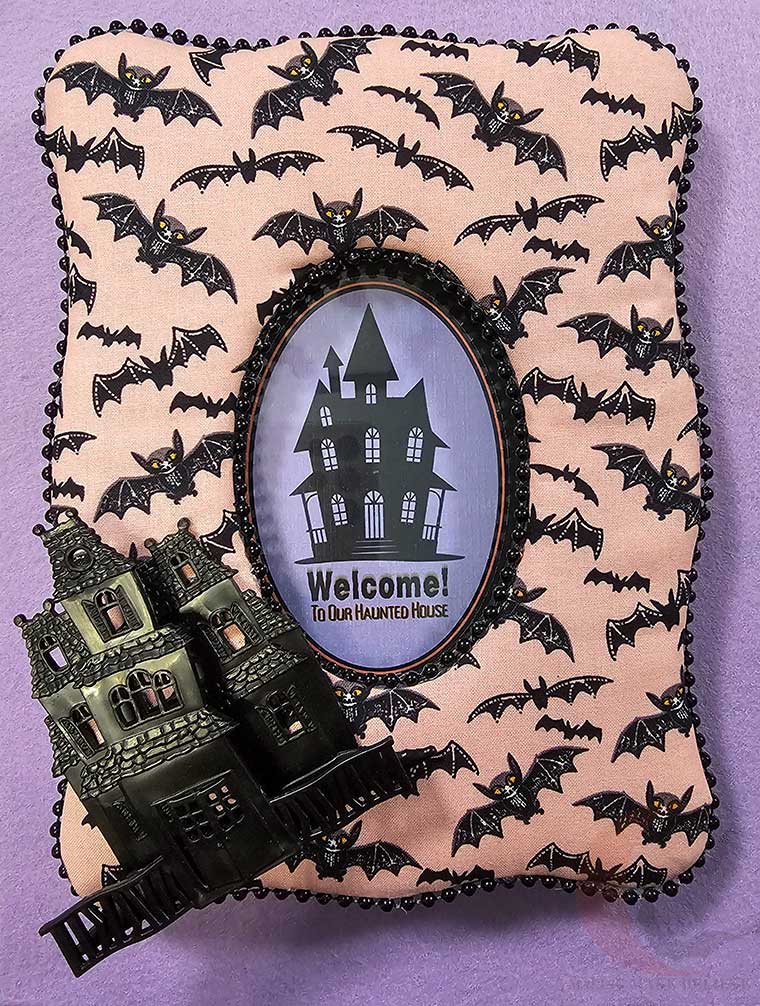
Two things that haunt my studio in abundance: Halloween fabric and thrifted picture frames. Rarely are either of these purchased with grand intentions; instead, it’s normally a purchase-now, plan-later situation with the hopeful assumption that the right project will come along eventually.
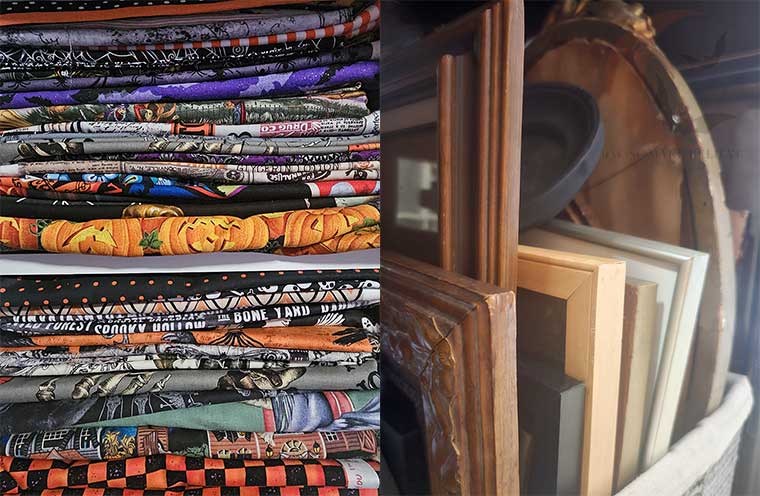
Thankfully, I plan specific spaces for specific things, and when I can’t squeeze one more frame into the pile or pack one more yard of fabric into the stack – well, it’s time to take action. Today is that day! And since both areas have reached maximum creepy capacity, I decided to kill two bats with one stone (so to speak!).
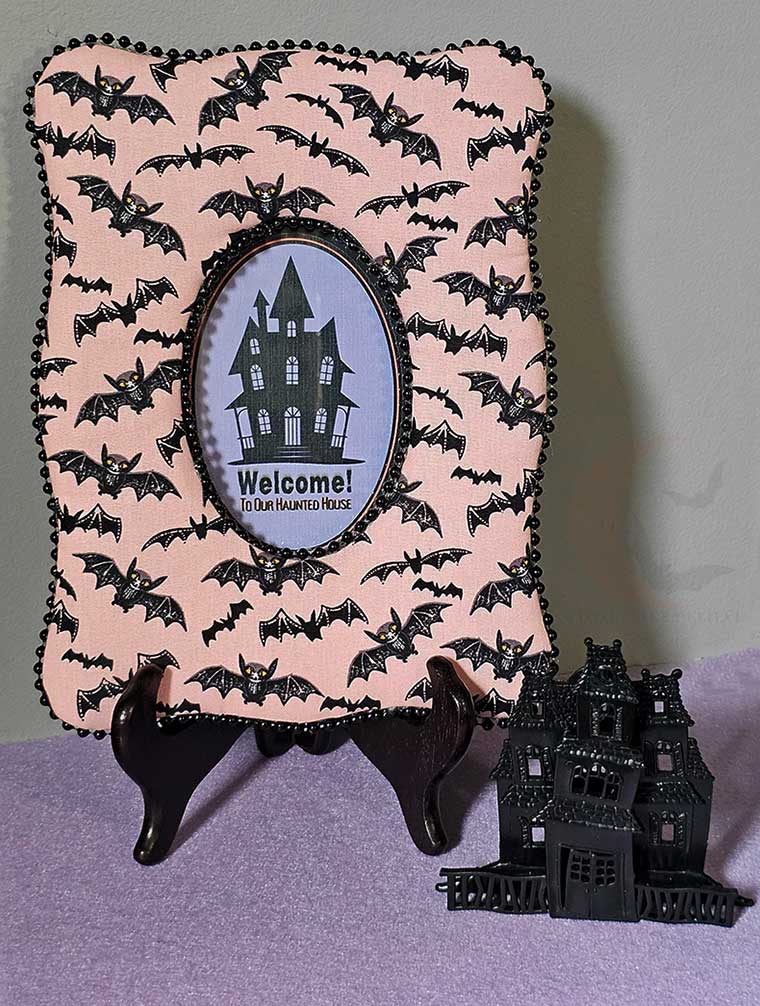
I retreated to the lab to fuse plush batting, frightfully festive fabric, and a salvaged frame into a piece fit to showcase my favorite petrifying portraits. I am pleased to say that the experiment was a roaring success, so if you’re ready for a little Halloween-style thrift-flip alchemy – grab your glue gun and let’s bring this frame back to life!

If your studio hoard is bursting with fabric scraps and salvaged frames waiting for their second life, pin this thrifted frame Halloween upcycle tutorial to your favorite Pinterest craft board.
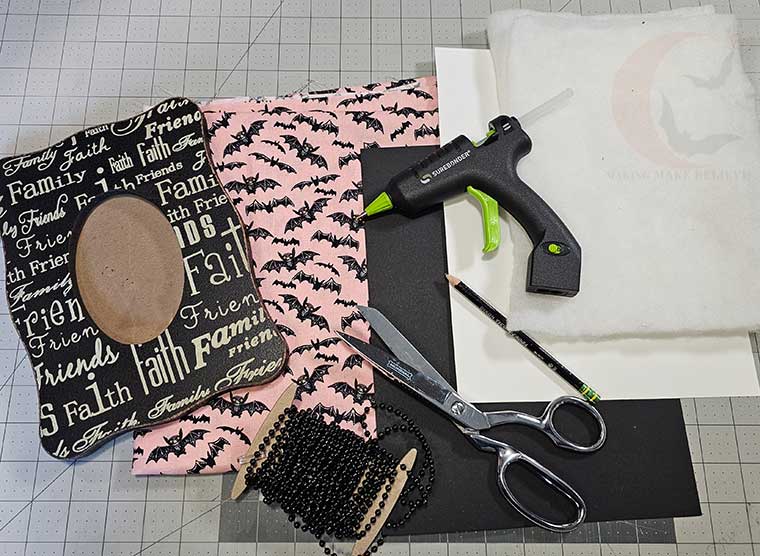
For this project, we will need:
Frame
Scrap Halloween print fabric with a small pattern design
Scissors
Batting
Paper
Cardstock
Pencil, marker, or fabric marker
Hot glue gun and glue sticks
Embellishment trim (optional)

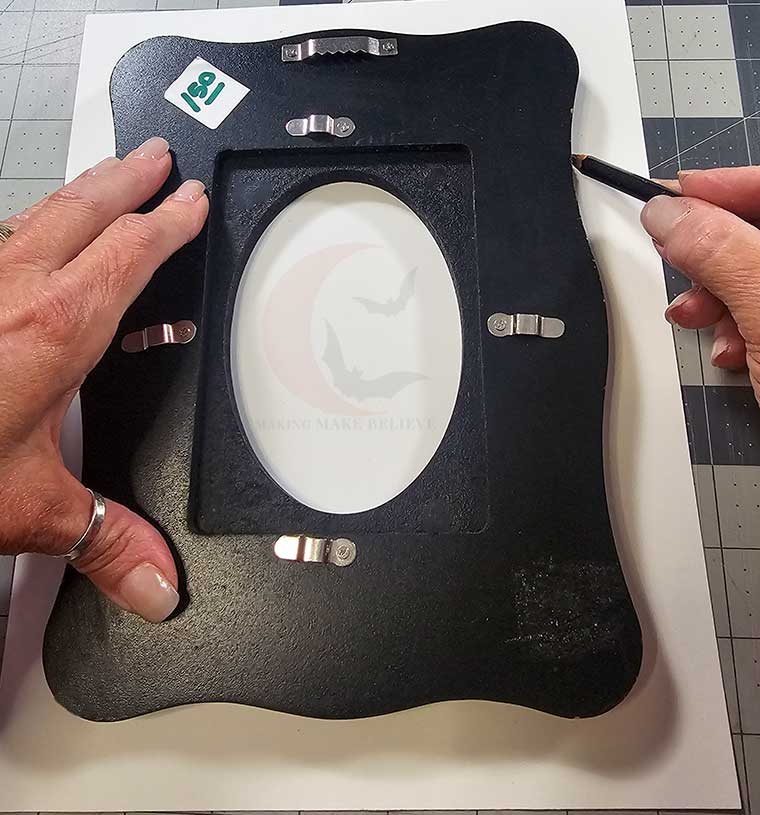
To begin, make a template of your frame by tracing it face down onto paper. Don’t forget to trace the picture window area.
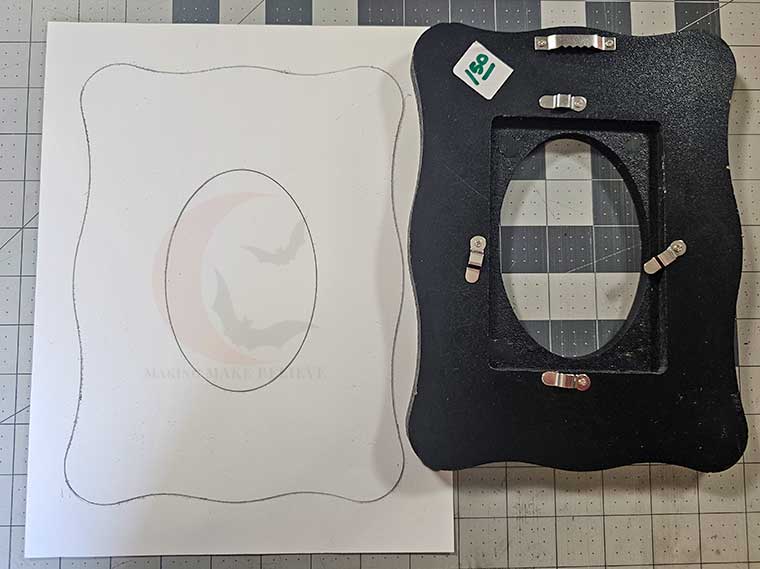
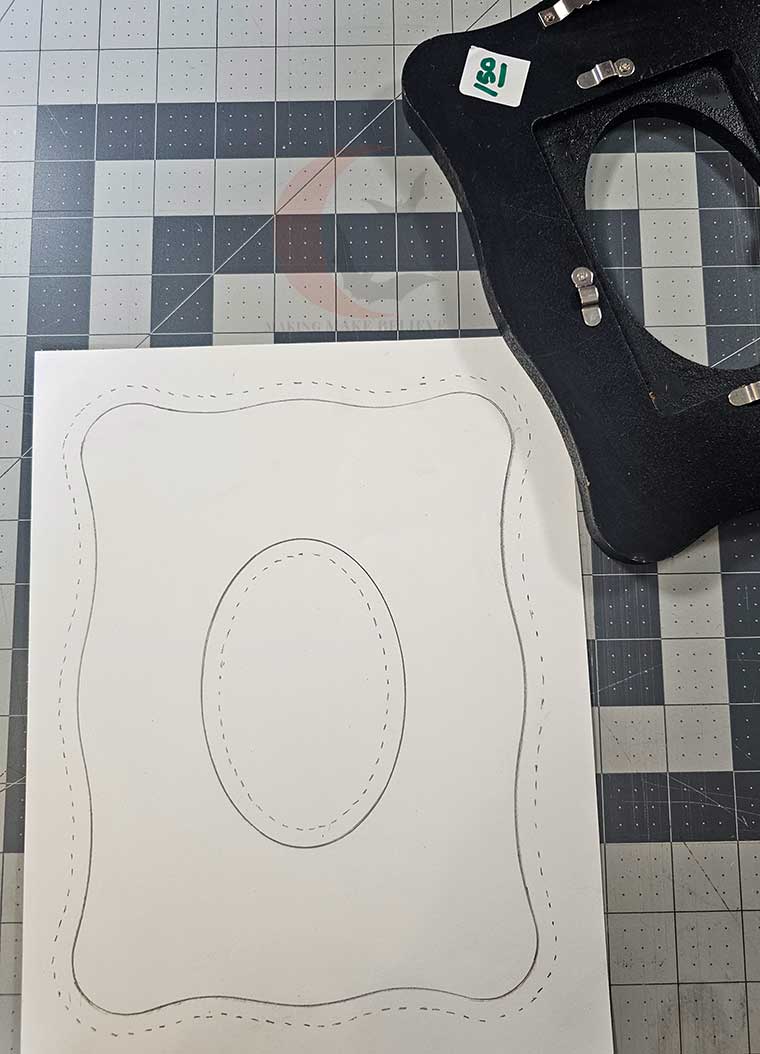
Trace outside your template to allow for fabric to wrap around to the back of your frame. I traced a 1/4” allowance, but it was pretty tight, so I suggest a larger one, such as 3/8 – 1/2 inch.
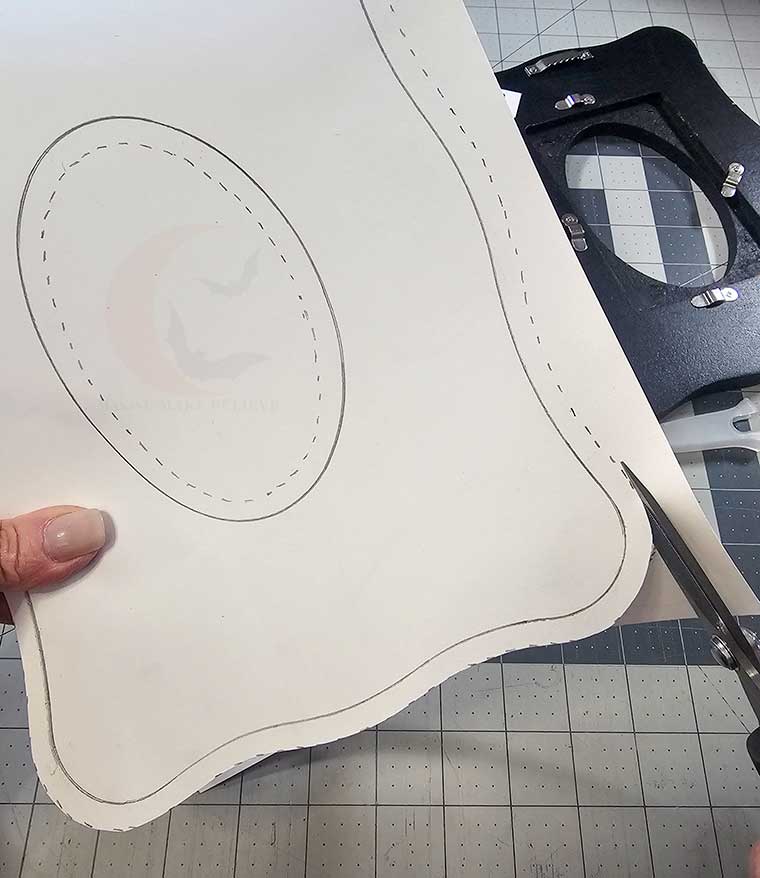
Cut out your template.
Before we cut into our fabric, determine how you want the fabric to lay on your frame. If your fabric is directional and has a definitive top and bottom to the design, decide if the frame will be displayed in portrait or landscape before you start snipping.
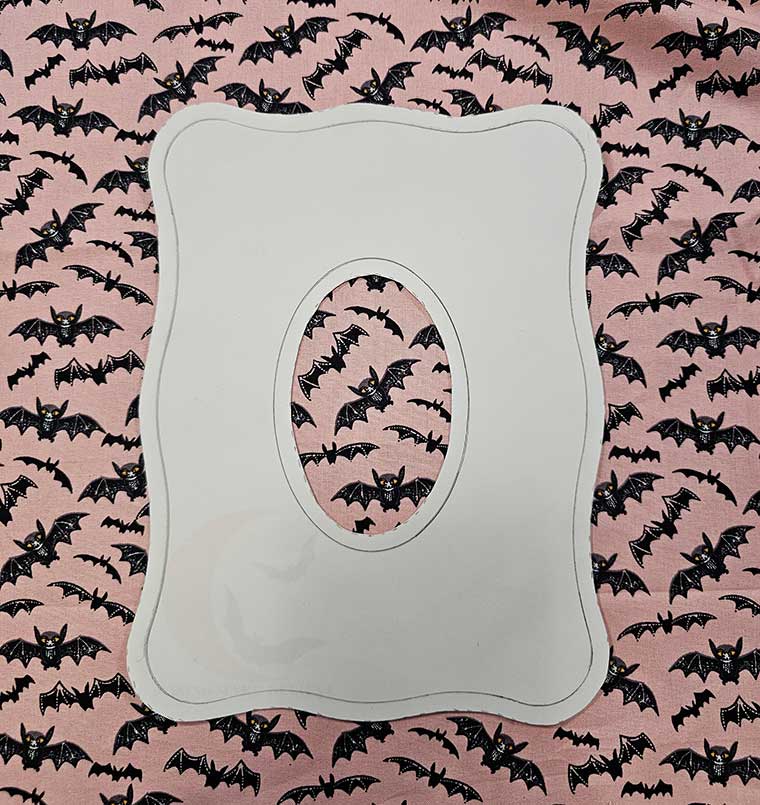
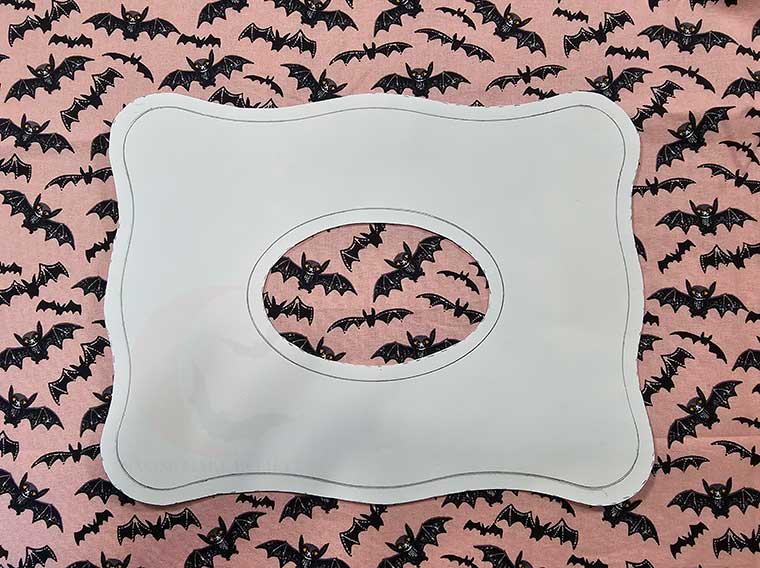
Trace the template onto your fabric and cut it out.
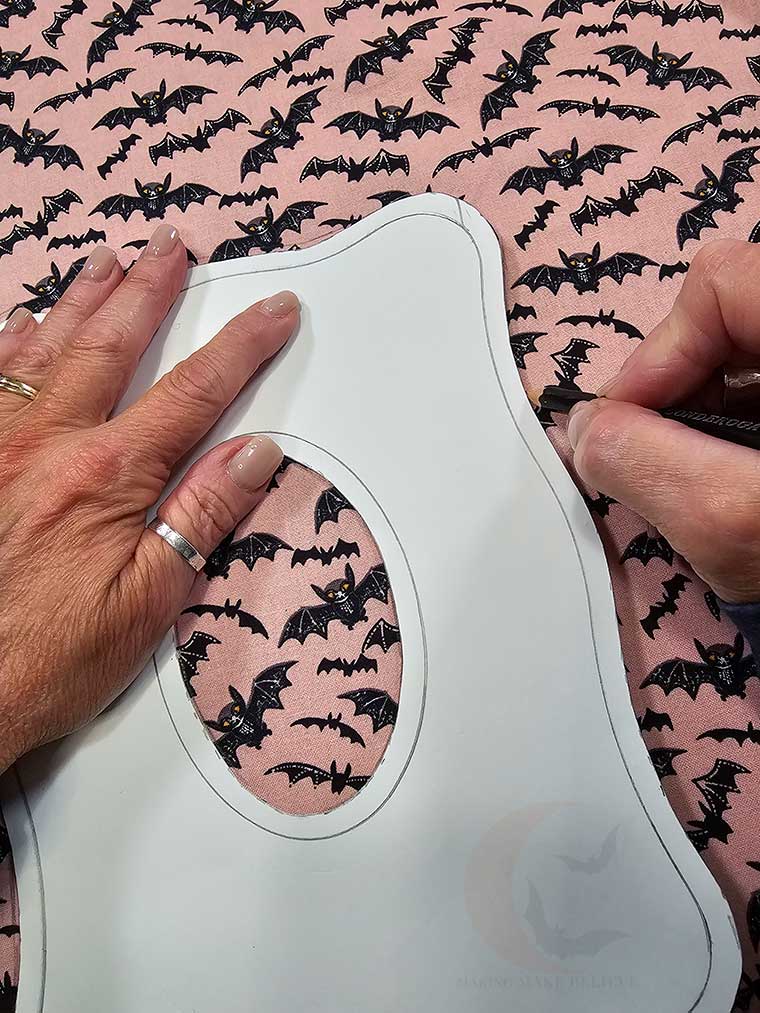
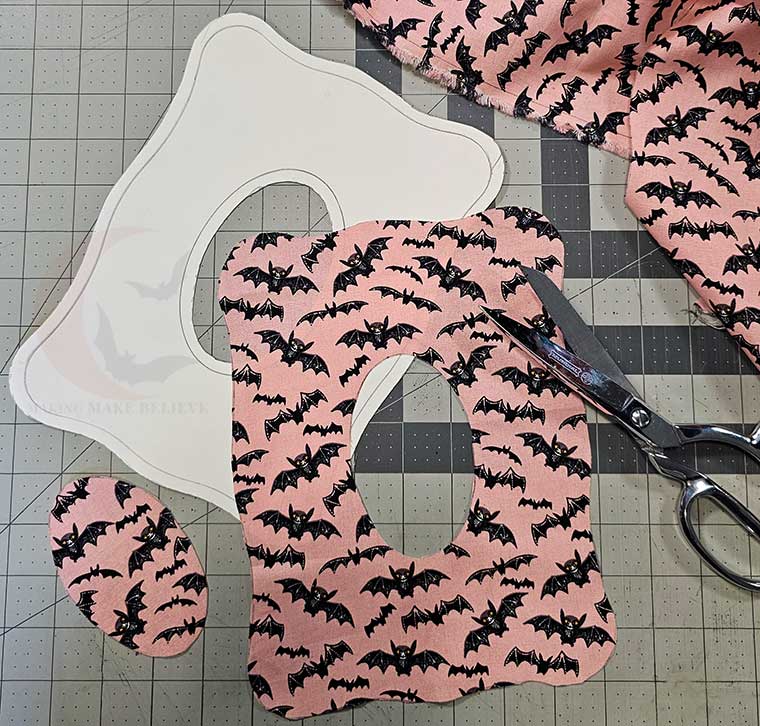
Trace the frame, face-side down, onto the cardstock and cut it out.
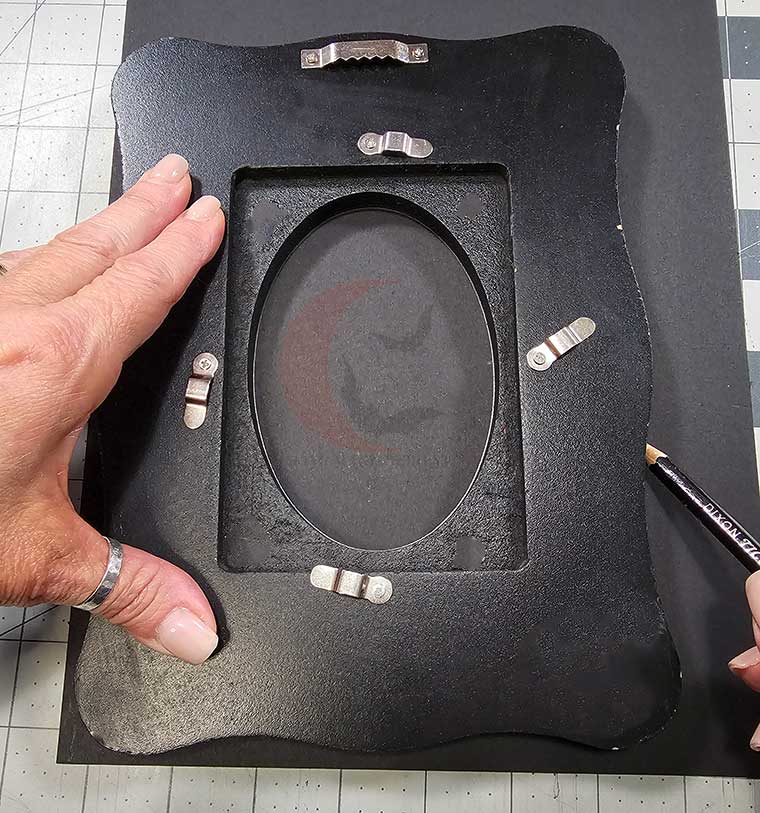
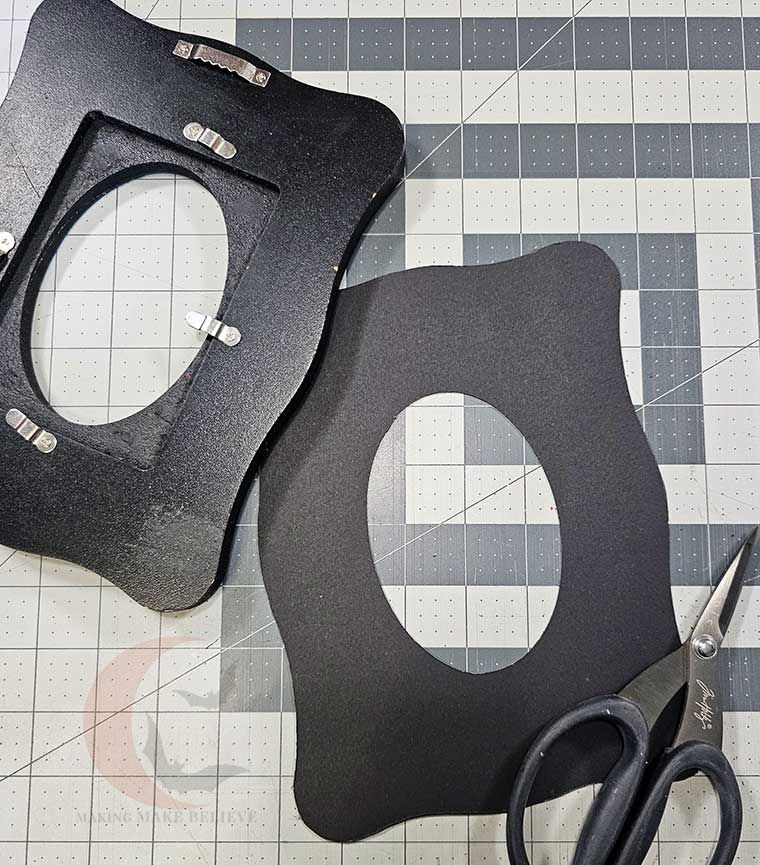
Now, trim away the allowance from the template and trace it onto the batting. A marker works best for this.
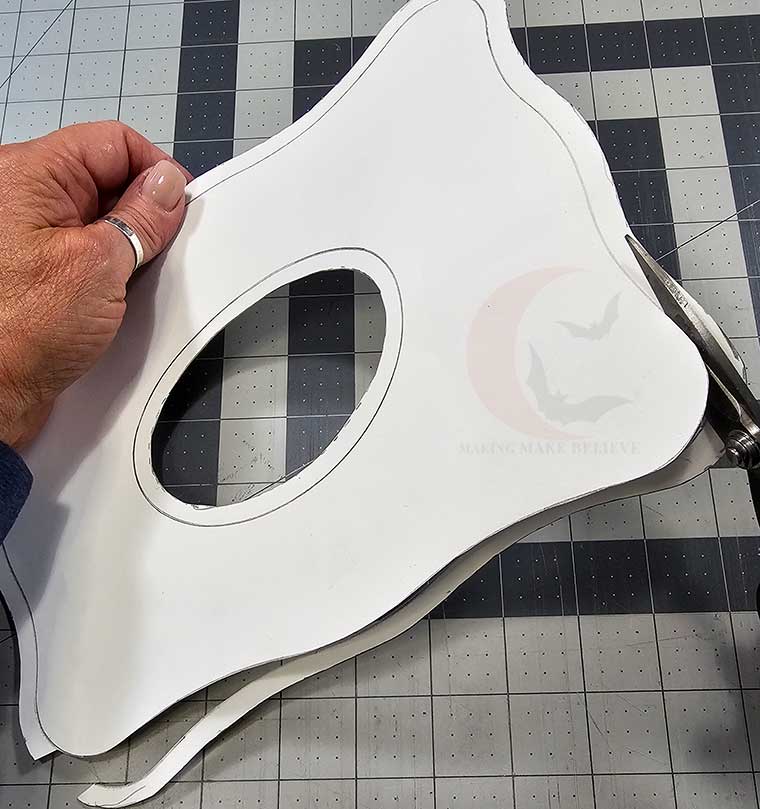
You can stack your batting as thick as you like – just keep in mind the allowance you added to the template. I did two layers of batting, and my 1/4 inch allowance was barely enough.
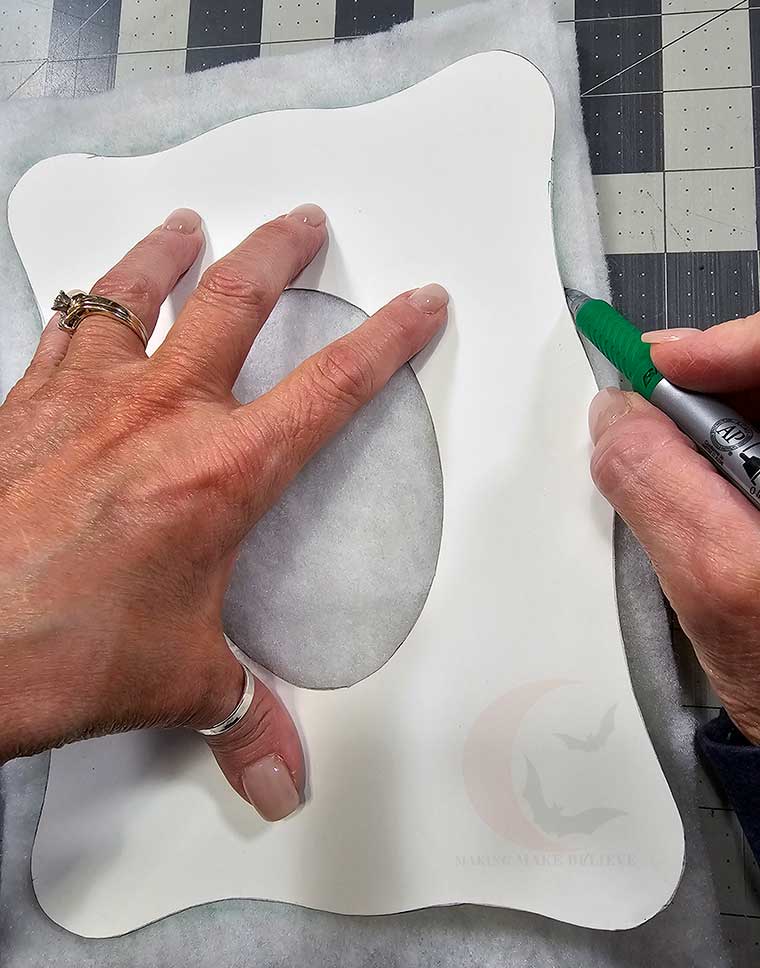
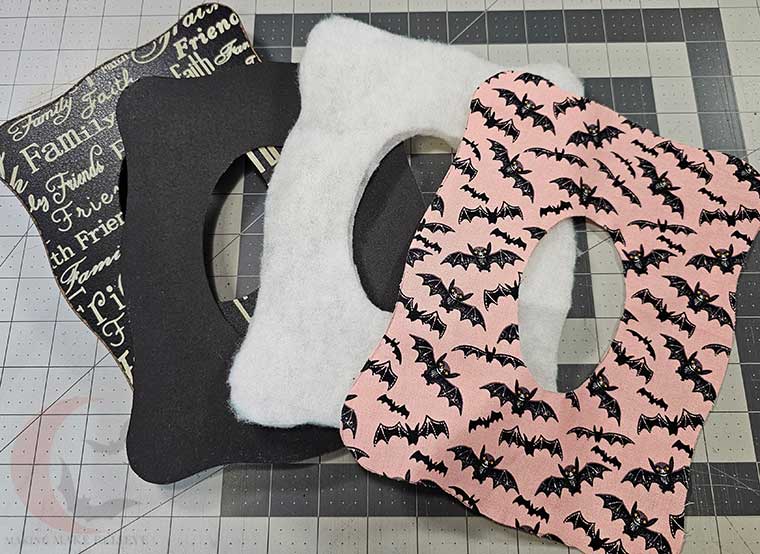
Lightly tack a layer of batting to the cardstock with a bit of hot glue.
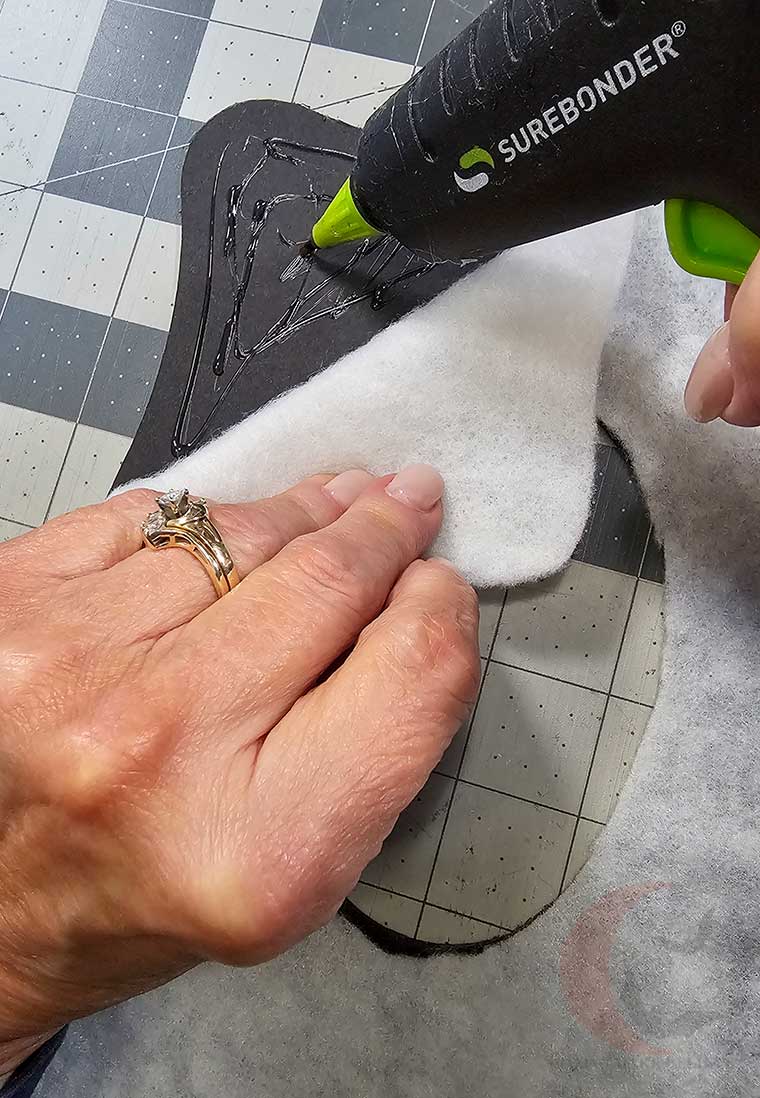
Repeat with any remaining batting layers.
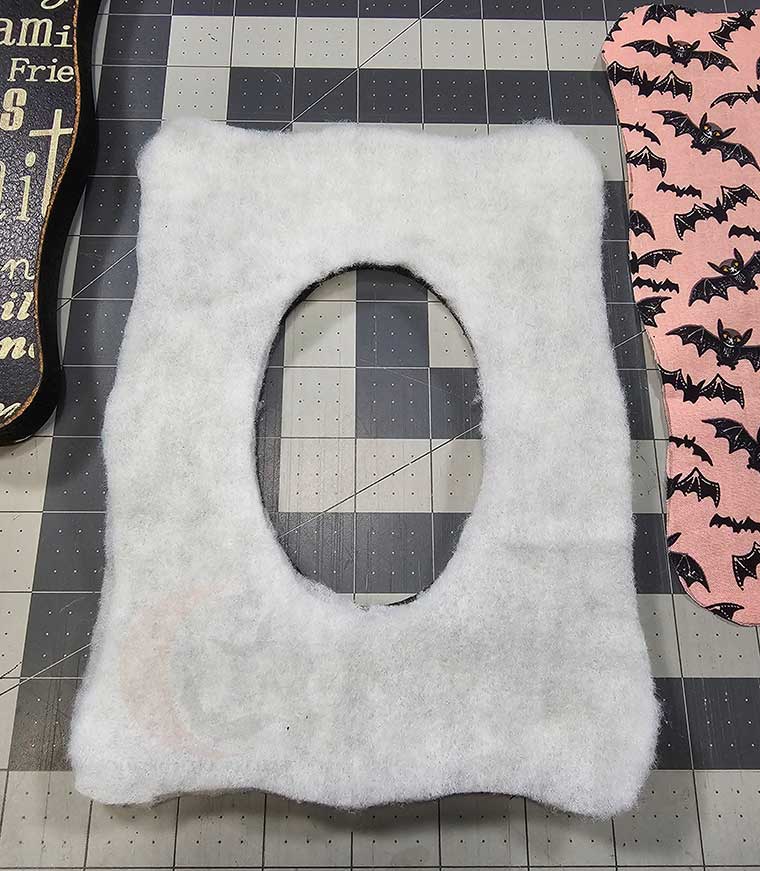
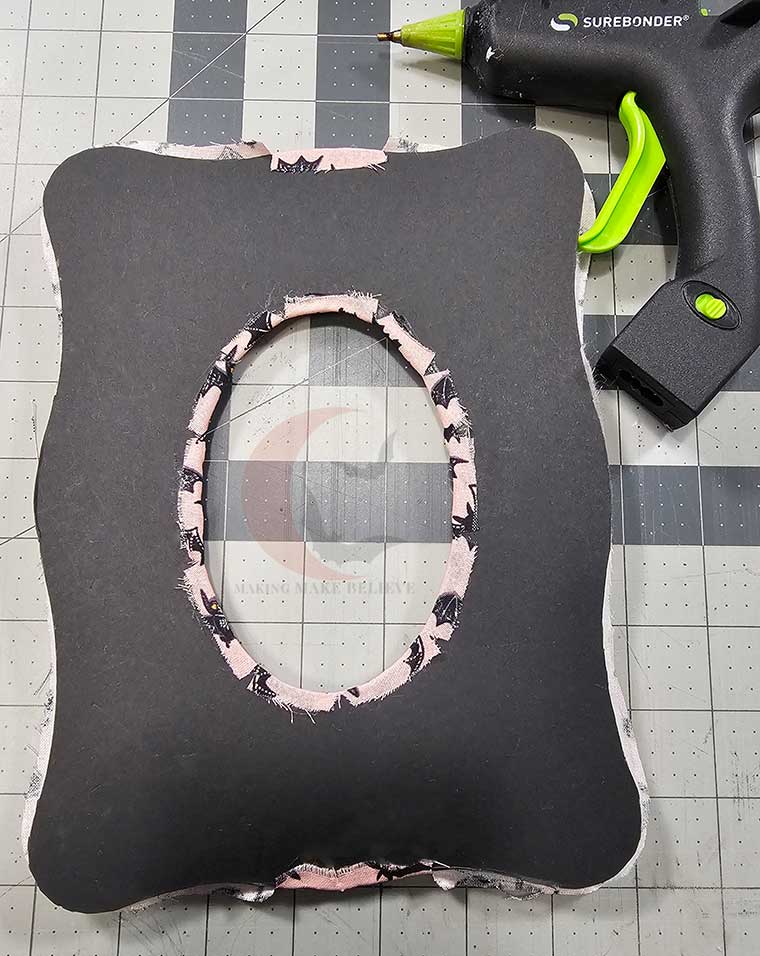
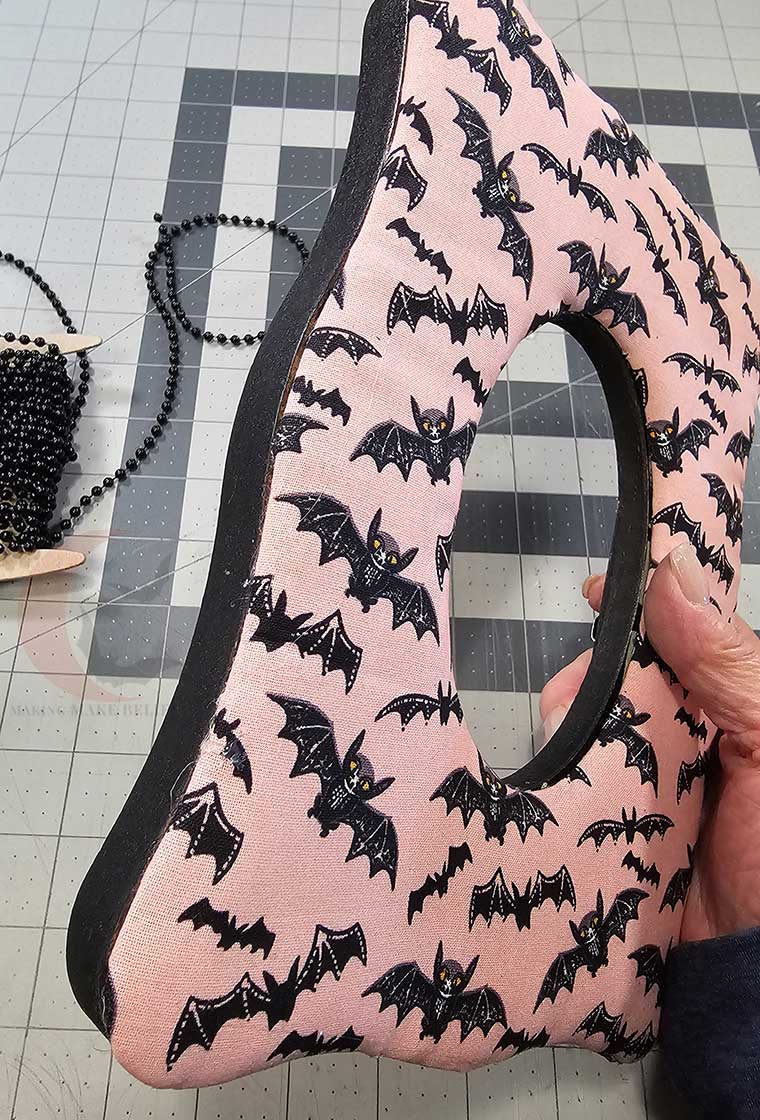
Lay the fabric face down and place the cardstock and batting stack on top, with the cardstock facing up.
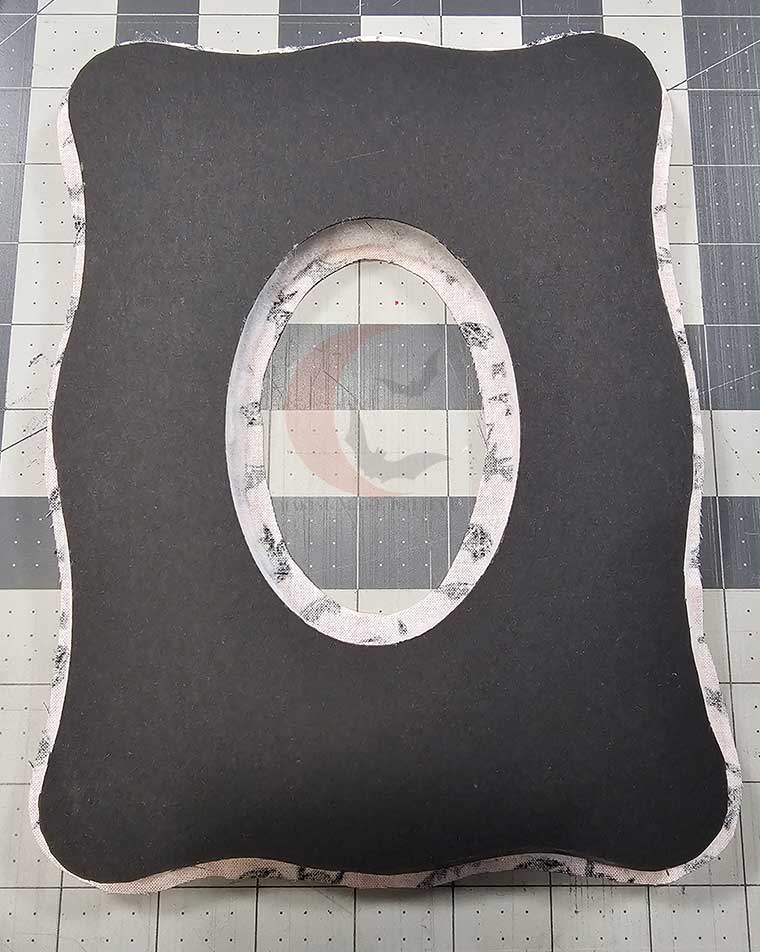
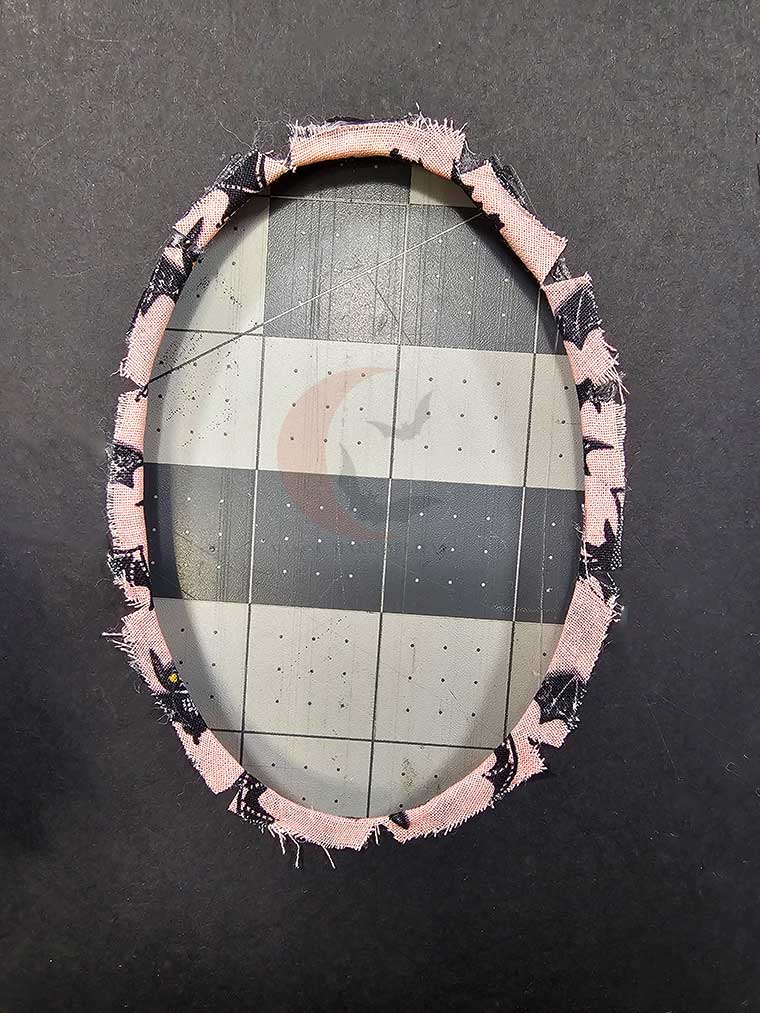
Clip the fabric along any curves, taking care not to snip up to the edge of the cardstock.
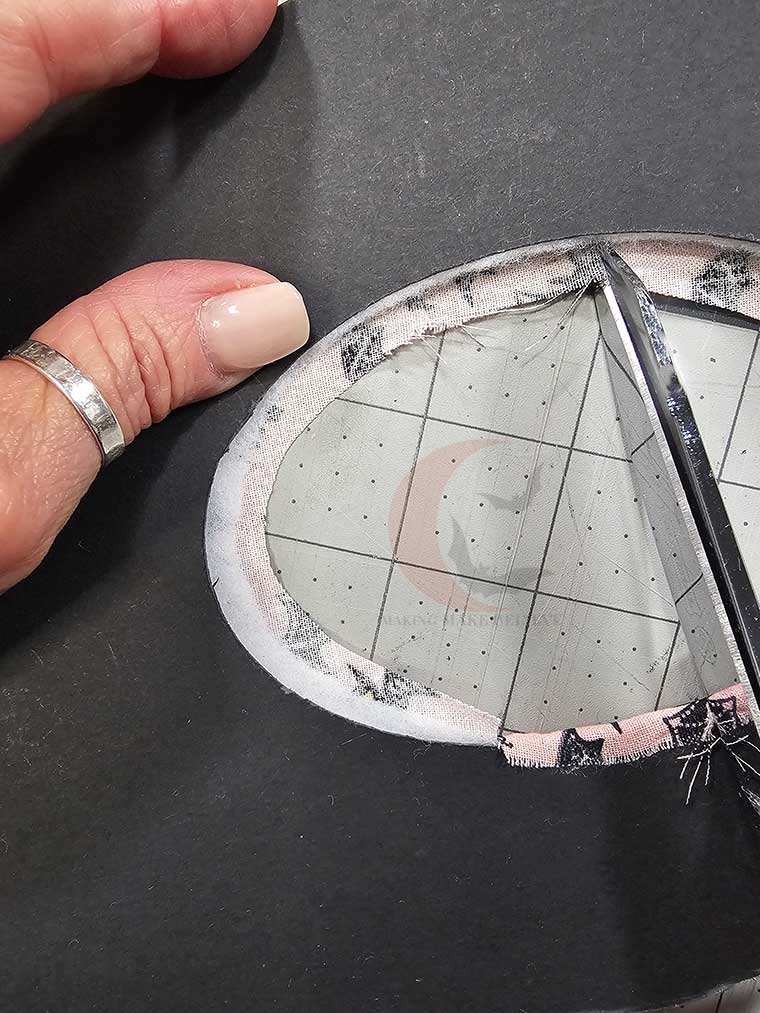
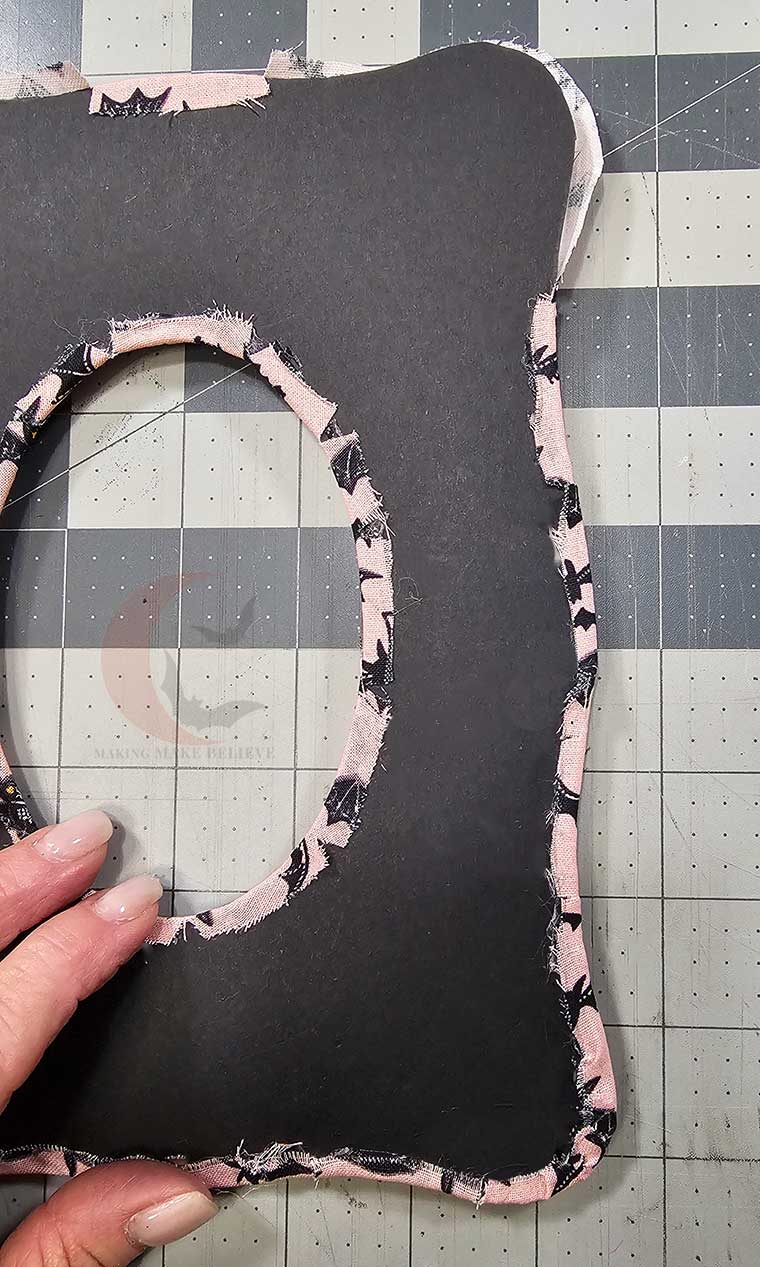
Fold over each section and secure with hot glue. For this process, I like to alternate opposite sides so I don’t accidentally pull the fabric too far to one side.
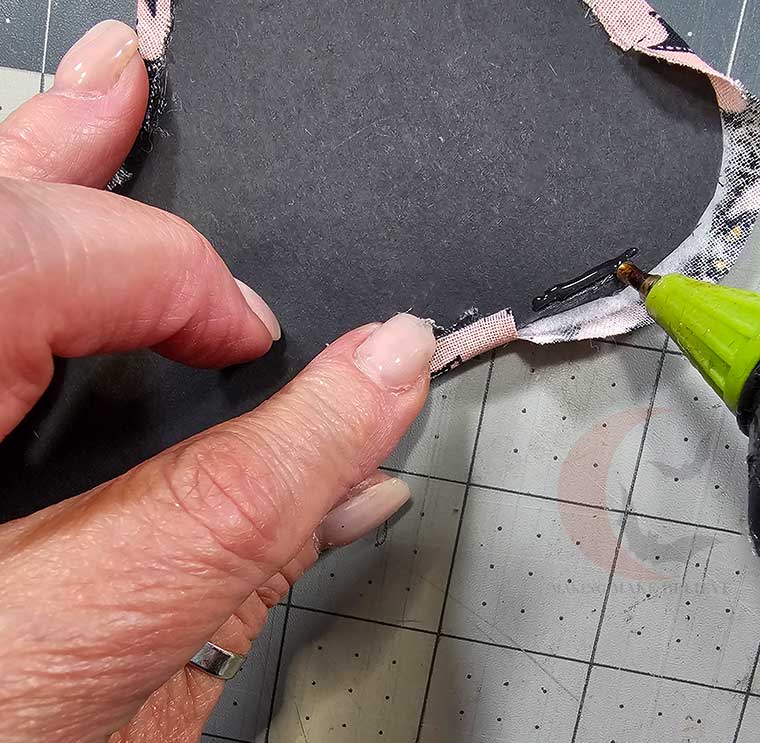
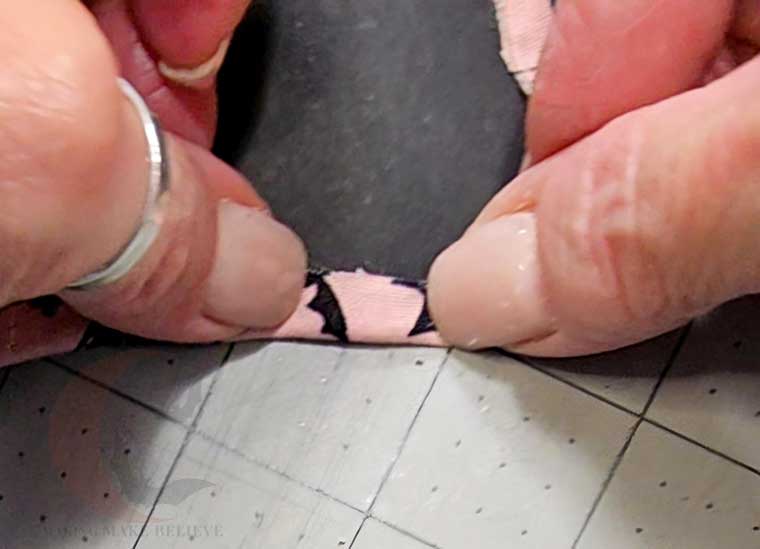
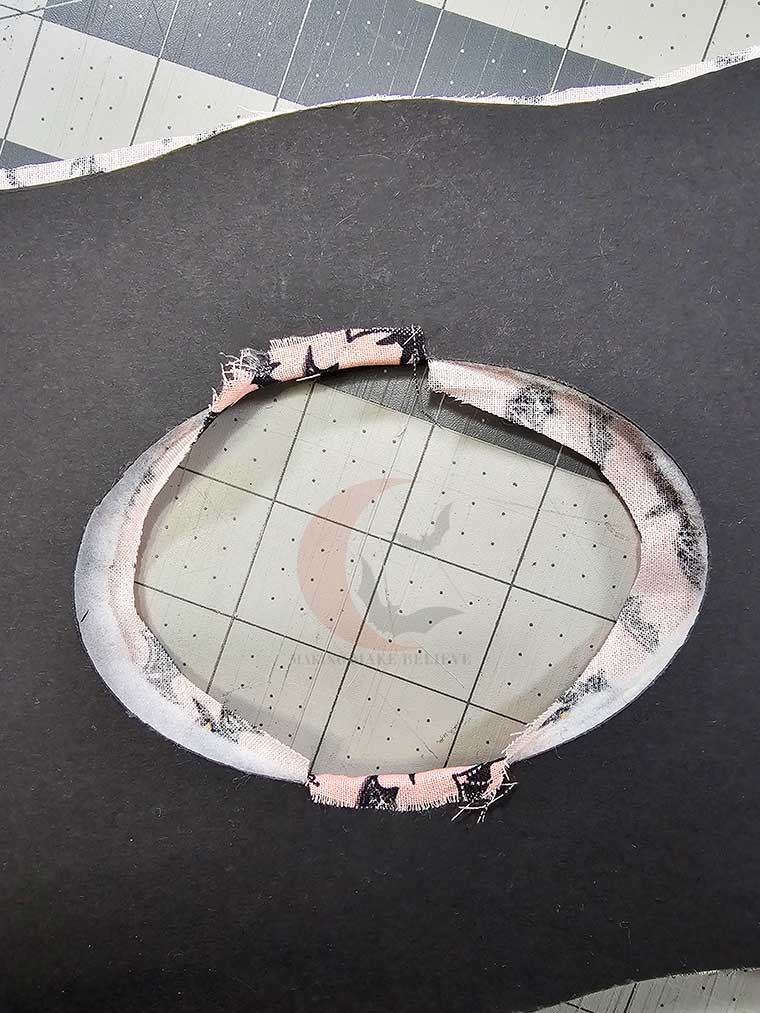
Continue clipping, folding, and gluing around the frame and the interior picture window area until complete.
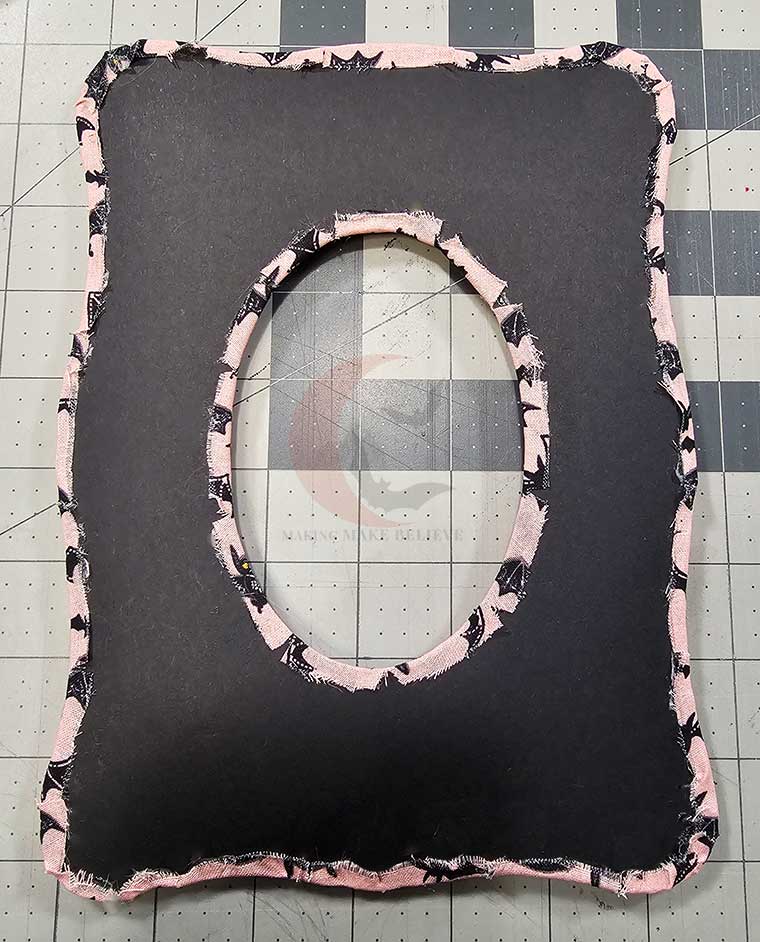
Lastly, glue the cardstock onto the frame and embellish with trim if desired.
Need more thrifted frames eerie inspiration? Check out this easy DIY.
Until next time – stay spooky.
