I love creating creepy Halloween decor, don’t you? I especially enjoy taking old, inexpensive items and Frankenstiening them into new and exciting pieces to haunt the house.
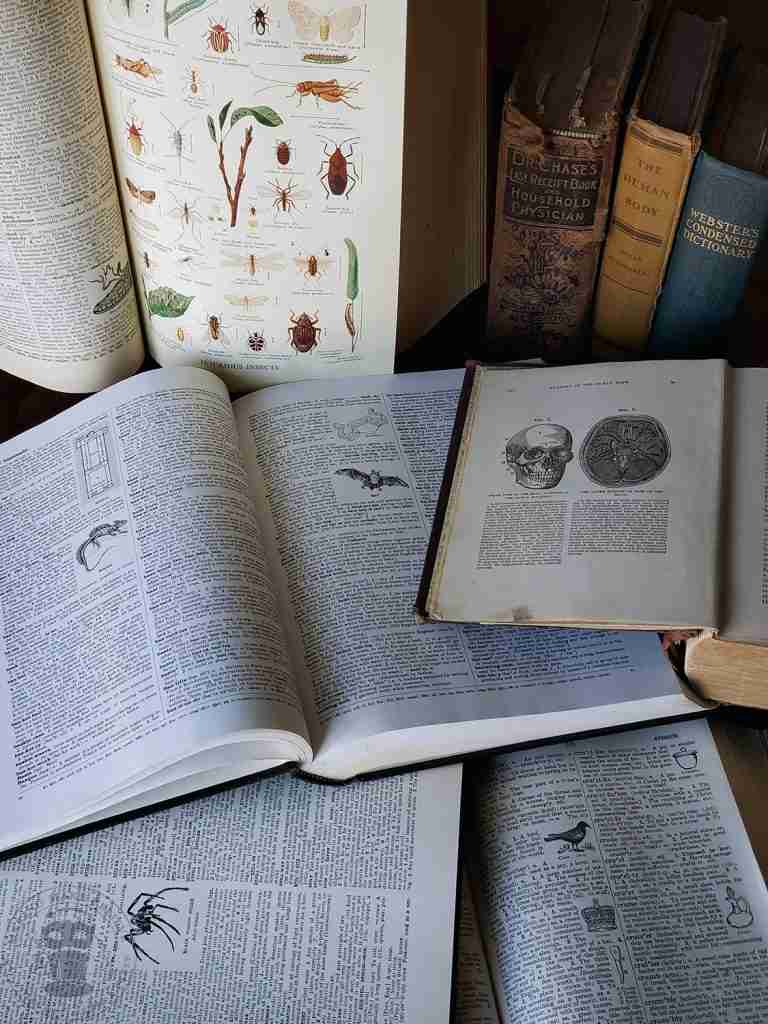
As I’ve mentioned before, we have a nice-sized collection of old books packed with images that work well for creating. I also have a pretty healthy stash of old bottles and jars, so I decided it was time to put a few of them to use and get some new Halloween decor in the process.
This last-minute project is a great way to add terrifying touches to your Halloween decor. It’s simple, fast, and fun, plus it is customizable to your style.
We will need just a few things to pull this together: an image, printer (laser or inkjet – see below), decal paper, scissors, bowl with water, a squeegee, and a bottle.
Before we get started, let’s talk about the decal paper. The paper you choose is based on two things – the type of printer you have and the background you want for your decal.
When shopping for decal paper, you will need to select one that works with your printer. I am using a laser printer, so I choose this paper that works with my printer type. If you have an inkjet printer, you might want to look into this paper.
The second thing to consider is the background of your graphic. I went with clear, but you can also get the paper in white. Paper color is important because if you want any white on your decal, you will need a white paper as printers do not print in white.
I’m going to walk you through how I made my decals, but just be sure to follow the instructions that come with your waterslide paper.
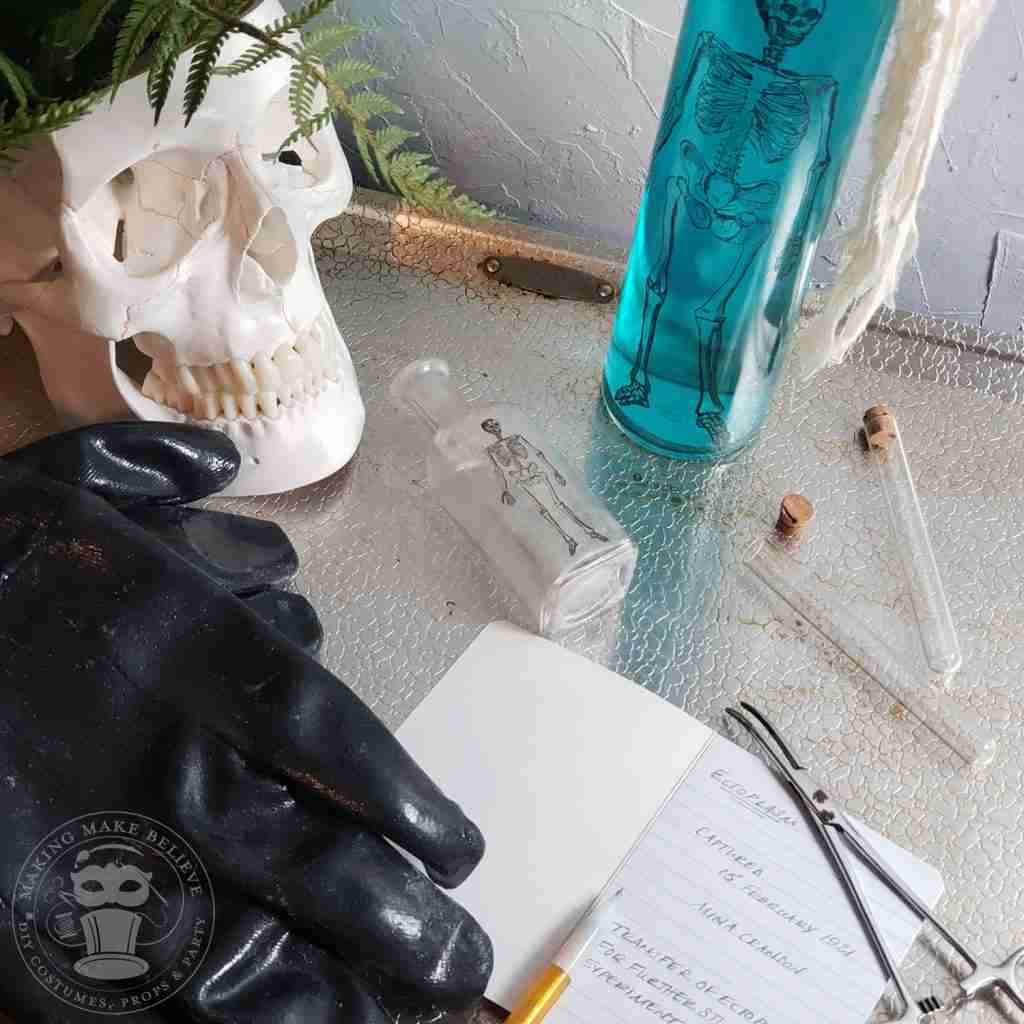
We also need an image for our project. There are several online sources for images. I am using a skeleton image I scanned from a late 1800s home health book in our collection. (I might make him available at a later time but if you really must have a copy, shoot me a DM on Instagram.)
Ok, now that you have your paper and your image, let’s make this!
First, edit your image to fit your bottle and print it out on the glossy side of your decal paper.
Cut out your image.
Soak your decal in water for about 30 seconds.
Place your decal on the surface of your bottle and, while holding the decal in place with one hand, gently slide the backing out from underneath your decal with the other hand.
Use a squeegee to remove excess water and bubbles under the decal.
Let the decal dry for several hours.
And, now, your bottle is ready to add some creepy charm to your decor.
This quick craft is a great way to customize party pieces to a theme, make inexpensive prizes for party guests, or create ghoulishly good gifts.
I love these and can’t wait to make more. What do you think? Are you going to try this project? Let me know on Instagram or Facebook. I can’t wait to see what you create.
Join us and get access to our Haunted Library stocked with templates, printables, cut files, and exclusive content. Plus, you’ll receive Eerie Emails just for our subscribers.
*Stay as long as you like. Unsubscribe at any time.