I’ve been deep in my winter crypt lately – laying low, dodging the cold, and embracing a sort of seasonal hibernation. Instead of braving the chill, I’ve been cleaning out some cobwebs, tending to some Halloween cross-stitch, and confronting a few unfinished haunt projects that lingered from last year.
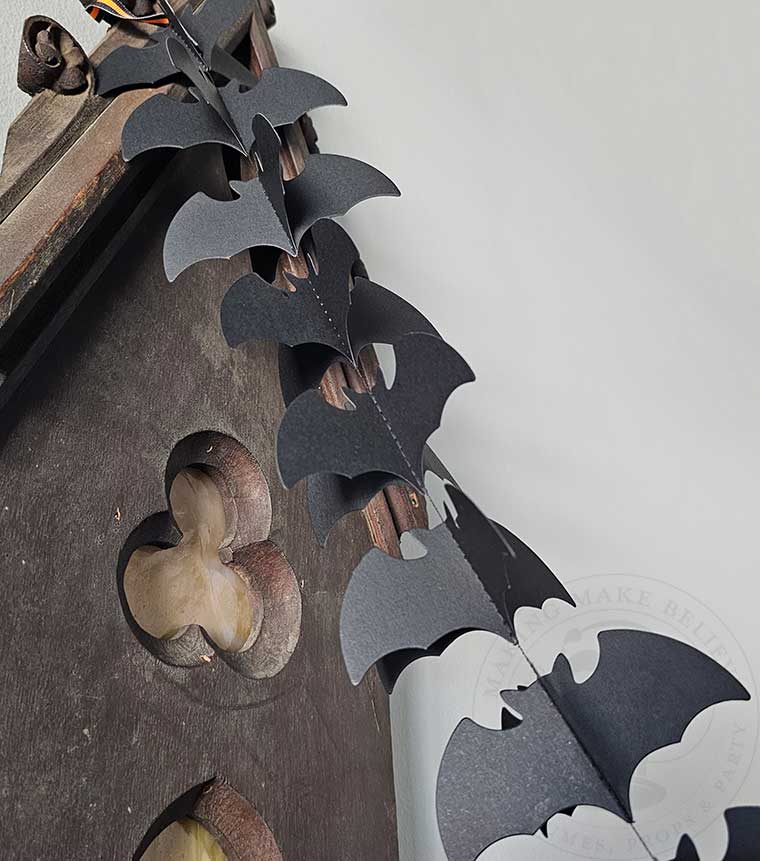
One of those long-haunting ideas? A garland swarming with an abundance of fluttering bats.
This project was born from that all-too-familiar pre-party dread – that moment you realize there’s a glaring gap in your haunted decor and the guests are practically at the gate. Designed for speed without sacrificing the spooky details, it comes together quickly with the help of a cutting machine and a little swing machine magic. Even better? You can customize it to any length your haunted little heart desires.
If cold nights, creeping deadlines, and last-minute haunt upgrades are your love language, let’s unleash this creepy colony.

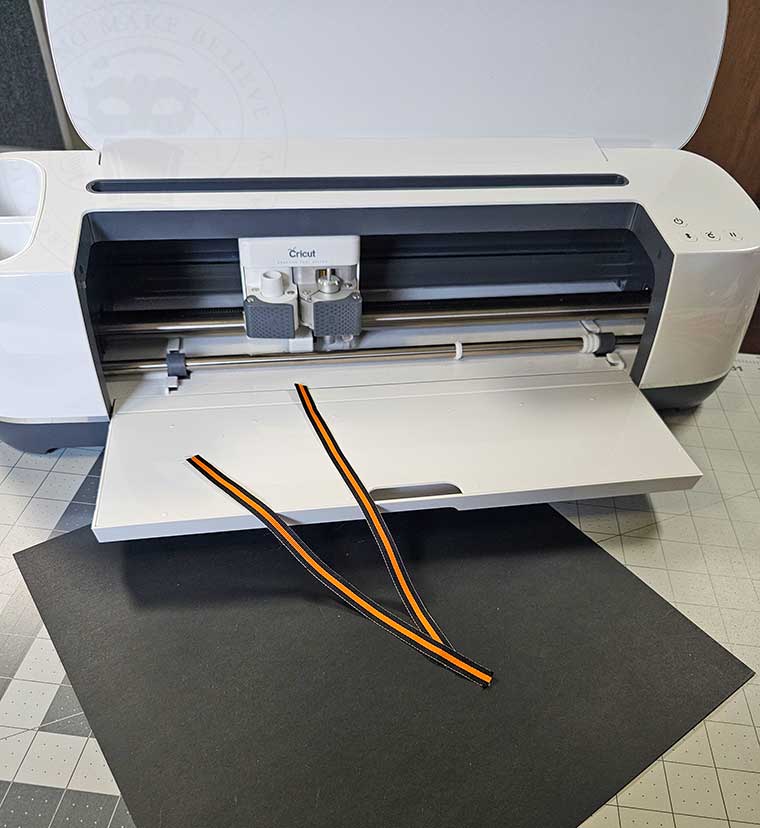
For this project, we will need:
Lightweight cardstock in color of your choice – I’m using black
Cutting machine, such as the Cricut Maker
Ribbon
Sewing machine (not shown) – I’m using a Brother sewing machine
We will also need the Bevy of Bats SVG file from the Haunted Library, which includes cutouts to for paper sized 12” x 12” and 8 1/2” x 11”.

Select the Bevy of Bats SVG file for your cardstock size and upload it to your preferred design software. I’m using Cricut Design Space.
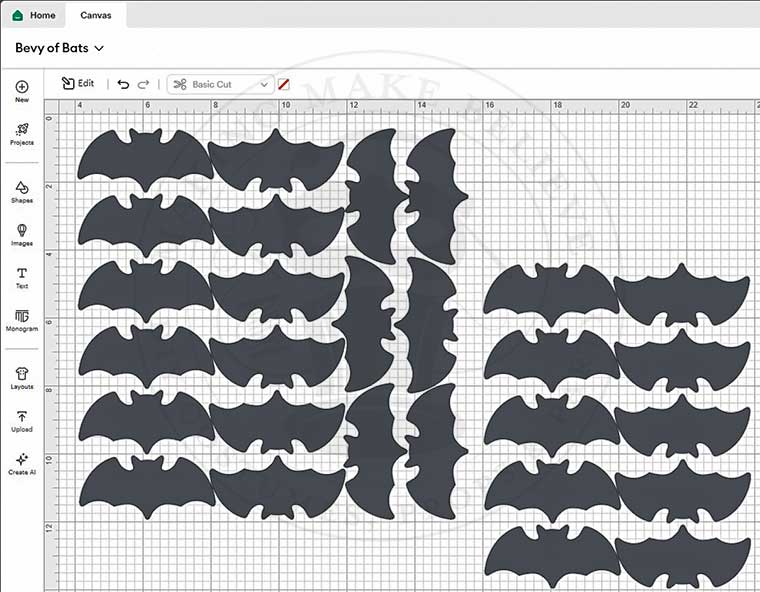
Cut as many sheets of bats as you need for your length of garland. Keep in mind that each finished bat will require two cutouts.
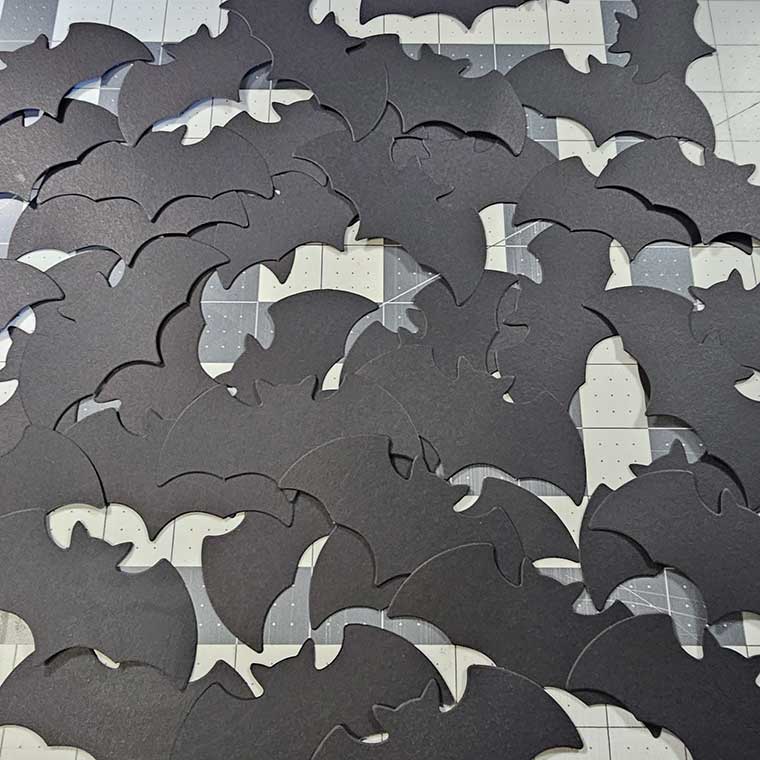
Before you begin, set your sewing machine to a straight stitch with a larger length. I set mine to a length of 4.
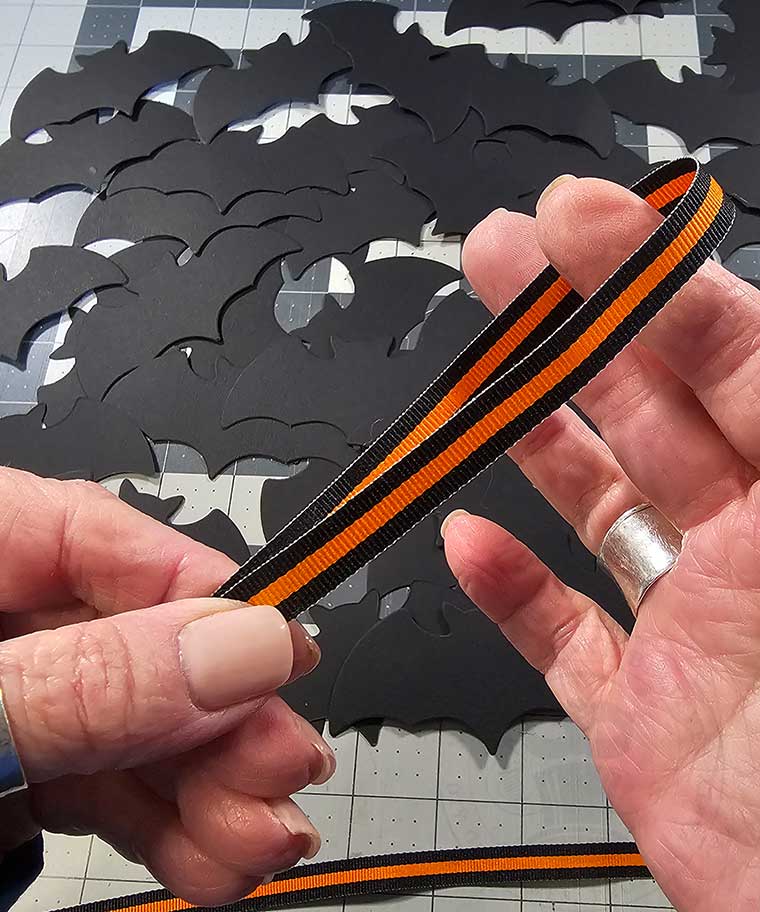
Then, start by creating a hanging loop: take an length of ribbon, approximately 8-10 inches, and fold it in half.
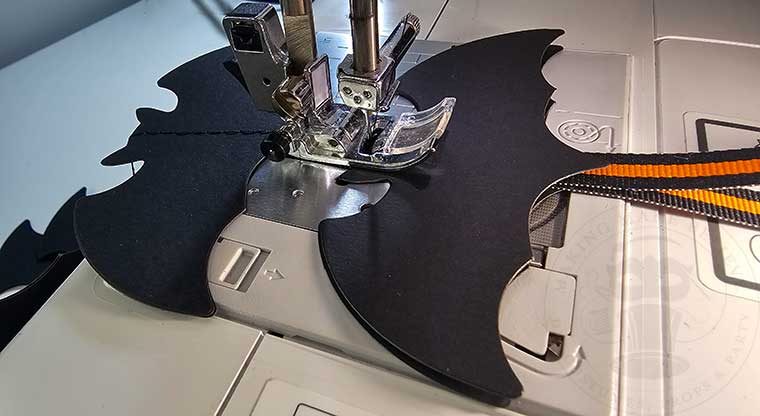
Sandwich the ribbon between two of the bat cutouts.
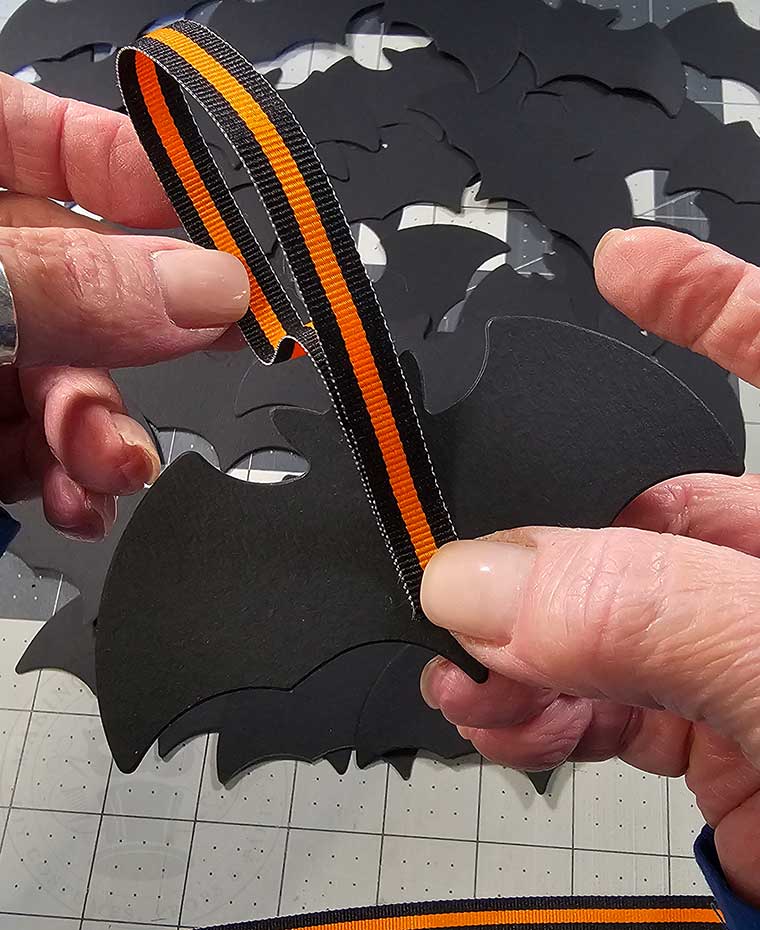
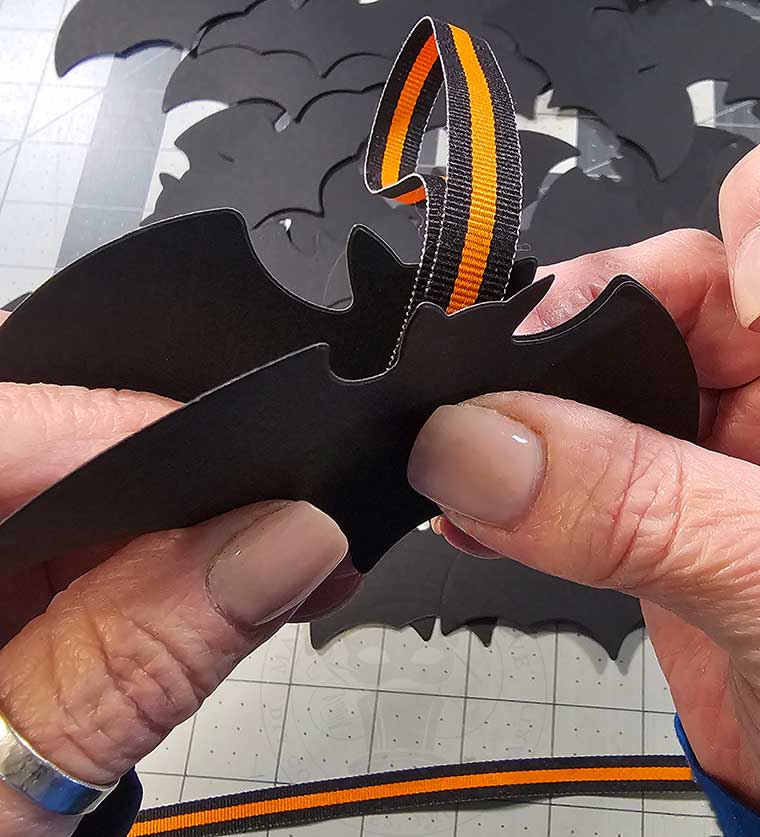
Next, with the ribbon facing away from you, backstitch to secure the thread, then stitch straight down the center of the bats.
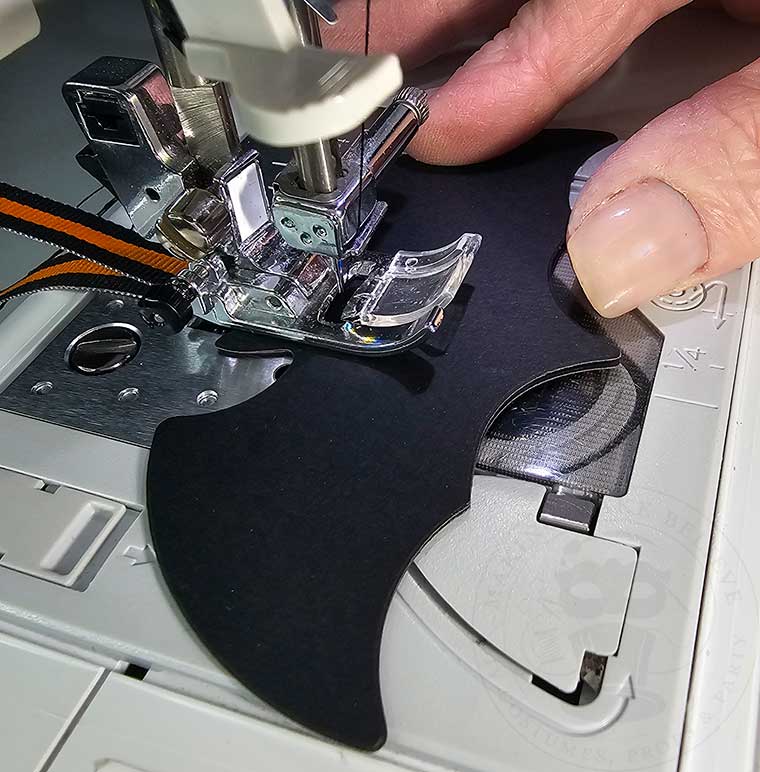
When you reach the end of the bat, allow your machine to complete a few more stitches before adding the next set of bats. I left about five stitches between each of my bats but you can do more if you like.
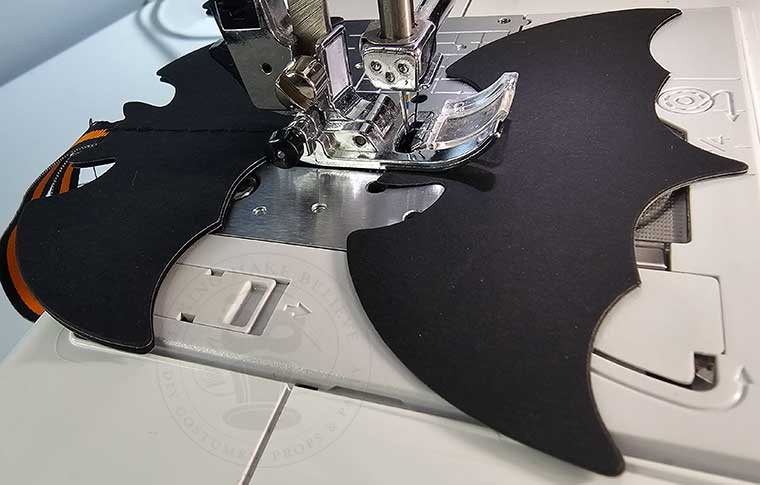
Pair up your bats in sets of two and begin feeding them through the machine, leaving a few stitches between each set. This will allow the bats to fly freely in our DIY garland.
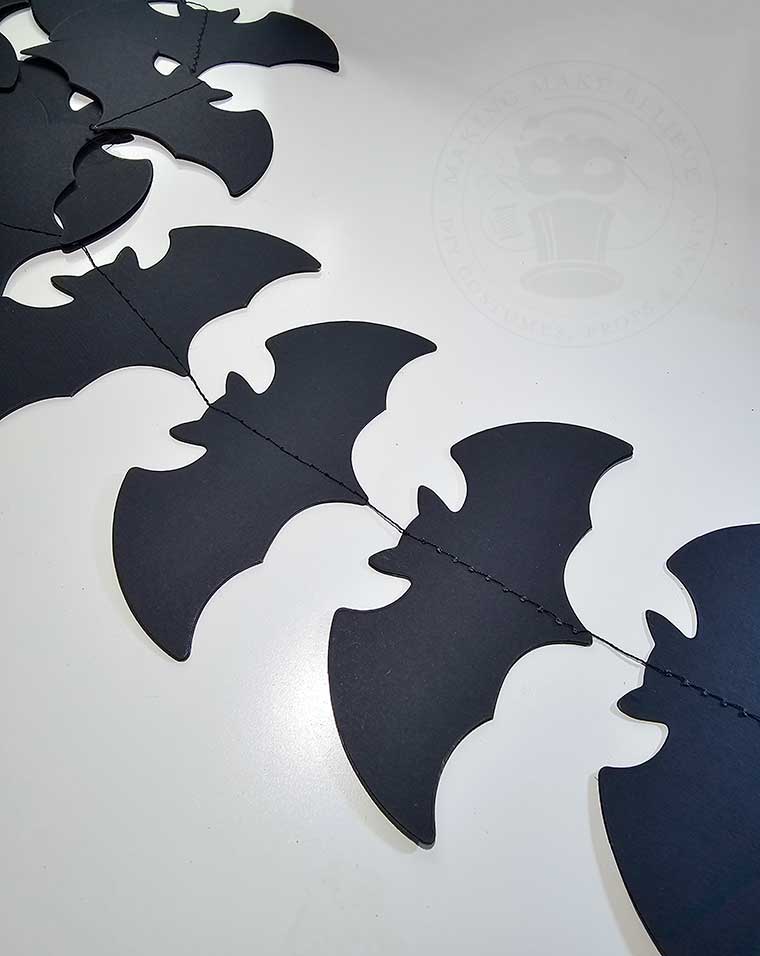
Once you reach the end of your garland, create another hanging loop with the ribbon sandwiched between the final pair of bats. Be sure to backstitch at the end to secure the thread.
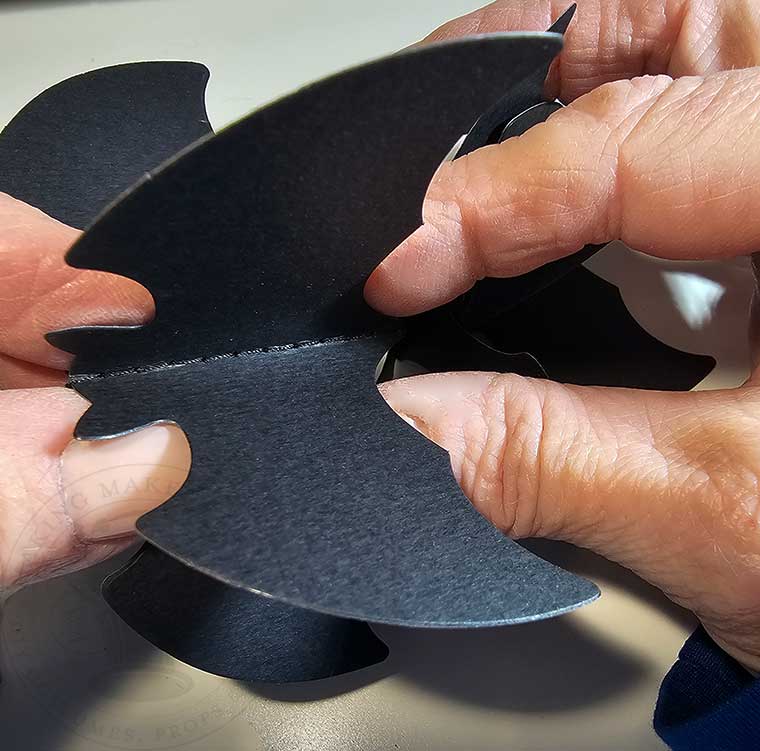
Now that your Halloween bat garland is complete, beginning with the first pair of bats, pinch the bat wings toward the center along the sewn seam, then flip it over and repeat on the other side. This creates a 3D appearance.
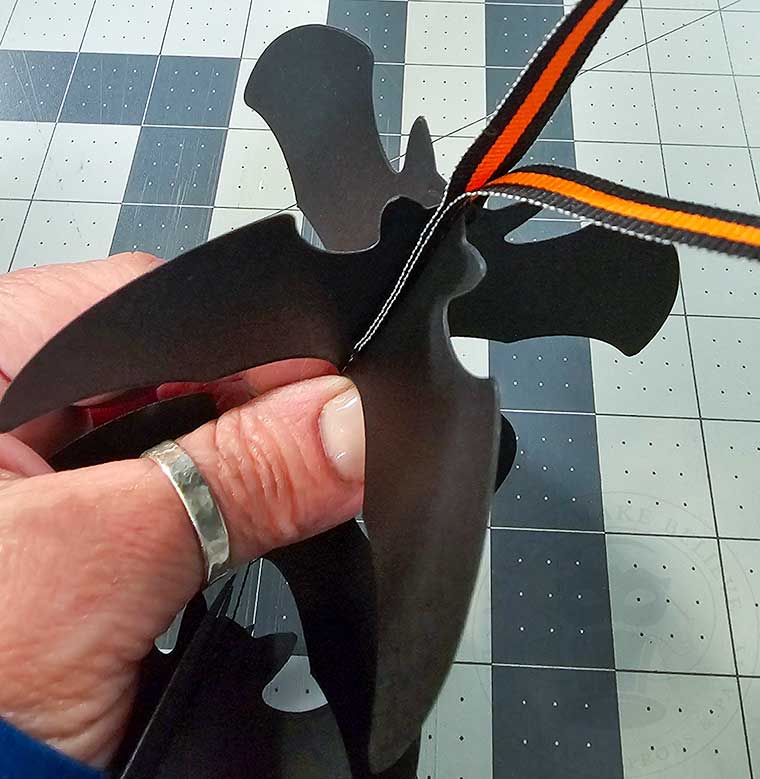
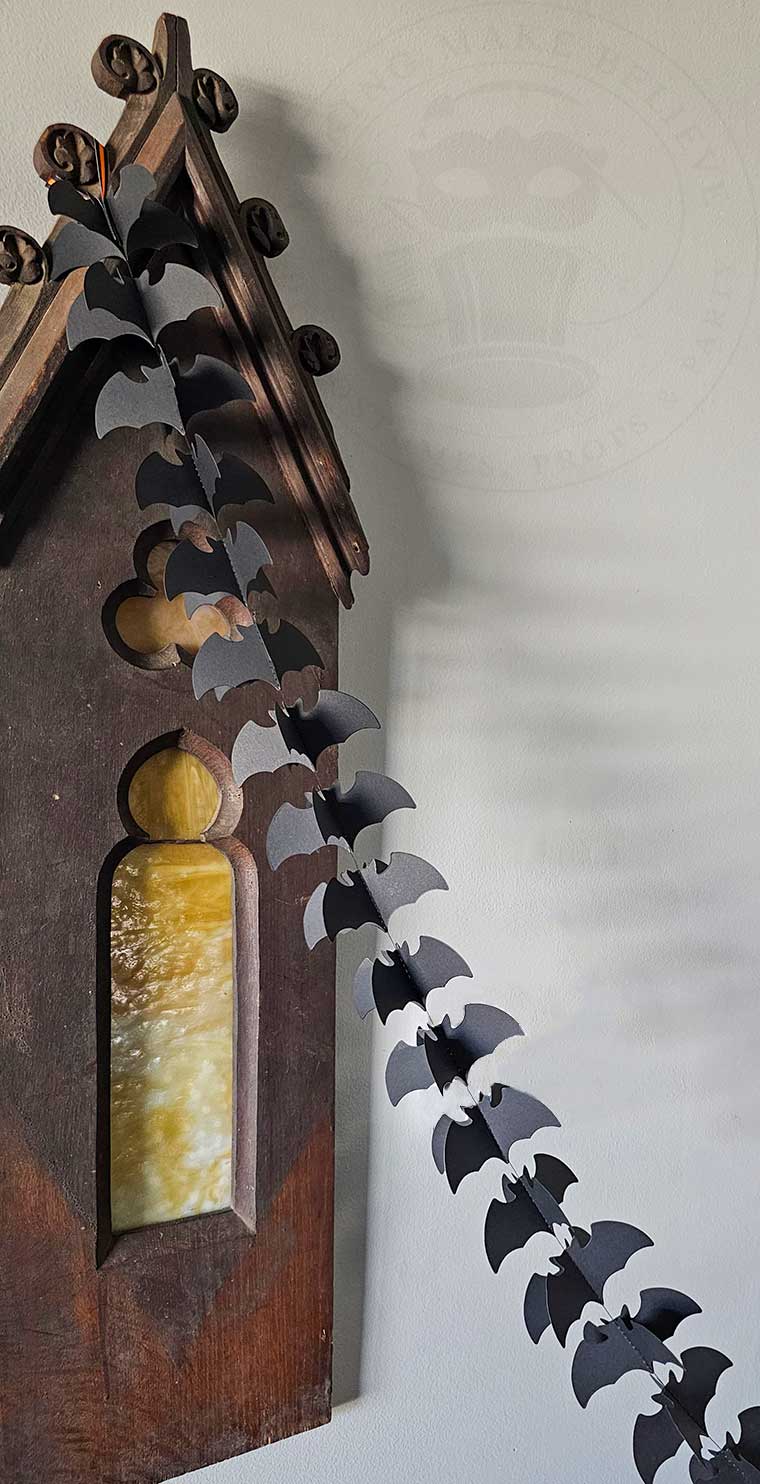
All that’s left to do is weave this bevy of batty bats into your haunted decor.
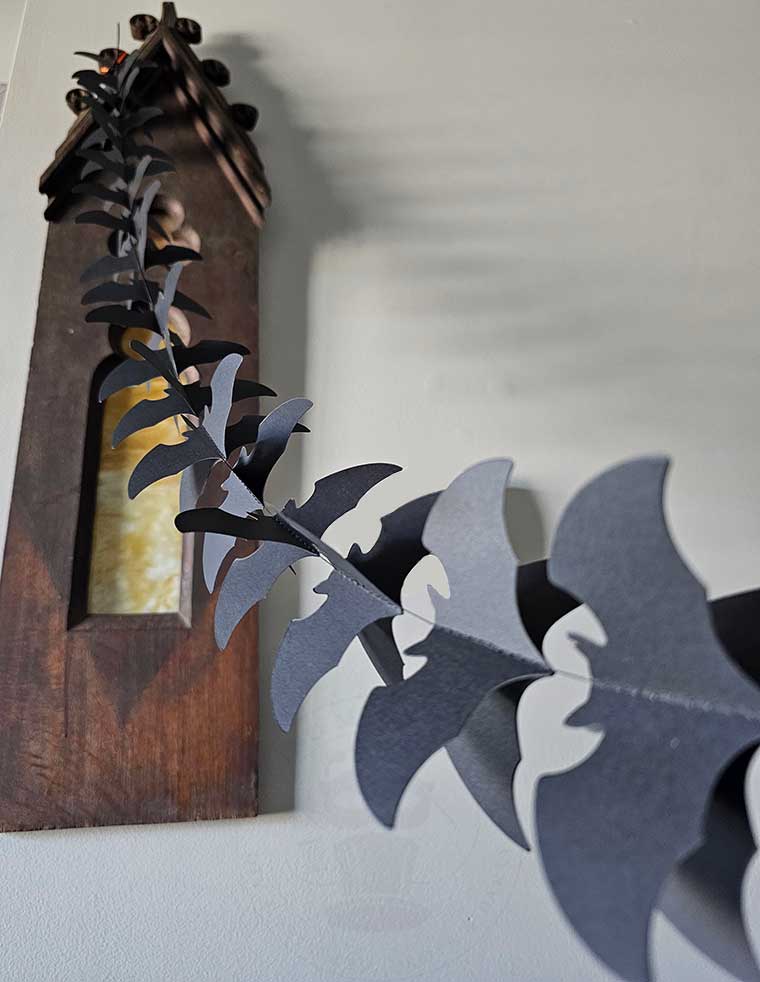
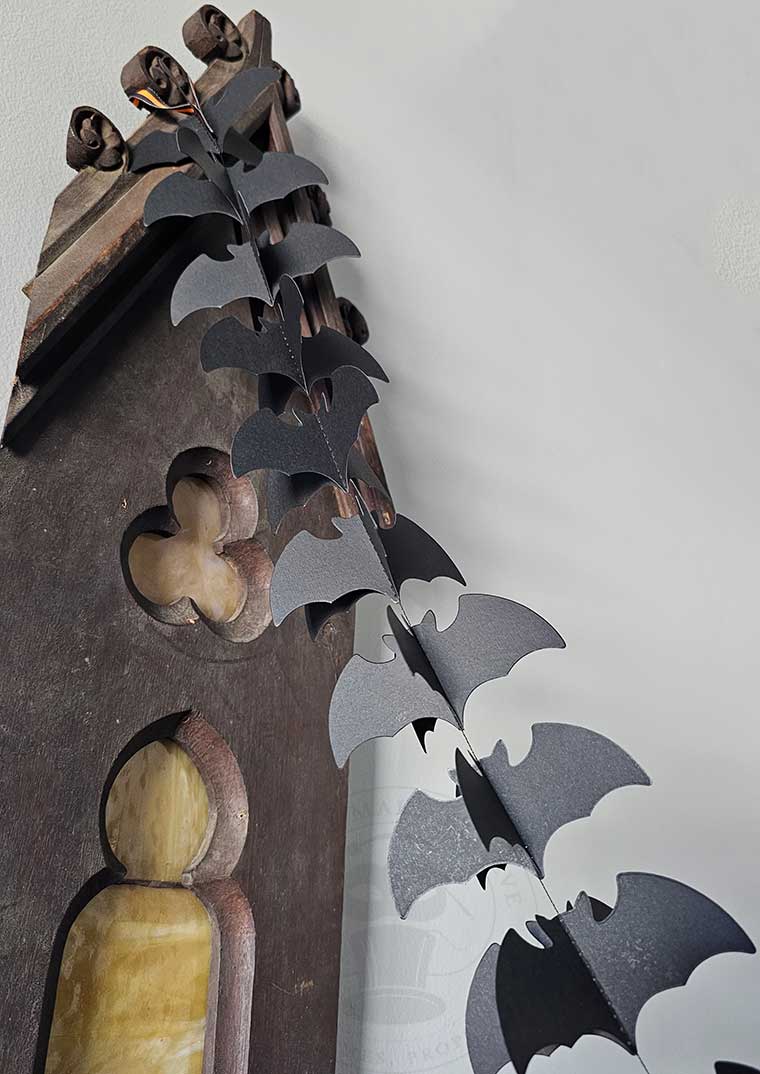
If you don’t have a cutting machine, you can still build a festive Halloween garland quickly and easily. Use a circle punch to cut Halloween orbs from colored cardstock or scrapbook papers and connect them to form a unique haunted garland.
Until next time – stay spooky.

