1.9K
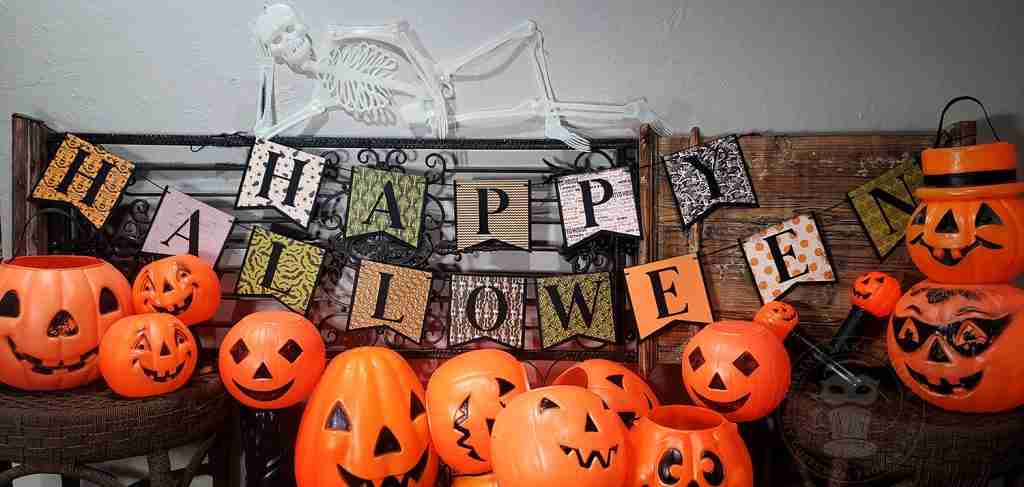


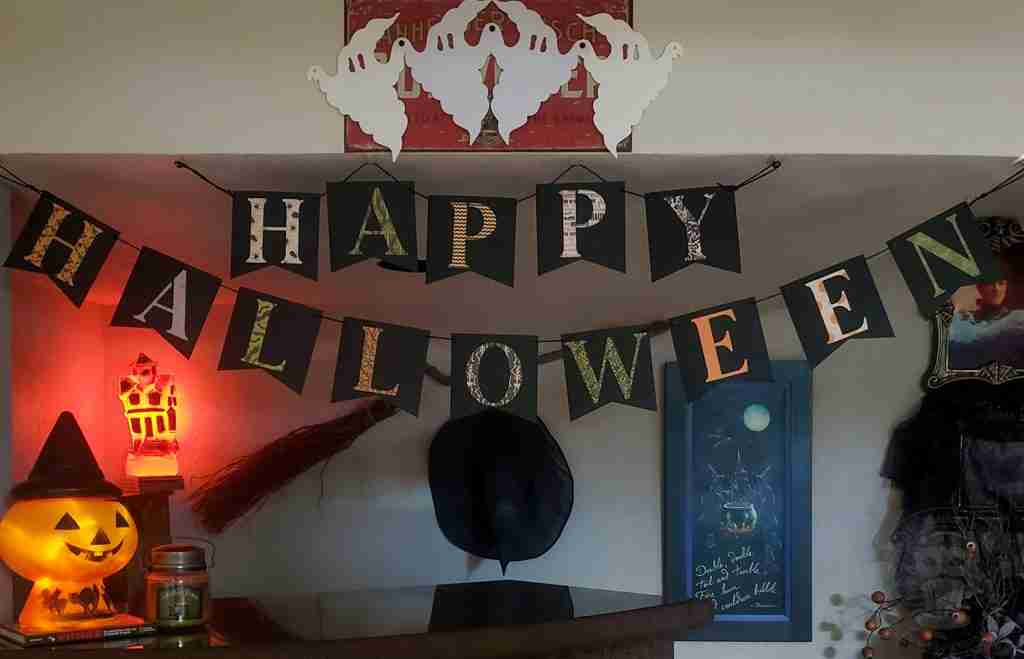

Easy Happy Halloween Banner
I love Halloween paper and cardstock, as evidenced by my ever-growing collection – but I may have a bit too much as I sometimes forget which designs I have already purchased.
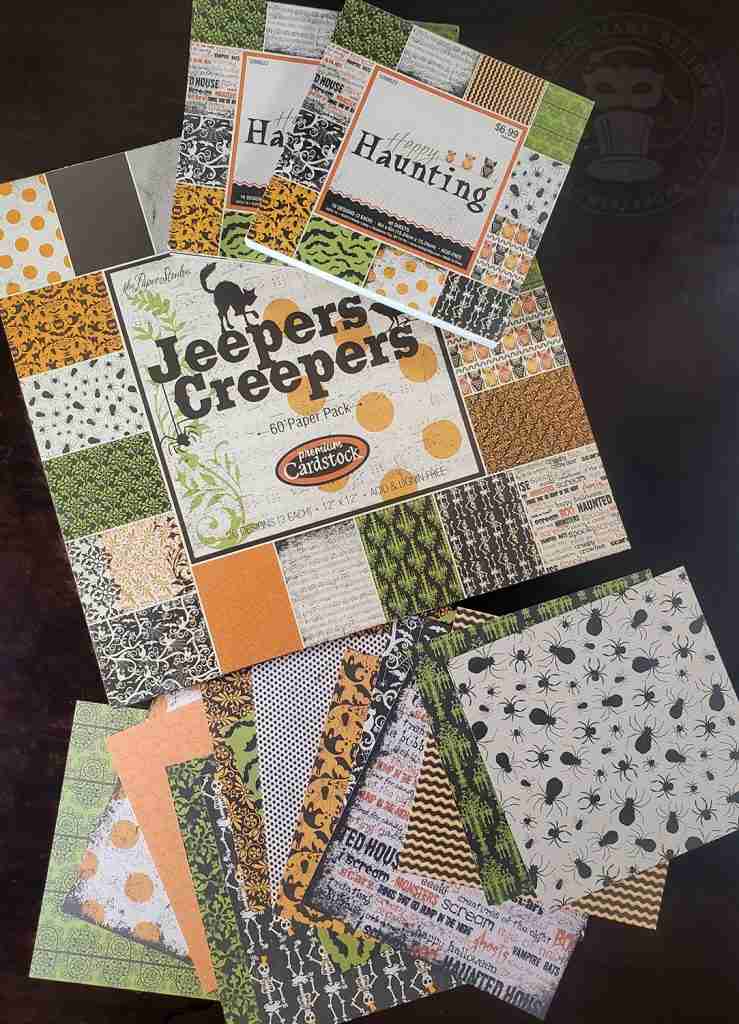
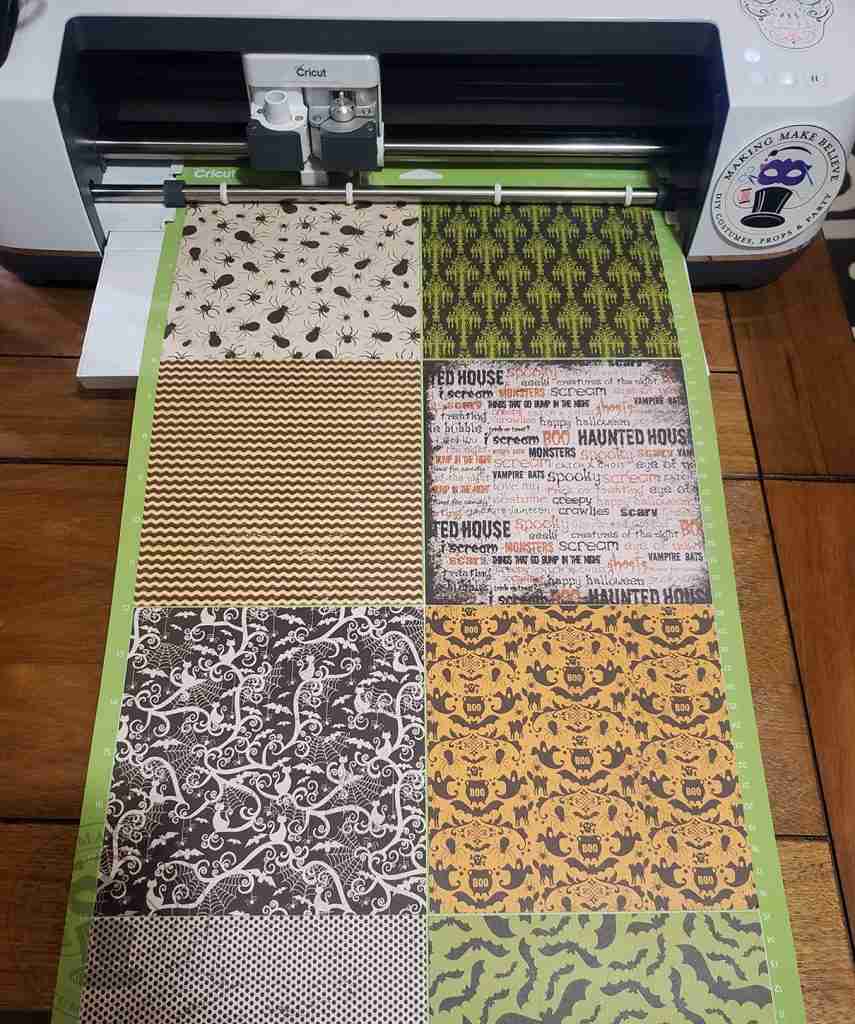
Take, for example, this paper pack called Happy Haunting / Jeepers Creepers from Hobby Lobby. I must really love it as I own two of the small 6×6 packs plus a large 12×12 one.
This easy Happy Halloween banner project is super-simple, inexpensive, and comes together quickly, so it’s the perfect last-minute decoration.
Plus, there’s a little bonus project from the leftover cuts that almost makes itself, so be sure to stick around until the end.
Ok, let’s get started.
First, we will need cardstock paper. I’m using patterned paper for the front flags and a solid color for the base. But there are no rules here. You do you, Boo.
Next, grab some ribbon, twine, or yarn to hang the banner, plus some scissors, an X-Acto knife, or a cutting machine.
Finally, stop by the Haunted Library and get the free Happy Halloween Flag Banner files. Choose the SVG for machine cutting and the PDF for hand-cutting.
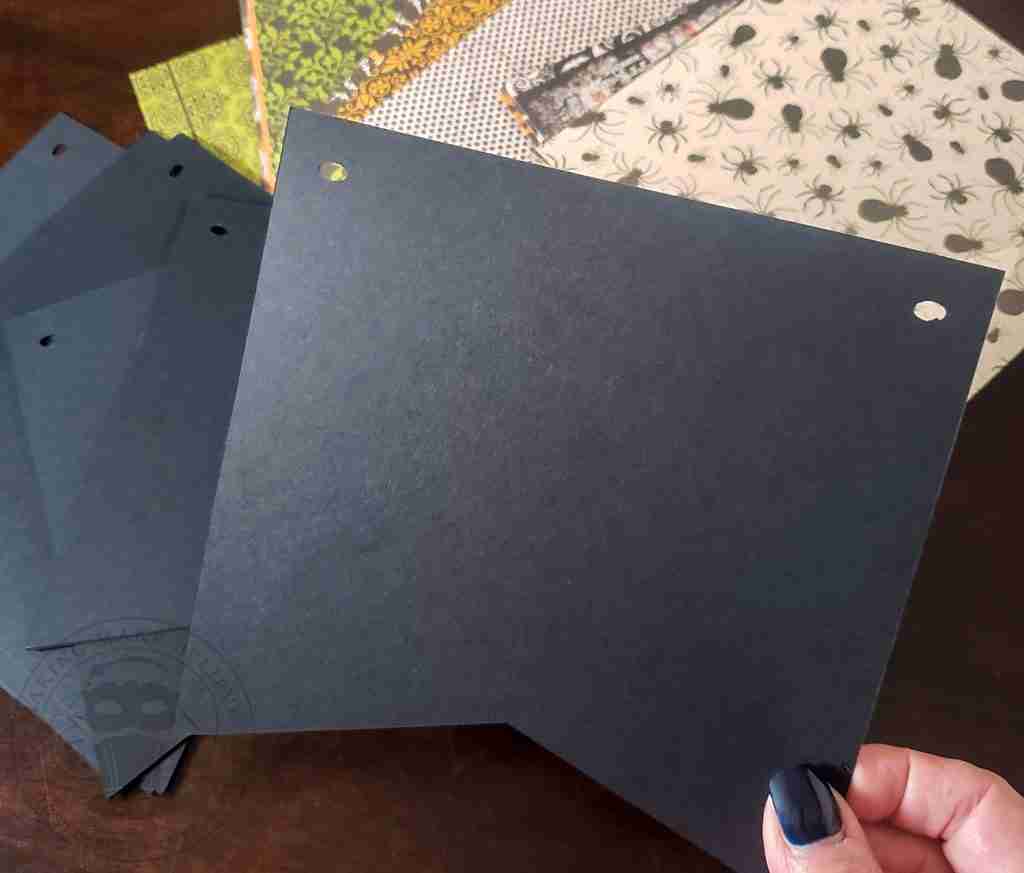
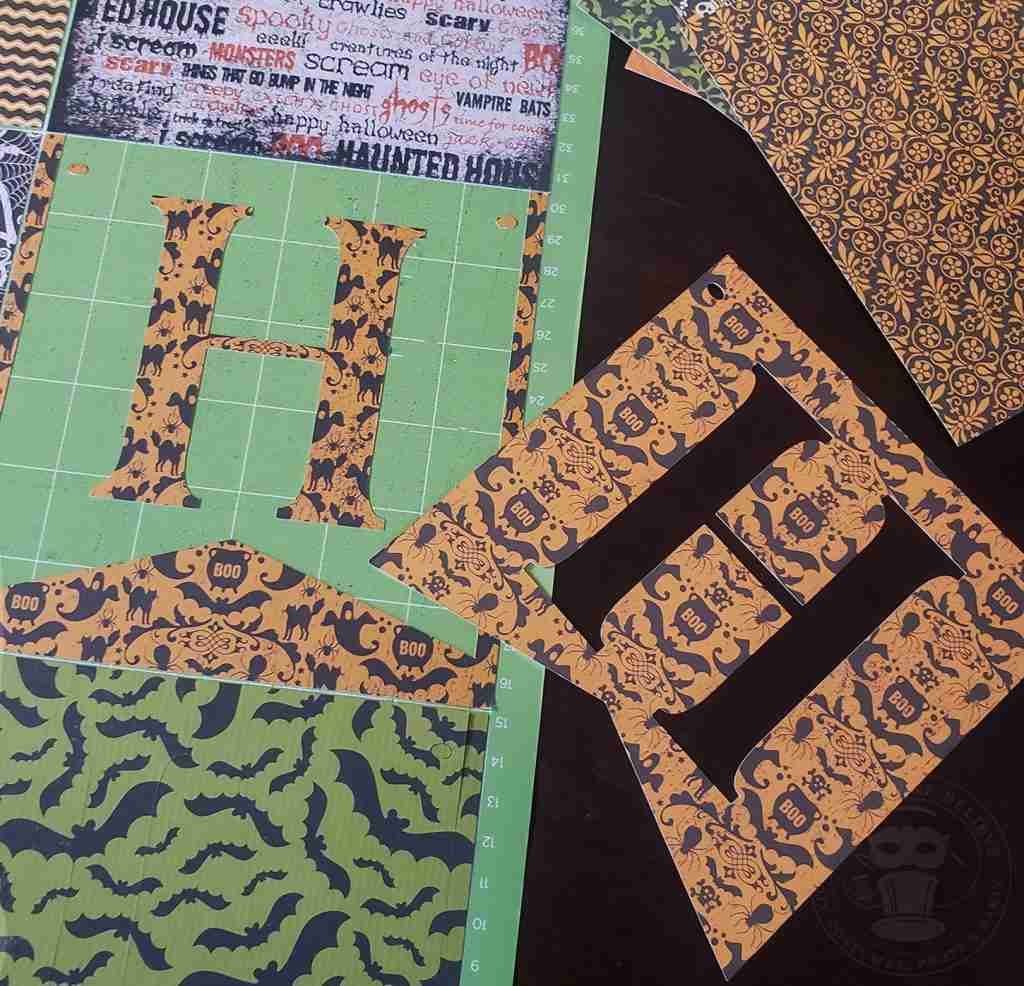
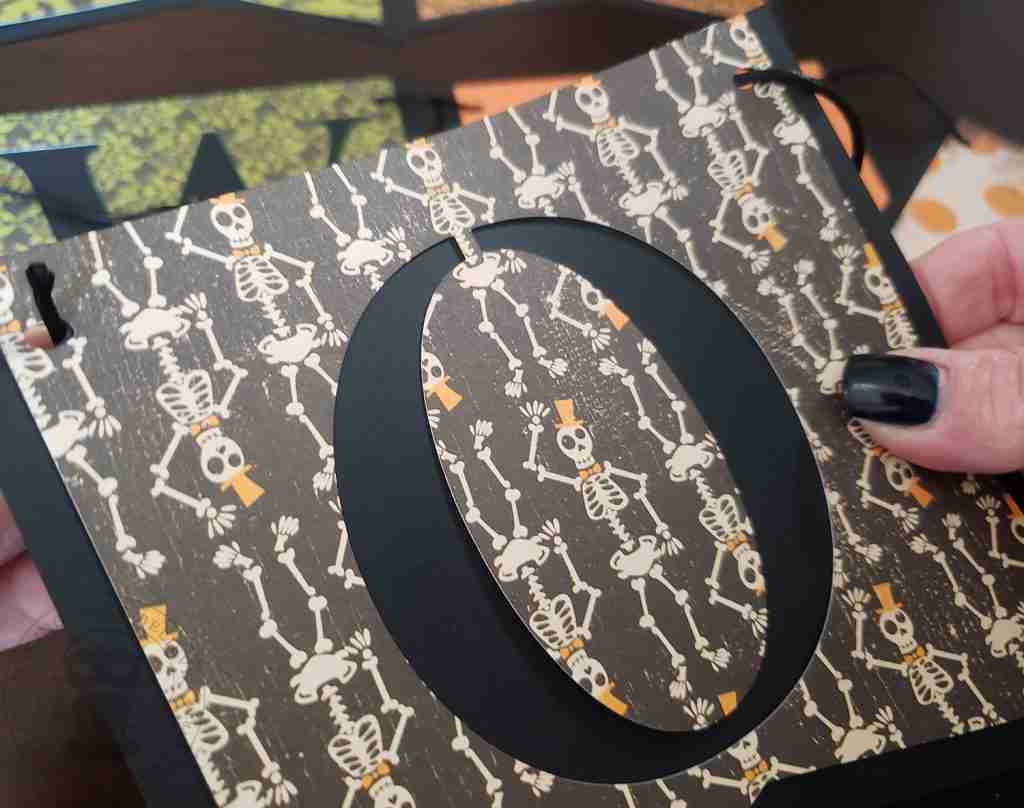
First, cut 14 of the base banners. I’m using a solid black cardstock and making the cuts with the Cricut Maker.
If cutting by hand, I suggest using a hole punch to cut the corner circles.
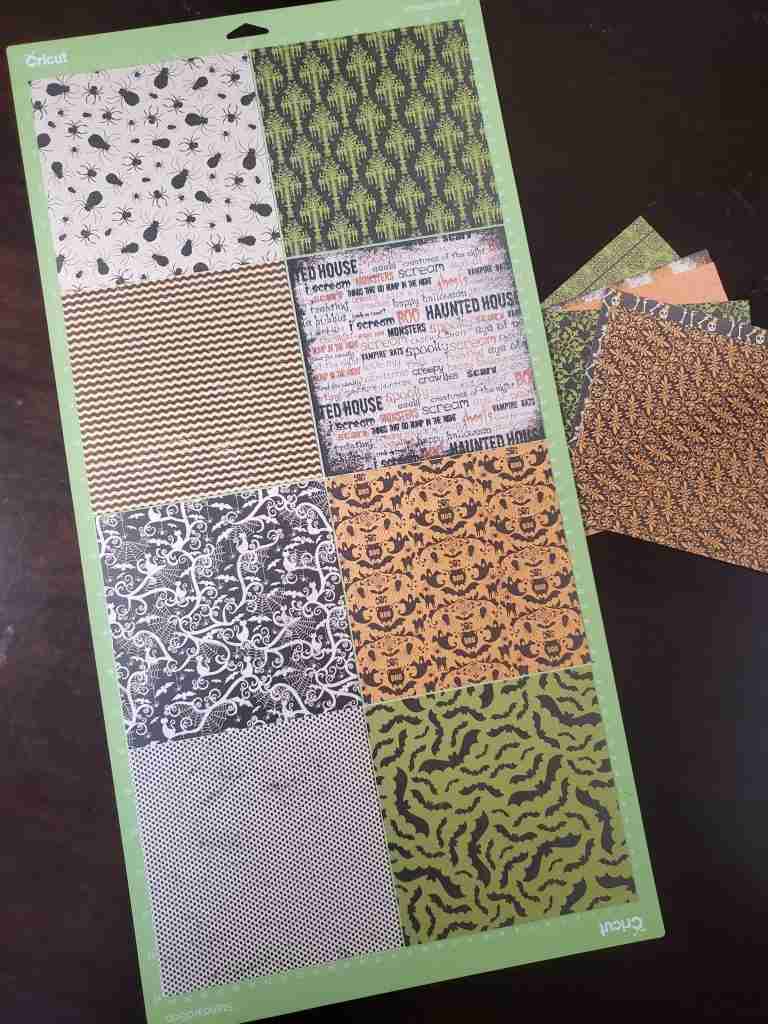
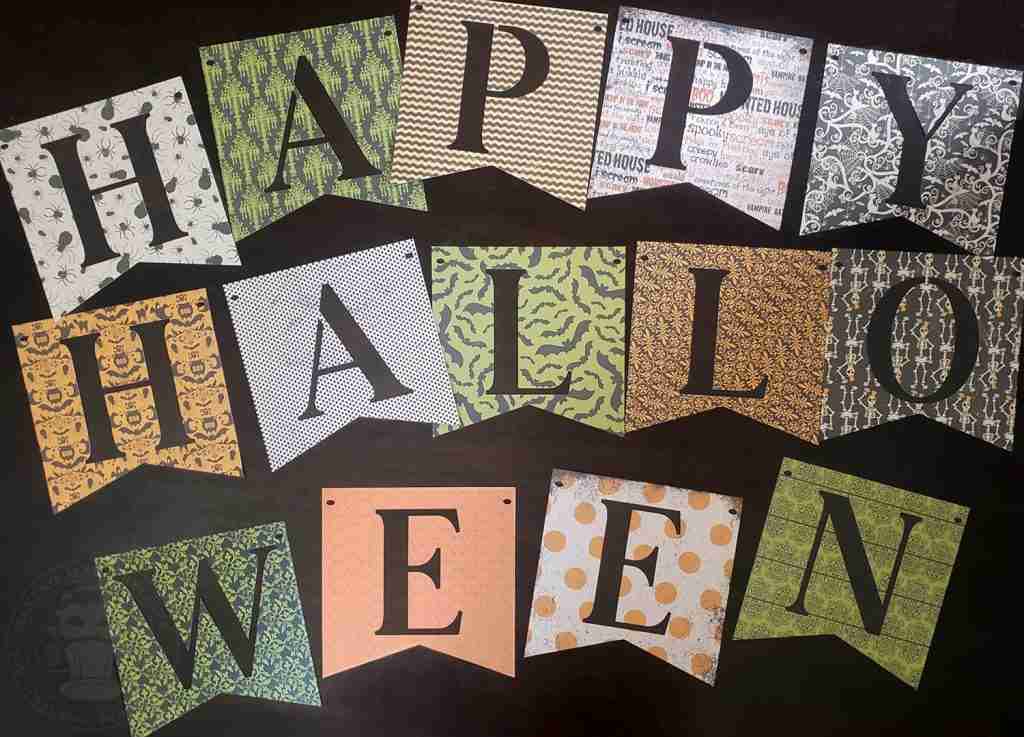
Next, cut the front flags with the letters. We need two of H, A, L, E, and P, and one of O, W, N, and Y.
The front flags are perfectly sized to cut on the 6×6 paper pack, but you can choose any size of paper that fits your mat.
I like that the pack gives the banner a variety of patterns that coordinate, saving me the trouble.
If cutting the letters by hand, I’ve found that an X-Acto knife will be more precise than scissors.
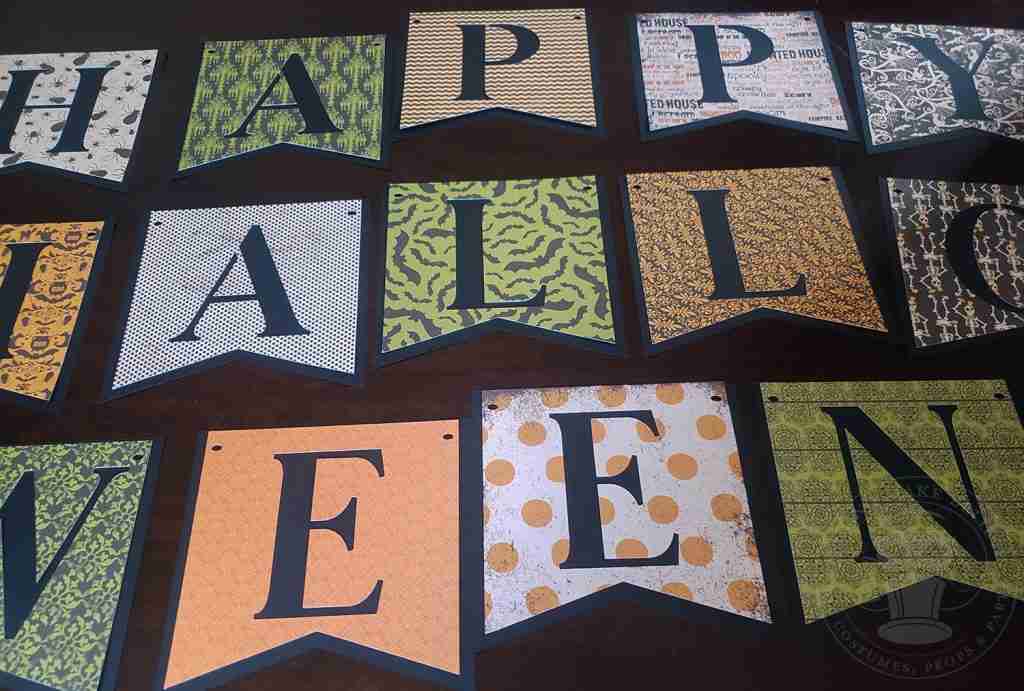
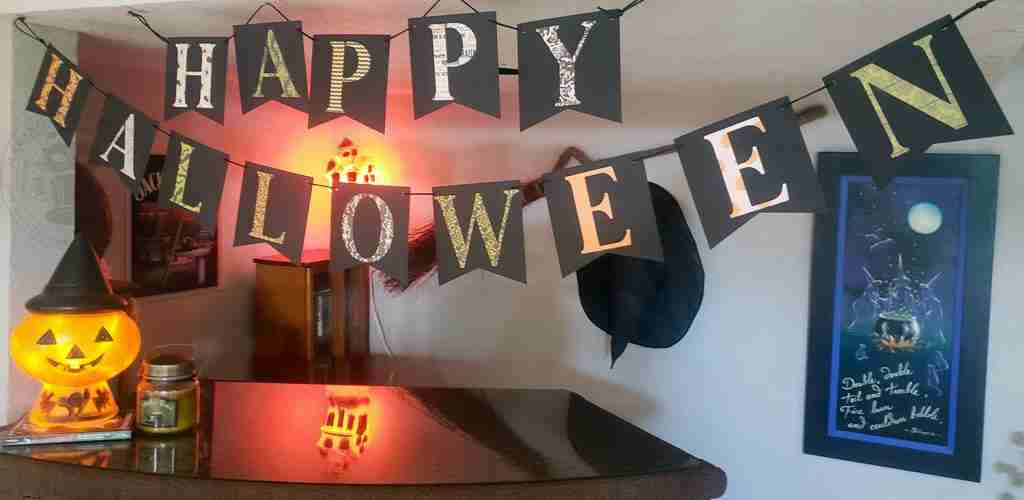
Now, place each letter flag onto a base flag, matching the holes in the corners, and layout your banner to spell HAPPY HALLOWEEN.
Use your ribbon, twine, or yarn to string the flags together.
Distribute the flags along the ribbon and make a loop at each end to hang.
Happy Halloween!
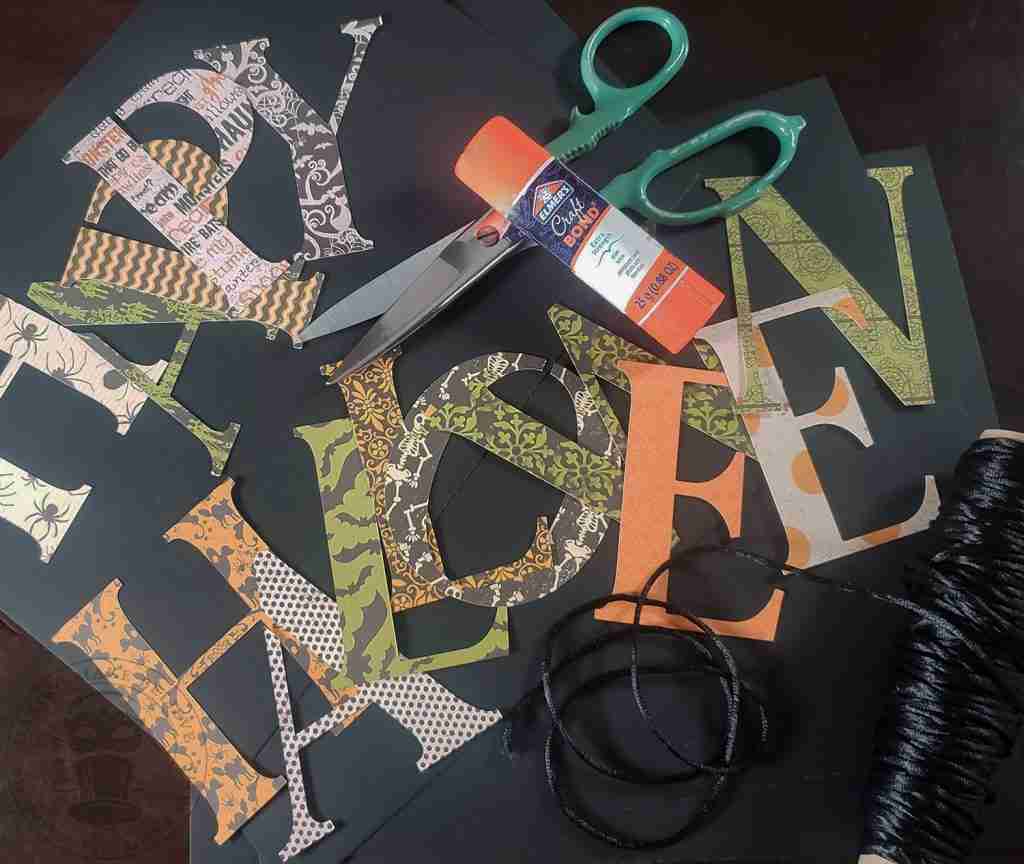
Remember that bonus project I mentioned at the beginning?
We need a bit more paper and ribbon plus a glue stick (Elmer’s Craft Bond is my favorite) and the letters leftover from our front flags.
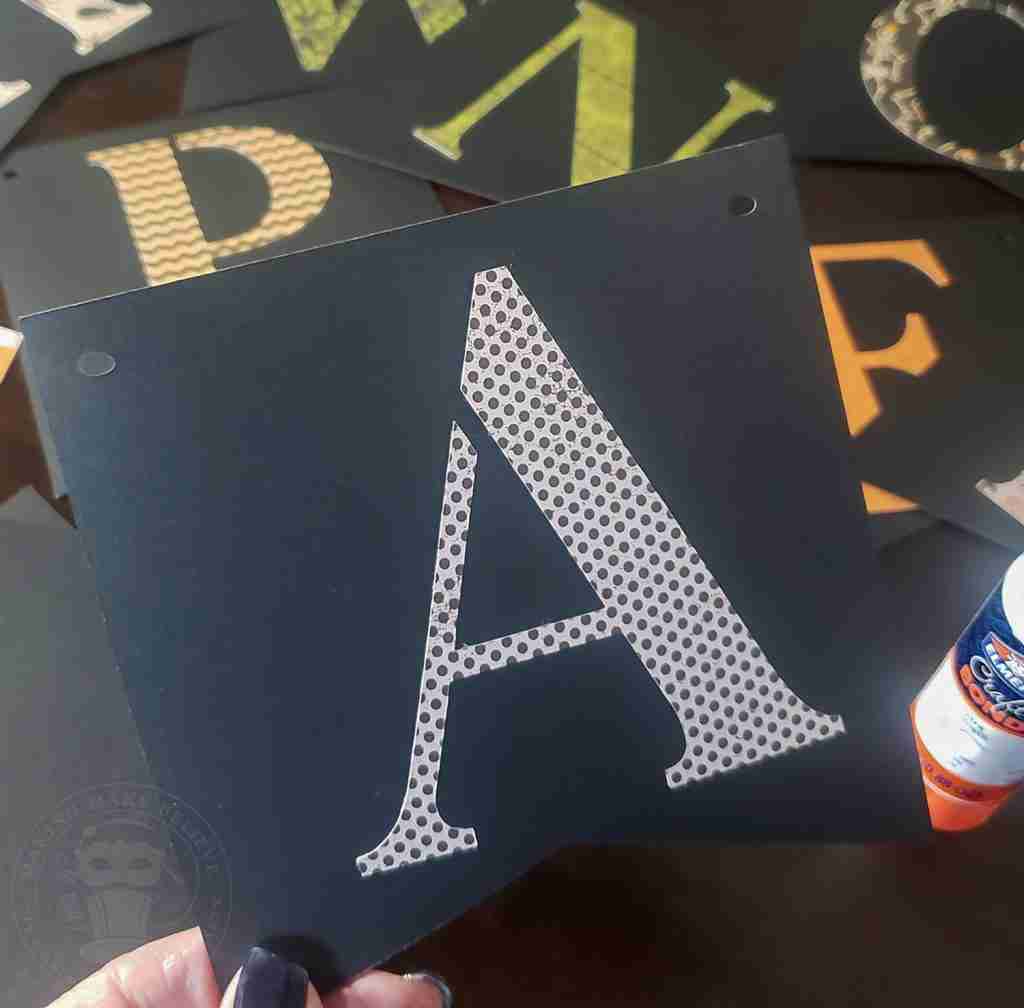
First, cut 14 more of the base flags.
Next, glue the letters onto the bases and string the flags together with the ribbon.
Happy Halloween, again!
How simple is that?!
Until next time, happy haunting.

Check your email for the Haunted Library password.
Don’t miss a moment of the mischief.
Add hello@makingmakebelieve.com to your address book.
Join us and get access to our Haunted Library stocked with templates, printables, cut files, and exclusive content. Plus, you’ll receive Eerie Emails just for our subscribers.
*Stay as long as you like. Unsubscribe at any time.