
2025 started off with a bang—well, actually, it began with a blizzard.
Just a few days into January, Mother Nature decided we needed a coat of ice, followed by about 13 inches of snow. As if that wasn’t enough, she also added some wind.
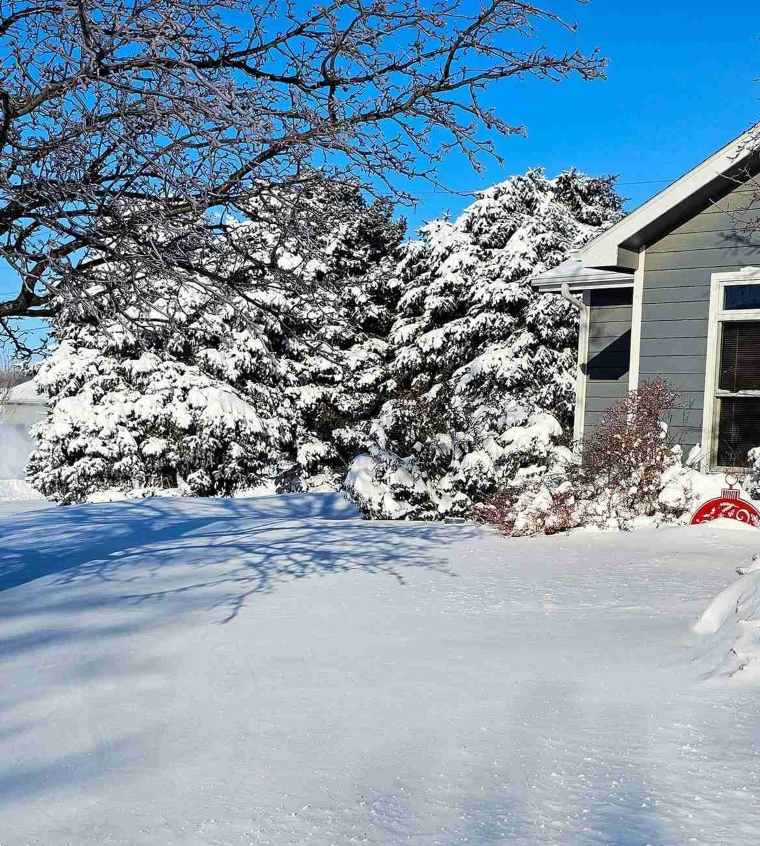
While the snow and ice are beautiful, the cold is bitter, and travel has become slow and slippery.
As Snowmageddon lingers, I’m cozy inside, working with glitter and glue.
Today, I’m whipping up a super quick and easy garland with glimmers of glitter that will outsparkle our icy-coated trees.
What’s the occasion, you ask?
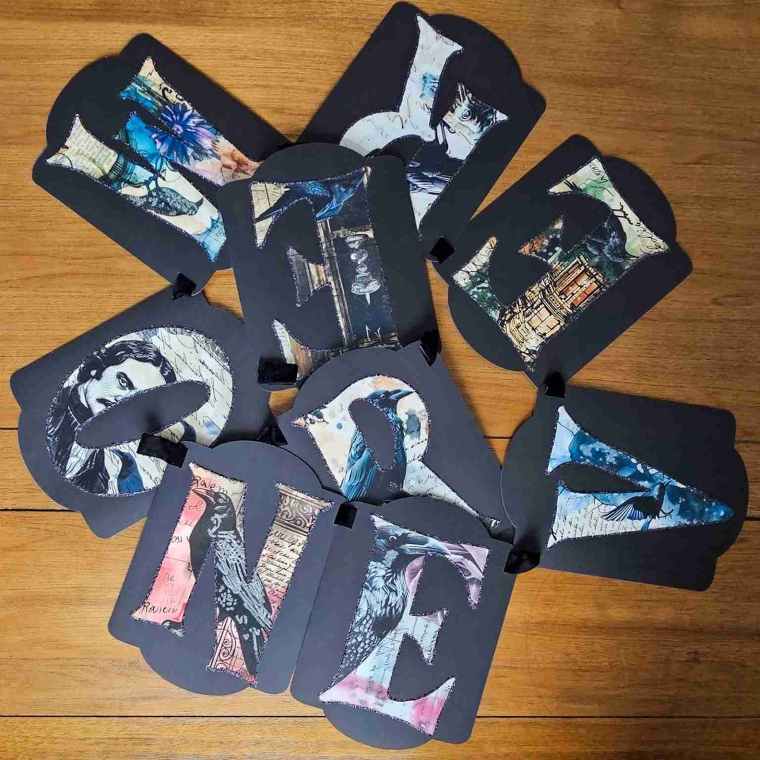
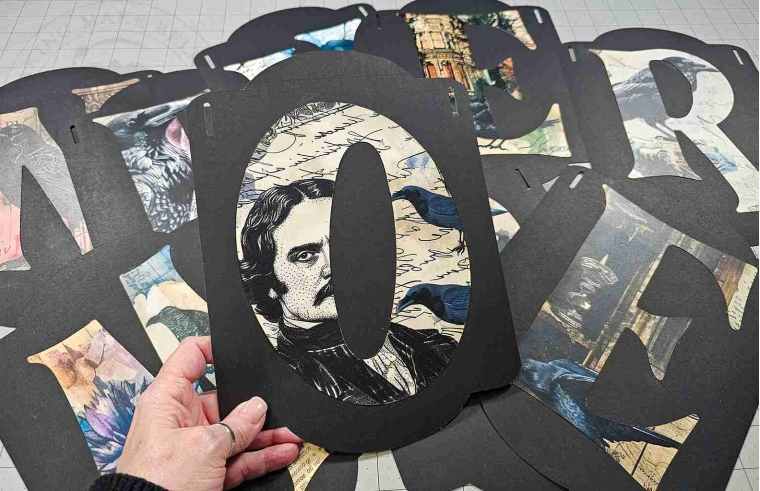
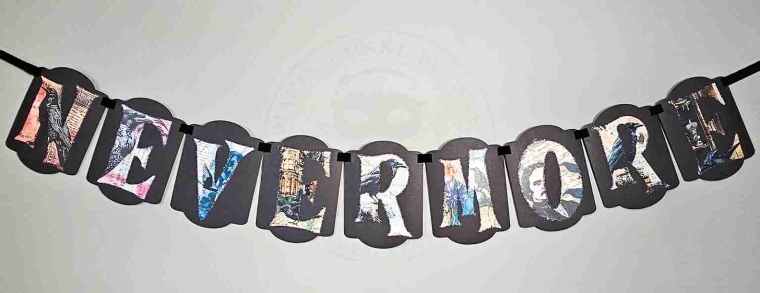
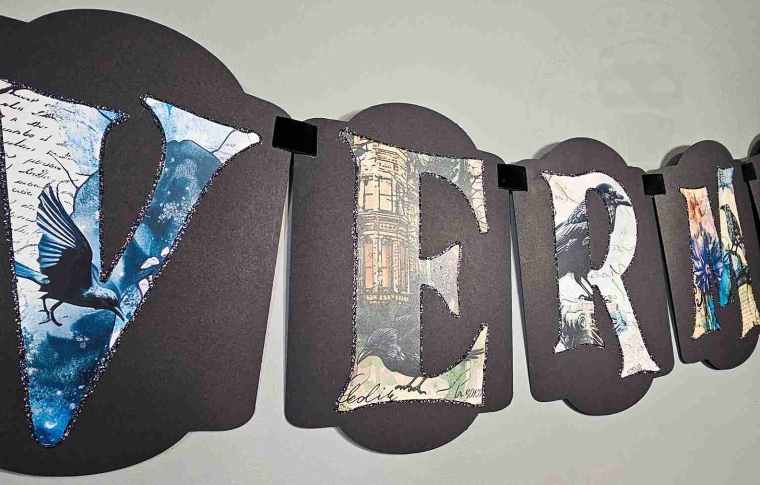
Edgar Allen Poe has a birthday coming up on January 19, so to celebrate, I thought I’d make a gothic garland based on his poem The Raven.
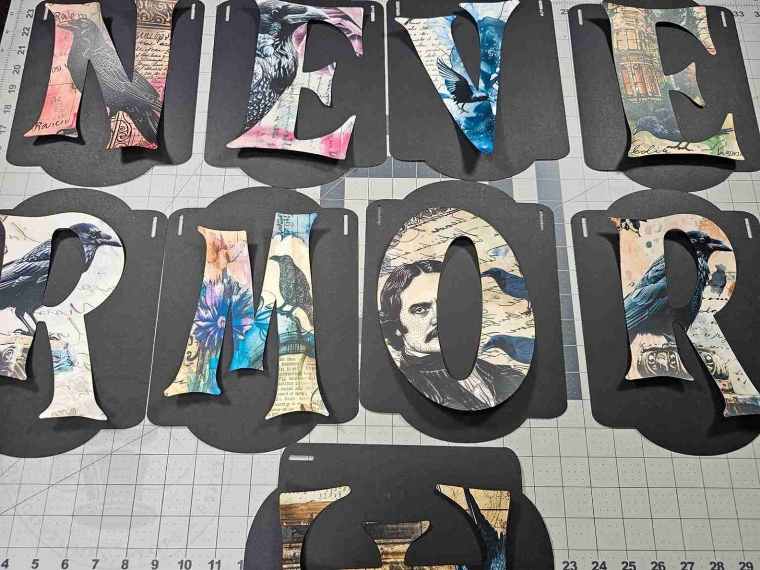
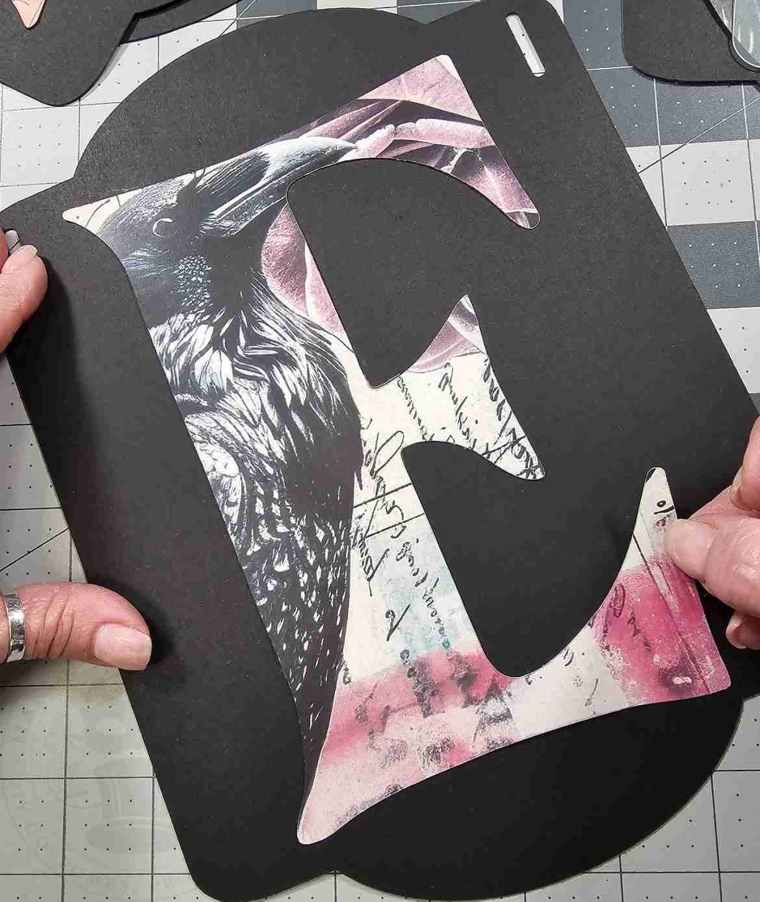
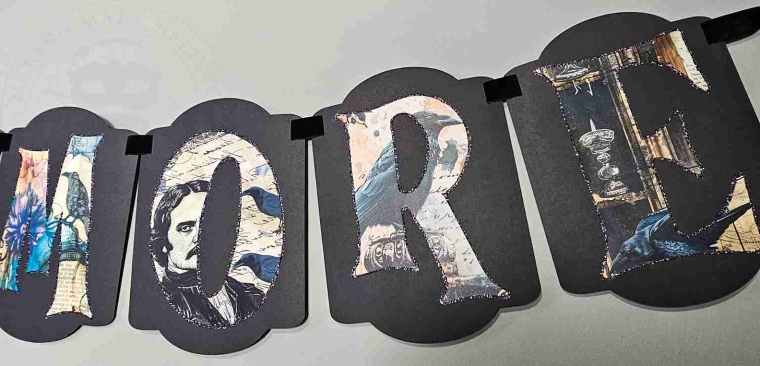
Black decorative banner flags provide the backdrop to gothic artwork featuring Poe and the raven; all strung together on a black velvet ribbon.
This banner is quick and easy to make, especially when using a cutting machine. As a bonus, it is a perfect addition to your haunted Halloween decor.
So, let’s get this birthday bash started.

For this project, we will need:
Heavy black cardstock
White cardstock
Color printer
Scissors or cutting machine – I’m using the Cricut Maker
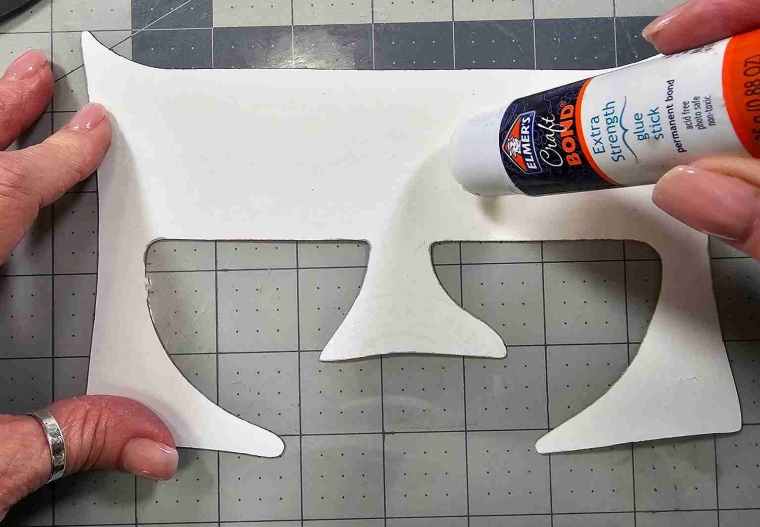
Glue stick – I’m using Elmer’s Craft Bond Extra Strength Glue Stick
Glue with fine tip applicator – I’m using AdTech Fine Line Liquid Glue
Glitter
Velvet ribbon or ribbon of choice

We will also need the Poe’s Nevermore Banner files from the Haunted Library.
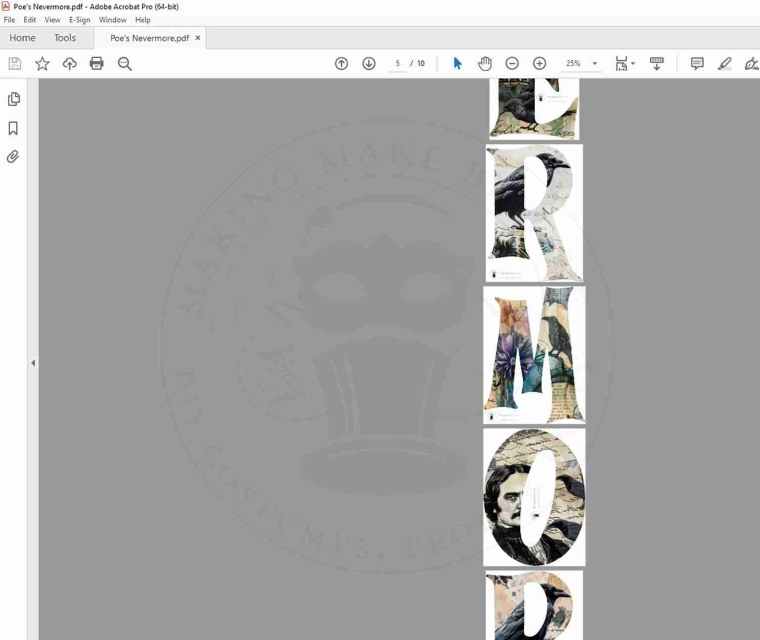
Select the PNG/SVG file for machine cutting or the PDF file if cutting by hand.

If cutting by hand, download and open the PDF file in your favorite reader (Adobe, FoxIt, etc.) and select Actual Size for the print size option.
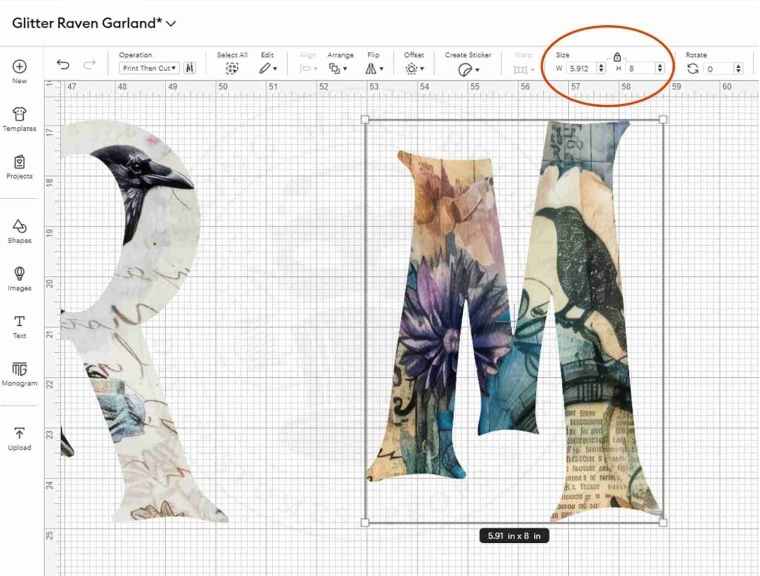
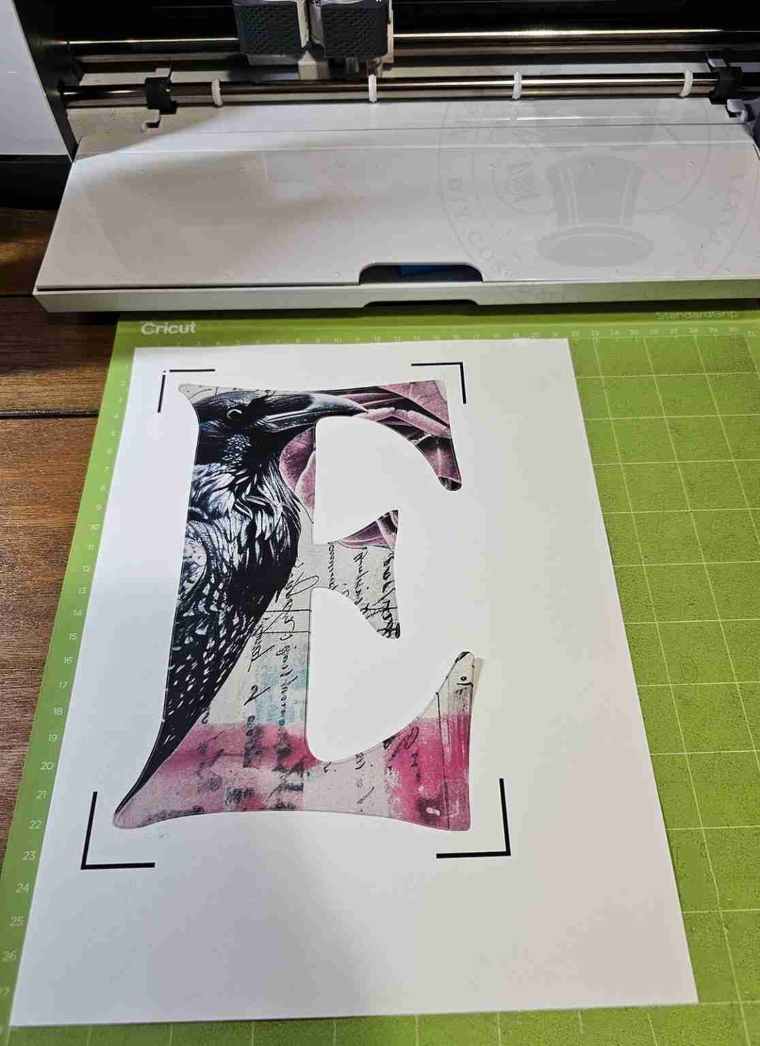
If machine cutting, upload each letter into your design software. I’m using Cricut Design Space.
Check the size of the letters and ensure that they are each 8 inches high. Resize if necessary.
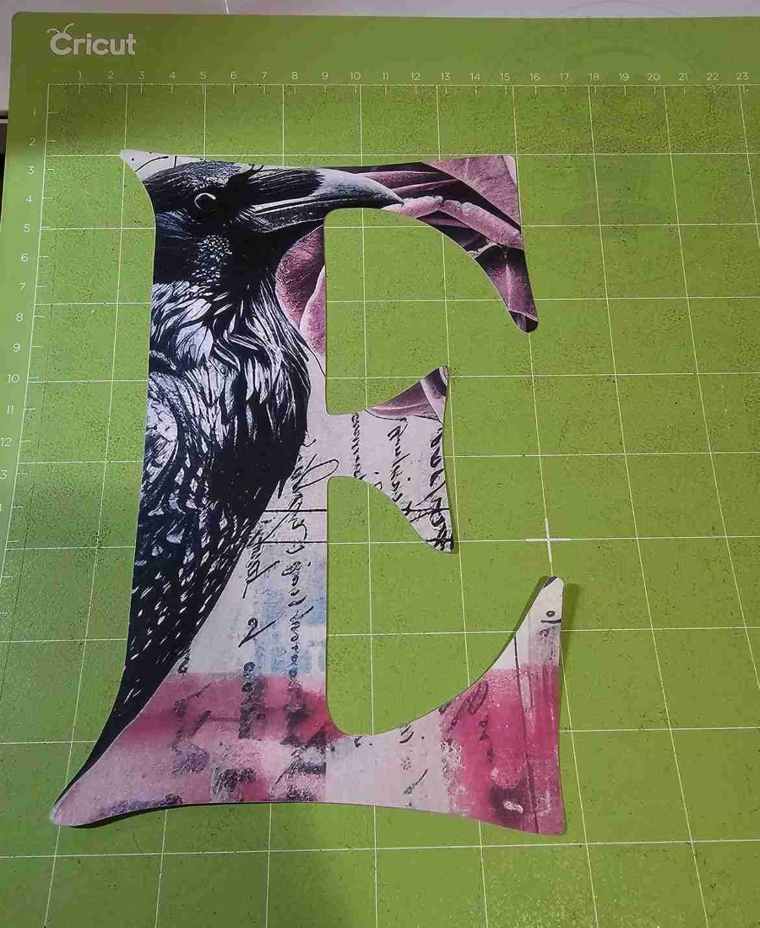
Print each letter onto white cardstock and cut them out by hand or by using the Print Then Cut feature on your machine.
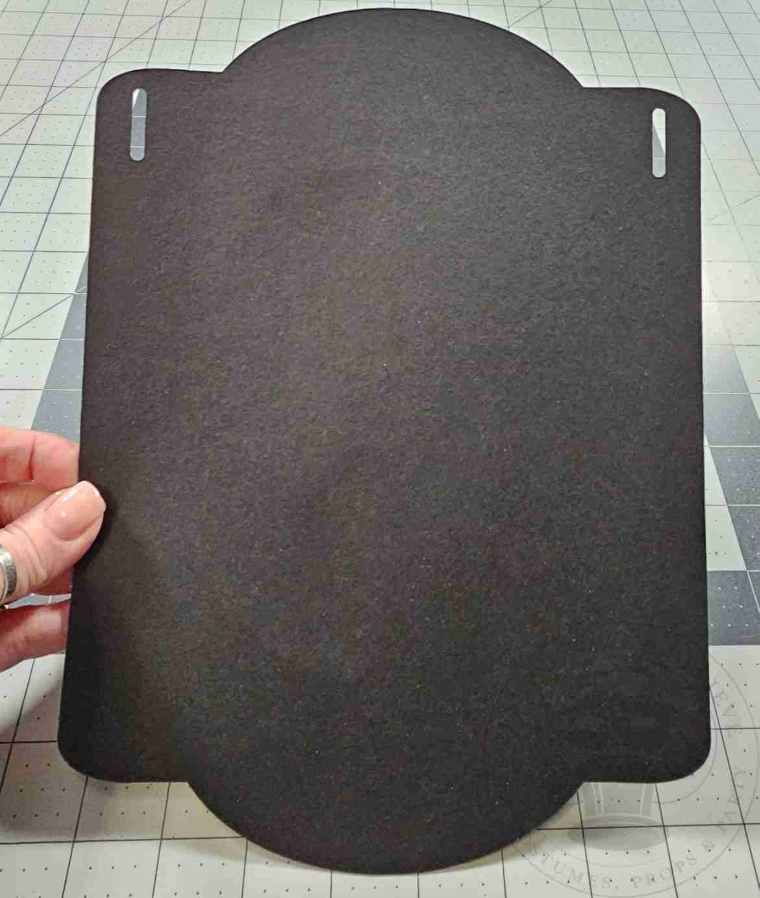
Next, cut nine of the banner pieces from black cardstock.
If cutting by hand, print the banner pattern onto copy paper, cut it out, and trace it onto the black cardstock.
For machine cutting, upload the SVG into your design software and cut.
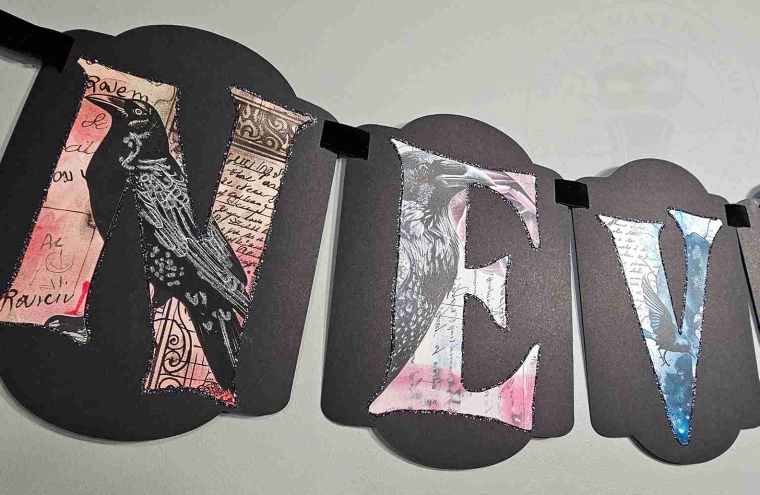
To assemble the banner, center each letter onto a banner piece and glue it into place.
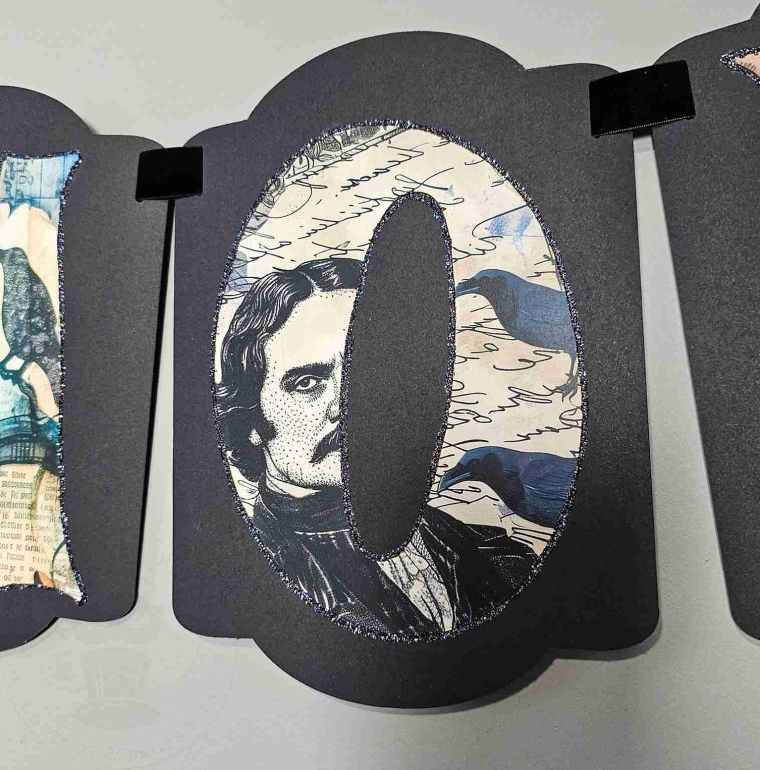
Now that all the letters are attached embellish each image with a touch of glitter wherever you wish.
I opted to highlight areas of each image using a soft white glitter using the fine line liquid glue.
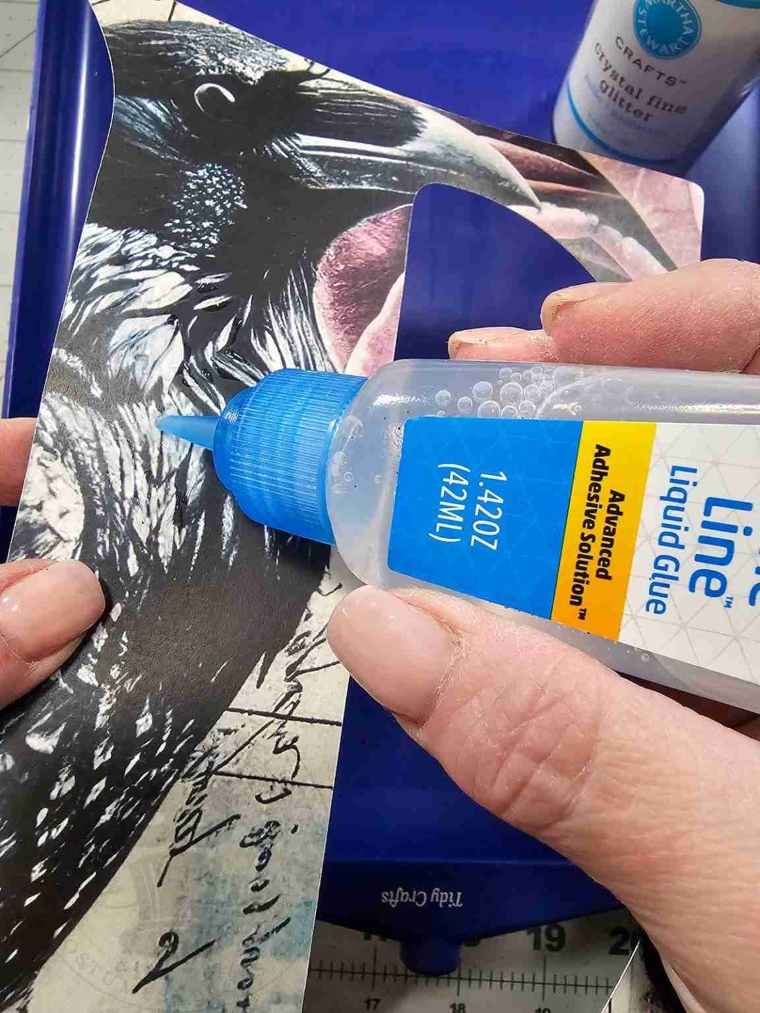

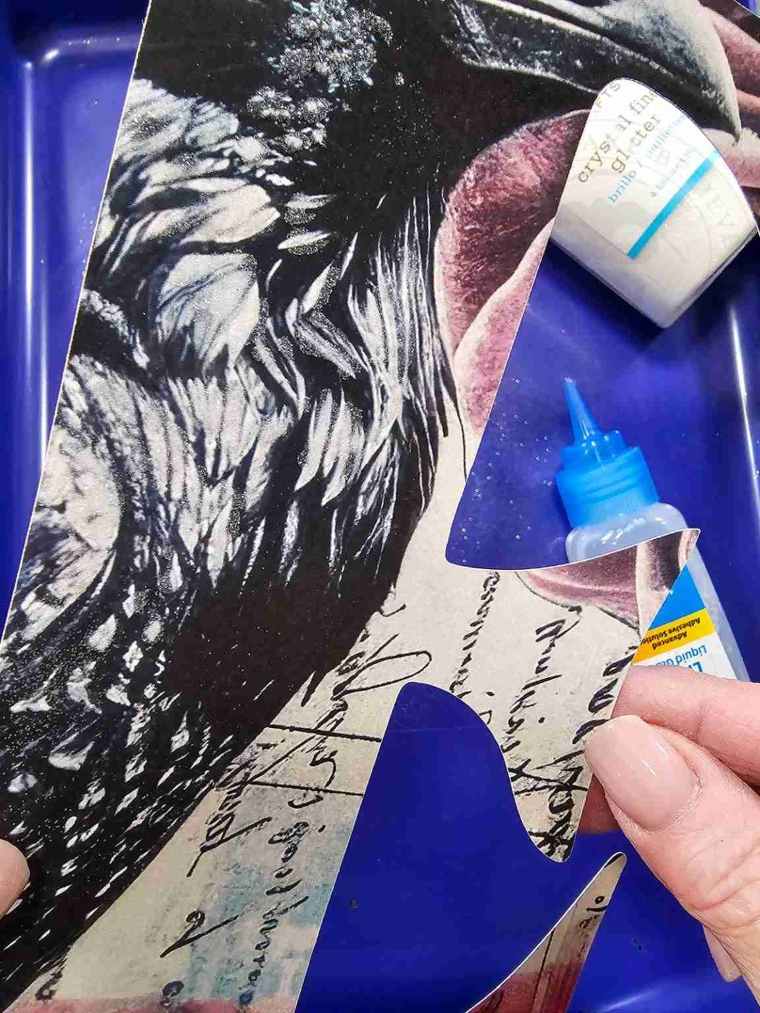
Next, I embellished the letter image by placing a thin glue line along the edge and dousing it with fine black glitter.

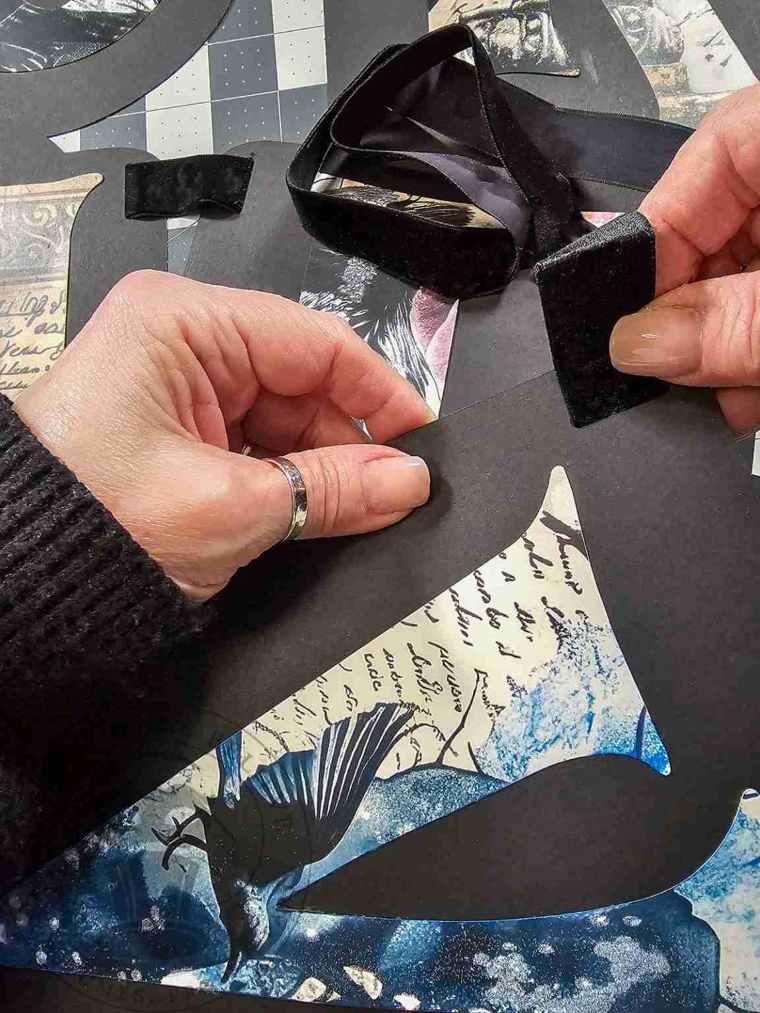
Lastly, run the ribbon through the slits on the banner and form a loop at each end for hanging.
This banner is ready to celebrate, but I’m feeling a bit extra, so come back on Friday to see how I level up this look.
Until next time – stay spooky.
