2.4K
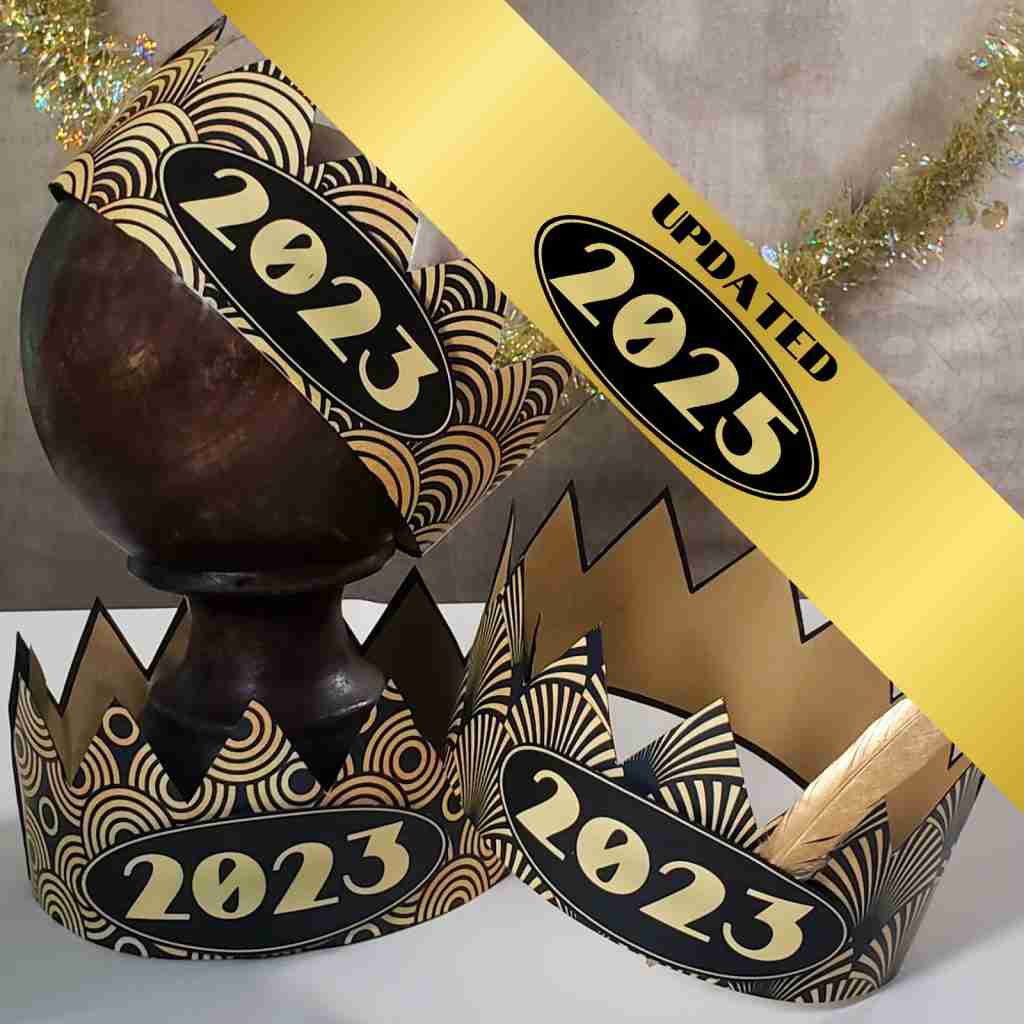







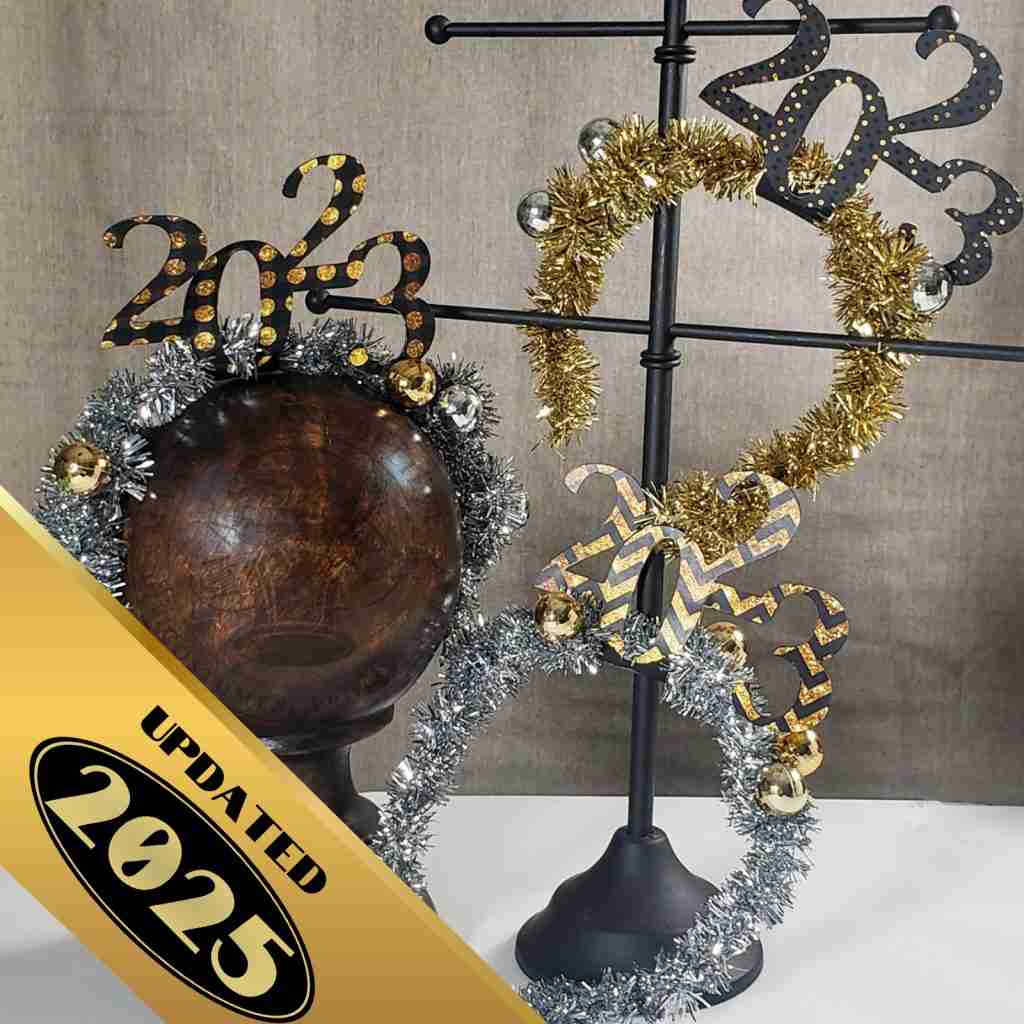

UPDATED FOR 2025 – New Year’s Eve Crown
Ho Ho Ho, where did this year go?!
Is it just me, or is this year picking up speed?
Have I asked that already?
Why are the days going so fast?
“I’m behind” might be my new mantra.
I have resigned myself to the fact that I will be running to catch up to Christmas.
I’m ok with that.
However – not so with New Year’s Eve.
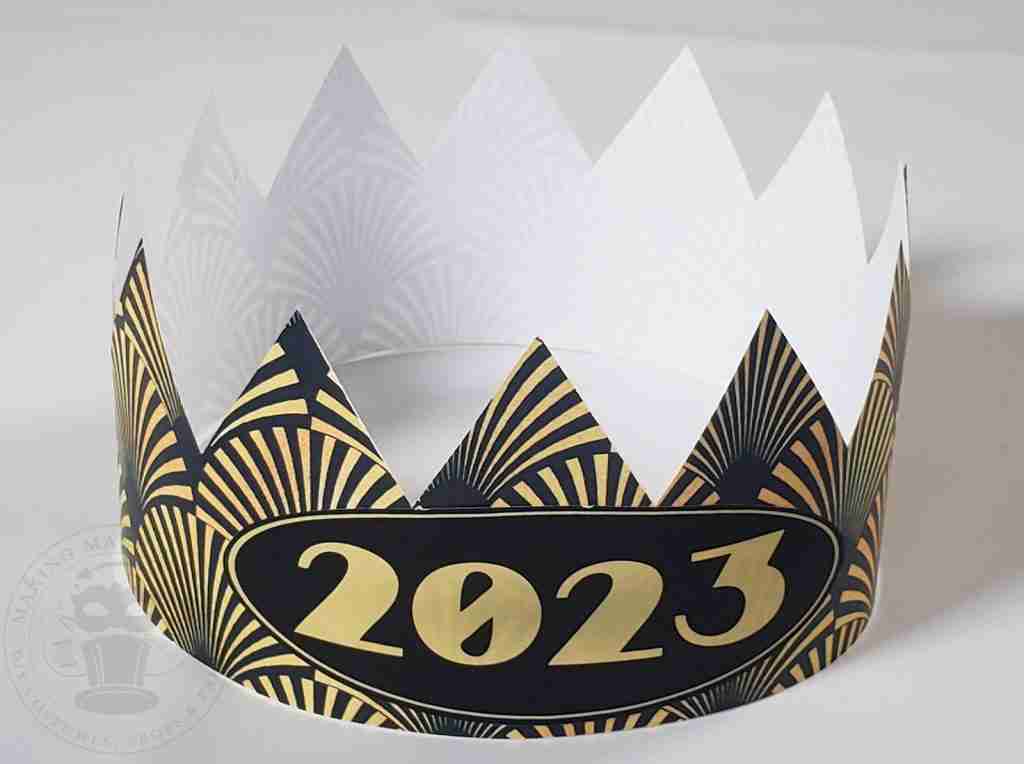
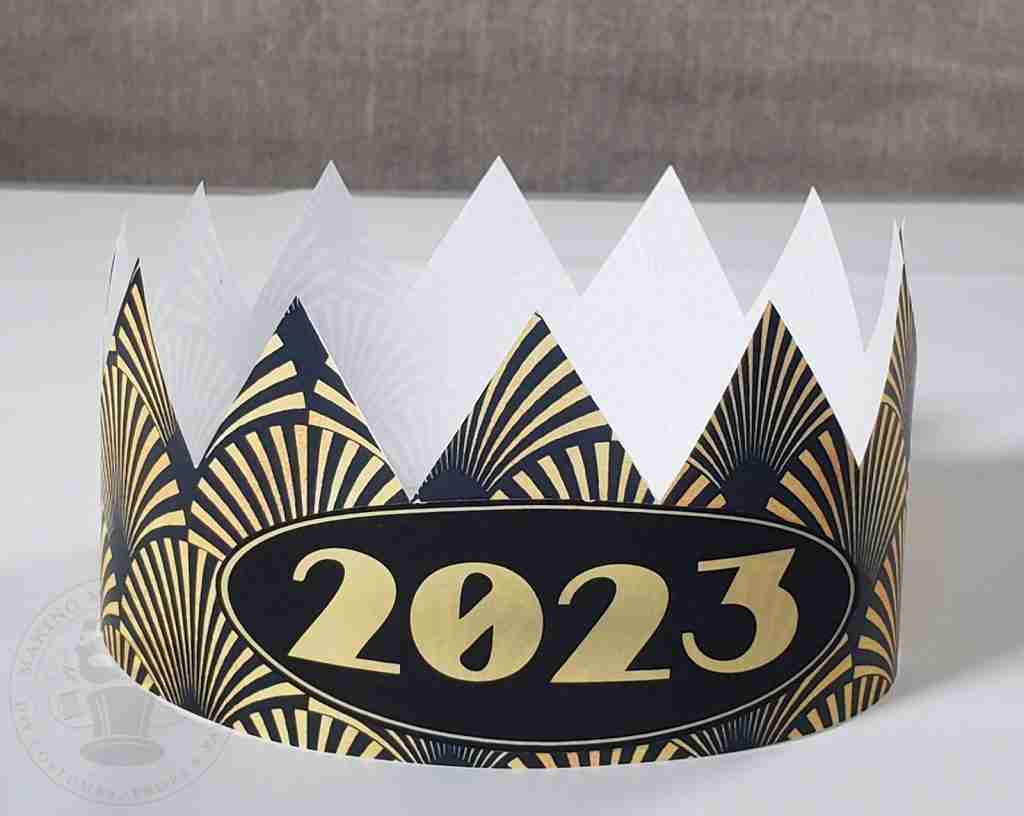
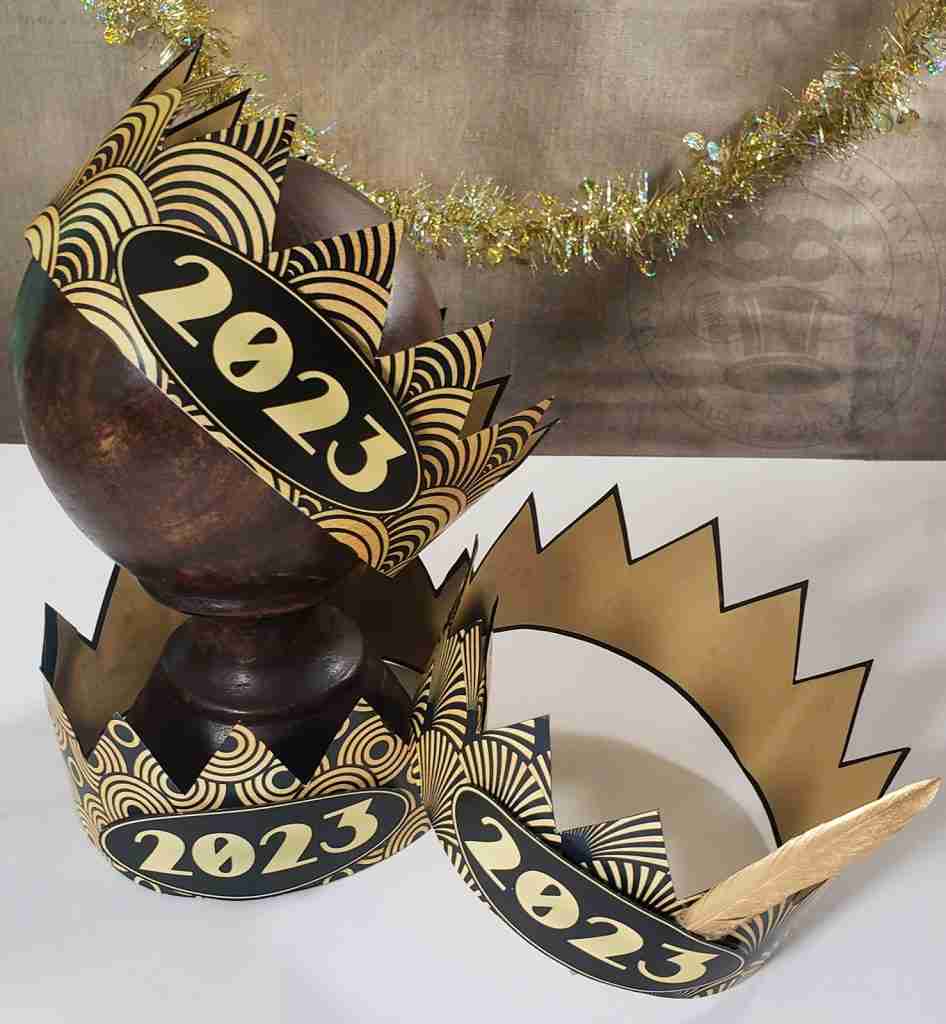
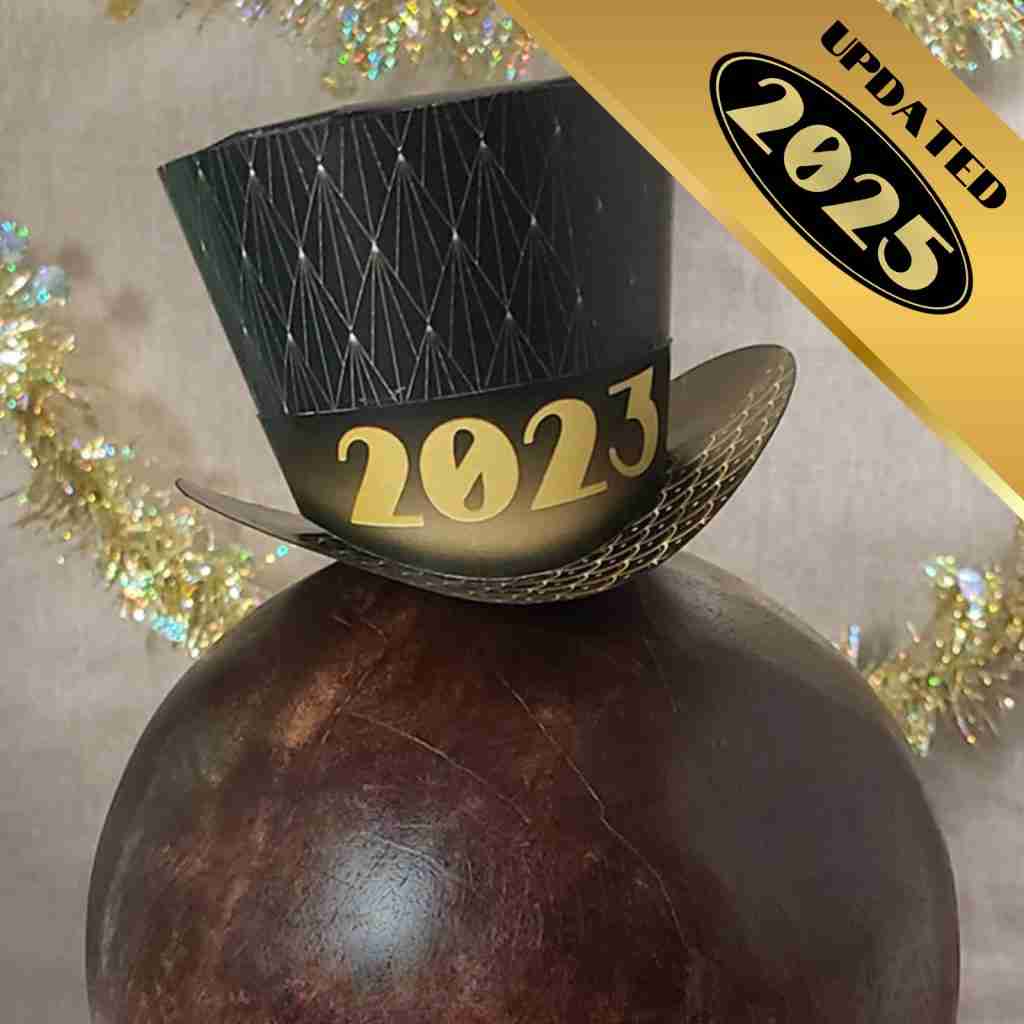
In my end-of-year quest to actually get ahead of things, I created a few New Year’s Eve crowns to welcome in 2025. I may be running behind for Christmas, but I’m going to get ahead of this New Year thing.
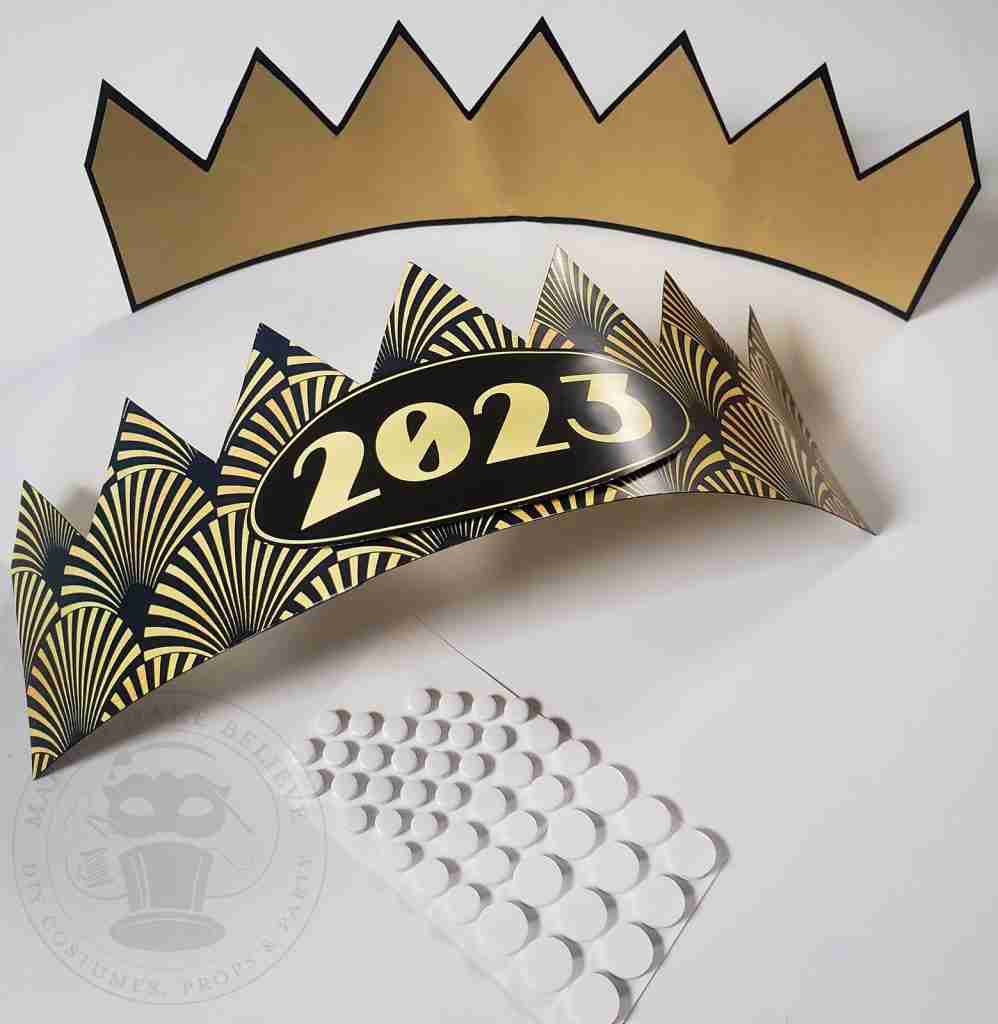
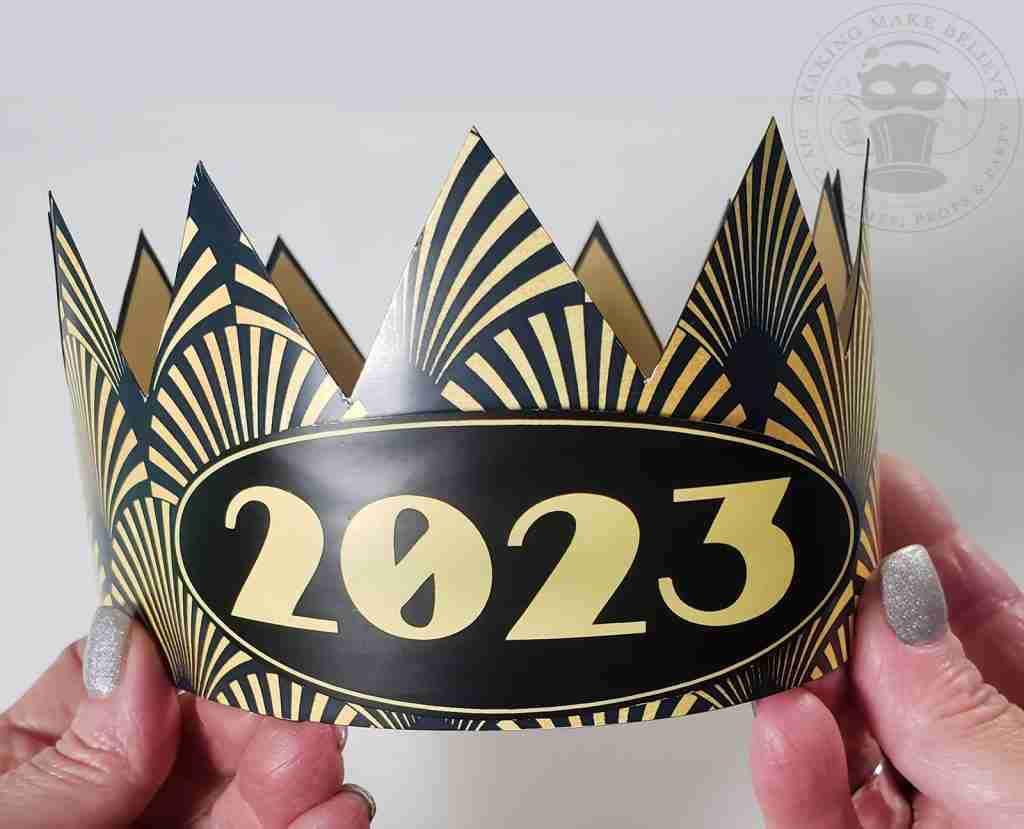
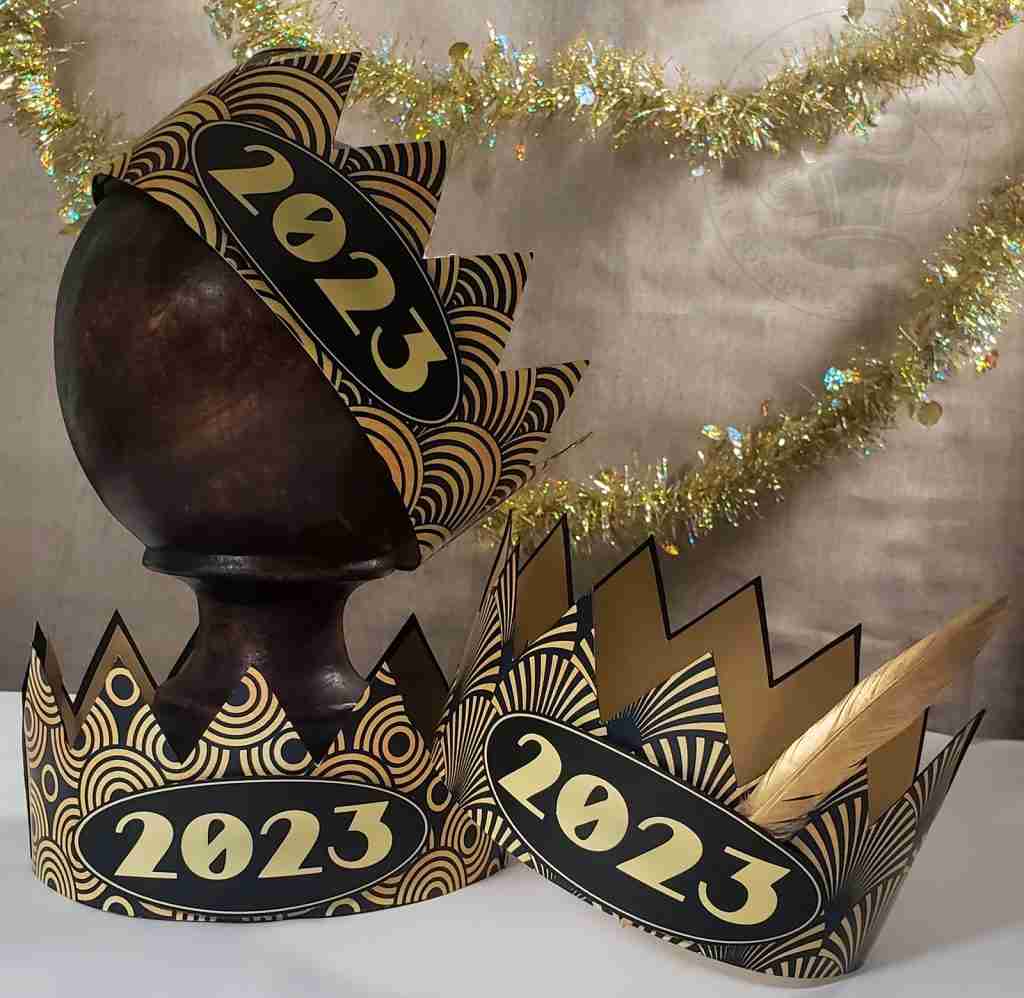
These crowns boast a black and gold roaring 20s, art deco style. Whip them up super-quick at the last minute using printer paper and tape. Or, elevate the look with glossy photo paper and a few embellishments for a higher-end look.
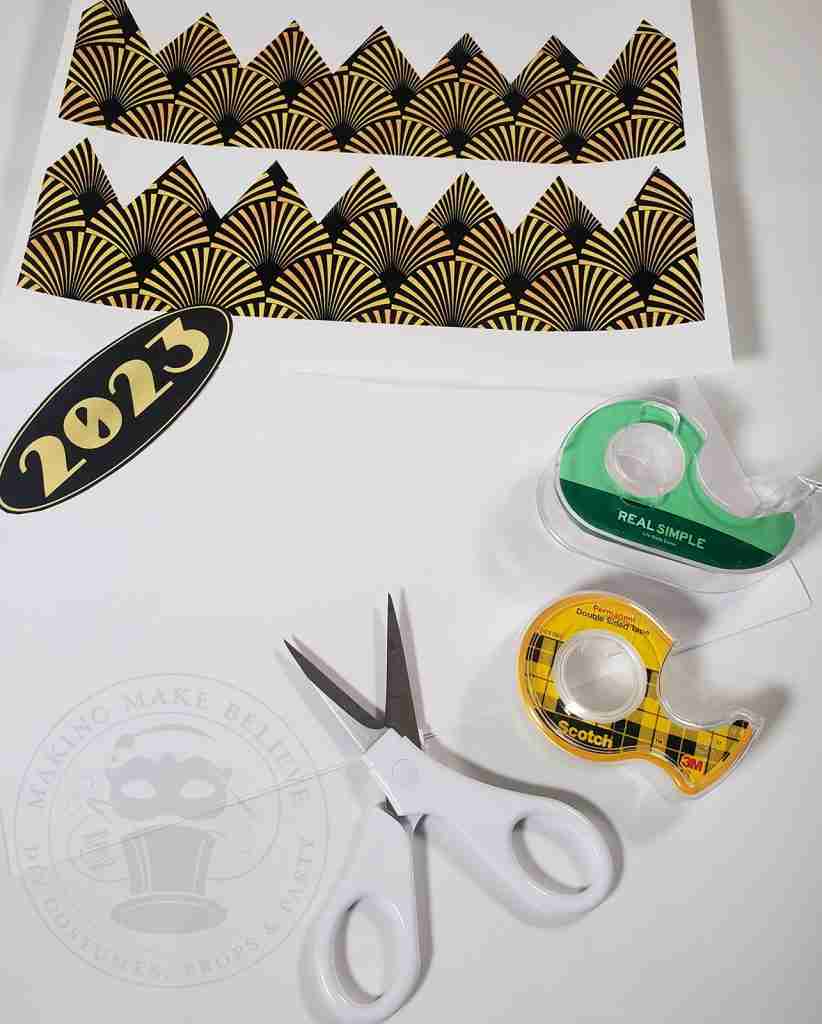
Let’s begin with the fast, last-minute crowns. For this version, we will need:
White printer paper or cardstock
Printer
Scissors
Scotch tape
Double-stick tape (optional)
We will also need the NYE Black & Gold Deco Crowns PDF files from the Haunted Library.
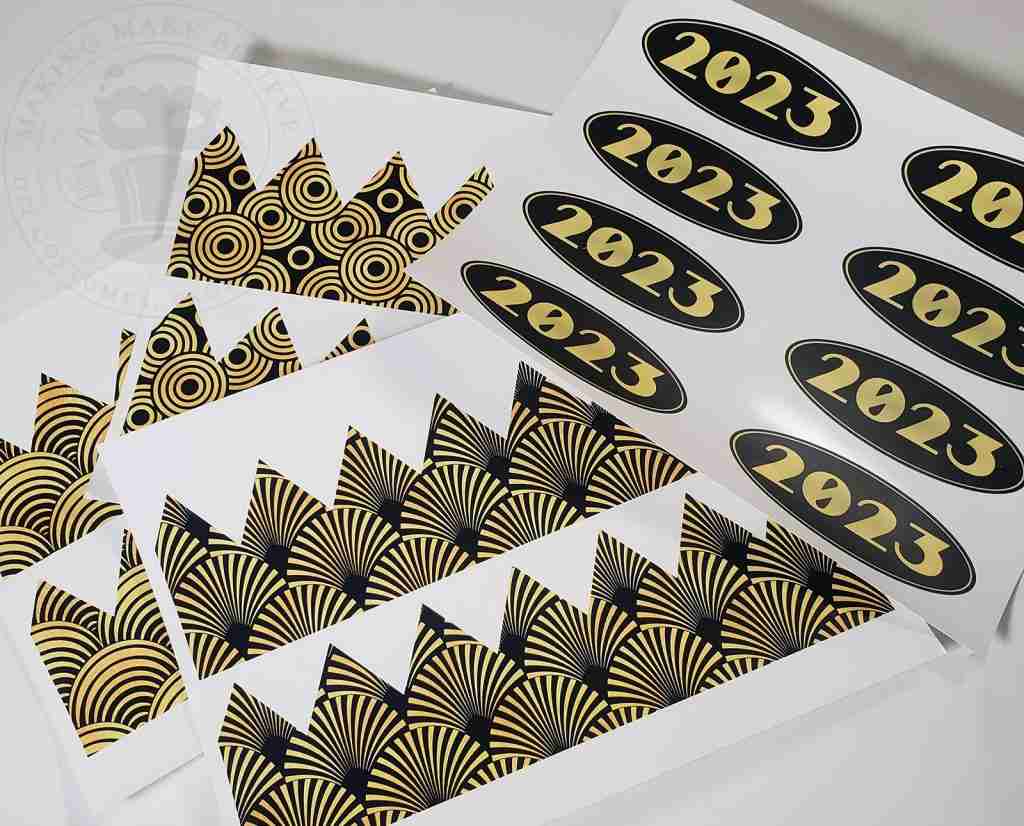
The files include three crown designs, an interior inset piece (optional), and one 2025 emblem.
Print your crowns and emblem on white printer paper or cardstock and cut them out.
You will need two crown pieces for each crown.
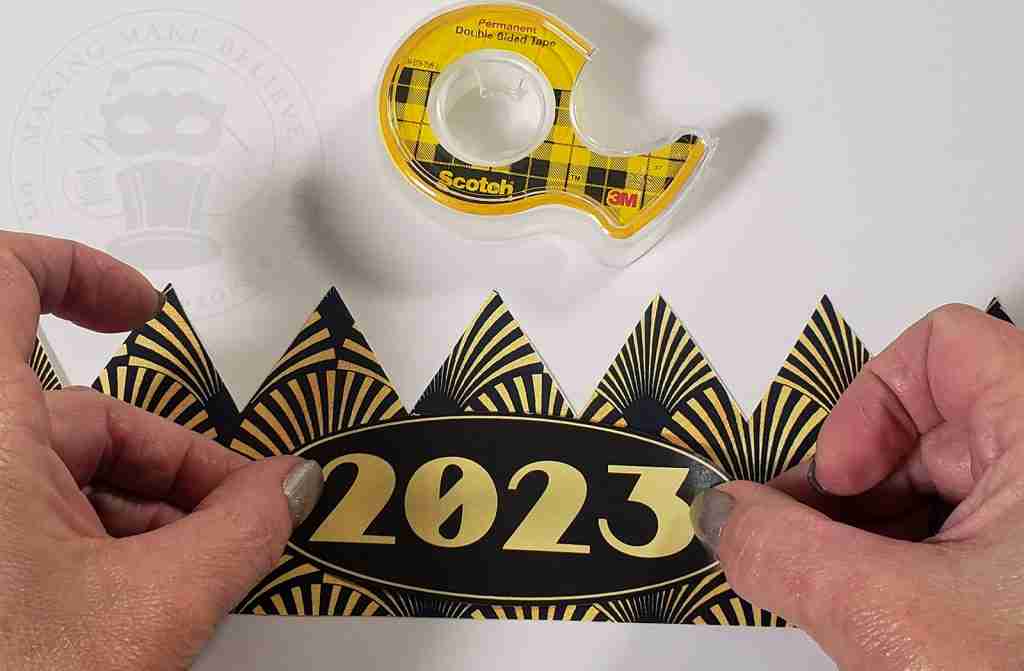
Locate the center of one section and tape the emblem to the crown.
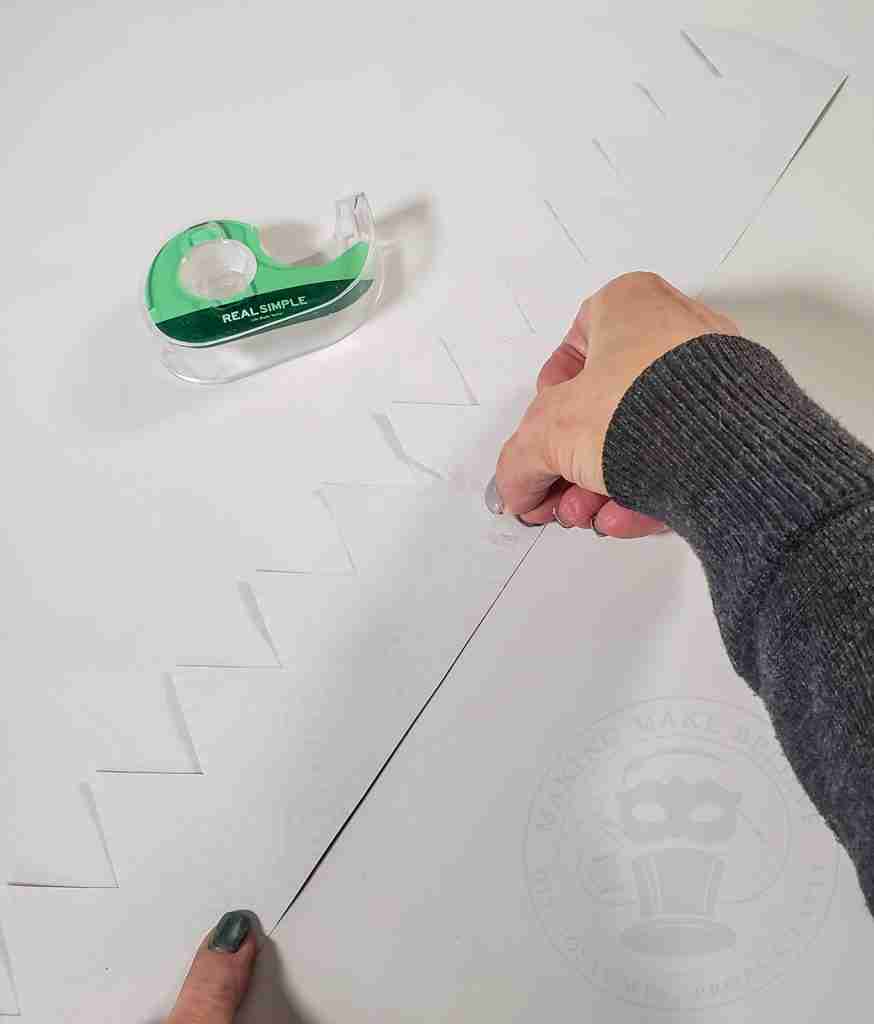
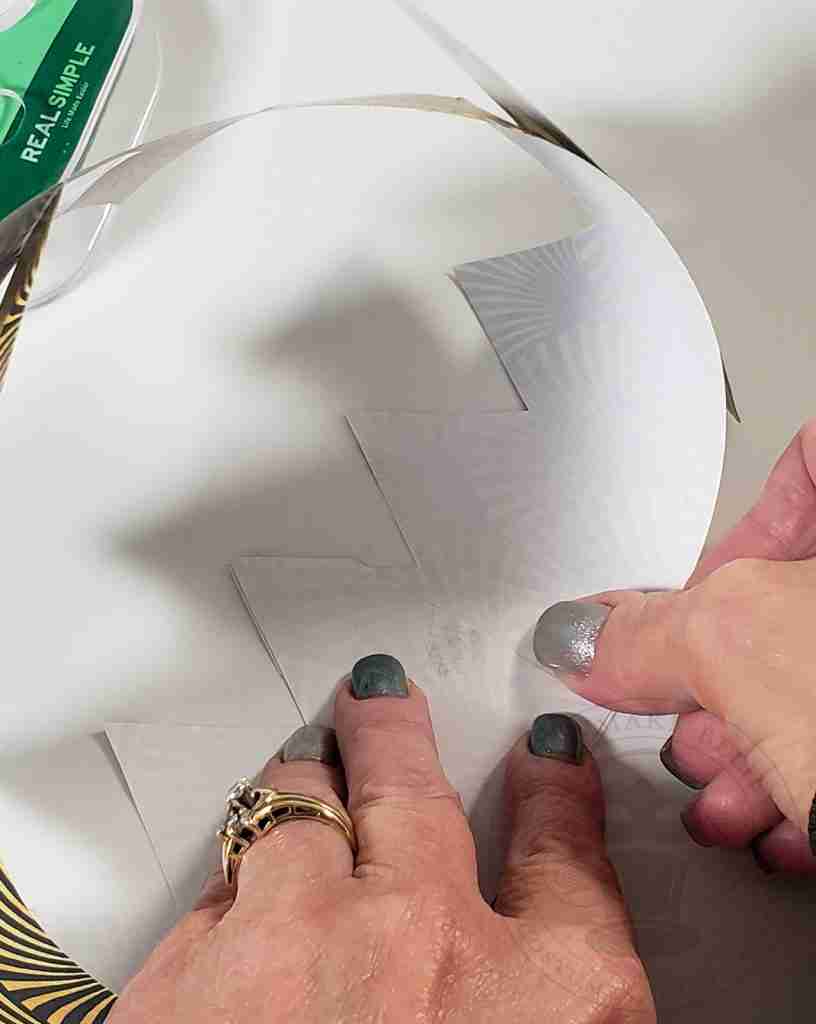
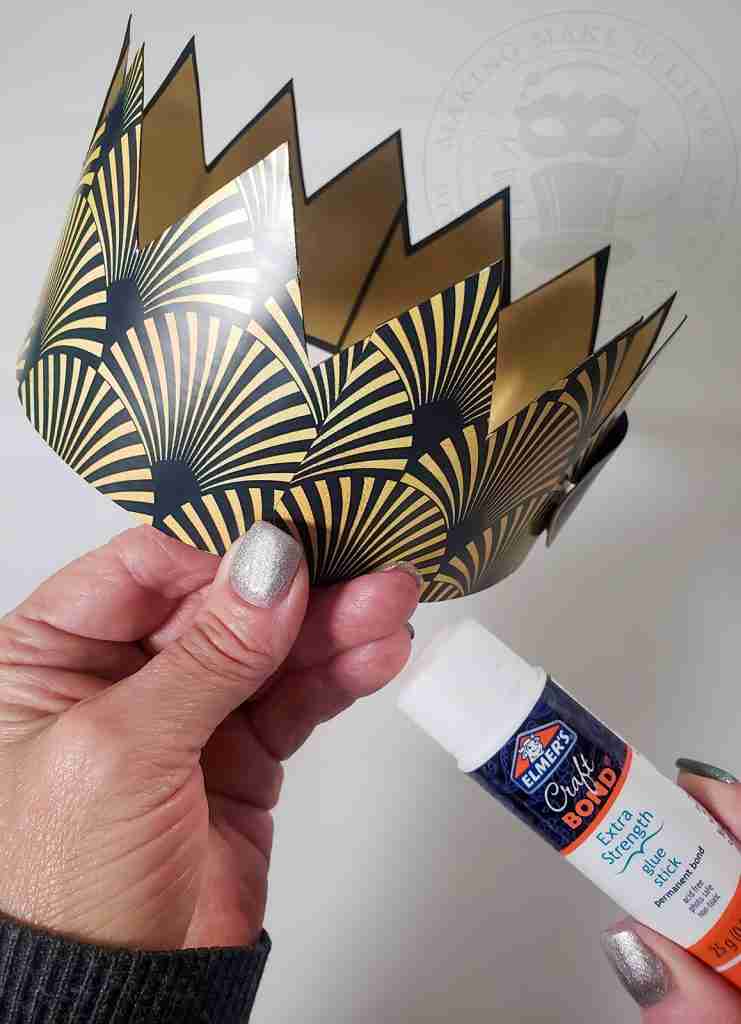
With the back sides facing up, overlap the end of one crown onto the other, aligning the last points and scotch tape together.
Repeat for the other side forming a circle.
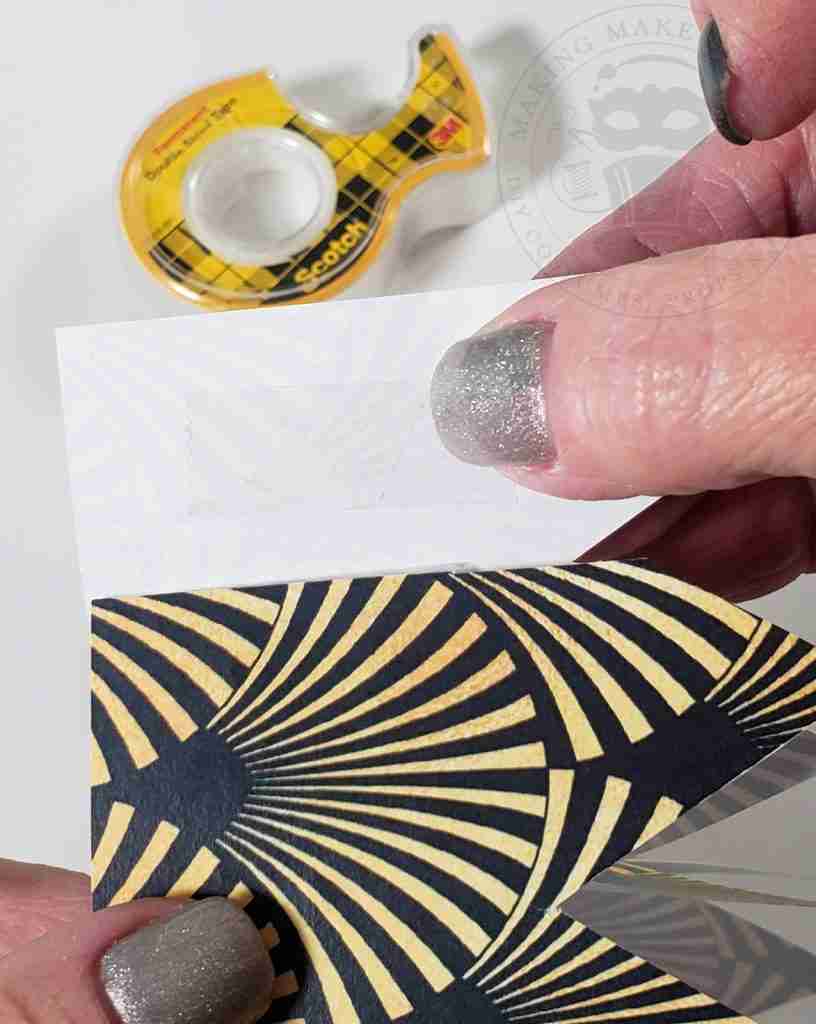
On the front, tape the ends of the crown down using double-stick tape.
Done!
And in the nick of time too!
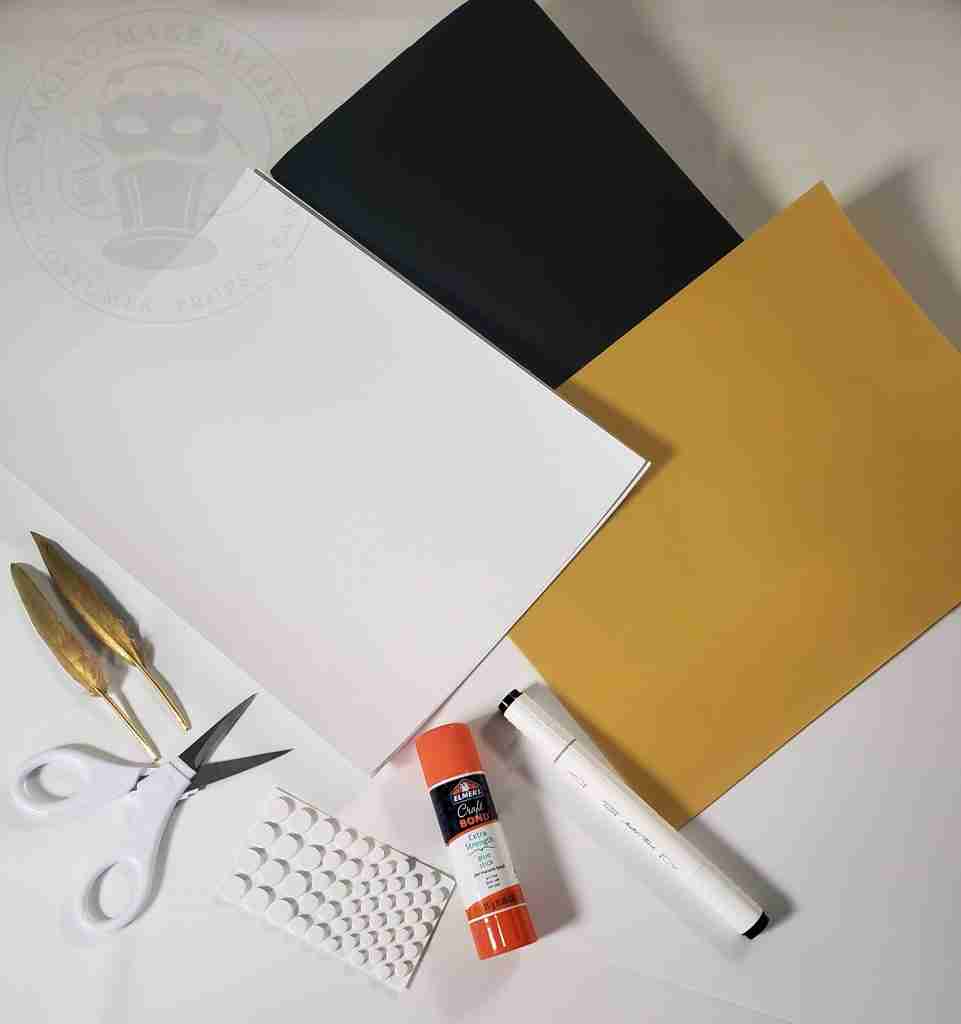
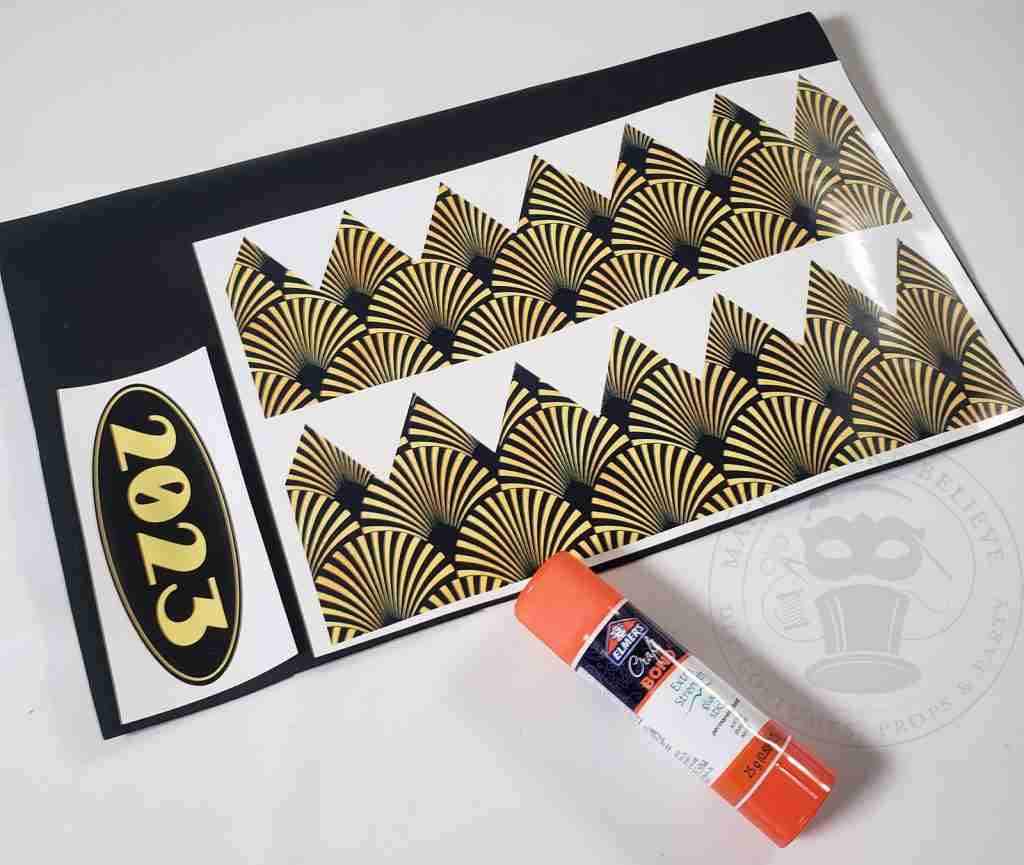
For this version, we will need:
Glossy or soft glossy photo paper
Printer
Black, lightweight art paper or similar (not cardstock – thinner is better)
Printer paper
Metallic or foil paper
Scissors
Glue stick
Alcohol ink marker (optional)
Glue dots (optional)
Embellishments (optional)
Again, we will also need the NYE Black & Gold Deco Crowns PDF files from the Haunted Library.
The files include three crown designs, an interior inset piece (optional), and one 2025 emblem.
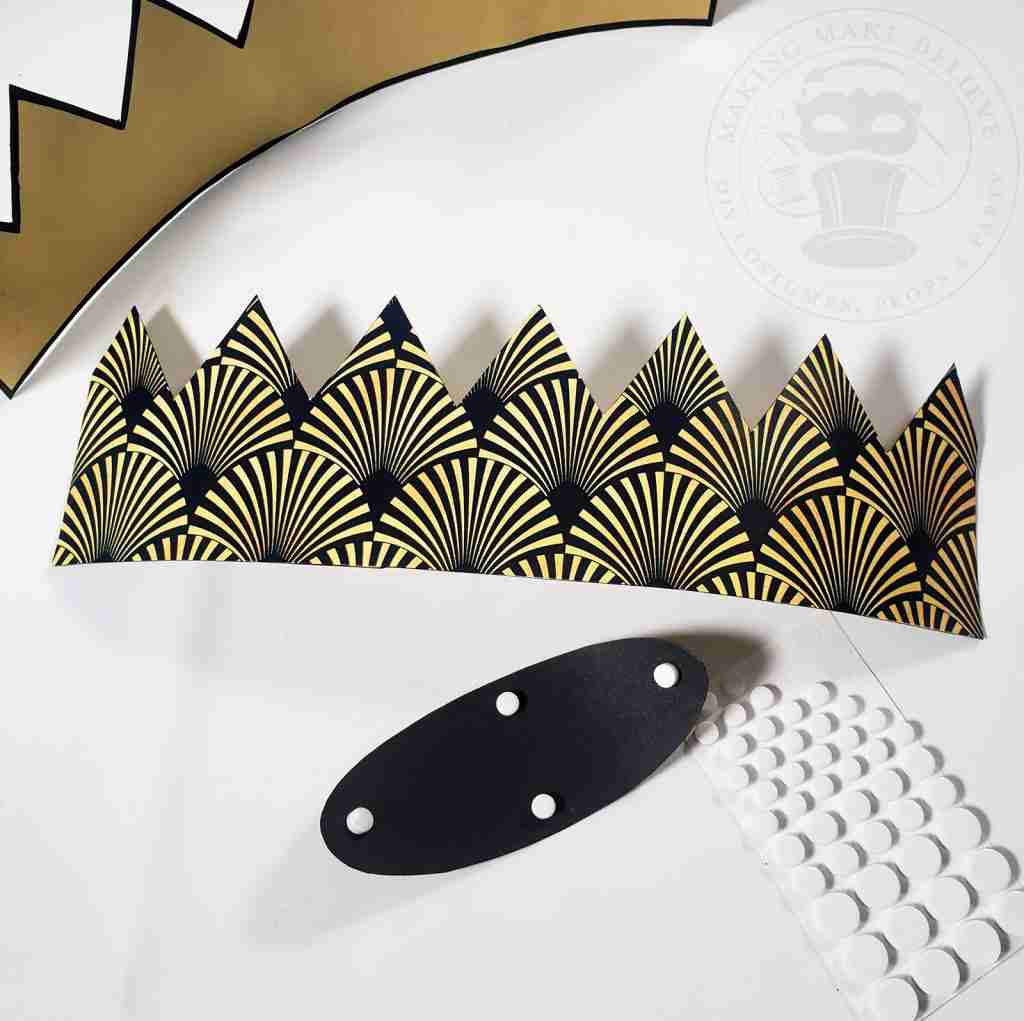
Print your crowns and emblem on photo paper and trim around the images. You will need two crown pieces and one emblem for each crown.
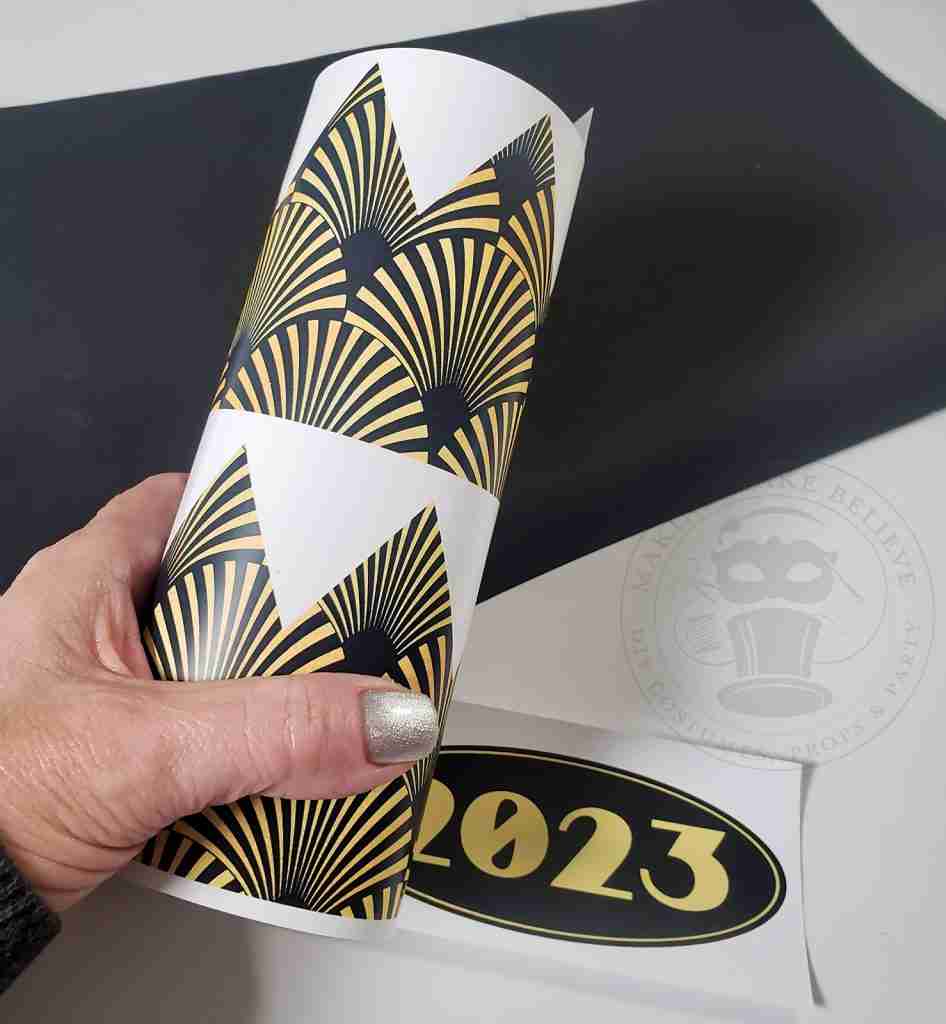
Gently curve your papers (crown, backing, emblem, etc.) to form your crown as you go. It is easier to form a nice circle before all the layers are glued together.
Glue the crowns to the black paper and cut them out.
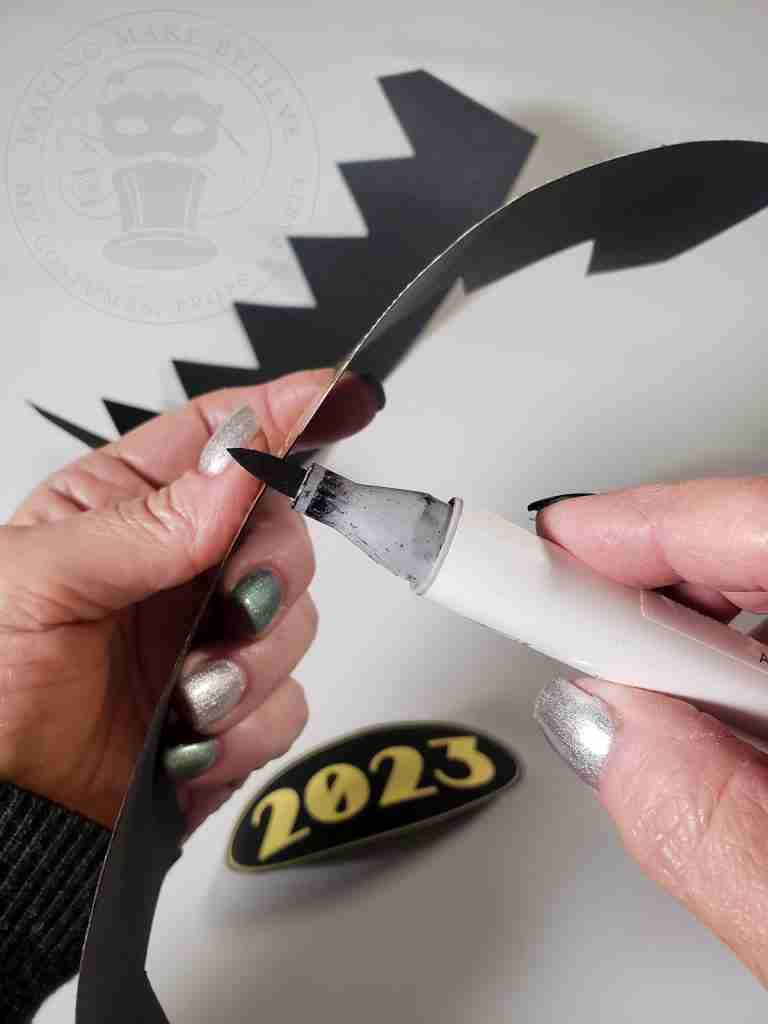
For a more finished look, run the edge of an alcohol ink marker along the edge of the crowns. This optional step will eliminate the white edge of the paper, giving the crown a more elevated look.
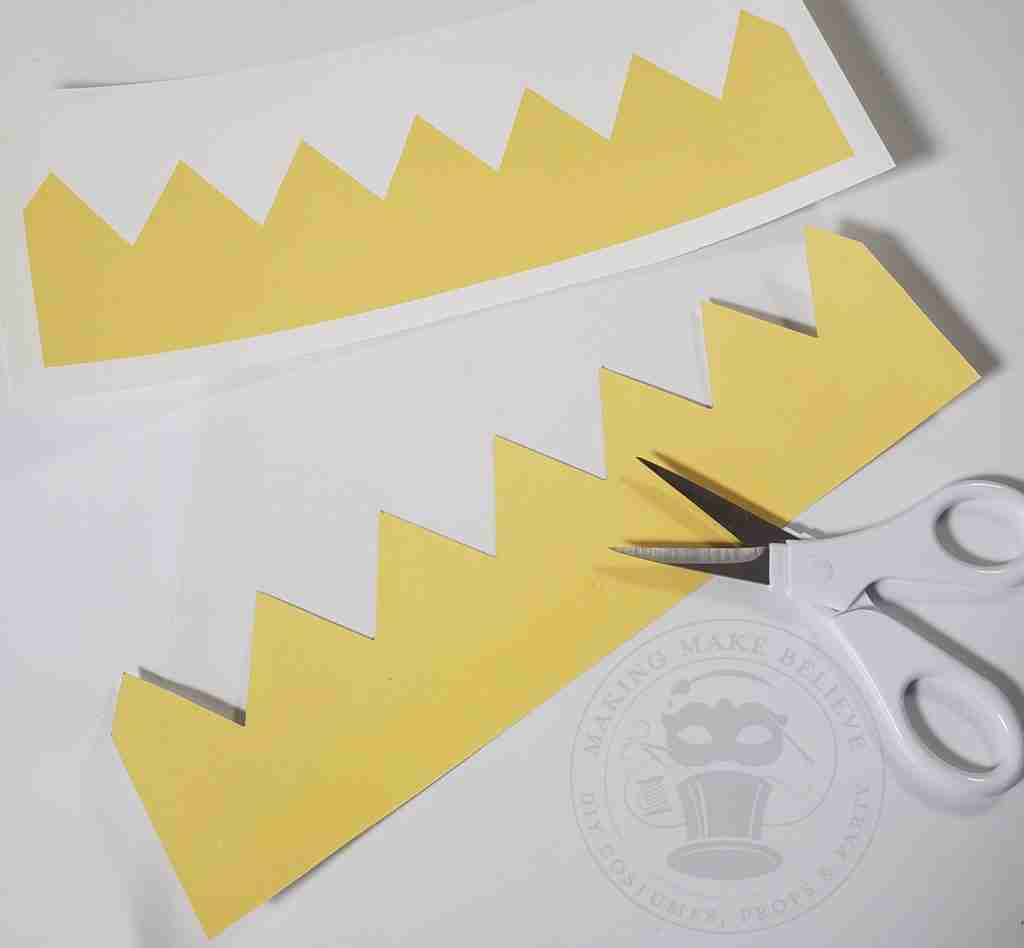
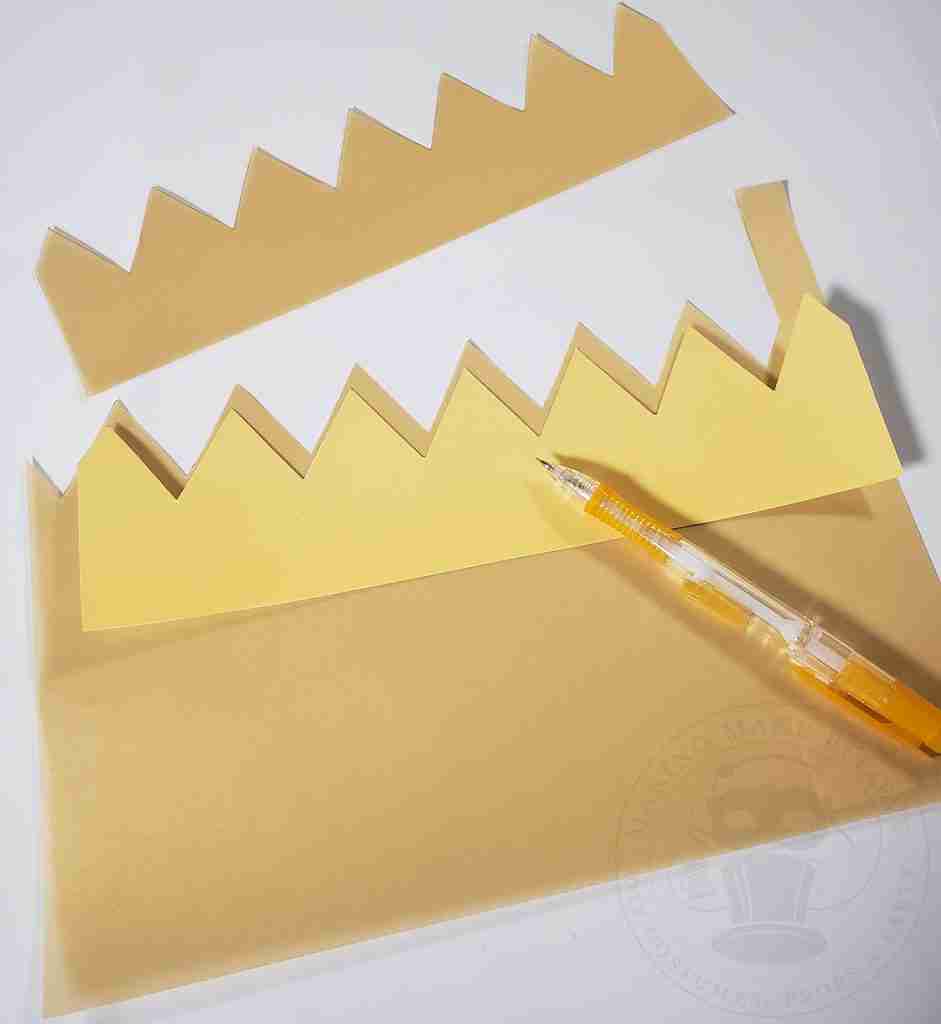
Next, print and cut the interior inset piece from plain printer paper; this will be your template.
Lightly trace the template onto the metallic or foil paper and cut out.
Center the inset onto the back of a crown, leaving an equal border all the way around. Glue into place.
Repeat for the second crown piece.
Locate the center of one section and glue the emblem to the crown.
Alternatively, use glue dots to elevate the emblem and add dimension.
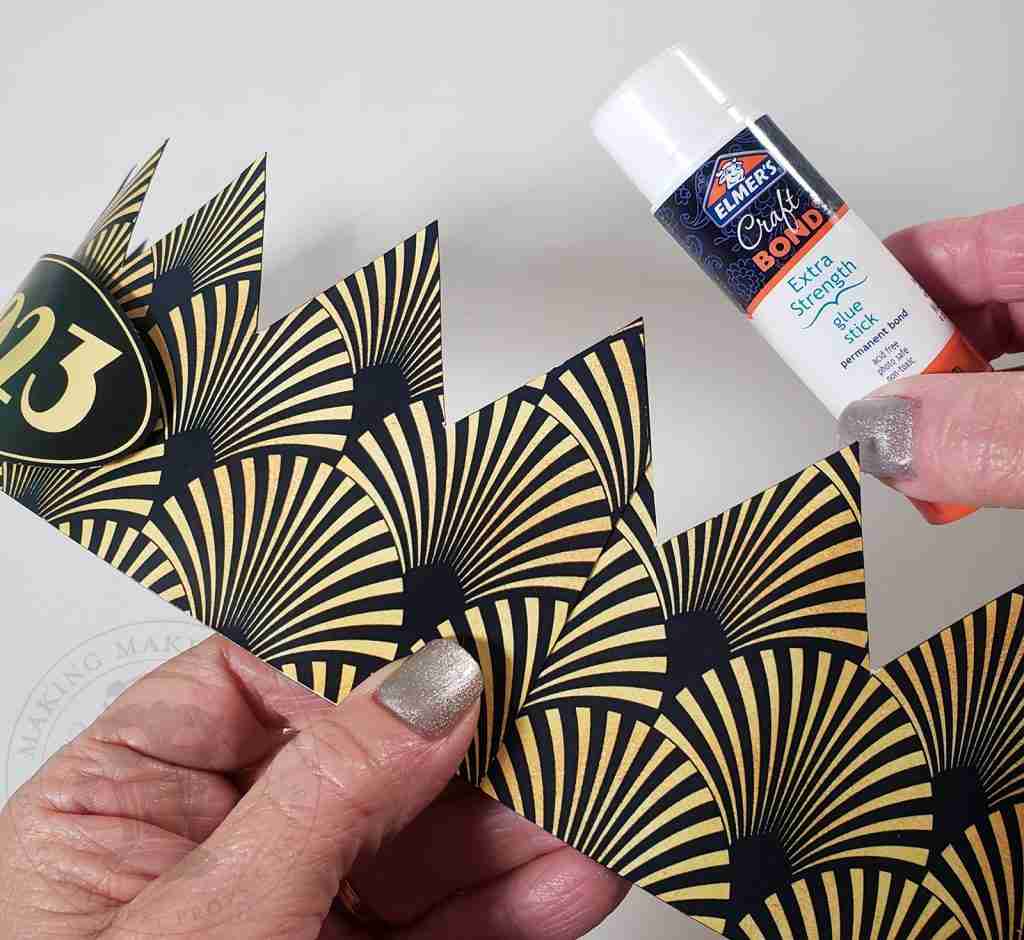
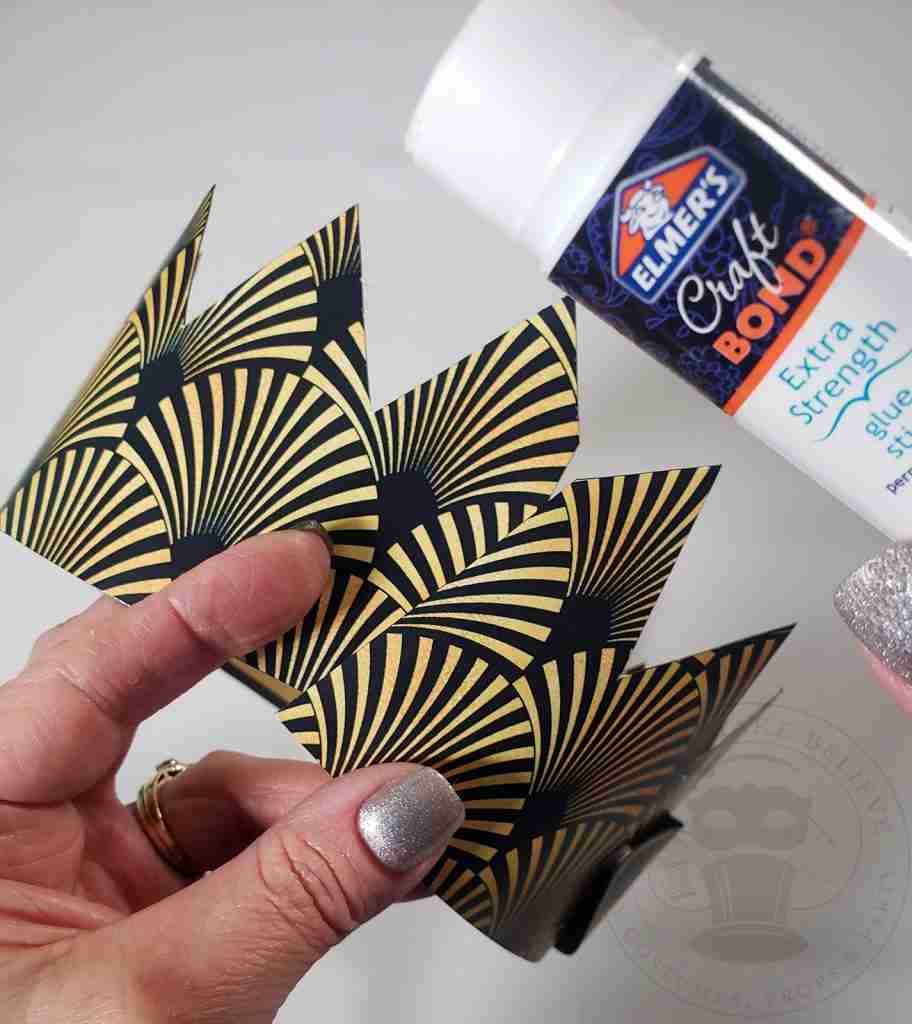
With the back sides facing up, overlap the end of one crown onto the other, aligning the last points and glue together.
Repeat for the other side forming a circle.
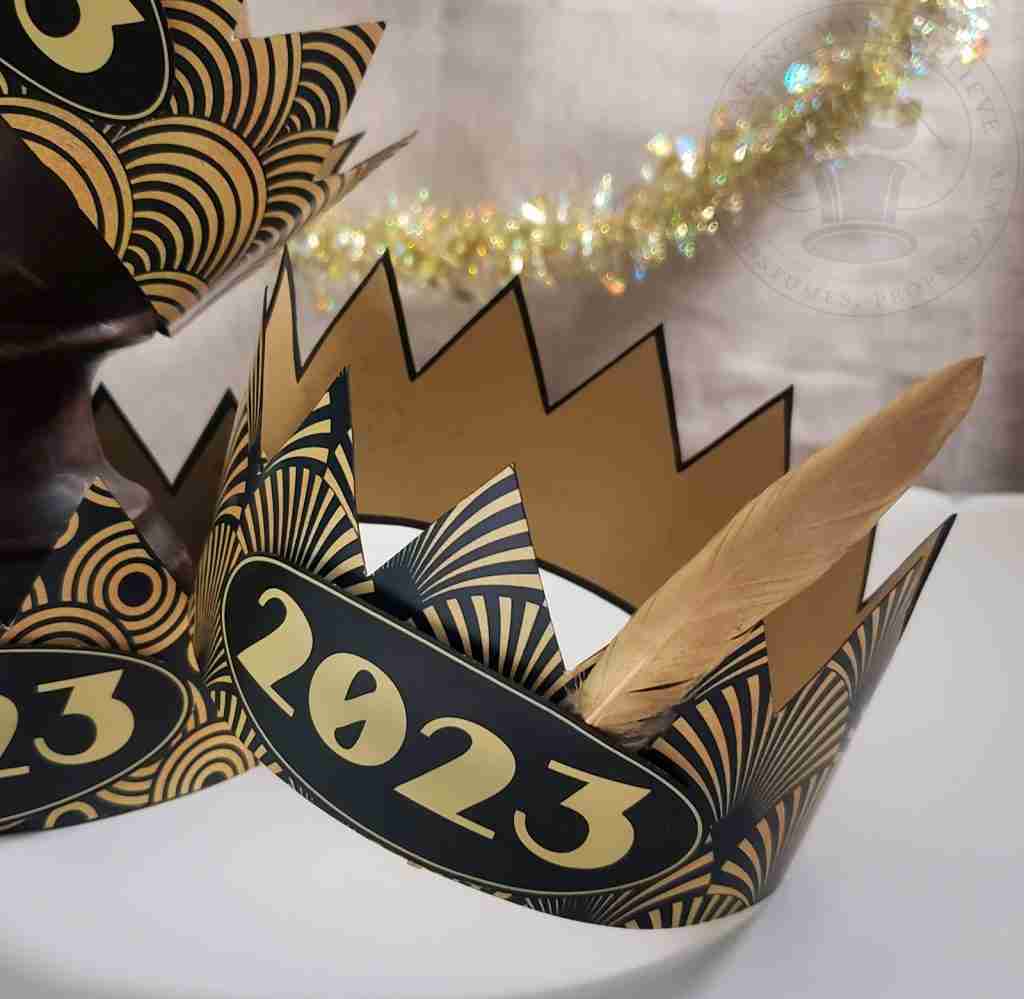
If desired, embellish with a feather, ribbon, or glitter.
And now you can ring in the New Year properly!
So, which will be your go-to New Year’s Eve crown – the easy or the extra?
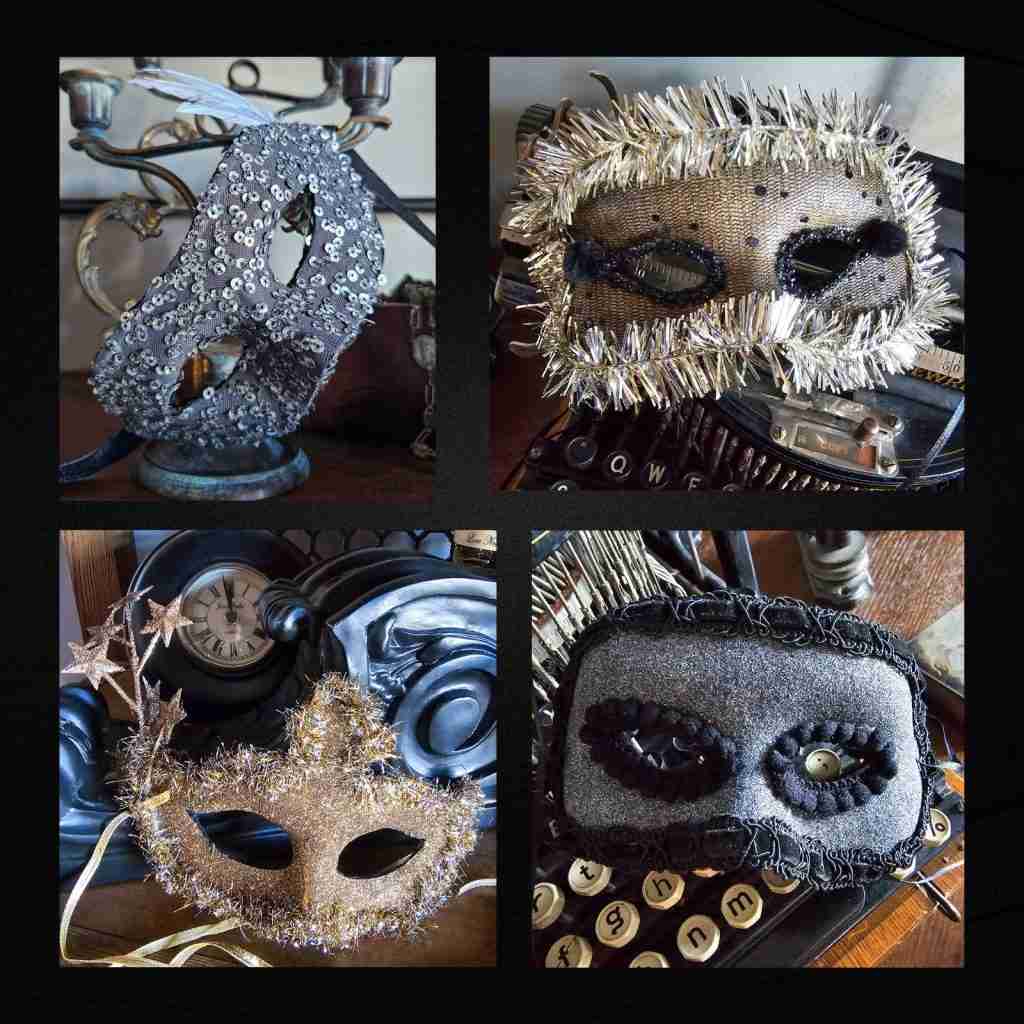
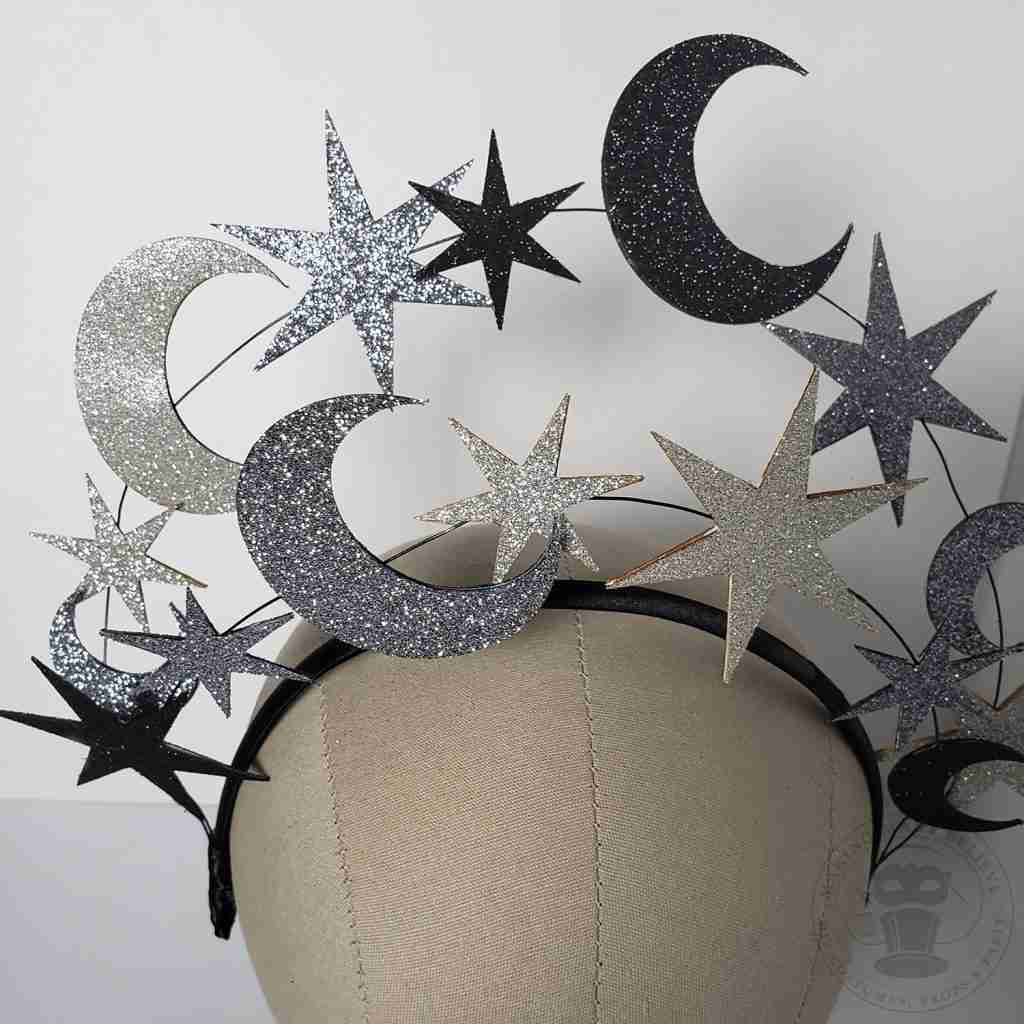
Be sure to check out our other easy and elegant New Year’s Eve options to help you kick off 2025.
Until next time, cheers!

Check your email for the Haunted Library password.
Don’t miss a moment of the mischief.
Add hello@makingmakebelieve.com to your address book.
Join us and get access to our Haunted Library stocked with templates, printables, cut files, and exclusive content. Plus, you’ll receive Eerie Emails just for our subscribers.
*Stay as long as you like. Unsubscribe at any time.