
Not a single leaf has fallen, pumpkin spice has not yet permeated every facet of daily life, and it’s still 90° plus outside. But that didn’t stop me from whipping up a mini witch hat headband to wear when I greet trick-or-treaters this Halloween.
Do you get a lot of trick-or-treaters at your house? We don’t. I think our record is 25. We live in a small subdivision near the edge of town, so there’s not much foot traffic. Our traffic is mostly due to my husband. He sends out a mass email at work asking people to bring their kiddos by so his wife can have a happy Halloween. He bribes them with the fact that the kids will receive the best candy and lots of it. (I love him!)
I try not to be too creepy as I don’t want anyone to cry when they come to our door, so I don’t normally dress in full costume. Usually, I wear a simple ensemble, Halloween t-shirt, spooky cute blinking necklace, jeans, etc. I try to keep a witch hat nearby to throw on to greet the ToTs, but often forget to put it on as I rush to the answer the door.Â
While I don’t know what Halloween will look like in this post-Corona world, I want to be prepared in case we do have visitors. I decided to craft a mini witch hat headband that could double as a hat for a skull prop that sits on the front table. This little hat will be on display by the front door, making it easy for me to grab as I greet any trick-or-treaters. I think I’m going to call this wearable decor. Hmmm, maybe I’ll start a new trend?
I hope you enjoy crafting this mini witch hat headband. Be sure to tag me on Instagram or Facebook. I’d love to see what you create.
Materials:
- Mini paper mache witch hatÂ
- Decorative napkins or fabric
- Glue sticks
- Felt
- Headband or hairpins
- Stretchy hair ties
- Embellishments (optional)
Tools:
- Scissors
- Mod Podge
- Foam brush
- Chalk or marking pencil
- Glue gun

Tools and supplies for DIY Mini Witch Hat
Before You Get Started:
I recommend reading through the entire tutorial before beginning.
If you use napkins for this project, separate the napkin ply so that you are left with only the top, decorative layer.
Before beginning, form napkin onto the witch hat and cut out the area that will fit around your cone base. Allow for napkin to overhang brim so it can be turned under.
 It should look something like this:

You will need two, one for the back and one for the front.
Next, form napkin around the cone and cut a shape similar to this:

Â
Steps:

Attach napkin with Mod Podge
1. Begin at the center back and apply a thin layer of Mod Podge to a small area of the brim.
Place your napkin up to the edge of the cone base. Working out towards the brim edge, gently smooth the napkin down. (Leave enough napkin to overhang the brim as we will tuck that under in Step 2.)
Continue around the brim making small snips in the napkin where necessary to allow it to form around the curve of the cone.

Tuck napkin under brim

Snip and tuck edge under brim
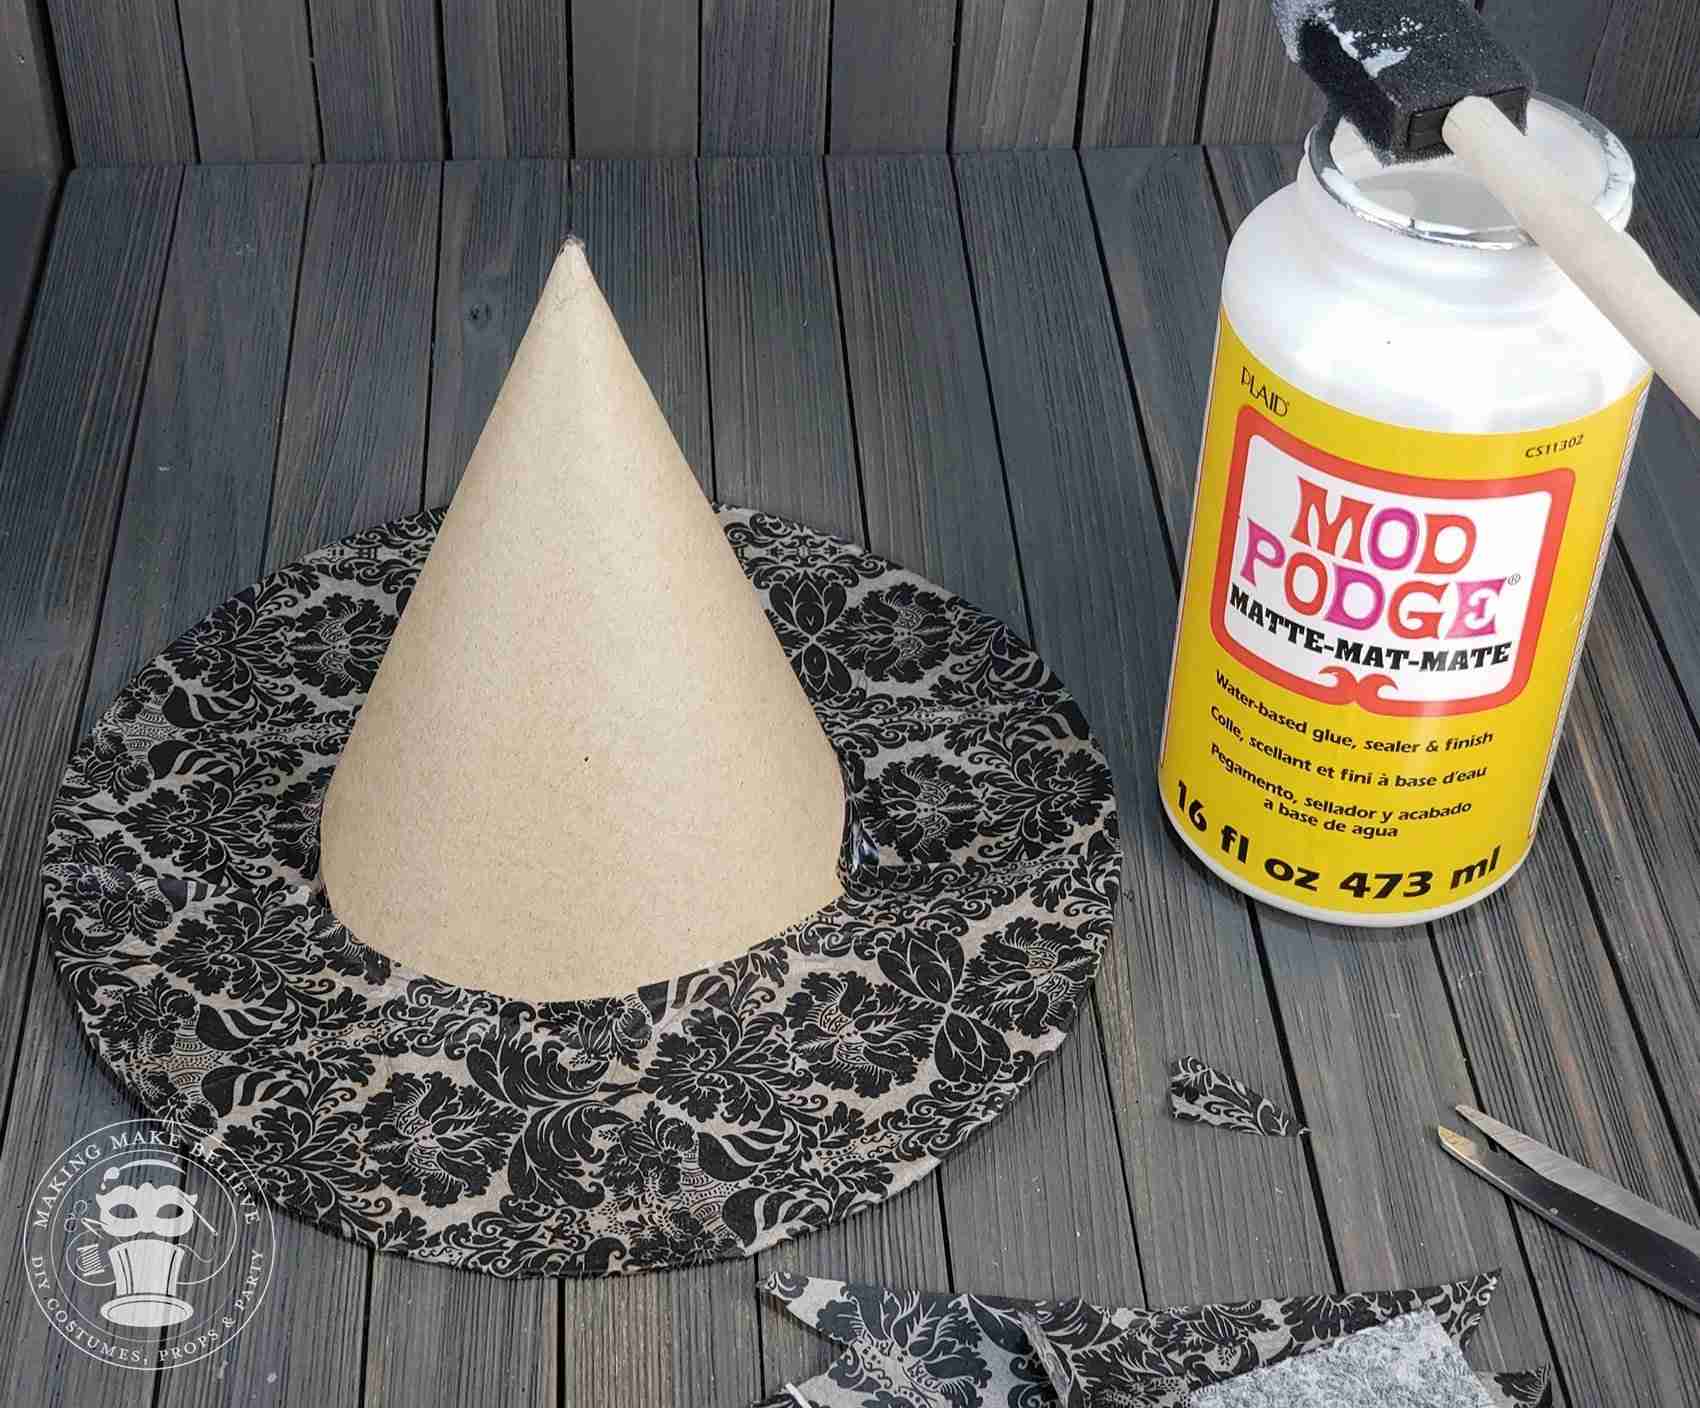
Brim completed
2. Once you’ve covered the top of the brim, trim the overhanging napkin to about 1″-2″ out from brim edge.
Make cuts in the overhang so that the napkin will fold over flat.
TIP: Don’t cut all the way to the brim edge. Leave about 1/8″ – 1/4″.
 Secure to the hat with a thin layer of Mod Podge.

Attach napkin to cone portion of hat

Continue to attach napkin around hat
3. Beginning at the back of the hat, lay a thin layer of Mod Podge from the cone base to the tip. Press and smooth napkin onto the hat.
Continue this process, working your way around the hat.
Allow to dry completely.

Coat hat with Mod Podge
4. Once dry, coat entire hat with a thin layer of Mod Podge.
Let hat dry completely before moving to the next step.

Glue felt to underside of hat
5. Cut a circle from the felt that is approximately 1/4″ smaller than the diameter of the hat.Â
Mark the center of the circle with a small dot of chalk.
Center felt onto underside of hat with your mark facing out and adhere with hot glue.

Cut slits in felt
6. Starting at the center mark, cut to the inside edge of the hat. Repeat at quarter intervals so that you end up with four flaps.

Make a small slit for hair tie
7. Make a slit, just large enough for the hair tie. This slit should be right up along the inside edge of the hat. Repeat on opposite side.

Secure hair tie with hot glue

Close up of hair tie
8. Lift flap and secure hair ties to inner side of hat with hot glue.
Glue down all flaps.

Cut felt

Form felt into a cone
9. Cut a piece of felt and form a cone.

Attach felt with hot glue
10. Insert felt cone into hat and secure with hot glue.

Slip headband into hair ties
11. To wear, insert headband into hair ties.
TIP: Don’t want to wear a headband? Slip bobby pins through the hair ties and secure to hair.

Mini Witch Hat Wearable Decor
12. Embellish as desired.Â
Now you have a piece you can wear or add to your haunting decor.
Craft felt from Hobby Lobby in Black (893818)