
During a visit to Hobby Lobby in early Spring, a bin of closeout fabric started calling my name. (Is it just me or does that happen to anyone else?) The bin contained several bolts of wool-blend felt, and, despite not having a project in mind, I purchased some of each. The felt sat in the studio for a couple of weeks until inspiration came from a traditional, vibrant green, Robin Hood costume hat.
The collection of colors I bought looked perfect for a band of merry men, or women, so I set out to craft my own version. The result is this super simple DIY bycocket hat, designed with one seam that can be machine or hand-stitched.
The optional feather can be placed on either side of the hat and held in place by simple slits. When you need to store that hat, remove the feather, tuck it in the brim and store flat.
My first version sits a little low on me unless I’m wearing a ponytail underneath the hat, so I made a second, smaller version. Both PDF sizes are included with the felt Robin Hood Hat Pattern, which you can get in the Making Make Believe shop.
The hat was fun to create, and I plan to build an entire costume around it soon. I hope you enjoy this project, and if you craft one, be sure to post a pic and tag Making Make Believe. I’d love to see what you create.
Robin Hood Hat Tutorial
Materials:
- Wool or wool blend felt* (14″x24″)
- Thread
- Feather (optional)
*See Notes at the end of tutorial for some things to consider when selecting your felt.

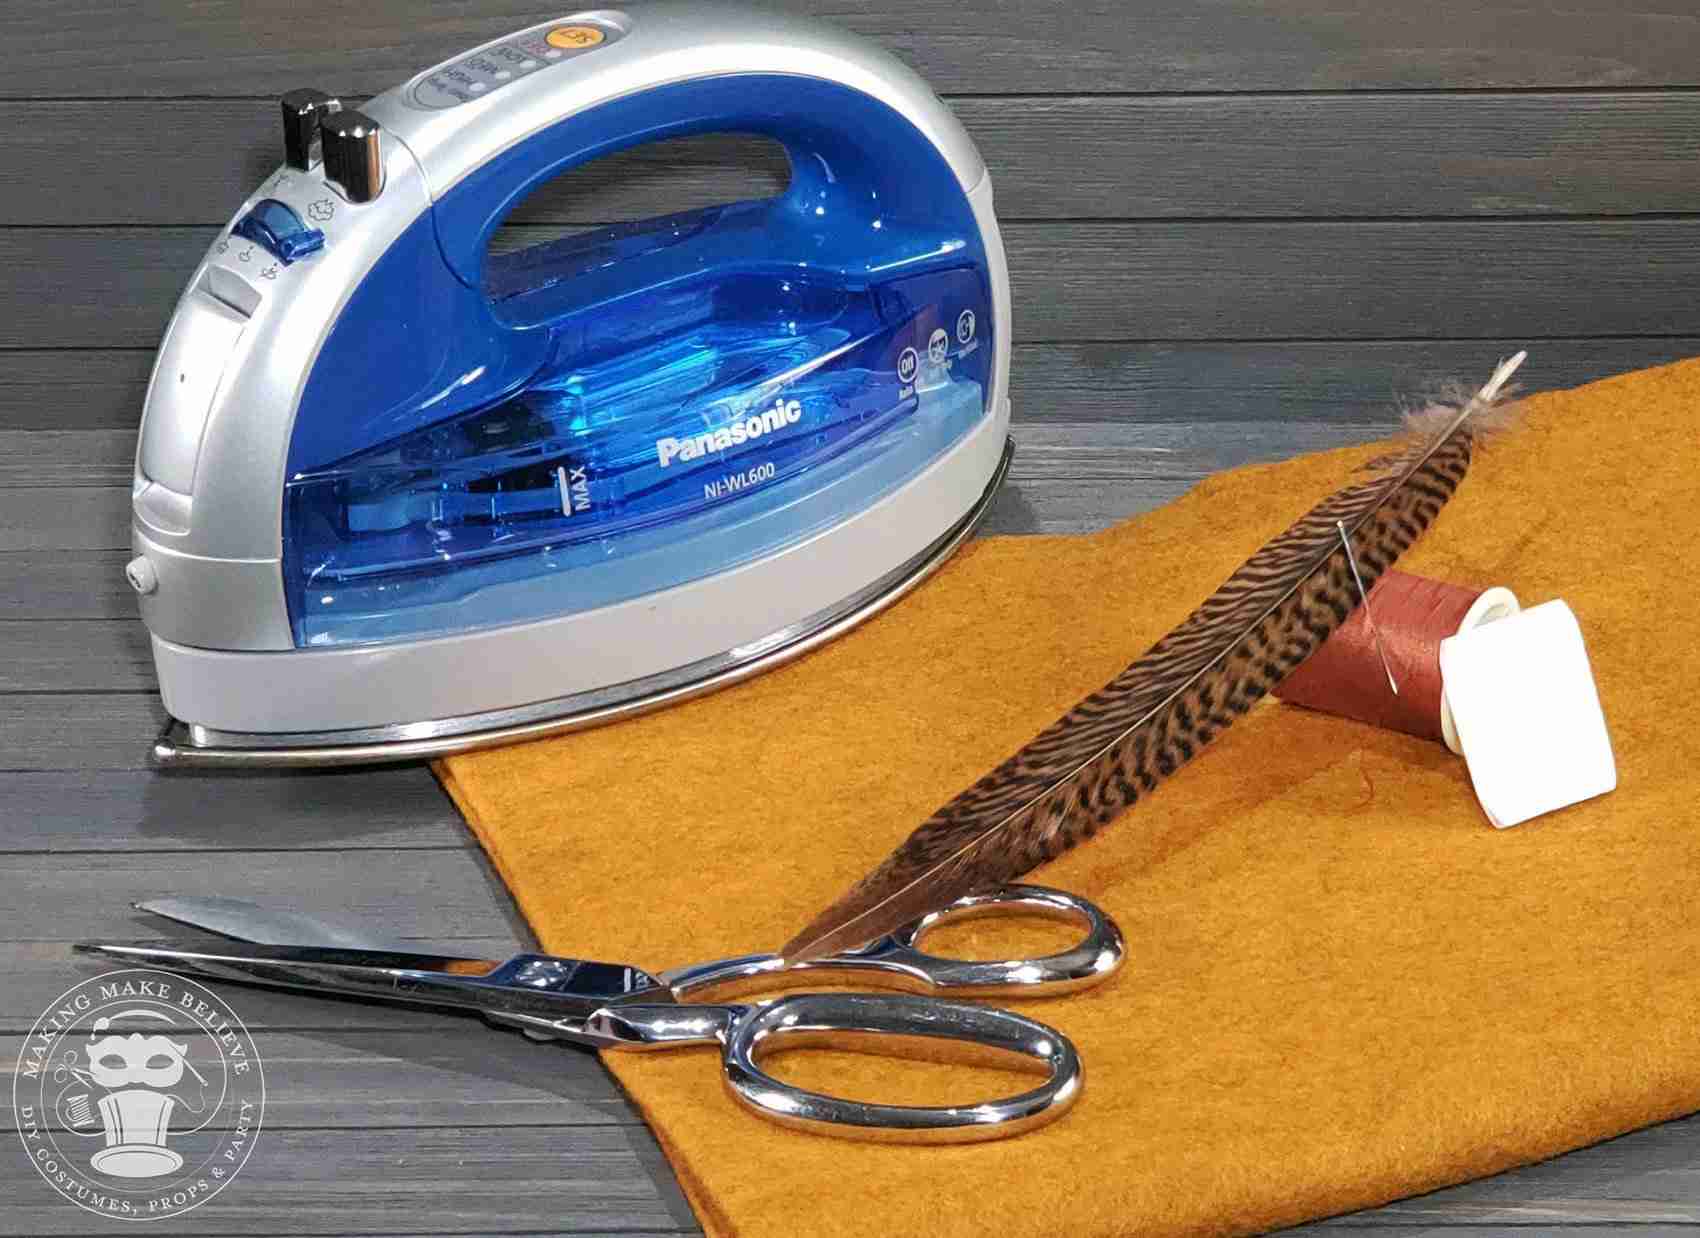
Supplies and tools for Robin Hood Hat
Tools:
To hand cut*:
- Pattern PDF
- Scissors or rotary cutter
- Marking pen or chalk
- Needle or sewing machine
- Iron
*An SVG cut file was not made for this pattern as it is cut on the fold.
Before You Get Started:
Visit the Making Make Believe Shop to get your Robin Hood Hat Pattern pattern.
Steps:

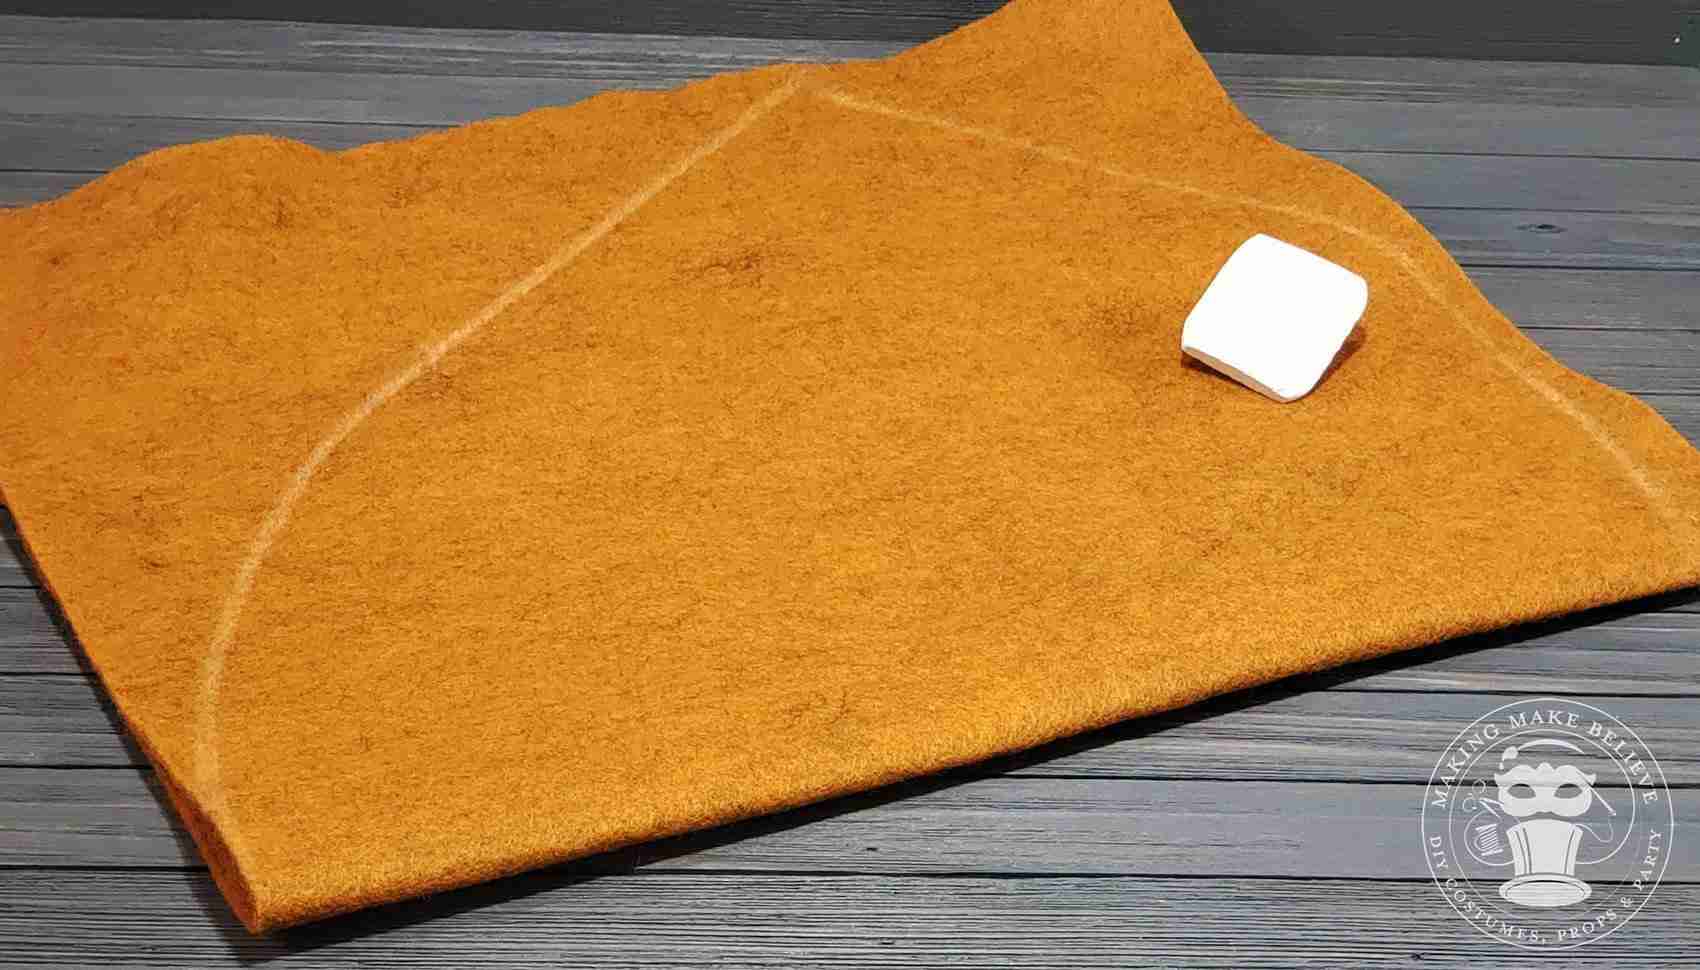
Fold and trace Robin Hood Hat pattern
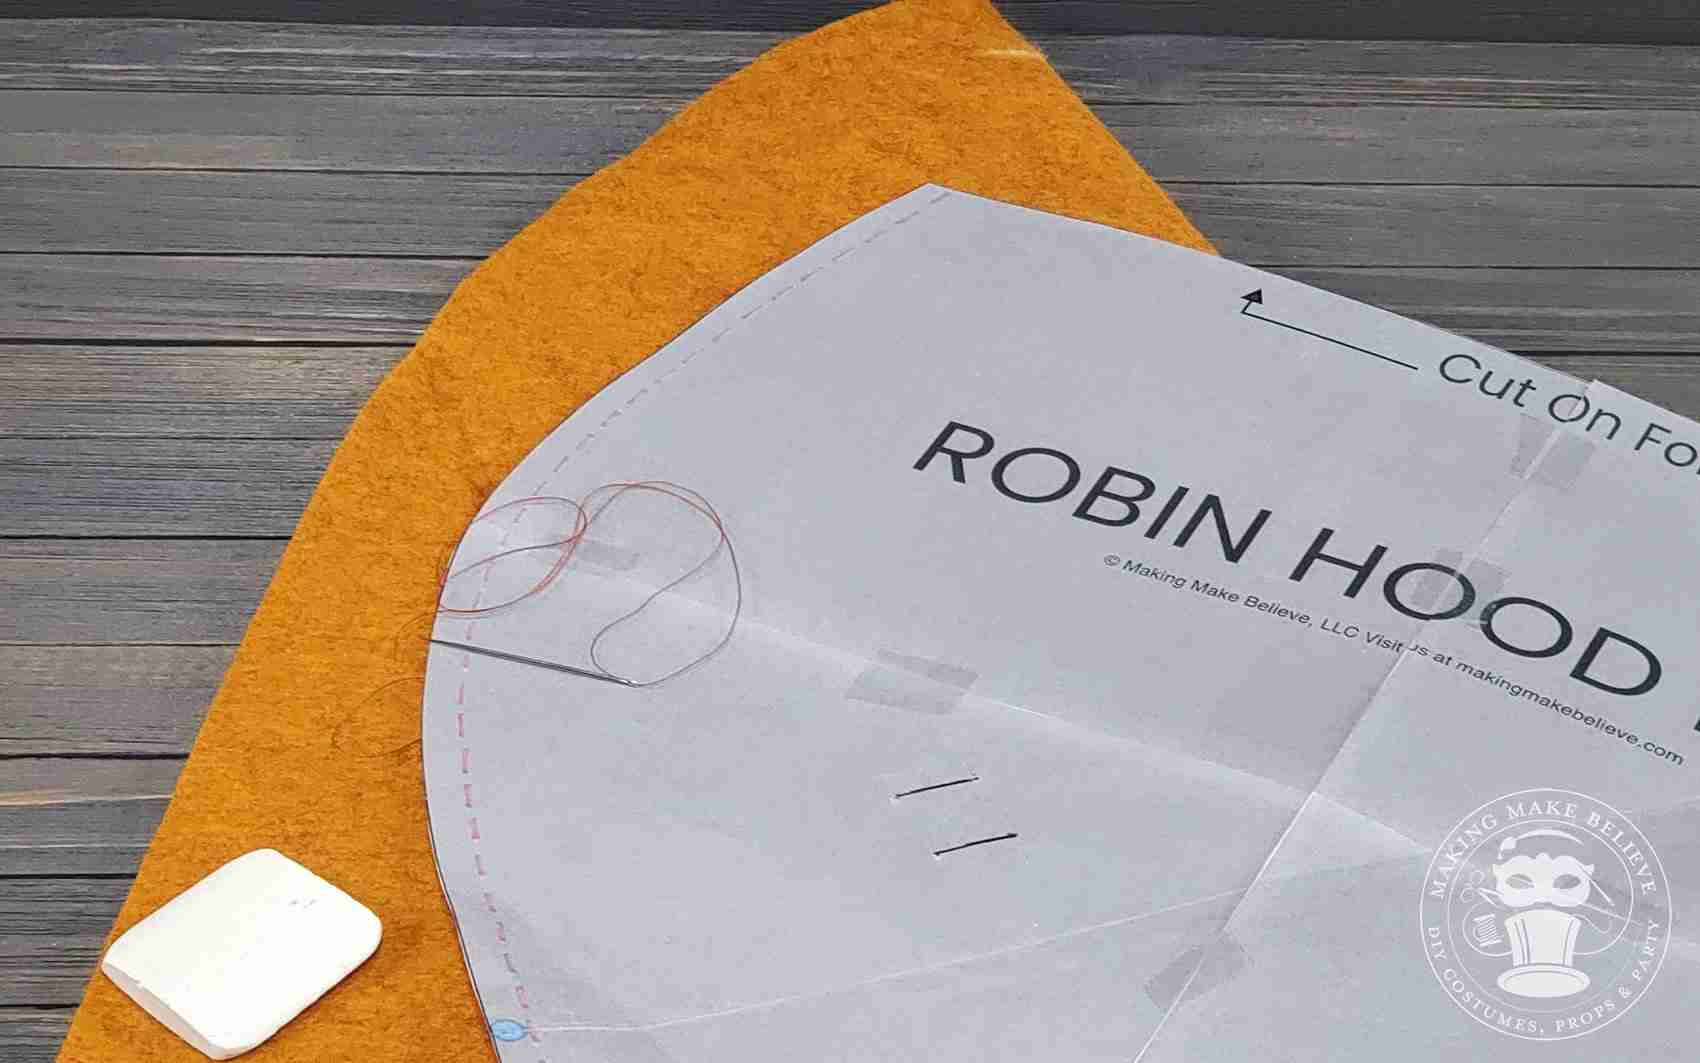
1. Fold your fabric in half and place your pattern piece on the fold as directed by the pattern piece. Trace the pattern onto your felt using a marking pen or chalk.

Cut and mark felt
2. Cut out along your cutting line. Using a marking pencil or chalk, transfer the blue dot and black slash marks on the pattern to your hat piece.

Stitch along curved edge
3. Stitch a 1/4″ seam allowance along the short, curved edge as shown by the pink dash marks on your pattern.

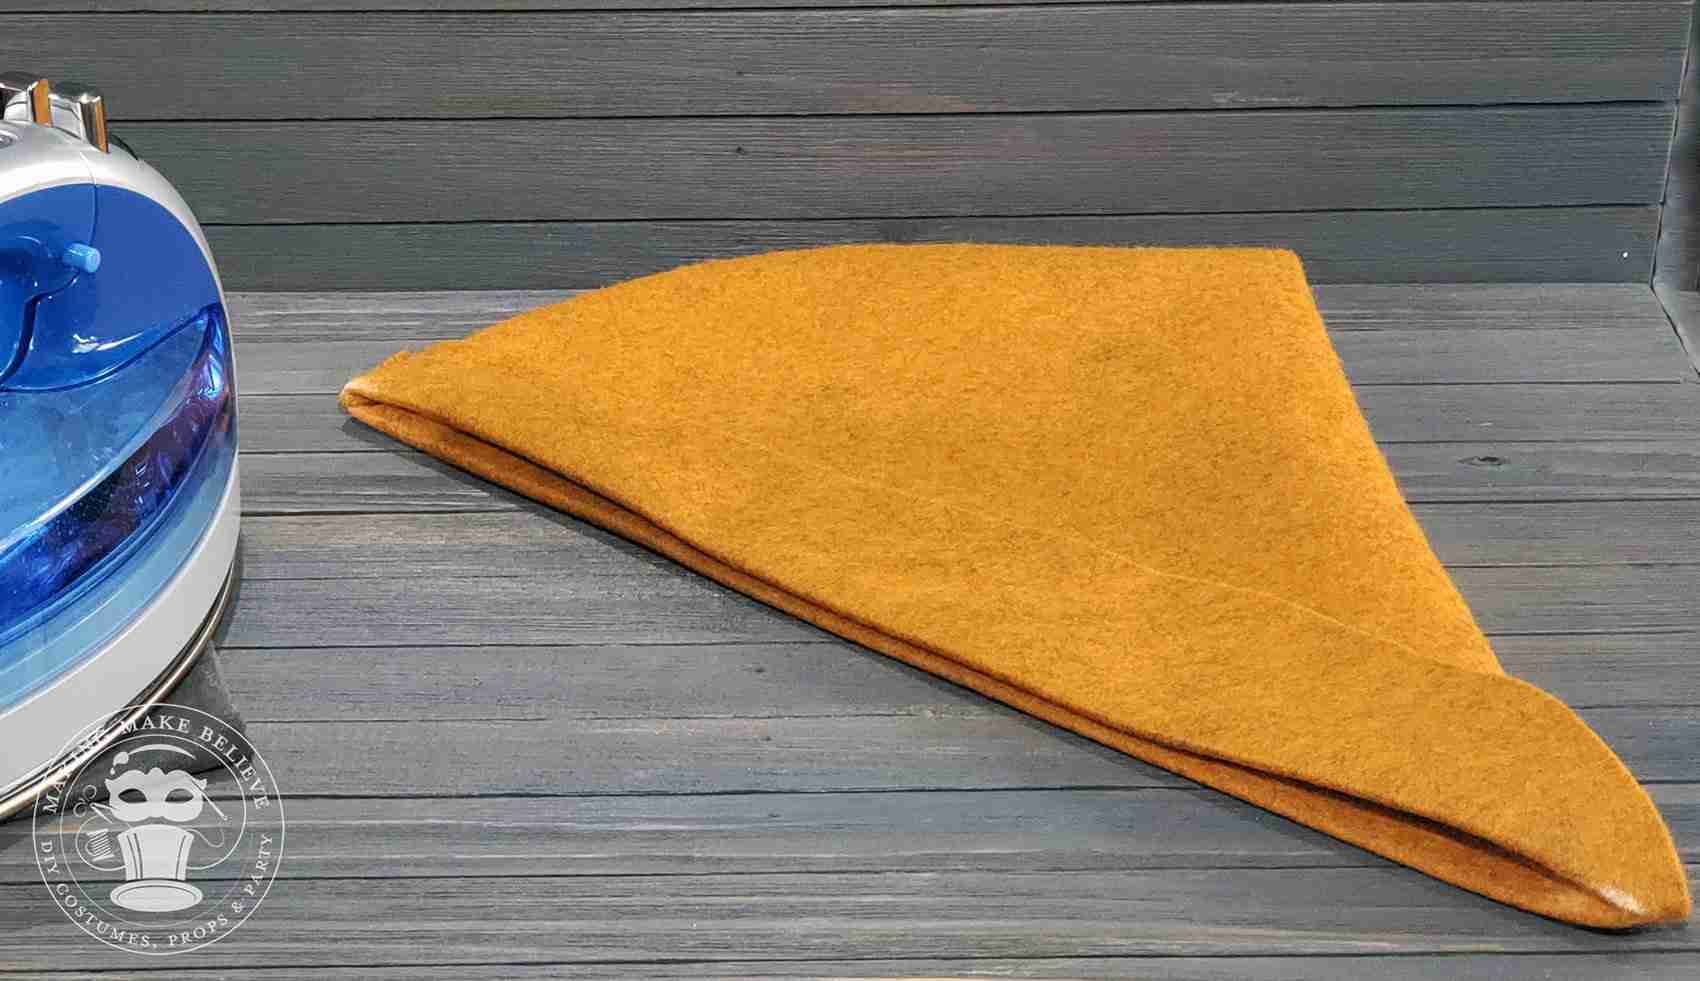
Turn right side out and press
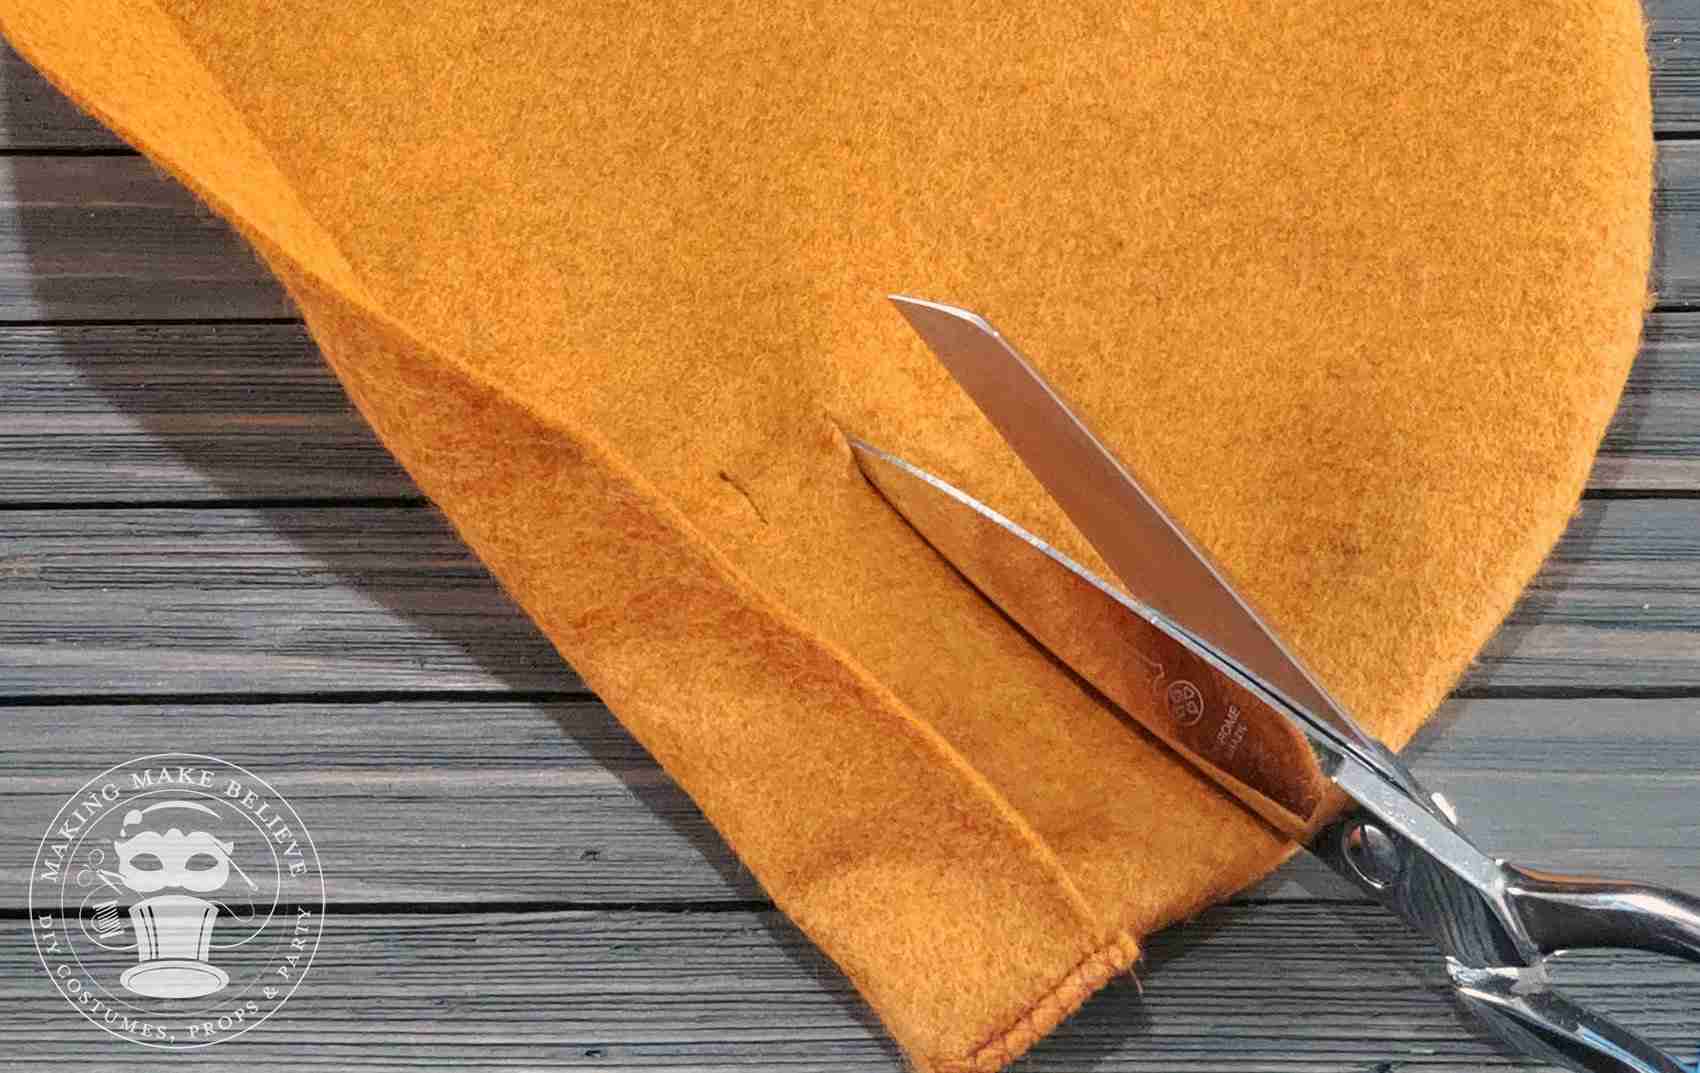
4. Turn hat right side out and press the seam. Form the hat brim by folding up the edge at the dots and press.
TIP: Felts containing acrylic such as craft felts can melt with heat so read the bolt label prior to purchase. Test iron settings on a scrap piece of felt and adjust temperature or use a pressing cloth to protect your project.

Cut slits
5. Carefully cut slits where you placed the slash marks.Â

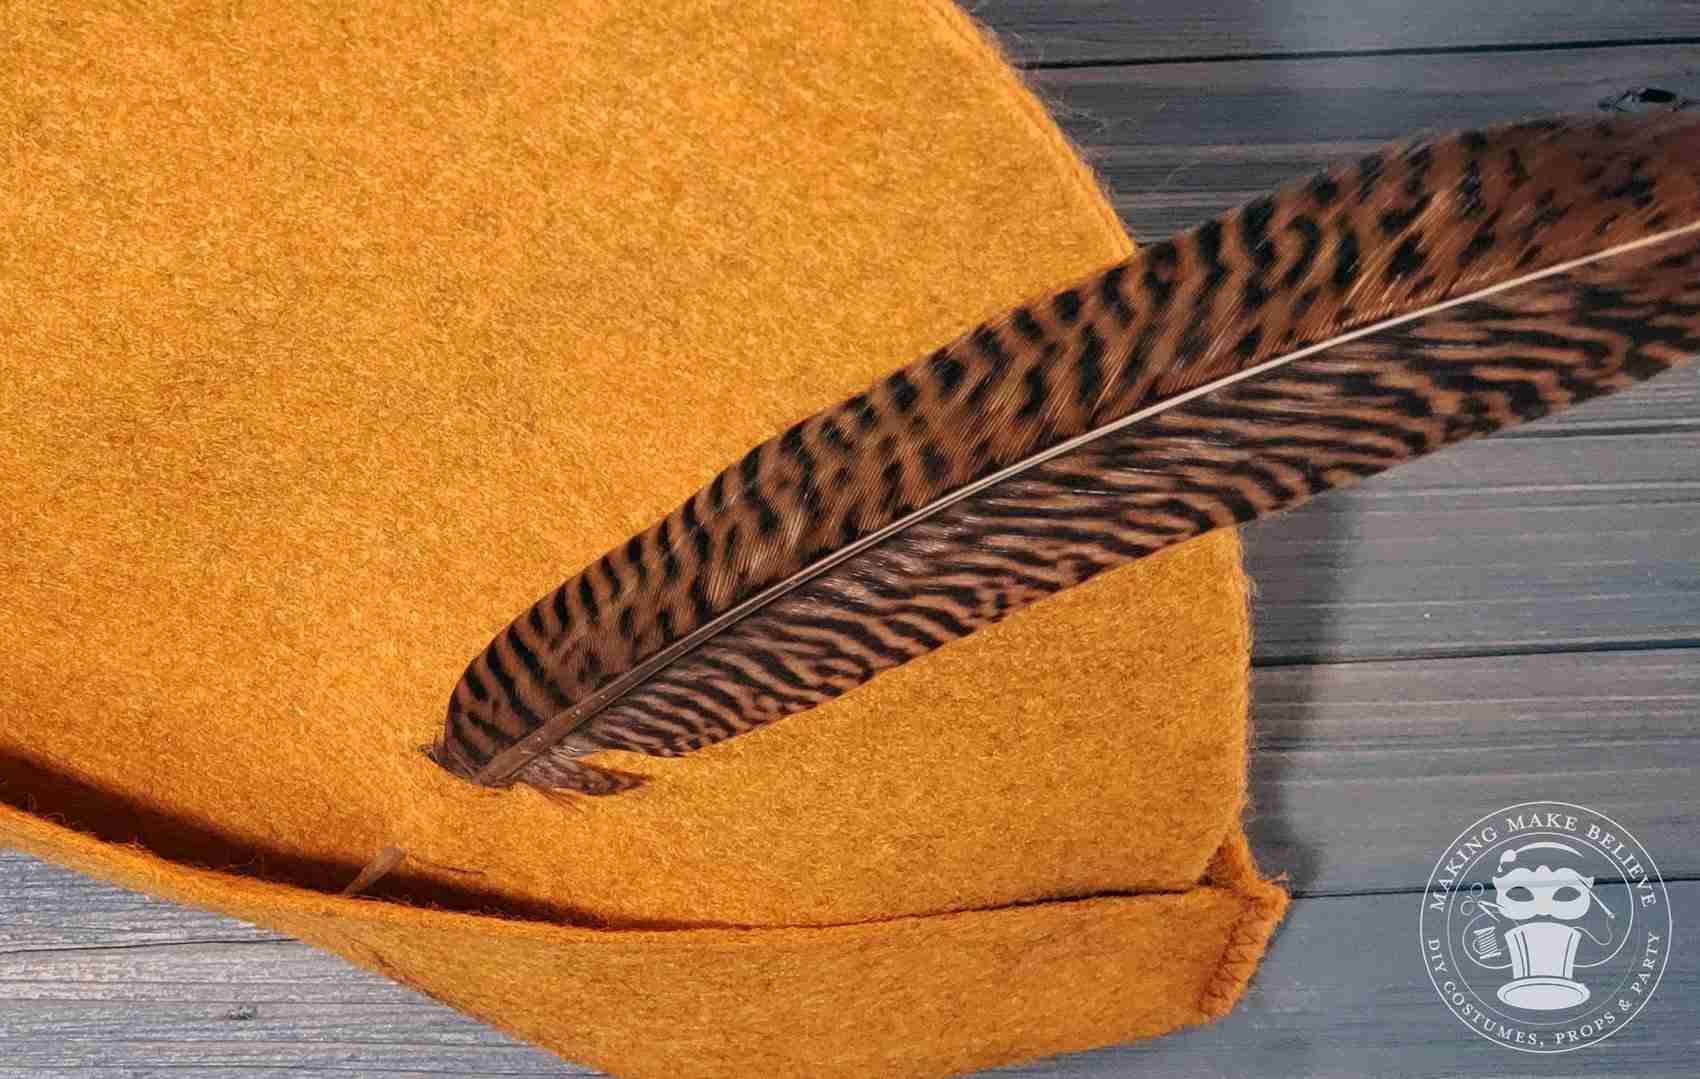
Insert feather into slits
6. Slide feather into the slits and your hat is ready to wear.
TIP: To store hat, remove feather and tuck into flap of brim and lay flat.

Completed Robin Hood Hat