2.5K
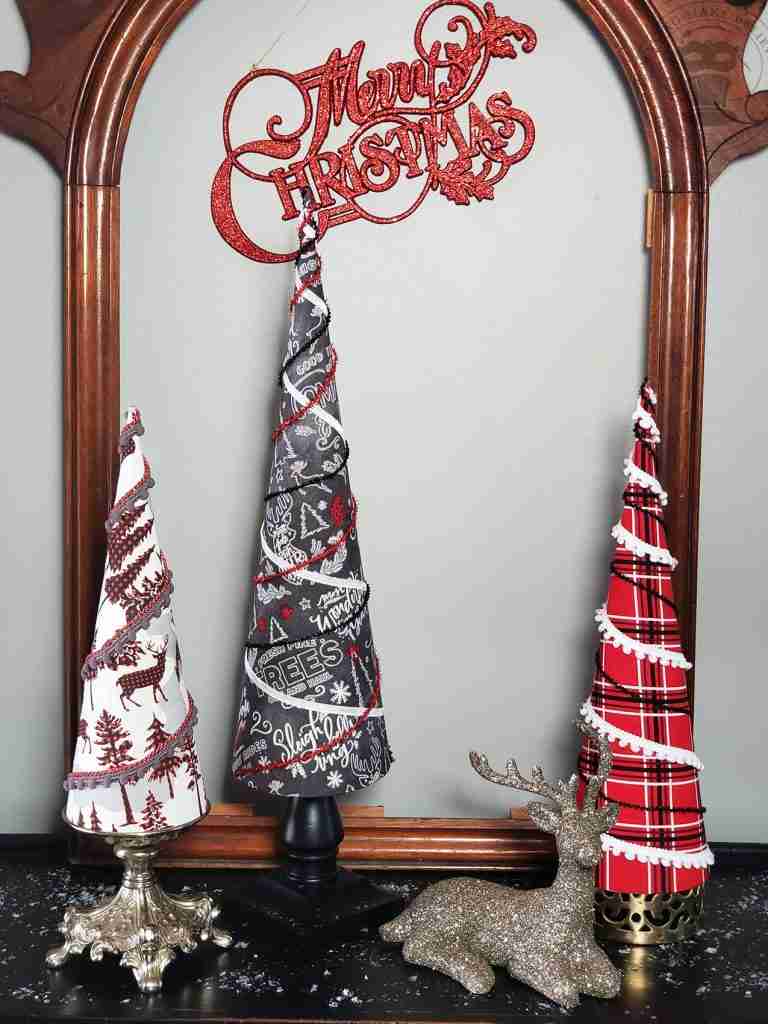


Tabletop Christmas Trees
Real or fake? Christmas trees, that’s what I’m talking about. Which do you prefer?
I love real Christmas trees. For years, our family would pick out an actual, honest to goodness, needles-might-drop-before-the-last-package-gets-unwrapped, Nobel Fir tree. Then, one year, in the middle of wrapping lights around each branch, I started to break out in hives. I finished the tree, but it was apparent I had become allergic and that live trees were not in our future.
Now, we have artificial trees and, while I miss the search for the perfect live tree, I’ve grown to love the ease of plug it in and decorate.
In addition to our full-size trees, several mini trees are part of the holiday decor. We have these little conifers in glass, resin, bottle-brush, and wood, to name a few. This year I’m adding a new type of tree thanks to a paper mache cone and an inspiration.
Super simple, this project can be created to fit any style; rustic farmhouse, Victorian elegance, Mid Century Modern, traditional, etc. These are super versatile and limited only by your imagination.
Tuck a couple into your mantle decor, or group several down the middle of your table for the holiday party.
Let’s see how easily we can put these together.
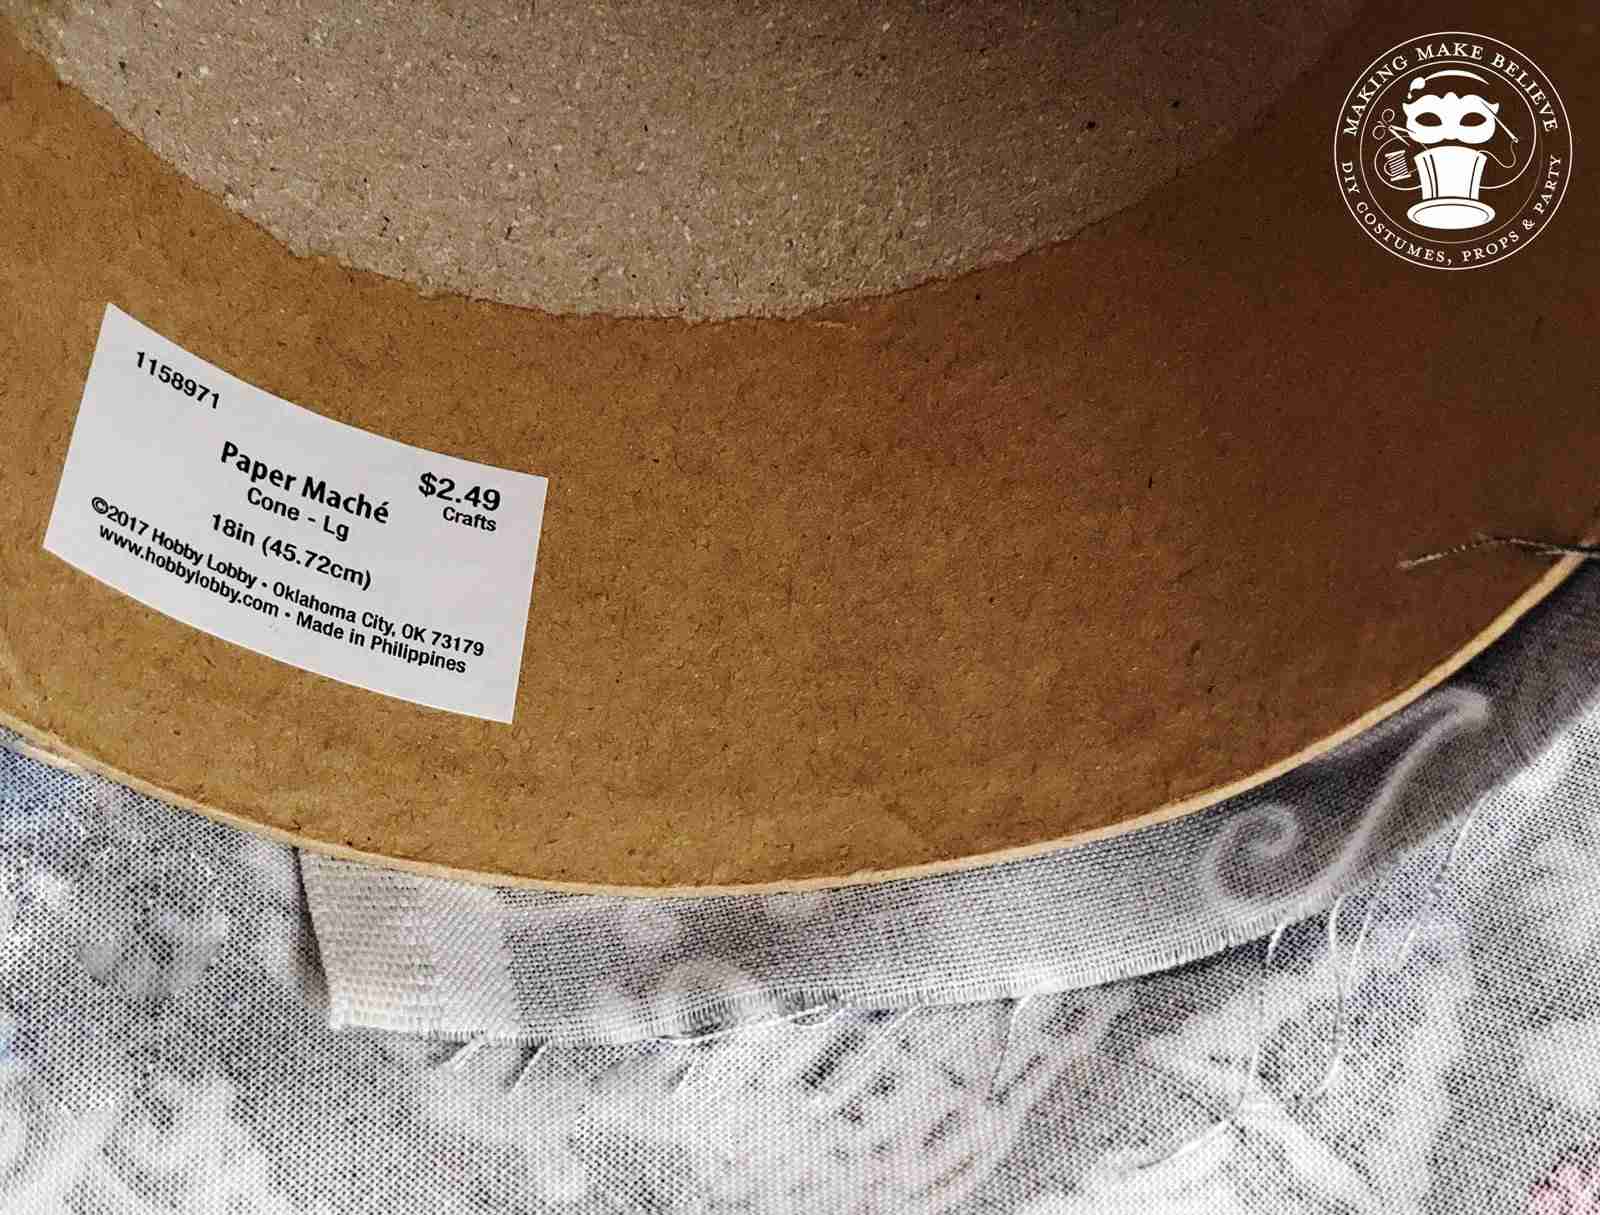
First, let’s gather up a few supplies. We’re going to need a paper mache cone. I found mine at Hobby Lobby. For the holiday season, they also have cone trees with a built-in base.
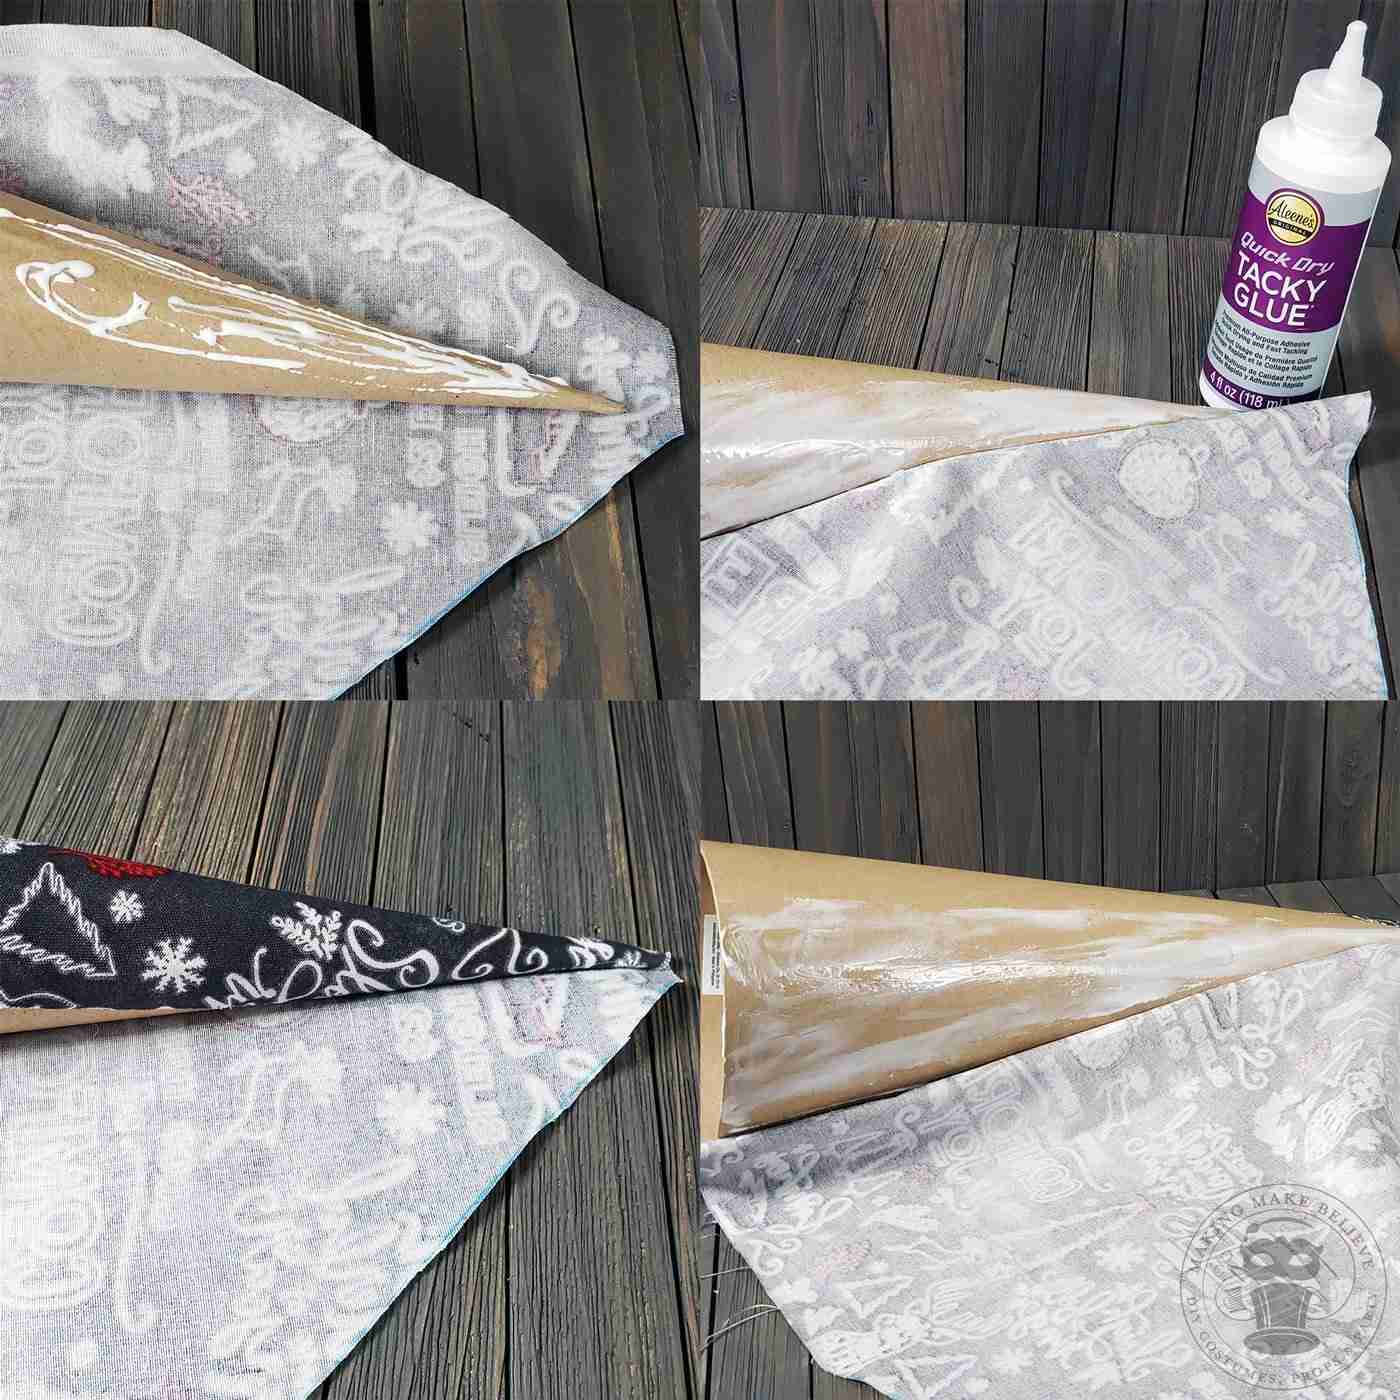
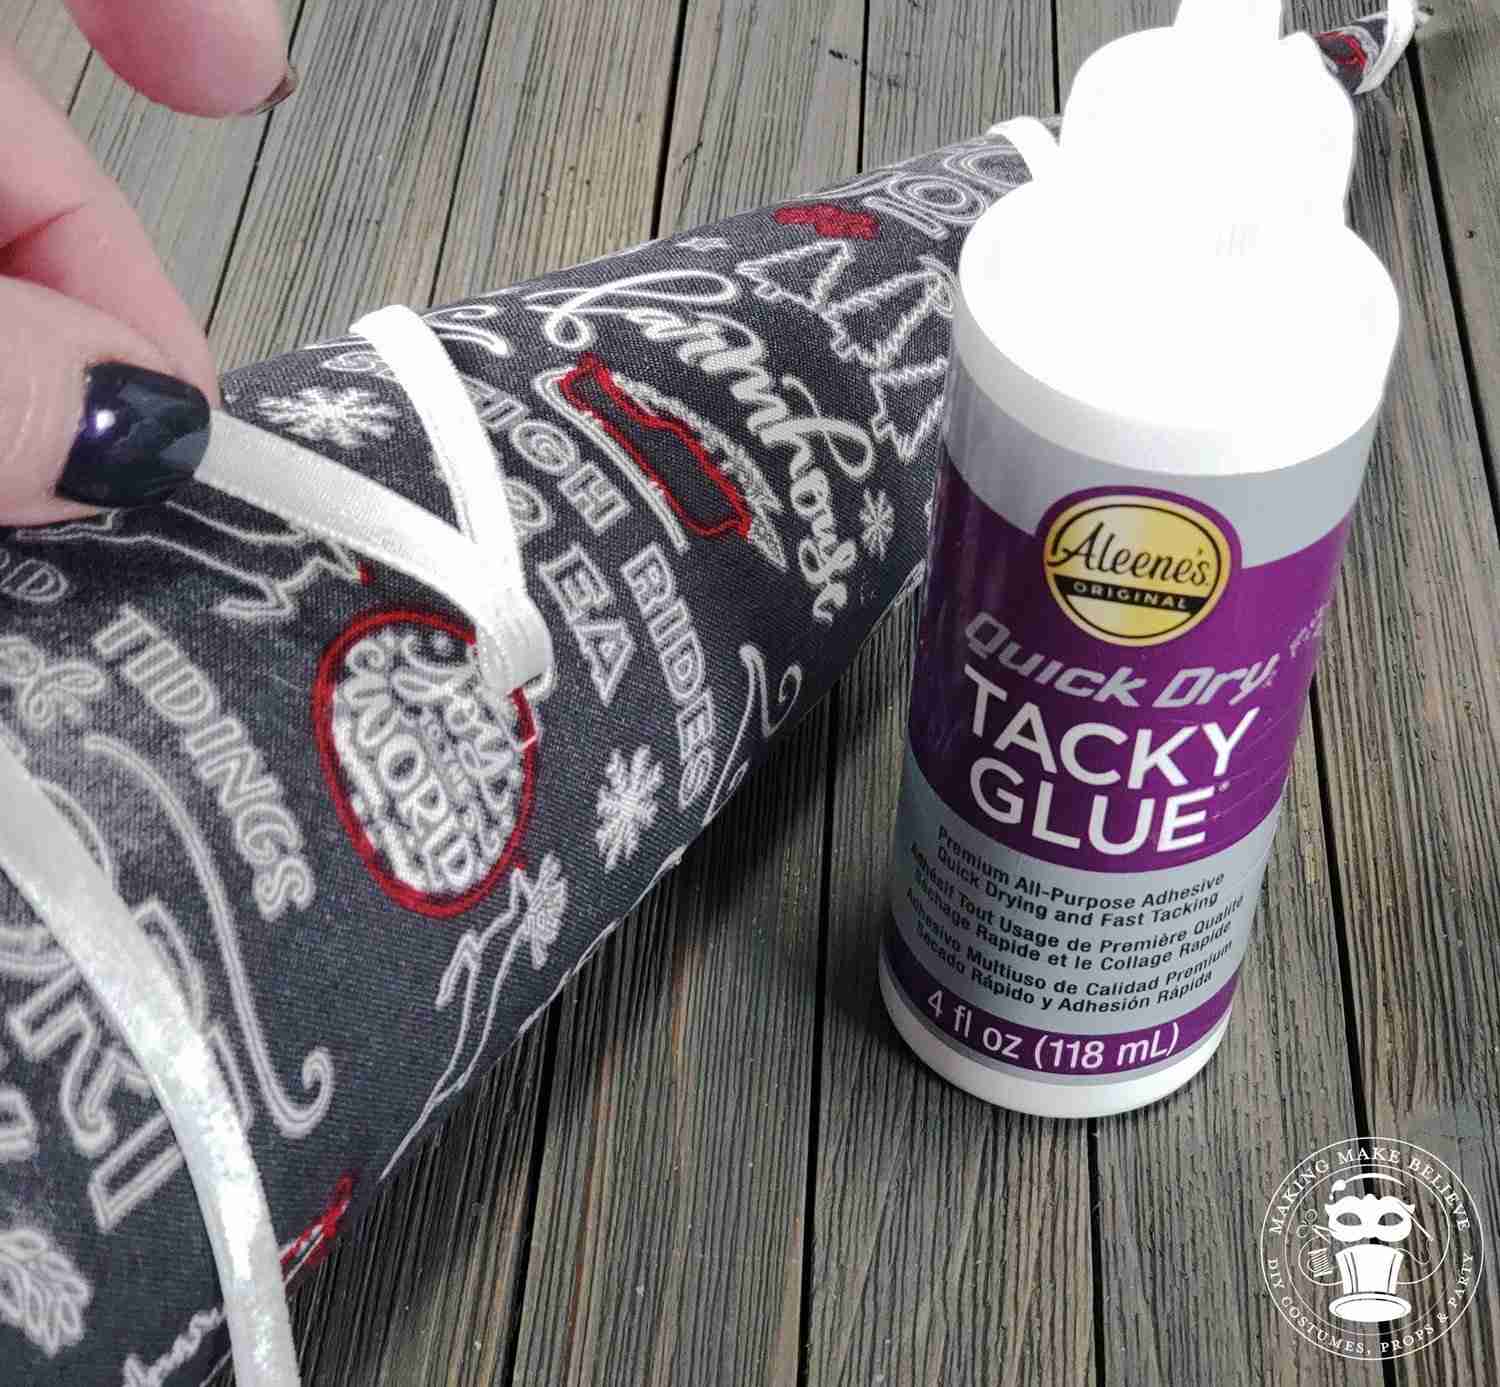
We’re also going to need some glue. I’m using Aleene’s Quick Dry Tacky Glue.
Next, it’s time to pick out some fabric. To keep things simple, I picked up a couple of these fabric bundles at JoAnn Fabric. These come in a pack of 5 designs, each measuring 18″ x 21″.
TIP: Ensure that you have enough fabric to cover your cone with the design going in the direction you prefer.
Last, I gathered up an assortment of trims from my stash and grabbed a pair of scissors.
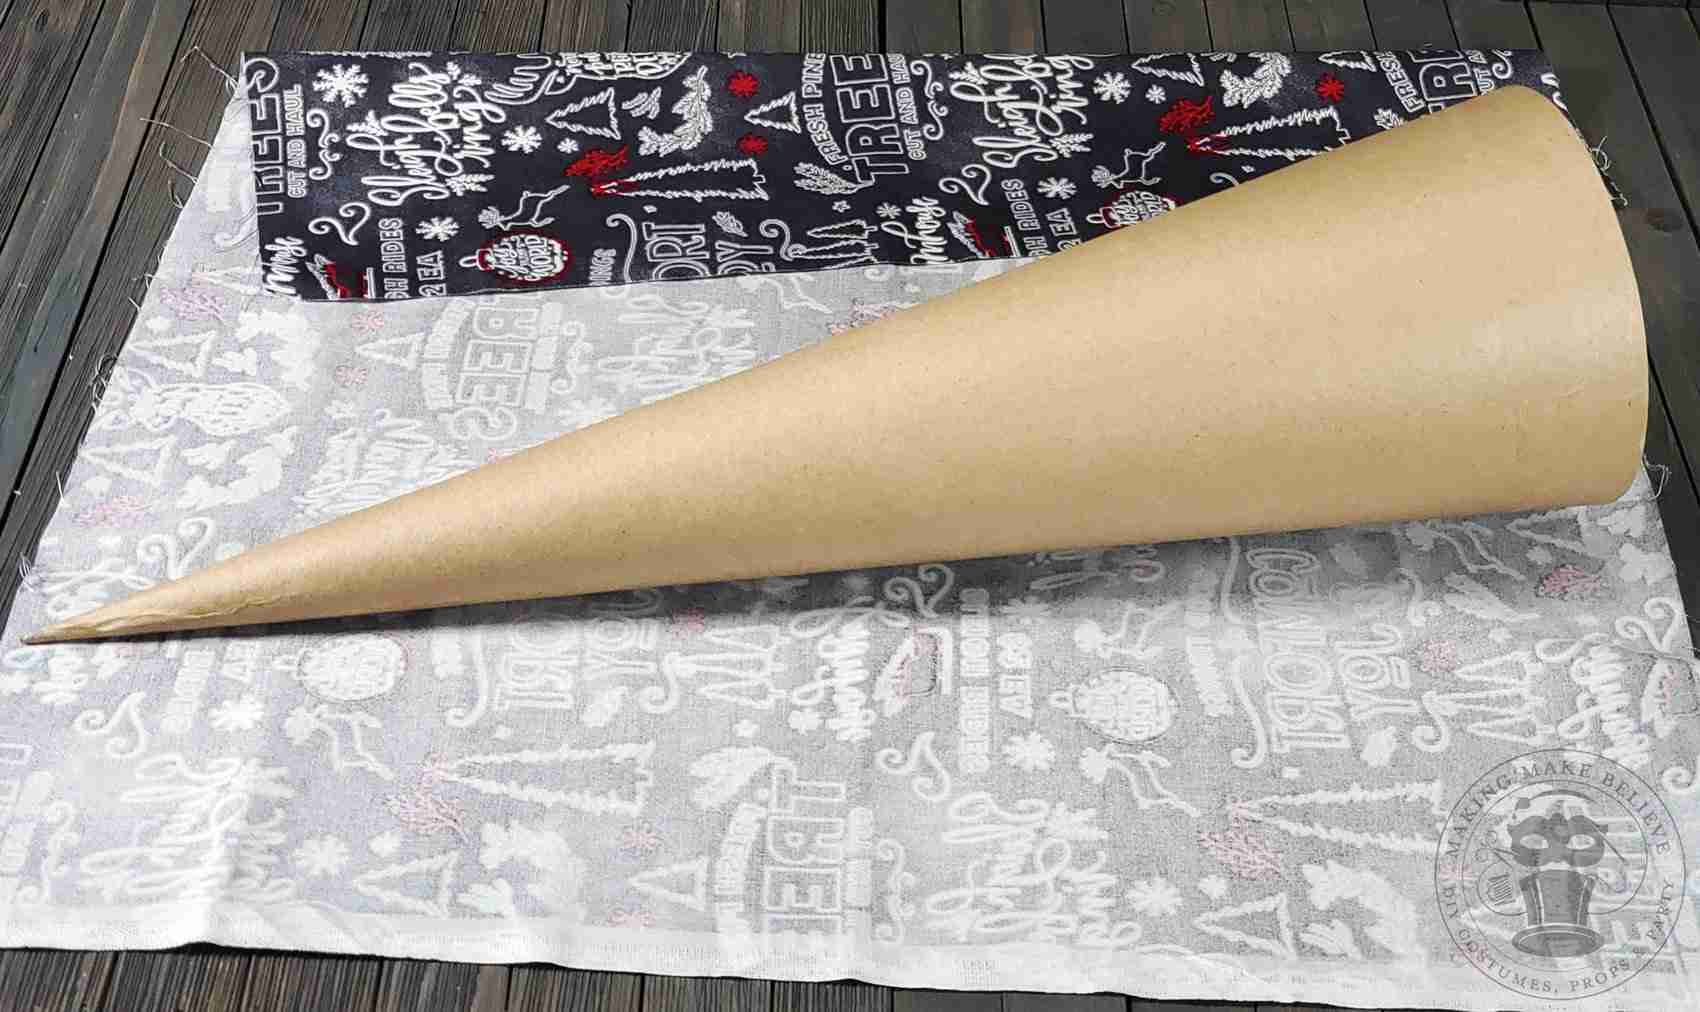
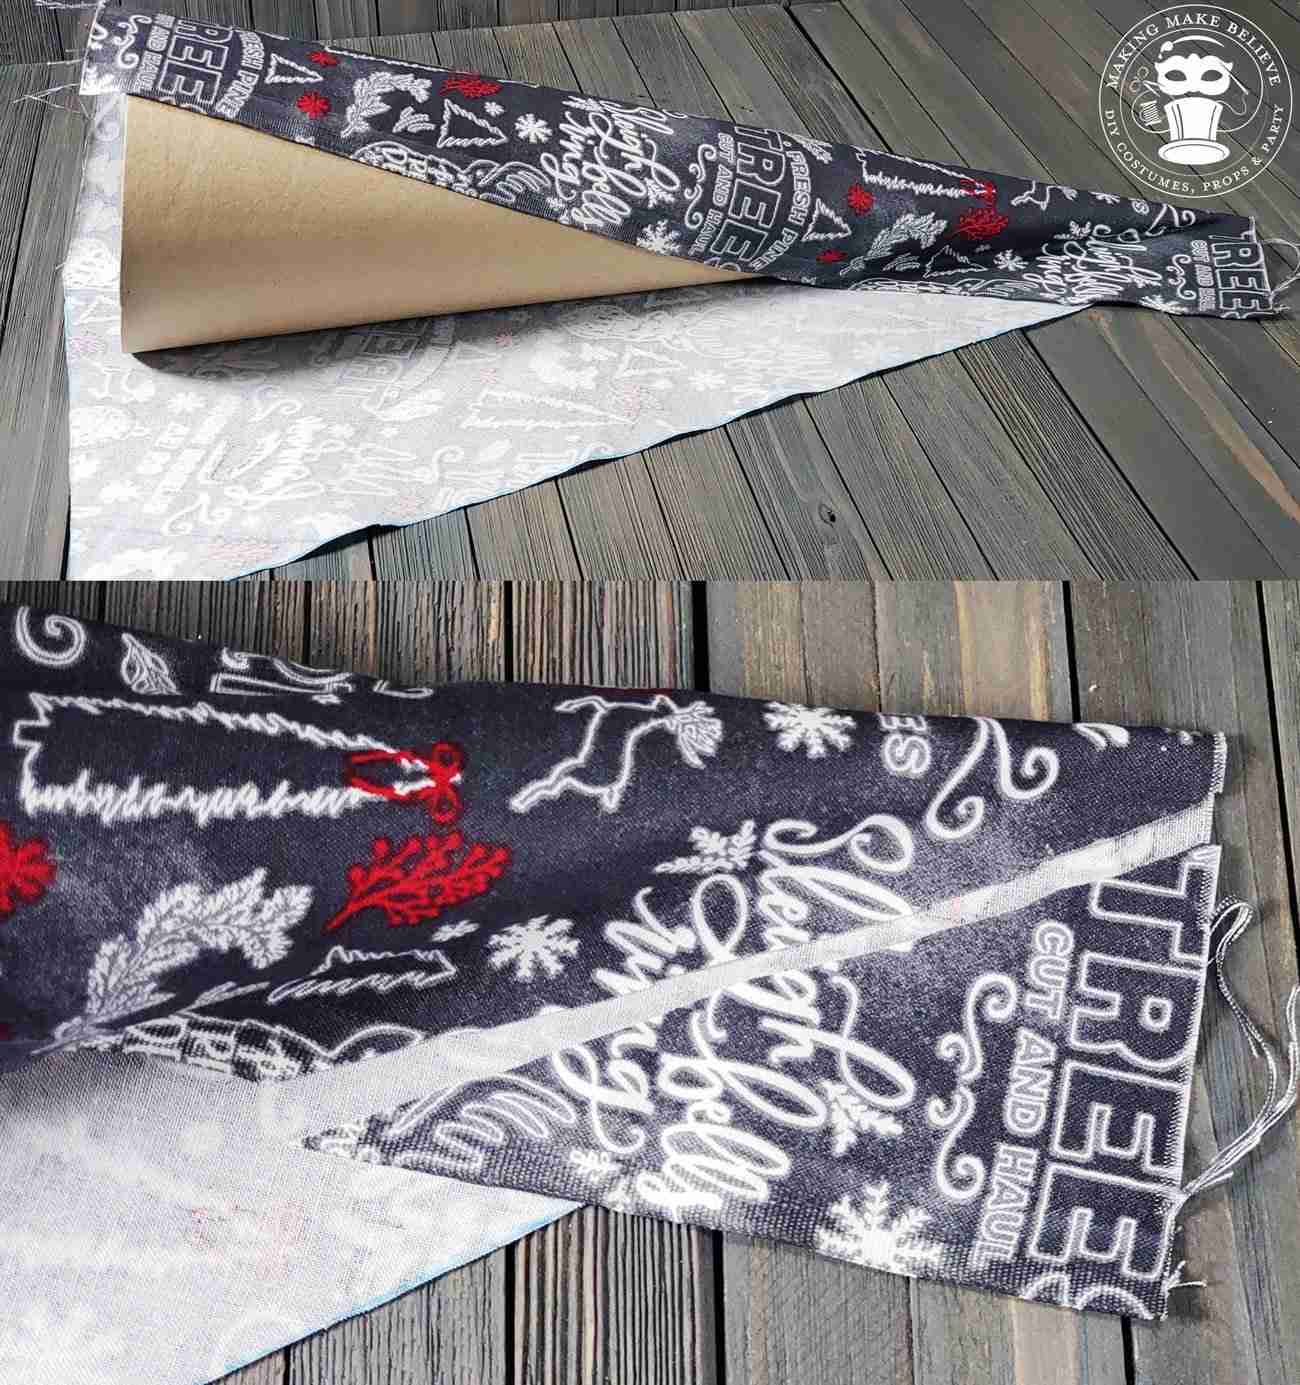
Begin by laying your fabric out wrong-side up. Place your cone on the fabric and align the print how you like.
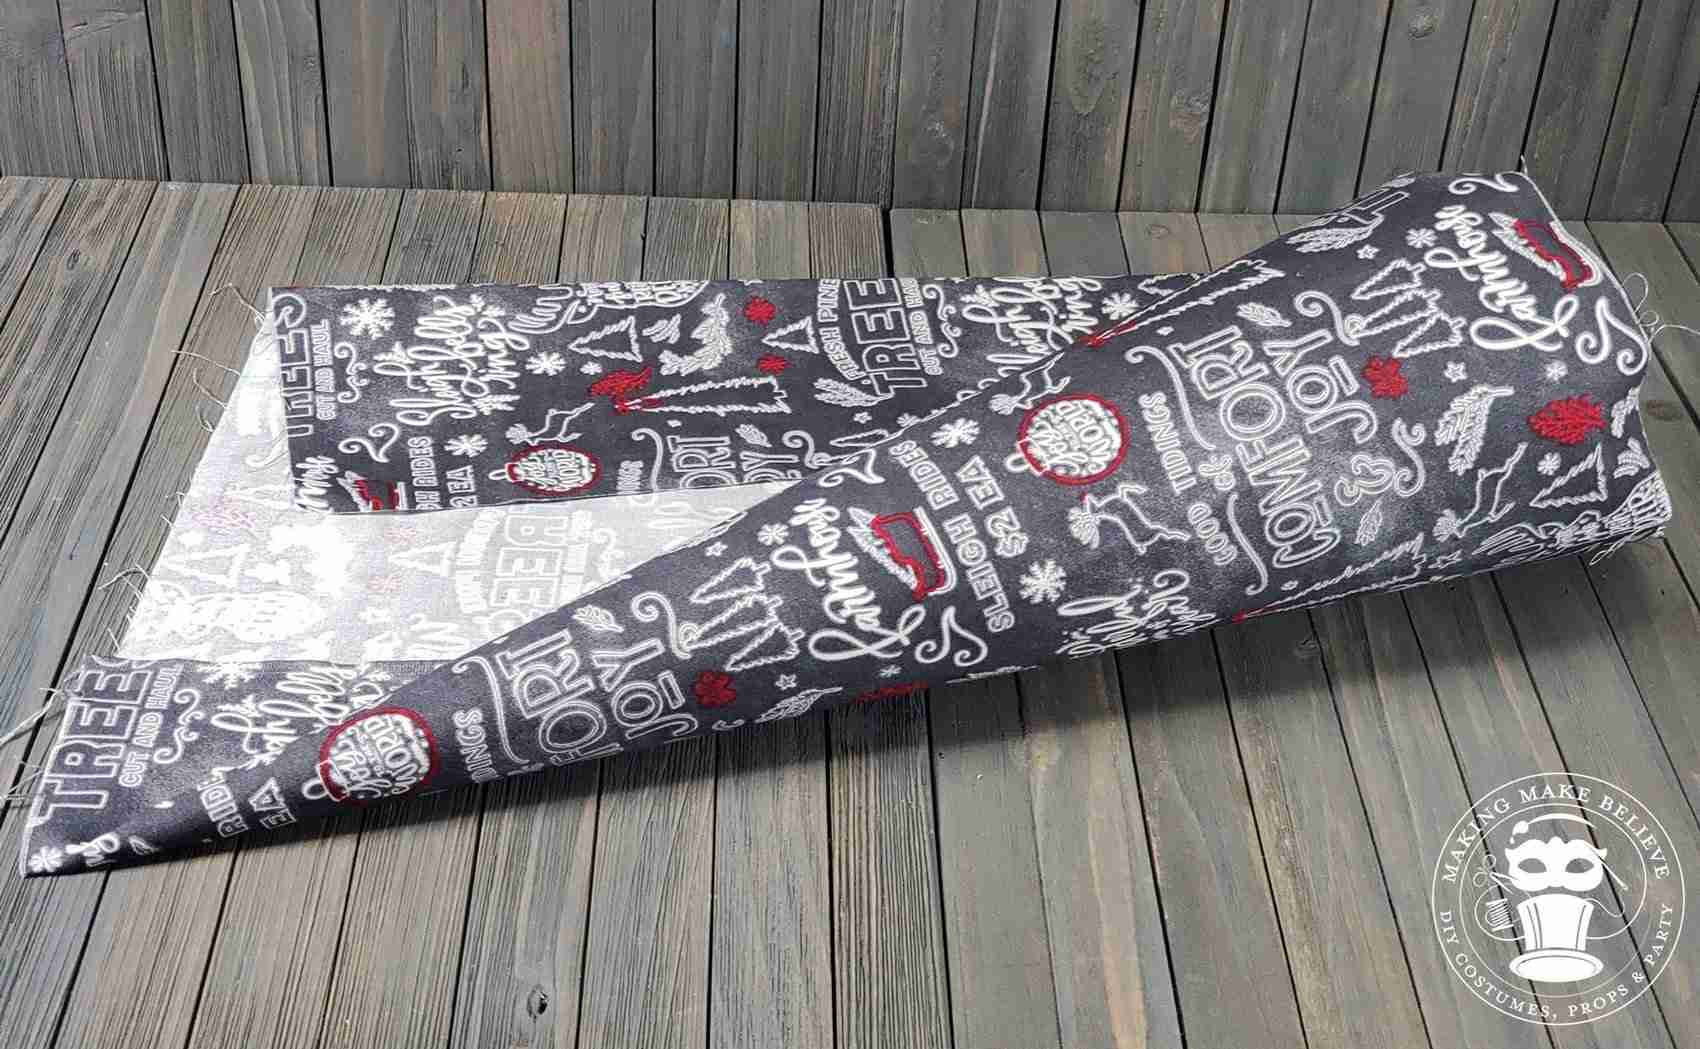
I did a test run before I broke out the glue. I wrapped the fabric around my cone to see how it would look.
Make sure that the top of your cone is enclosed in the fabric. Also, be sure to leave enough along the bottom edge so you can wrap it under.
Make sure you enough fabric to cover your cone and slightly overlap so you don’t get any gaps.
Before we start to glue the fabric to the cone, trim away any excess near the tip to avoid bulk.
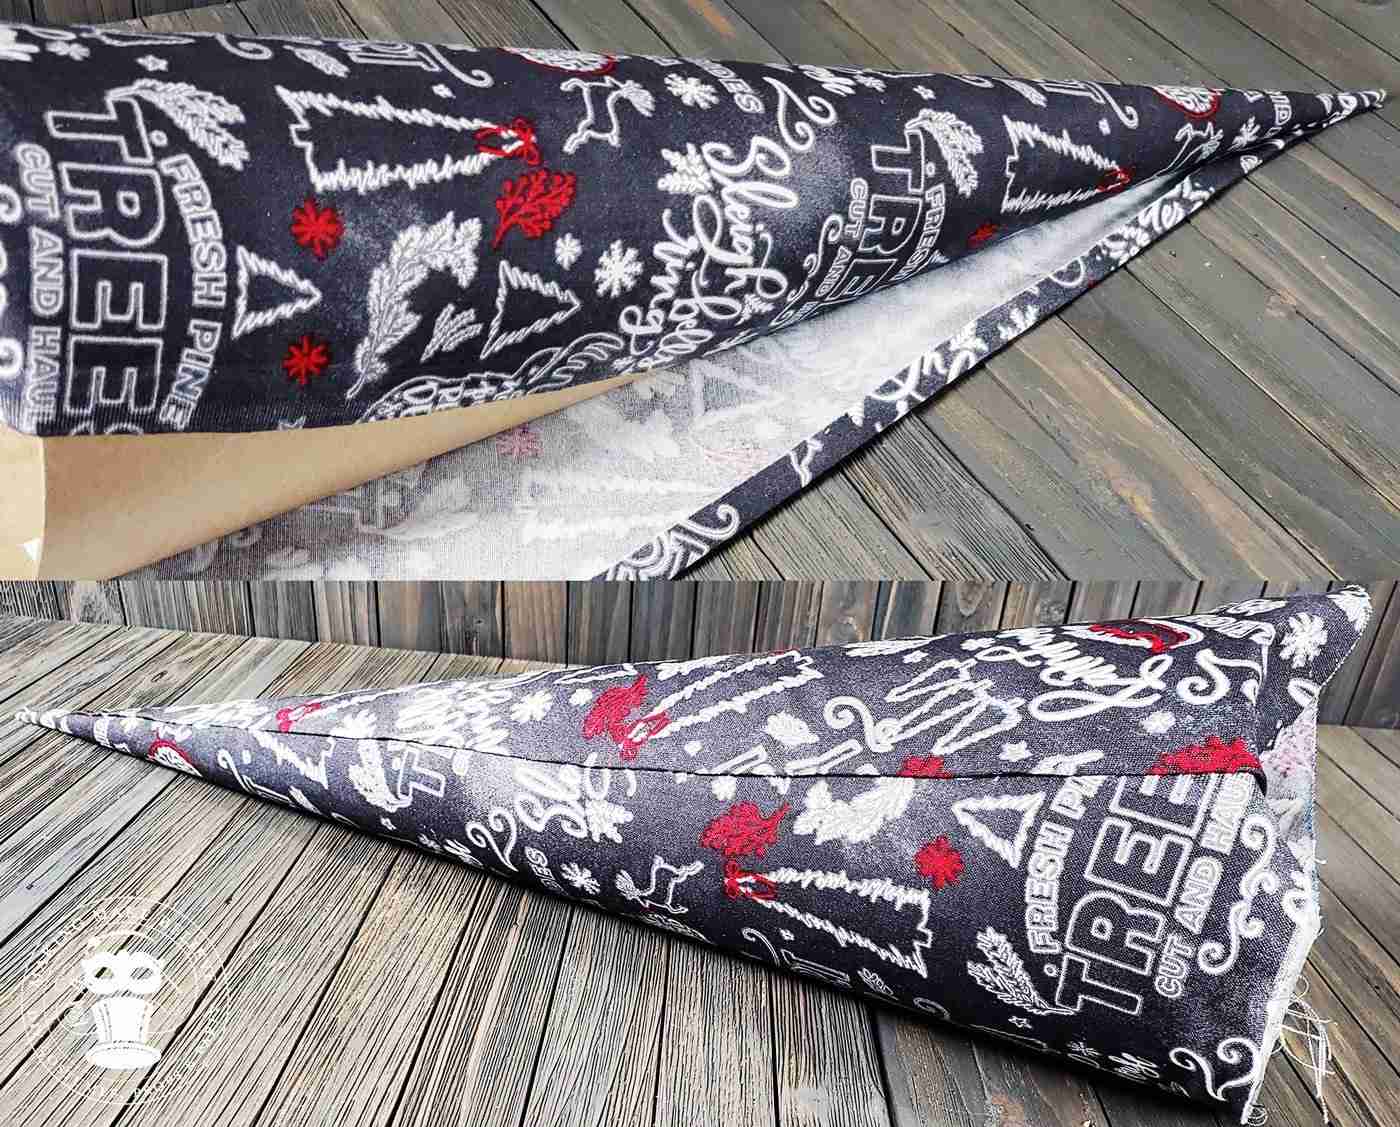
Next, start to glue the fabric to your cone. Work in small sections, smoothing out the fabric, and, if needed, trim away bulk as you go.
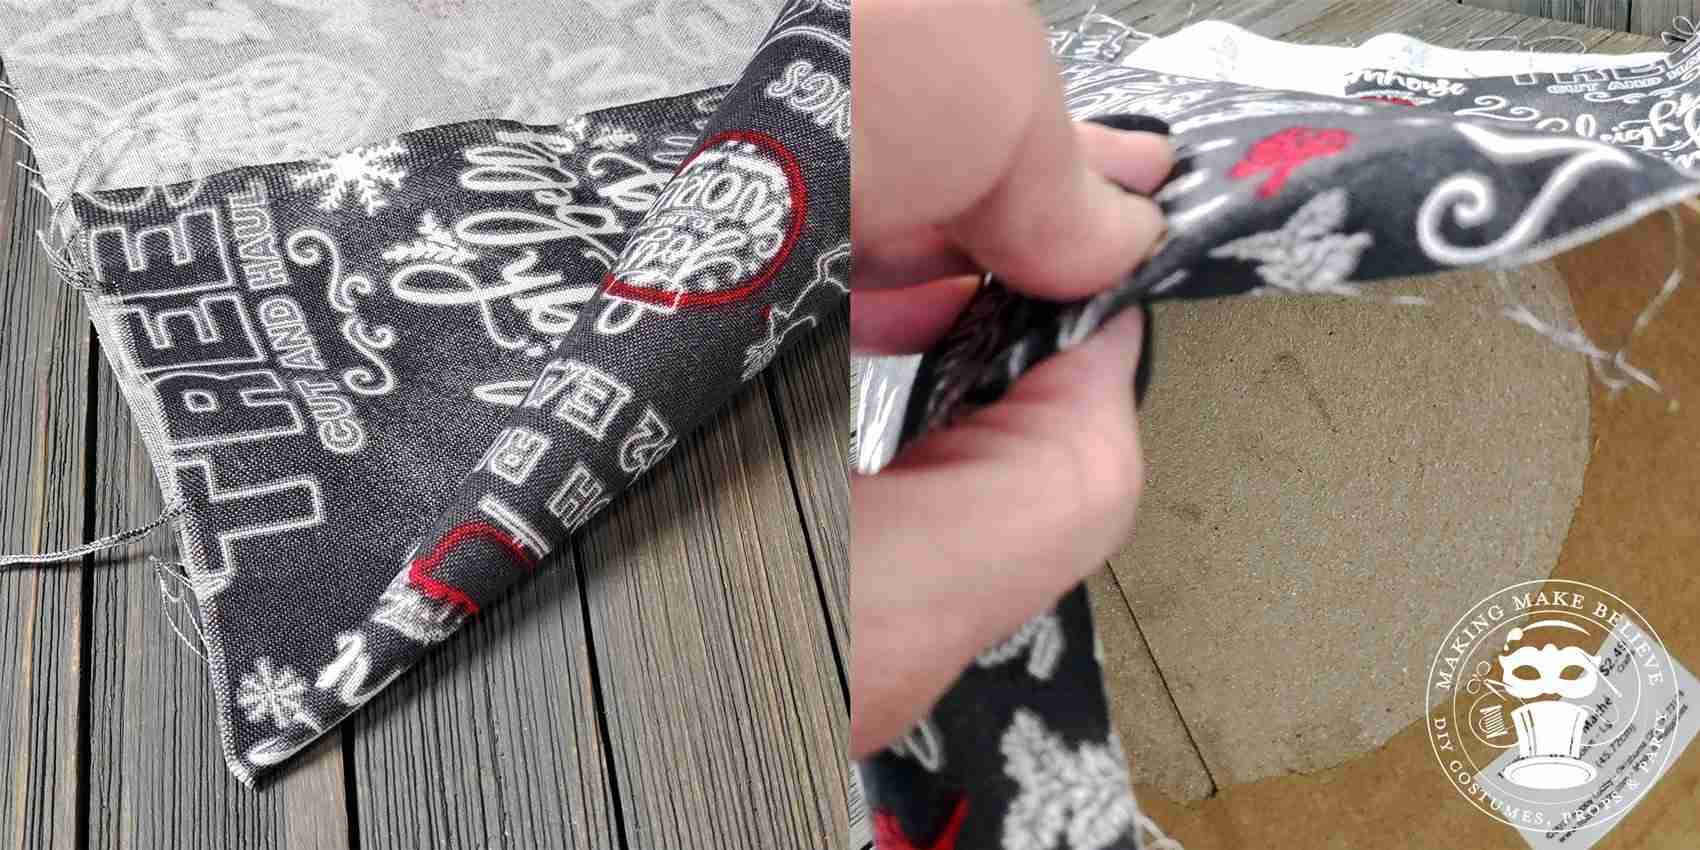
For a more finished look, turn under the raw edge of the fabric prior to gluing into place.
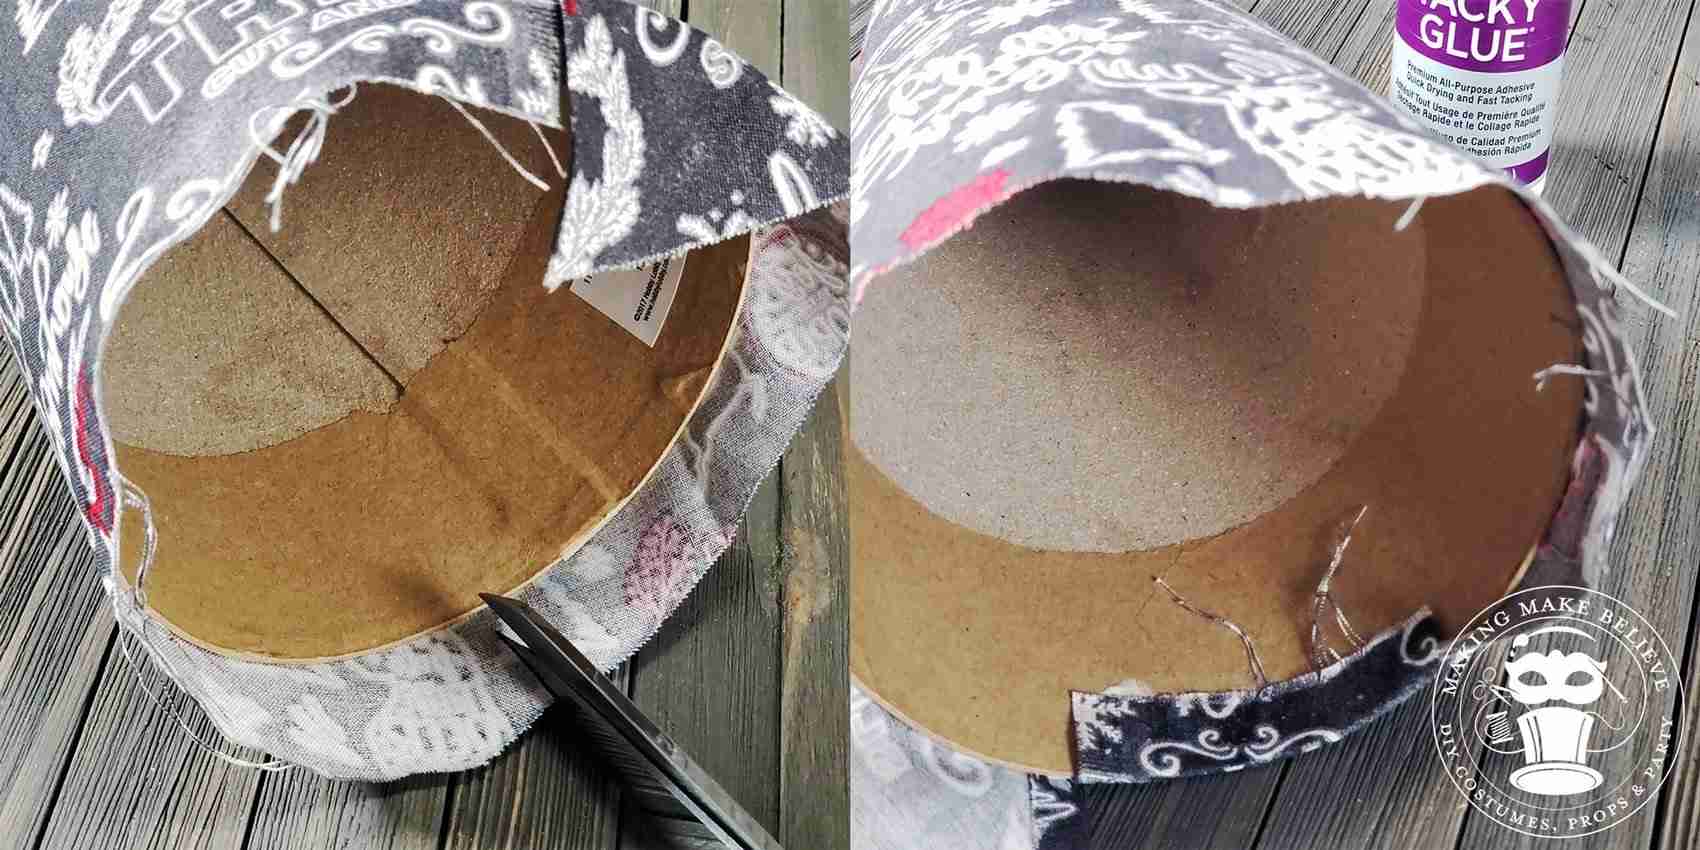
Make small snips in the fabric that overhangs the bottom edge. Cut just a touch short of the cone, fold up and inside, and glue.
Finally, add embellishments with ribbon as desired.
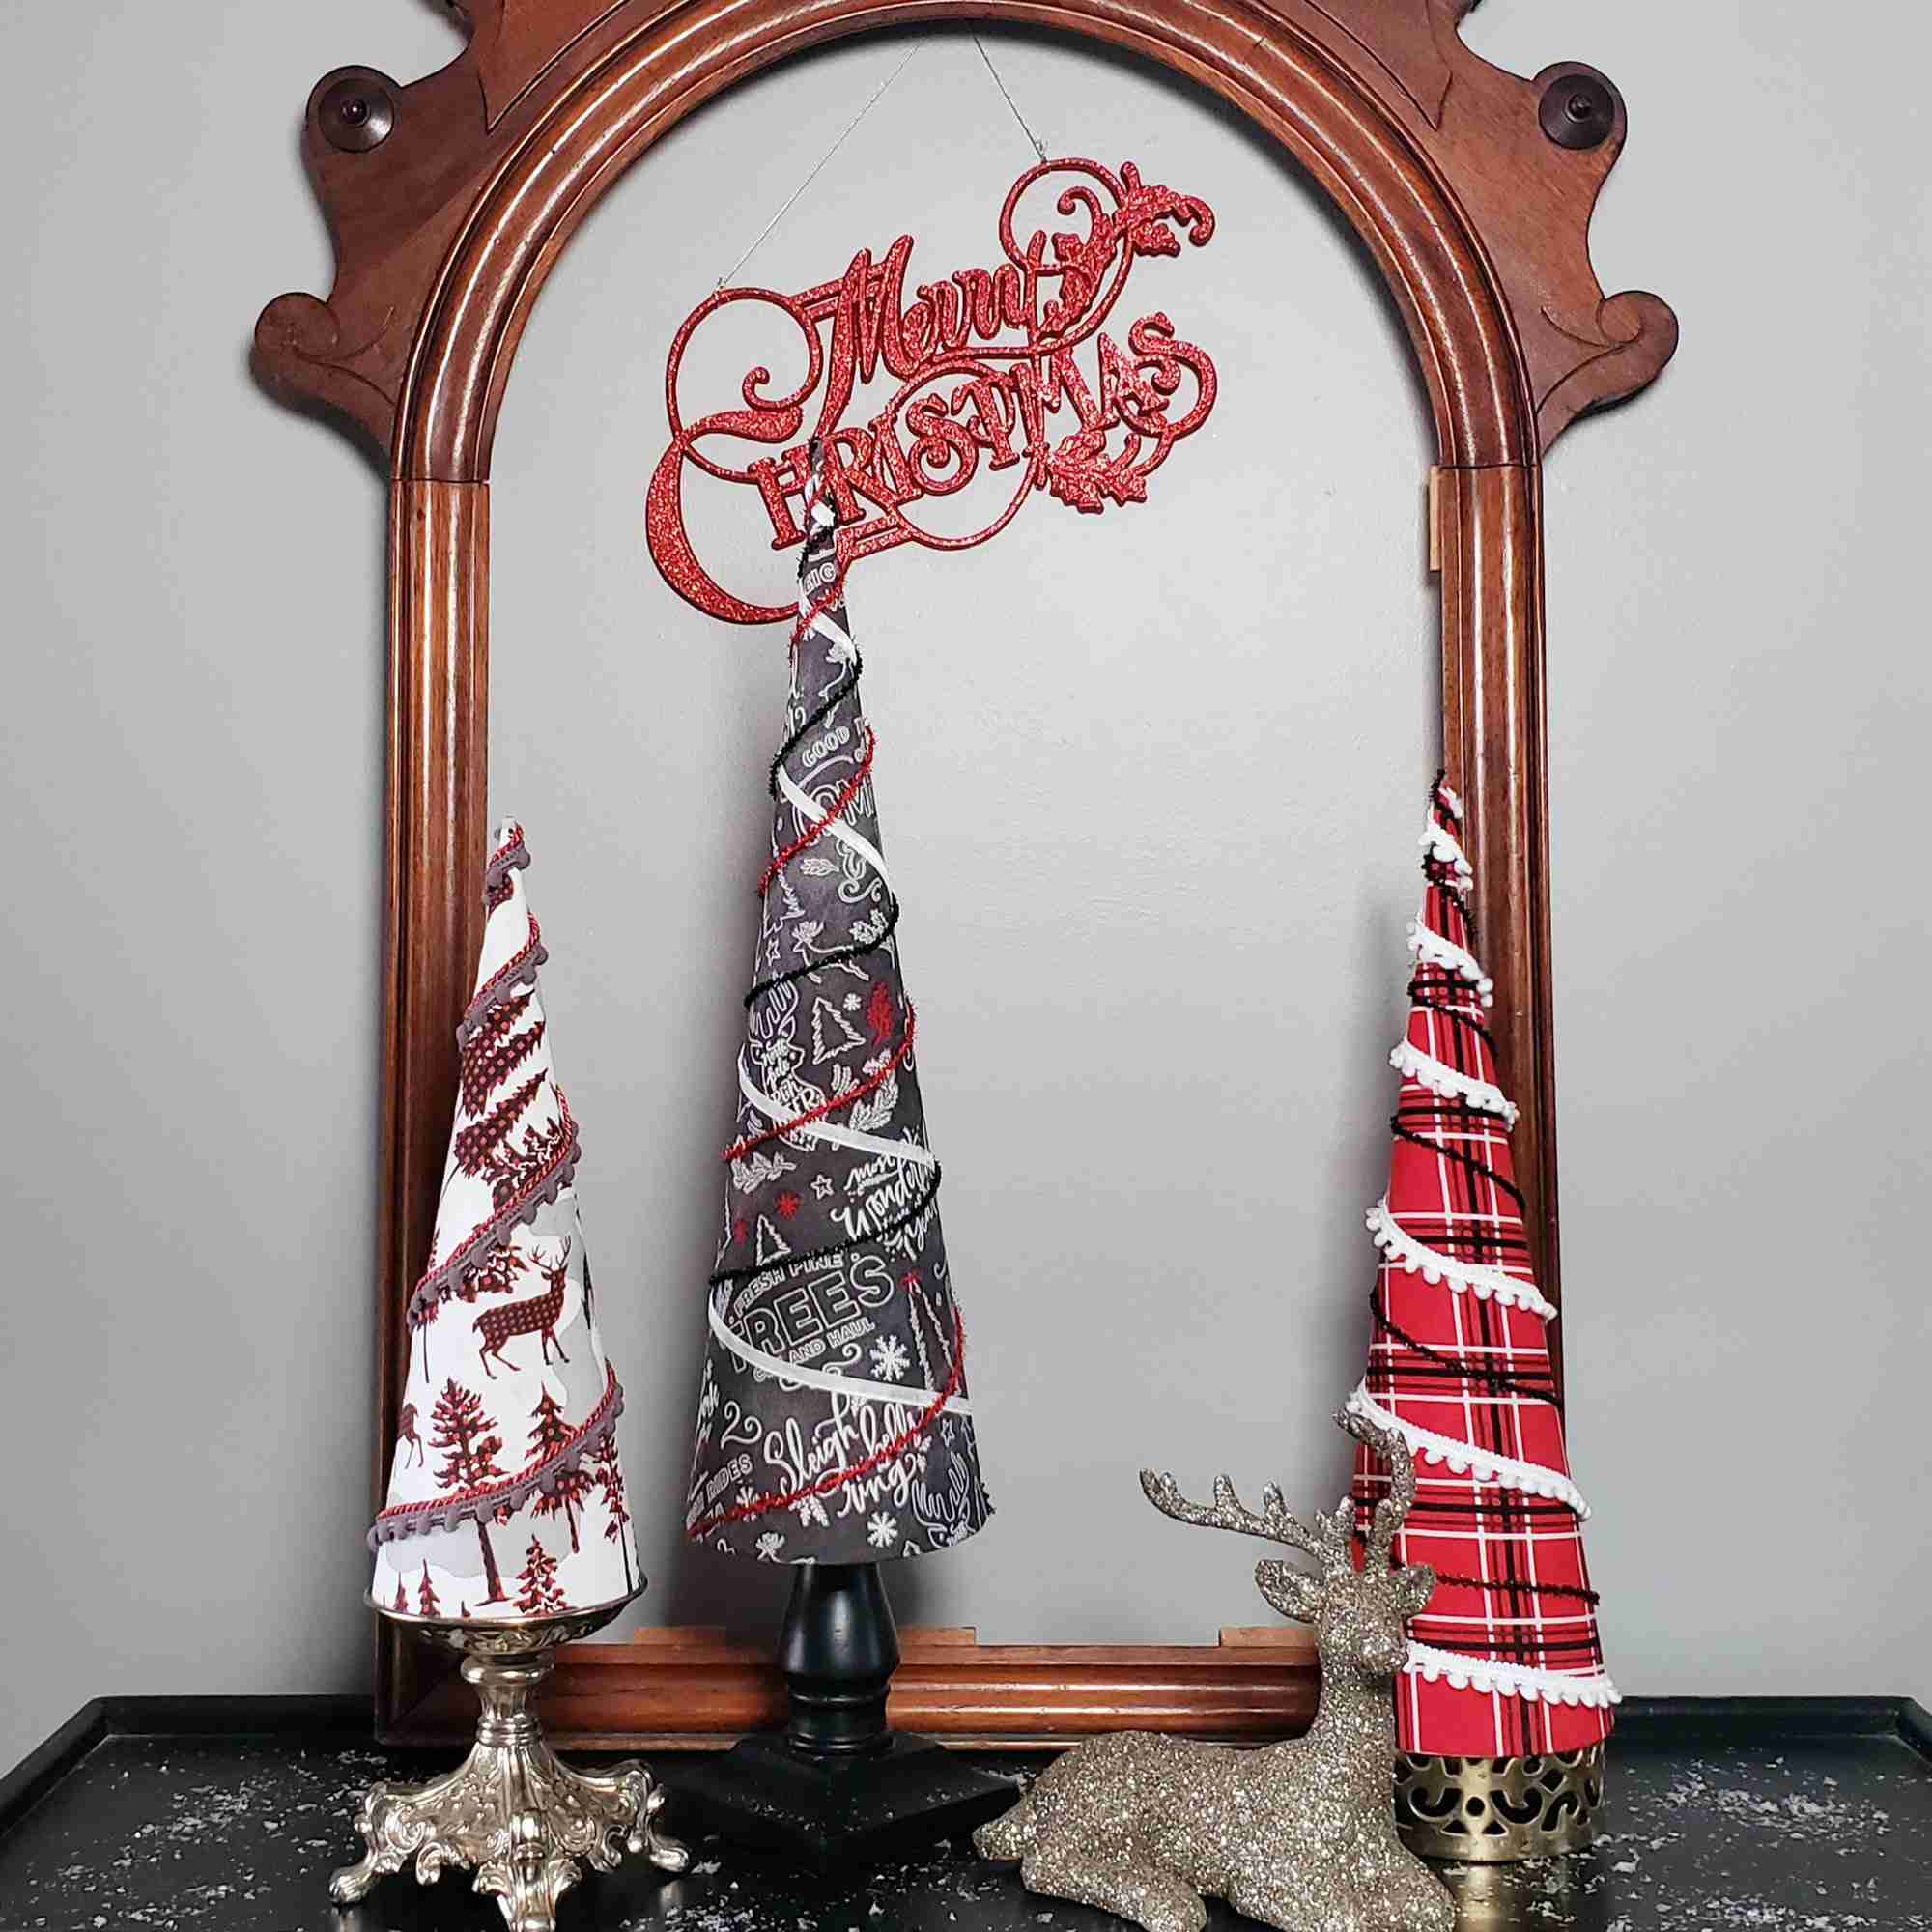
And, that’s a wrap! These tabletop Christmas trees are ready to ring in the holidays.
These were so fun to make and oh, so simple. This is one project I could do over and over and craft an entire forest of little trees.
For more holiday ideas, visit the Other Holidays section, and don’t forget to tag me on Instagram or Facebook when you post pics of your trees. I can’t wait to see them!

Check your email for the Haunted Library password.
Don’t miss a moment of the mischief.
Add hello@makingmakebelieve.com to your address book.
Join us and get access to our Haunted Library stocked with templates, printables, cut files, and exclusive content. Plus, you’ll receive Eerie Emails just for our subscribers.
*Stay as long as you like. Unsubscribe at any time.