

Plastic props are inexpensive and easy to find but never very exciting. Today, we’re going to work a little paint magic and transform a plastic skull (or three) from boring to bright and colorful.
As I was crafting the Halloween Skull Wall Decor, I found myself in need of a little something to add to the display. Digging into one of my stash bins, I found about half a dozen small, plain skulls down at the bottom. Unimpressed, I dove into stash bin after stash bin (don’t judge) and, coming up empty, came back to the little skulls.
Perfectly blah and bland, I didn’t hold out much hope but decided to see what I could do with a little paint.
Transform Plastic Skulls Tutorial
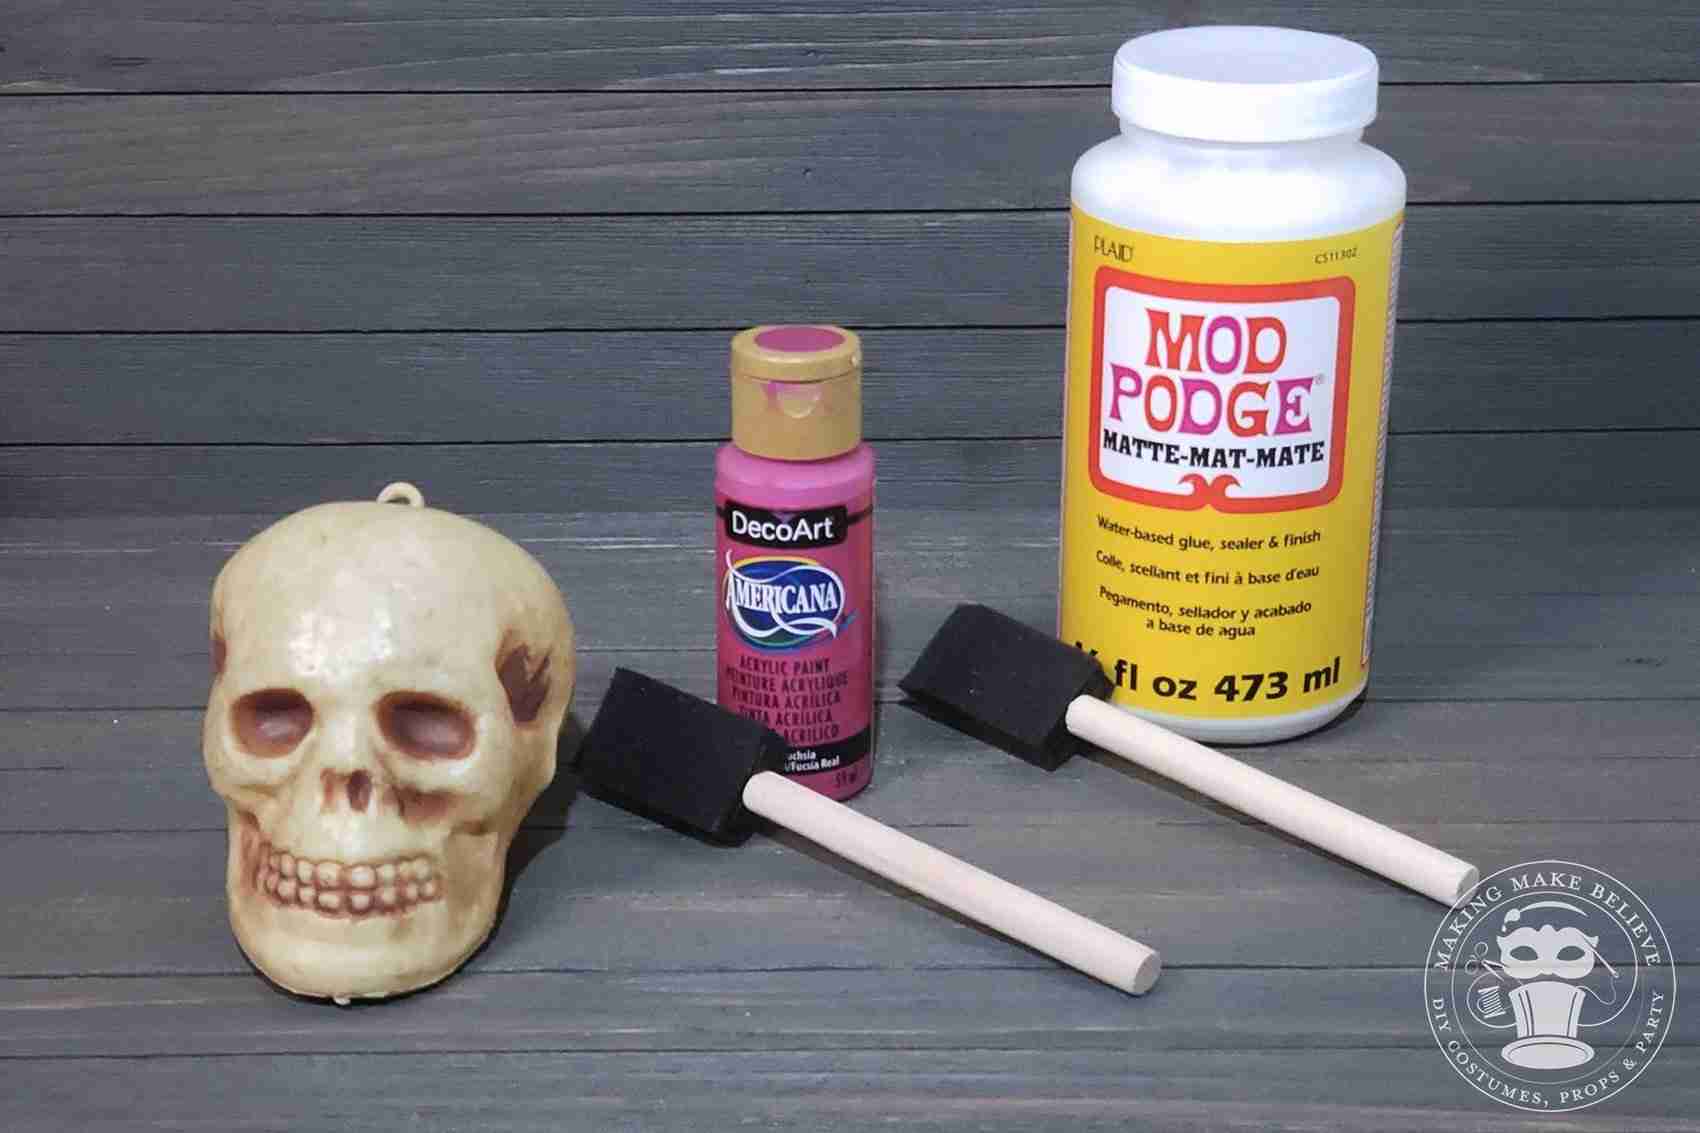
Materials:
- Plastic or latex prop
- Acrylic paint
- Foam brushes
- Mod Podge or Varnish (for acrylics)
- Sanding block (optional, not shown)
To get the paint to stick better to the plastic, lightly sand the surface with a sanding block before painting. This step is optional, but be sure to wipe down the skull before painting if you do any sanding.
Use a foam brush to apply a thin coat of paint to the skull. Allow it to dry and give a second coat if desired. Leave the recessed areas unpainted to add depth and interest. Let dry completely,
Over time, the paint can wear off, so coat your skull with Mod Podge. You can also use varnish but choose one suitable for acrylic paint, such as Liquitex Basic Varnish.

That’s all there is to it!
What a difference a little paint can do to transform a plastic skull.
Transformed plastic skull banner swag is pictured with with Halloween Skull Wall Decor made from Skull Trio Party Pattern.
Notes:
Acrylic paint can be used on latex and plastic.
These skull props are over a decade old and may be near impossible to find. Try your local Dollar Store or Dollar Tree for inexpensive alternatives.
What We Used In This Demo:
Preferred Products Hanging Skull (023168083999)
DecoArt Americana acrylic paint in Royal Fuchsia DA151 (016455251300)
Plaid Mod Podge in Matte finish (028995113024)
