
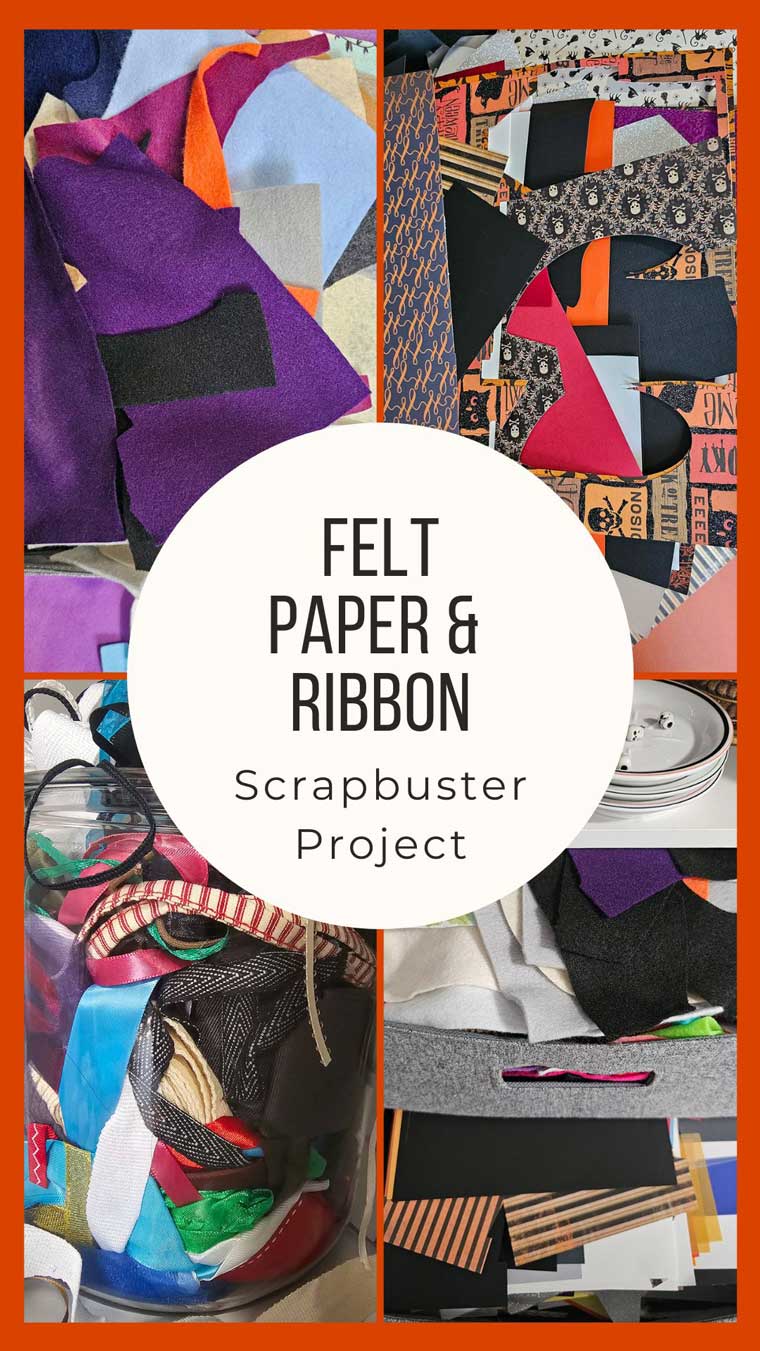
I don’t know about you, but I’m starting to suspect my scrap bin is plotting against me. Felt bits, paper trims, ribbon snips – they multiply like gremlins every time I turn my back. At this point, I’m practically crafting under a small avalanche of “I’ll use that someday” leftovers.
Well, my fellow spooky maker, today is that day.
If your craft stash is haunted by leftover felt and paper scraps, this one’s for you.
These DIY Halloween Boo Bags are the perfect excuse to raid your remnants and whip up a ghoulish gift that is surprisingly simple. Whether you’re serving up haunted hostess gifts or leaving treats for your fellow grown-up ghouls, these little bags pack big charm with no fancy tools or pricey supplies required: just scraps, a dash of creativity, and a love for all things Halloween.
So pour yourself a creepy cappuccino, grab those odds and ends, and let’s turn those leftover materials into something eerily delightful.

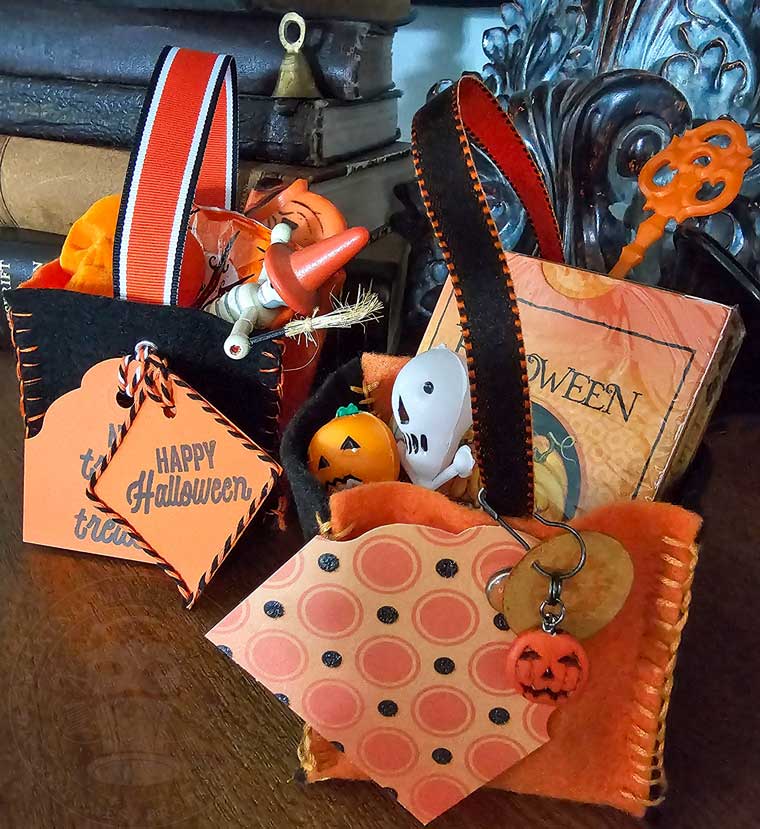
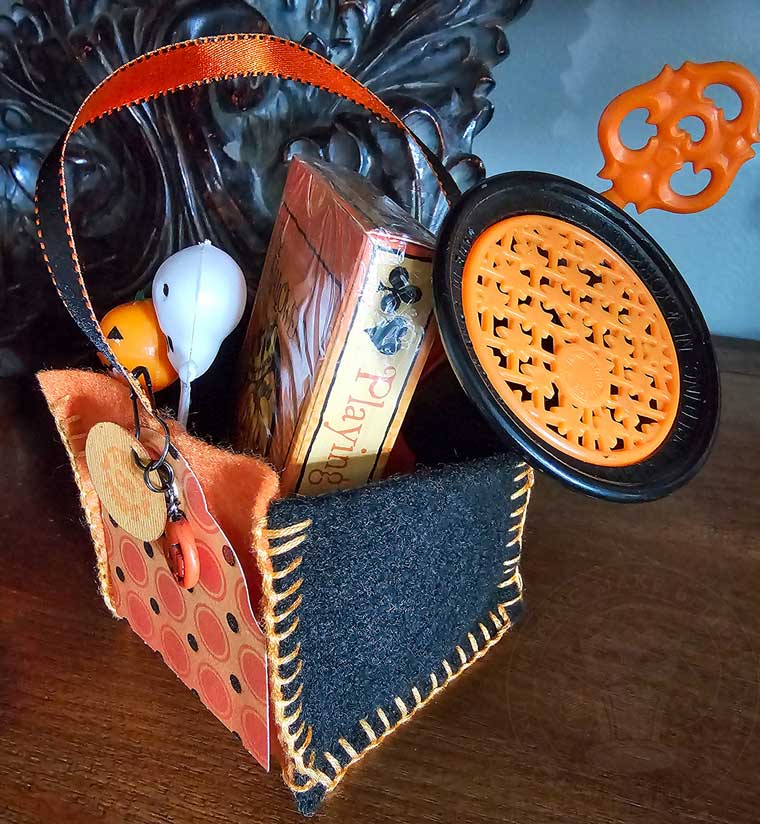
Forget the generic plastic sacks; we’re talking about hand-stitched felt, striped grosgrain ribbon, and curated oddities. This project lets your ghoul friends know they are the batty best. Pair these handmade haunted vessels with fun-size vintage finds and autumnal artisan treats for a fa-BOO-less scare package.
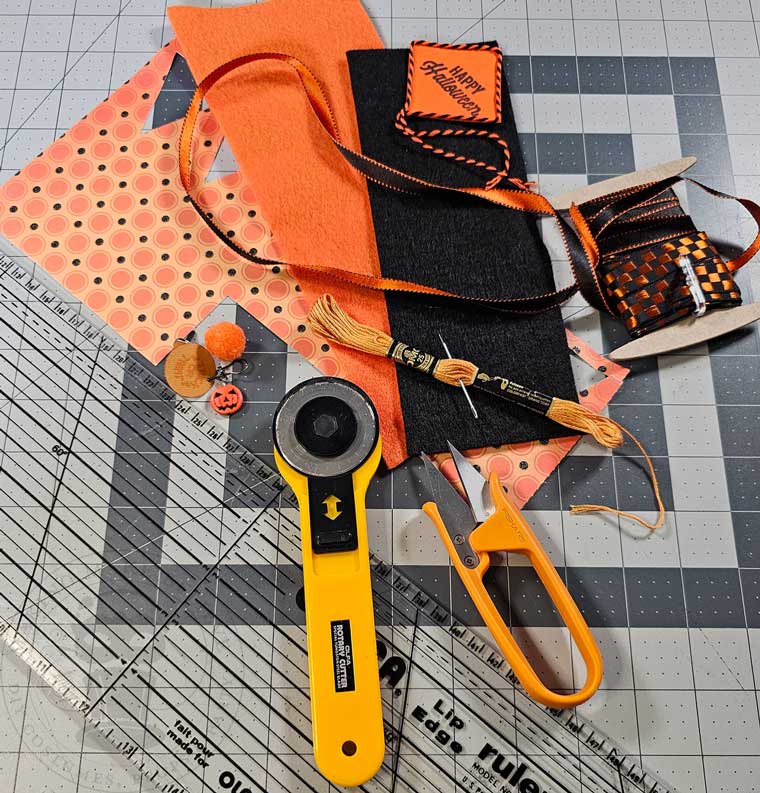
For this project, we will need:
Craft felt scraps
Rotary cutter and straight edge or scissors
Needle and embroidery floss
Ribbon scrap
Paper scrap
Embellishments
My felt scrap pile offered a plethora of color options, but you know I couldn’t say no to the traditional orange and black!
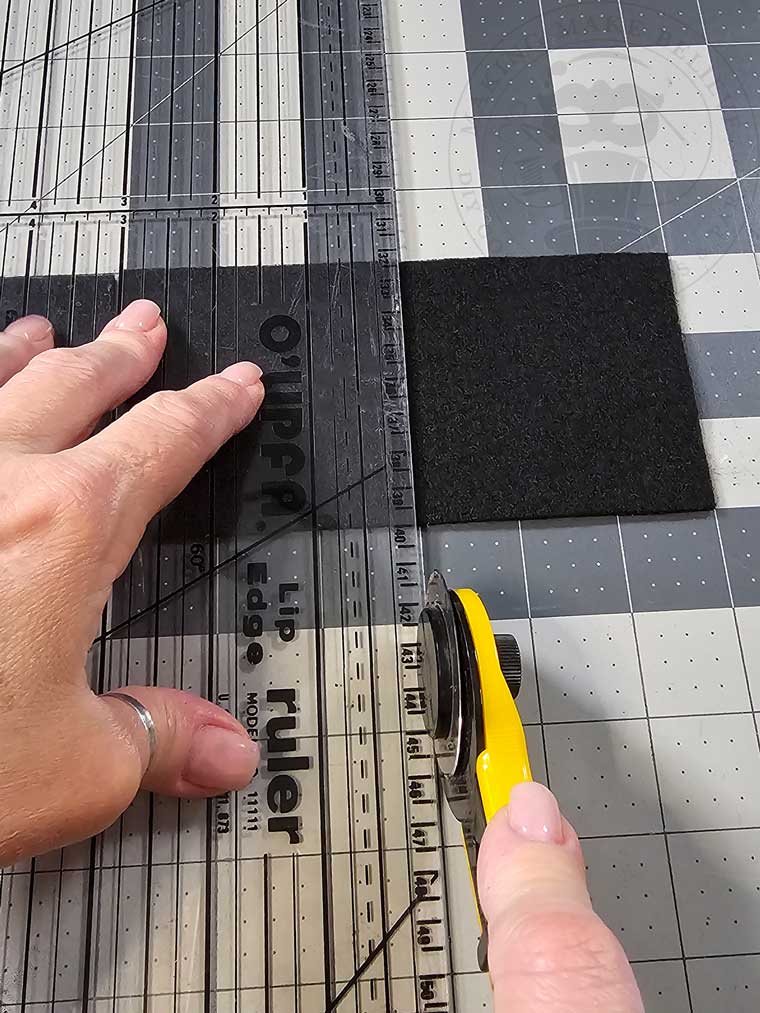
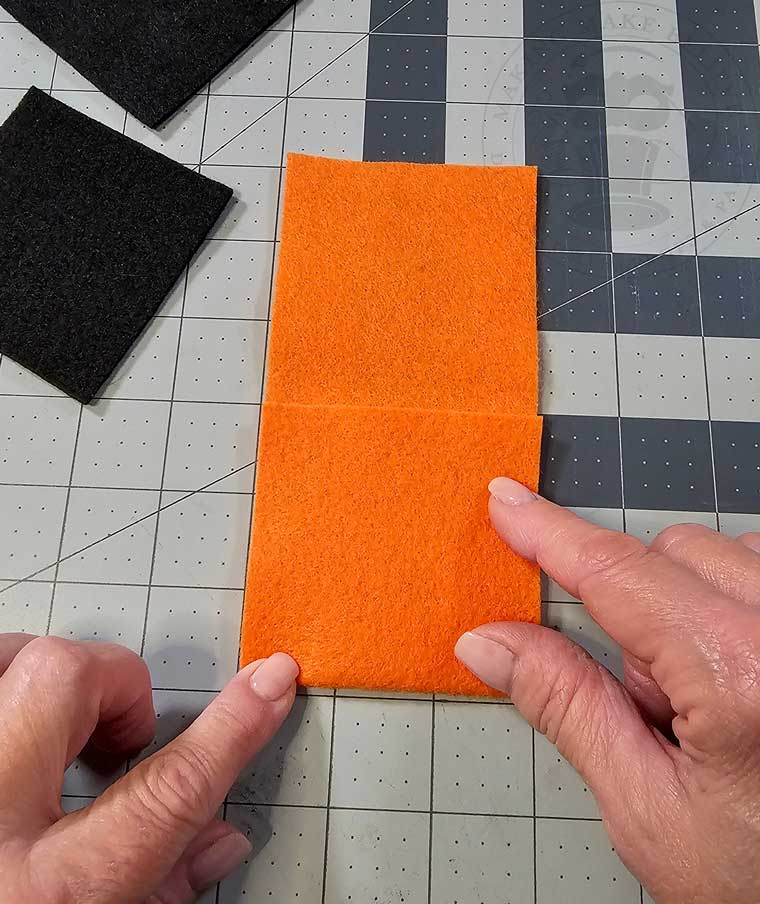
To begin, cut one section of felt into a 3″ by 9″ rectangle and then cut two 3″ by 3″ squares.
You can make the entire box one color or use two.
I like to use a rotary cutter and straight edge for this, but you can also use scissors or a cutting machine if you prefer.

Take the rectangle felt piece, fold it in thirds, and finger press.
There’s no need to press the folds with an iron; we just need a faint guideline.
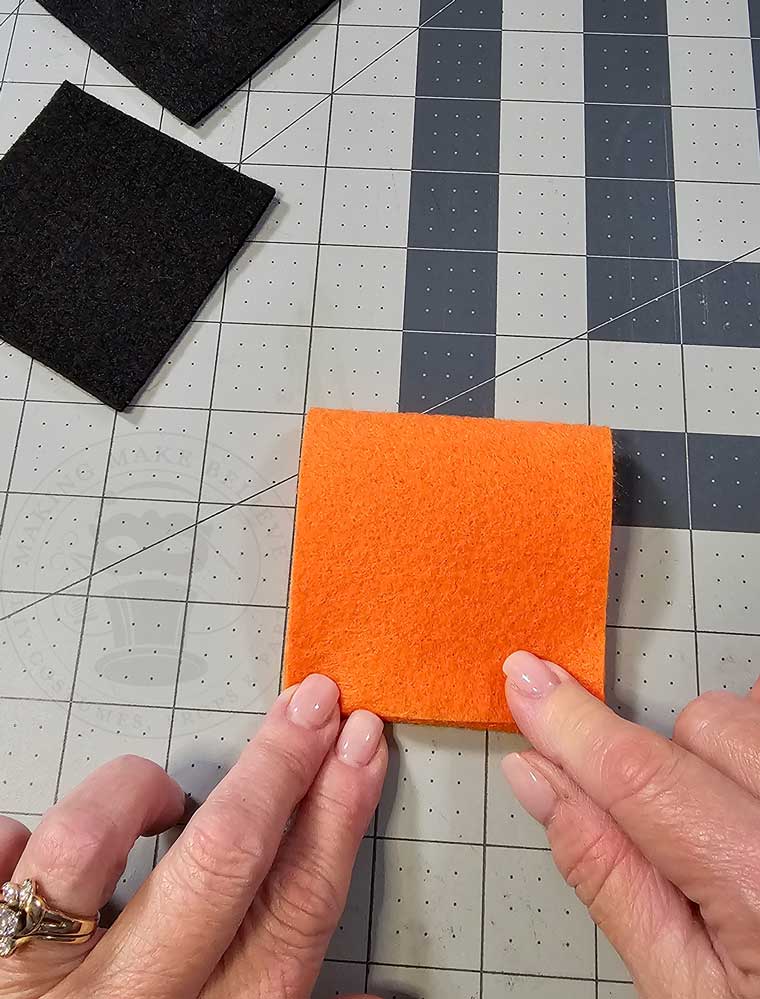
Open up the rectangle, then take one of the 3″ squares and place it in the center section.


Next, attach the square to the rectangle.
You can use a straight stitch, whip stitch, or my personal favorite – the blanket stitch.
Slow stitching not your thing? No worries. These Halloween boo bags can be constructed using a sewing machine and thread.
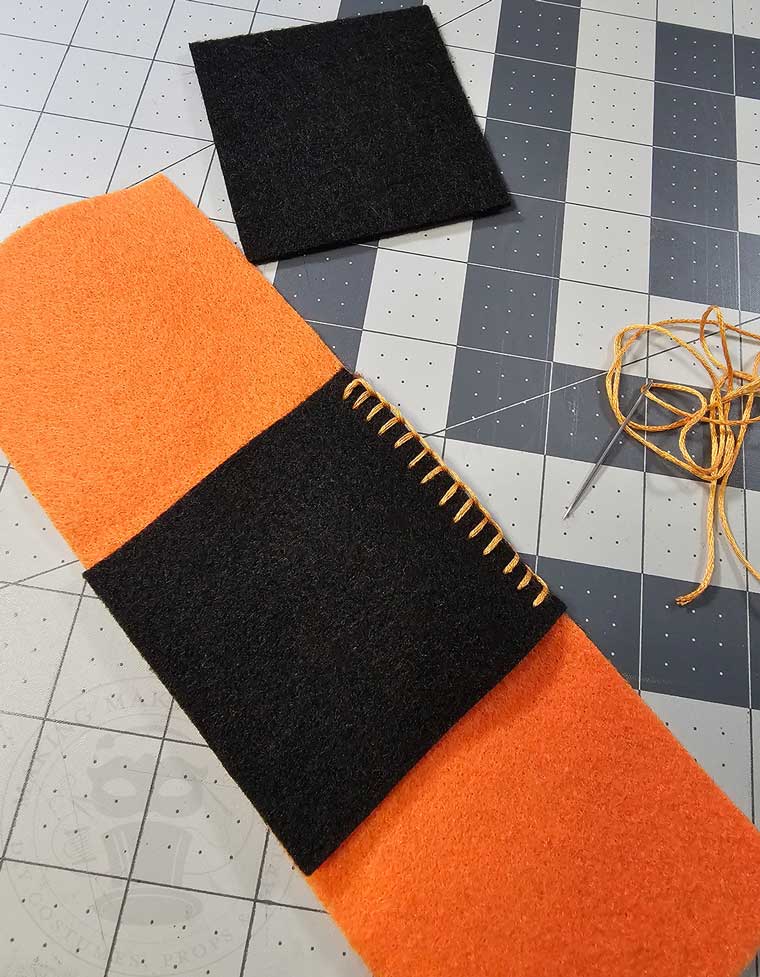

Now place the remaining 3″ square in the center of the rectangle and attach.
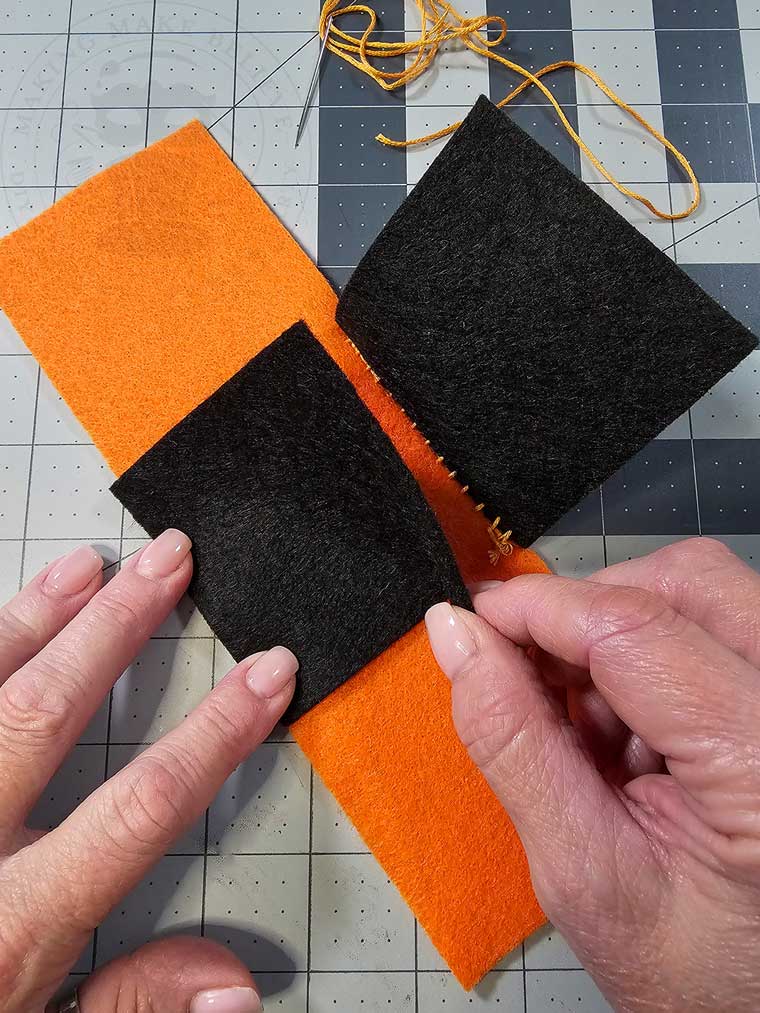
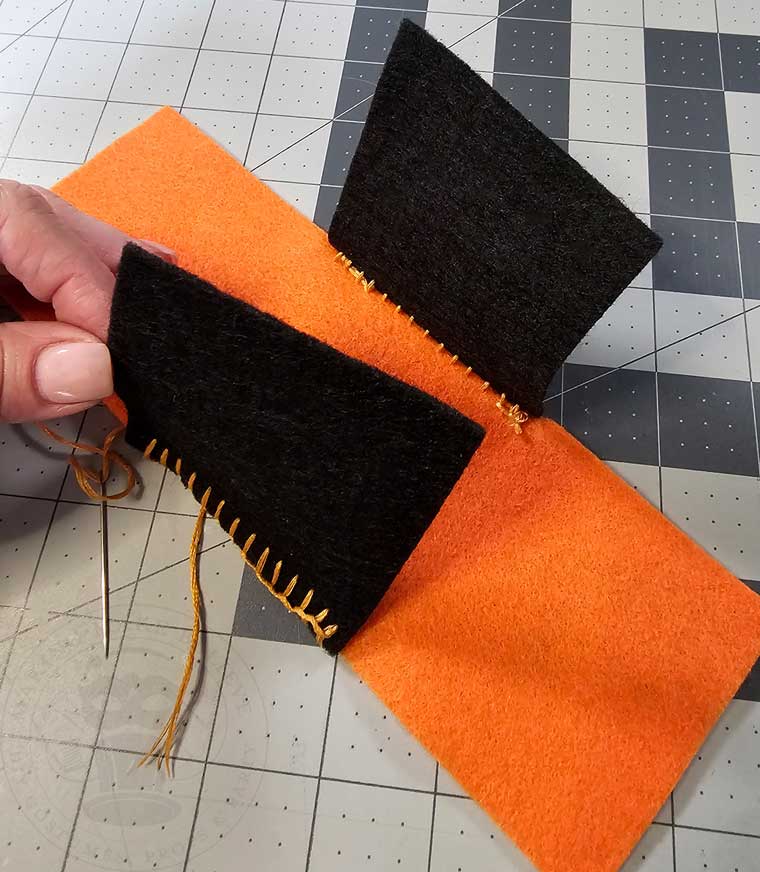
Fold up the rectangle and align it to the squares to form the sides of the box.
To demonstrate, I’ve clipped the sides together, but clips or pins are not necessary.
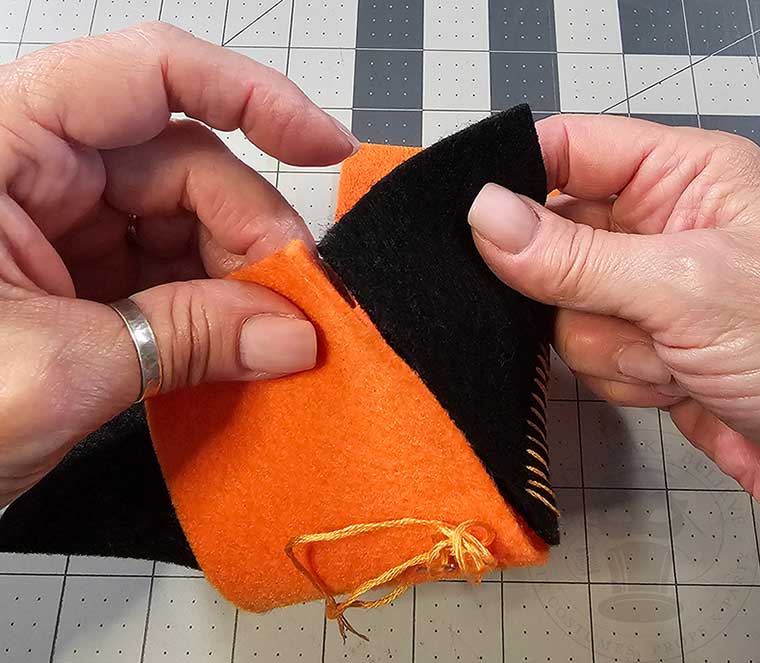

Stitch up each side to form your box-shaped bag.

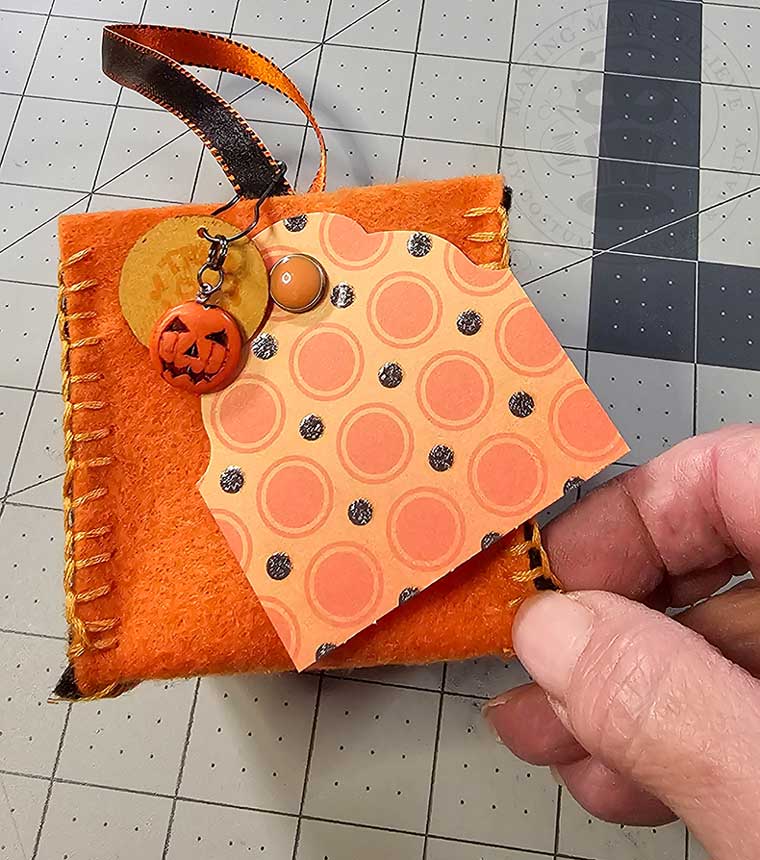
Dive into your ribbon bin, and let’s get a handle on this little guy.
Cut a length of ribbon and attach it to the inside of your Halloween boo bag.
You can stitch the ribbon in place, attach it with brad fasteners, or, if you’re feeling extra, use eyelets.
I’m trying to justify my Crop-A-Dile purchase, so I’m adding eyelets to everything!


Now, let’s use up some of those paper scraps!
Cut a rectangle from your paper.
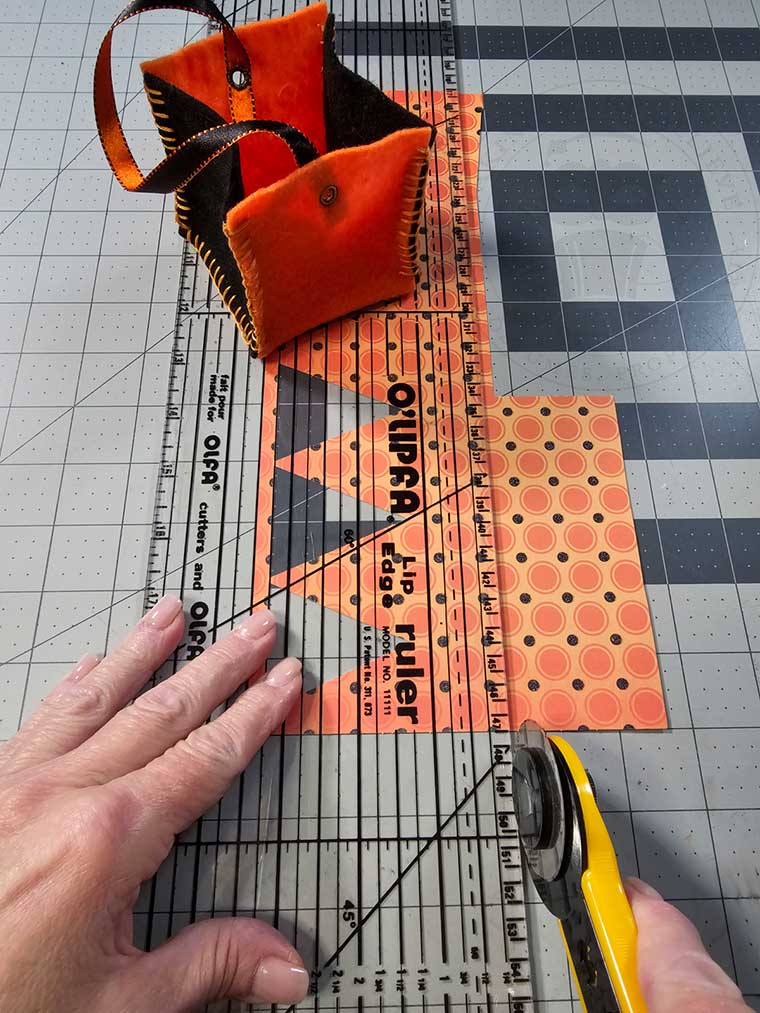
If desired, give it a decorative edge.
I purchased this fancy tag punch (which I also needed to justify), so I went with this option.
You can also do a cut by freehand, use decorative scissors, a corner punch, or leave it plain.

Lastly, add some frightfully fun embellishments, such as mini pom-poms, ink-stamped cardstock, beads, and colorful brads.
Fill your Halloween boo bags to the brim with treats fit for your favorite grown-up ghouls, or load it up with sweets for your beloved little monsters.

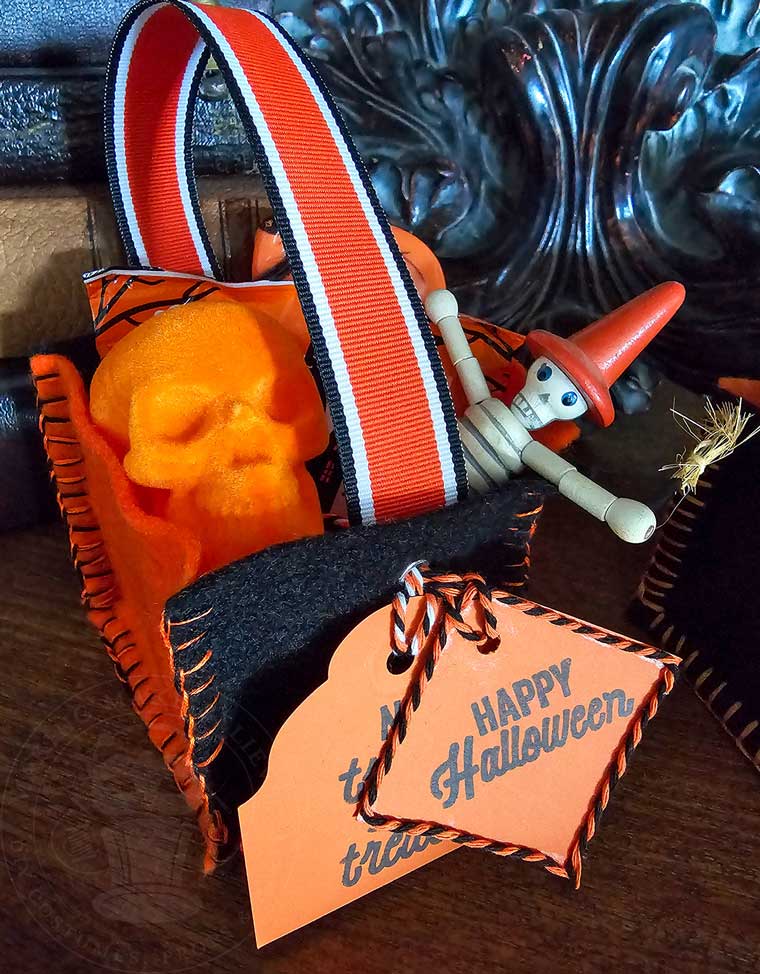


My ghostly little heart would love a handmade Halloween boo bag – especially if it’s loaded with vintage goodies – JS.
Until next time – stay spooky.