6.9K
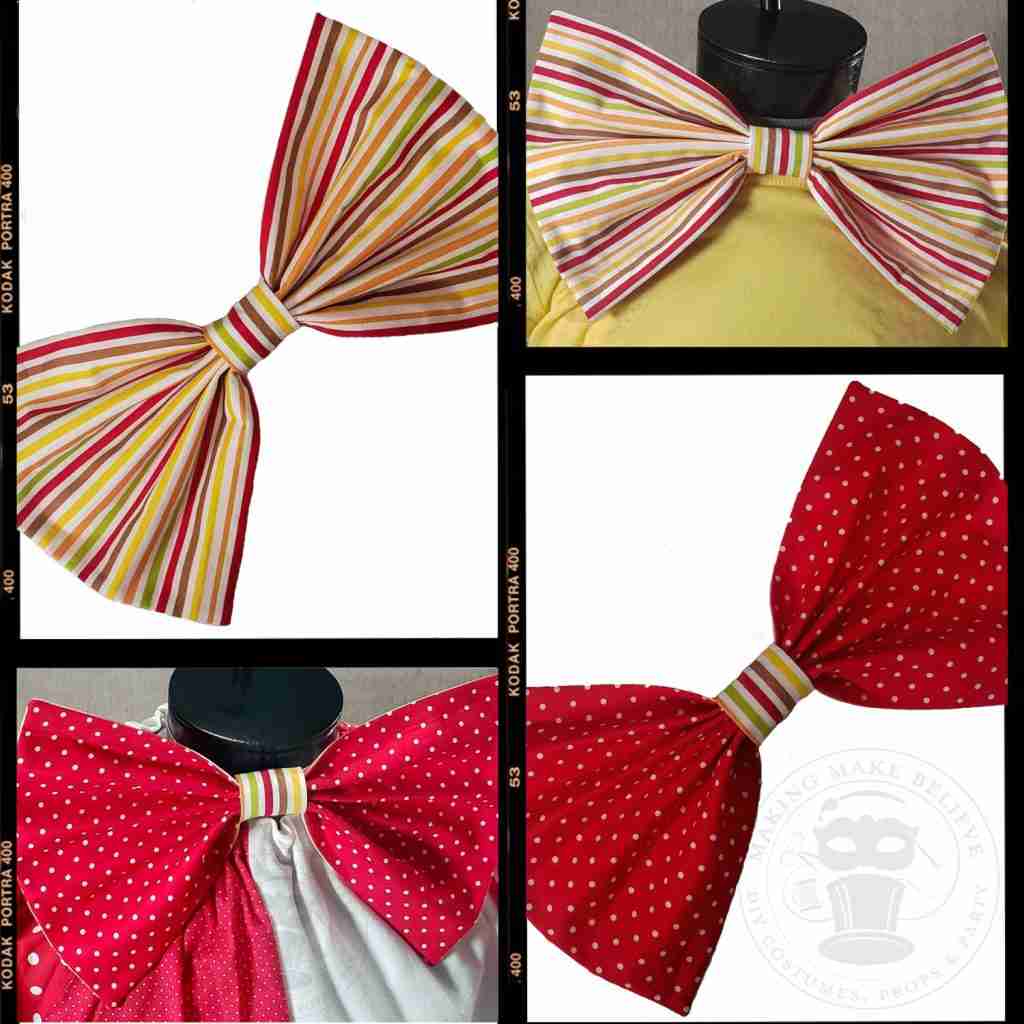


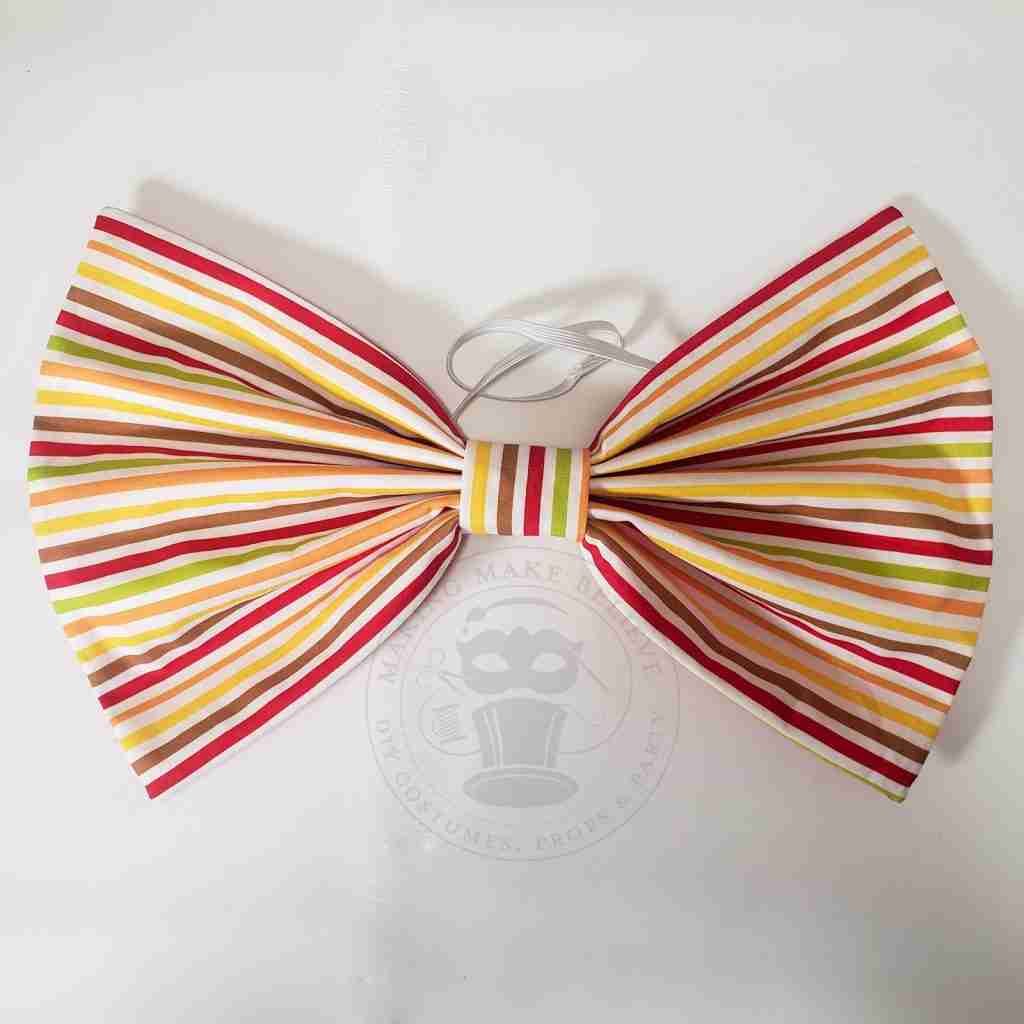


How To Make A Big Clown Bow Tie
I’m not one for making New Year’s Resolutions. It’s not because I don’t have goals; I have a massive list of items I want to create and new skills I want to learn.
The lack of traditional goal setting is more due to my squirrel syndrome. When I begin a project, it sparks the idea for another project, pushing back a project on the list.
Fortunately, I’ve learned to flow with this whacky process and embrace that I will always have a huge to-do list.
This project stems from one of those squirrely moments several years ago. I had decided to make an oversized bow tie, which seemed simple enough, but, in the end, I created several varieties of bow ties: whimsical felt bow ties, a jumbo bow tie, and a stuffed bow tie.
I will add tutorials for each, but today, we will learn how to make a big clown bow tie with a reversible option.
Ok, let’s get started.
We will need:
2 Coordinating pieces of fabric approximately 20″ by 10″ – I am using 100% cotton (see more about this below)
Scissors
Fusible lightweight interfacing
Iron
Sewing machine (or needle if hand sewing)
Needle
Thread
1/4″ elastic – approximately 20″ long
HeatNBond iron-on adhesive (optional)
If you want to draw your pattern rather than download it, you will need a dressmaker’s tape or straight edge ruler and fabric marker or chalk.
If you prefer to take a shortcut, download the Reversible Bow Tie template from the Haunted Library.
There are two templates from which to choose.
For the PDF file, print and then cut by hand.
You can use the SVG cut file with your cutting machine, such as Cricut. However, you will need the larger 12″ x 24″ cutting mat due to the size.
Before we dive in, I want to talk about the fabric I used for this project.
Since projects like these take much smaller pieces of fabric, I like to check the remnant section. Here you can find leftover bits under a yard that are heavily discounted.
I had no luck with the remnants, so I moved on to the fat quarters.
Fat quarters are a standard cut of fabric used by quilters. These fabrics are 100% cotton, precut into 18″ x 21″ pieces, and are great for small costume projects like this.
You can also get them in bundles featuring a theme, color, or holiday, making coordinating the fabrics a snap.
I grabbed this fat quarter for my bow tie.
I’m old school, so I tend to wash my fabrics before cutting. The benefit is that my project won’t shrink should I wash it in the future.
If you are going to prewash, be prepared that the fabric will fray a bit, so you will want to trim those loose threads; it will also wrinkle, so you will want to press the fabric.
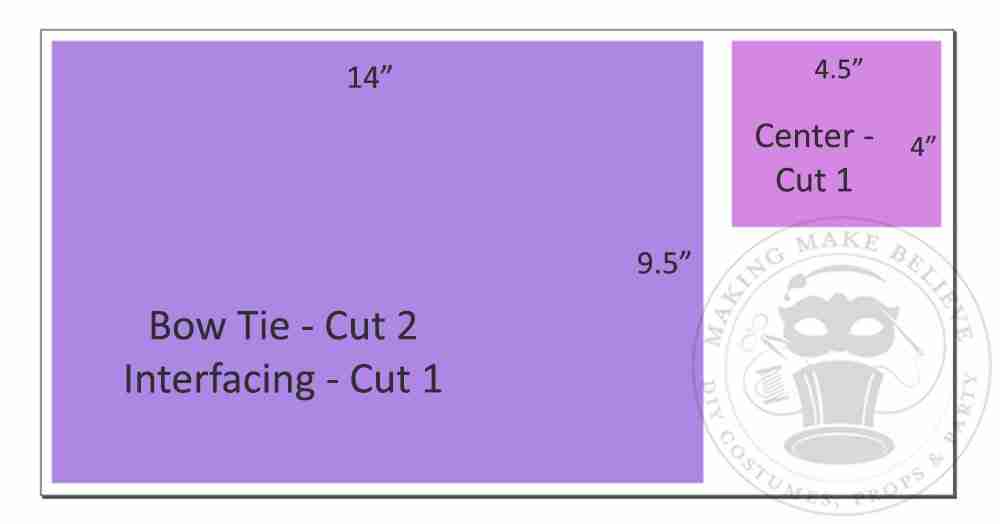
To begin, cut one large rectangle from each of your fabrics for the bow tie and one small rectangle from one fabric for the center part.
Next, cut a rectangle from the lightweight fusible interfacing measuring approximately 1/4″-3/8″ smaller than the large bow tie rectangle.
If you prefer not to use the download, you can use these dimensions to draft your pattern:
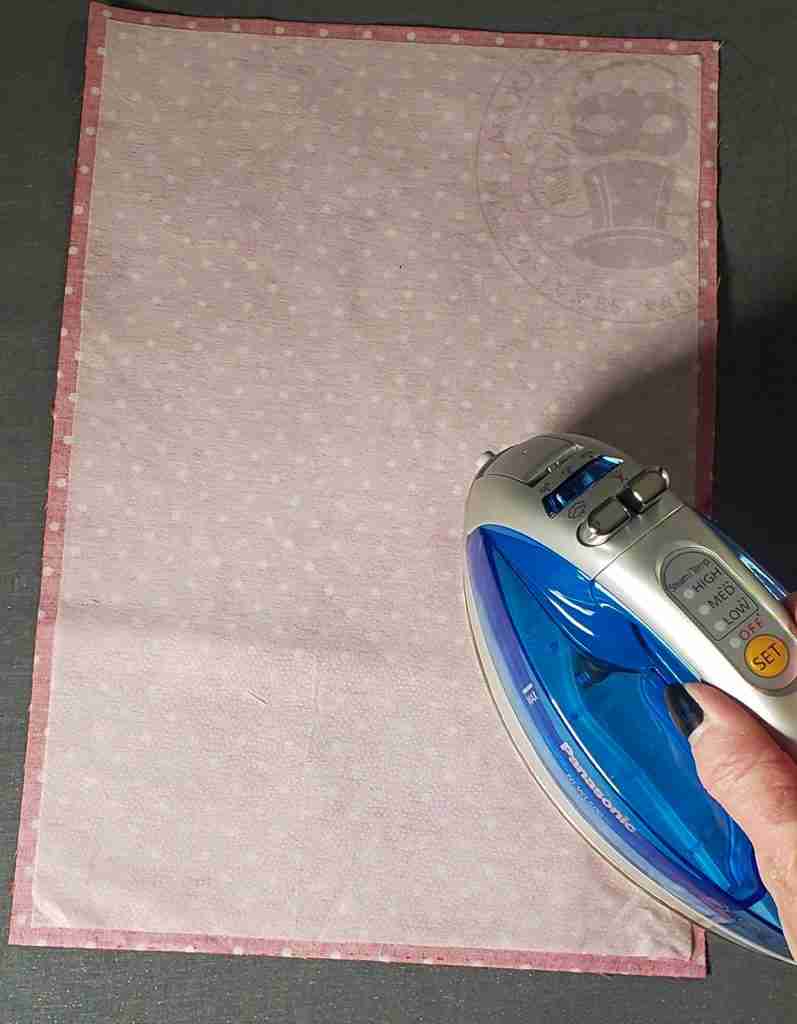
Following the instructions for your interfacing, fuse it to the wrong side of one of your bow tie pieces.
Place the bow tie pieces right sides together and, using a 1/4″ seam allowance, stitch around the entire piece leaving an opening for turning.
Clip the corners, turn the bow tie right side out, and ladder stitch the opening closed. Alternatively, you can seal the opening with HeatnBond iron-on adhesive.
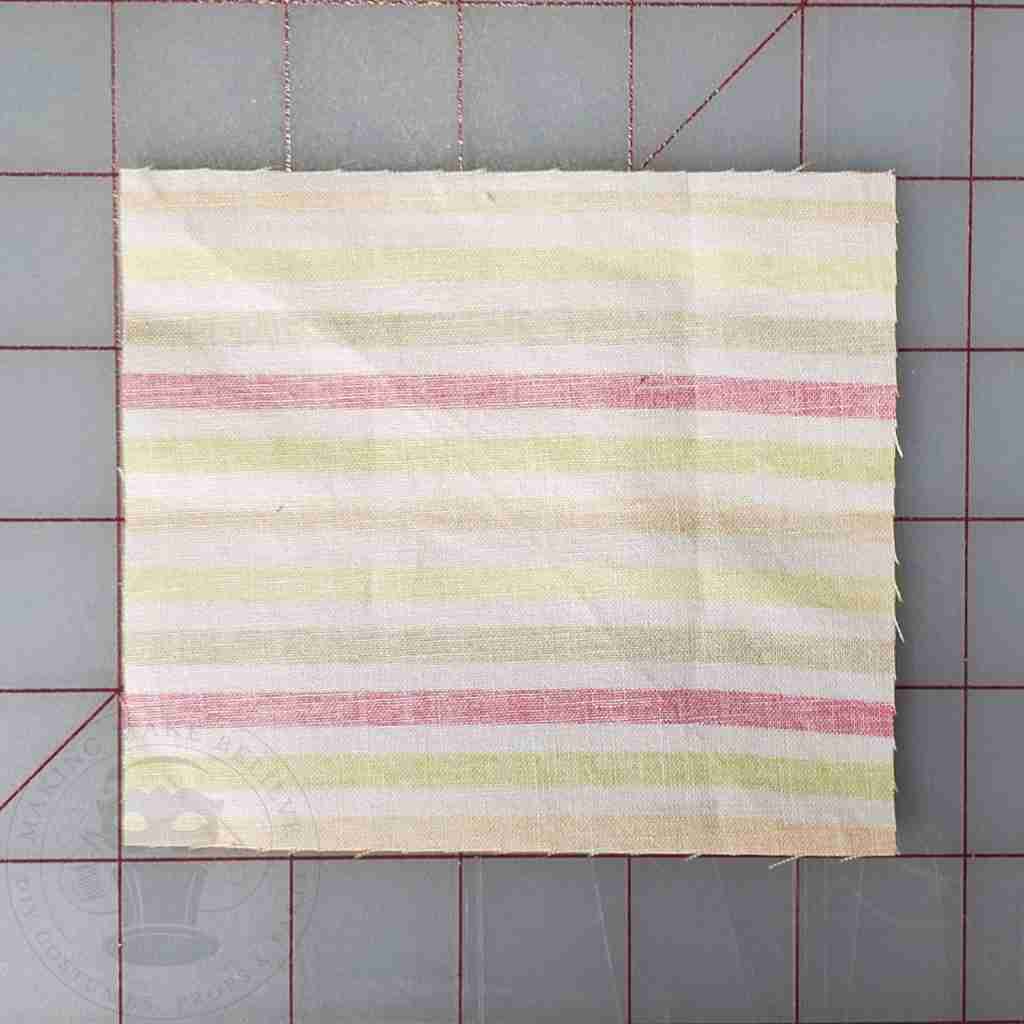
To make the center part of the bow tie, fold the small rectangle in half with right sides together, aligning the longer sides.
Using a 1/4″ seam allowance, stitch around the edge, leaving an opening for turning out the fabric.
(Note: Do not stitch the side with the fold.)
Clip the corners, turn the fabric right side out and close the opening using a ladder stitch or HeatnBond iron-on adhesive.
Slightly overlap the short ends and tack them together using a ladder stitch.
Accordion fold the bow tie and slip it through the center part.
Cut a length of elastic long enough to wear comfortably around your neck, plus 1/2″.
Run the elastic through the center part, overlap the ends 1/2″, and stitch them together.
To wear, slip the elastic band over your head and position your bow tie.
To reverse, flip the elastic to the other side of the center.
This method might be my favorite way to make a fun and funky costume bow tie, but what do you think? Will this one make it into your costume closet?
Until next time, keep creating.
Join us and get access to our Haunted Library stocked with templates, printables, cut files, and exclusive content. Plus, you’ll receive Eerie Emails just for our subscribers.
*Stay as long as you like. Unsubscribe at any time.