
It’s no secret that I have a love for vintage Halloween pieces.
My husband and I have been collecting for years, and we have quite an assortment of items, such as blow molds, ephemera, candy containers, noisemakers, postcards, costumes, and props.
But, a popular tiny item is missing from our creepy compilation – the nut cup.
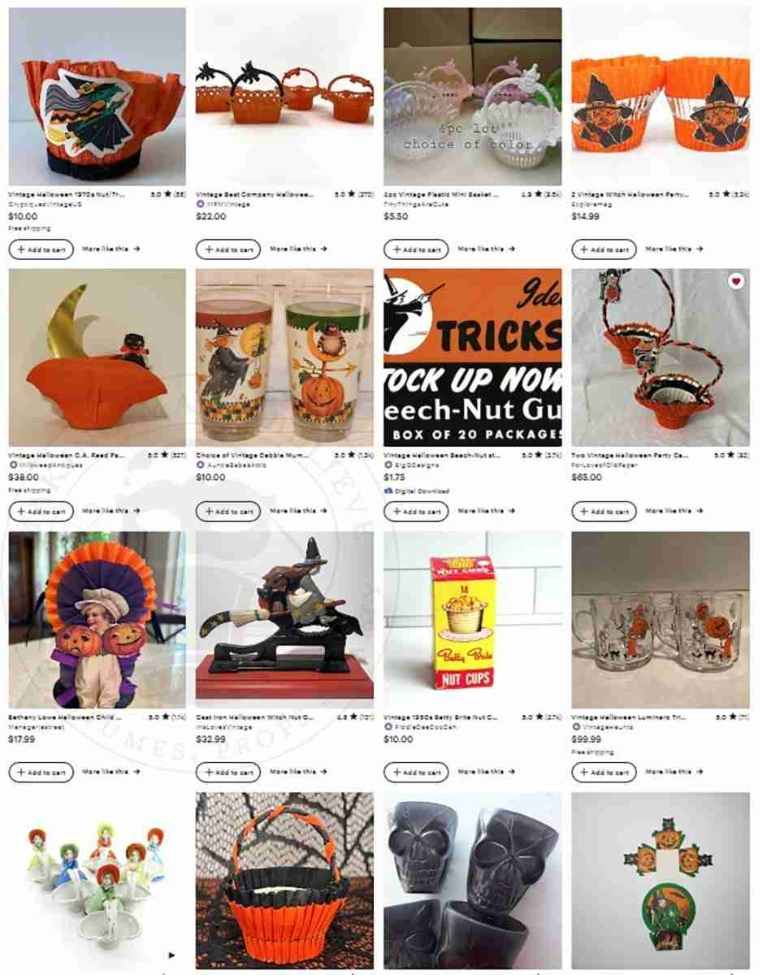
Constructed from cardboard, crepe paper, plastic, or paper, these mini cups were made to coordinate with holiday or celebration decor. They held small treats, such as nuts, and were most popular between the 1920s and the 1960s, but you can still find them today.
Our collection has a modern iteration of this little treat cup. We snagged this package of little Jacks from an antique shop. While they are not vintage (notice the UPC), they are still fun pieces.

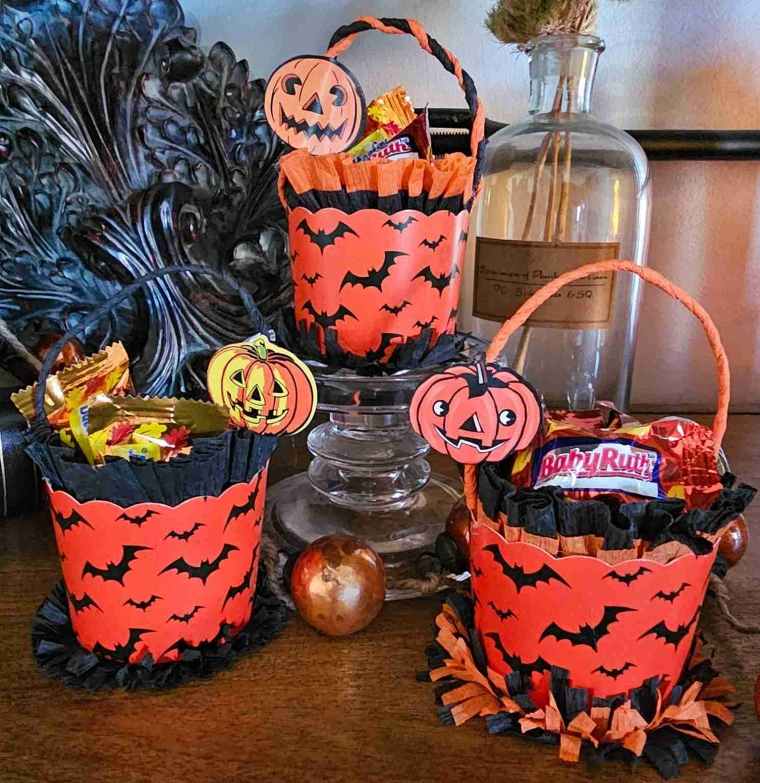
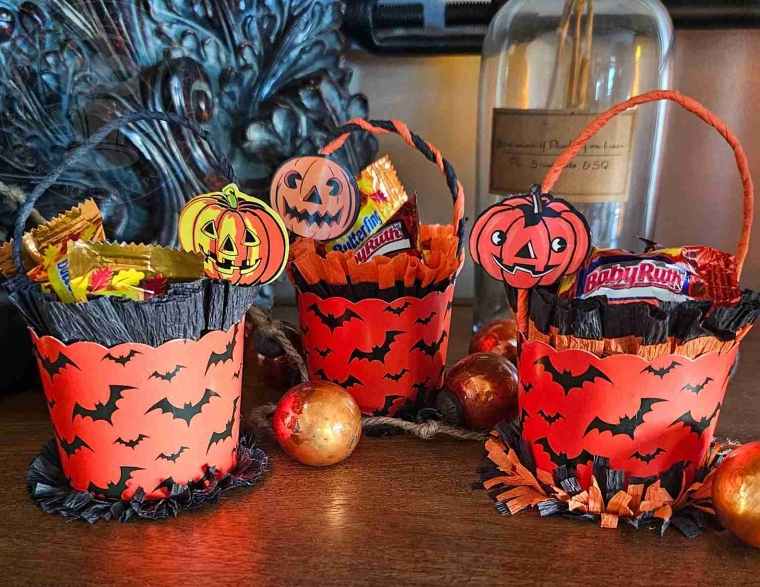
So, in honor of our collection missing this essential piece of Halloween history, today we will create a quick and simple vintage-inspired Halloween nut cup.’
So, let’s get started.

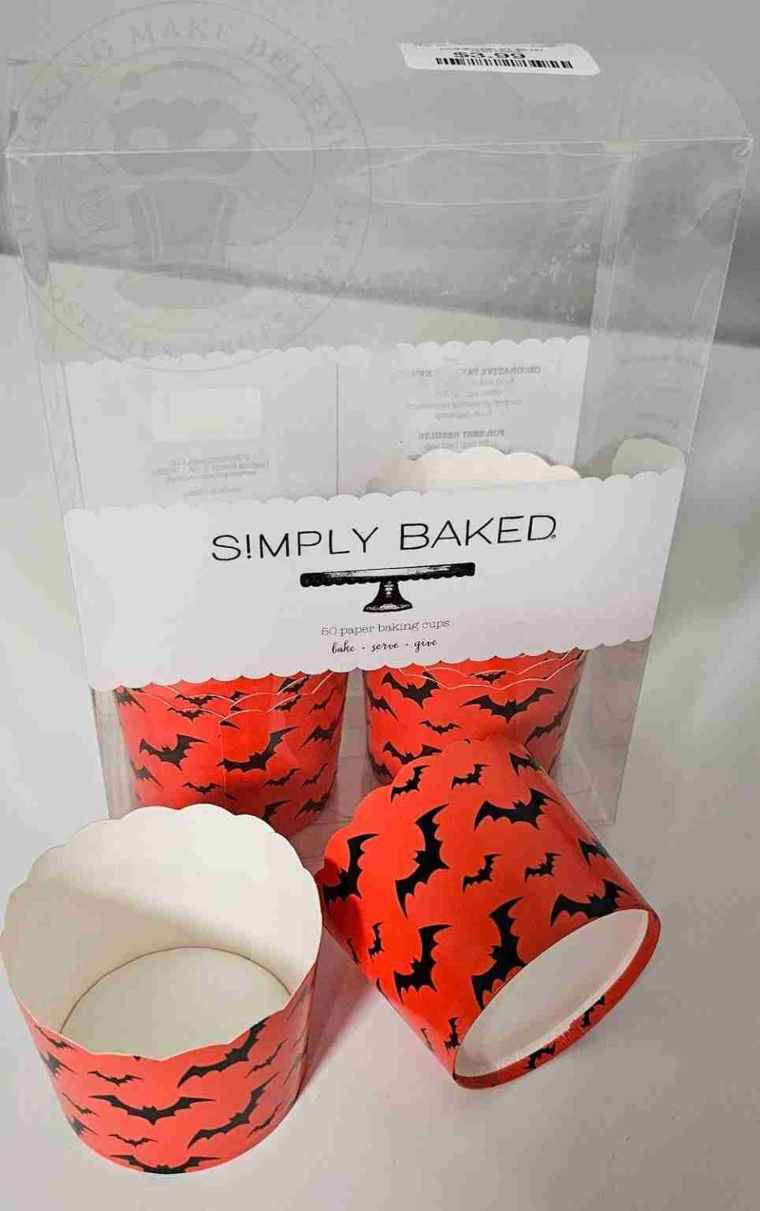
To pull this project together quickly, I’m using baking treat cups. These are easy to find during the Halloween season, but you can buy them online from Amazon year-round.
Baking cups are larger than the tiny nut cups of the past, but that means you can fill them with more ghoulish goodies. However, if you want the tiny version, you can use this technique to cover plain, store-bought nut cups.
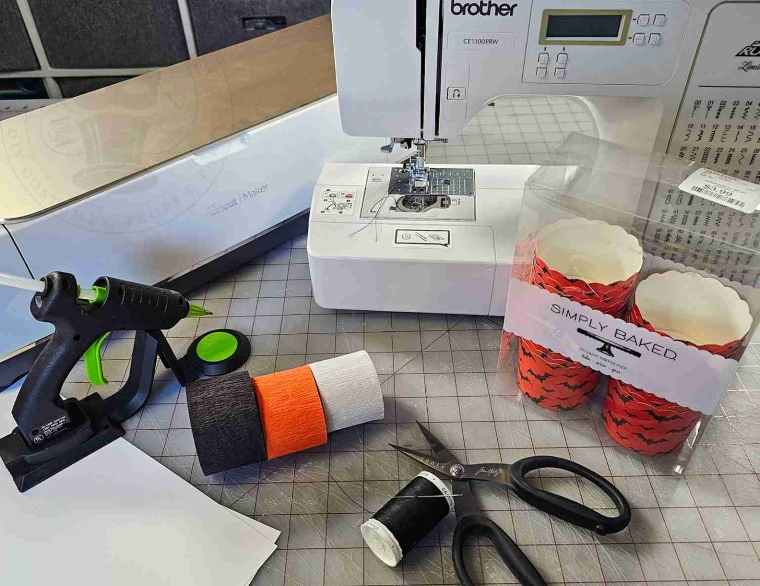
For this project, we will need:
For this project, we will need:
Halloween baking cups
Scissors
Sewing machine or needle and thread
Crepe paper or crepe paper streamer
Hot glue
White cardstock
Color printer (not shown)
Cutting machine (optional)
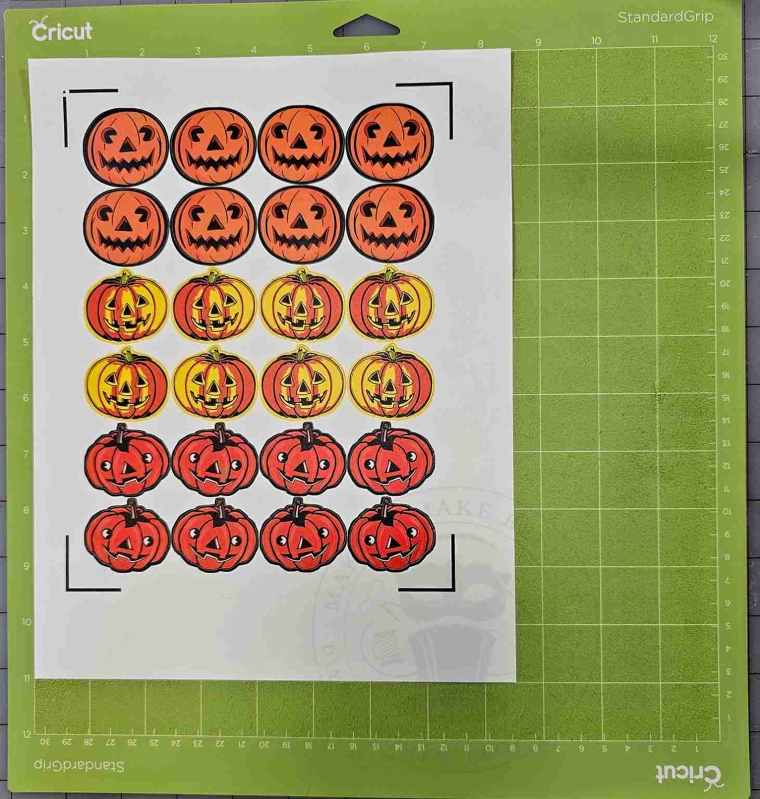
And, just for a fun accent, grab the Vintage Jacks Minis from the Haunted Library.
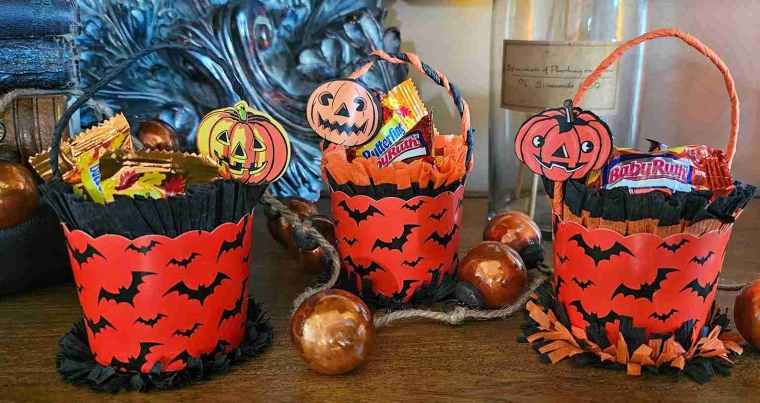
I designed three vintage-inspired Jack O’ Lanterns and I think they are the perfect accent for this project.
Select the PNG/PTC for machine Print Then Cut or the PDF for hand cutting.

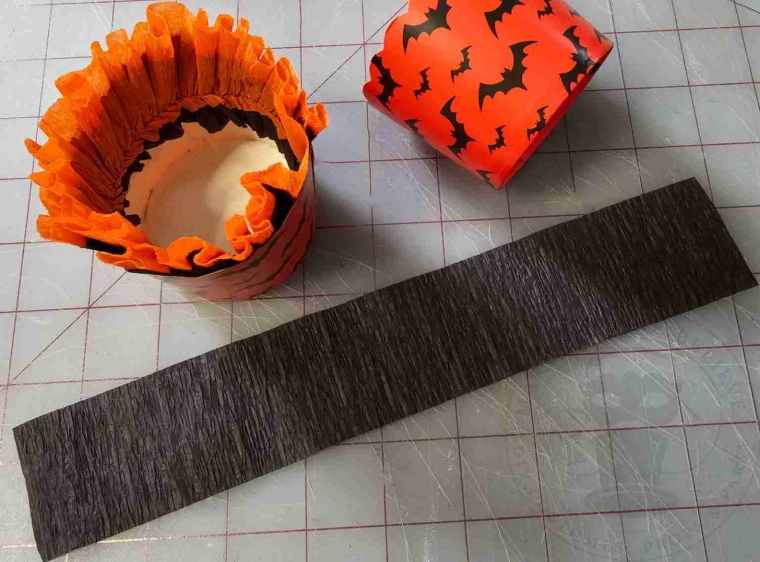
I’m using these spooky cute baking treat cups left over from making Scare Packages. The design is great, so we only need to zhuzh it up a bit.
To decorate the cup’s interior, cut a length of crepe paper approximately three times the diameter of the cup.
You can use a single layer of crepe paper or multiple.

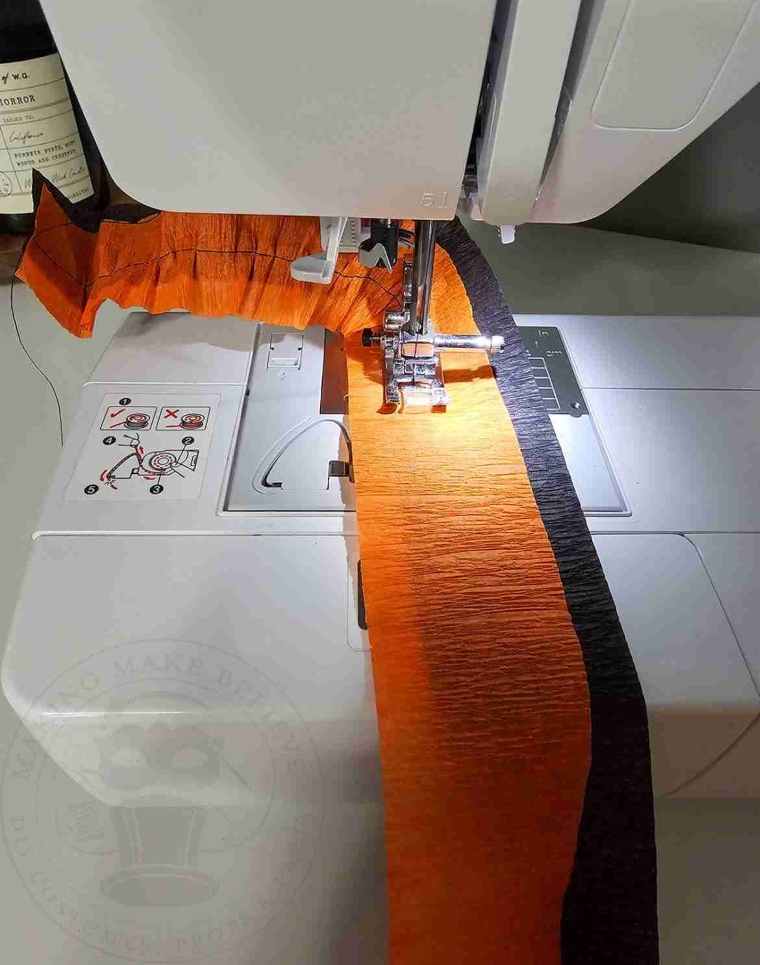
Next, to set up your sewing machine, select a straight stitch and set it to the longest length. For my machine, the longest stitch is 5.
Then, set the tension to the strongest position. On my machine, this is 9.
Alternatively, make your stitches using a needle and thread for a machine-free option.

I’ve stacked two streamers together and offset one over the other.
I want the ruffle to start lower than center so I aligned my sewing machine needle about at one third the width of the streamers.
Be sure to backstitch to secure, then begin sewing.
I like to add a bit of resistance by keeping the crepe paper taut, which helps the paper to ruffle. The trick is not to pull too tightly to avoid tearing the crepe or damaging your needle.
Ruffle as tightly or loosely as you like.
When you reach the end of your piece, do not backstitch but leave a long tail on your threads.
Test fit the festoon inside of the baking cup.
If it is too long, hold the bottom thread tail while gently sliding the crepe paper gathers closer together. Be careful not to break the thread.
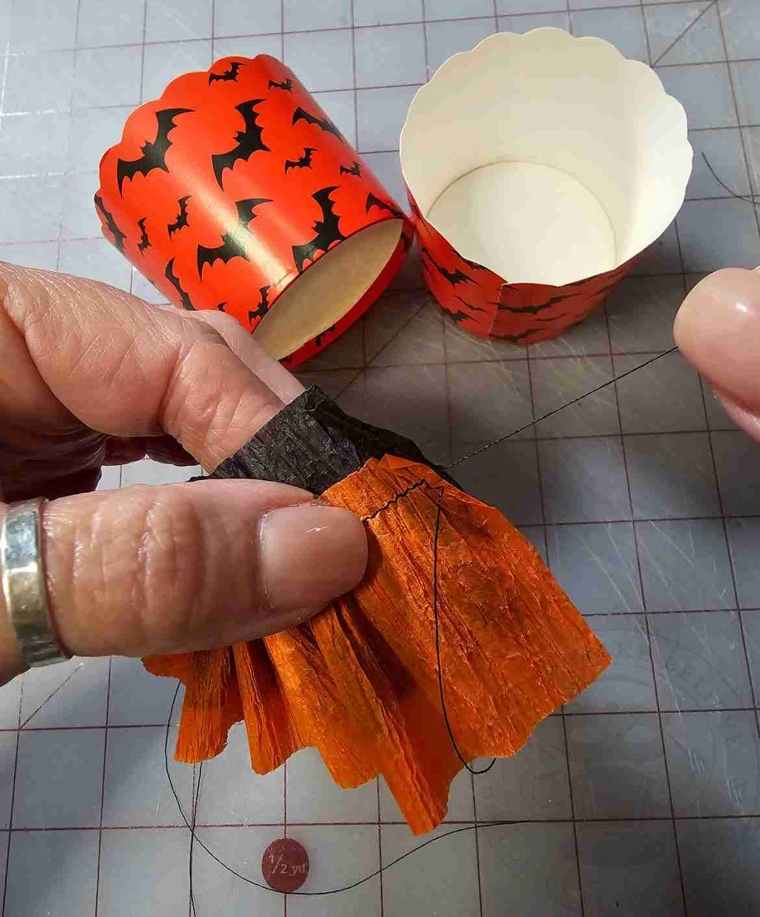
If it is too small, hold the bottom thread and slide the gathers further apart for a more loose gather.
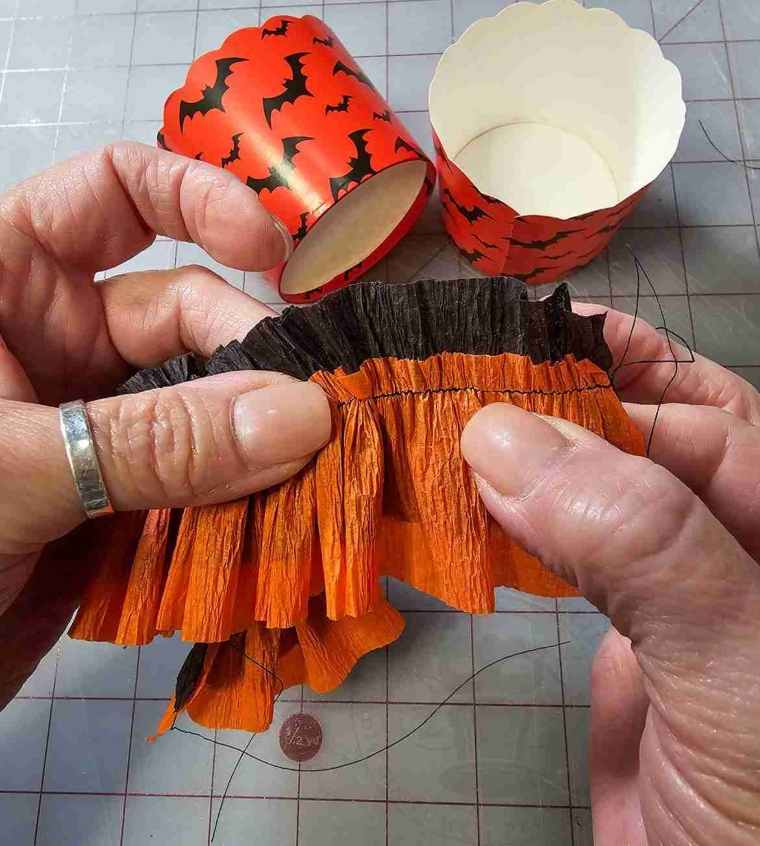
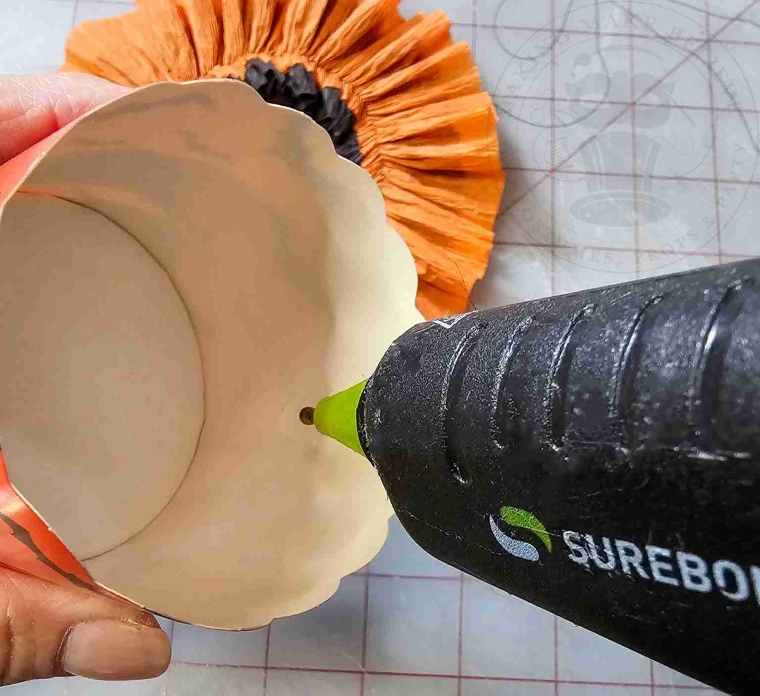
Once the festoon fits, knot the tail ends, and glue it around the interior of the cup.
I prefer to glue only the lower edge of the festoon to allow room to add a handle later.

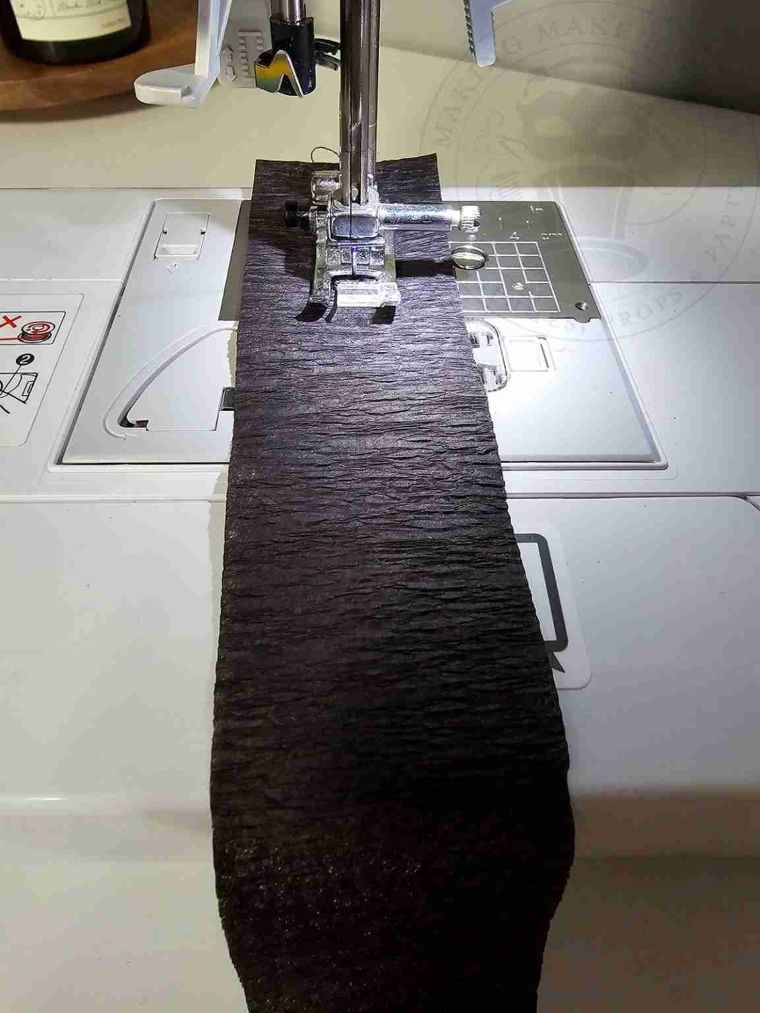
Next, cut a thin length of crepe paper slightly longer than the diameter of the base of the cup.
If using a sewing machine, reset your stitch length and tension to your usual settings.
Stitch straight down the center.
Be sure to backstitch at the beginning and end.
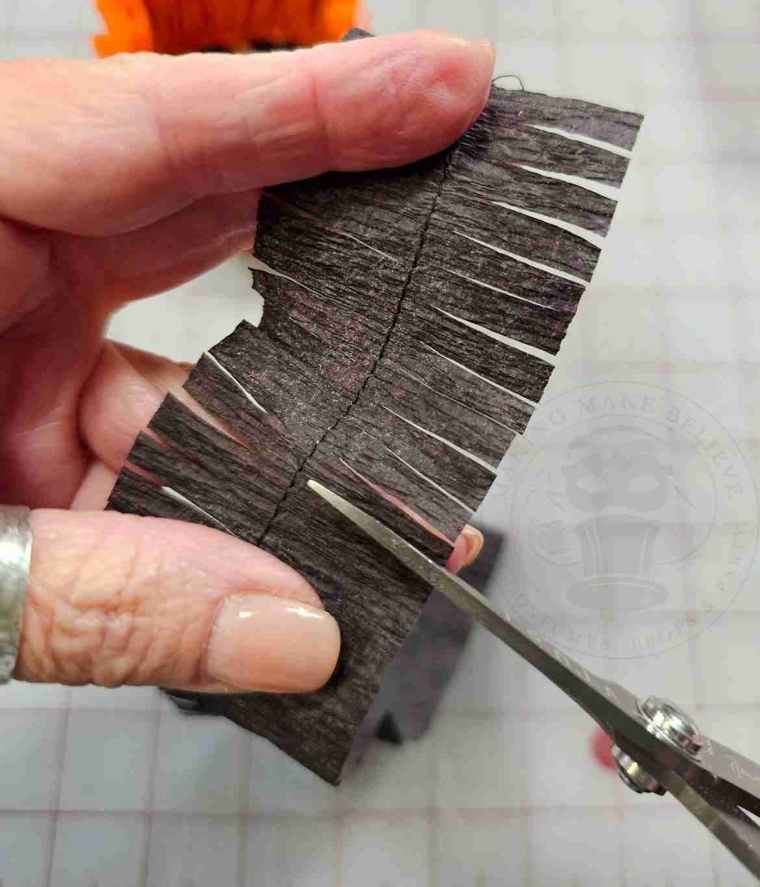
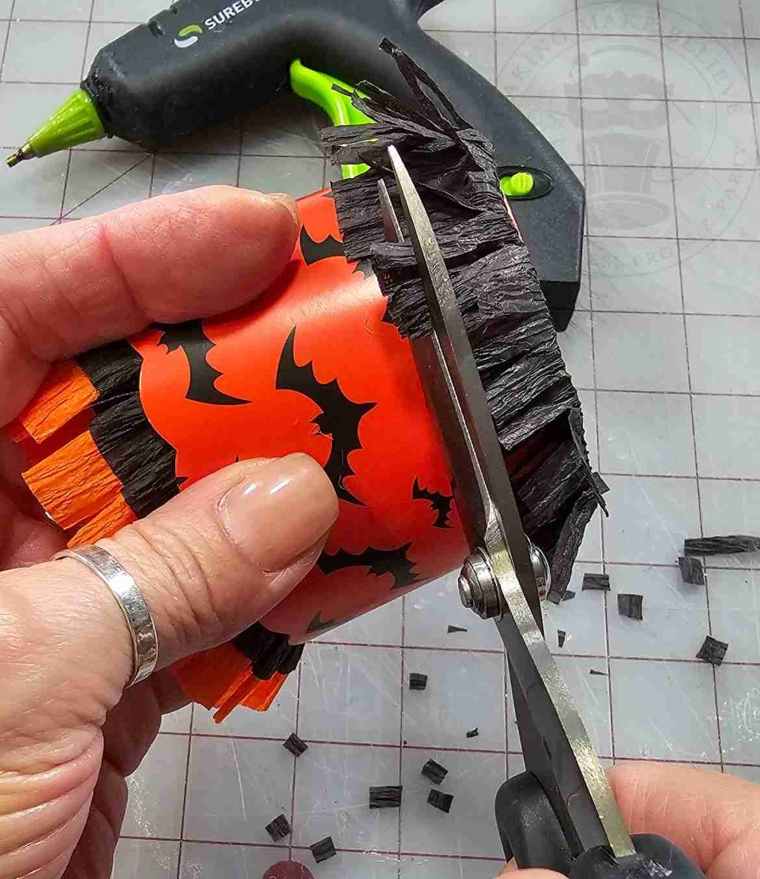
Cut the crepe paper at 1/8 to 1/4 inch intervals up to the stitching line on both sides, taking care not to clip the stitches.
Fold along the stitch line.
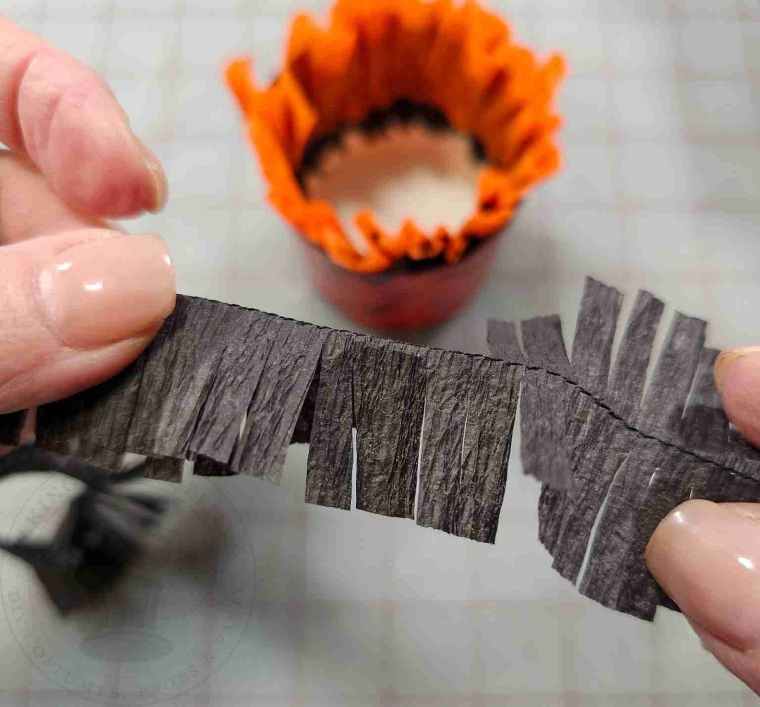
Fit the festoon around the cup’s bottom edge and glue it into place.

Trim if desired and fluff.
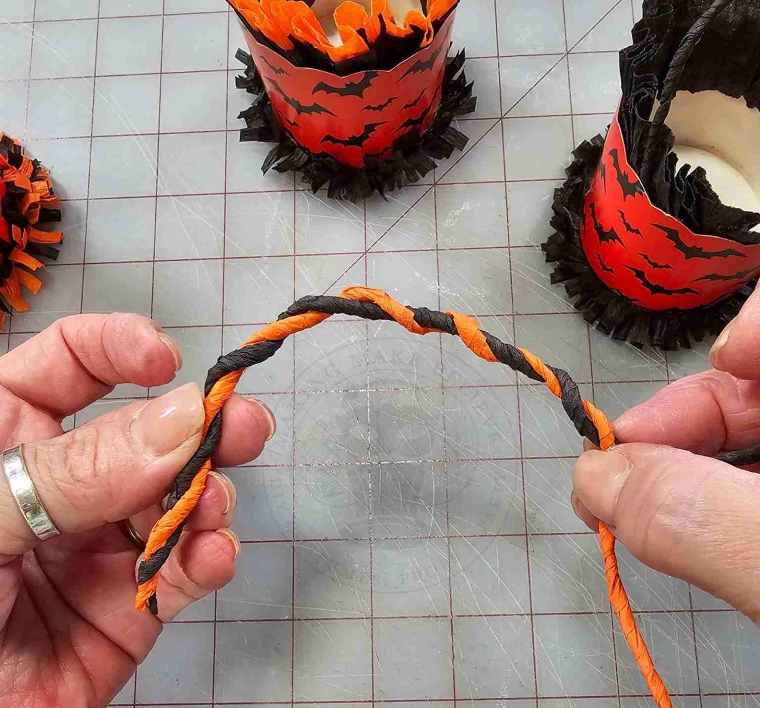
To create the handle, take a length of crepe paper twice the length you want for your handle.
I cut a 20″ length for a 10″ handle.
Gently stretch and wind tightly to form it into a rope.

To make a two-color handle, wind two ropes together.
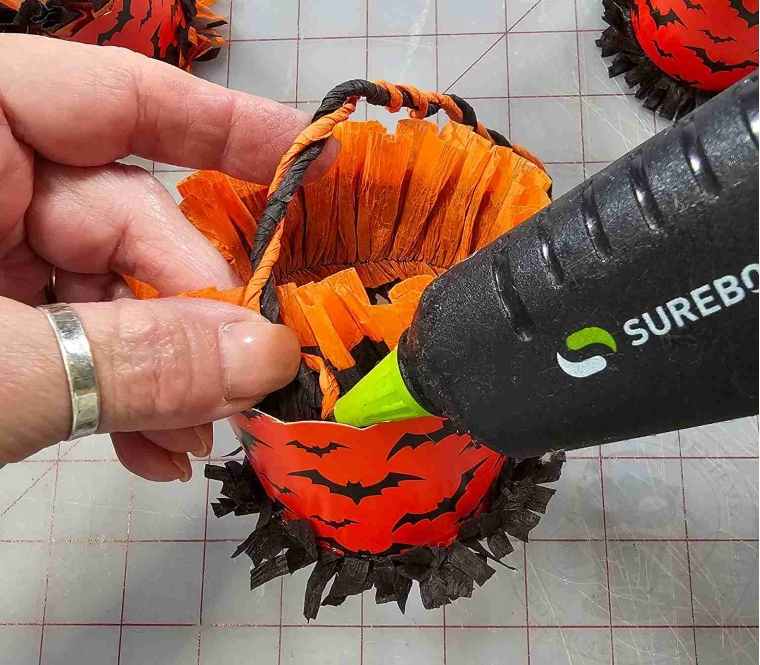
Glue the handle between the festoon and the cup.

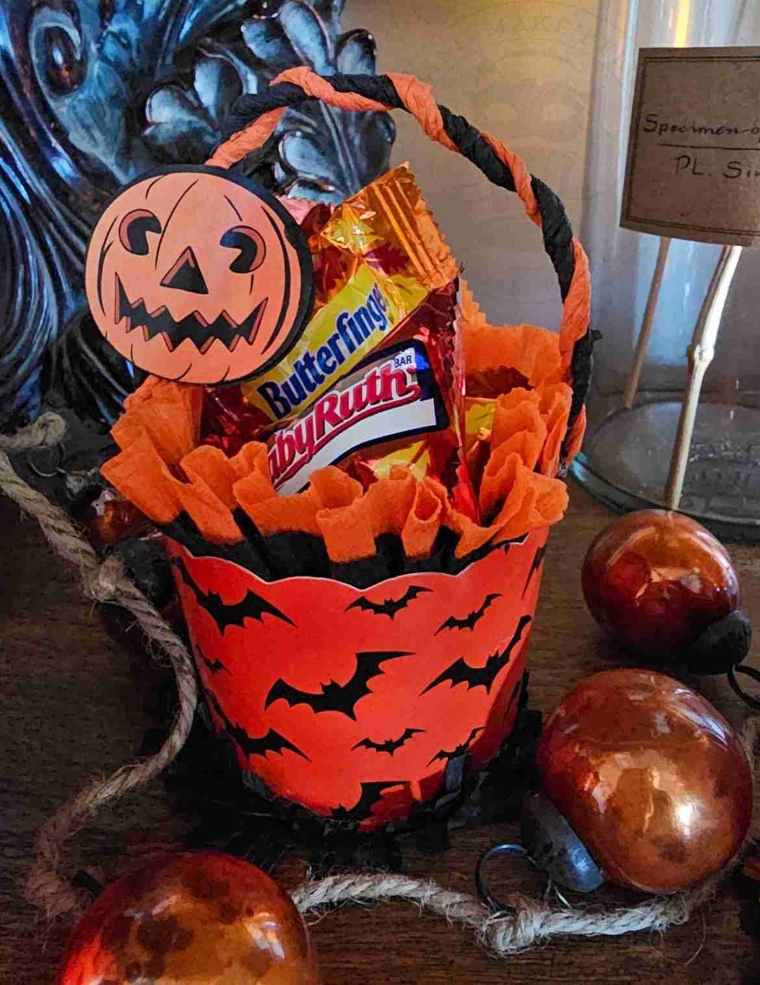
To level up your Halloween nut cup, print and cut one of the images from the Vintage Jacks Minis Printables and glue it onto the handle.

Now, fill with your favorite creepy confections.


Are you as nuts about these Halloween nut cups as I am?
Until next time – stay spooky.
