1.9K





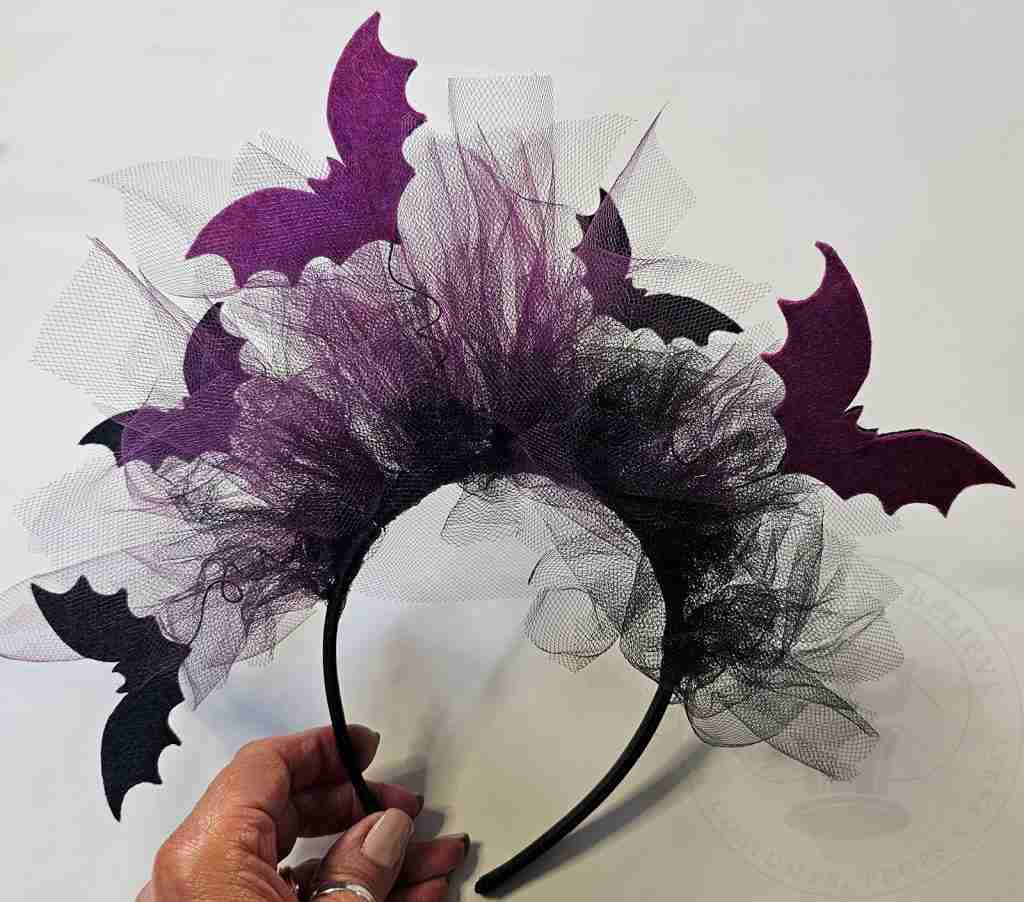
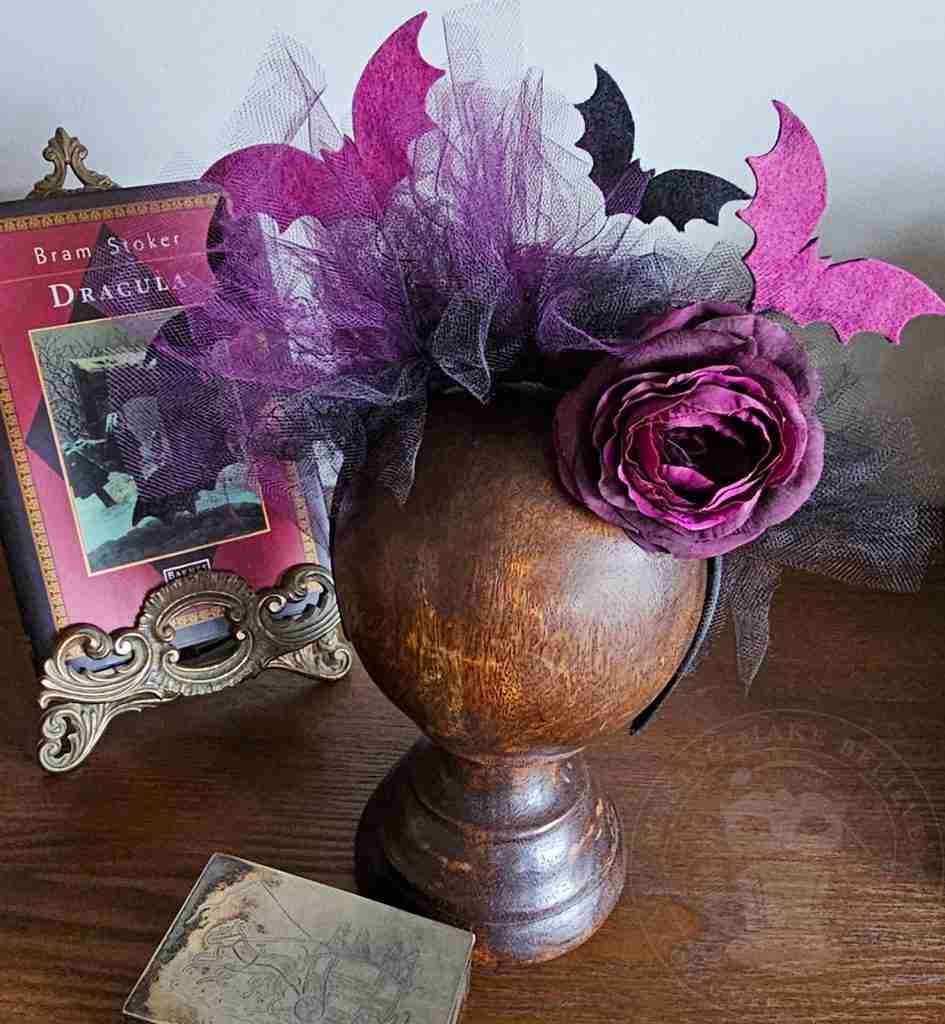
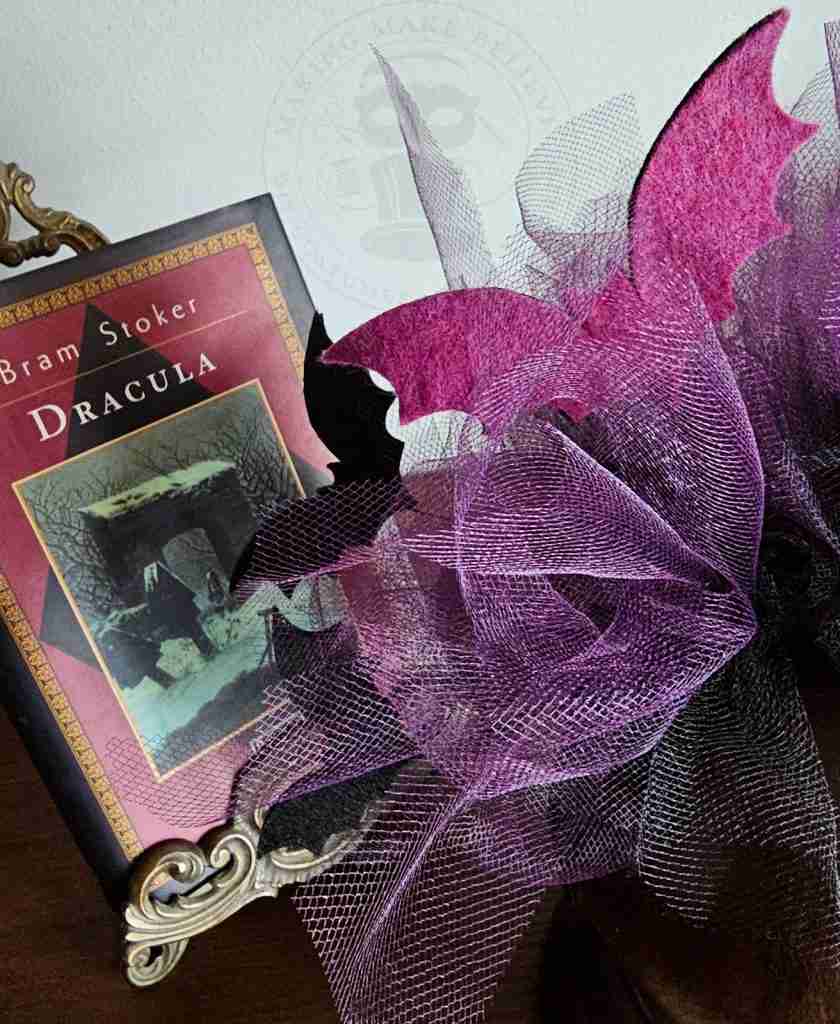
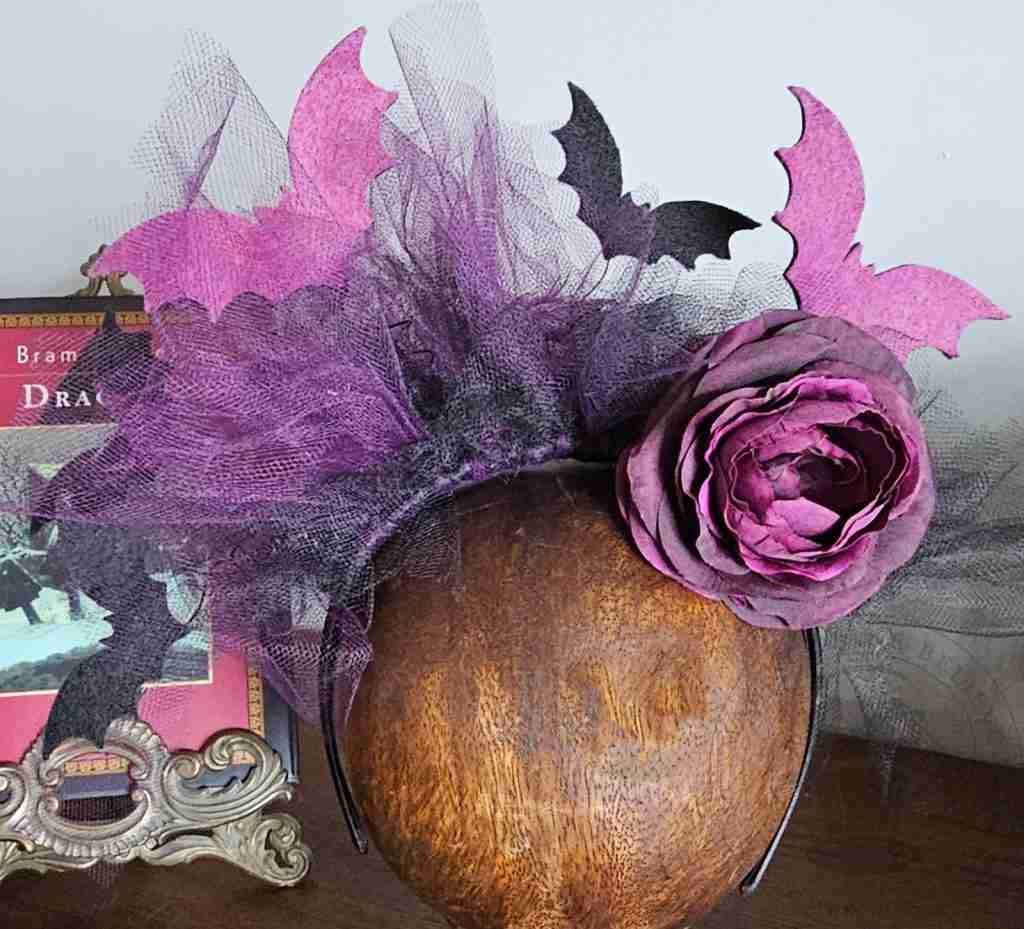

Halloween Bat Headband Tiara
I’m starting to question my ability to plan.
I noticed that I have a sizeable arsenal of last-minute projects in my pipeline, which leads me to think it’s probably because I feel I might need them.
I think I’m a pretty good planner, but sometimes I do need something quick.
Armed with a hot glue gun, felt, paper, fabric, and other odds and ends, I’ve been known to quickly create something from nothing in under two hours.
Our boys used to test my ability to prevail in these situations by remembering a report or other project deadline the night before it was due – after the stores had closed.
It was during these tests that my husband started to appreciate the large costume and craft stash that often oozed beyond the confines of my studio.
I’m on a mission to use up some of that stash while still creating fun and original pieces that are easy to make in a pinch.
Today’s project is perfect for the last-minute, eleventh-hour, down-to-the-wire costume quandary – whatever you call it, we’ve got your back.
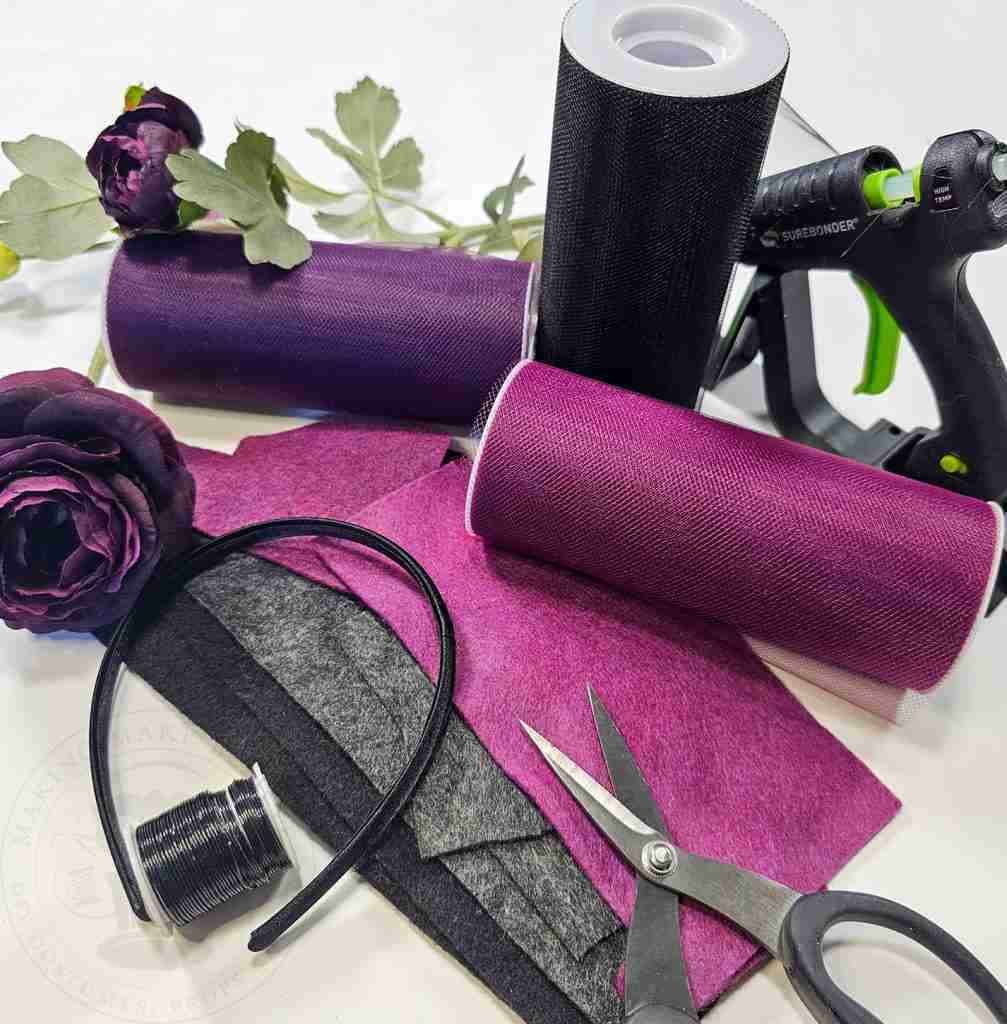
Simple to make, this bat headband uses easy-to-find materials, can be customized to any color, and can be worn with a full costume or jeans and a haunted tee.
There’s no time to waste so, let’s get started.
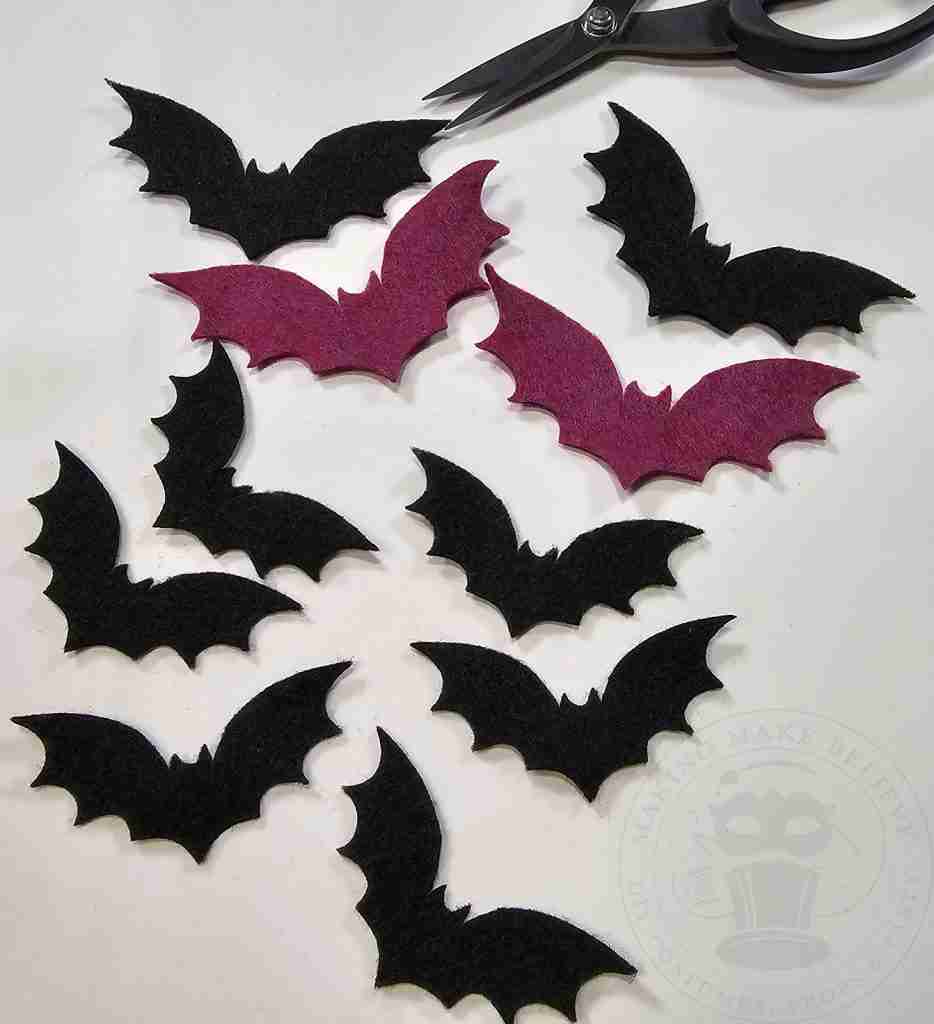
We will also need the Simple Bats files from the Haunted Library. Select the SVG for machine cutting or the PDF for hand cutting.
For machine cutting, upload the Simple Bats SVG into your design software. I’m using Cricut Design Space.
To cut by hand, open the template with your favorite PDF reader (Adobe, FoxIt, etc.). Print the templates, cut out the pattern, and transfer them to the felt or heavy paper.
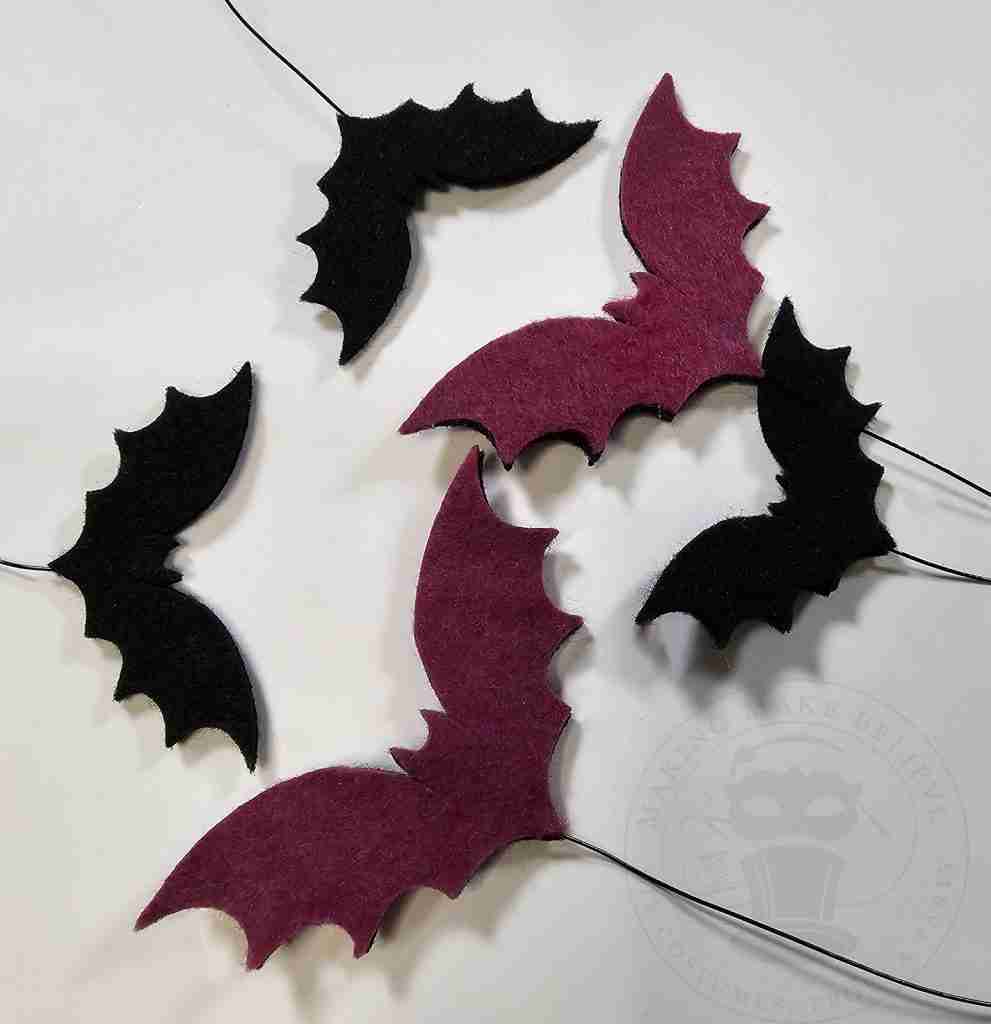
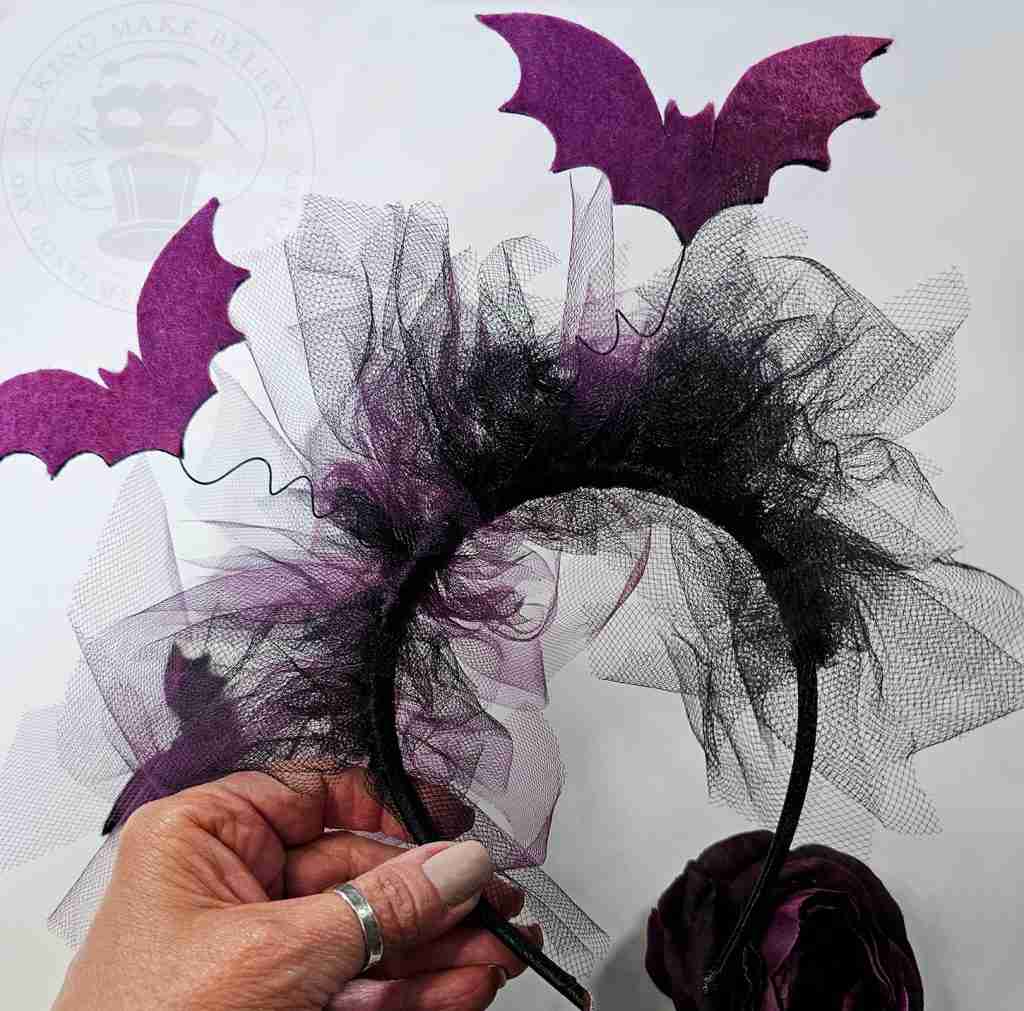
Size and cut as many bats as you like for your headband. I’m using five but if you’re in a super hurry add less.
If you want your bats to have a finished look from behind, you can cut two of each piece so there is a front and a back.
This step is optional; skip it if you’re in a super hurry.
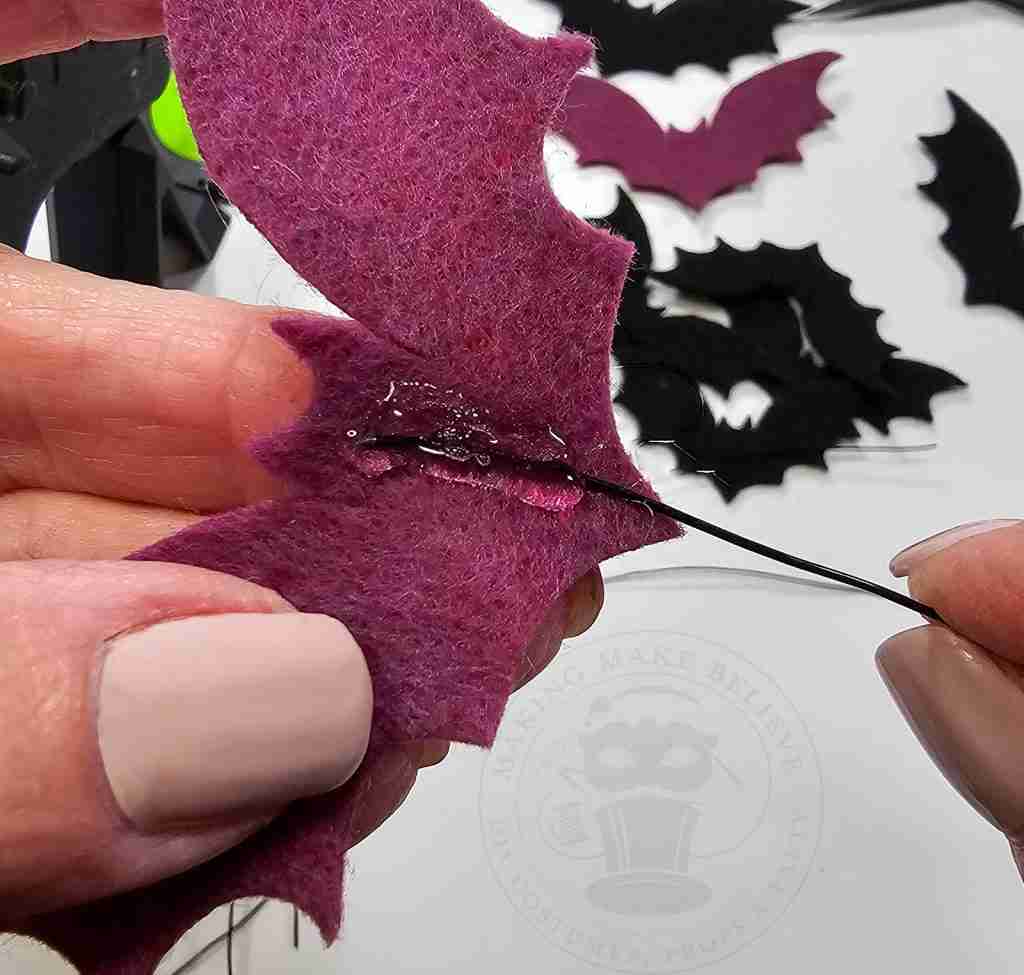
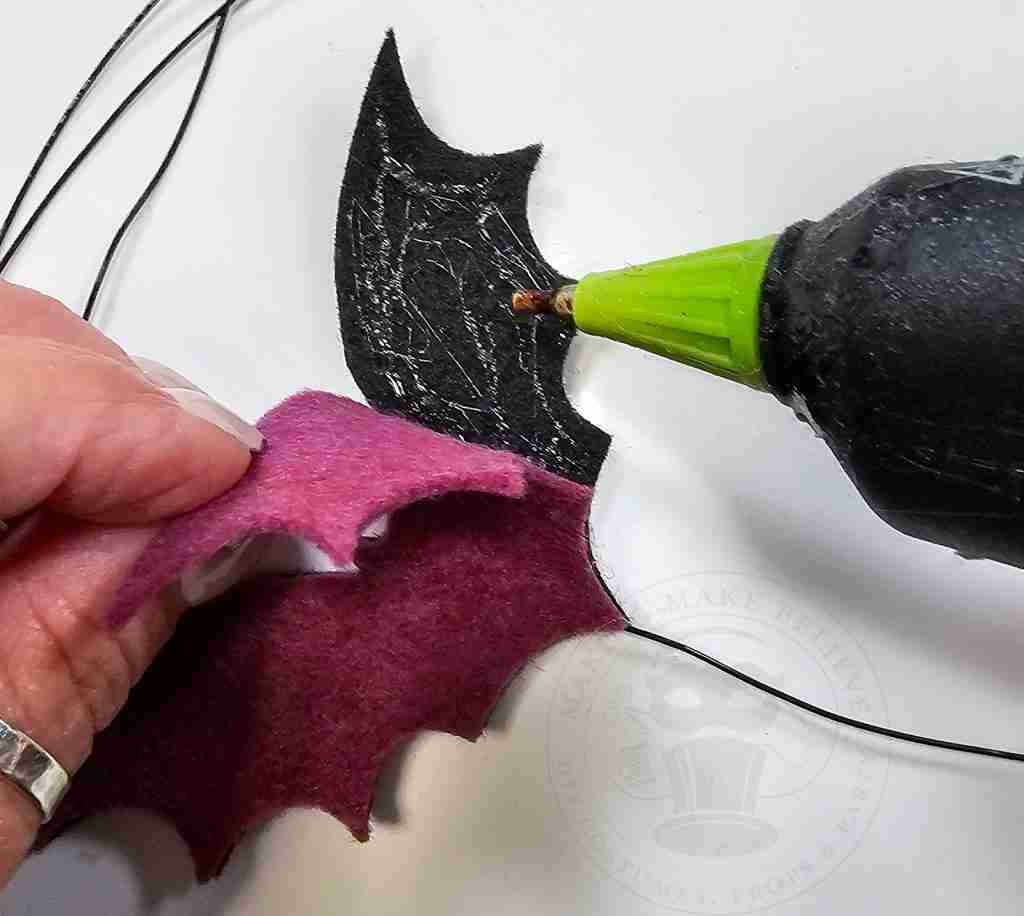
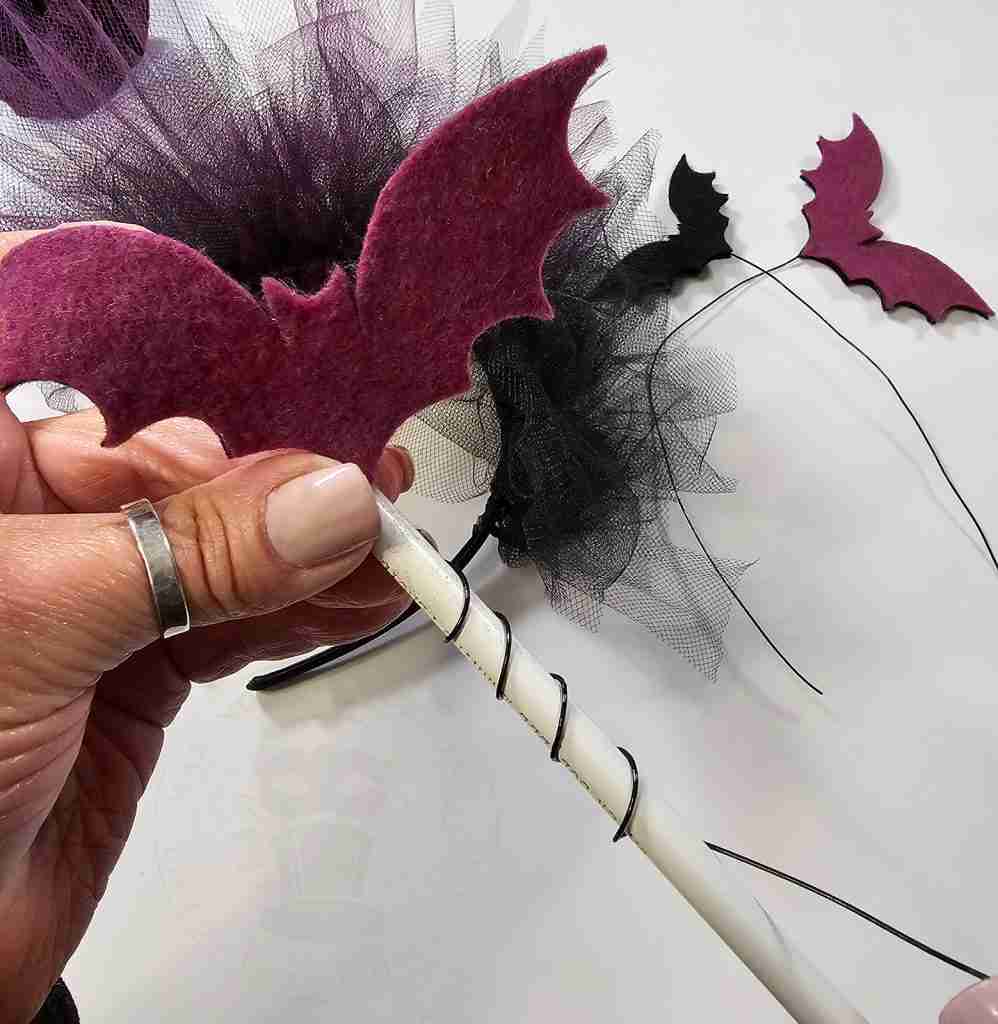
Cut a length of wire for each bat and glue to the back.
I cut my wire approximately 8″-10″.
For a more finished look, sandwich the wire between two bat pieces.
Set the bats aside.
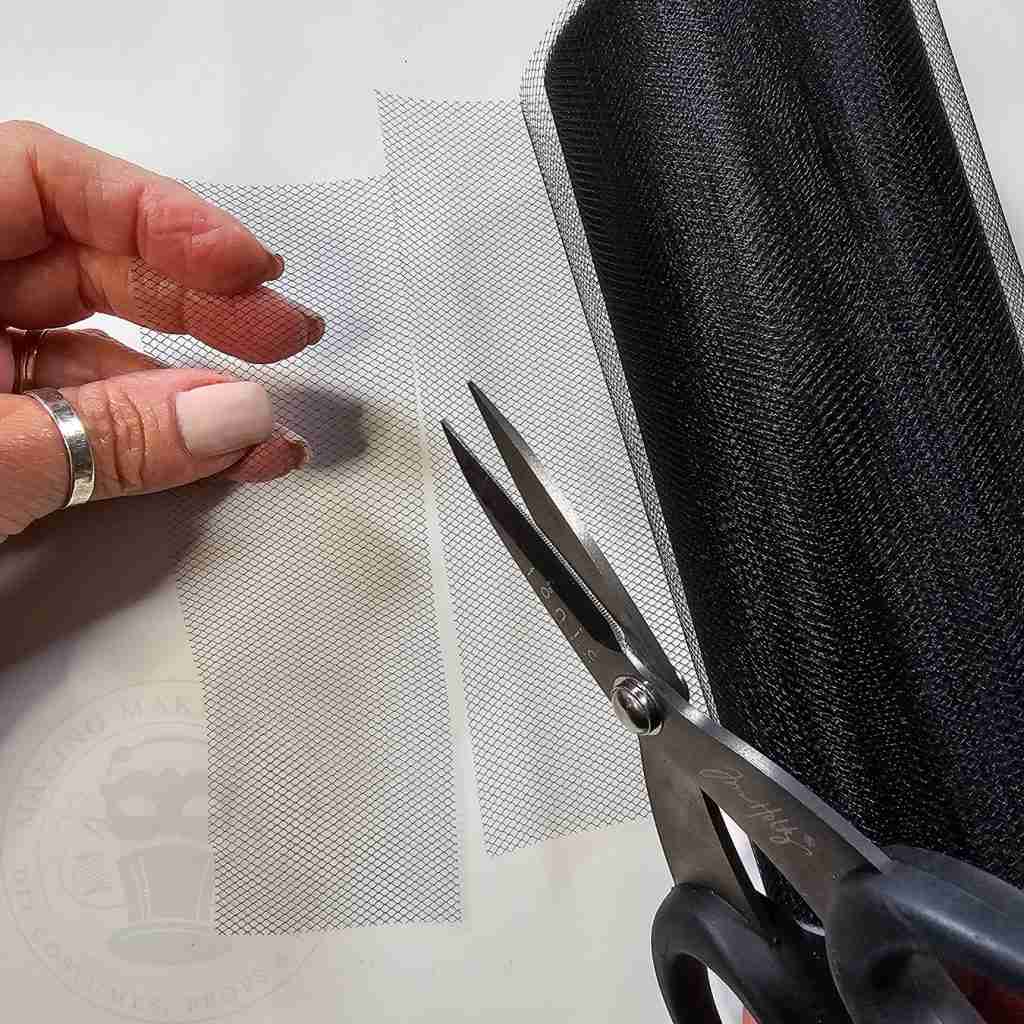
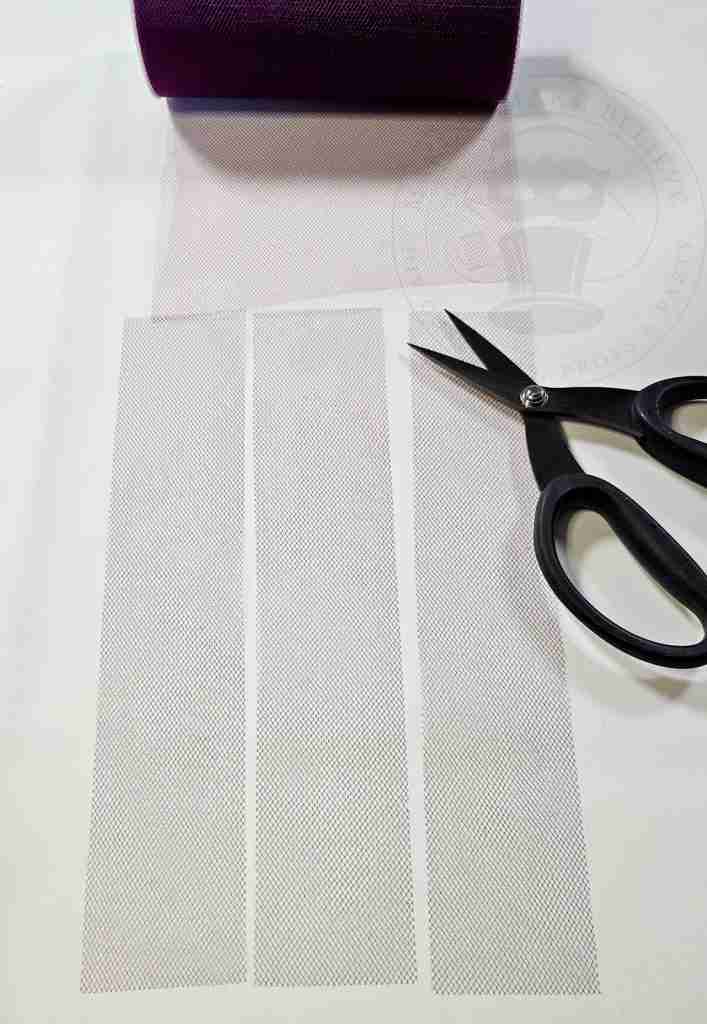
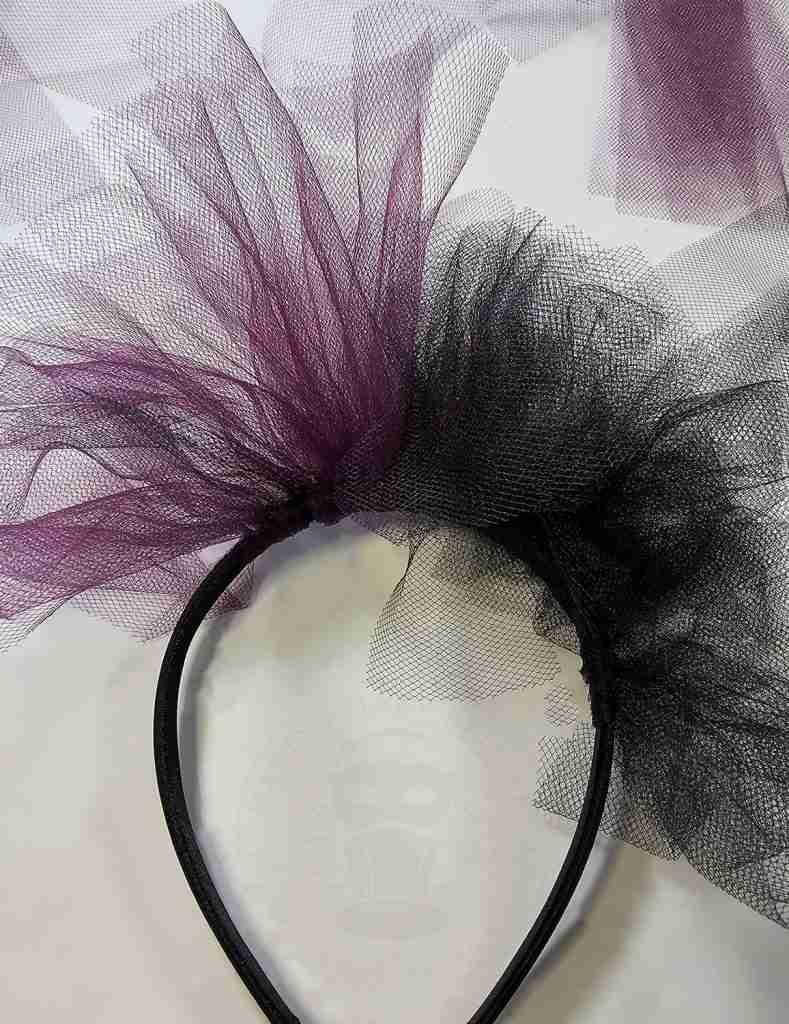
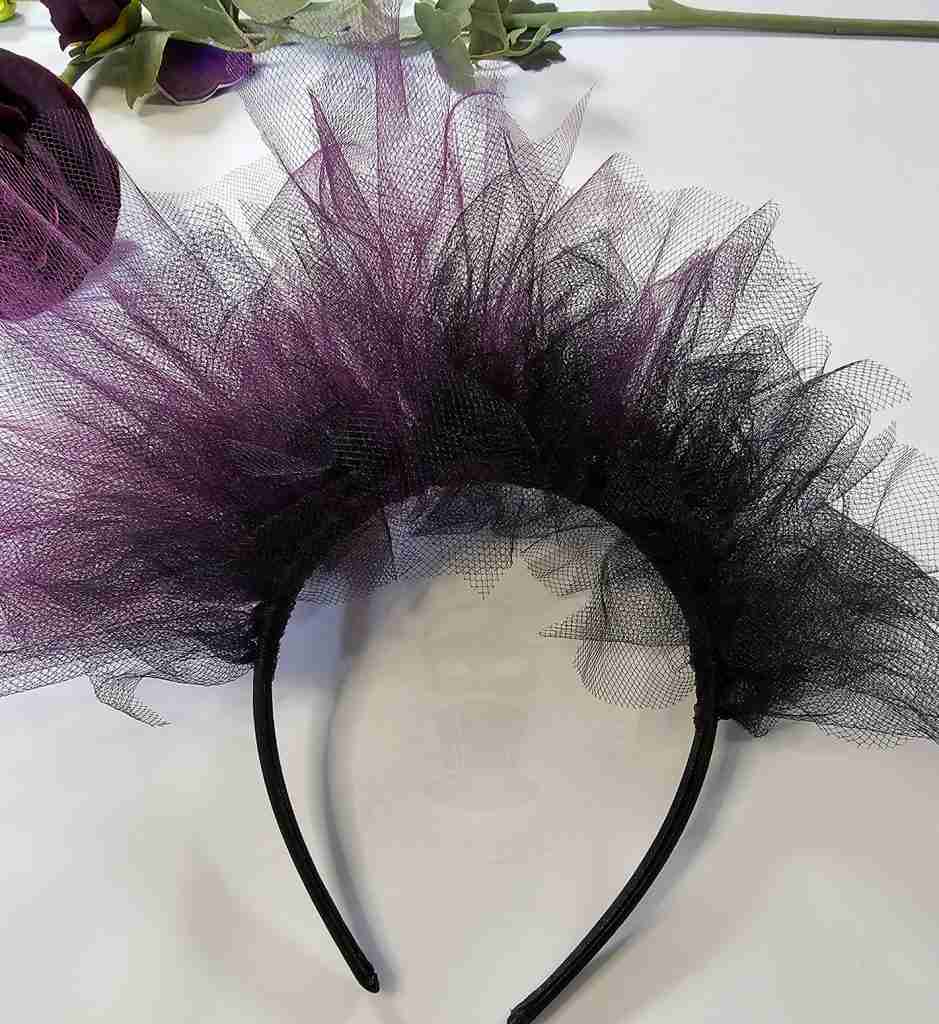
Using one or more colors of tulle, cut 2″ strips from the end of the spool.
The number of strips you need depends on how dense you want the tulle. I cut around 70 strips in three lengths.
If you’re in a super hurry, do less strips and space them further apart.
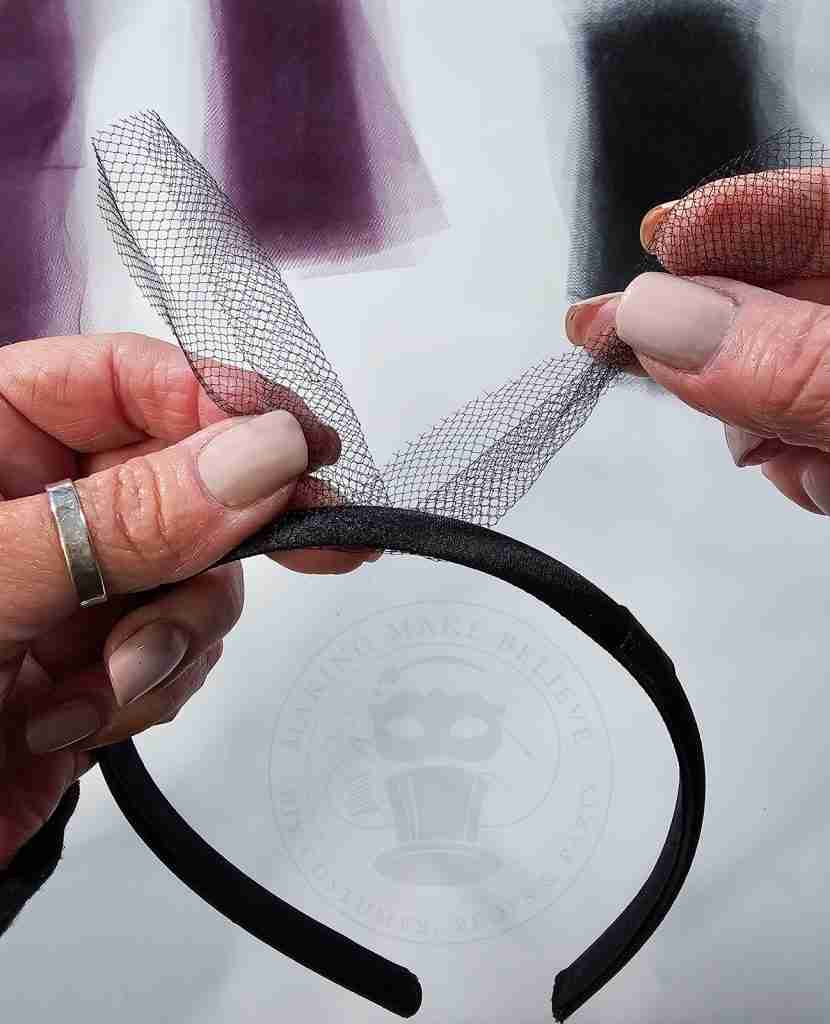
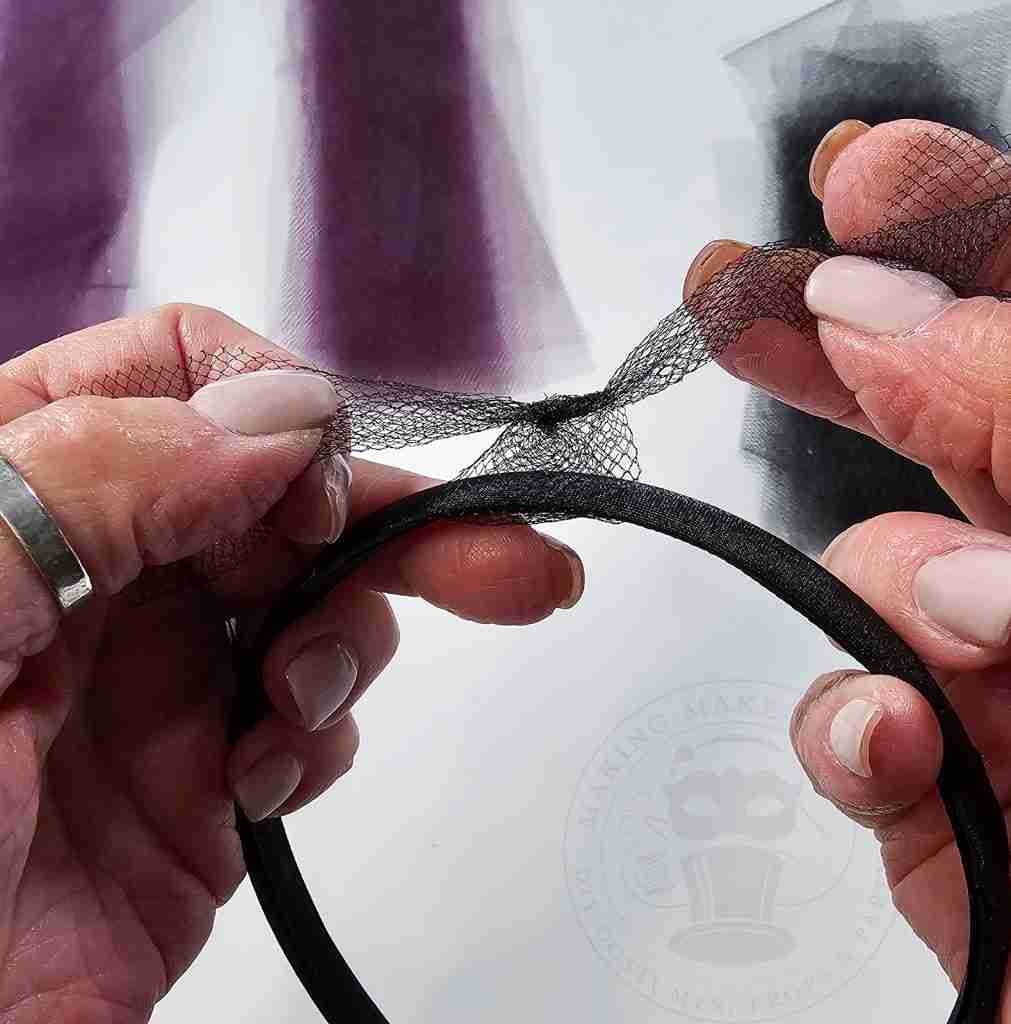
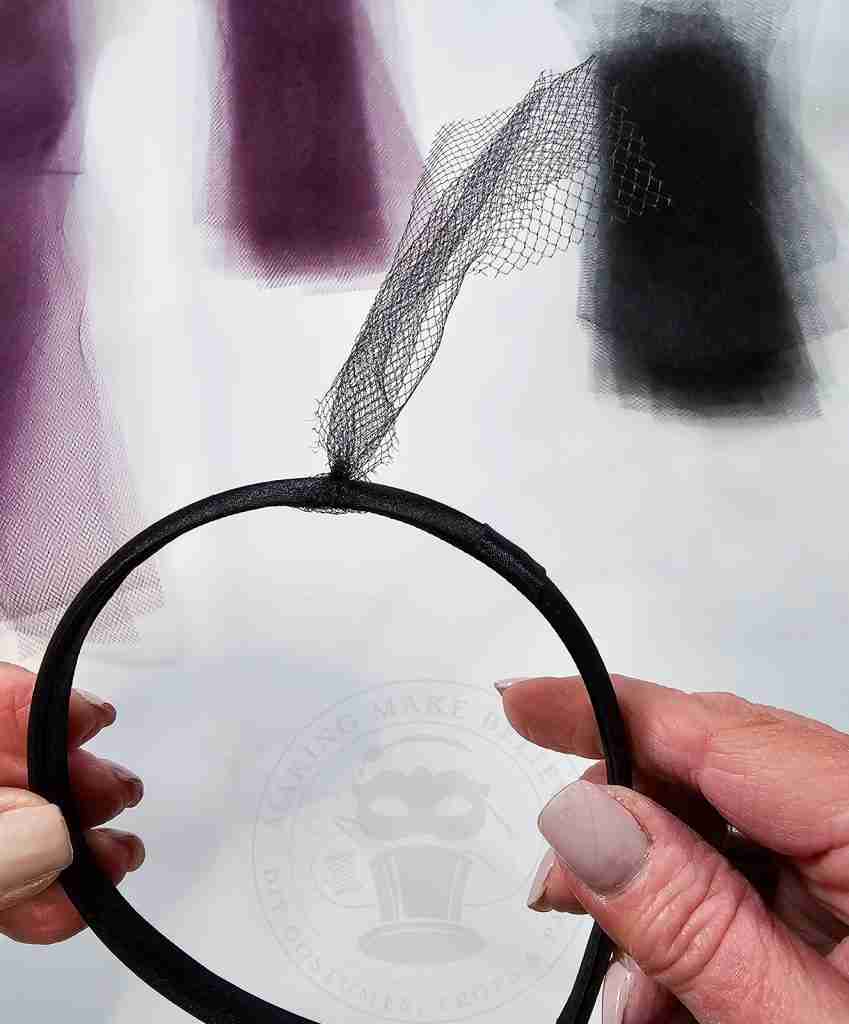
Next, wrap a strip around the headband and knot at the top.
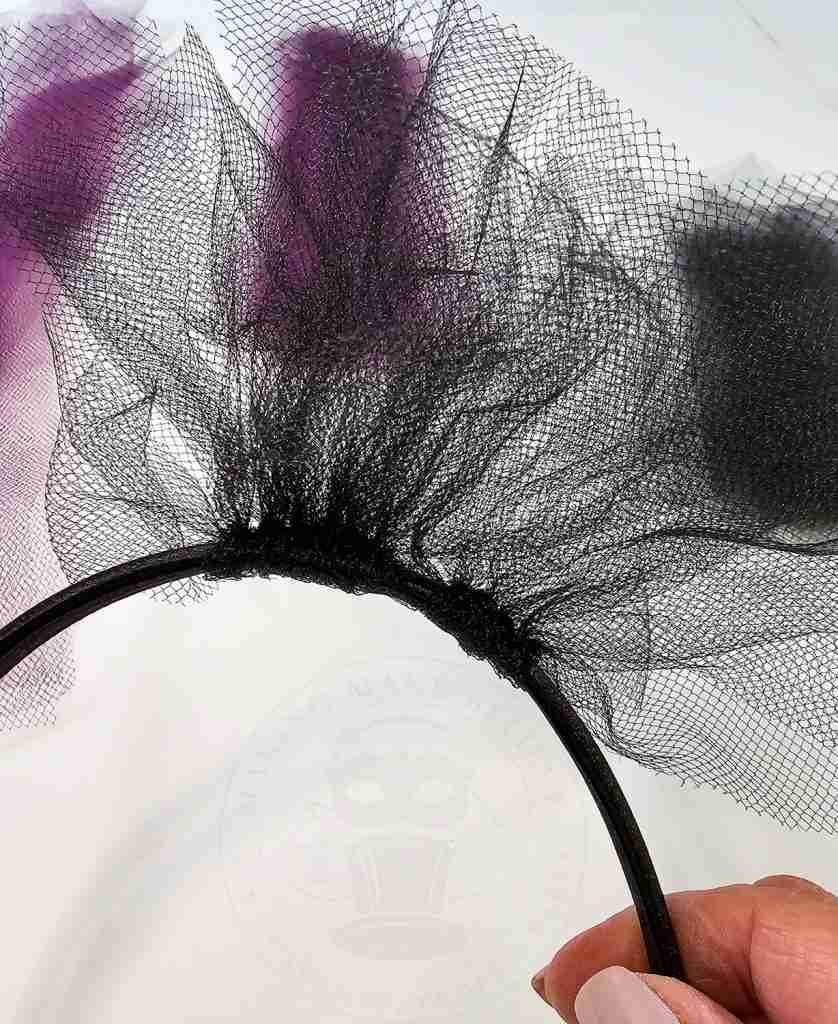
Repeat the process, moving the knotted strips closer together as you go.
Once the headband is loaded with the tulle to your liking, trim the tops as desired and fluff.
Take your wired bats and coil the wire around your finger or a pencil.
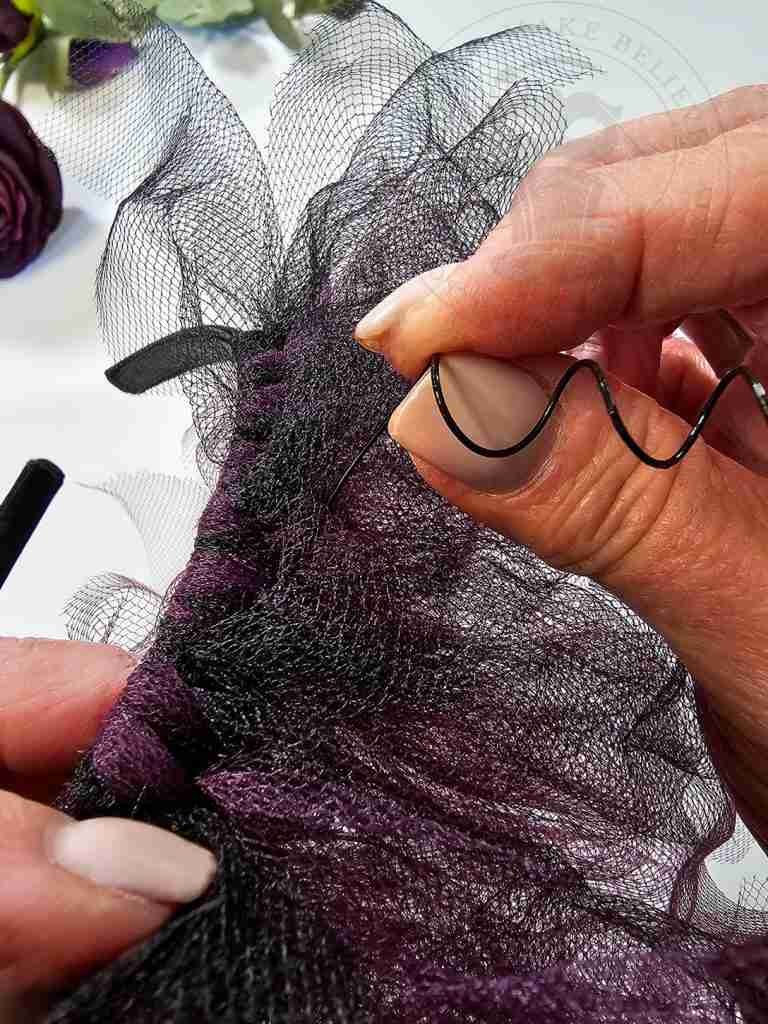
To attach the bats, run the wire end under the knots or wrap it around the headband several times, ending at the top so that the wire will not poke your head.
Secure wire to the bat headband with hot glue if needed.
Now, you can leave the bats plain or add embellishments.
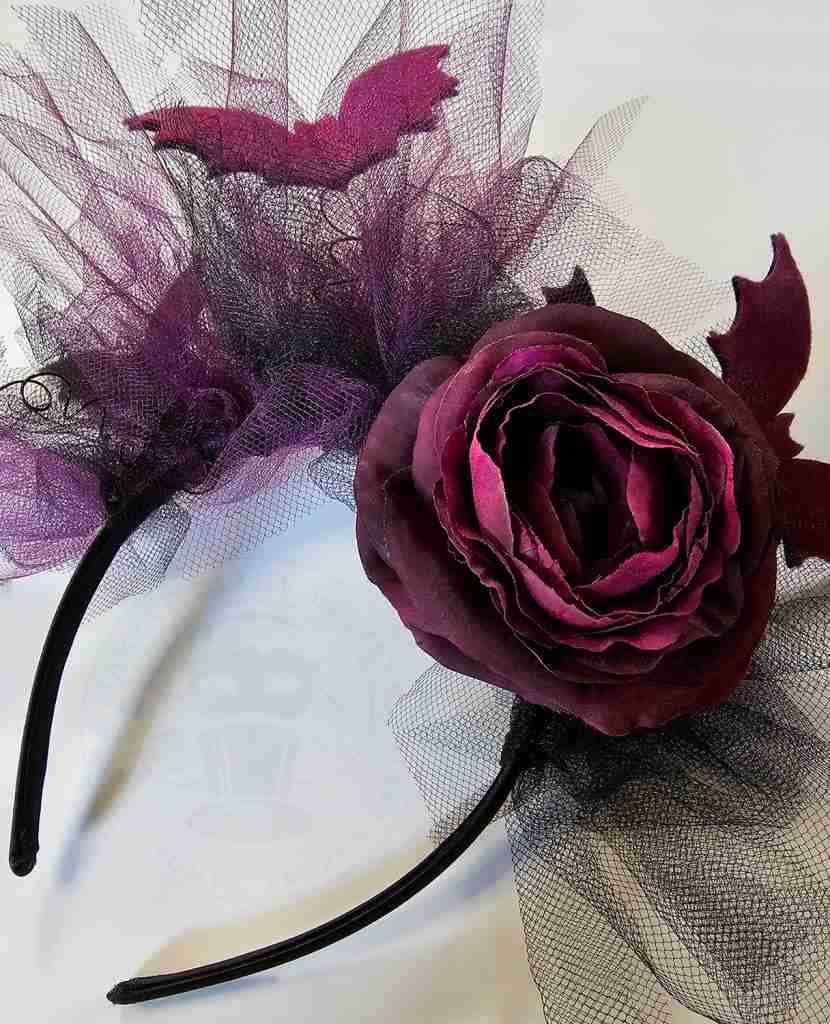
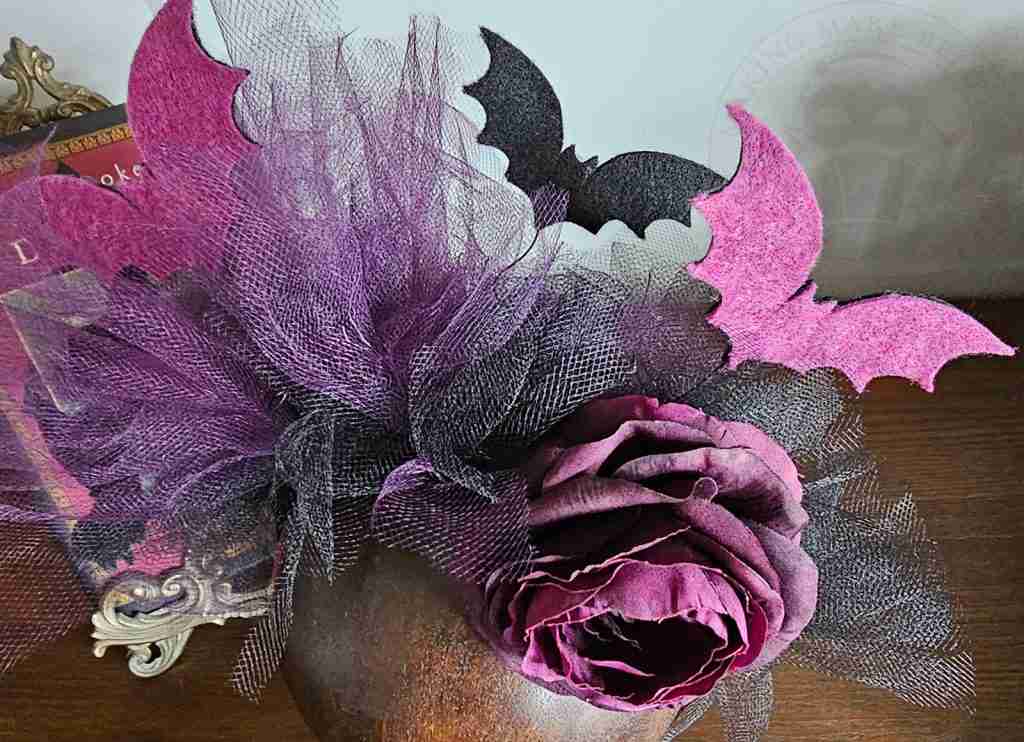
I added a simple rose to the headband and left my bats as is.
You’re all set! Now get on out there and strut your best batty self.
Until next time – stay spooky.

Check your email for the Haunted Library password.
Don’t miss a moment of the mischief.
Add hello@makingmakebelieve.com to your address book.
Join us and get access to our Haunted Library stocked with templates, printables, cut files, and exclusive content. Plus, you’ll receive Eerie Emails just for our subscribers.
*Stay as long as you like. Unsubscribe at any time.