
I just finished framing a recent haunted acquisition – a vintage Halloween postcard – now lurking over my shoulder in the office, and I can already feel the obsession creeping in. This makes only the third Halloween postcard in our collection, which is exactly the kind of “harmless start” that spirals into a full-blown vintage ephemera hunt. You know how it goes – one minute you’re admiring the artwork, the next you’re chasing down ghostly paper relics like they owe you something.
This particular piece – an unsigned Ellen Clapsaddle – leans delightfully strange. The verse reads:
Halloween Greetings
“An’ the Gobble-uns’ll git you
If you don’t watch out!”
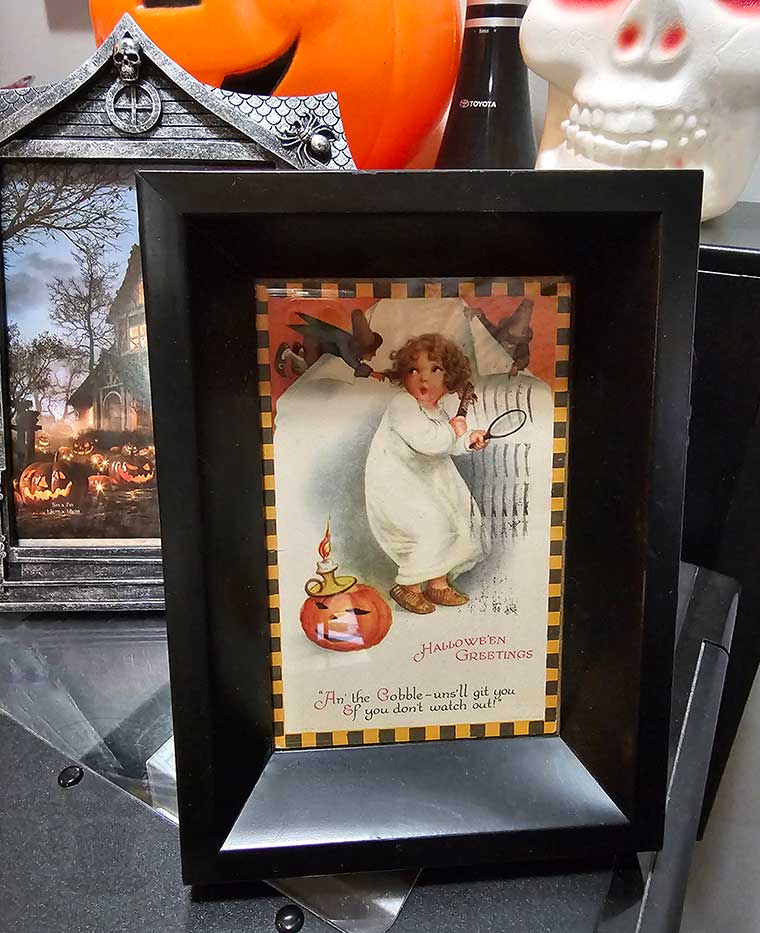
Charming, right? Nothing says seasonal cheer like a vague threat from something lurking just out of sight. These “Gobble-uns” sound less like mischief-makers and more like something you’d rather not meet in a dark hallway. Yikes!
Despite the ominous warning, my curiosity got the best of me. I started digging into more of these eerie little verses because vintage Halloween poetry has a way of sticking to your bones, and I quickly found myself plotting how to weave them into future projects.
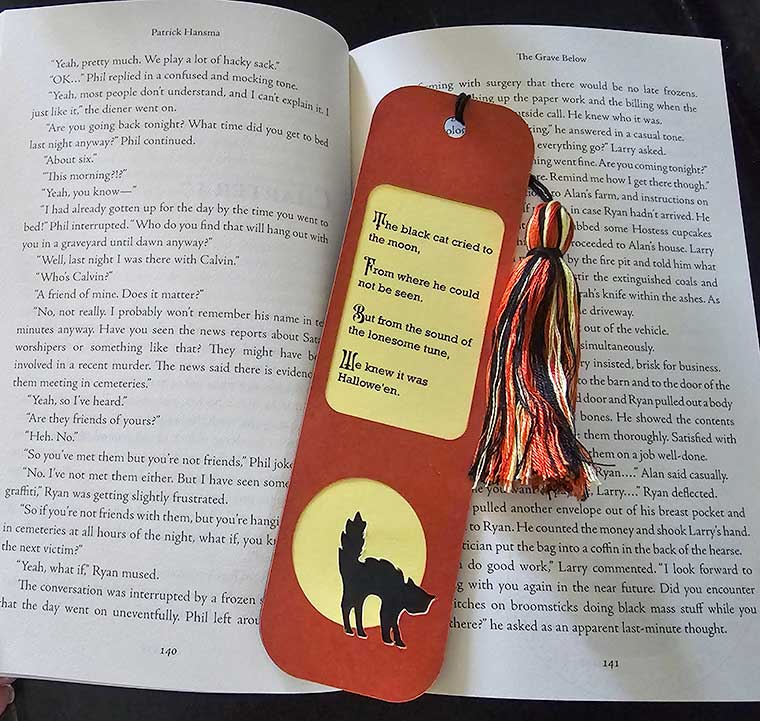
As fate would have it, I recently picked up a copy of The Grave Below by Patrick Hansma. Patrick – can I call him Patrick? – is an author, rare book dealer, and forensic pathologist. That’s got to be a recipe for a good read, don’t you think?
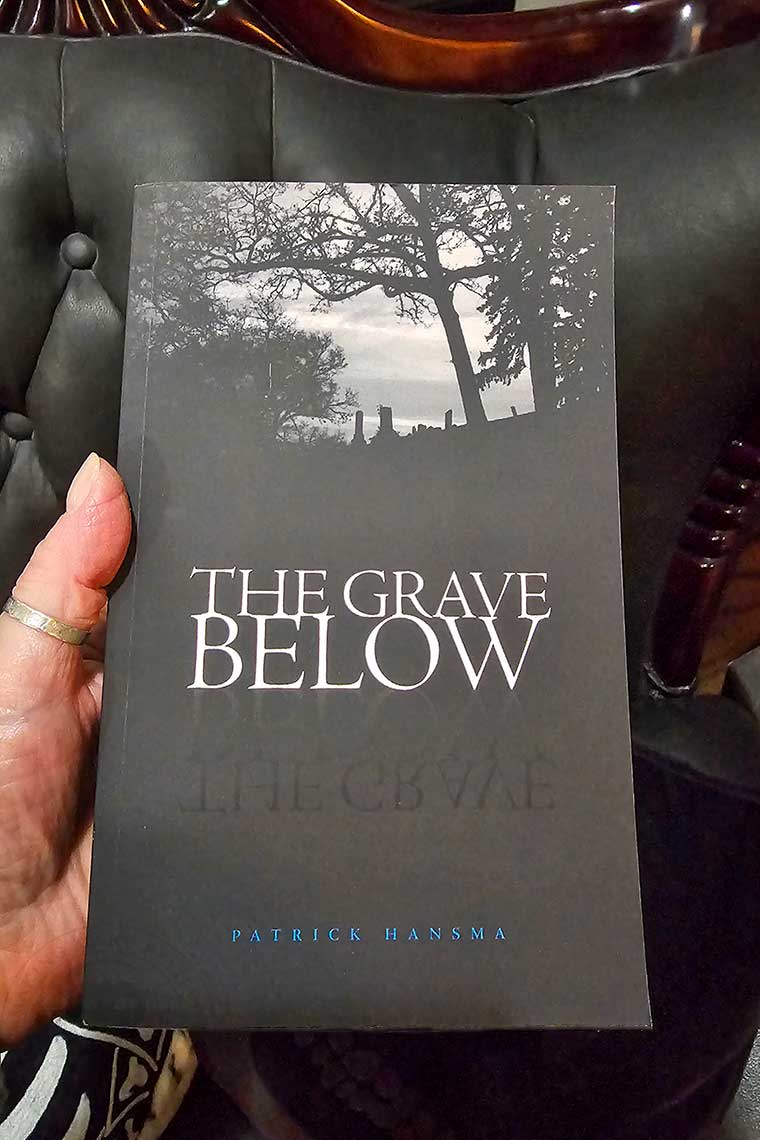
The premise alone sealed the deal: a 16th-century Puritan vampire colliding with a modern-day grave robber, tangled up in a witch hunt while detectives chase a string of murders. It’s exactly the kind of story that deserves something better than a scrap of paper marking your place. In other words, before I dive into the grave, I need the proper bookmark with a bit of haunted personality.
So, if you enjoy seasonal reads, nostalgic Halloween vibes, and adding a hauntingly handmade touch to your ghost stories, this project is a perfect fit.

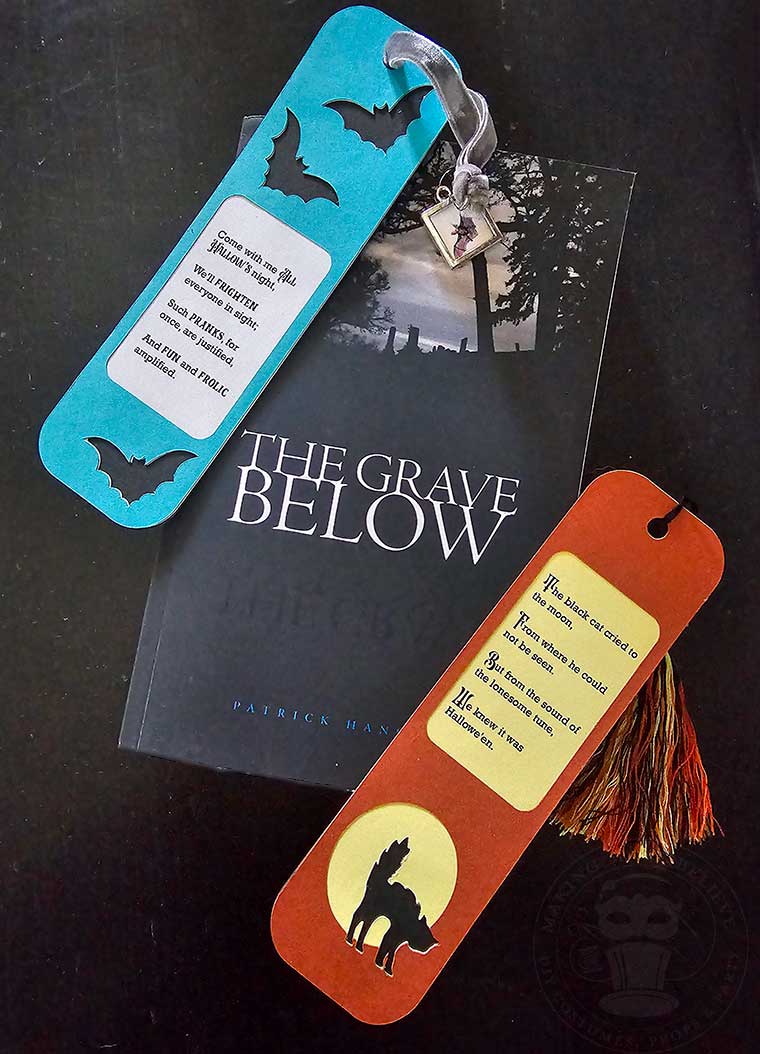
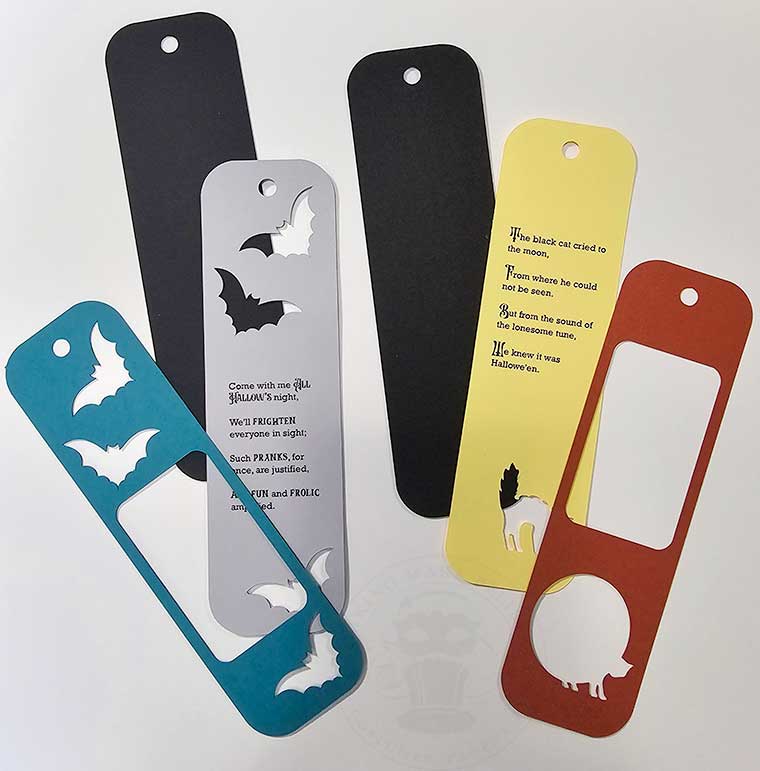
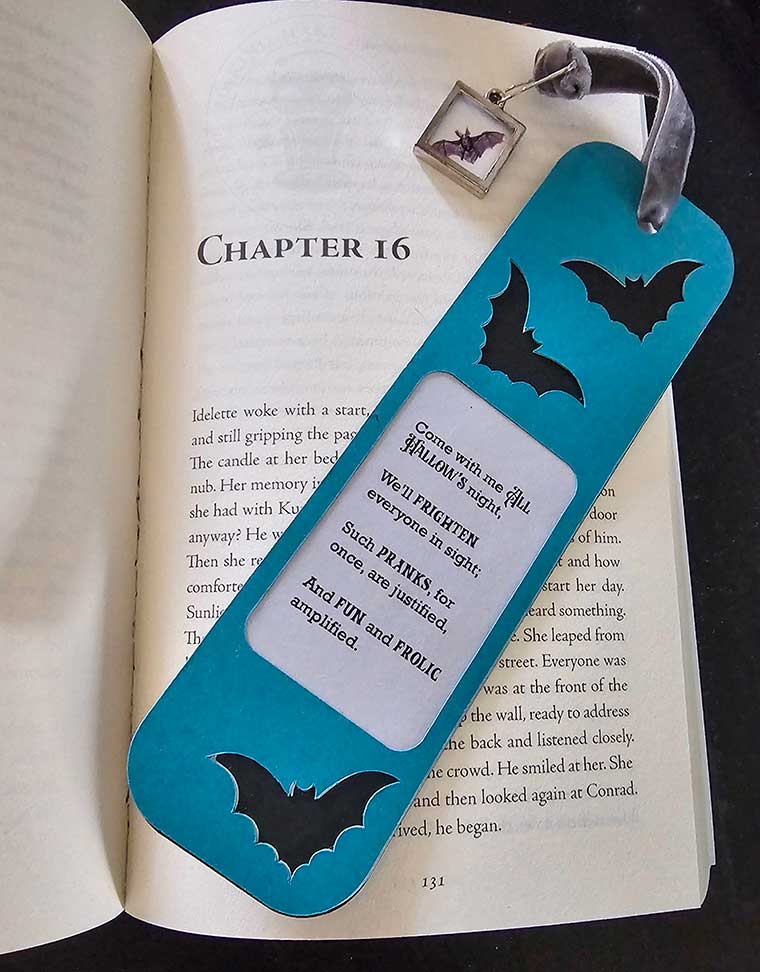
These vintage inspired Halloween bookmarks look like they came straight from a haunted library. Save this simple DIY tutorial so you can find it next time you need to mark your spot in your favorite ghost story.
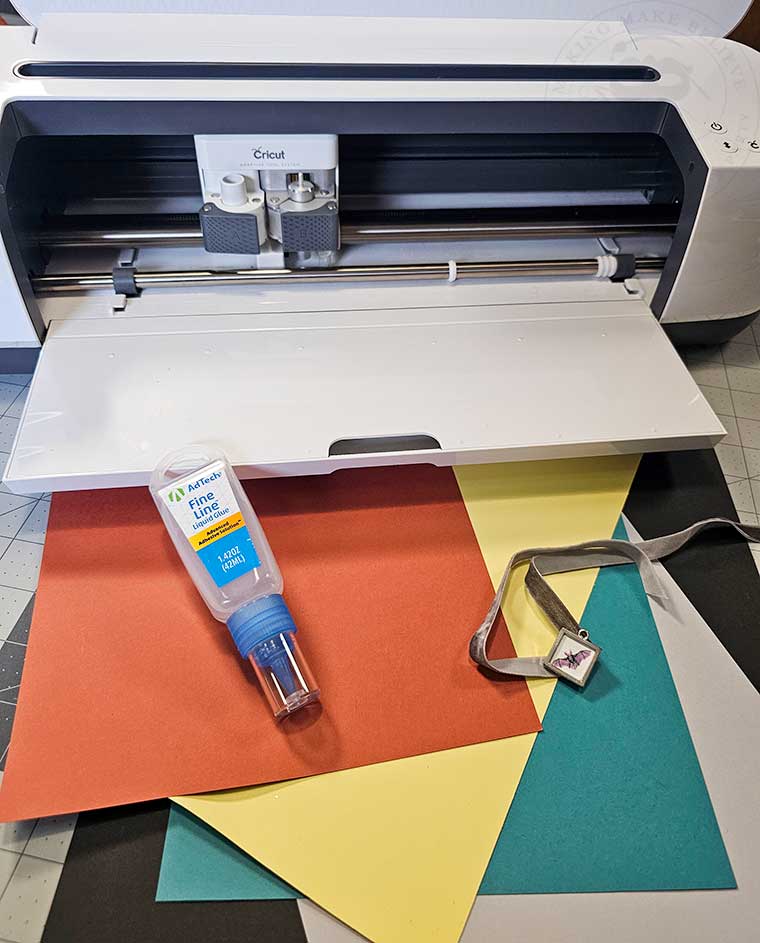
For this project, we will need:
Cardstock – 3 colors per bookmark
Printer (not shown)
Cutting machine – I’m using the Cricut Maker
Adhesive
Tassel or ribbon
Embellishments (optional)
We will also need the Vintage Halloween Poetry Bookmark Set files from the Haunted Library. Your download includes everything needed to create both vintage inspired Halloween bookmark designs.

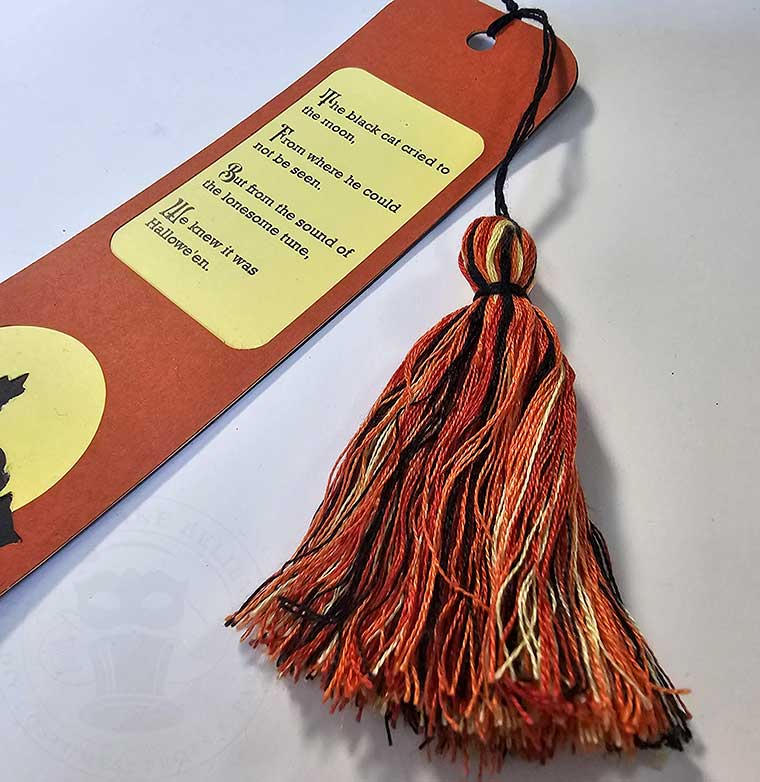
The verses of Halloween poetry I selected for these bookmarks come from two old Halloween postcards, one by Gibson Art Company and one by George C. Whitney.
After downloading the Vintage Halloween Poetry Bookmark Set, upload it to your favorite design software. I’m using Cricut Design Space.
The default measurements for the bookmarks should be 2” x 7” (sometimes Design Space chooses to size differently). To resize the bookmarks, keep the layers grouped and adjust the size as desired.

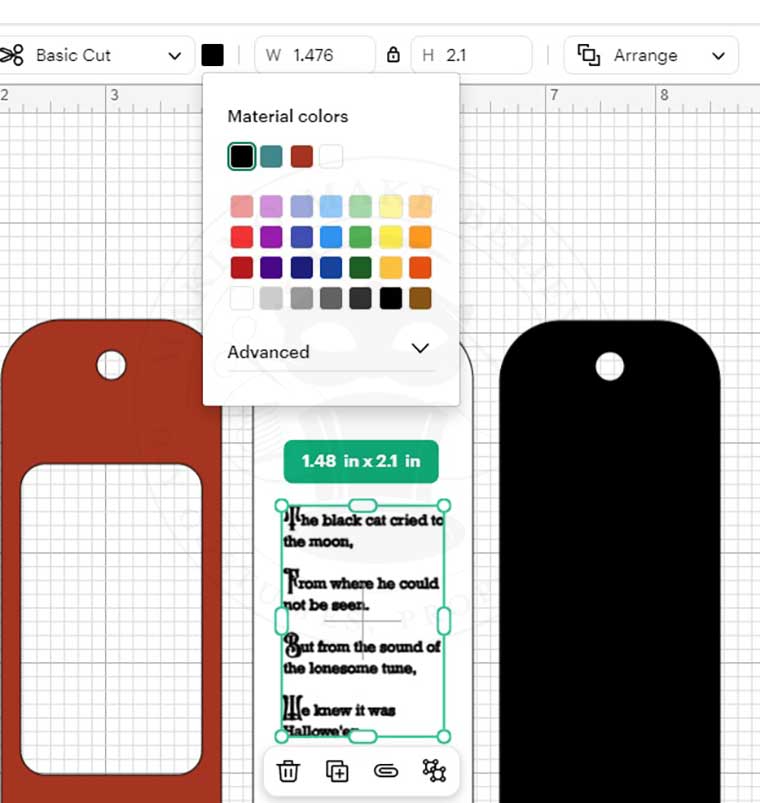
Before you begin cutting, select a colored cardstock for each layer. Be sure to consider that the center layer color will host the text, so a lighter paper color is a good choice. If you prefer a different text color, you can change it via the Color Swatch in the Top Bar Menu.
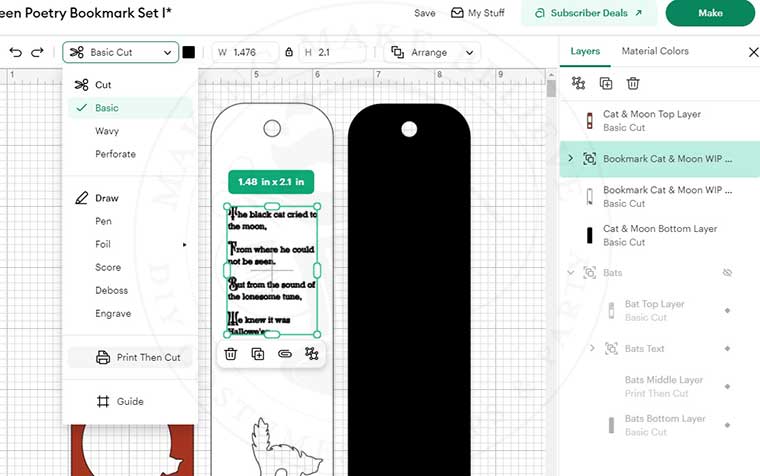
Once you have the project sized correctly, ungroup the layers. Select the text from the Layers Panel and and change it from Basic Cut to Print Then Cut from the Operation drop-down menu.
If you skip this step, the machine will cut out each tiny letter, which is terrifying.
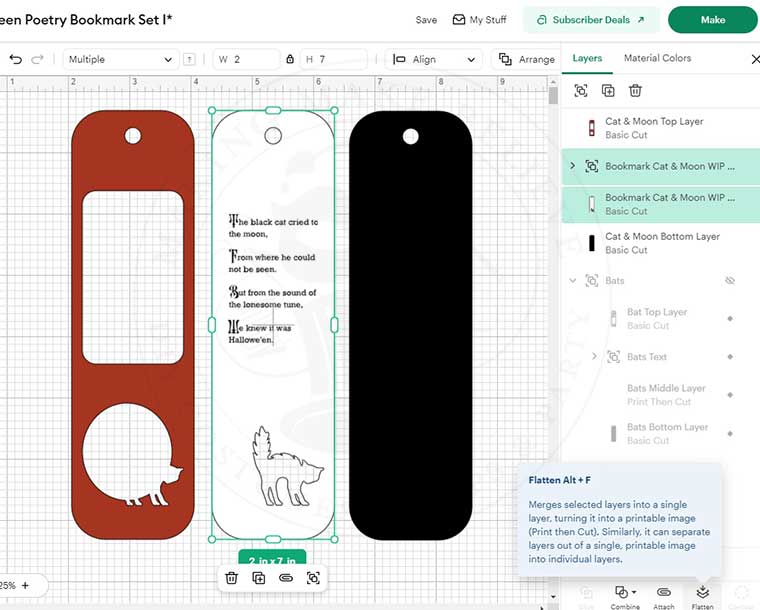
Next, select the text and middle layer in the Layers Panel, and choose Flatten. This will attach the text to the center layer.
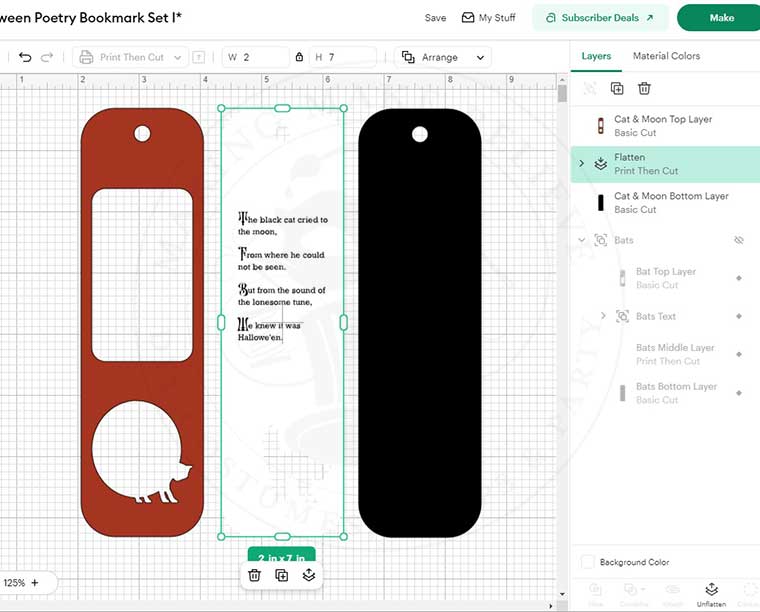
Follow the prompts on the screen and cut out each layer. Note that when cutting the Print Then Cut layer containing the text, set the Bleed to off.
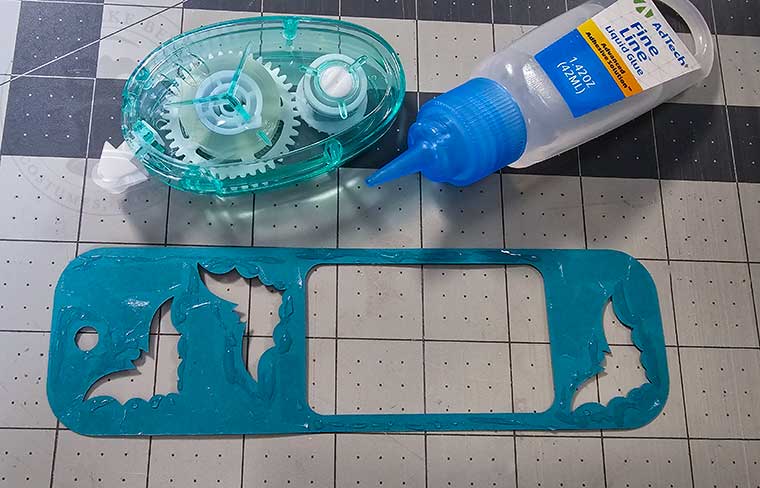
To assemble the layers, I like to use a fine liquid glue. My favorite is Bearly Art Precision Craft Glue, but I have misplaced the fine tip (imagine that!), so I’m using AdTech Fine Liquid Glue, which also works very well.
Other adhesives, such as double sided tape rollers, are also effective. I like to use a bit of both blues but you pick your poison that works best for you.
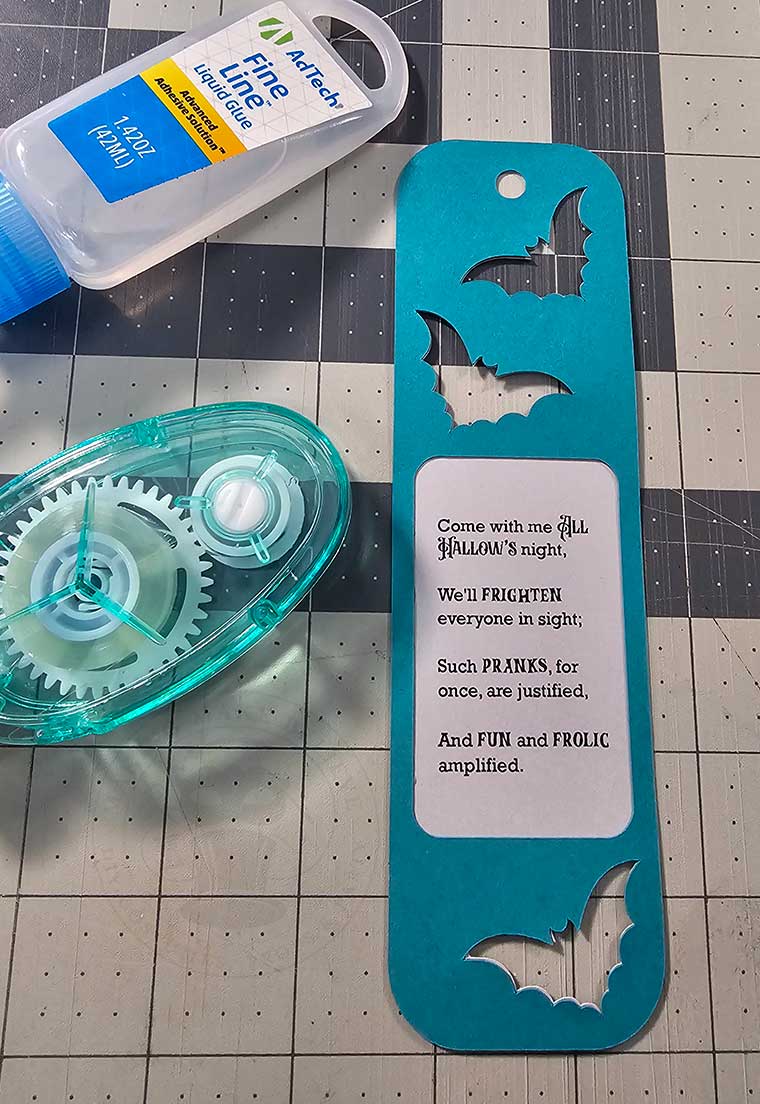
To begin, spread adhesive on the backside of the top layer. Then, aligning the edges and cutouts, place this layer on top of the center layer that contains the text.
Immediately clean up any adhesive that has wormed its way into the text or cutout areas.
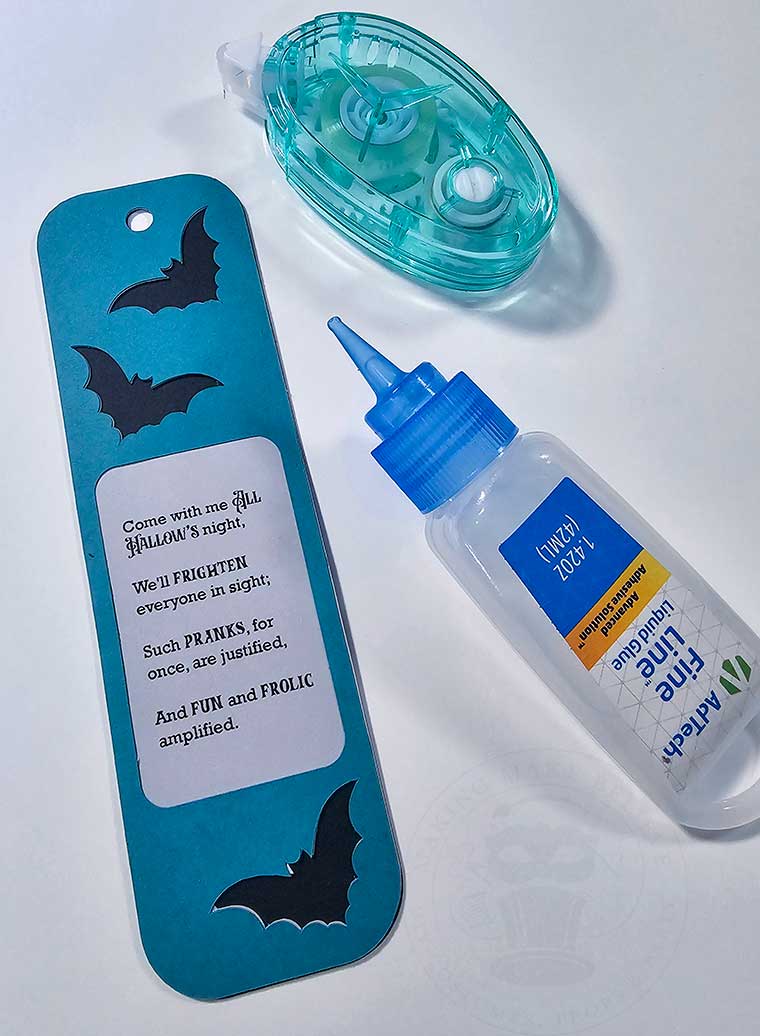
Next, spread adhesive on the back of your stacked layers, align the edges, and place the stack on top of the bottom layer.
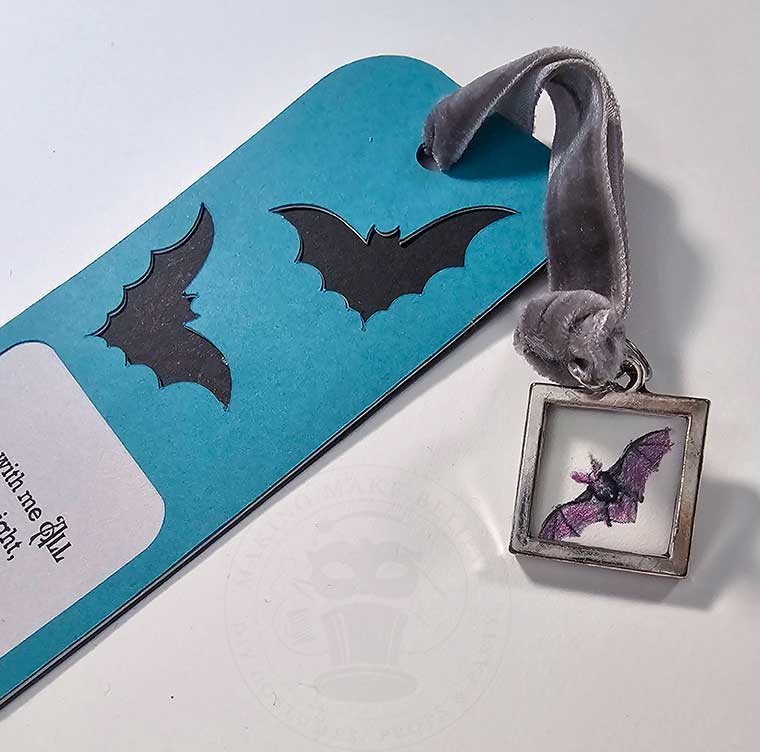
For some frightfully fun flair, add some embellishments to your bookmark. I like to use a velvet ribbon or a handmade tassel paired with a chilling charm.
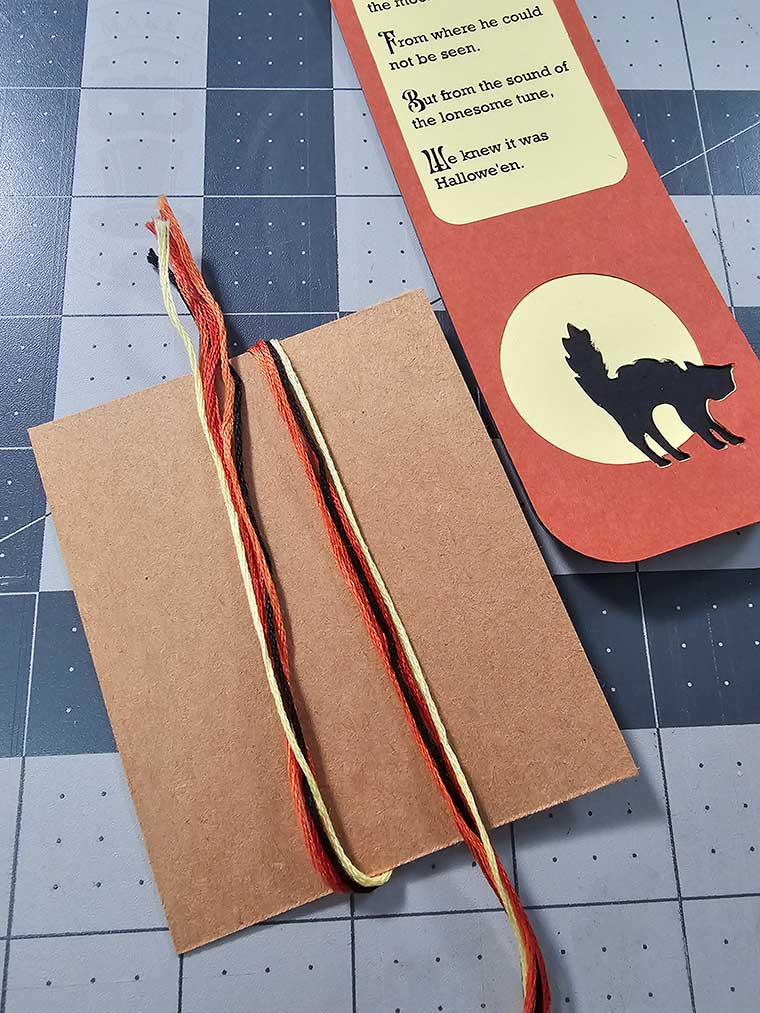
You can craft a tassel easily with some embroidery floss and a rectangle cut from cardboard.
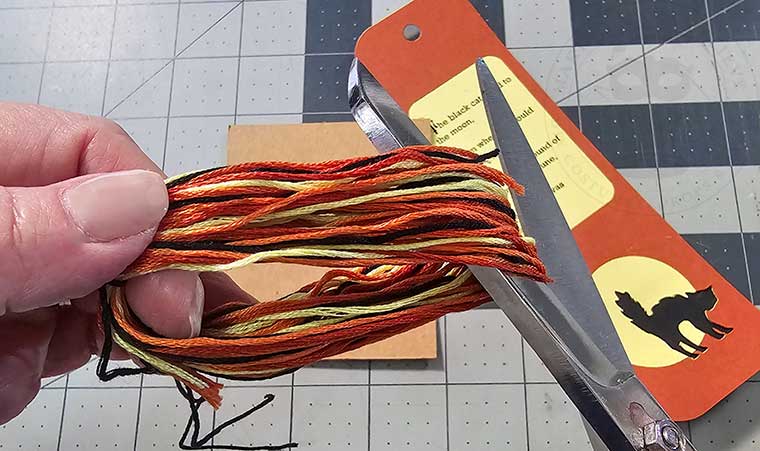
First, cut a piece of cardboard to the length of the tassel you’d like to make. Leave a tail of floss that extends beyond the top of the cardboard, then begin wrapping your floss.
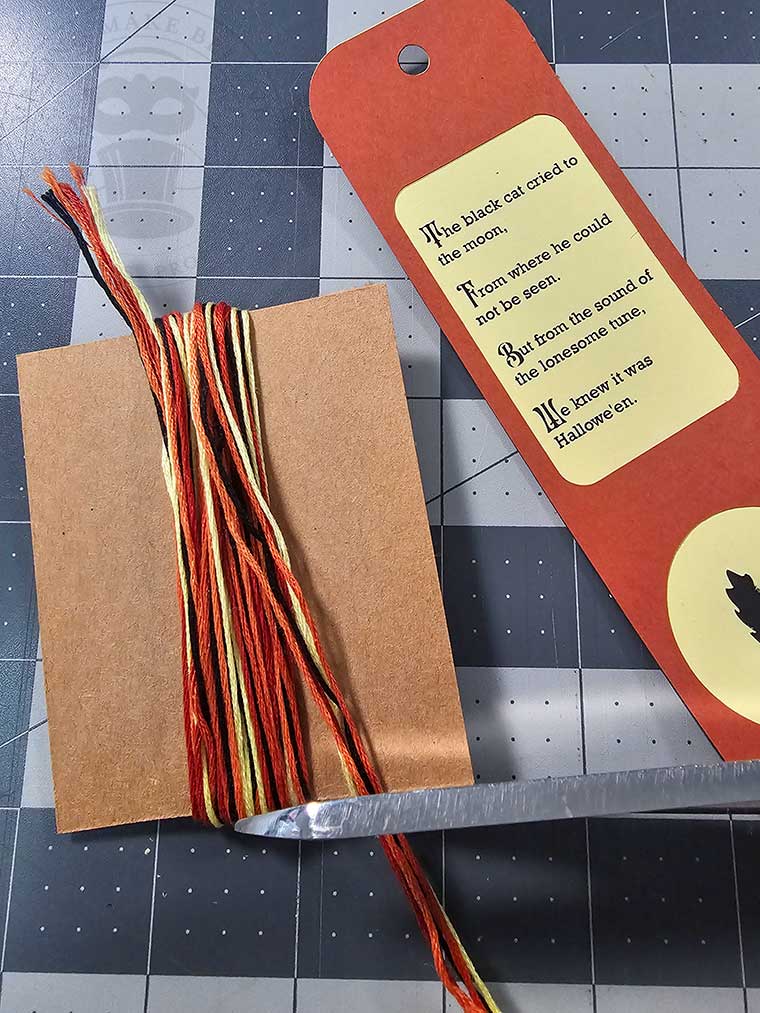
Continue wrapping the floss until your tassel is the thickness you desire. Then cut the floss even with the bottom of your cardboard.
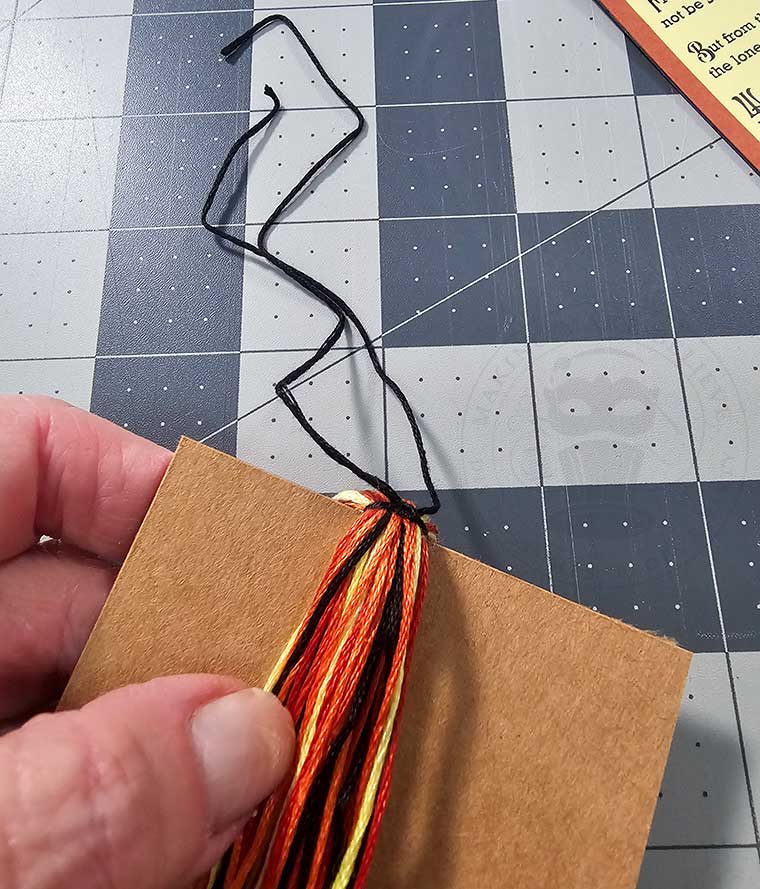
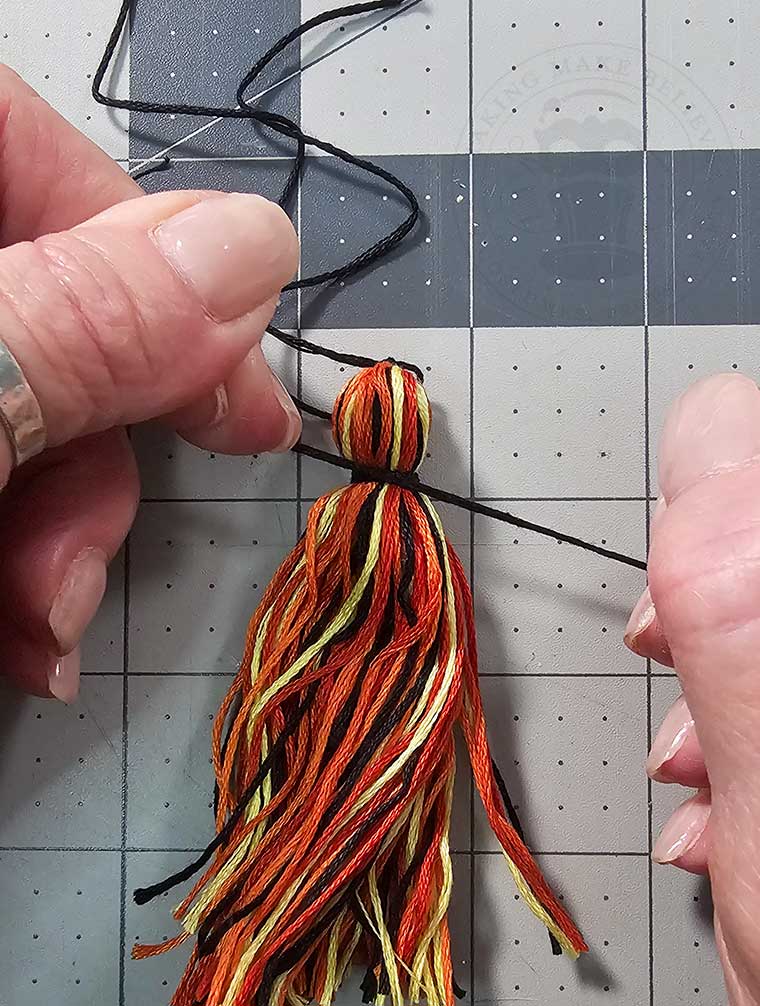
Cut a 12” to 15” length of floss, slip it between the wrapped floss and the cardboard, and tie a tight knot.
Slide the floss off the cardboard, slip your scissors into the bottom loops, and cut.
Cut a 8” to 10” length of floss and tie it snuggly around the top, then tuck the ends into the body of the tassel.
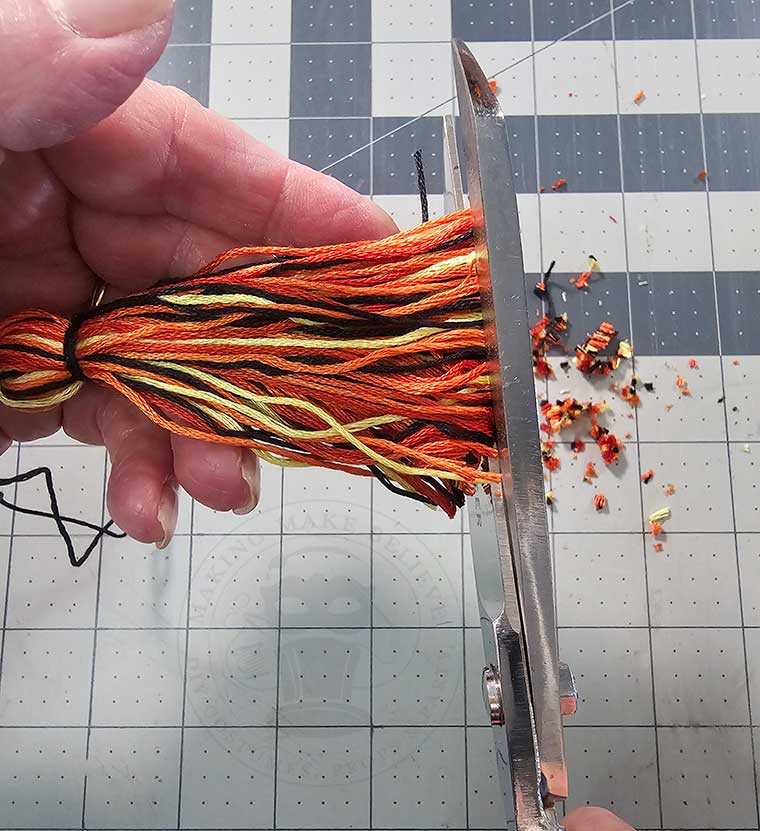
Finally, trim the tassel so the ends are even.
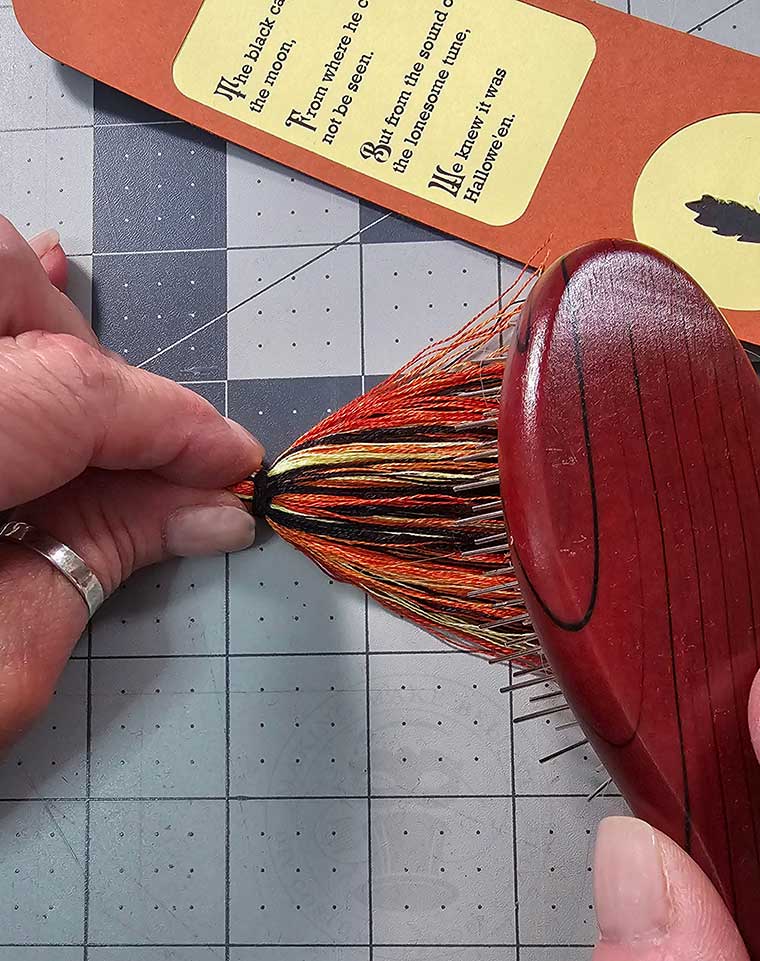
For a fluffier tassel, gently “comb” out the floss with a wig brush or fine comb, then tie it onto the bookmark.
If making a treasure trove of tassels is in your future, you can invest in a tool like the Clover Tassel Maker, available in large or small sizes. This is a handy little gadget that I used to make our Bride and Groom Yarn Ghosts.
All that’s left is to pair your vintage inspired Halloween bookmark with your favorite ghost story.
Until next time – stay spooky.