Simple and inexpensive Halloween art that you can make tonight.
As August begins to wind down, Code Orange alerts are starting to ramp up. But, maybe because I’ve been in this game for more than a hot minute, I feel like a lot of what is in stores has stayed pretty consistent for the past few years.
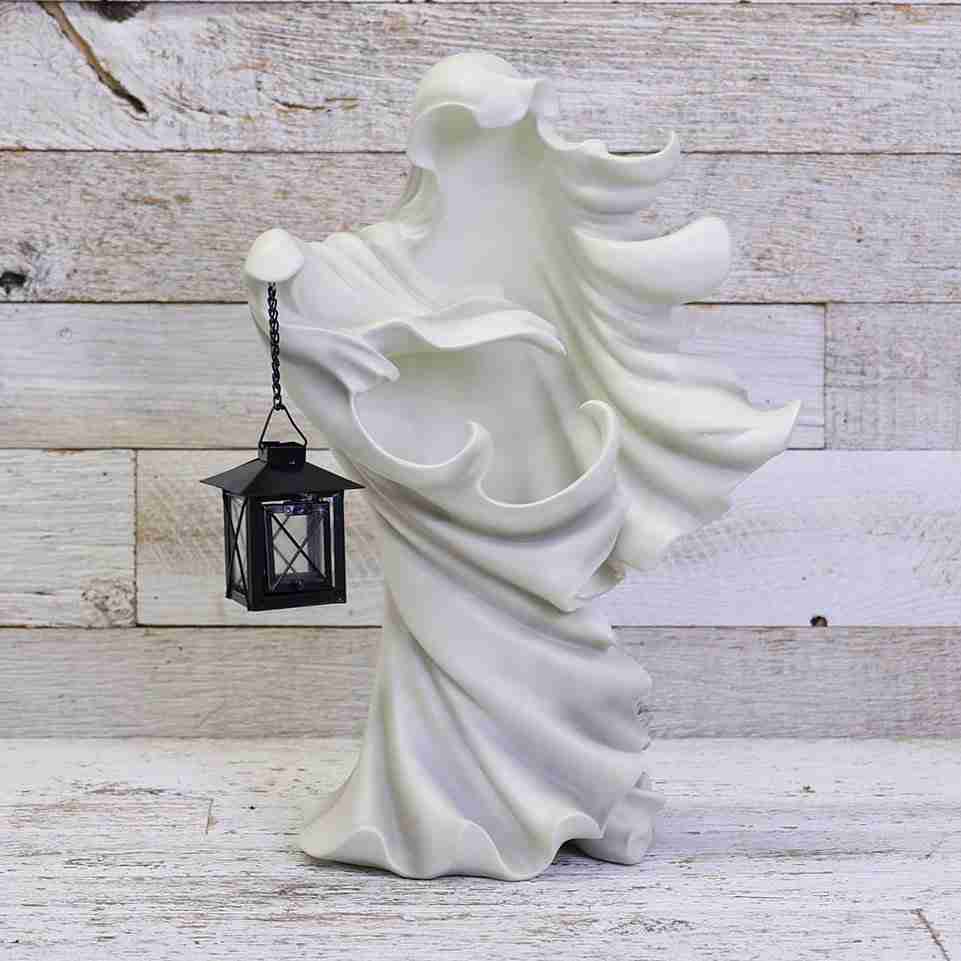
Oh, there are a few treasures to behold – for example, Cracker Barrel’s Ghost with Lantern is pretty spectacular. But, this season, I feel the need to create unique pieces that are truly my own. There is a vast array of raw materials in the craft studio, so I have no excuse not to get busy creating.
Cracker Barrel’s Ghost with Lantern
One of my weaknesses is Halloween fabric. All of the colors and designs make it hard to pass up when it’s only available locally for a short time. I often purchase a yard or two without much of an idea of how I will use it. I don’t quilt, and I need another Halloween pillow like I need a hole in the head, so I flipped through the pile, hoping to be inspired.
As luck would have it, a quick stop at the thrift store gave me the perfect little something to pull together a super simple Halloween decor piece for less than a couple of dollars.
I almost feel silly doing a tutorial on this, but sometimes we overlook these quick and simple little projects that can elevate the haunted decor. So, let’s get started.
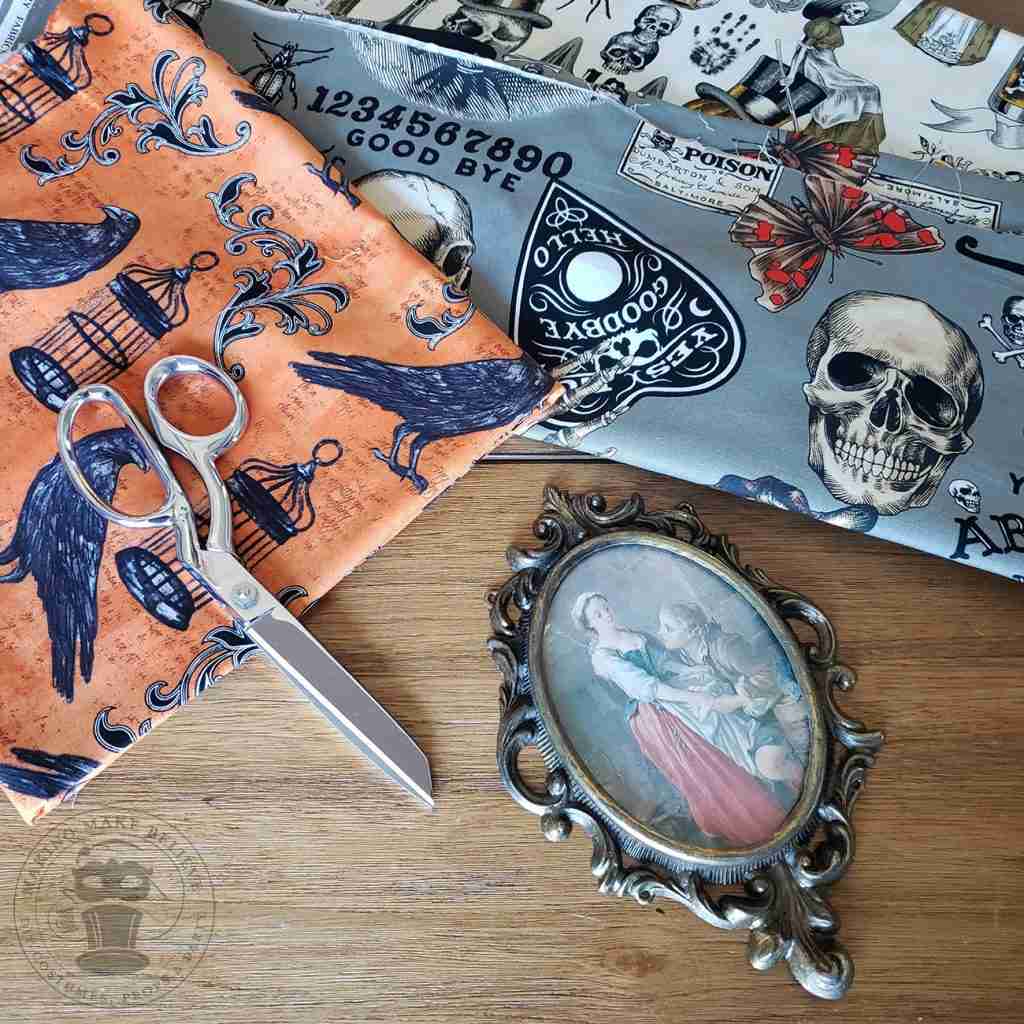
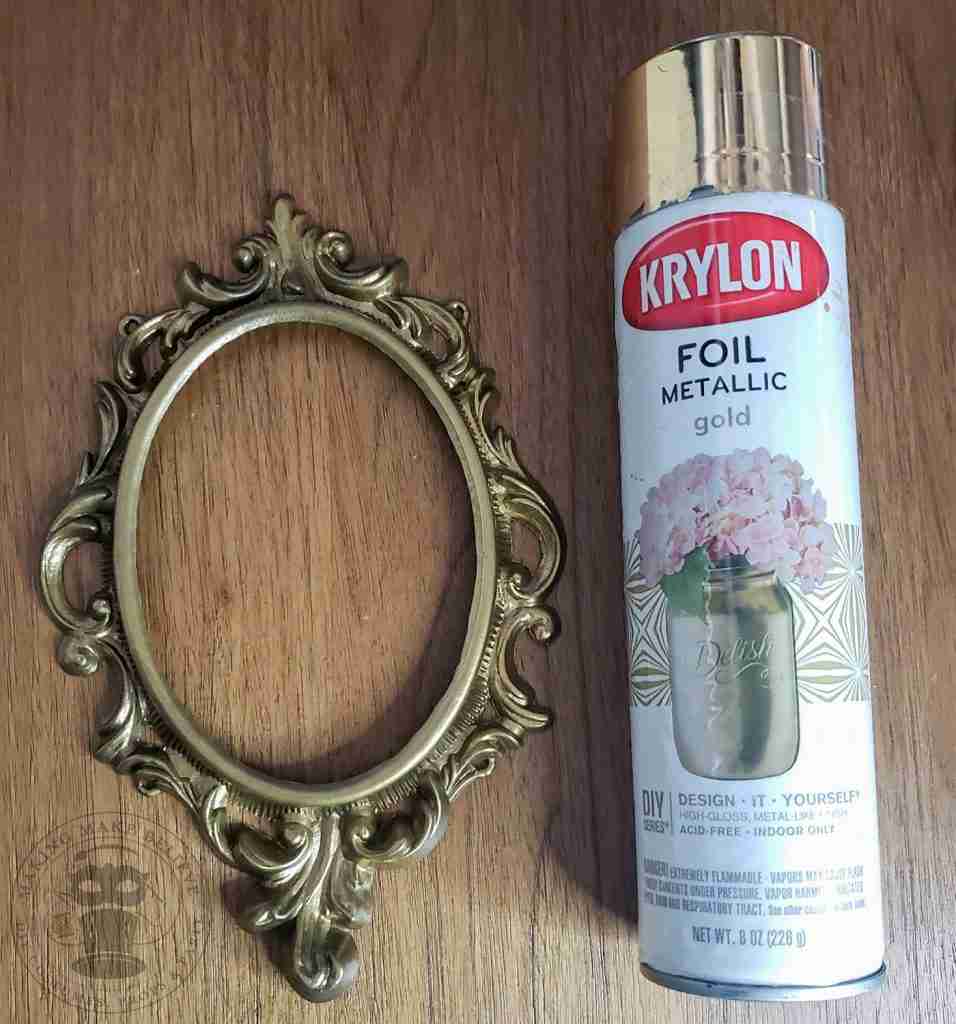
First, we will need a frame. So, I opted to hit up my local thrift stores in search of a vintage one made of metal. And, after digging through several boxes, I located one for a whopping 69¢.
We also need our Halloween fabric. Again, I have plenty, but if you are going to buy some for this project, you might want to take your frame with you when you pick out your material.
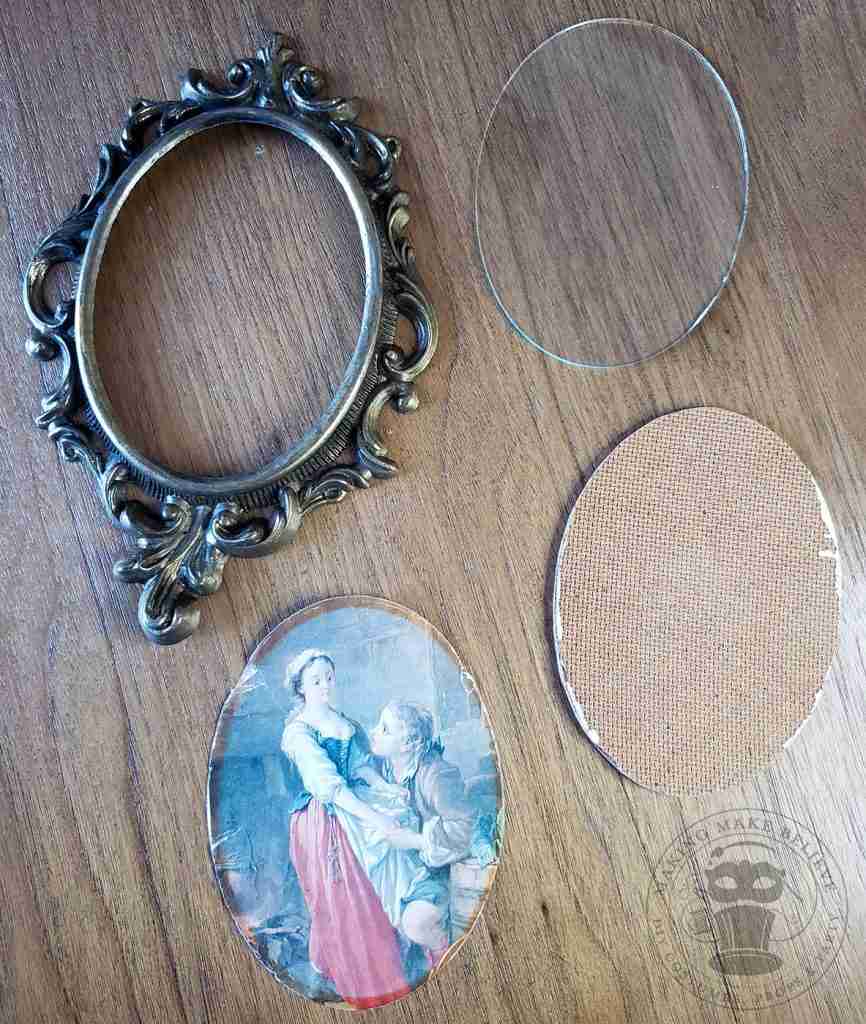
Disassemble your frame. My thrifted frame was pretty dingy, so after a quick clean-up, I hit the high points with my favorite spray paint, Krylon Foil Metallic in Gold.
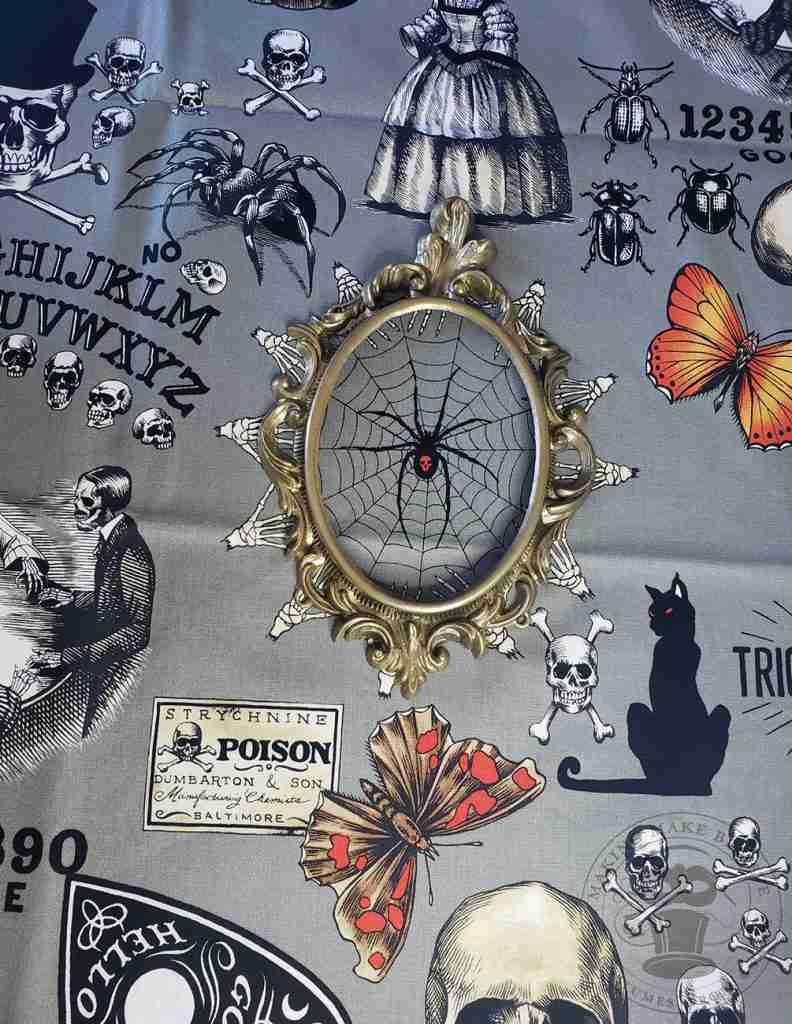
Once dry, I laid out my fabric and placed my frame over different designs to see which fit the frame and gave me the look I wanted.
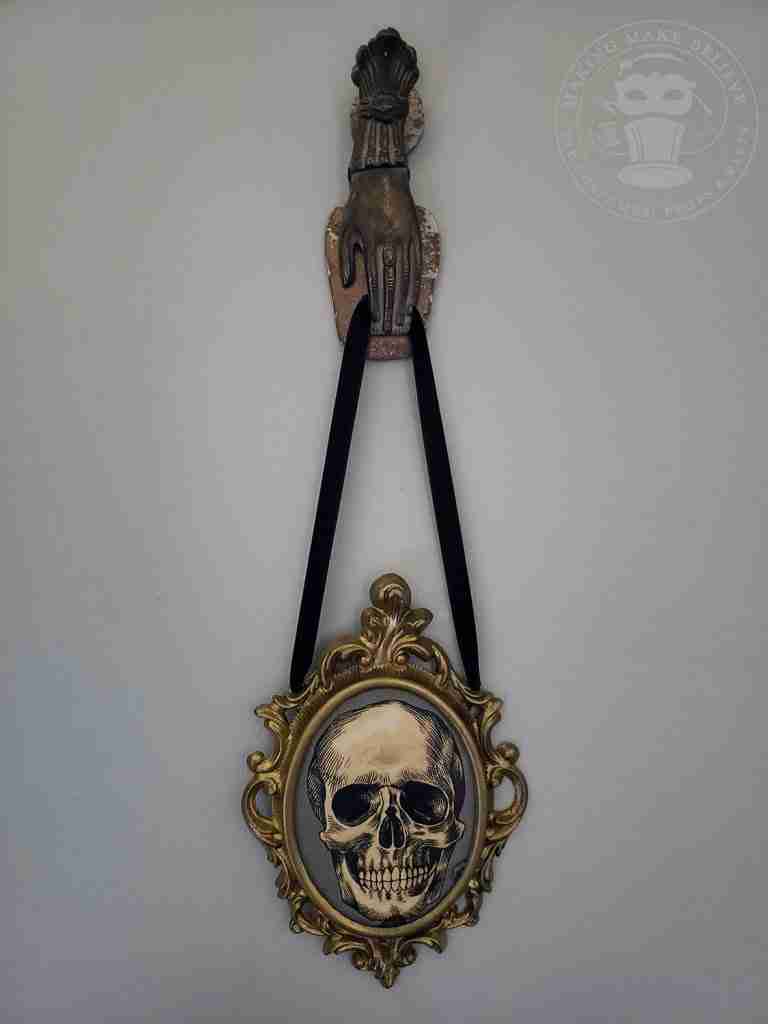
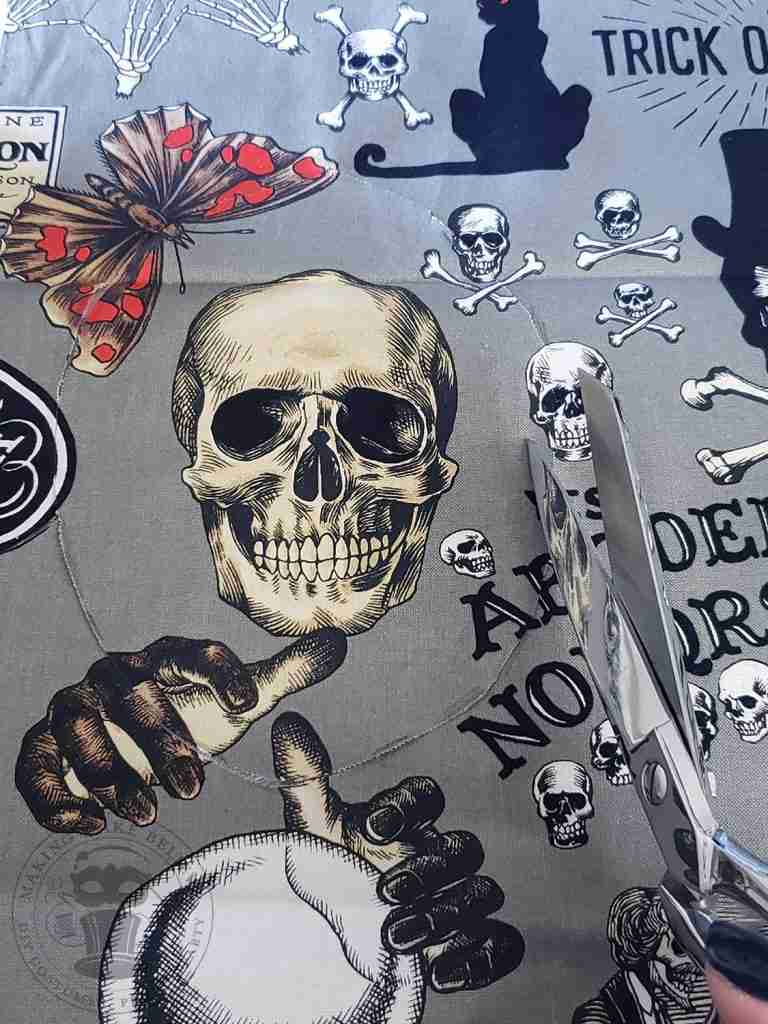
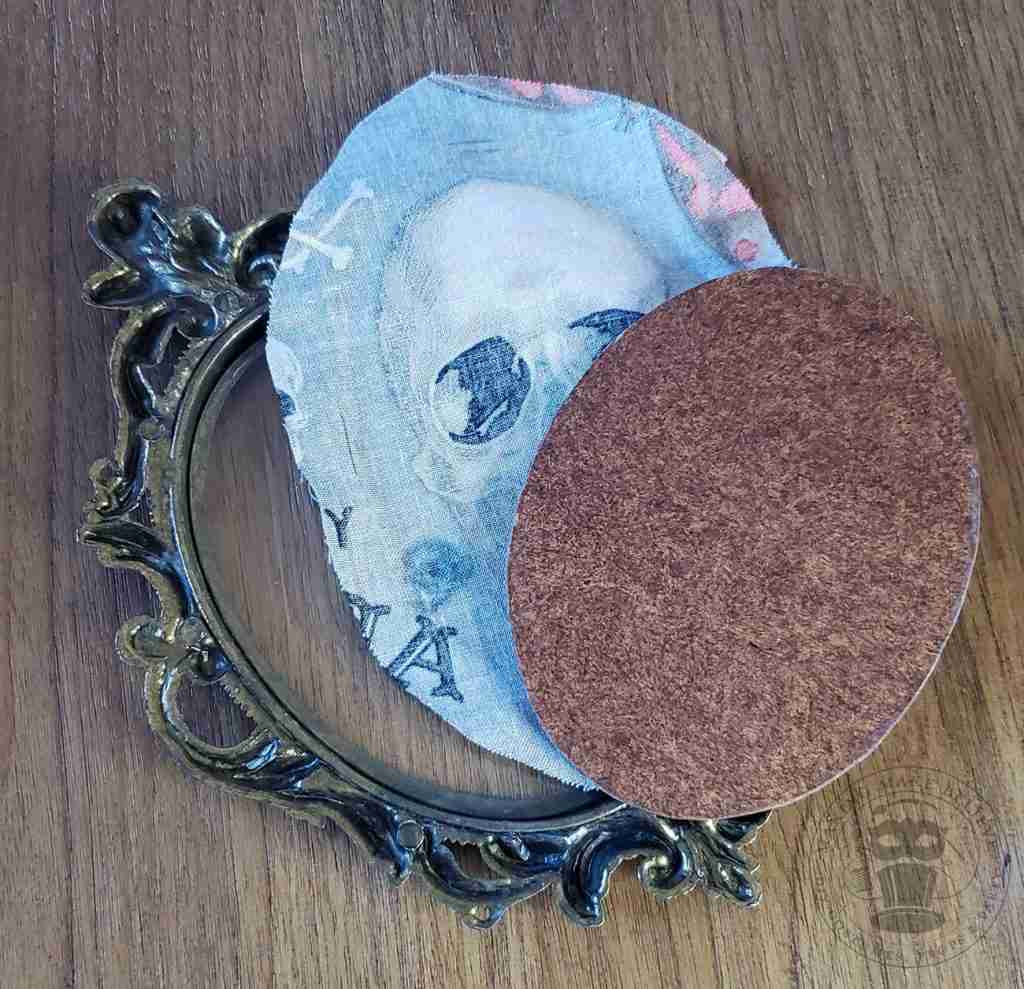
I decided to go with the skull from Alexander Henry’s Seance fabric, so I cut out the skull, leaving an extra 3/4-1″ around the design.
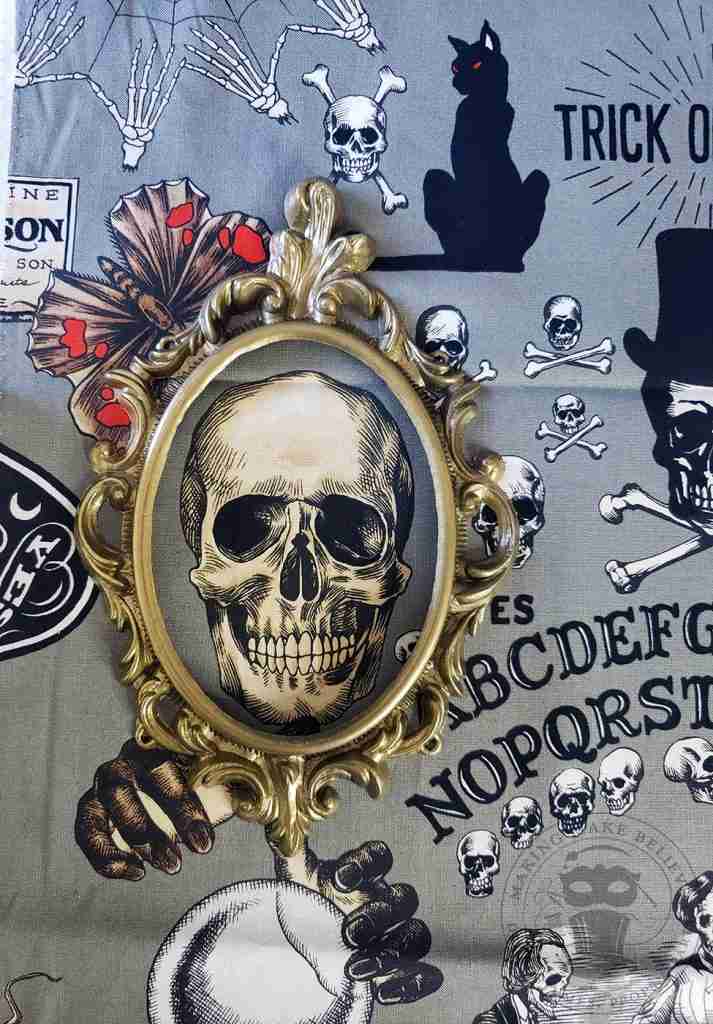
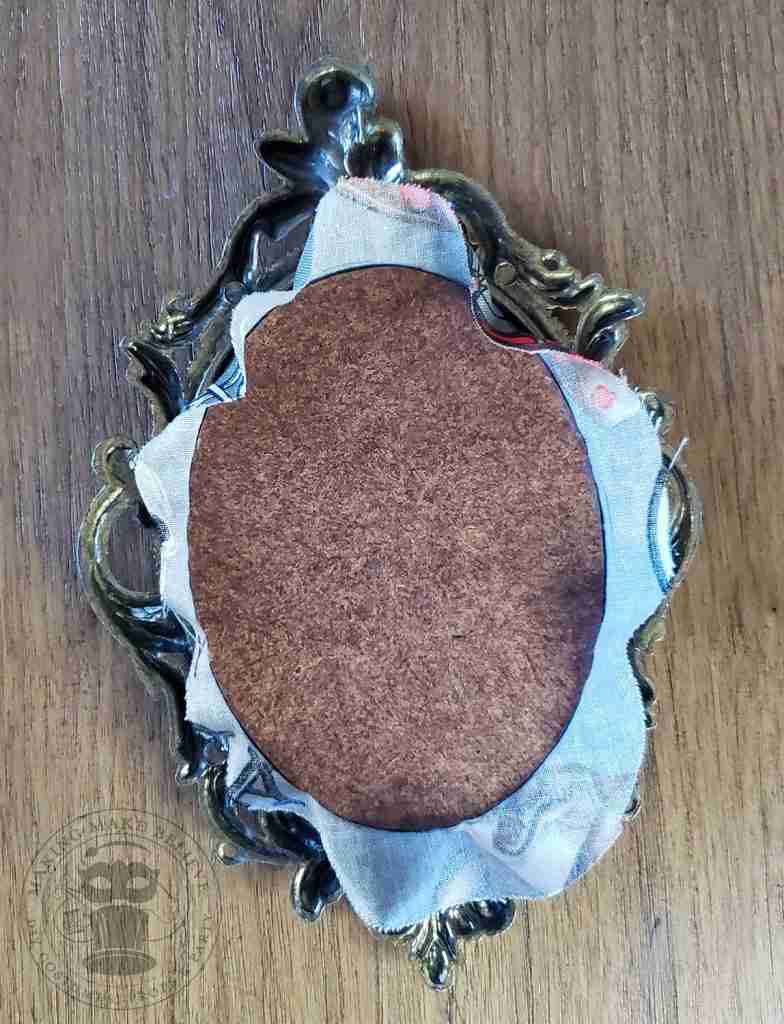
Next, reassemble the frame by reinserting the glass, then the fabric, and then the backing. Trim off any additional fabric and glue to secure if needed.
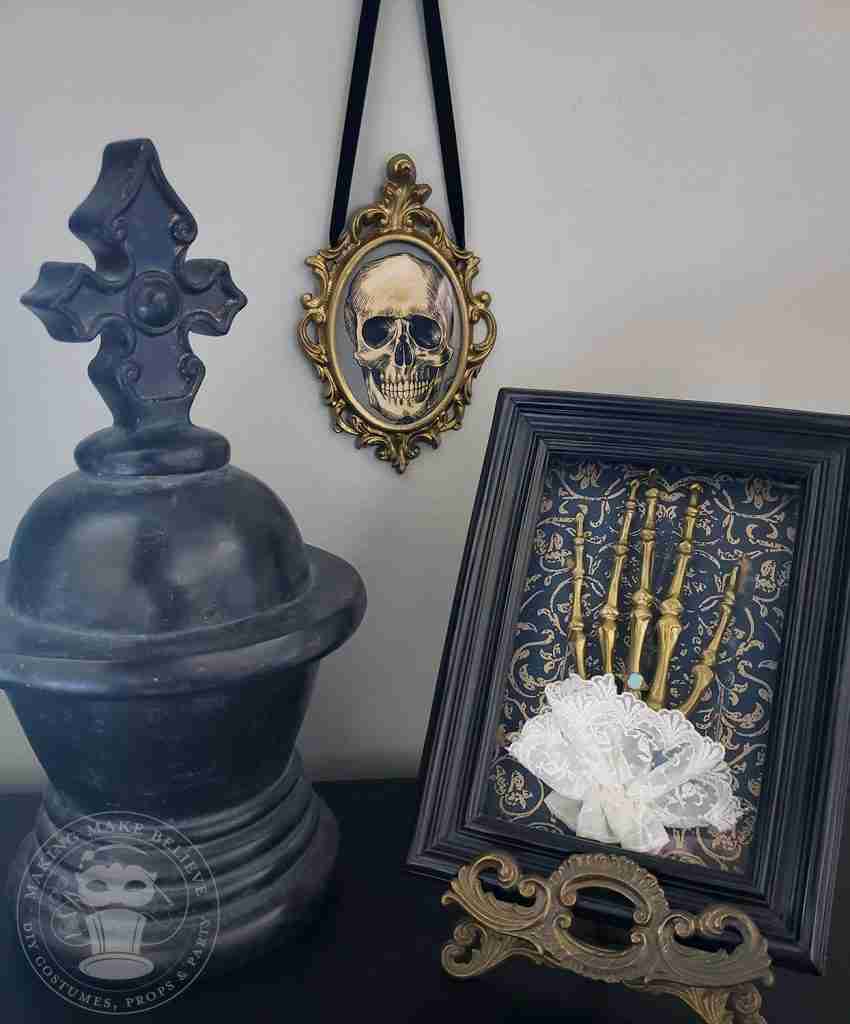
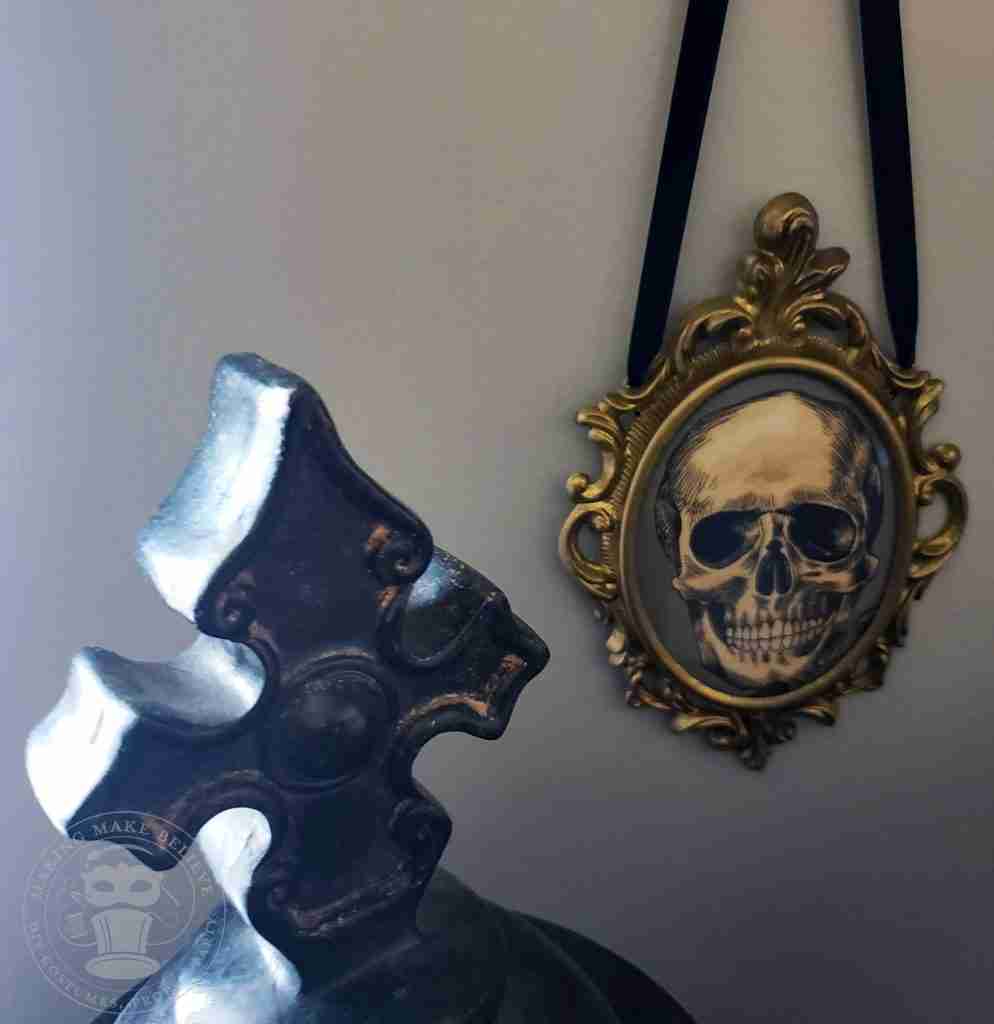
Lastly, I added a velvet ribbon for hanging.
Like our Scary Good Skeleton Hand Prop? Get the how-to here.
I love how quick, simple and inexpensive this is – less than a couple of dollars. Plus, I was able to make use of some of that Halloween fabric. But, what do you think? Is this a project you plan to make? Let me know on Instagram or Facebook.
This website uses cookies to improve your experience. We'll assume you're ok with this, but you can opt-out if you wish.AcceptRead More
Close
We Have Room
For One More
Join us and get access to our Haunted Library stocked with templates, printables, cut files, and exclusive content. Plus, you’ll receive Eerie Emails just for our subscribers.
*Stay as long as you like. Unsubscribe at any time.