

We are in the final countdown to Halloween, and I’ve noticed something very frightening.
My social media has been hijacked by the jingle of bells, and the opening lines of Mariah Carey’s All I Want For Christmas.
It is painfully obvious that the jolly man is pushing his holiday earlier than ever this year, and while I am a fan of Christmas, I prefer my holidays in their natural order.

To combat this infiltration of the spooky season, I’m commandeering a Christmas staple and giving it a Halloween makeover using some Halloween fabric from my ever-growing stash.
Whether you are waiting for Santa or The Great Pumpkin, this Halloween holiday stocking is ready to be filled to the brim with ghoulishly glorious goodies.
So, let’s get started.

For this project, we will need:
1/2 yard fabric – I’m using a cotton Halloween print
1/2 yard lining fabric – I’m using flannel
1/2 yard fusible fleece – I’m using Pellon 987F
Faux fur scrap
Scissors or rotary cutter
Pins or sewing clips
Iron
Sewing machine – I’m using a Brother
Thread
Ribbon (optional if you prefer not to sew a loop)
Pinking shears (optional)
Printer, printer paper, and tape to construct pattern (not shown)

We will also need the Halloween Stocking Pattern PDF from the Haunted Library.

I made several Christmas stockings and I’ve always used the standard construction with the lining sewn separately, tucked into the stocking, and connected only along the top edge.
Recently, I had the good fortune of stumbling across a YouTube creator with a genius method of stocking assembly, and I’ve been dying to try it out.
The stack method I’m doing today is thanks to S79 Sewing Studio.
None of us creators are an island unto ourselves, and I’m grateful that so many are willing to share, so be sure to check out her channel and spread the love.
First, open the pattern in your favorite PDF reader (Adobe, FoxIt, etc.).
Print, assemble, and cut out the pattern.


Fold the outer fabric with right sides together and align the selvages.
Place the stocking pattern on the fabric and align the grainline with the fabric edge.
Use pins or weights to hold the pattern and cut.


Repeat this process by cutting two pieces of the lining fabric and two of the fusible fleece.

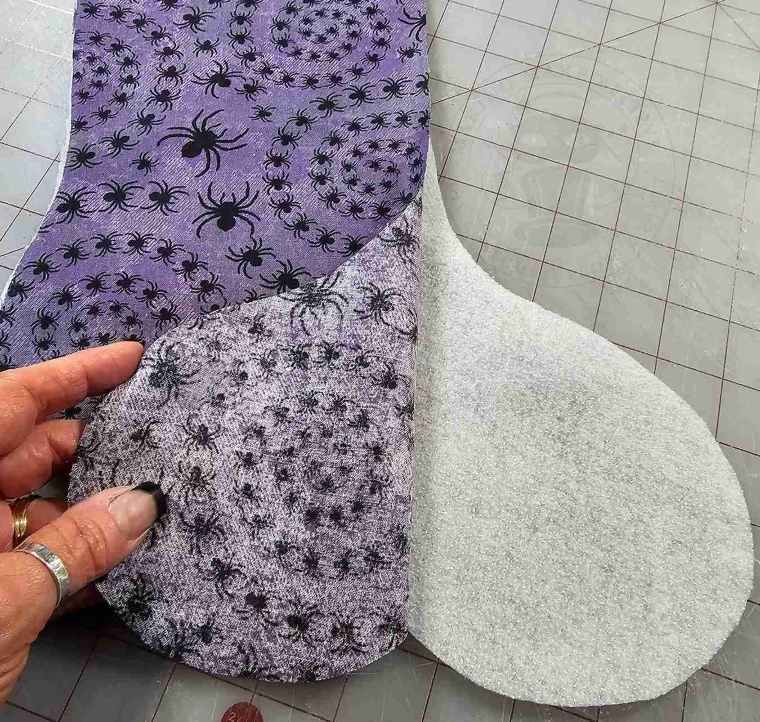
Place the outer fabric’s wrong side to the fusible fleece’s rough side.
Following the instructions for the fusible fleece, use an iron to adhere it to the fabric.
Repeat with the other outer stocking piece.
If you want to eliminate some bulk in the seams you can trim the fusible fleece 3/8″ – 1/2″ smaller than the stocking. I opted to leave it that same size for my stocking.

Next, transfer the pattern to the faux fur and cut two cuff pieces on the fold.
Since I cut my faux fur from the back only, I doubled the pattern for each piece instead of placing it on the fold.
To understand why I cut it this way, check out our tutorial on How To Cut Faux Fur.


Place the faux fur pieces with right sides together. Ensure that the nap (direction of fur) is facing in the same direction on both pieces.


Select the long edge where the faux fur faces away from the inside and hangs over the edge. This side will be the one you stitch.
Sew using a 1/2″ seam allowance, tucking any fur that hangs over the edge to the inside as you sew.

Open the cuff, and with the right sides together, fold it in the opposite direction.
Align the seam, and stitch.


Turn the cuff right side out along the center seam.

To form the loop, use a sturdy ribbon (the easier method) or make your own.
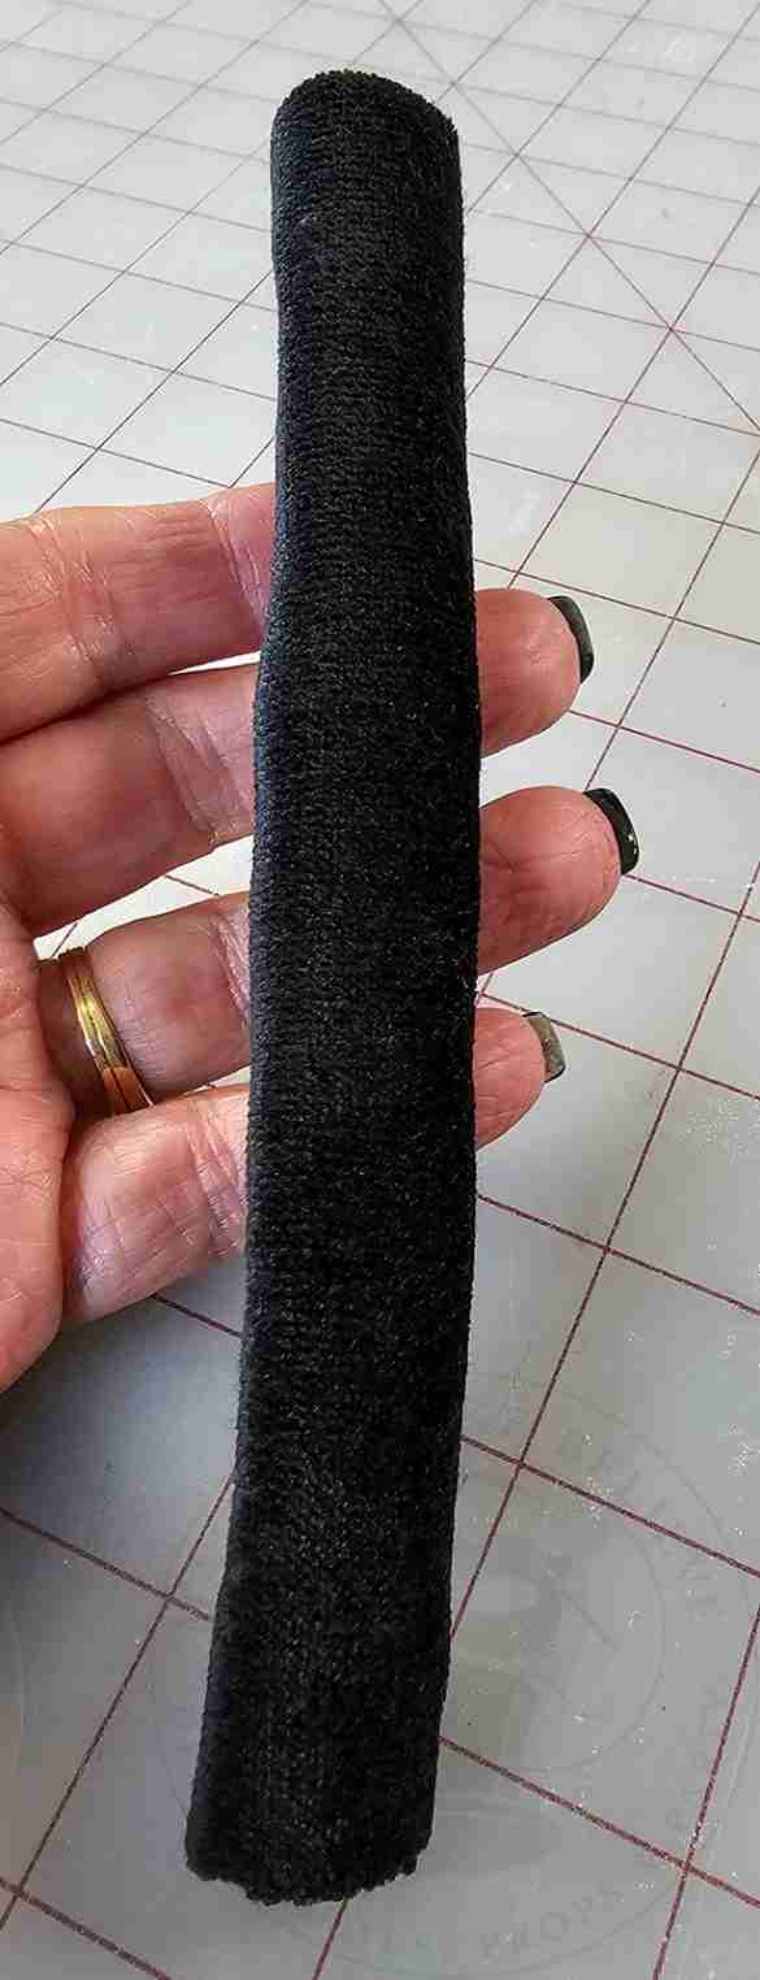
Because I’m a glutton for punishment, I’m using a scrap of velvet to make the loop for my Halloween holiday stocking.
With right sides together, fold the material in half lengthwise and stitch using a 3/8″ seam allowance.

Trim the seam, turn the loop right-side out and set aside.
Now that all the pieces are ready, let’s start assembling our Halloween holiday stocking.
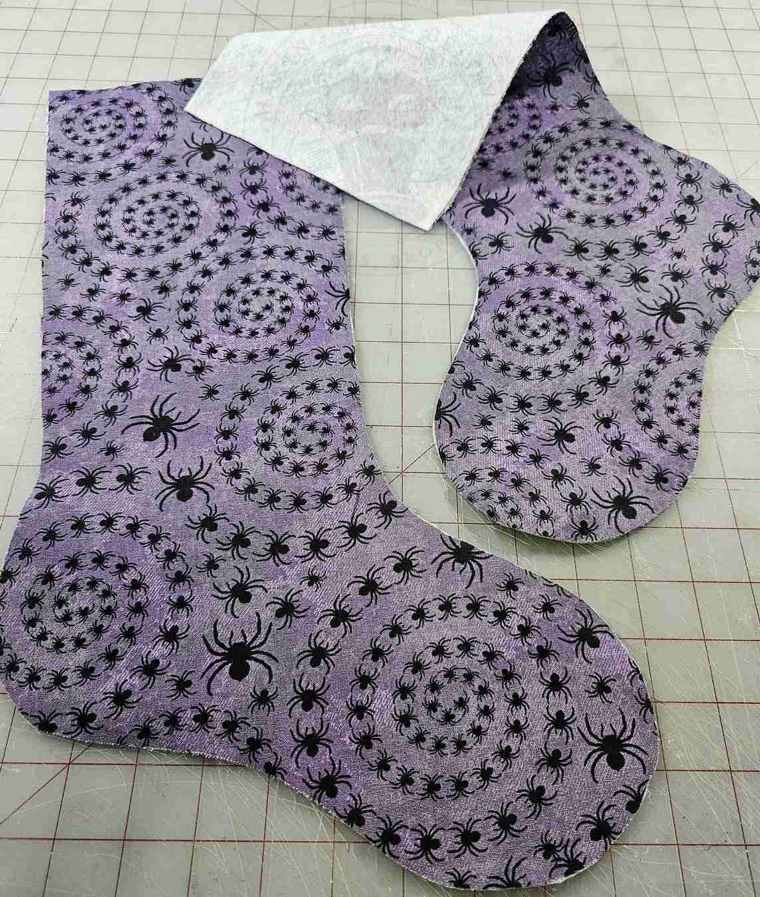
Place the two outer pieces on the table with right sides together.

Stack the two lining pieces with right sides together on the outer pieces.

Pin or clip the edges, leaving the top open.
Using a 3/8″ seam allowance, stitch the stocking pieces together.

Clip the curves by notching the fabric just short of the seam or by trimming the seam with pinking shears.


Turn the stocking right side out by reaching between the outer layers and pulling the toe to the outside.

Fold the loop or ribbon in half.
With the loop facing down into the stocking, pin the raw edge of the loop to the back seam of the stocking.
Stitch the loop to secure.

Line up the seams on the cuff and pin flat.

Pull the cuff to locate the opposite center and mark it with a pin.

With the raw edges up, place the cuff inside the stocking and pin (or clip) aligning the seam to the back seam of the stocking.
The loop will cause extra bulk, so pin on each side of the loop.

Align the opposite center with the front seam of the stocking and pin or clip in place.
Continue pinning the cuff to the stocking.
Using a 3/8″ seam allowance, stitch the cuff to the stocking.
Take care to ensure that you are catching all four layers – the outer stocking, lining, and both sides of the cuff – in your stitching.
Fold out the cuff and loop.

Using a pin, gently pull out the faux fur caught in the seam.


Maybe now Santa will get the message and wait his turn.
Until next time – stay spooky.