3.4K


DIY Halloween Crepe Paper Festoon
I love hosting Halloween parties. I love the planning, from the costumes and the guest list to the food and decorations. I enjoy the process so much that I can get lost in pulling together the details.
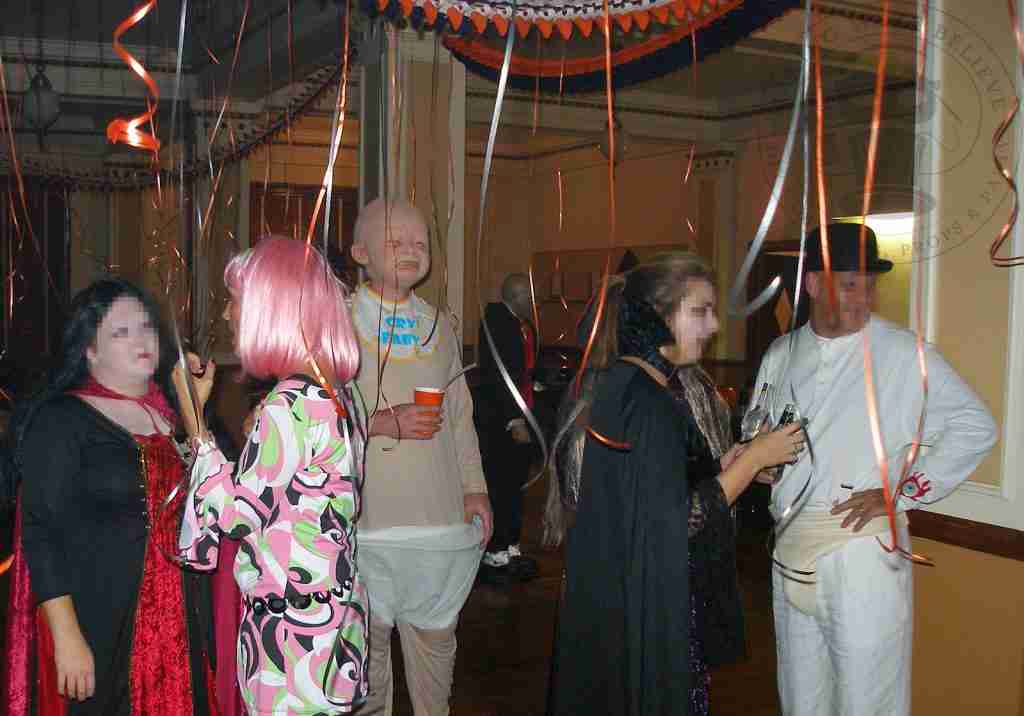
One of my favorite past parties was a Witch’s Ball that we hosted in the ballroom of a former Catholic college.
This space is vast, and even with a horde of props and haunt decor, I had to get creative for every area to look the part.
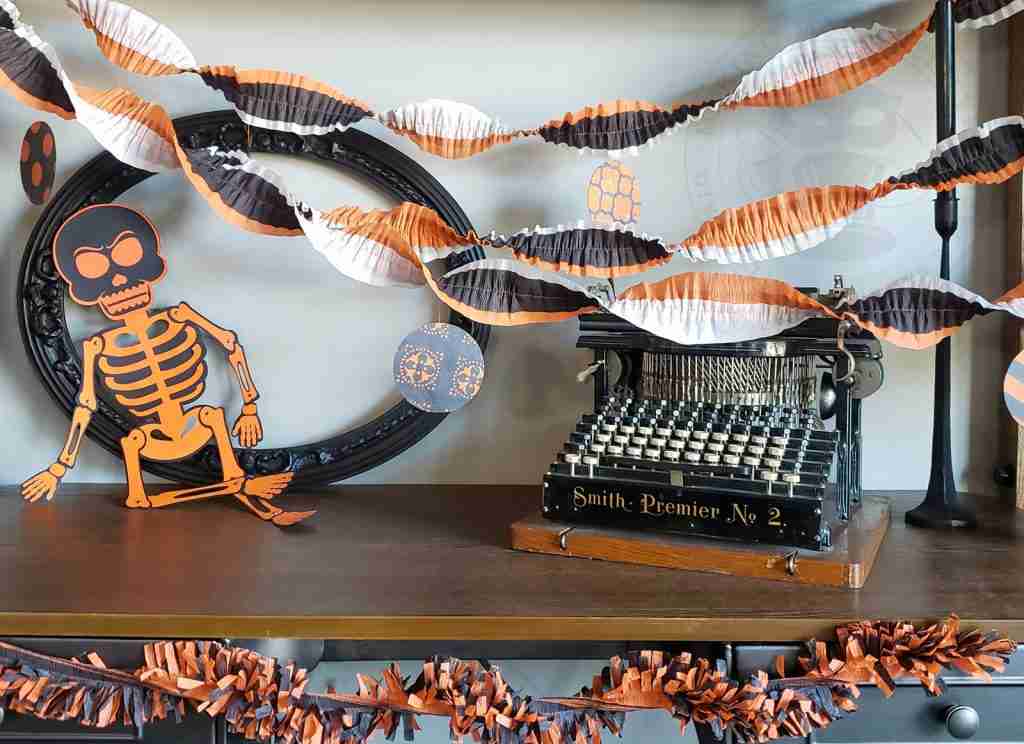
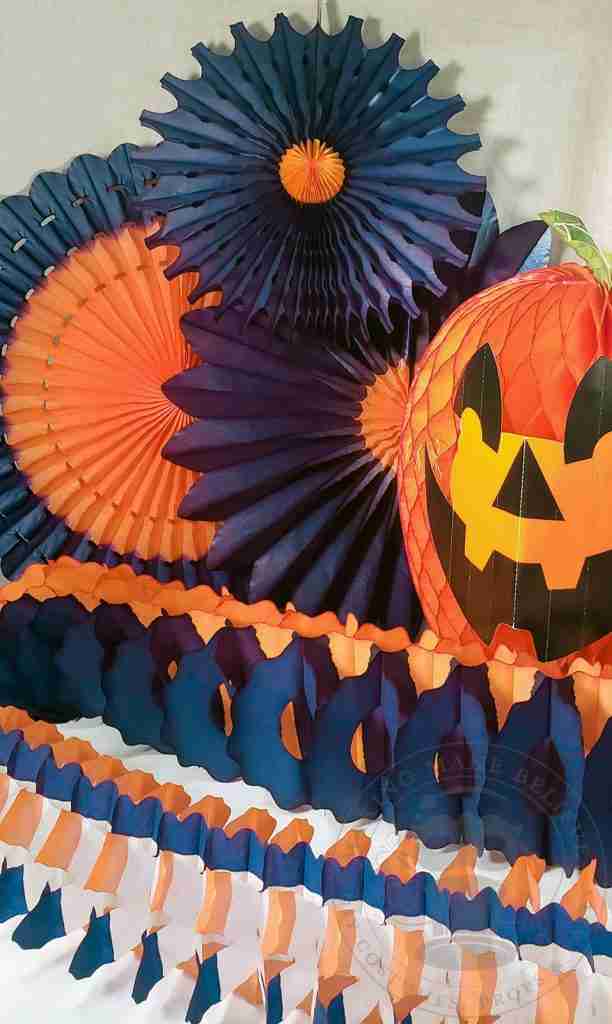
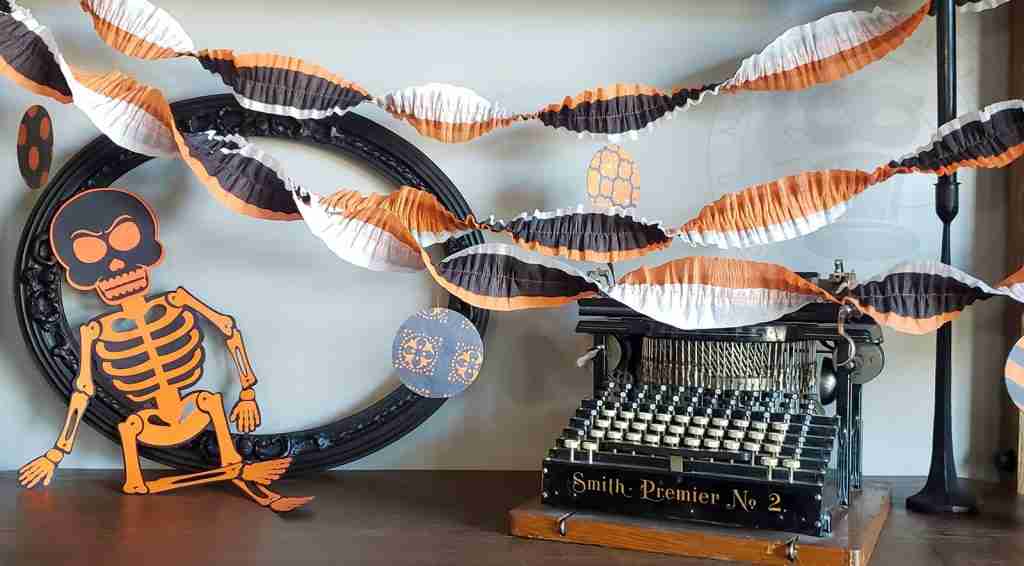
Fortunately, I have a collection of vintage crepe paper Halloween decorations. So I draped the swags between the columns and hung the honeycomb medallions in front of the windows.
I then added curling ribbon, oodles of balloons, and handcrafted crepe paper festoons to fill in the bare spots.
Unfortunately, I have only one picture that shows a glimpse of the decorations, but you get the idea.
Fortunately, you don’t need a stash of vintage decorations; you can make your own.
If you’ve ever decorated for a party, there’s a good chance you’ve used crepe paper rolls.
Holidays, baby showers, charity auctions, and proms are just a few of the events I’ve helped adorn in mounds of crepe paper.
Twist it, fray it, drape it, wrap it – this inexpensive, wrinkled paper ribbon comes in a wide variety of colors, making it easy to match your theme.
It’s also easy to find at nearly any craft, party, or discount store.
Today I’ve got two versions of Halloween crepe paper festoon you can make easily for a few dollars using a sewing machine or just a needle and thread.
Let’s get started.
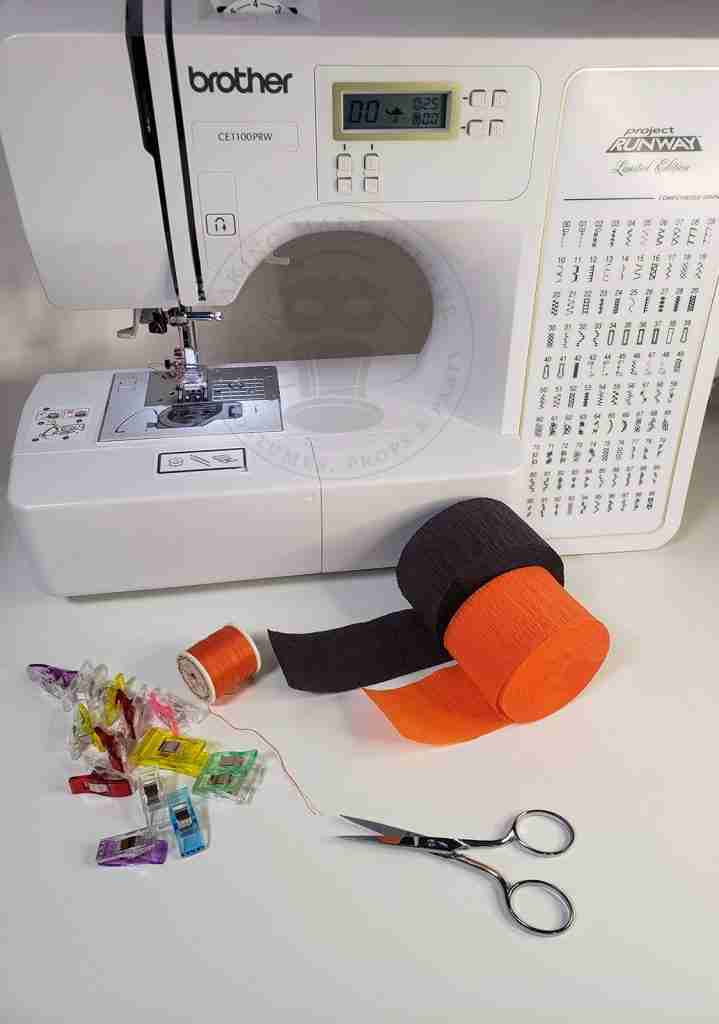
We will need:
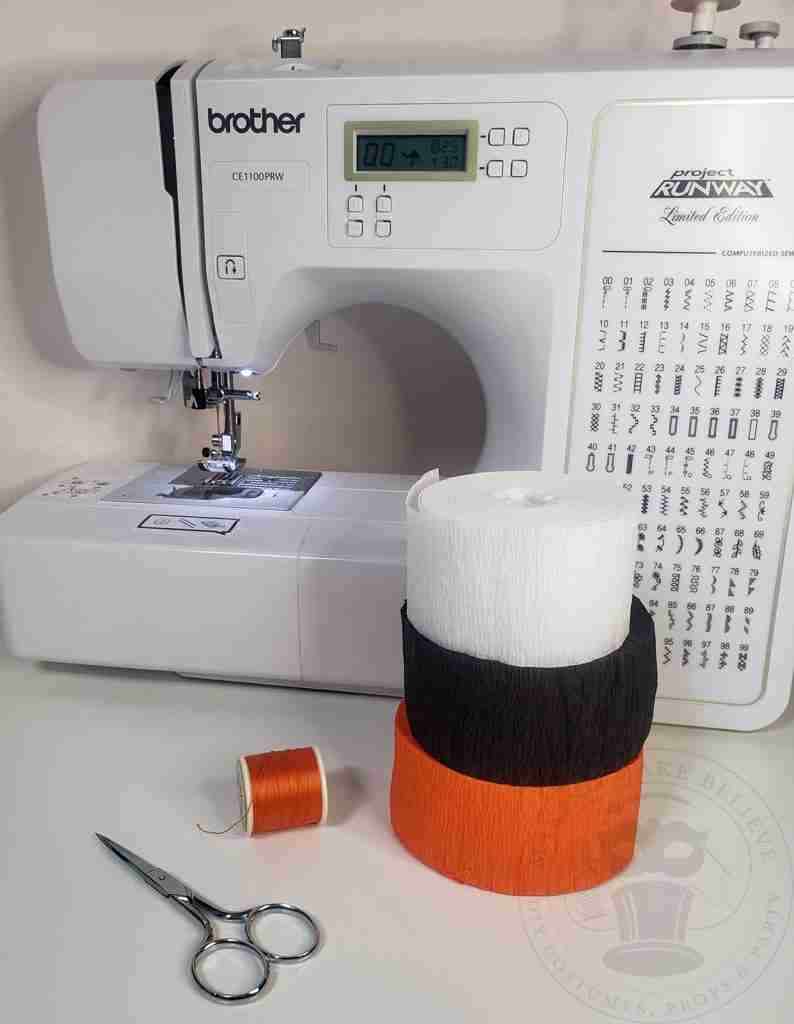
Rolls of crepe paper in the color(s) of your choice
Sewing machine or needle
Thread
Scissors
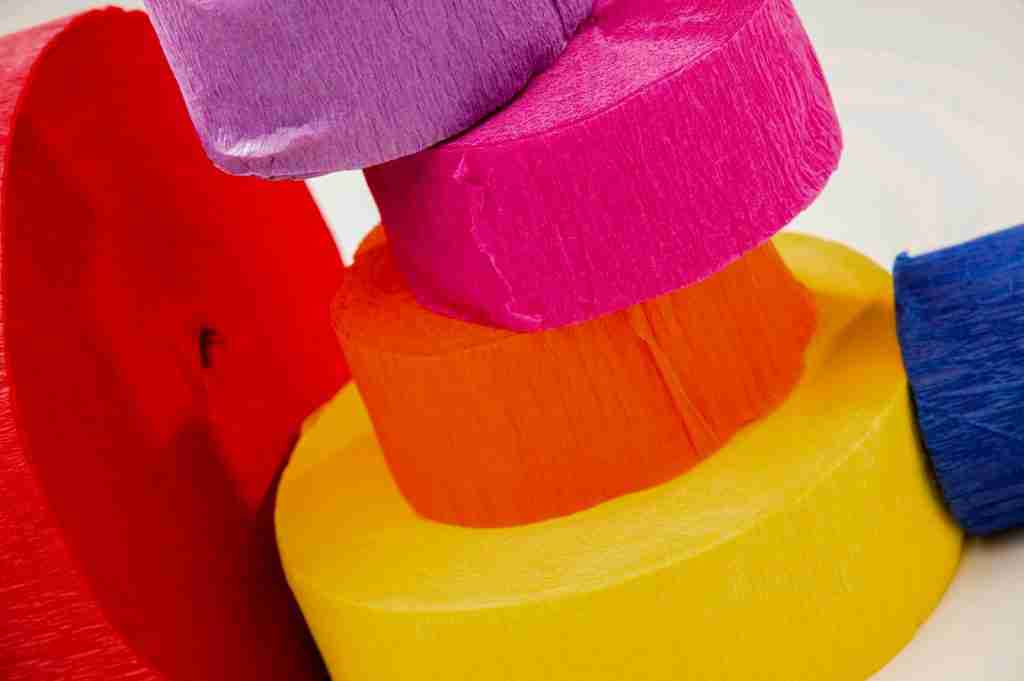
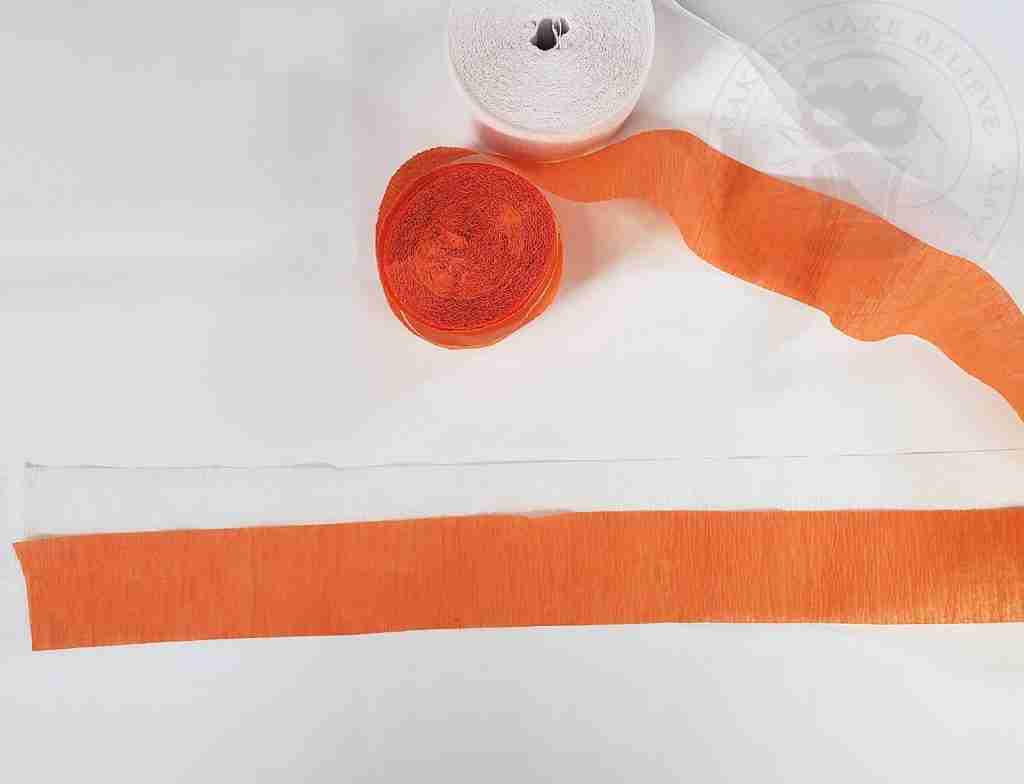
I like to use three colors of crepe paper for this festoon.
Before sewing, select a straight stitch on the machine and set it to the longest length. For my machine, the longest stitch is 5.
Then, set the tension to the strongest position. On my machine, this is 9.
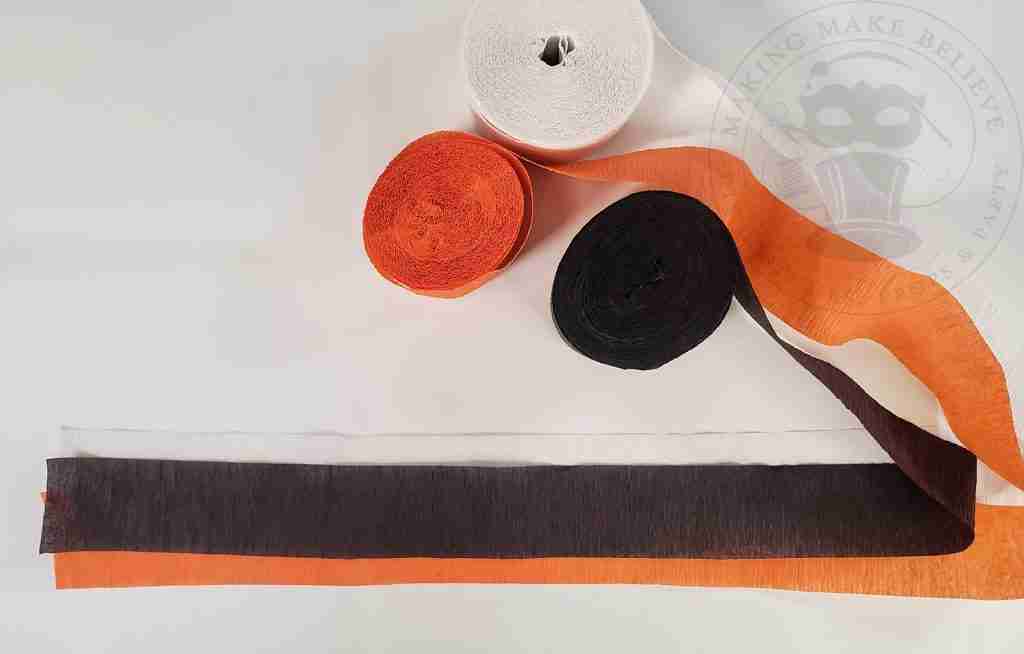
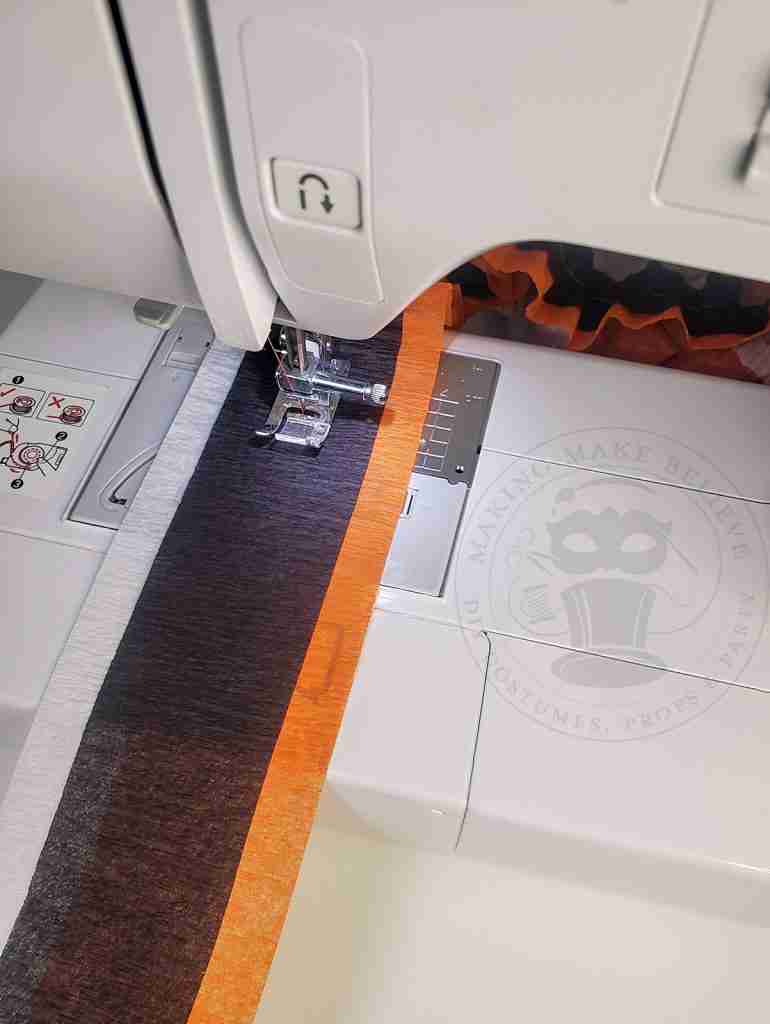
First, take the two bottom colors of crepe paper and overlap their centers by about an inch.
Next, place the third color on top, centering over the bottom pieces.
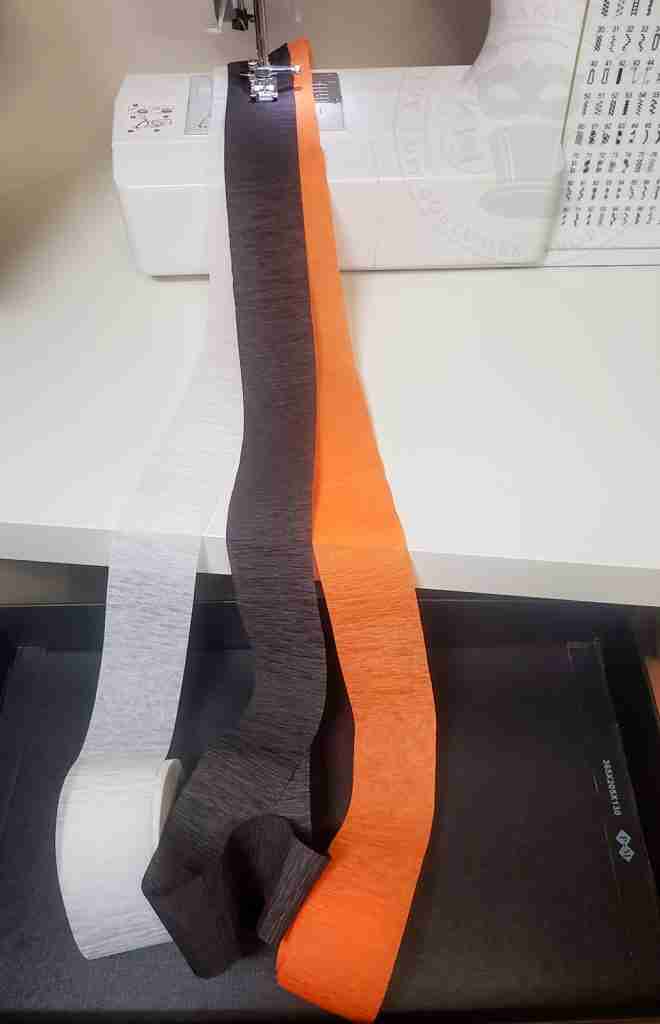
When using a sewing machine for this project, I arrange the rolls according to their position in the festoon and place them in a shoe box lid on my lap. The box will keep the rolls contained while I’m stitching.
Align the sewing machine needle to stitch down the center of the top piece, backstitch to secure, and begin sewing.
I like to add a bit of resistance by keeping the crepe paper taut, which helps the paper to ruffle. The trick is not to pull too tightly to avoid tearing the crepe or damaging your needle.
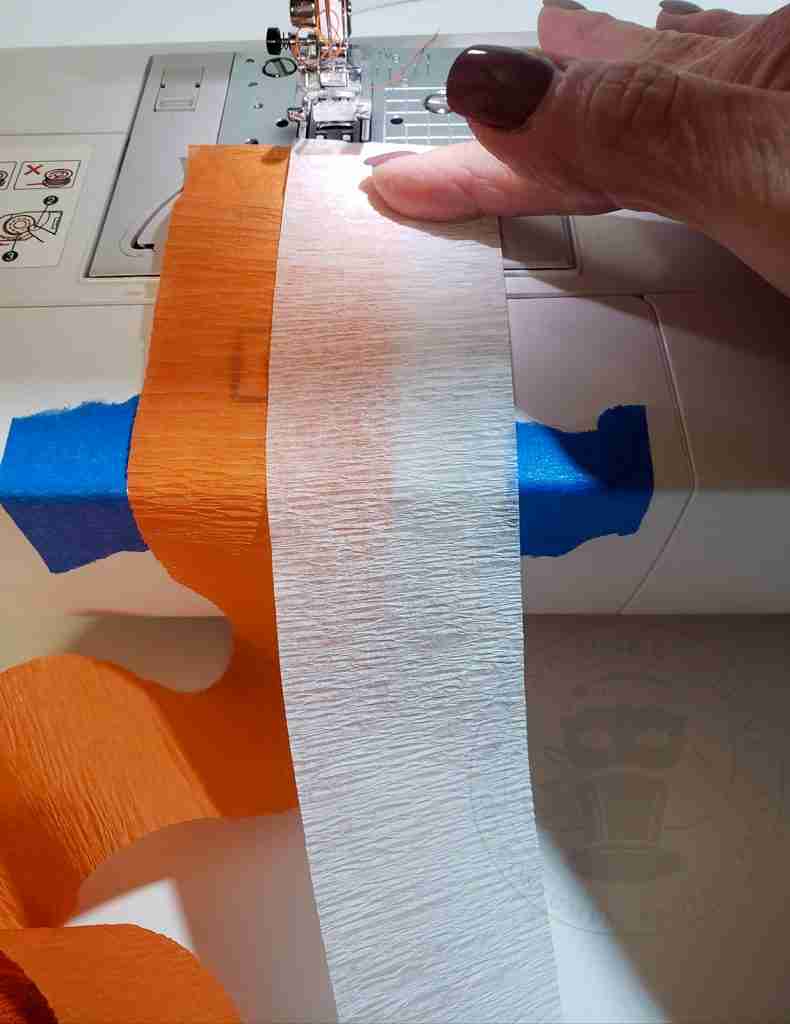
If you are having trouble with the bottom pieces moving, resulting in an uneven border, mark the placement for each side of the festoon on your machine with painter’s tape.
The tape will give you a visual guide for the bottom colors.
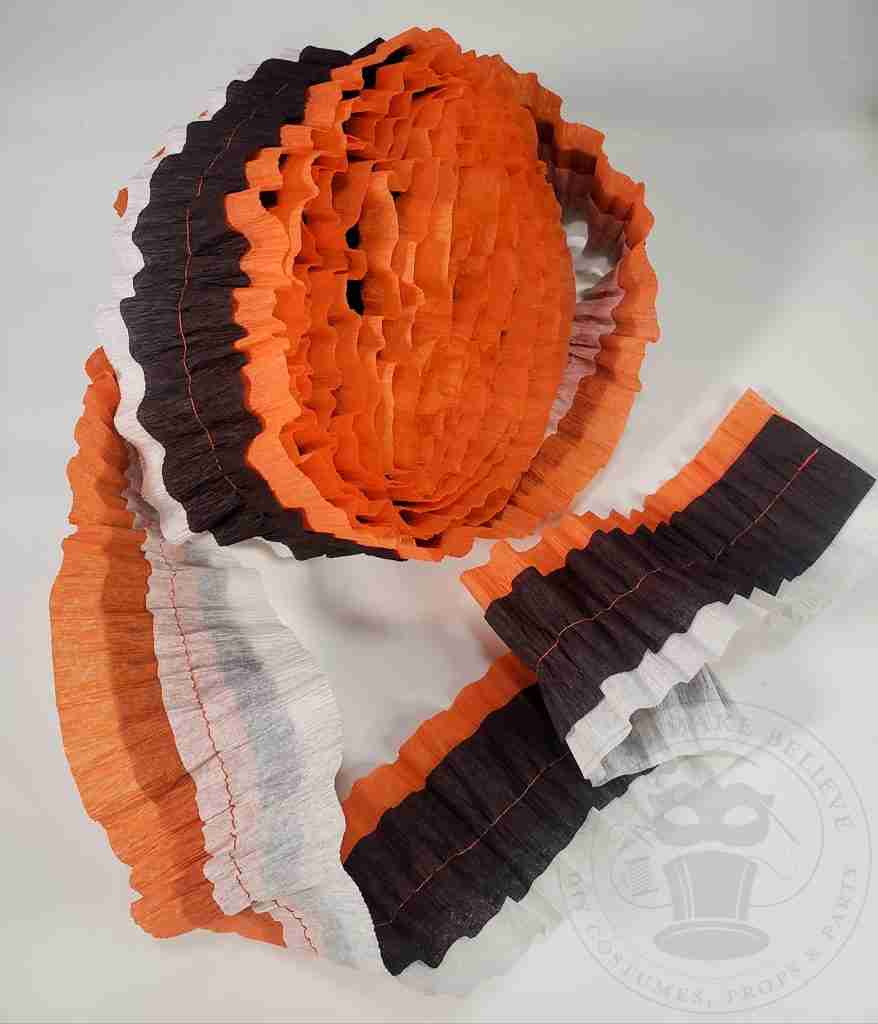
But even if your festoon is still uneven, don’t worry; no one will notice once you drape it.
Once you have the length of festoon you want, backstitch, cut your threads, and you’re done!
If you want to make this festoon but don’t have a machine, no worries – you can do this project by hand.
Arrange the crepe paper in the same way as detailed when machine stitching.
Using a strong thread and long stitch, stitch down the center of the top crepe paper and gently gather as you go.
We will need:
Rolls of crepe paper in the color(s) of your choice
Sewing clips
Sewing machine or needle
Thread
Scissors
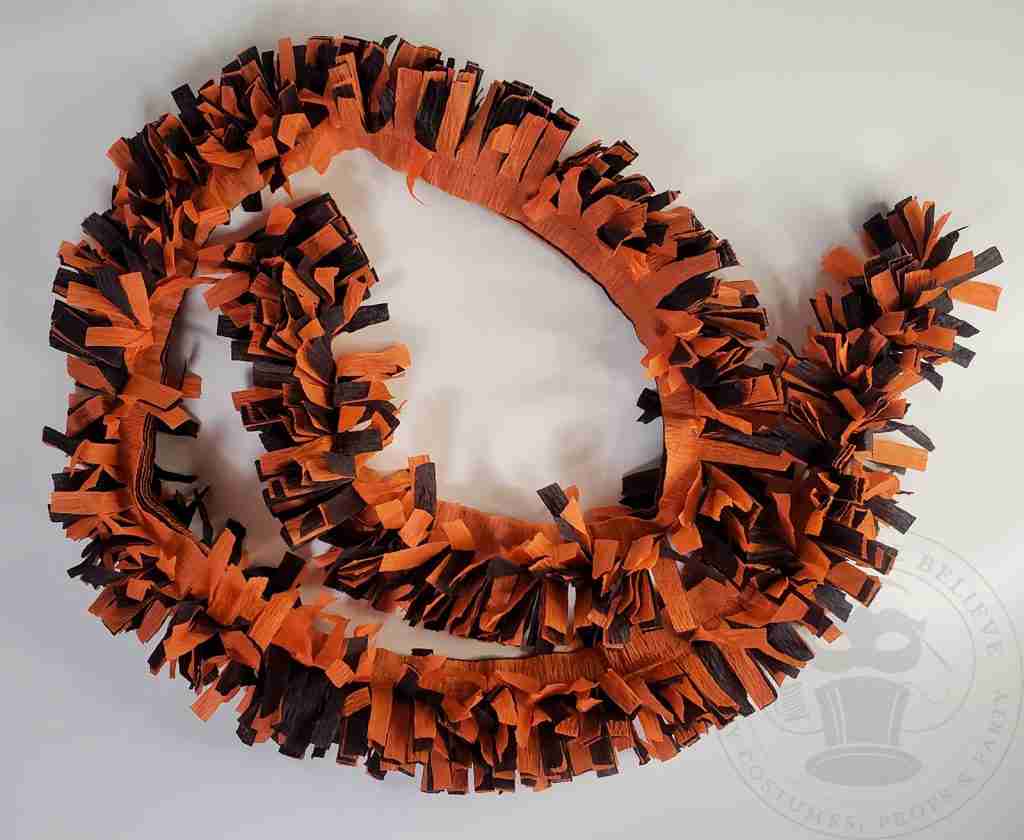
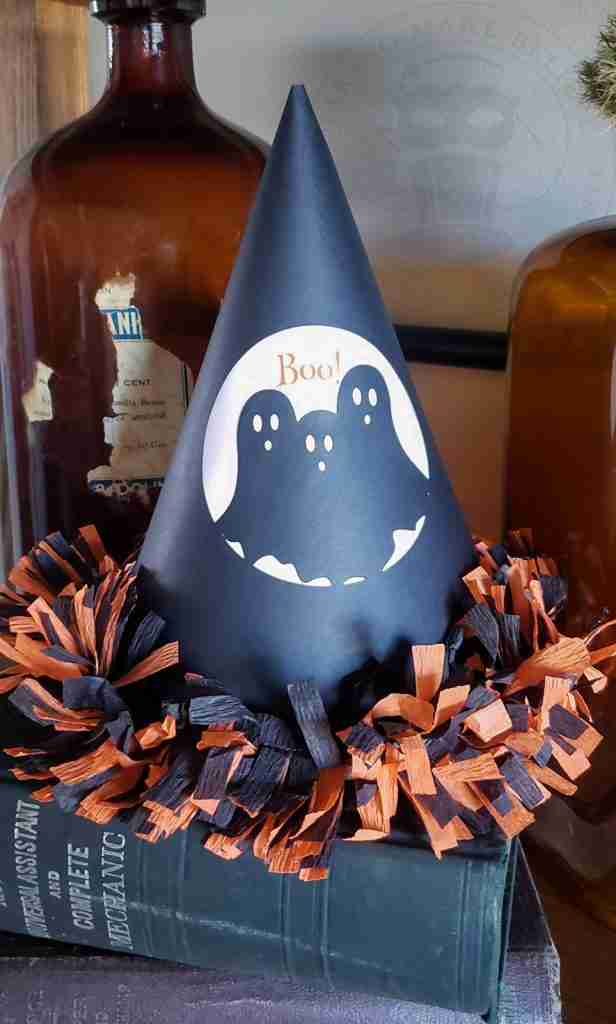
The fringe festoon looks great with one color or several.
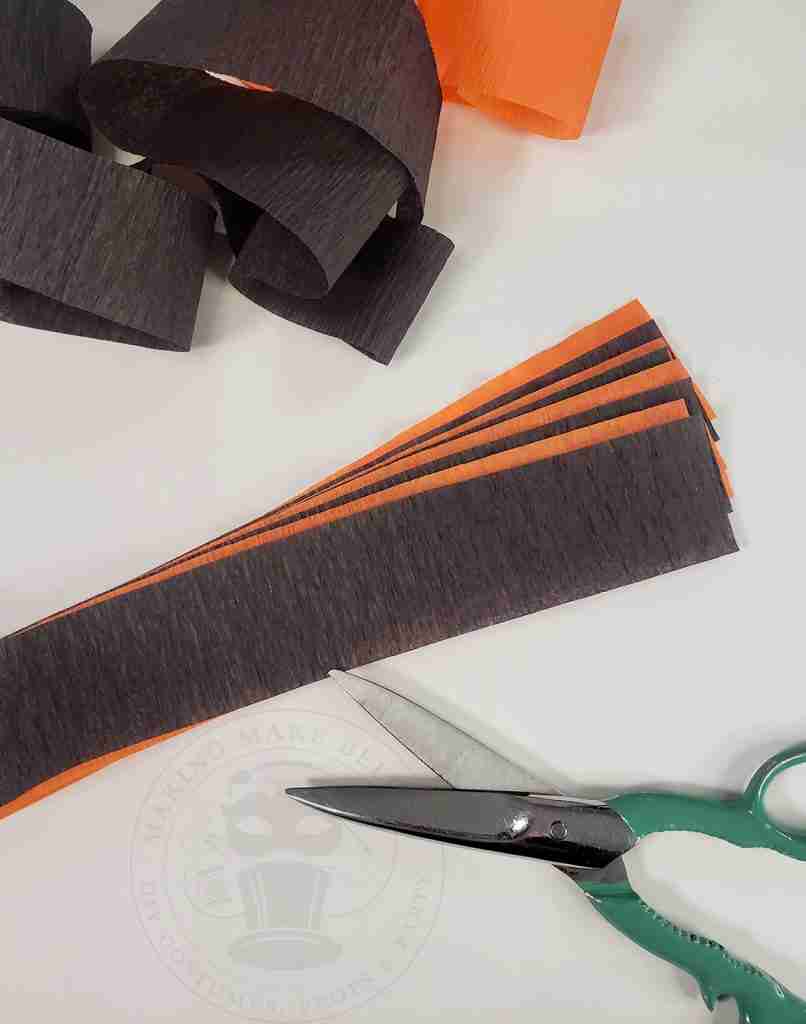
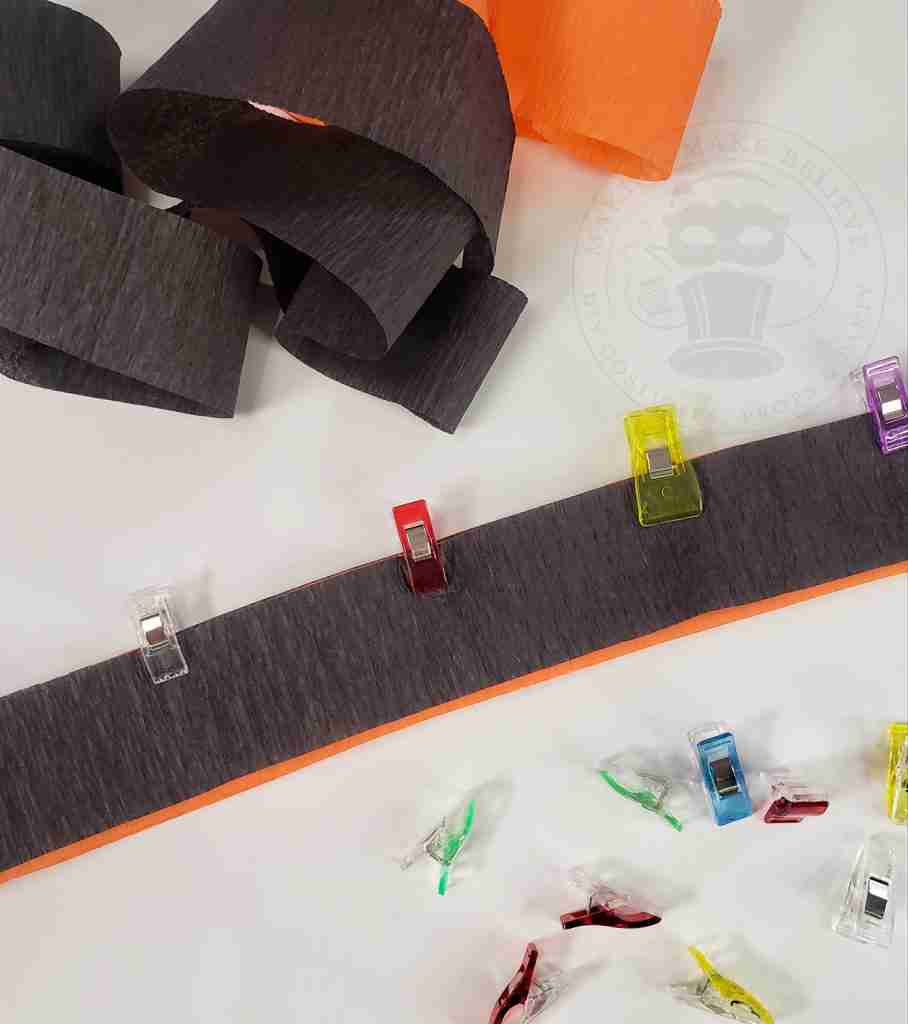
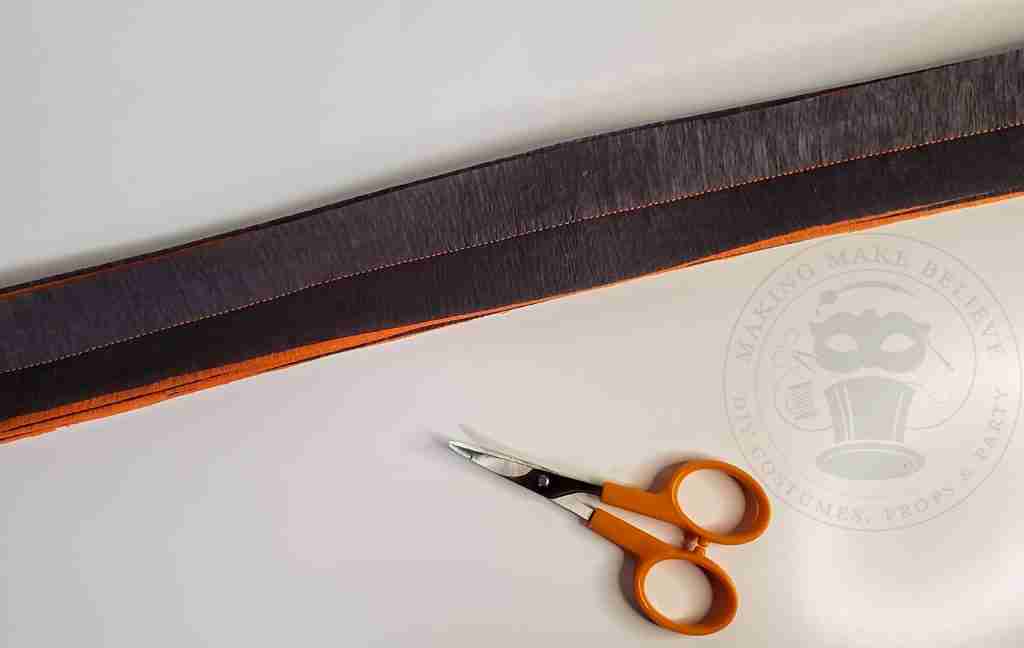
First, cut 8-12 pieces of crepe paper to the length you desire. For example, I cut mine to 36 inches.
Stack the pieces onto each other, lining up the edges, and clip them together.
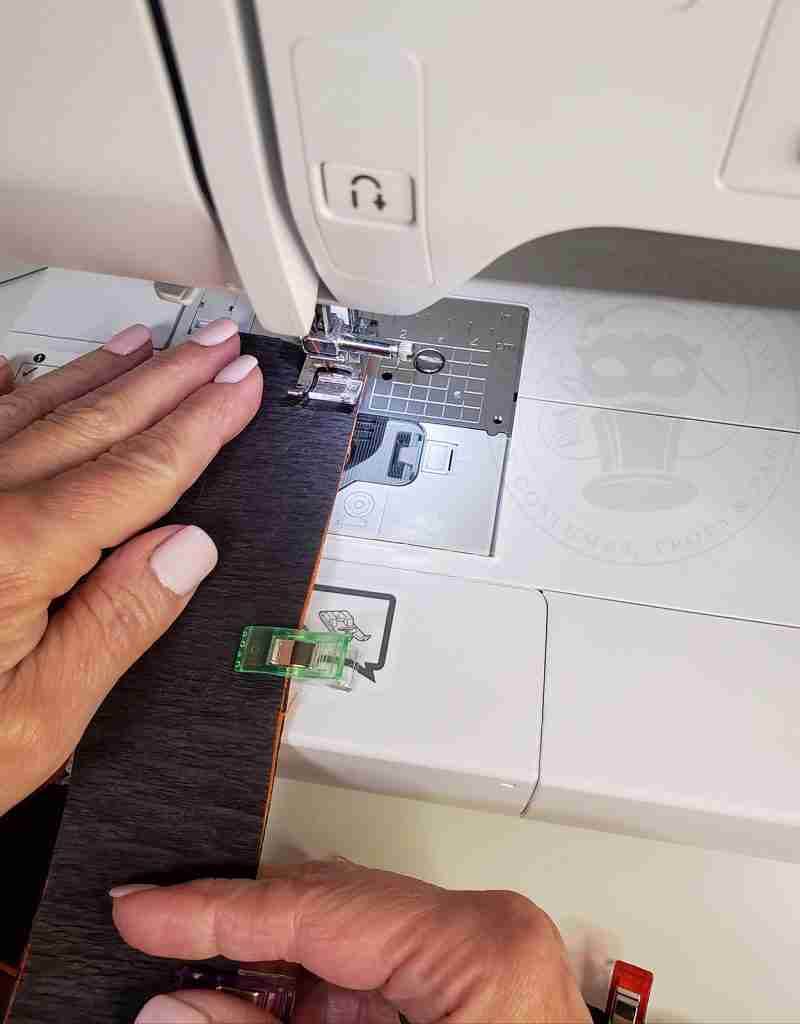
Set the sewing machine to a straight stitch, backstitch to secure the thread, and stitch approximately 3/8″ from the edge along the entire length of the crepe paper.
When you reach the end, backstitch to secure the thread.
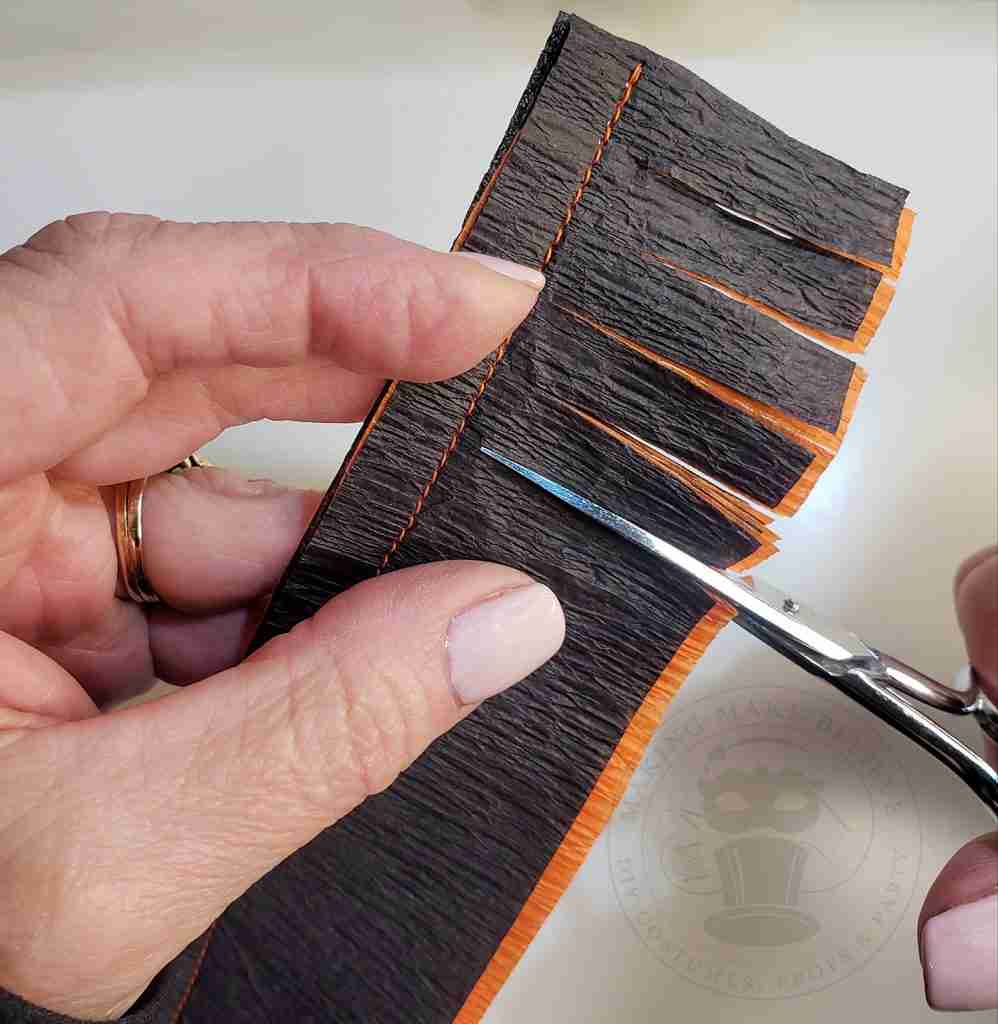
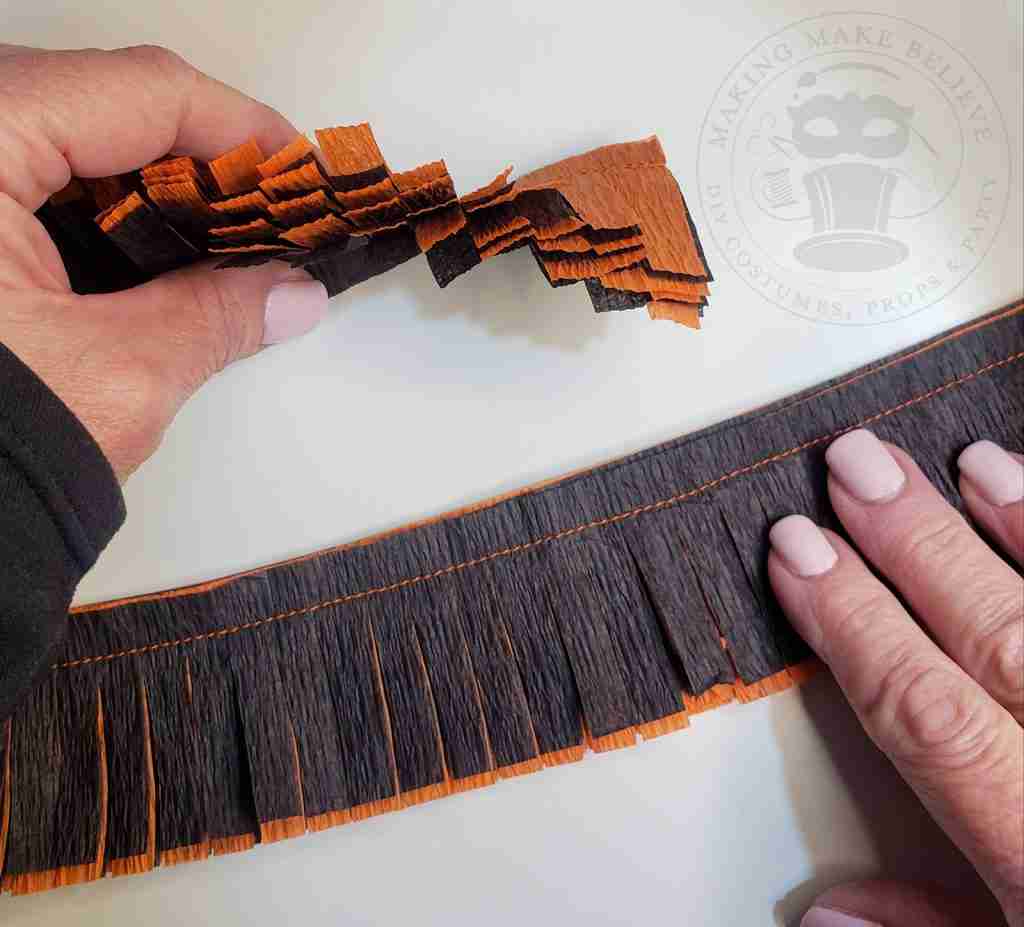
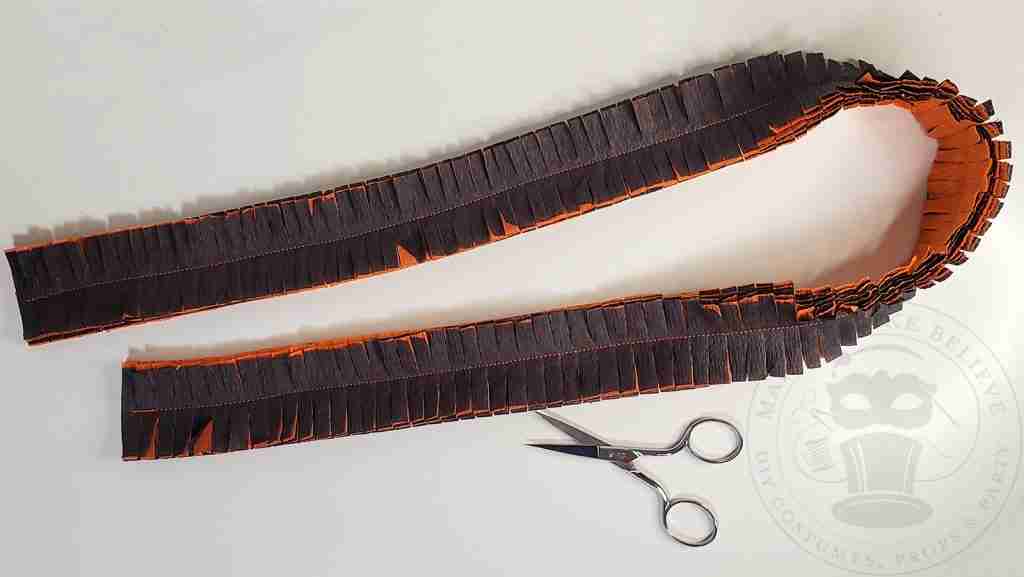
Cut from the edge of the crepe paper up to the stitching using a pair of small sharp scissors. Take care not to cut through the stitches.
Finge can be cut as thin or wide as you desire. I typically cut mine from about 1/4″ to 3/8″.
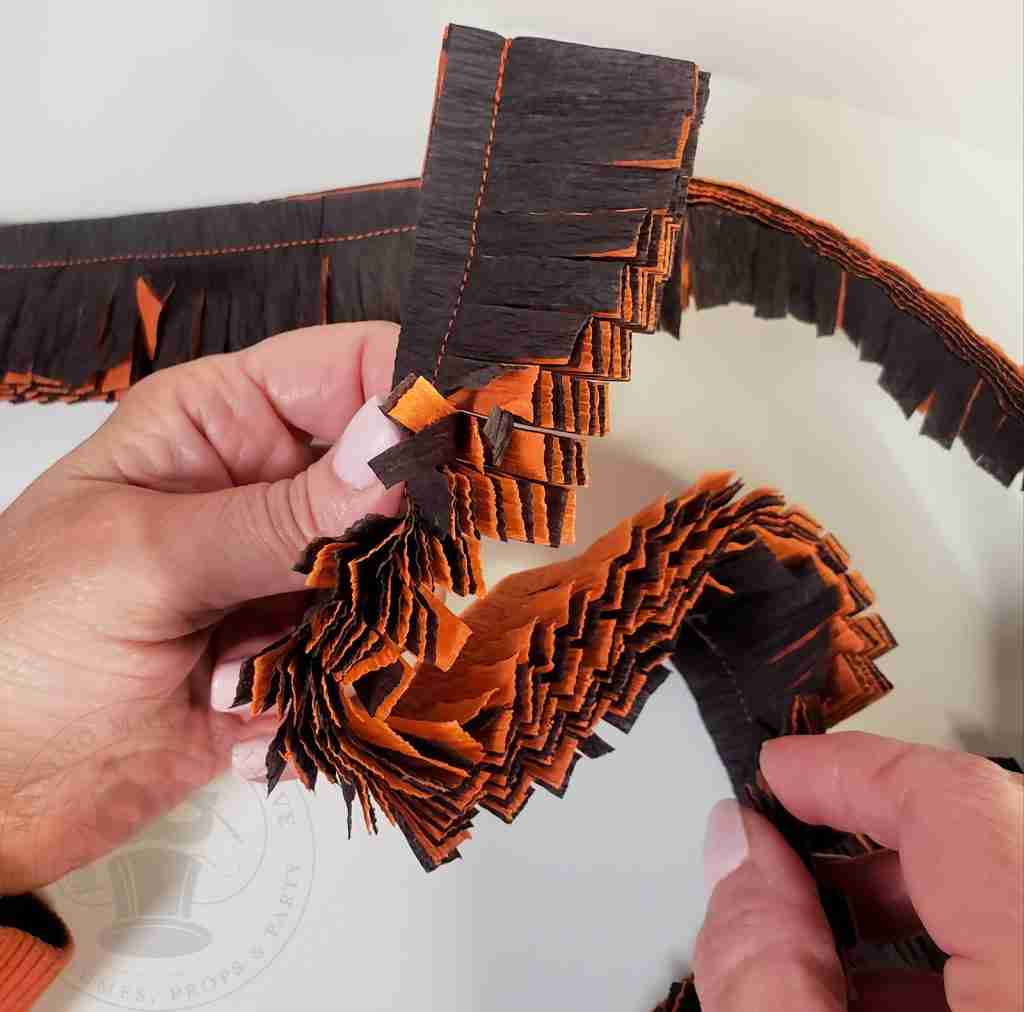
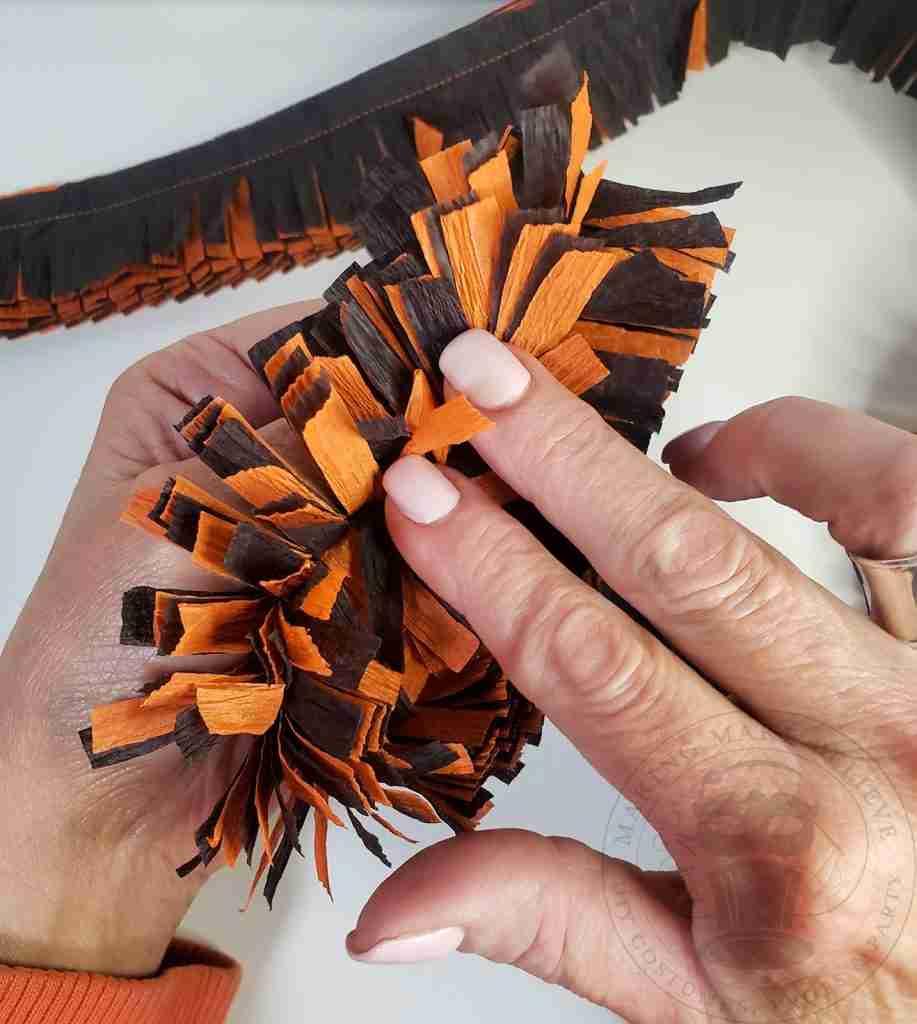
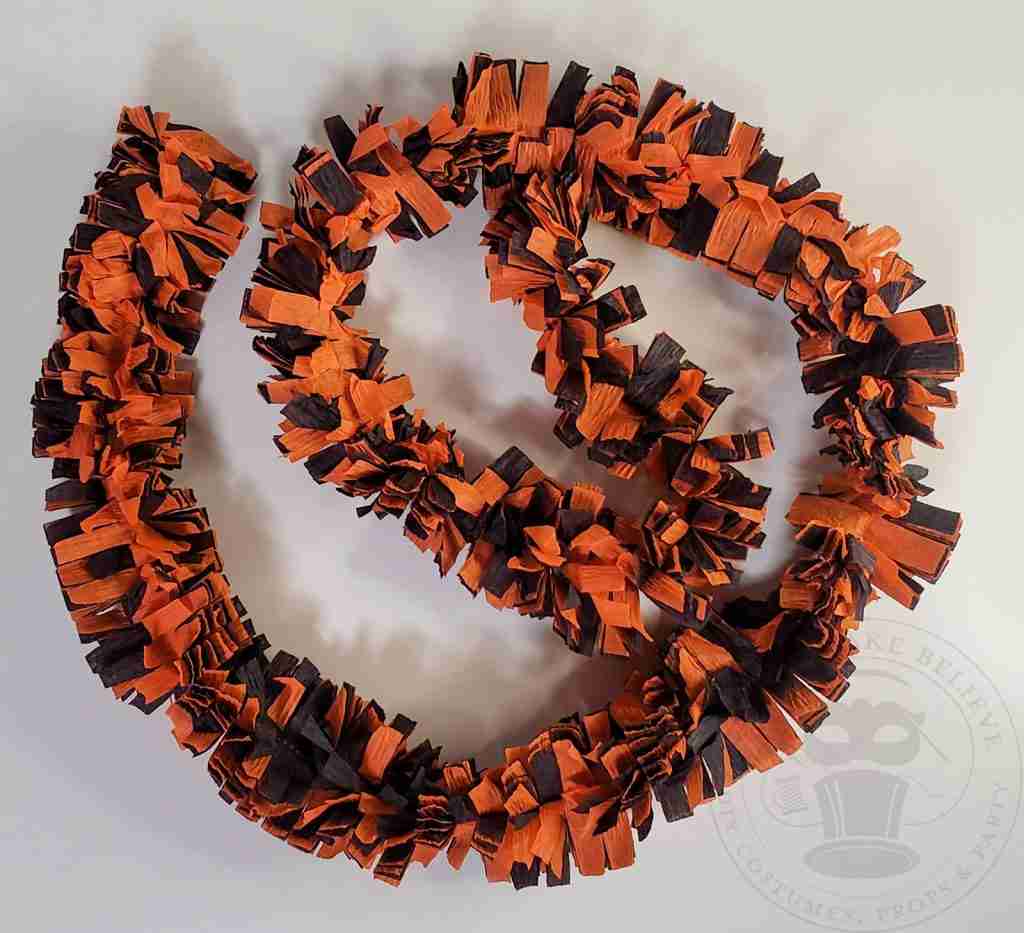
Now, gently crush and roll the fringe to get it to fluff. Continue fluffing until you get the look you desire.
If you prefer to hand-stitch this piece, use a sturdy thread, and be sure you can easily get your needle through all the layers. Adjust the number of layers as needed.
For a different take on the fringe festoon, stitch down the center of the stack.
Then, cut the fringe on both sides of the stitching.
Fluff the festoon.
Vintage look without the vintage price.
That was quick and painless, and now you have two Halloween crepe paper festoons for just a few dollars!
How many will you make?
Until next time – party on.
Join us and get access to our Haunted Library stocked with templates, printables, cut files, and exclusive content. Plus, you’ll receive Eerie Emails just for our subscribers.
*Stay as long as you like. Unsubscribe at any time.