

Today’s project is brought to you by:
Marsha has too many buttons, and we need to put them to use.
Growing up, my grandmother and mother each had a stash of buttons.
In my grandmother’s day, she would remove buttons from worn-out clothing before recycling the material into rags.
My mother liked to collect them for sewing and crafts.
The buttons were often housed in an old coffee can or Mason jar, and I loved digging through them and admiring all the different types.
My button stash includes theirs and piles gifted to me or acquired in auction hauls, but I don’t store mine in a tin or jar. Nope, mine require an entire basket.
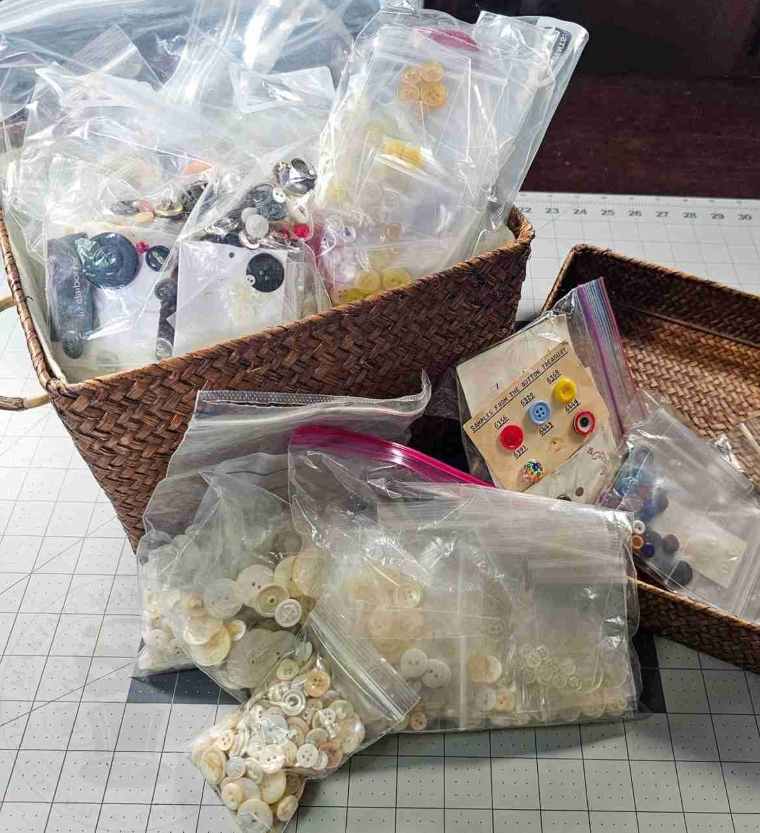
The majority of the buttons are small, white(ish) utility buttons and are perfect for today’s project – a Halloween button ghost.
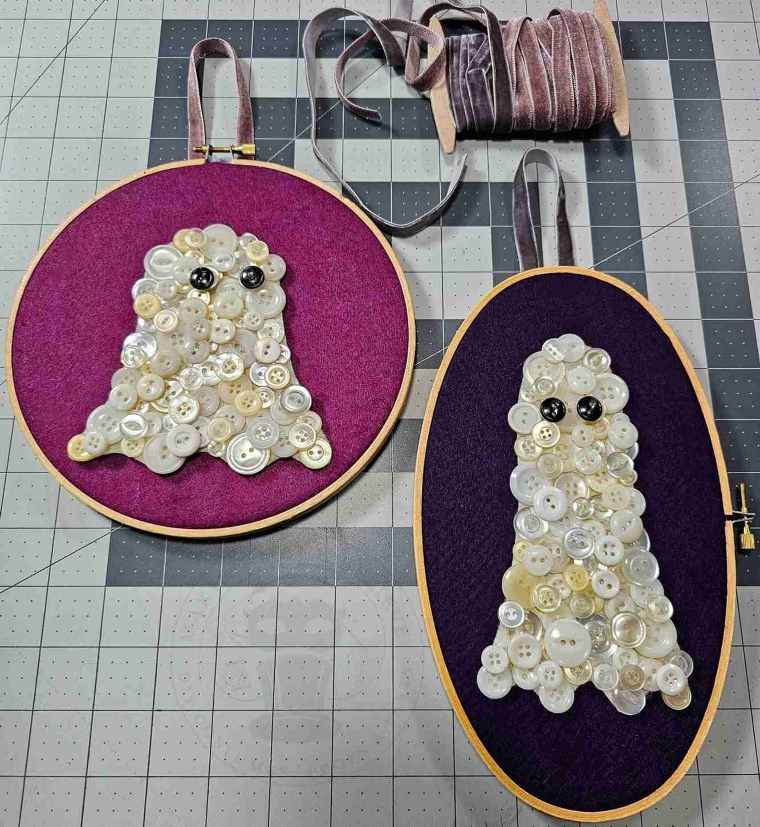
Well, a single Halloween button ghost was the plan, but, as usual, the project morphed into more, and I ended up with a ghost couple just in time for Valentine’s Day.
So, grab your bucket of buttons, and let’s get our BOO on.

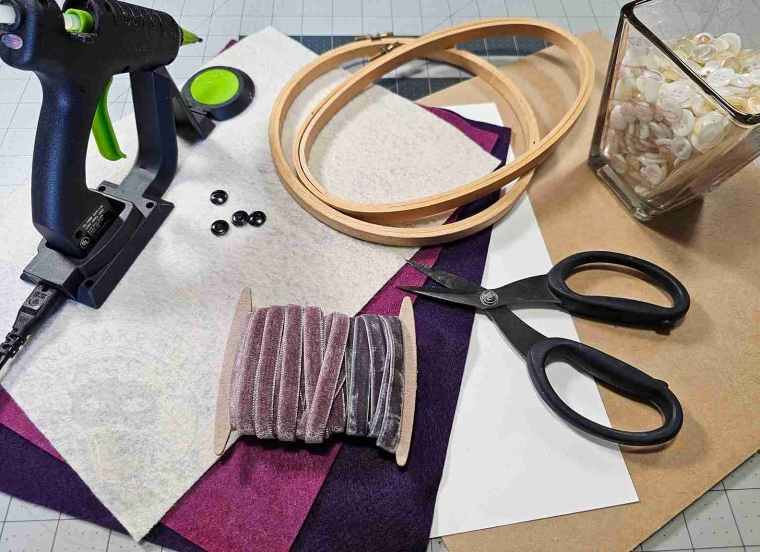
For this project, we will need:
Buttons – any color you like; I am using white
Scissors or cutting machine
Black button or felt for eyes
Craft felt to match your buttons – I’m using ivory
Hot glue
Craft felt for background
Embroidery hoops
Cardboard scrap
Ribbon scrap
Color printer and cardstock (optional for garb)
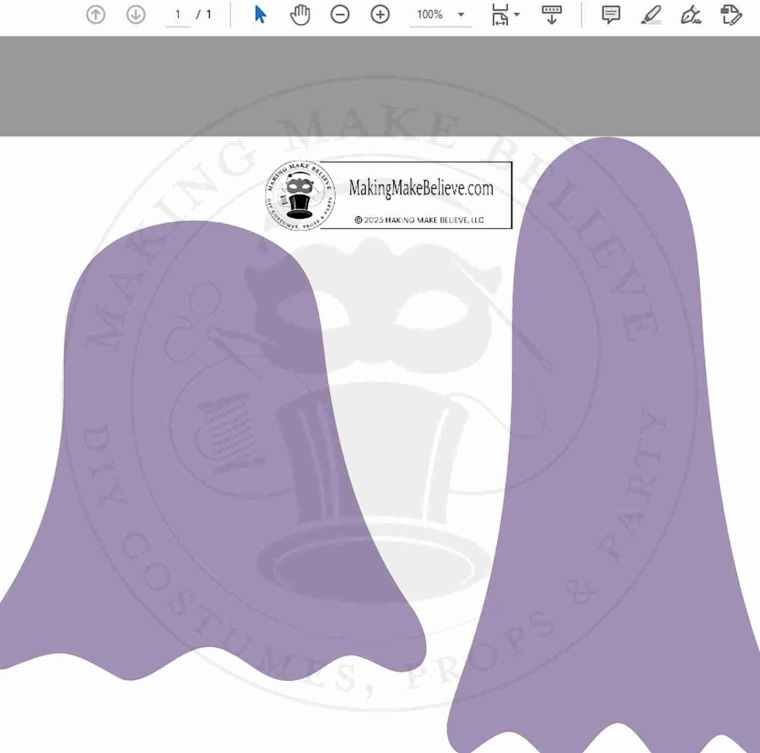
We will also need the Button Ghost Templates + Ghostly Garb from the Haunted Library. Select the PDF if cutting by hand or the PTC + SVG for machine cutting.

Before we dig in, here are some ideas on where you can acquire a bounty of buttons:
Raid grandma’s stash (with permission)
Antique stores
Thrift stores
Garage sales
Auctions
Craft stores
Amazon
If cutting by hand, open the Button Ghost Templates PDF in your favorite reader (Adobe, FoxIt, etc.)
The default size of the ghosts is 6.30 x 3.28 inches and 4.58 x 4.50 inches.
Set the Page Size & Handling to print at Actual Size or resize to fit your embroidery hoops.
Print and cut out the templates, then transfer them to your felt.
To machine cut, upload the Button Ghost Templates PTC + SVG file to your design software, such as Circut Design Space.
Resize to fit your embroidery hoops if needed.
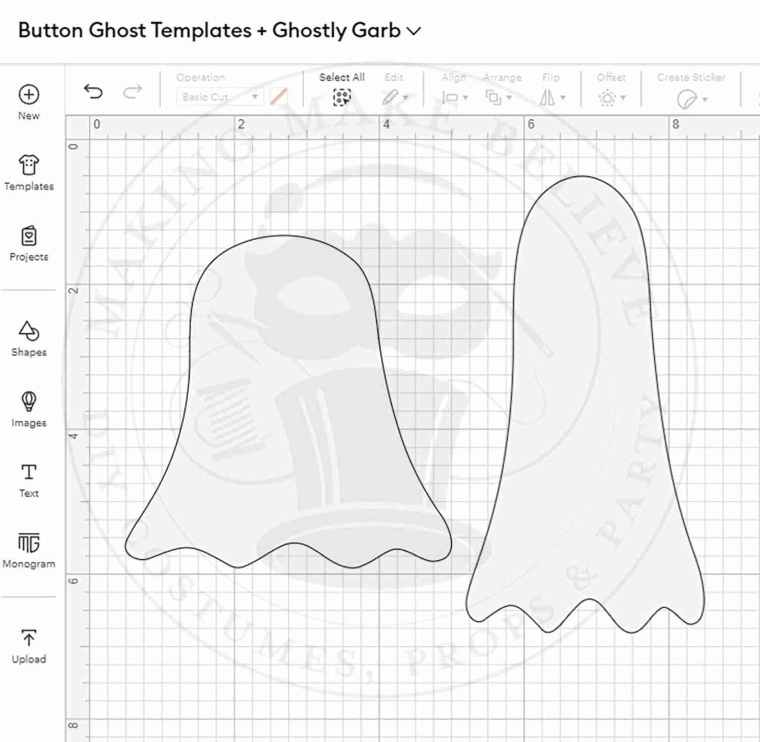
You can use your cutting machine to cut out the ghosts directly from your felt or cut out templates from paper and transfer them to the felt.
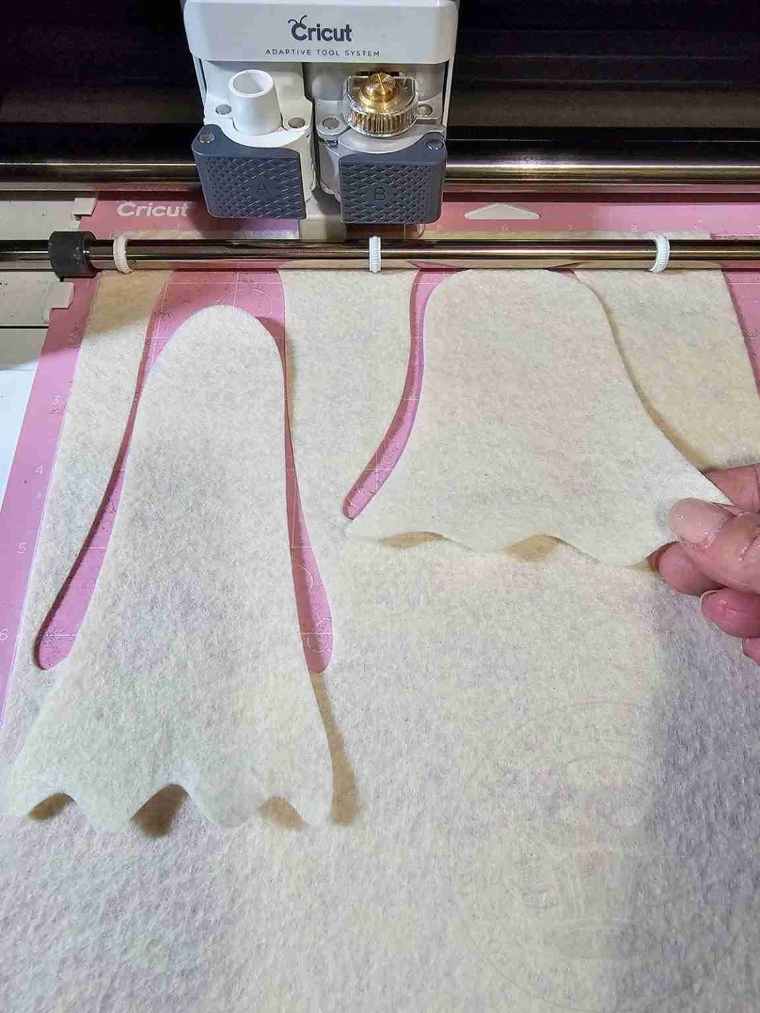
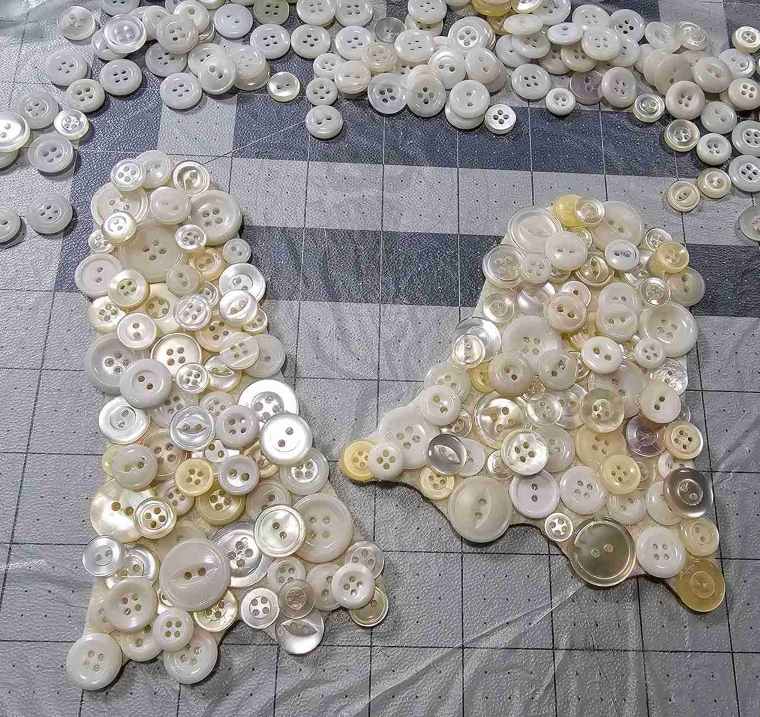
I like to place my felt on parchment paper to protect my table and then lay out the ghosts.
Begin placing buttons on top of the felt, arranging them however you like.
Don’t worry about gaps; we will fill those shortly.
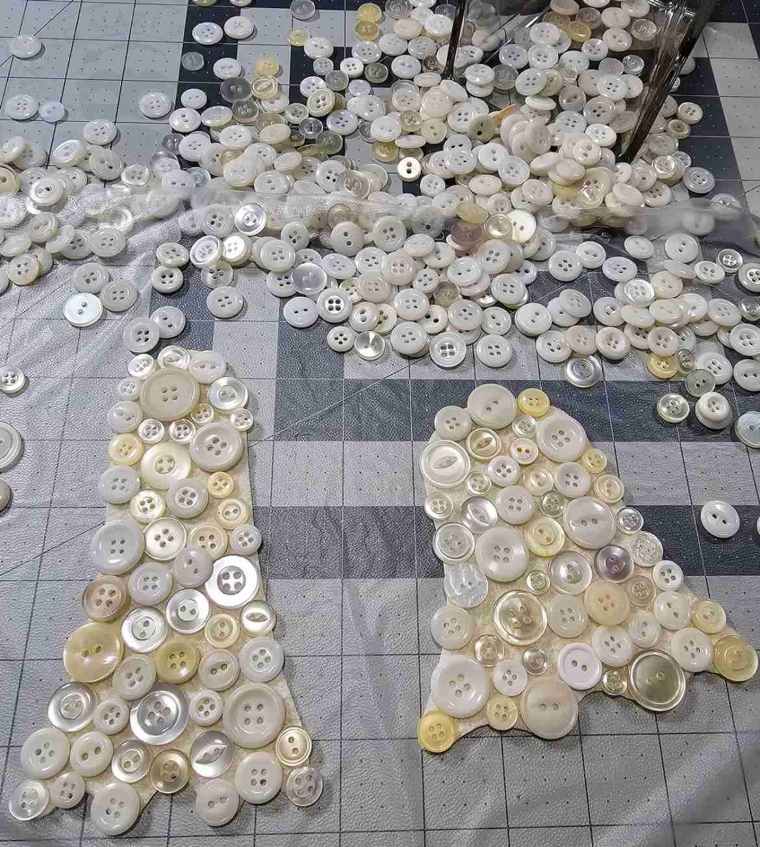
Once you like the arrangement, use a small amount of hot glue to secure the buttons to the felt.
Continue until the first layer of buttons is secured.
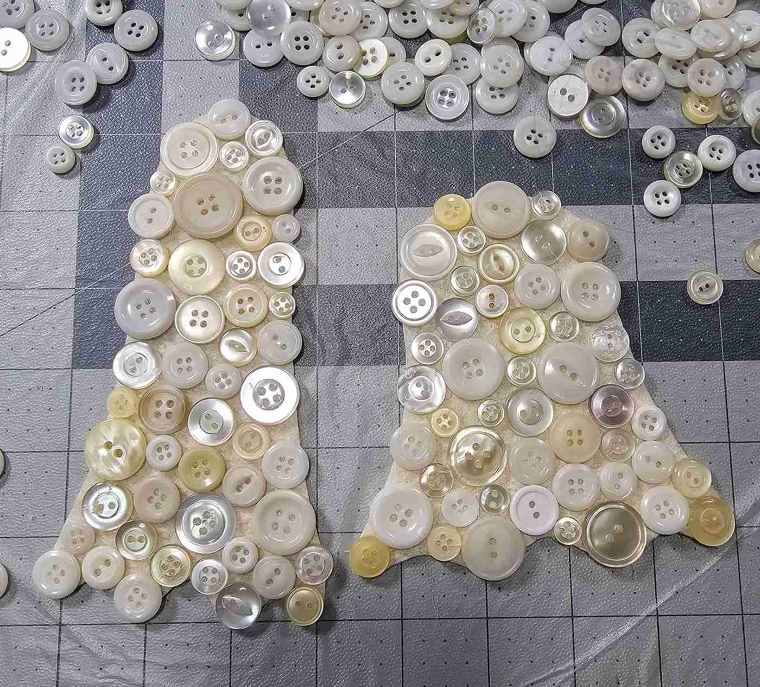
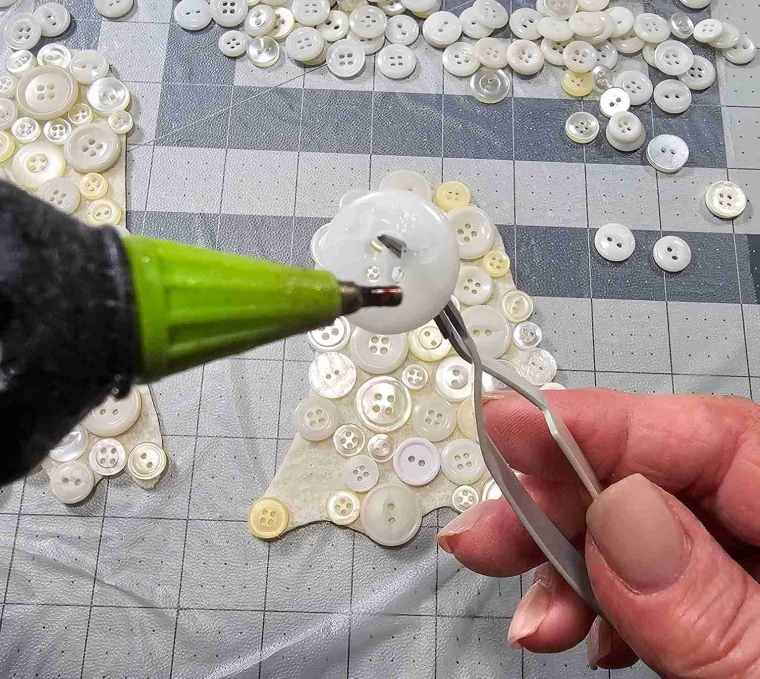
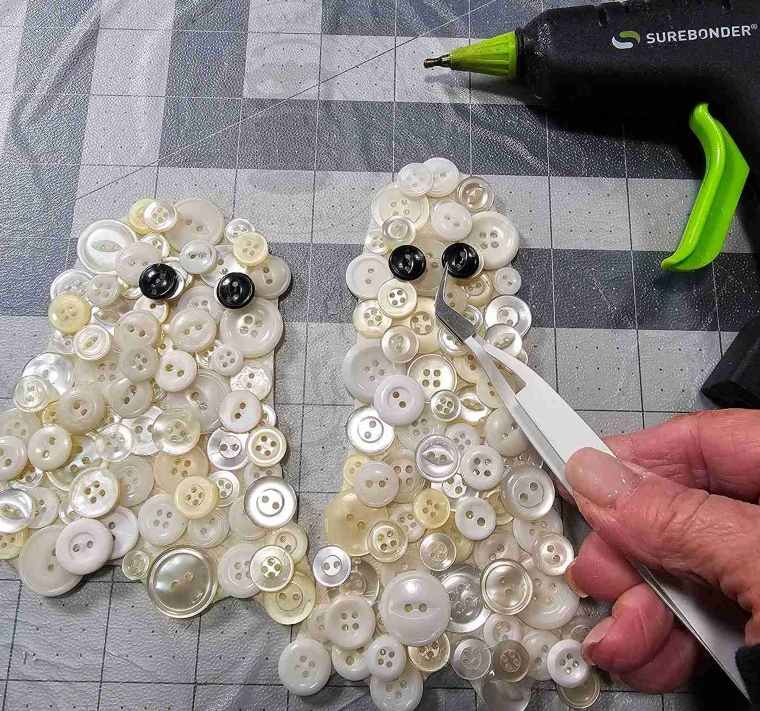
Use smaller buttons to make a second layer to cover any gaps.
Lastly, add black buttons or felt circles/ovals for the eyes.
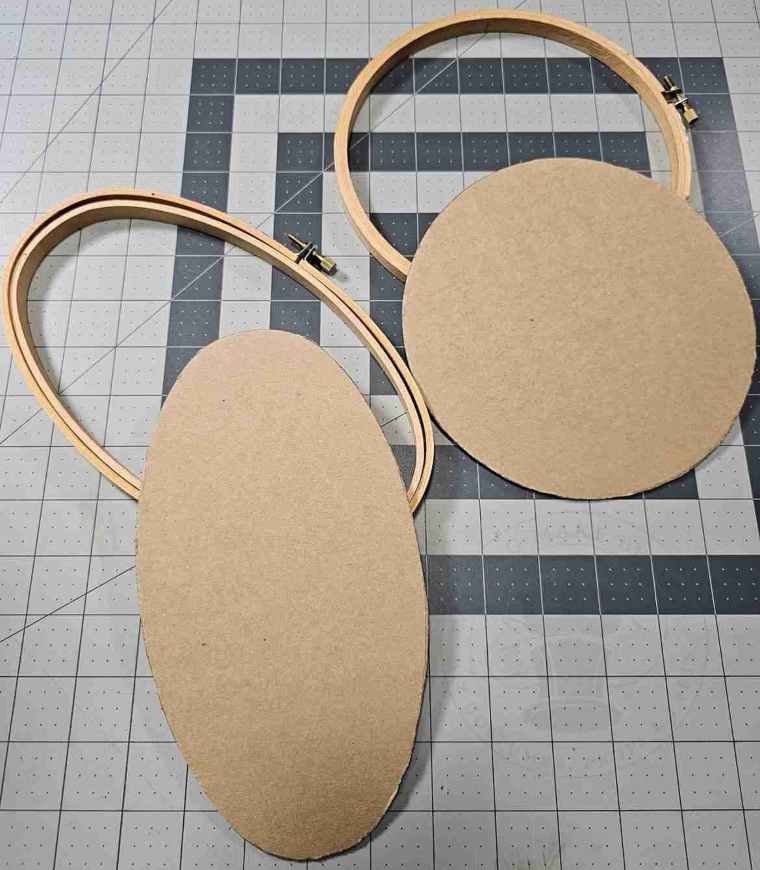
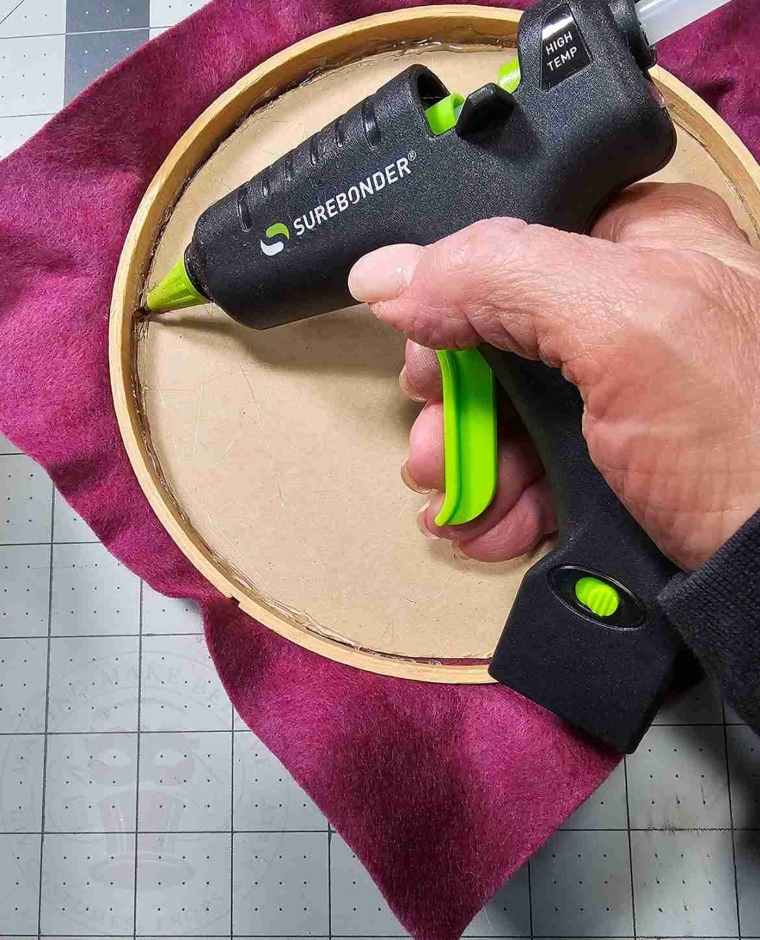
Trace the inside of your hoop onto the cardboard and cut it out.
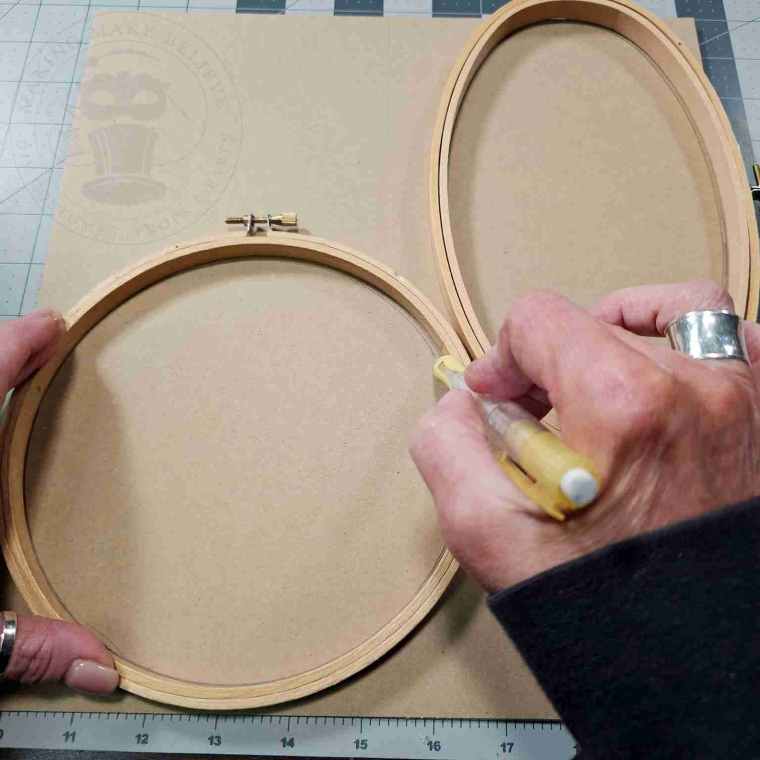
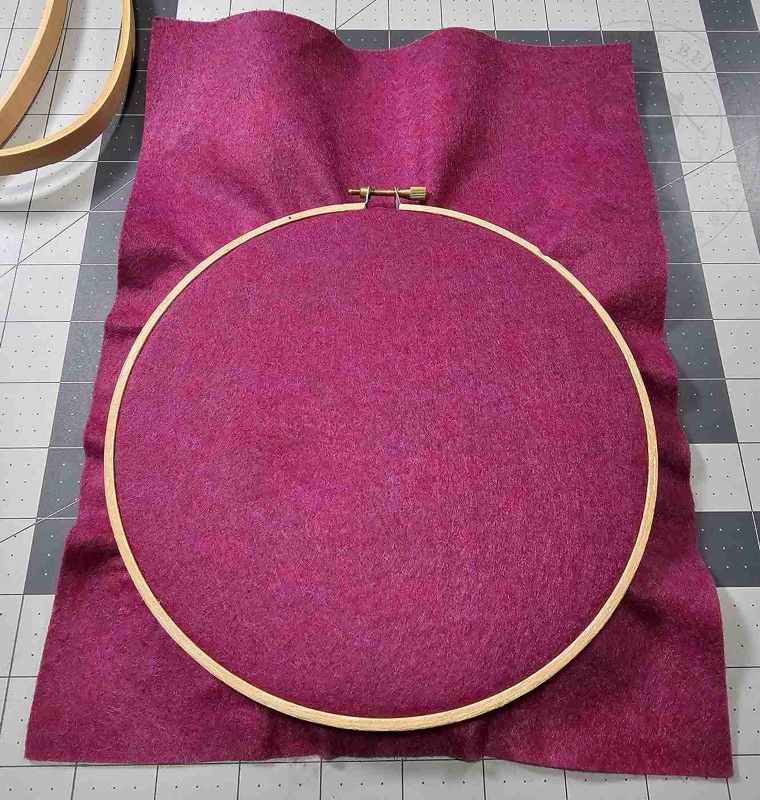
To frame your boo-tiful ghoulies, separate the embroidery hoops by loosening the screw.

Place your background felt over the inner hoop and slip the outer hoop over it.
Tighten the screw, then gently pull the felt around the edges to tighten it in the hoop.
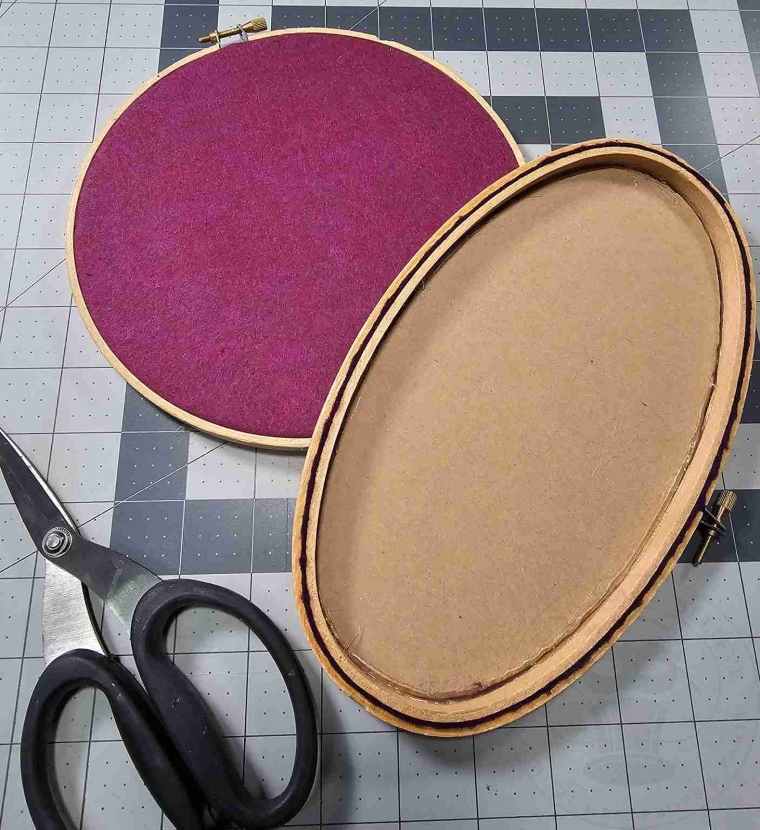
Place the cardboard inside the hoop from the back, then secure it with a thin bead of hot glue.
Trim away the excess felt.
Glue your Halloween button ghost in the center of your frame.
Add a ribbon for hanging if desired.
If you really want to be extra, and I question anybody who doesn’t, you can deck your ghosties in seasonal attire.
Print and cut the included Ghost Garb pieces. (Resize if you changed the dimensions of your ghosts.)


Dress your specters by attaching the ghost garb pieces with tape or sticky tack.
I am having way too much fun dressing up this duo.
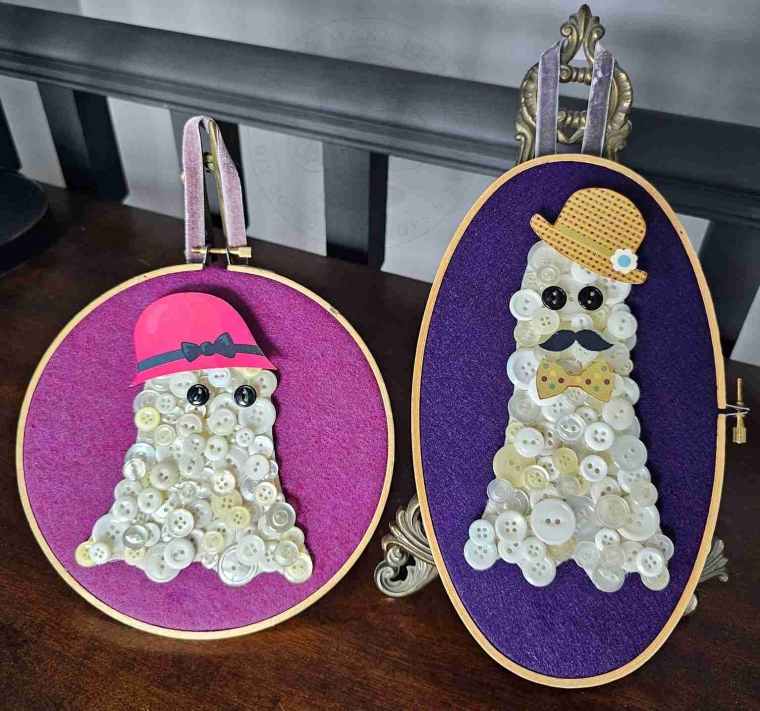
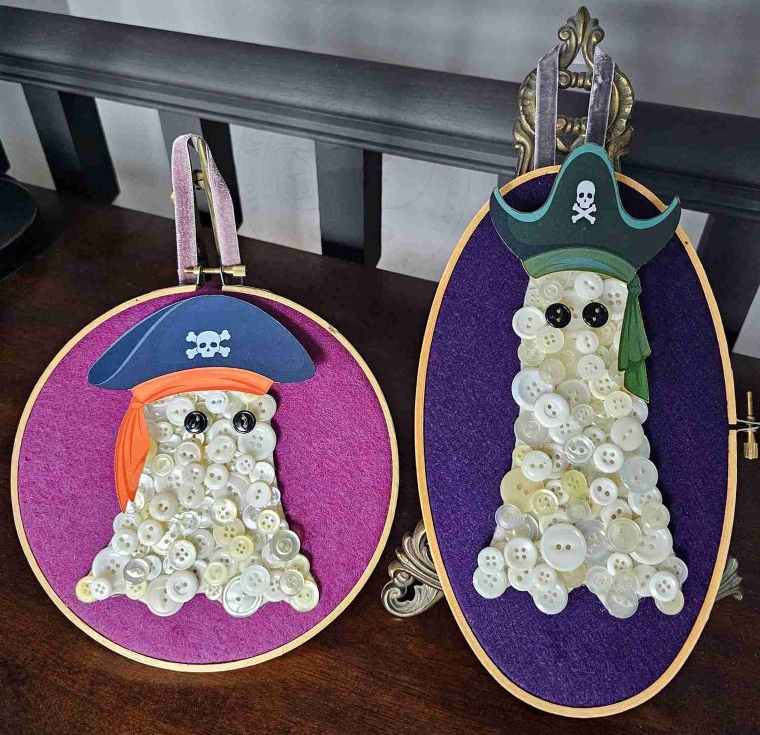
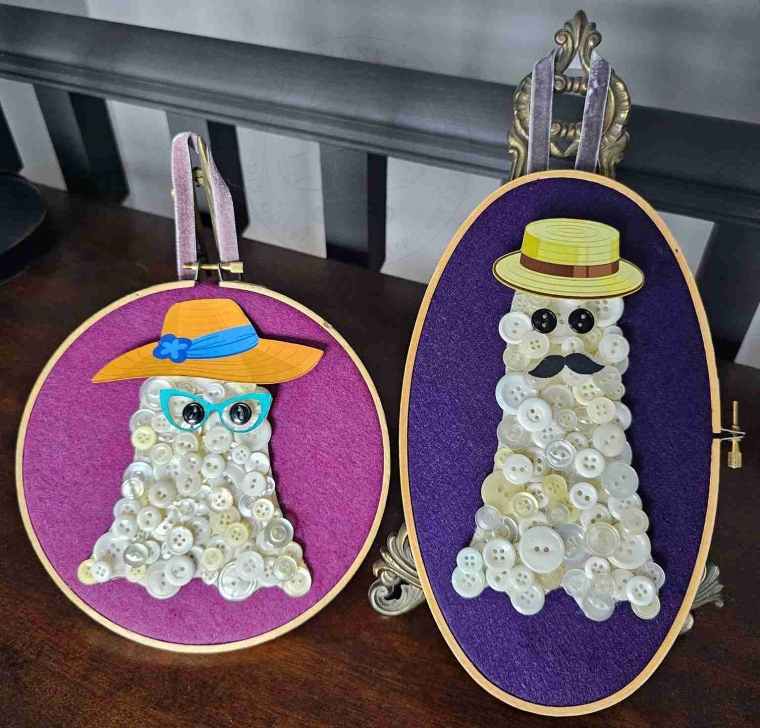
A perfectly peculiar pairing!
Until next time – stay spooky.