The turkey hasn’t even started to thaw for Thanksgiving, yet everywhere I turn, I see the signs of Christmas. Usually, this would provoke a “bah humbug” from me as I am not a fan of rushing from Halloween to holly days. But, given the chaos of the past couple of years, I think people just want to feel some joy. So instead of being a Grinch, I’m embracing the trend and rocking the red and green – which brings us to today’s project.
Let's Get Ugly
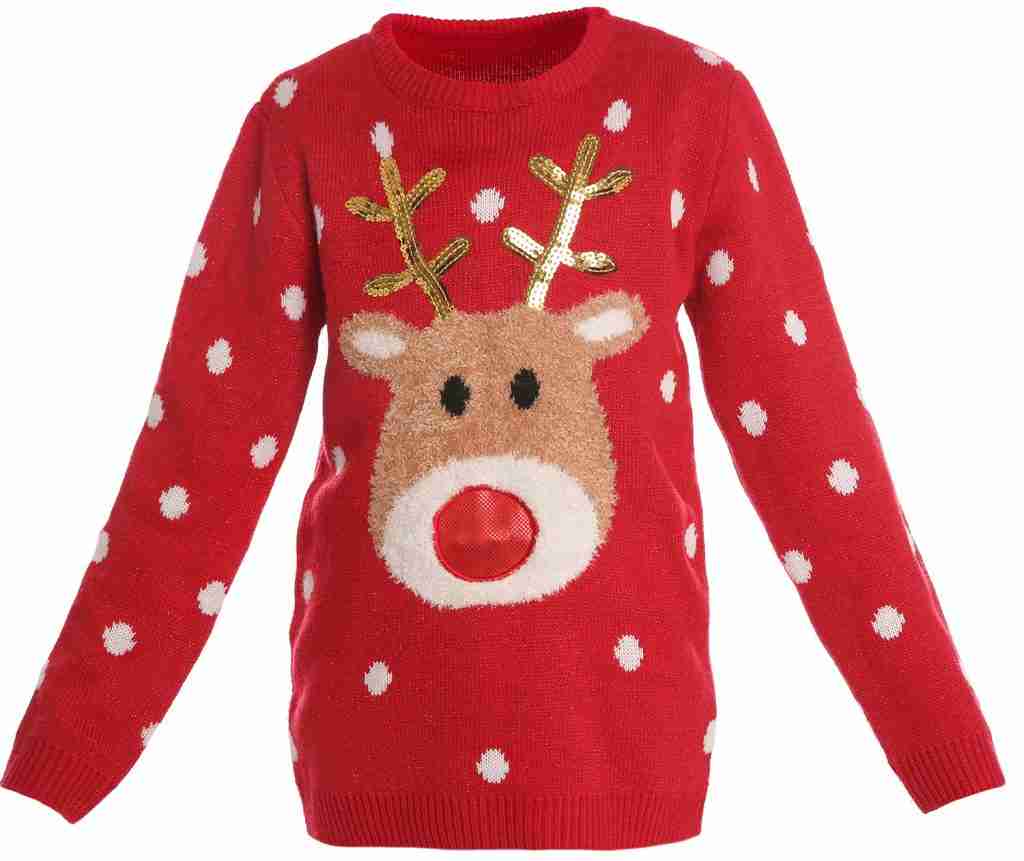
Ah, the ugly Christmas sweater! You know, the one your auntie would wear to your holiday gathering. It usually featured a prominent character (or several) such as Santa or a reindeer. The design was loud – it sparkled, glittered, and jingled and was often paired with red or green tights and oversized, dangling earrings.
Well, I hope you’re good friends with your auntie because today we’re gearing up for an Ugly Christmas Sweater Party, and you might need to borrow that tacky textile.
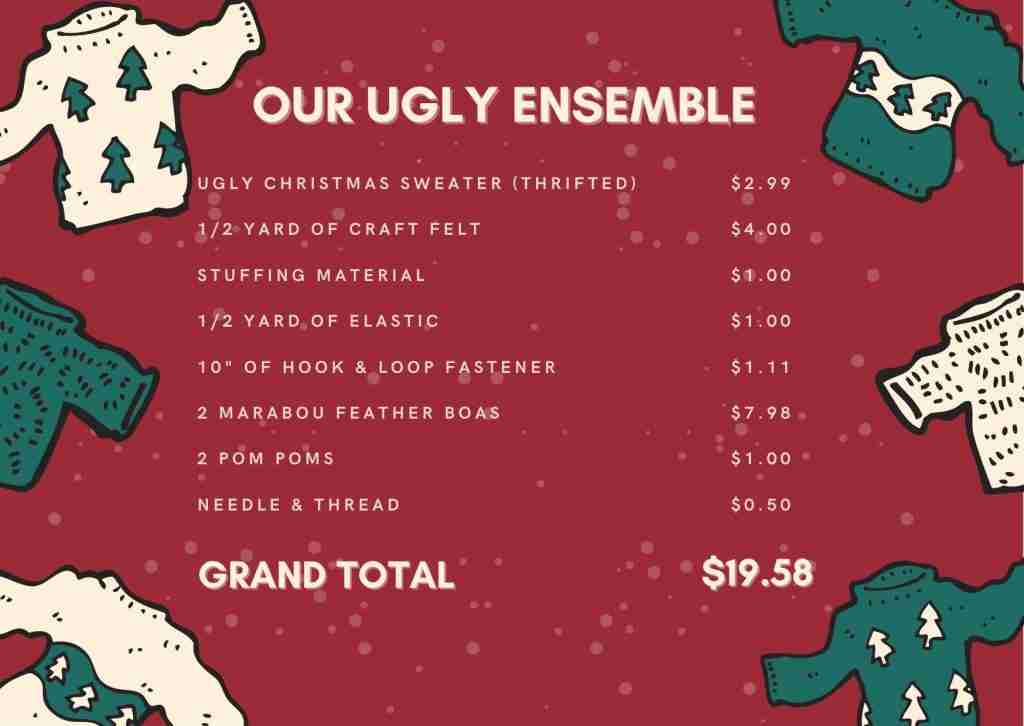
If you’re not lucky enough to have an eccentric auntie, then check out this tutorial where we transform a thrifty find. Plus, we will elevate our look by crafting a pair of elf shoe covers that might just help you win the top prize at your party. And, we’re going to do it all for under $20.
So let’s get started.
The first stop is the thrift store. My local Thrifts have holiday sweaters, sweatshirts, and other Christmas clothing items front and center. But, if yours does not, head to the clothing section and get ready to go on the hunt.
Be On The Lookout
Any ugly Christmas sweater will do, but I tend to go with the more obnoxious.
Size isn’t an issue here. As long as the sweater is my size or larger, it’s fair game.
While I don’t pick pieces that are falling apart, I’m ok with missing bling or buttons, discoloration, or other minor issues. I can disguise those small flaws once I get the piece home.
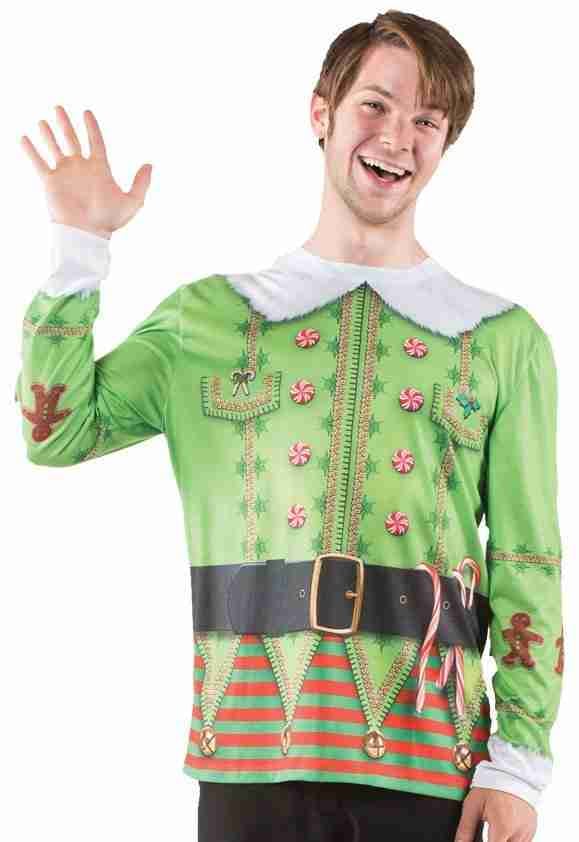
I’m a huge advocate of thrifting costume pieces, but if you aren’t or the store’s selection is limited, you can find sweaters online at stores such as The Ugly Sweater Store and The Rusty Zipper, as well as in-store. There are also faux sweaters which, as the name implies, aren’t sweaters but are long-sleeve t-shirts with an ugly screen print to mimic the look.
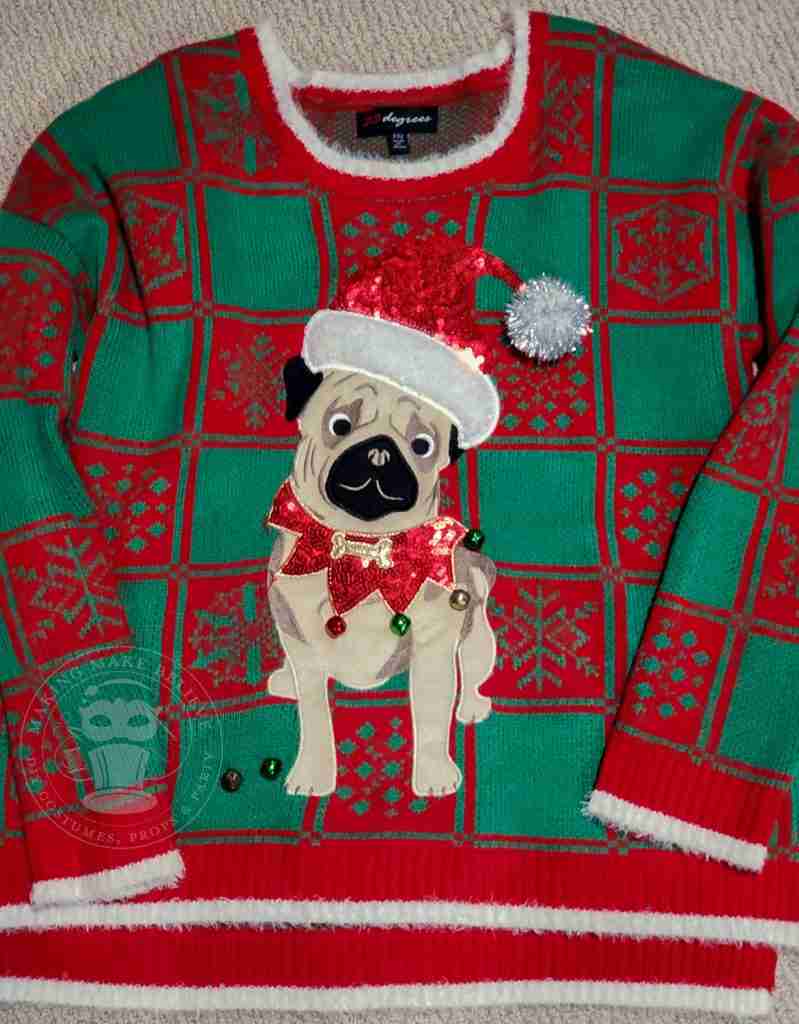
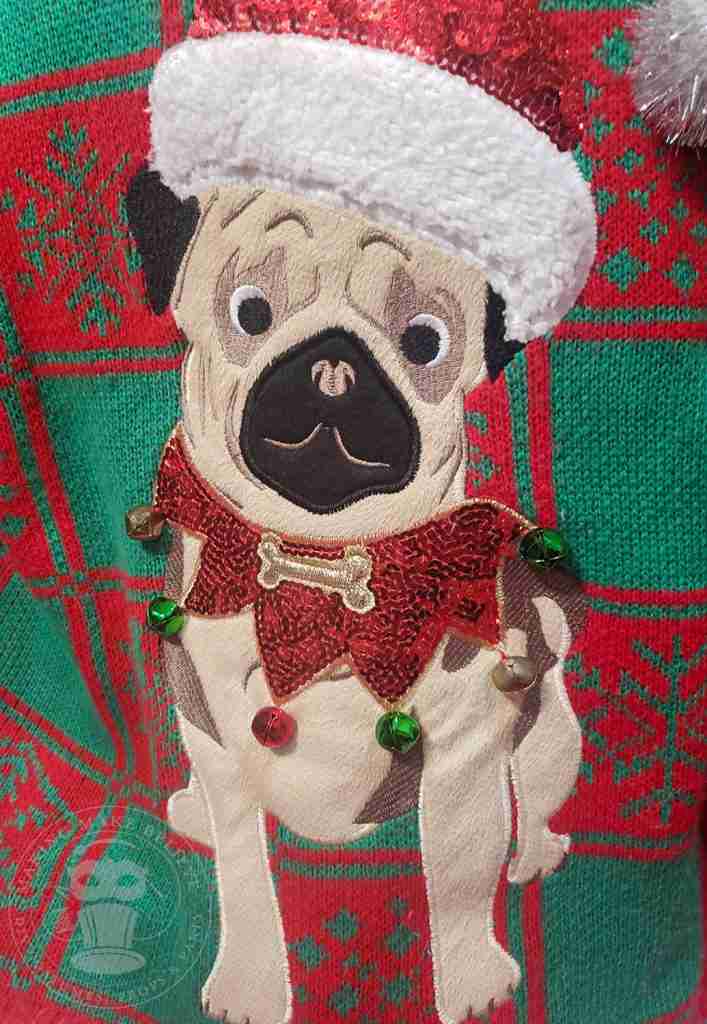
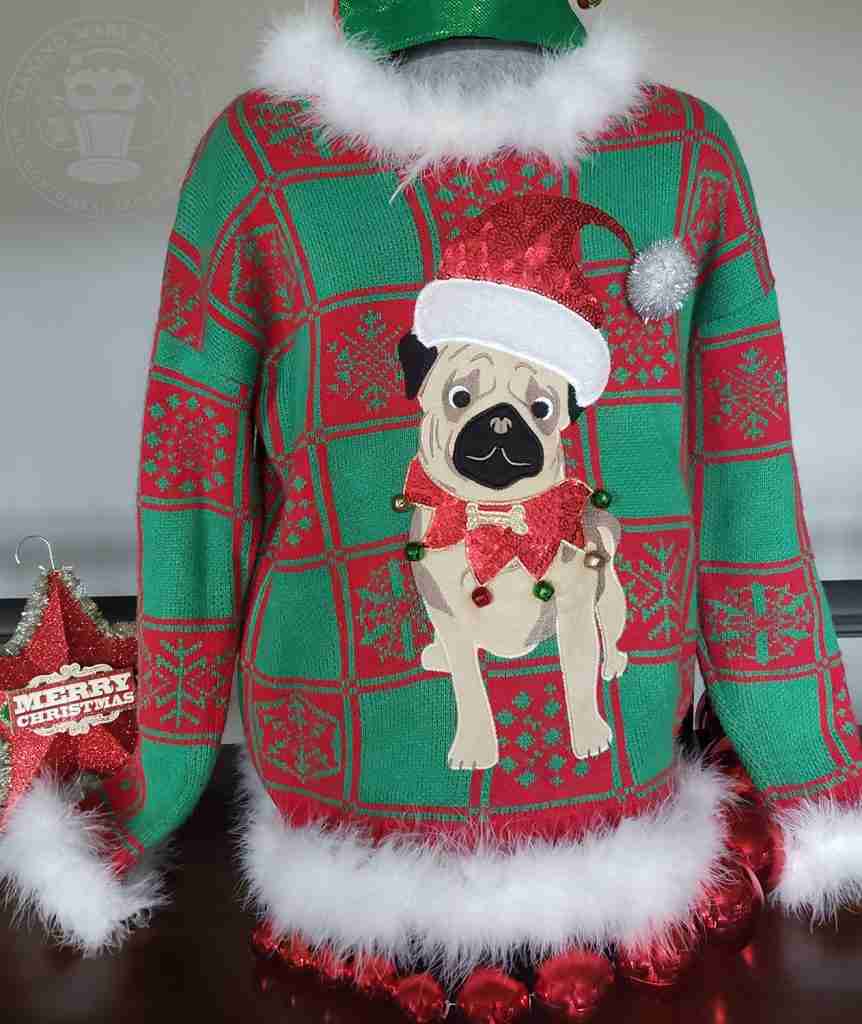
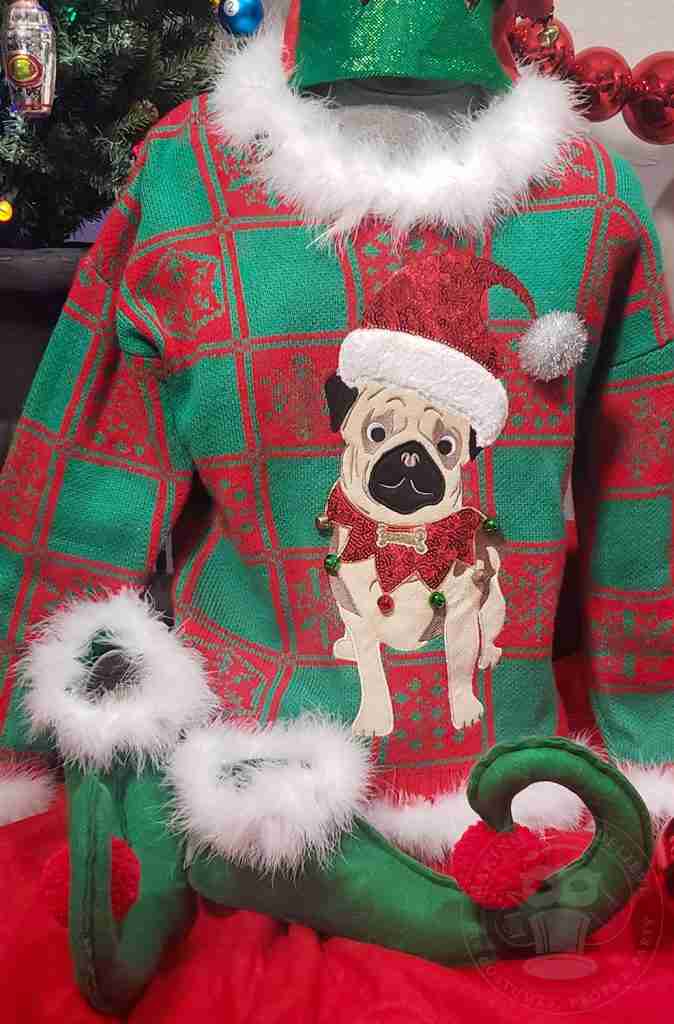
The sweater I’m using today is one our son, Brittan, found. He likes to take a Merry Christmas pic with Lily Pug and post it to his social media every year. So this sweater is perfect since it features Lily’s likeness.
The sweater isn’t bad. However, it is missing a few bells, and the white hem and sleeve edges are dingy. These are easy fixes. I stitched the bells back onto the sweater and, while I was at it, I reinforced the remaining bells.
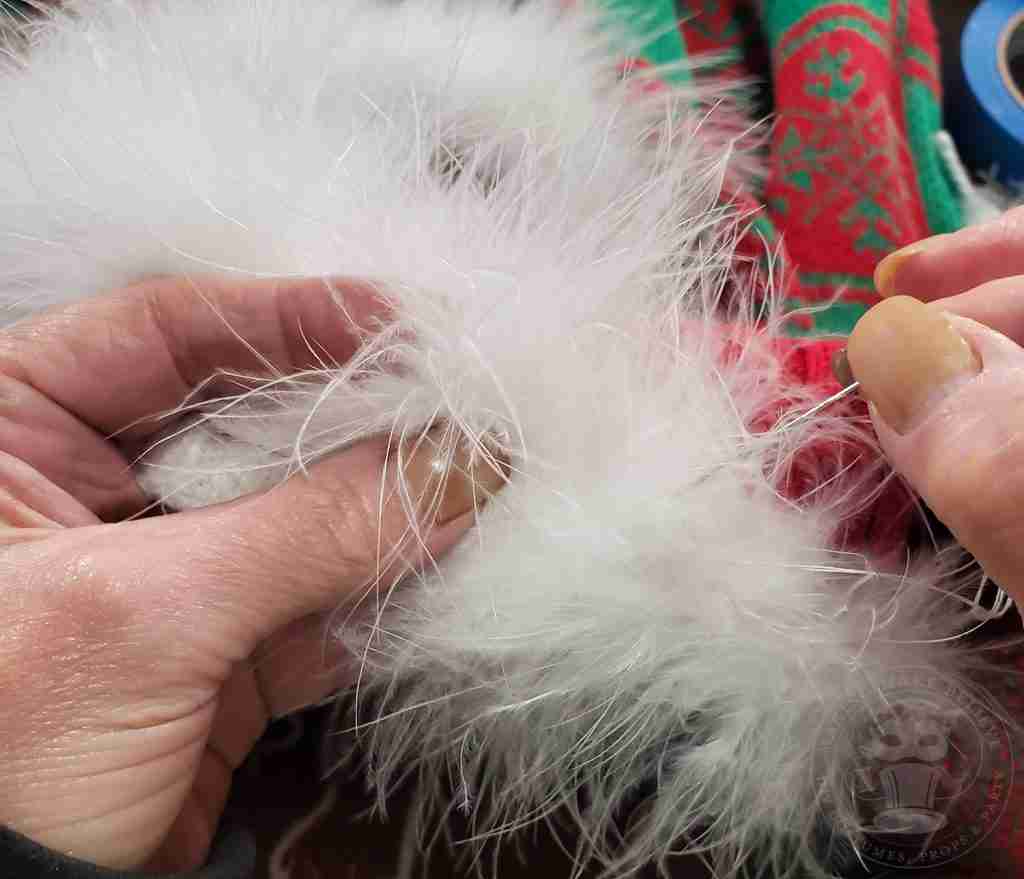
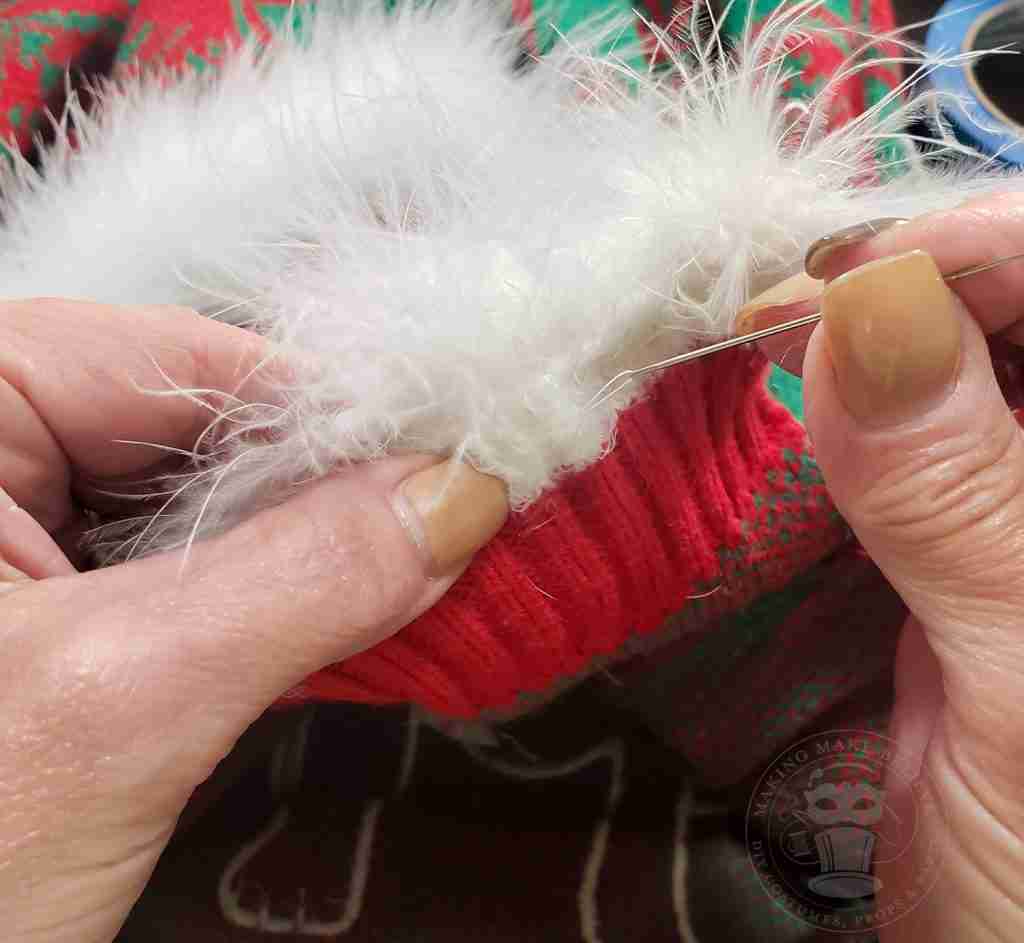
There is no way to bring back the white edges, so I grabbed a white marabou boa and stitched it to the neckline, sleeve edges, and bottom hem.
And, just like that, this ugly Christmas sweater is ready to party.
Get Your Elf Self On
The quest for the ugliest Christmas sweater ensemble is quite competitive, so to up our game, we’re going to craft a pair of elf shoe covers. These elf shoe covers are relatively easy to make and are super inexpensive. The free SVG cut file and PDF template is available in our Haunted Library.
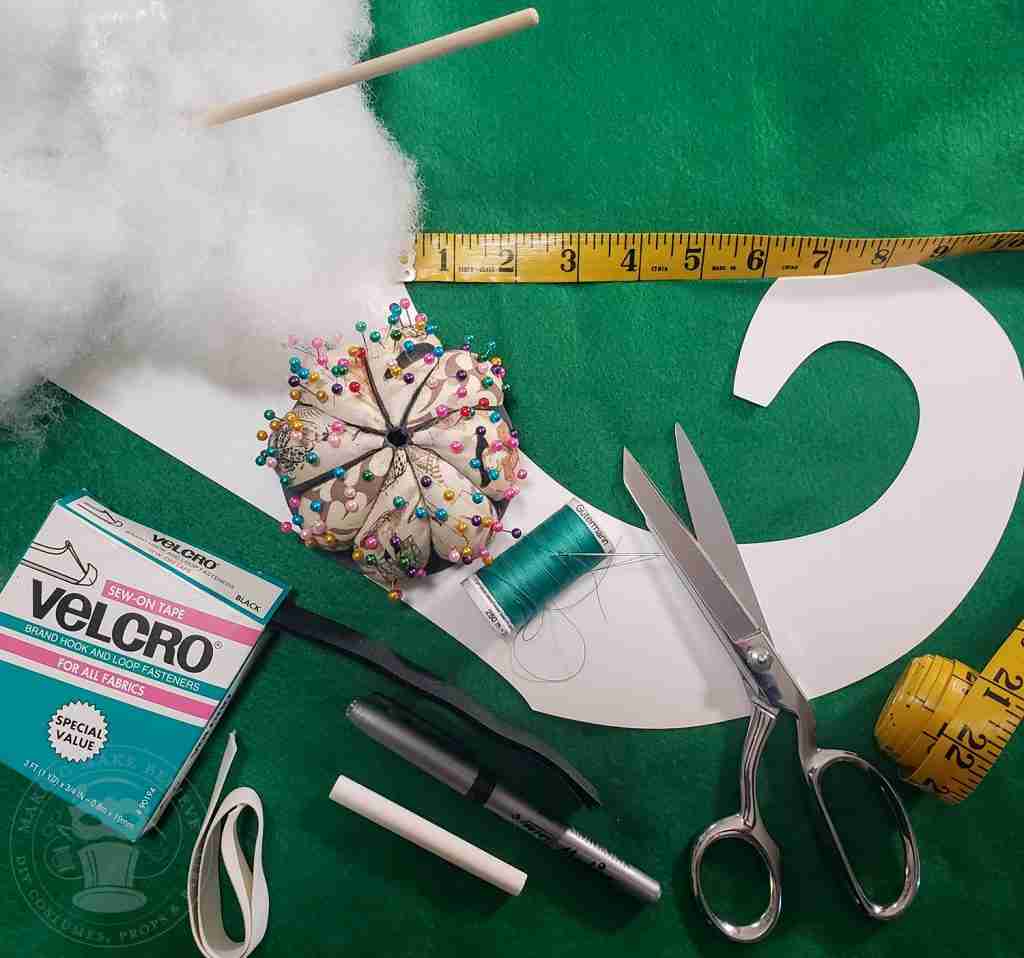
We also need:
a piece of craft felt approximately 20″ by 45″ (a half a yard of 72″ craft felt will be more than enough – check the remnant section for more savings)
A wooden dowel or chopstick will also come in handy.
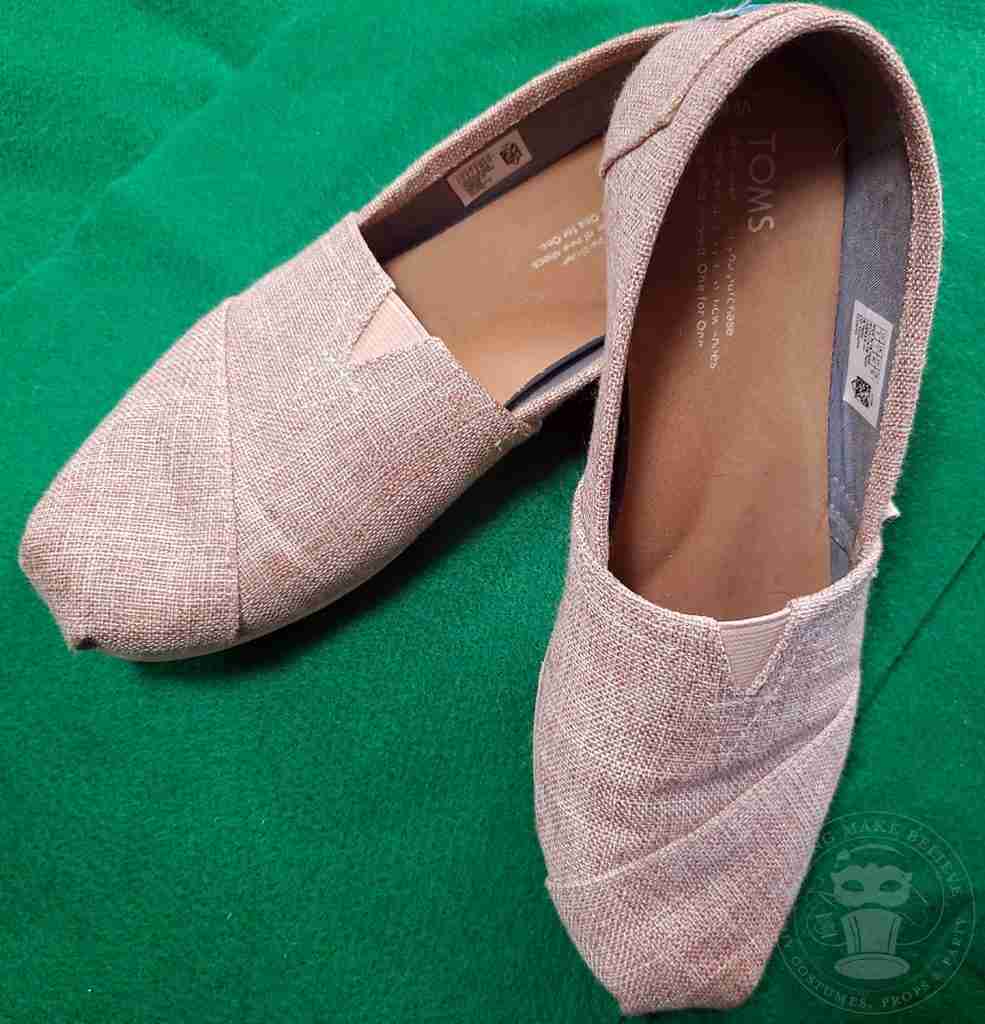
Finally, you will also need the shoes you plan to wear with your shoe covers. I recommend a narrow, slip-on shoe void of laces, buckles, etc. I’m using a pair of Tom’s from my closet, but I find aqua socks are another good alternative.
Costume shoe covers are typically crafted as one-size-fits-most, but I drafted two templates to give you the greatest flexibility. Standard will work for most average-sized women’s and smaller men’s shoe sizes, while Extended has the back flaps lengthened to accommodate larger sizes.
To Cut By Hand
To cut by hand, download the PDF version of the template in either the standard or extended size.
Open the PDF in Adobe Reader or your favorite PDF viewer. Select Print, and when the Print Dialog box opens, make sure the size is set to Actual Size and select Poster.
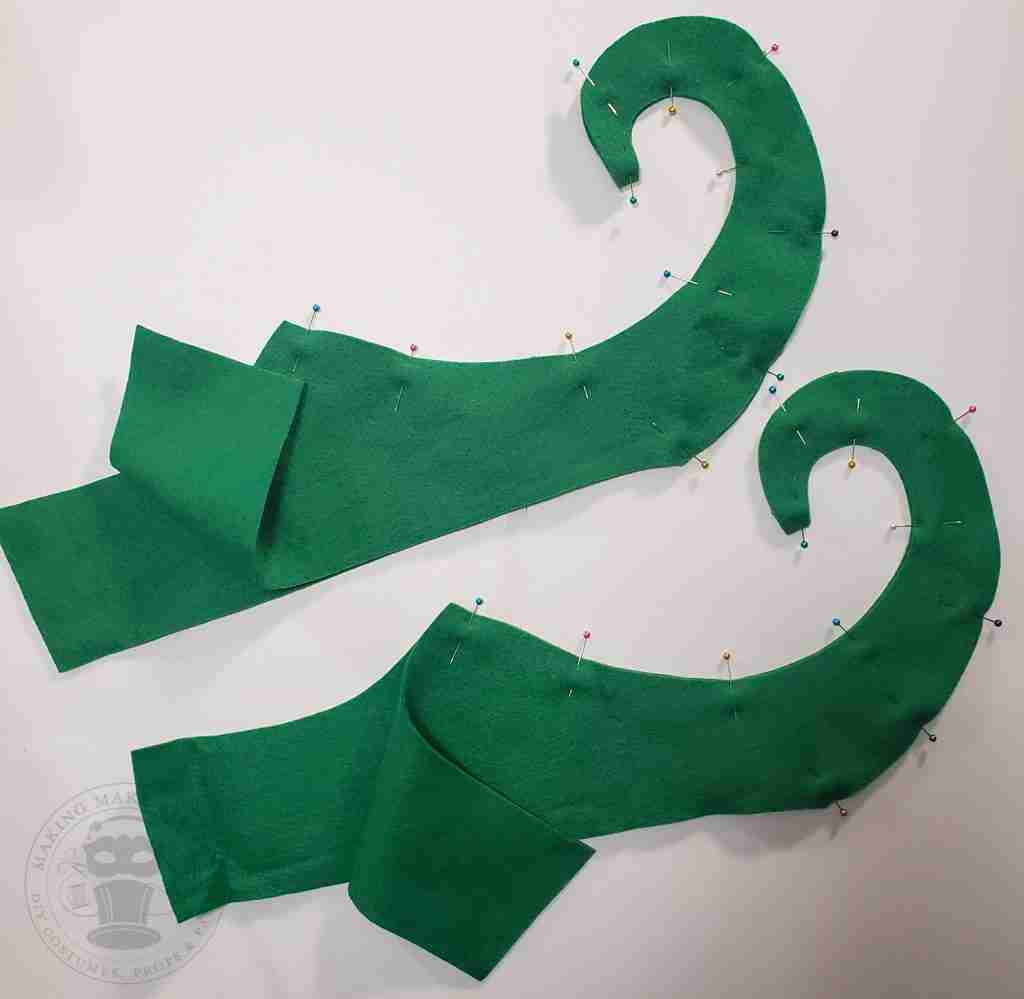
Layout your template onto your felt and cut four of the shoe covers.
Note: If your felt has a distinctive nap, print, or design, be sure to mirror two of the pieces so that you have a left and right side for each shoe cover.
To Machine Cut
To cut with a cutting machine, download the SVG Cut File version of the template in the size you need and upload it to your design software.
Note: If your felt has a distinctive nap, print, or design, be sure to mirror two of the pieces so that you have a left and right side for each shoe cover.
If you want to cut the pattern using your cutting machine, such as the Cricut, you will need the 24-inch cutting mat.
Put It All Together
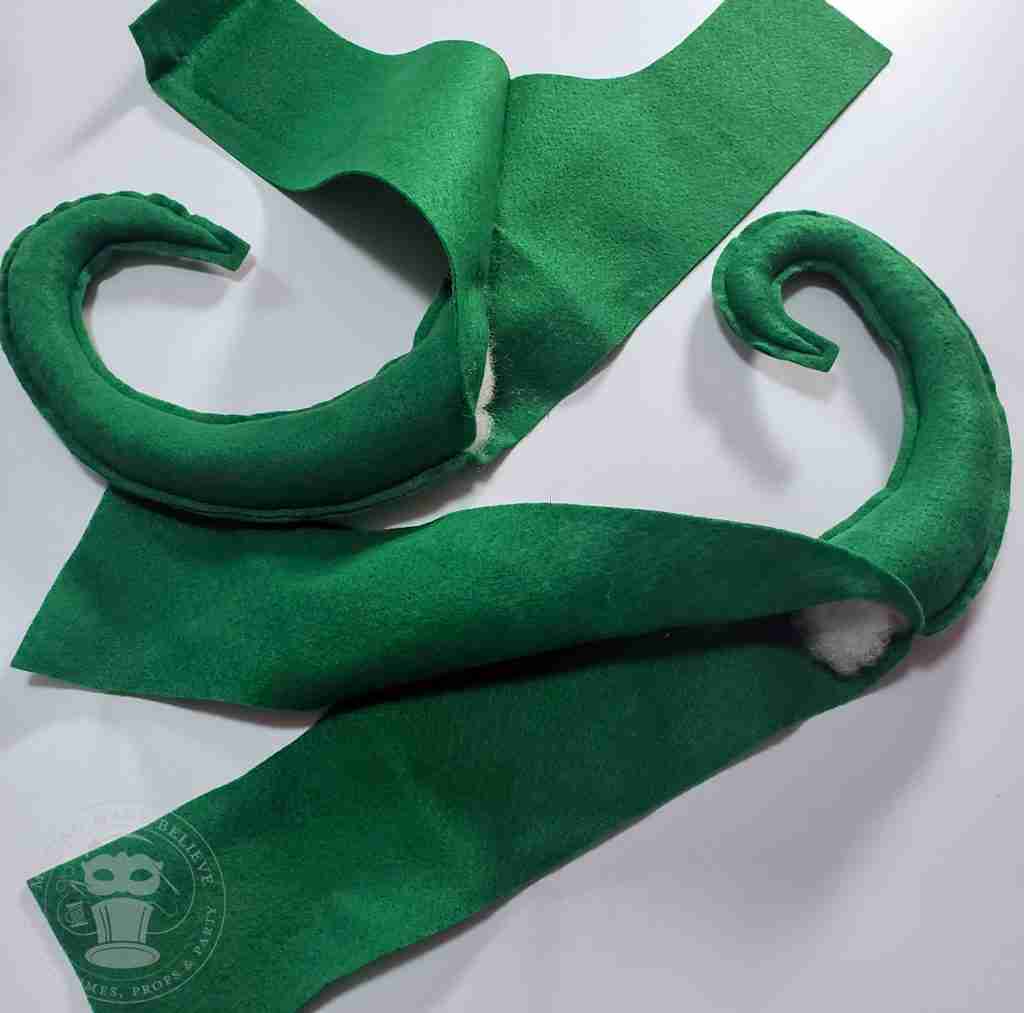
Once you have cut all of the pieces, stack two pieces together with right sides facing out.
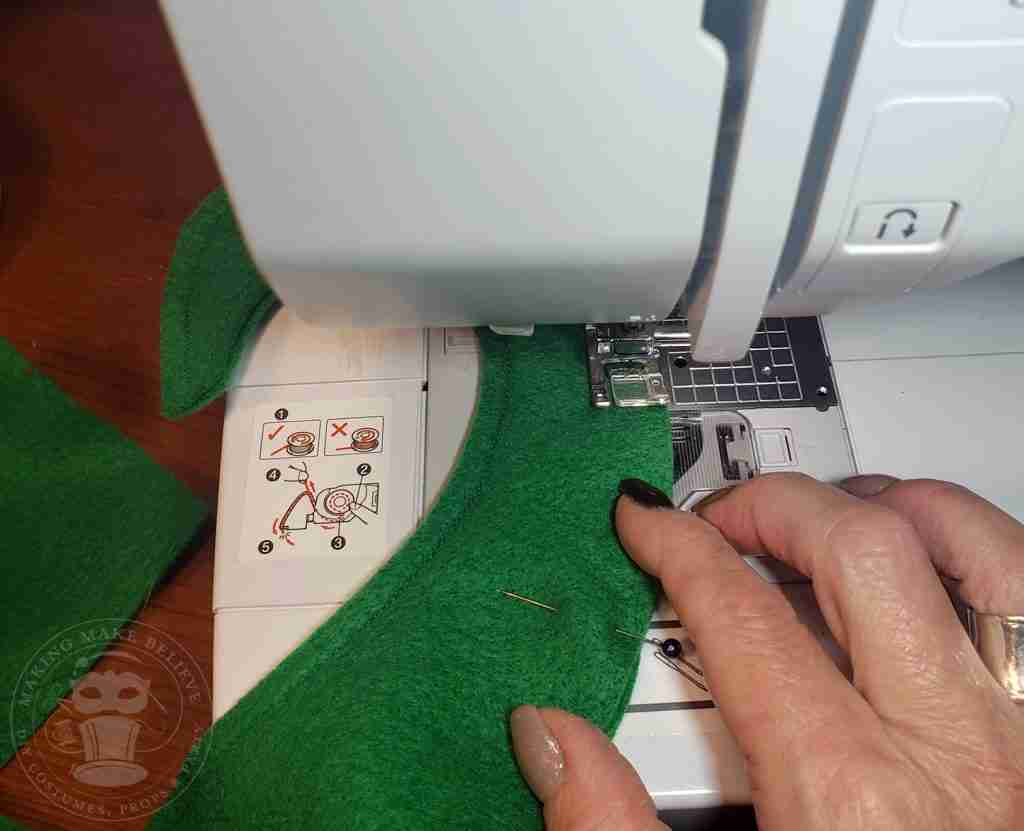
Begin at the top of the shoe cover, pin the pieces together, and continue to pin until you reach the base of the curled toe leaving the back and bottom open.
Then, using a 1/4″ seam allowance, stitch the pinned sections together.
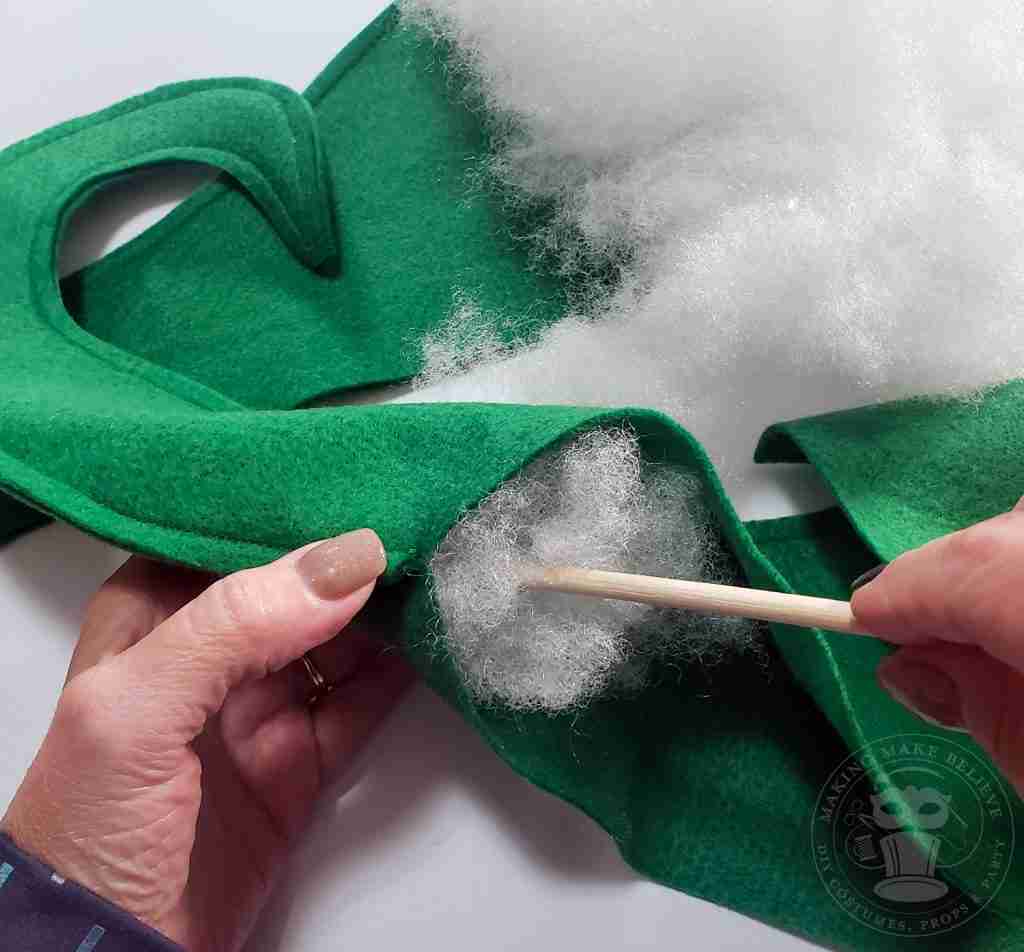
Using a wooden dowel or chopstick, take a small amount of stuffing material and work it up to the toe’s top. Be firm but gentle and take your time. It’s a tight fit, so be careful not to rip any stitches.
Continue stuffing the rest of the toe until you reach the end of the stitching, then repeat with the other shoe cover.
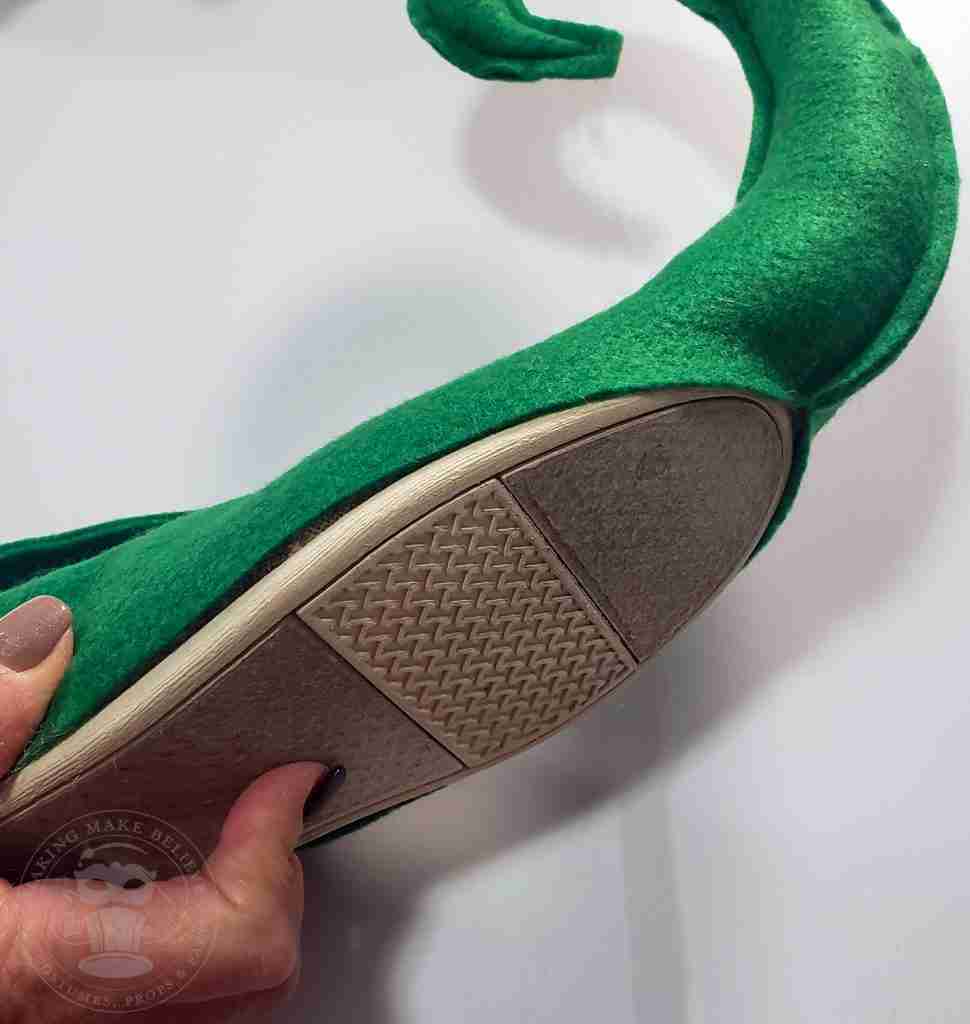
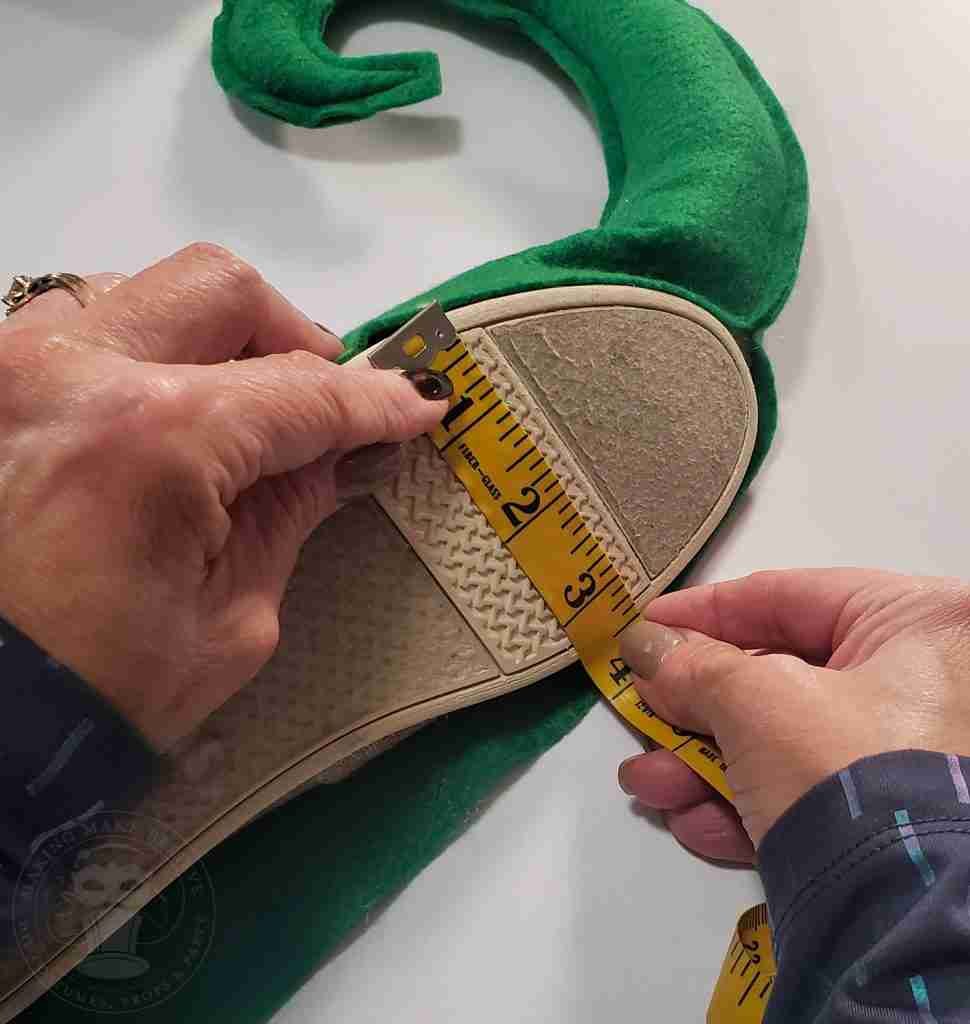
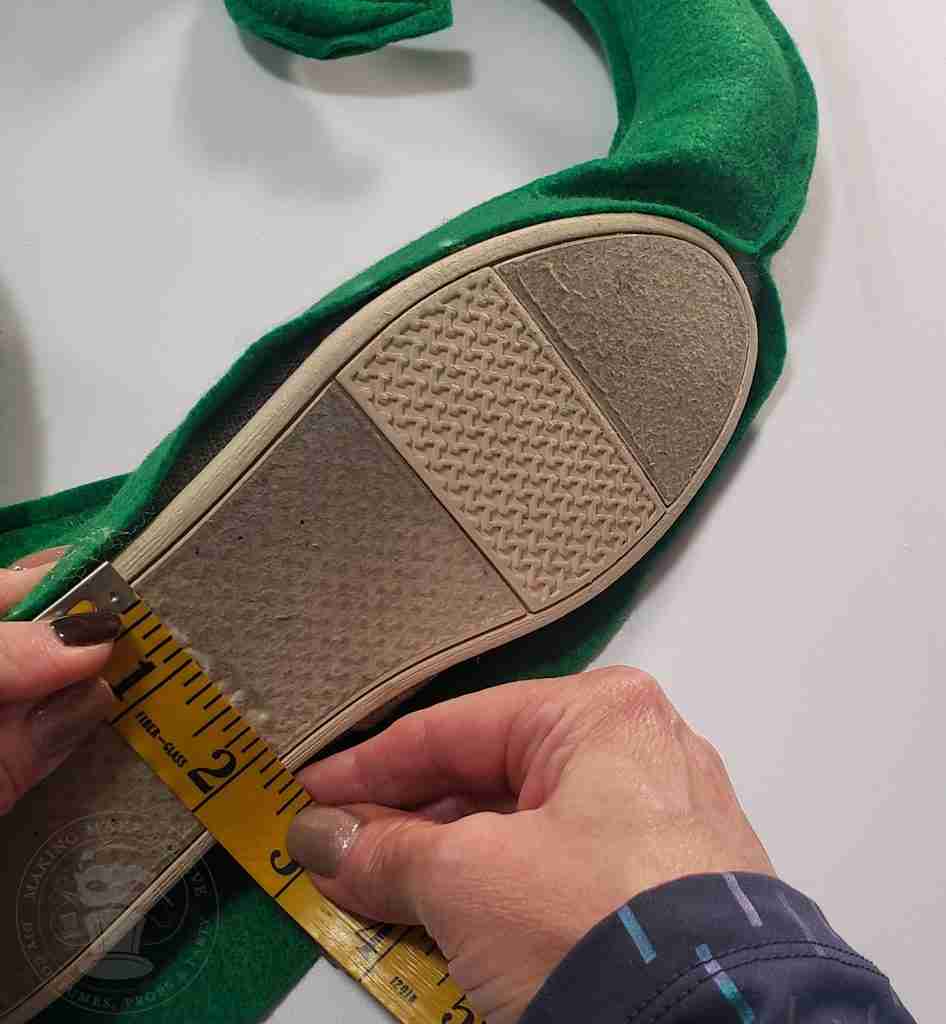
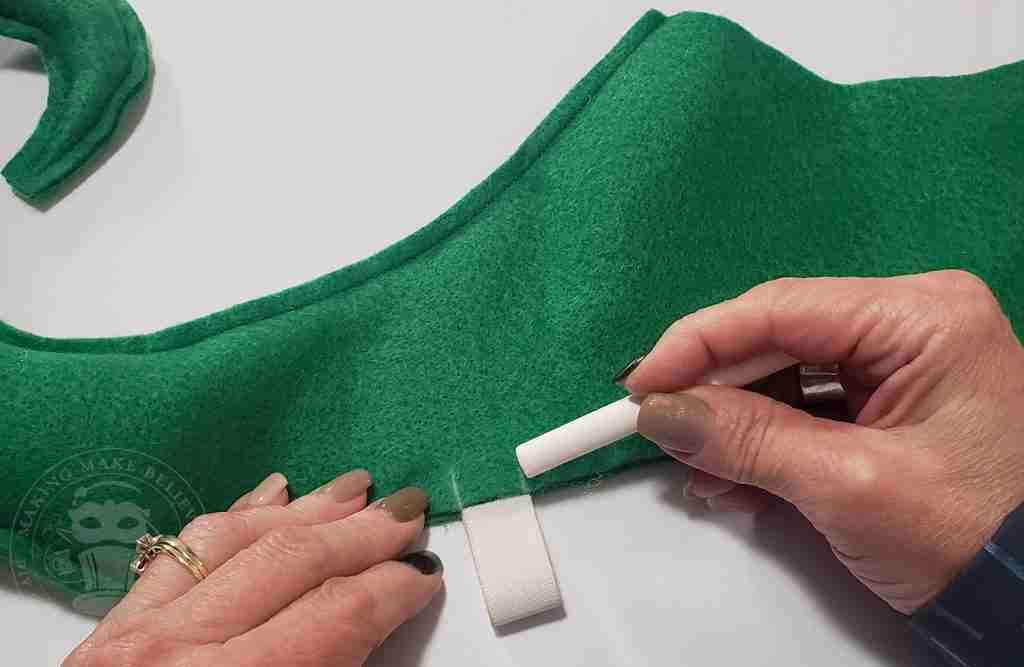
With your shoe in the shoe cover, make a chalk mark where you want to place your elastic bands. I like to place one at the ball of my foot and one at the arch.
We are only going to mark one side for now as we will line up the other side shortly.
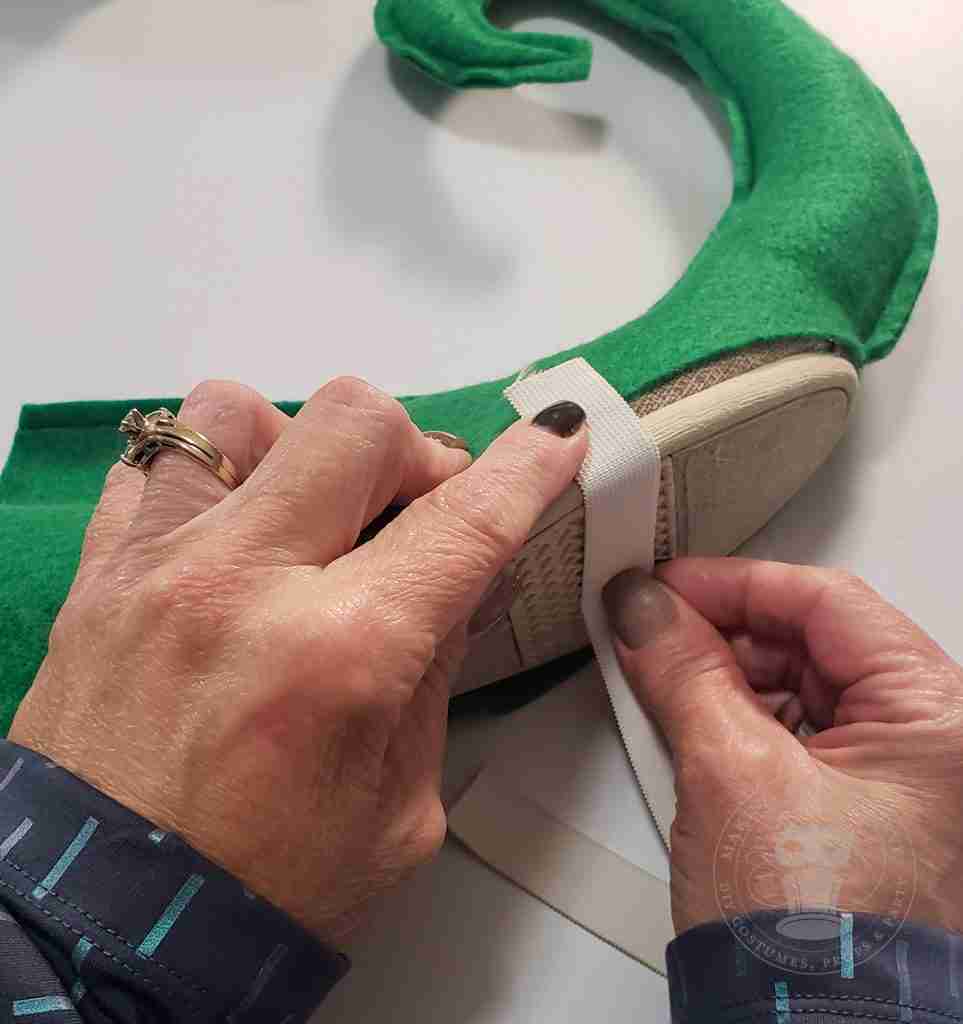
In line with the mark, measure across your shoe to determine how long your elastic needs to be. Then, add 1/2″ to this measurement and cut your elastic. Repeat for the second mark.
Remove your shoe.
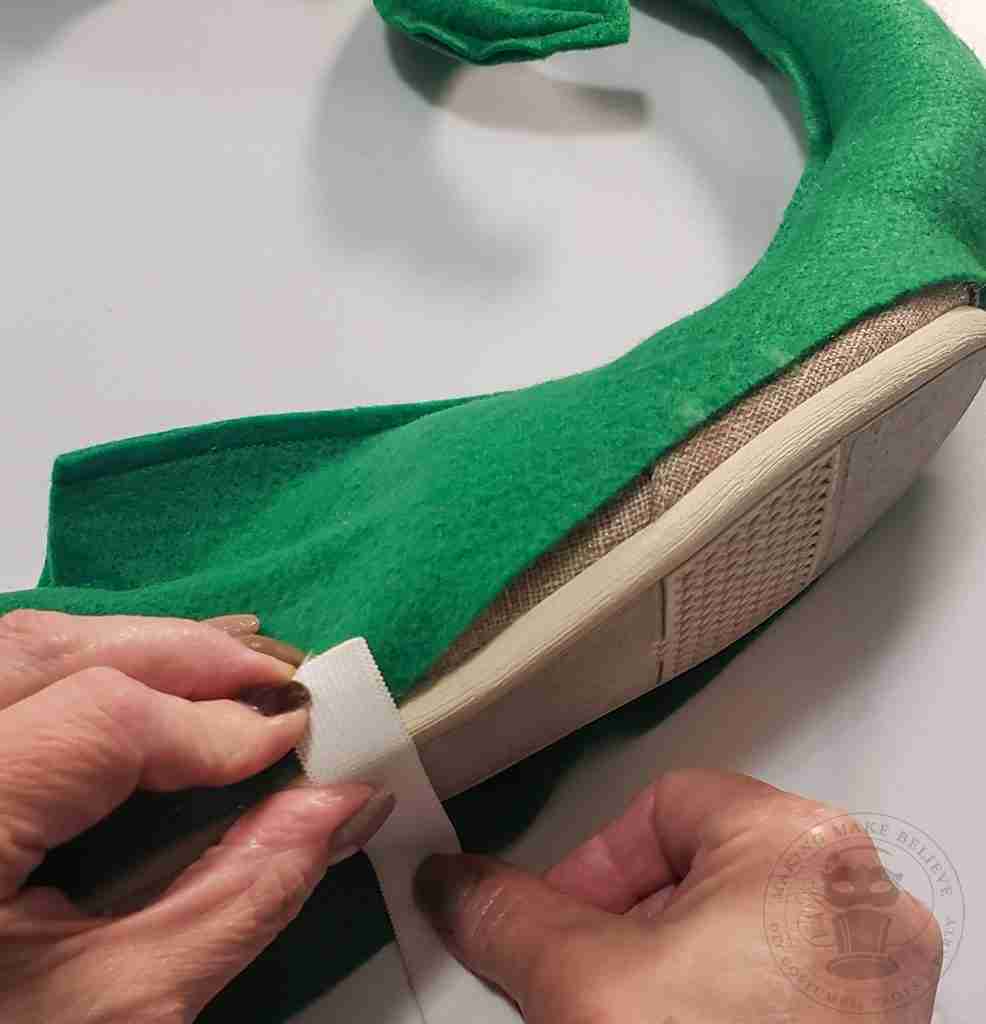
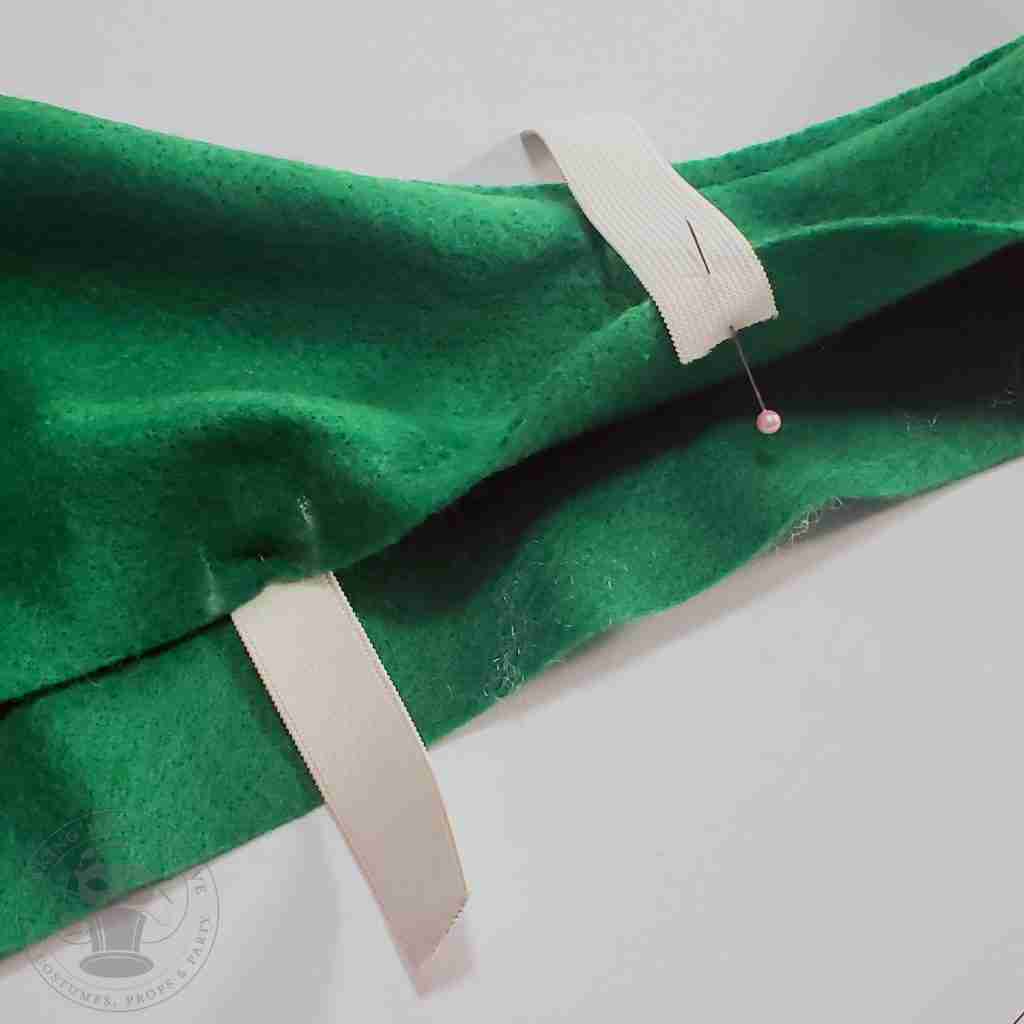
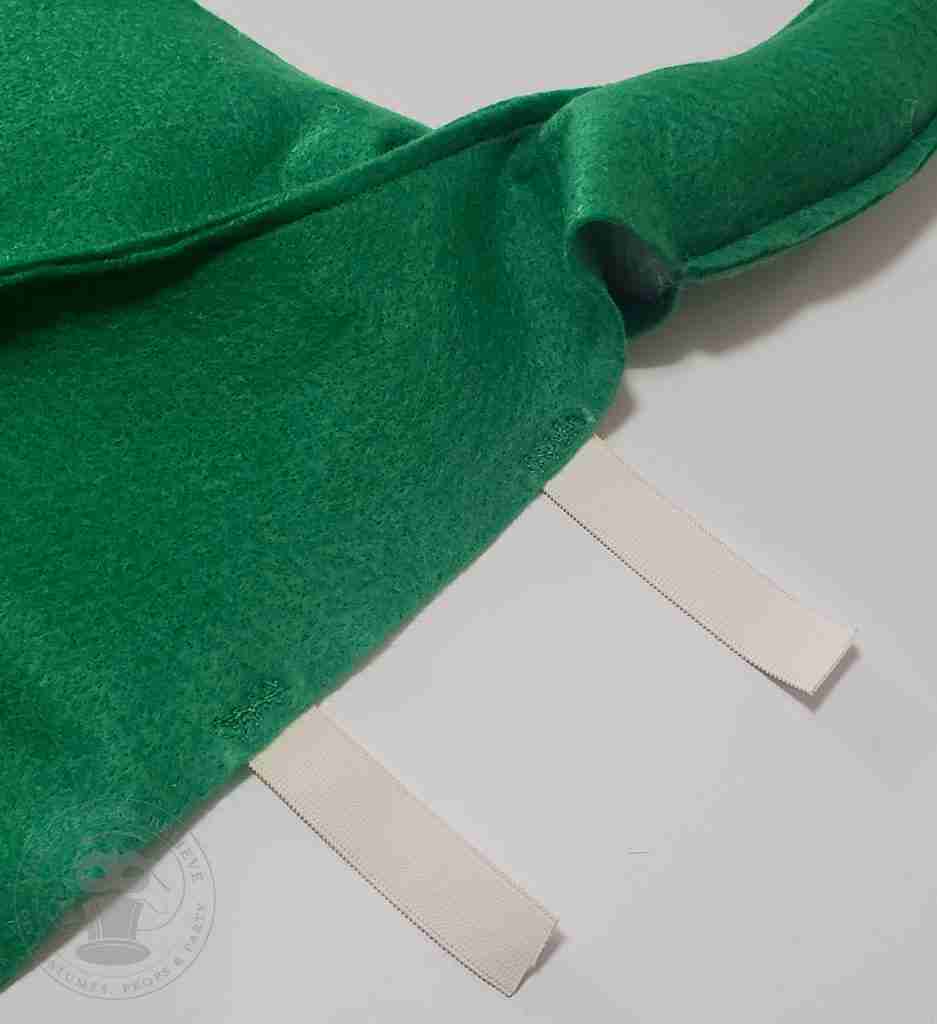
Take your shoe cover and line up the elastic with your mark. Position about 1/2″ of the elastic to the inside and pin.
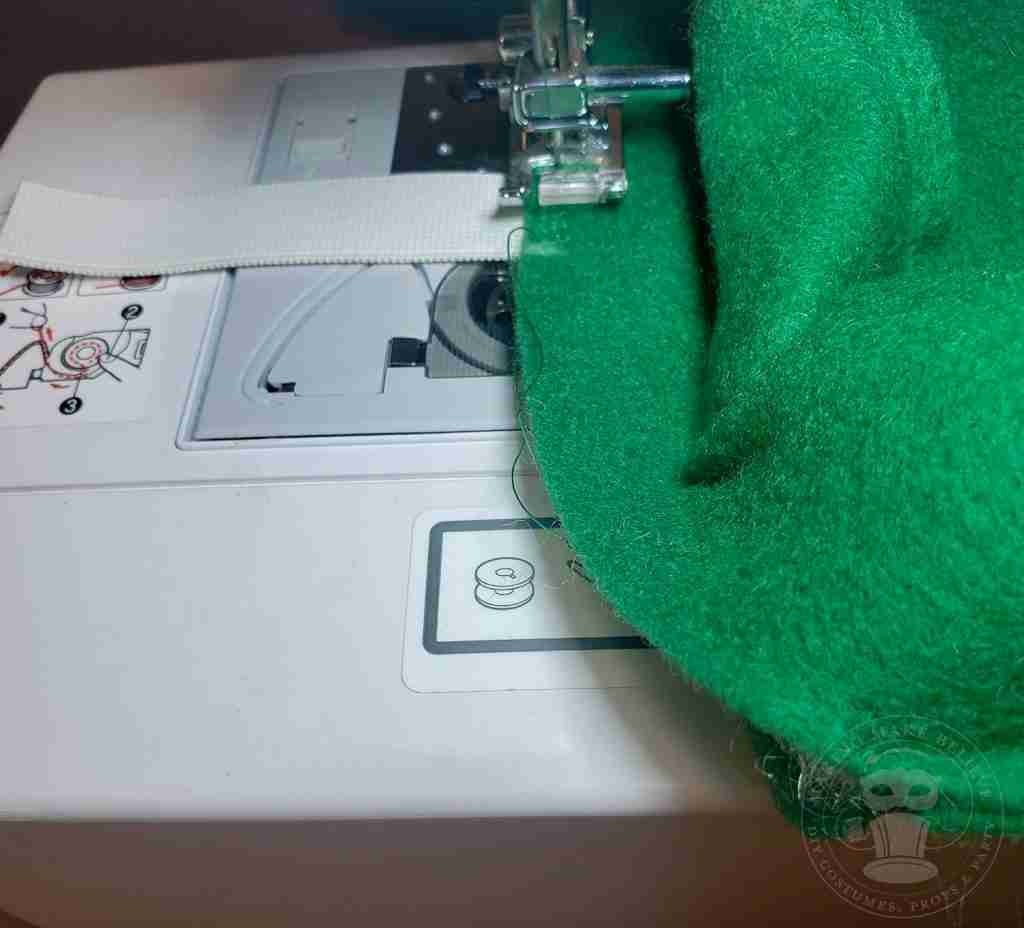
Use a zigzag stitch to secure the elastic at both the ball and the arch. (I like to make two passes for extra security.)
Lay your shoe cover flat.
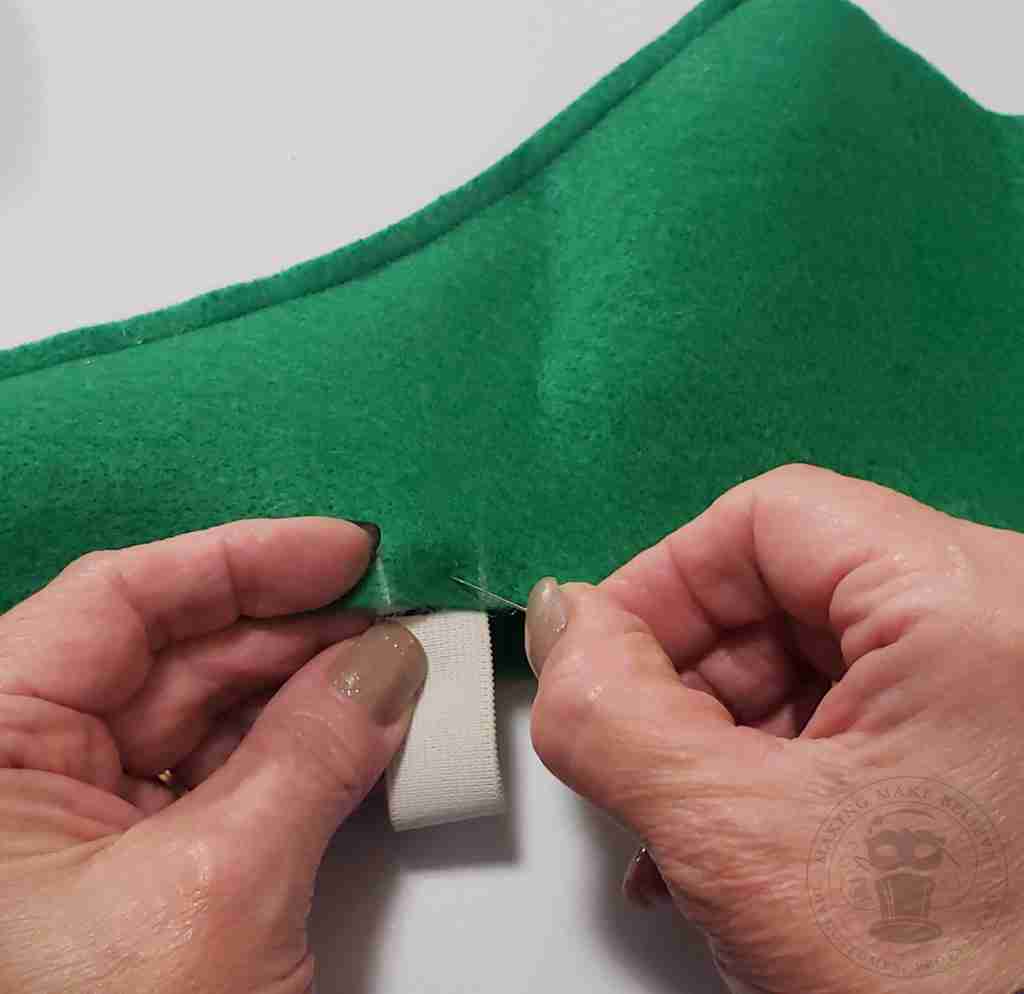
Line up the bands and mark the placement on the other side of your shoe cover.
Next, pin the elastic bands in place and zigzag stitch to secure.
To close up the back, place your shoe into the shoe cover.
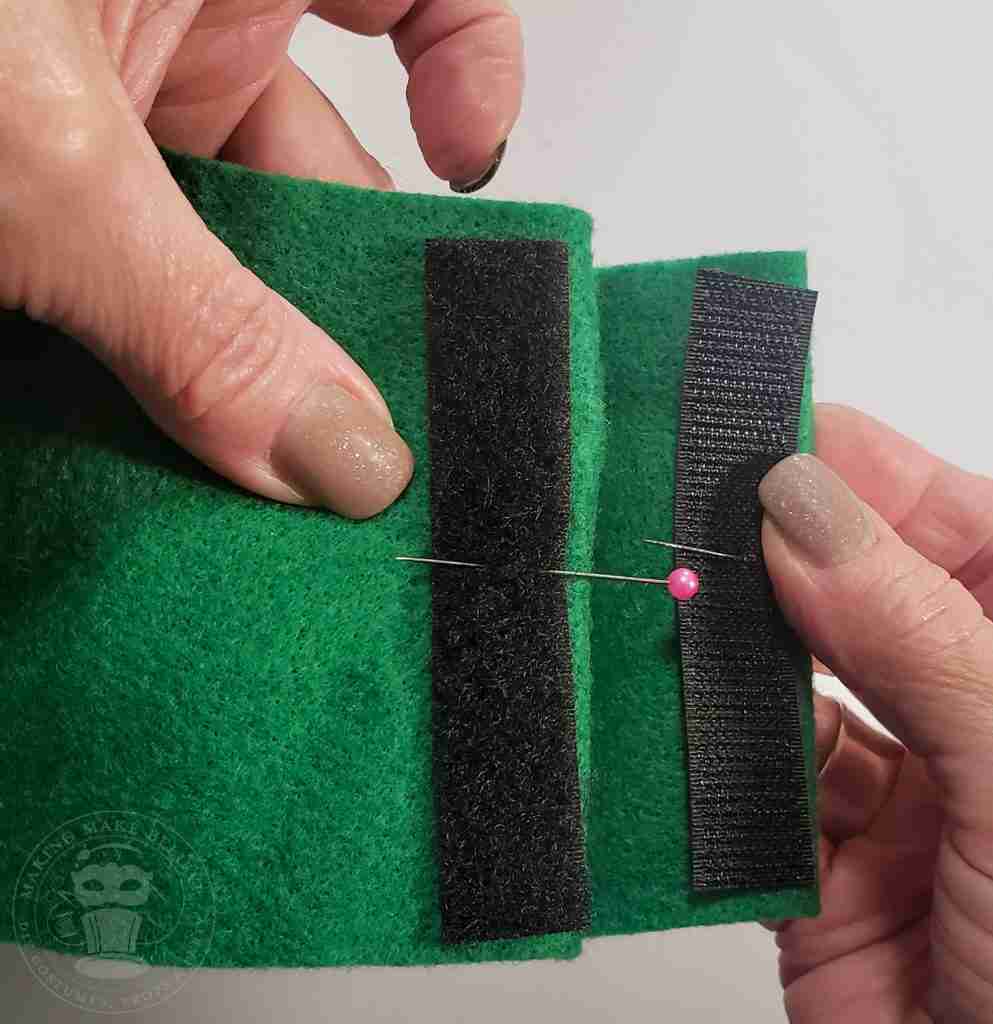
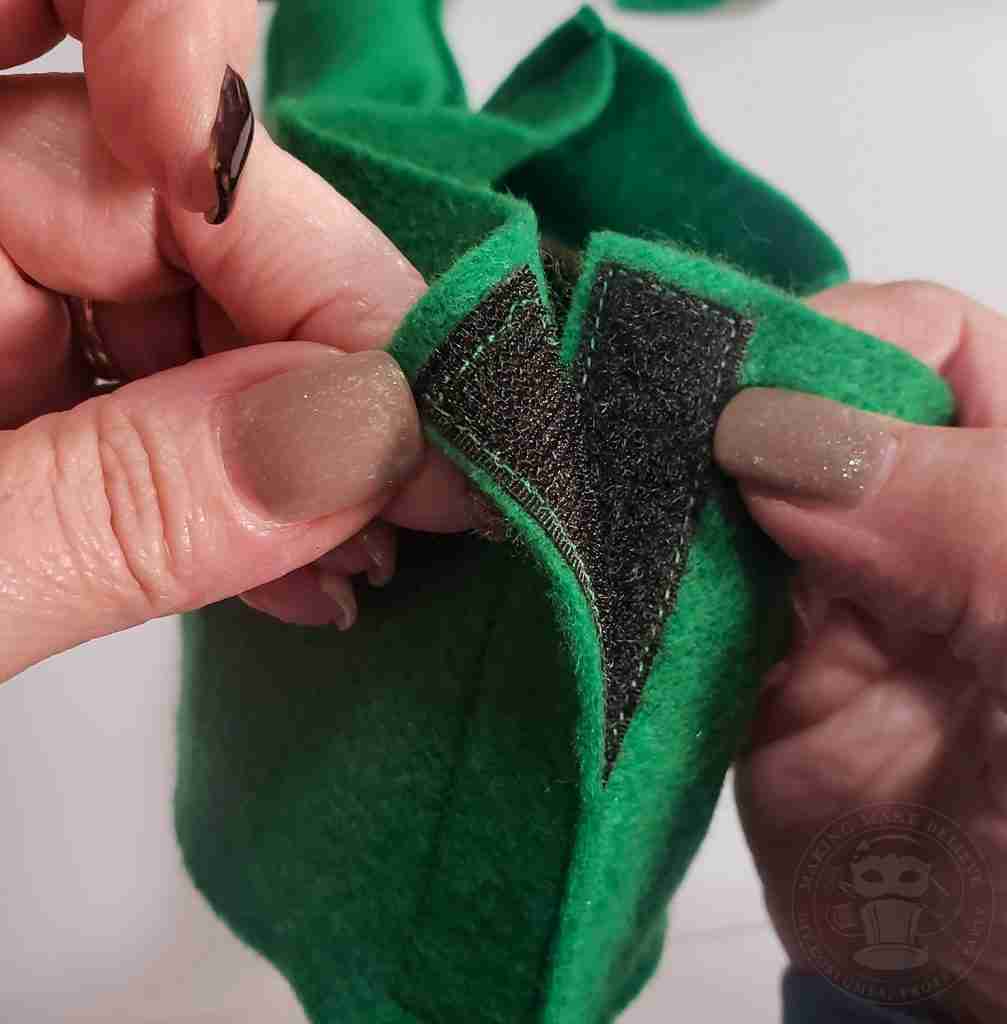
At the back, overlap one side onto the other and mark or note where you want to place your hook and loop closure. The back should be secure but not pulled super tight.
Quick tip: If you’re picky like me, you will want to ensure that the top piece overlaps toward the inside of the foot for a nice clean finish.
Once you decide on your placement, cut your hook and loop fastener to fit and, using a straight stitch, secure to the shoe cover.
And – you’re done!
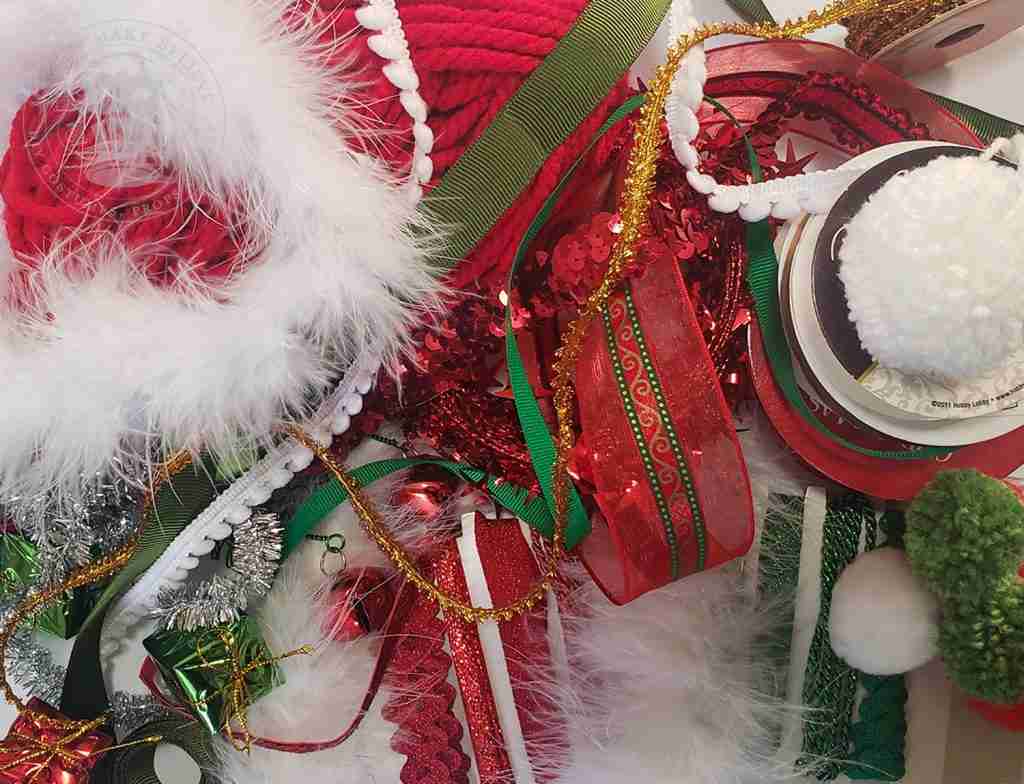
Once you have both shoe covers made, it’s time to take these next level by adding embellishments. Attach pom poms, bells, or tiny wrapped packages from the toe tip and add faux fur, marabou boa, or ribbons to trim the opening. Use your imagination and have fun!
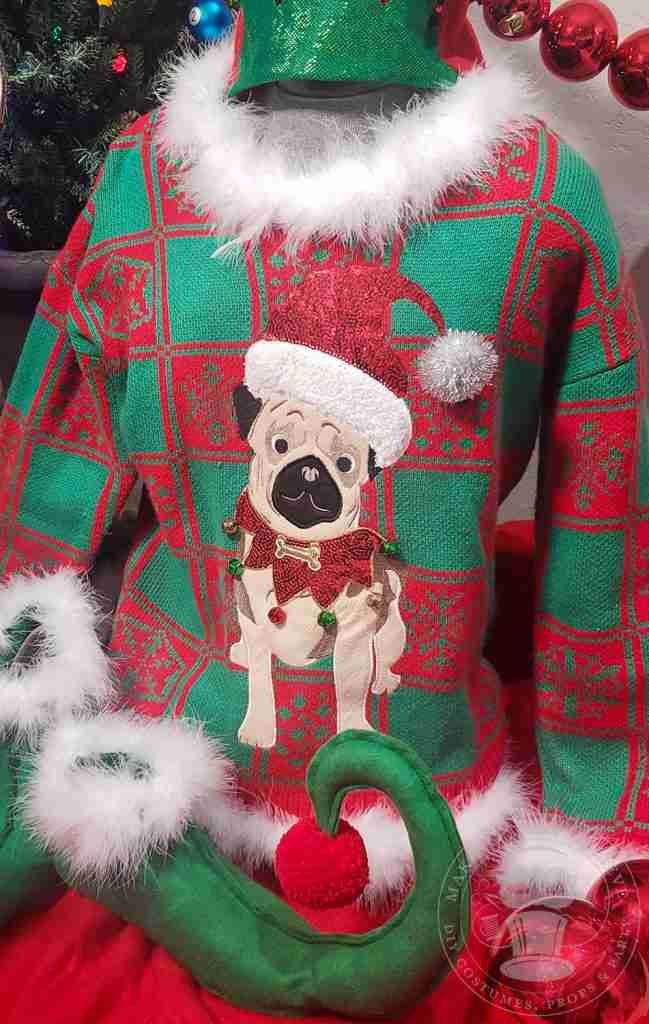
And now you’re all set to make a grand appearance at your Ugly Christmas Sweater Party.
So how did we spend our $20?
Not too shabby, right?
I love these elf shoes. They are surprisingly easy to walk in, and I think this green pair with the red poms and white boa trim are the perfect complement to my ugly Christmas sweater. So, what do you think? Are you going to try these costume ideas? Let me know on Instagram or Facebook.
I’ve got a few other ugly ideas to share with you this season, so be sure to check back.
Join us and get access to our Haunted Library stocked with templates, printables, cut files, and exclusive content. Plus, you’ll receive Eerie Emails just for our subscribers.
*Stay as long as you like. Unsubscribe at any time.