

Throughout the year, I get industry insights regarding seasonal trends, including a list of the hot costumes for the year. There are always some new characters from whatever new movie or superhero is trending, but some costumes always make the cut. The kitty cat is one of those classic costumes that consistently ranks well. It’s popularity may be because it’s so versatile as you can wear it sexy, sweet, minimal, over-the-top, or anywhere in between. You can wear a tail or not wear a tail, but you must have a pair of ears.
Apparently, I’m not that cool as I don’t believe that I have ever dressed up as a cat. This oversight inspired me to craft some ears that are petite and easy to wear. While the faux fur can be a bit challenging if you’ve not worked with it before, the pattern is super simple and the materials are easy to find. Hair clips or a headband make this a quick change in and out of costume.
I’ve crafted several of these in various faux furs and felts, and they are consistently cute. Worn alone, they are just enough to get you into the “costume required” party, or they can be a great beginning to a full cat costume.
If a kitty cat is on your costume list, I hope you give this project a try. And, if you do, be sure to let me know how it goes.
Petite Kitty Cat Ears Tutorial
Materials:
- Scrap faux fur at least 10″ wide by 5″ high
- Scrap felt at last 10″ wide by 5″ high
- Thread
- Hair clips or headband
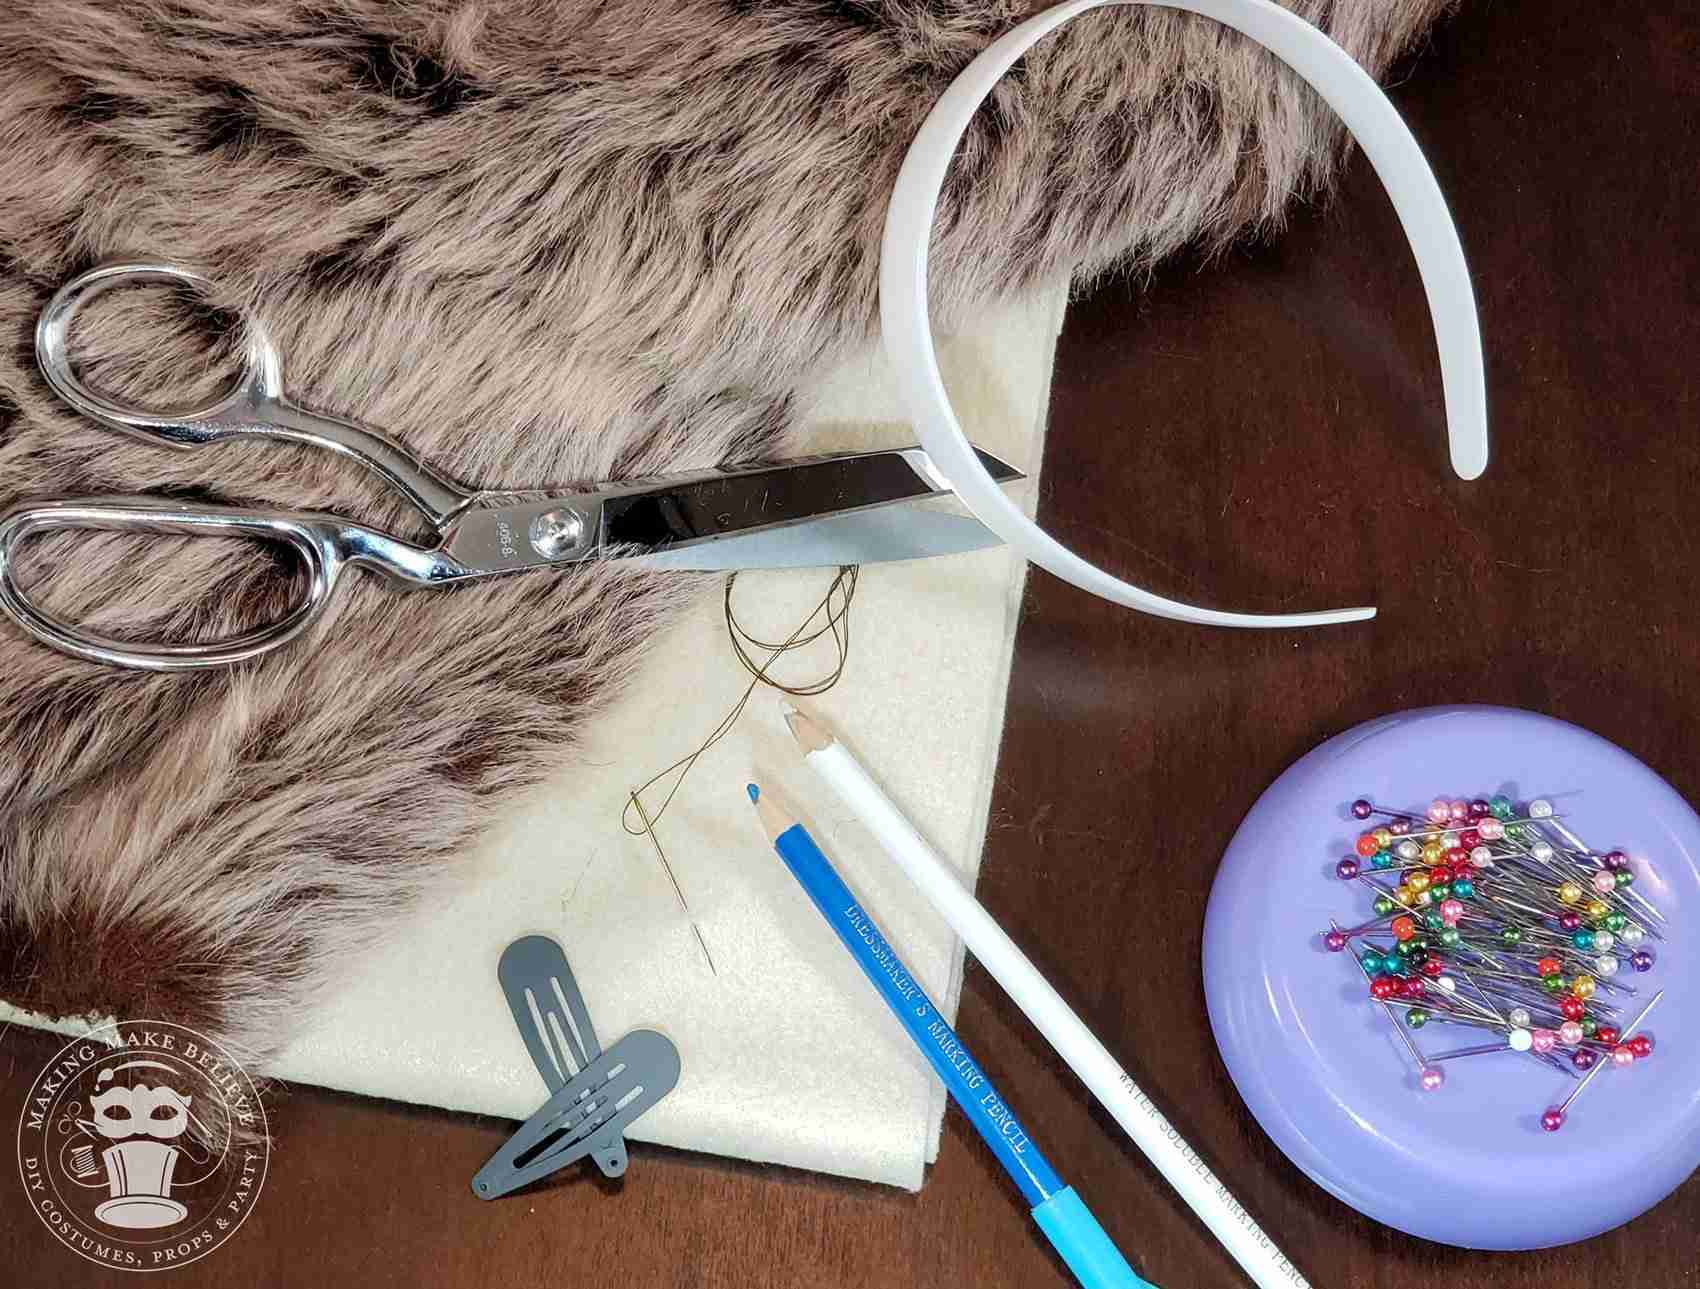
Tools:
To machine cut (FELT ONLY):
- SVG Cut File
- Cutting machine with mat and blade
- Scissors
- Pins
- Needle or Sewing Machine
To hand cut (Faux Fur must be hand cut):
- Pattern PDF
- Marking pencil
- Scissors
- Pins
- Needle or Sewing Machine
NOTE: If using a cutting machine, be sure to secure your material to the proper mat for your machine. Select the appropriate cutting settings and install the correct cutting blade for the material.
Before You Get Started:
Download the free Petite Kitty Cat Ears Pattern PDF or SVG Cut File located at the Haunted Library.
If you are going to use a cutting machine, upload the pattern file to your design software. To cut by hand, print, cut out the pattern, and trace onto materials.
Steps:
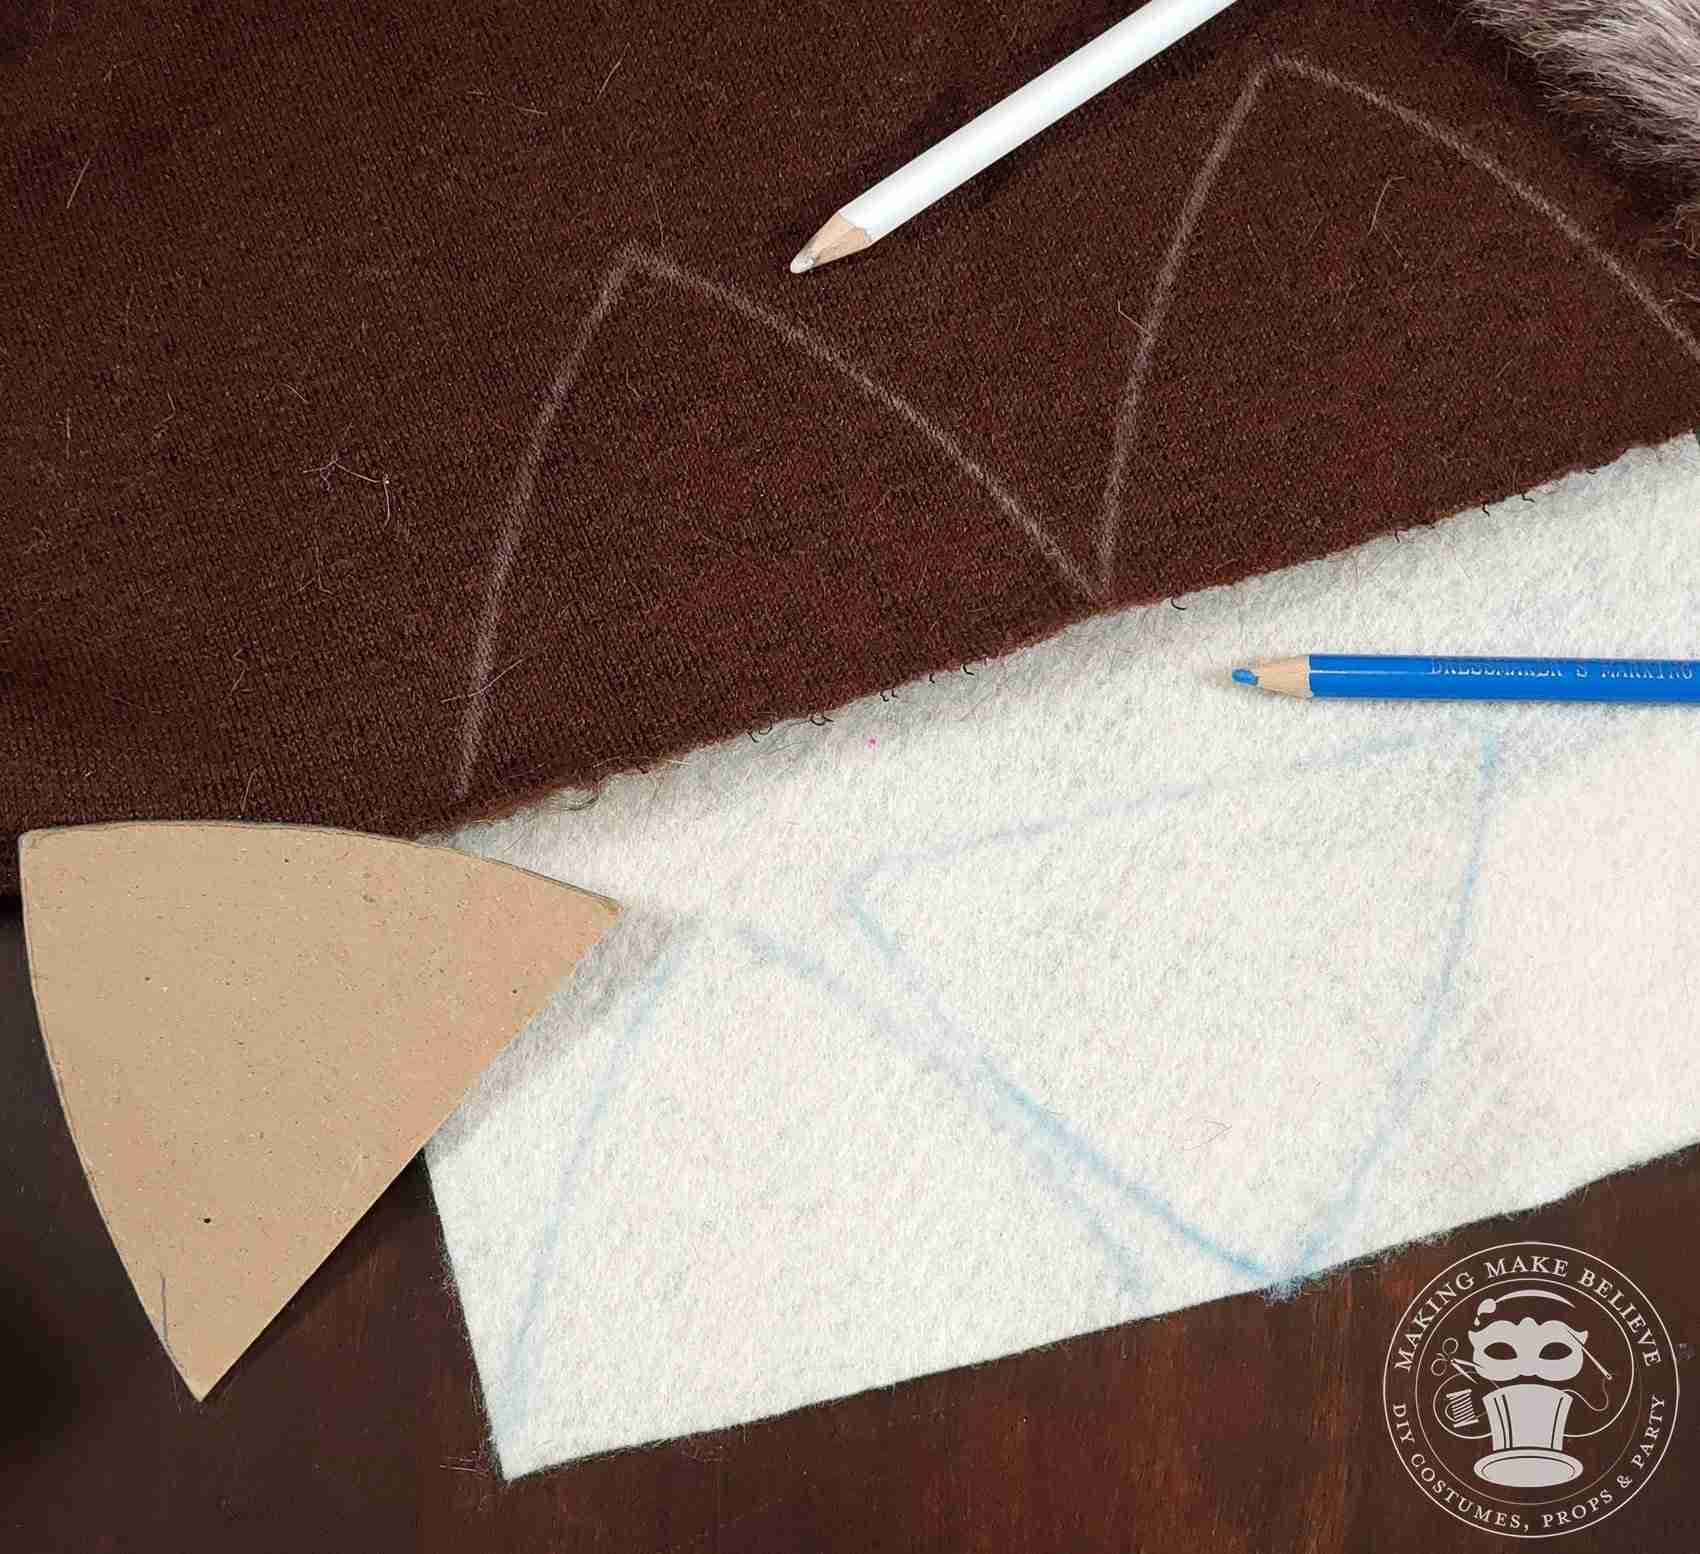
1. Lay your pattern onto the backside of your faux fur and trace two ears with a marking pencil. Repeat for felt.
TIP: Check out our Let The Faux Fur Fly tutorial for tips on cutting faux fur.
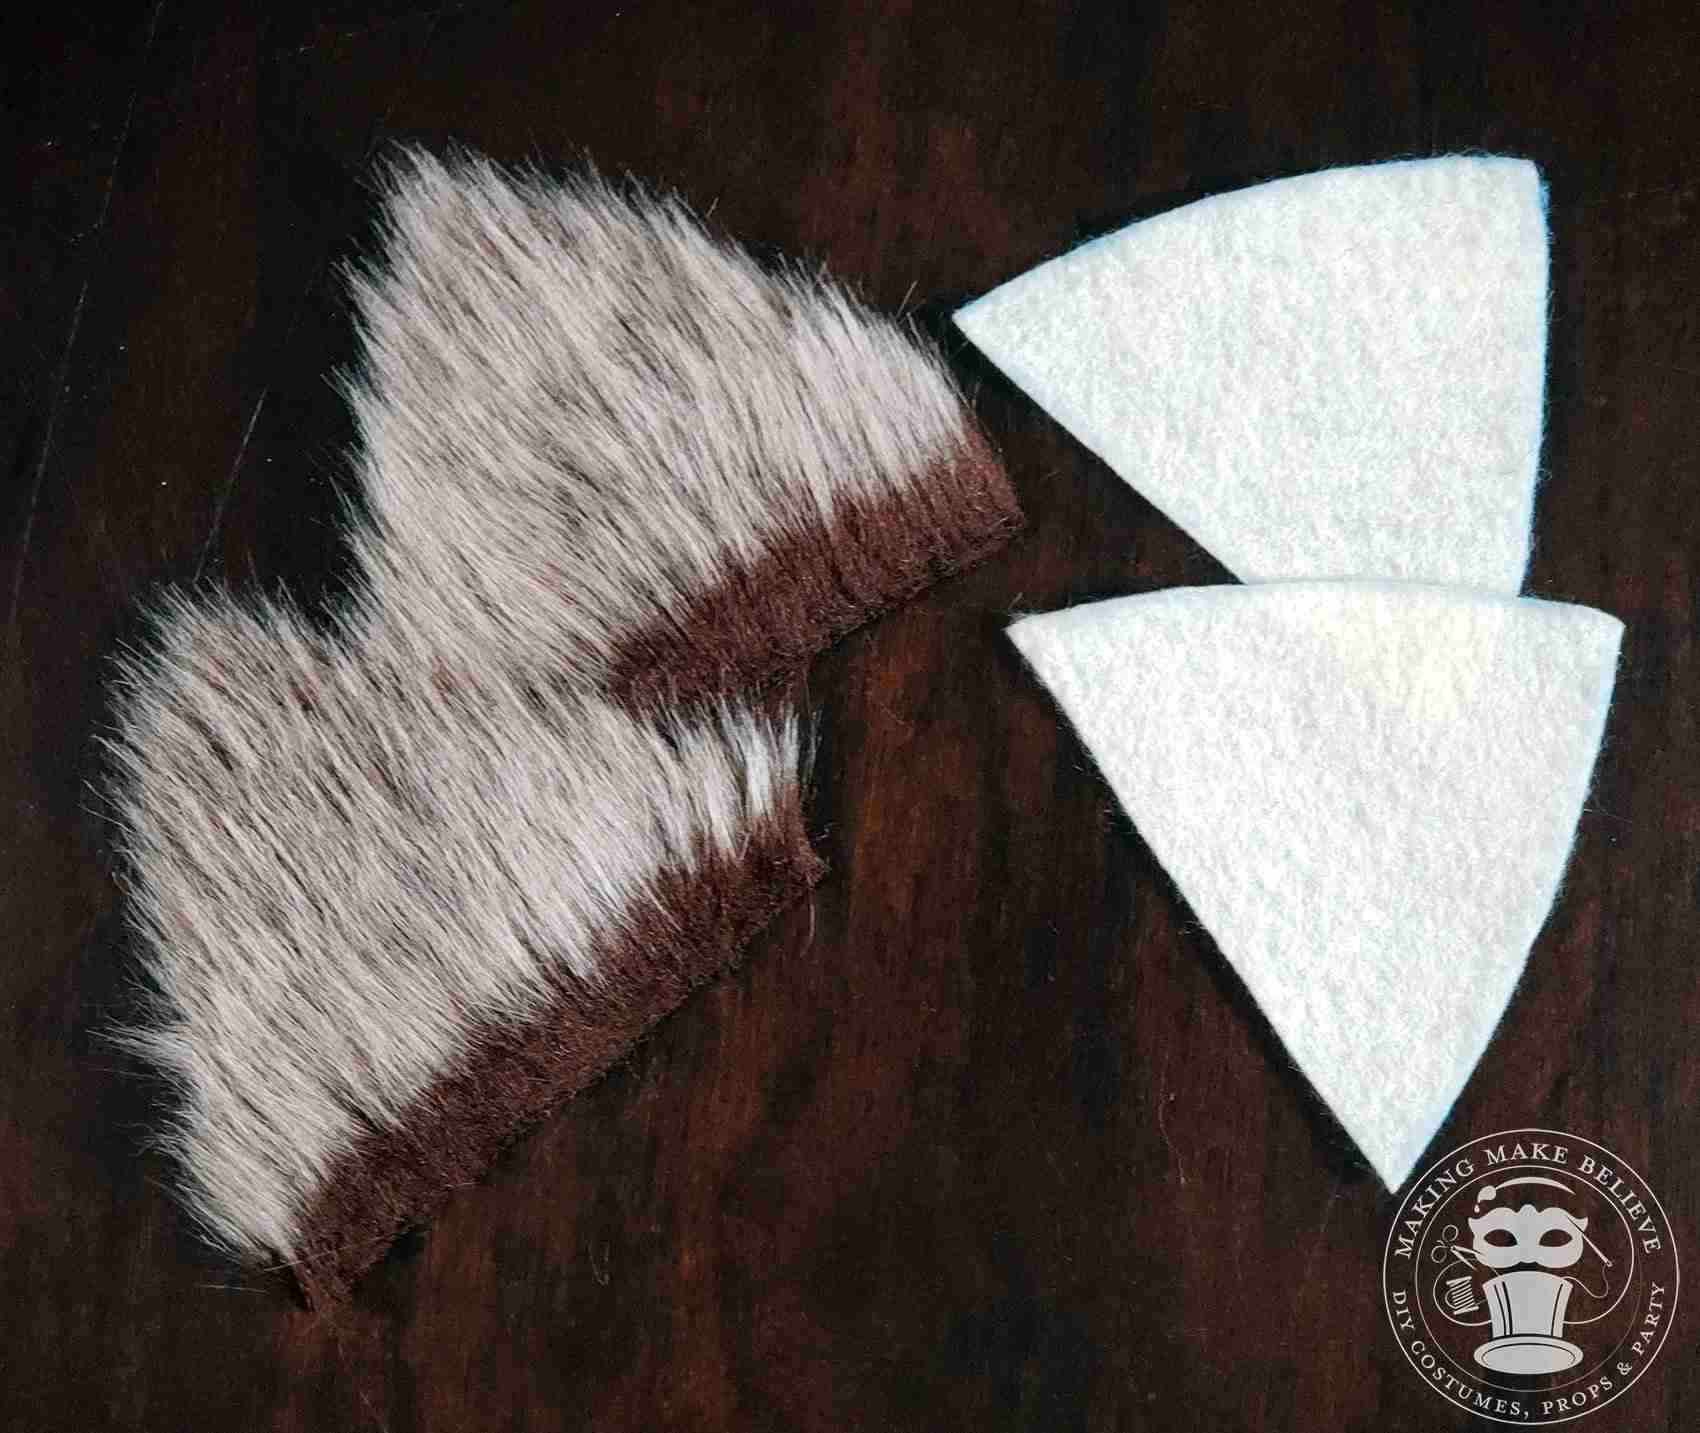
2. Cut out your faux fur and felt pieces.
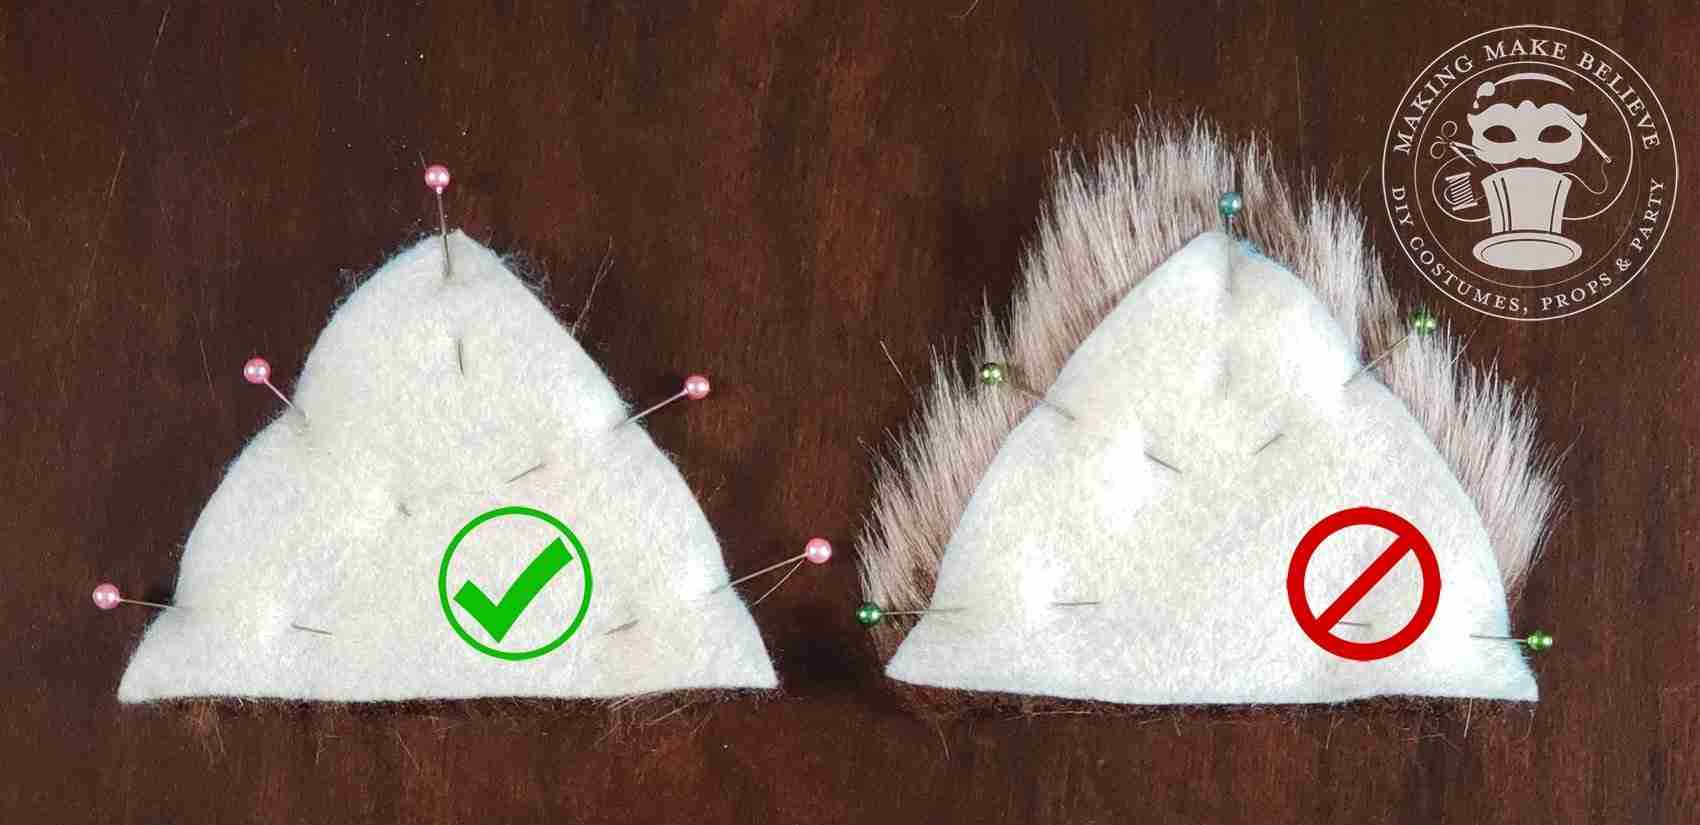
3. With right sides together, tuck the fur to the inside and pin the side edges.
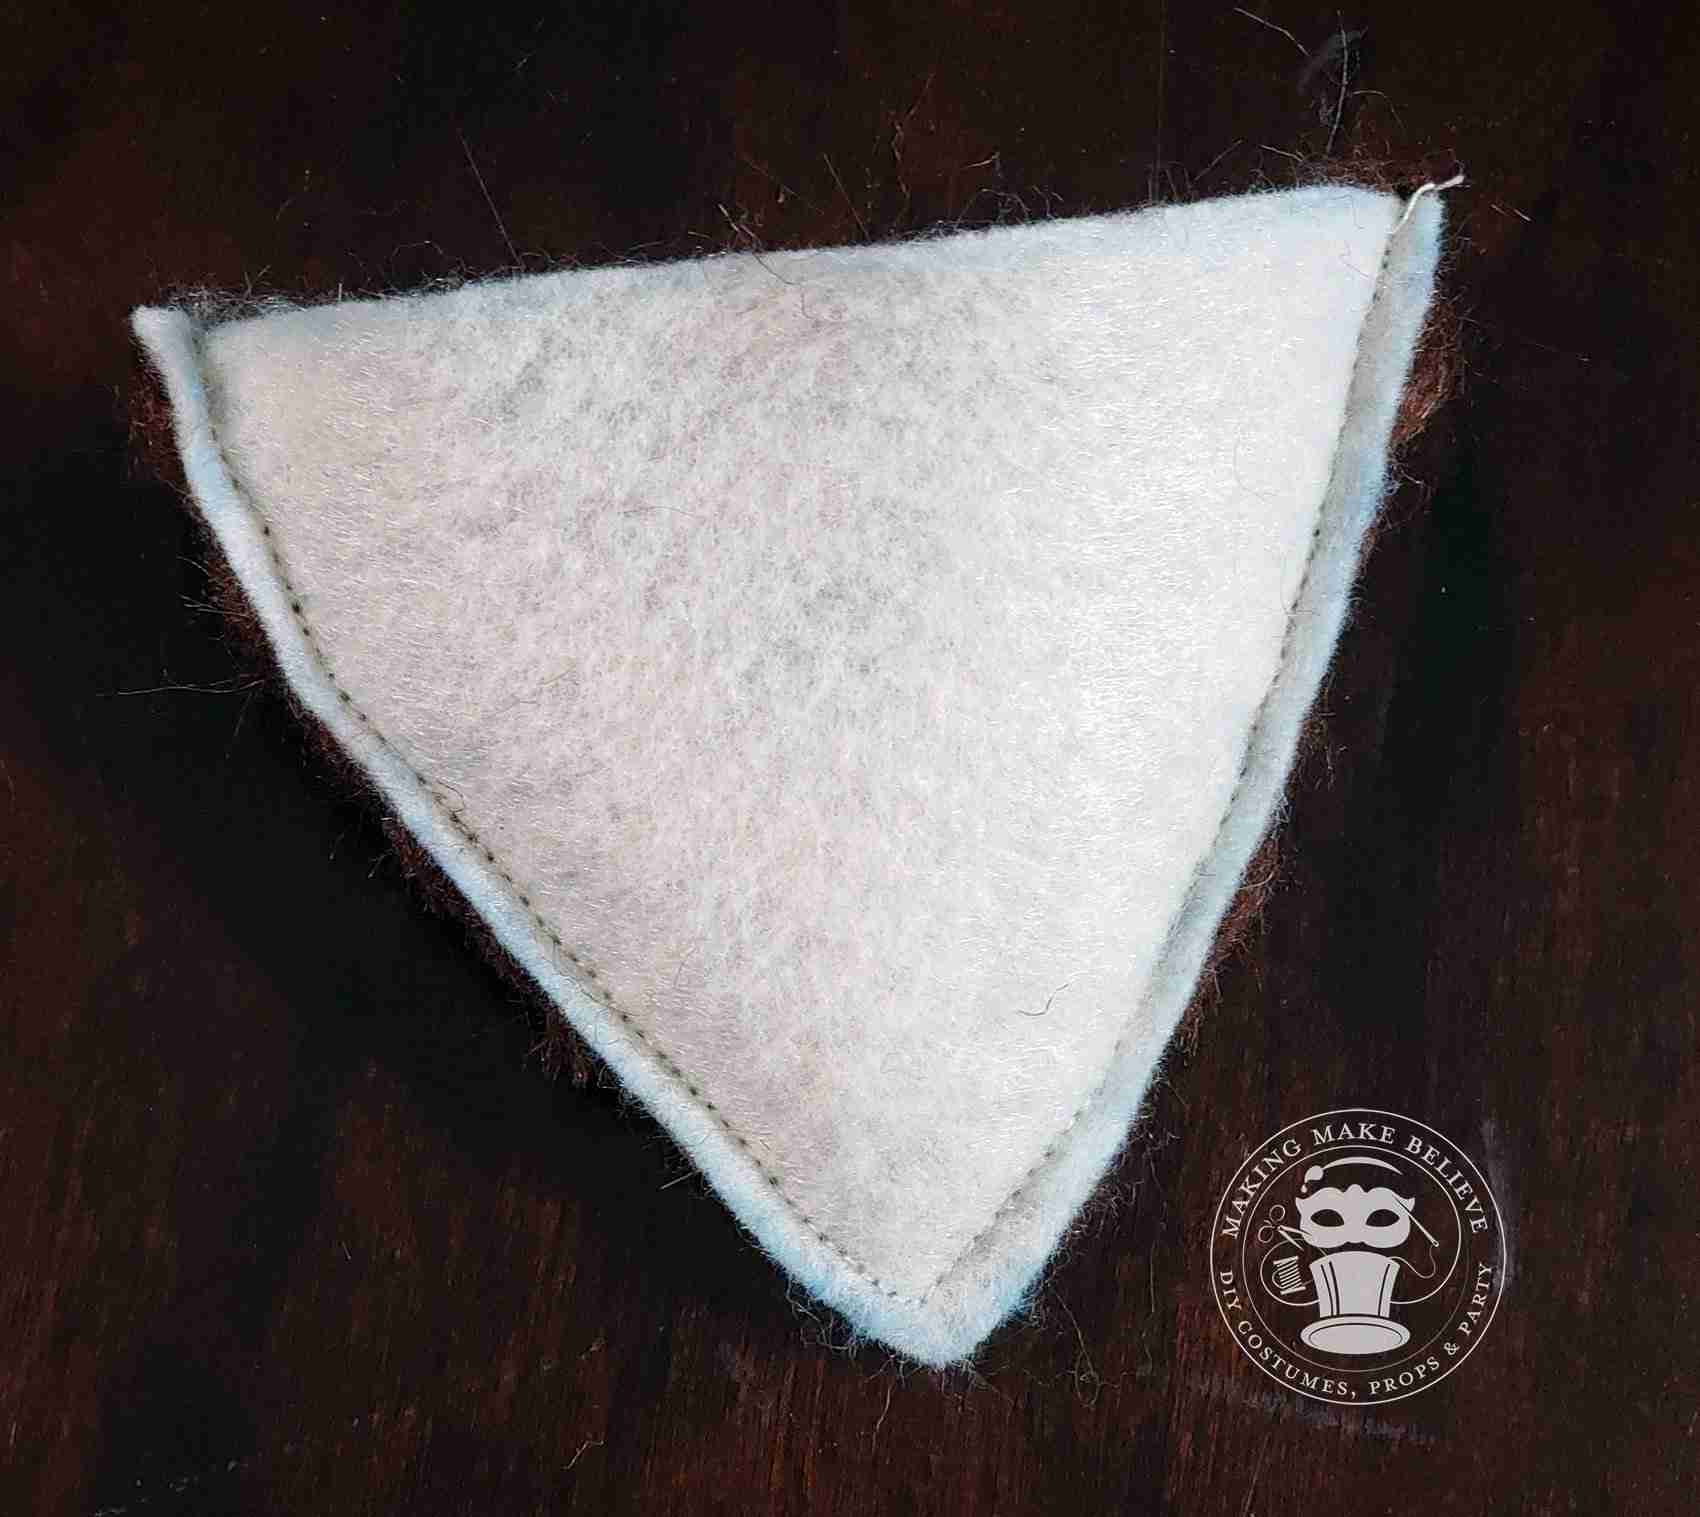
4. Using a 1/8″ seam allowance, stitch the sides together leaving the bottom edge open.
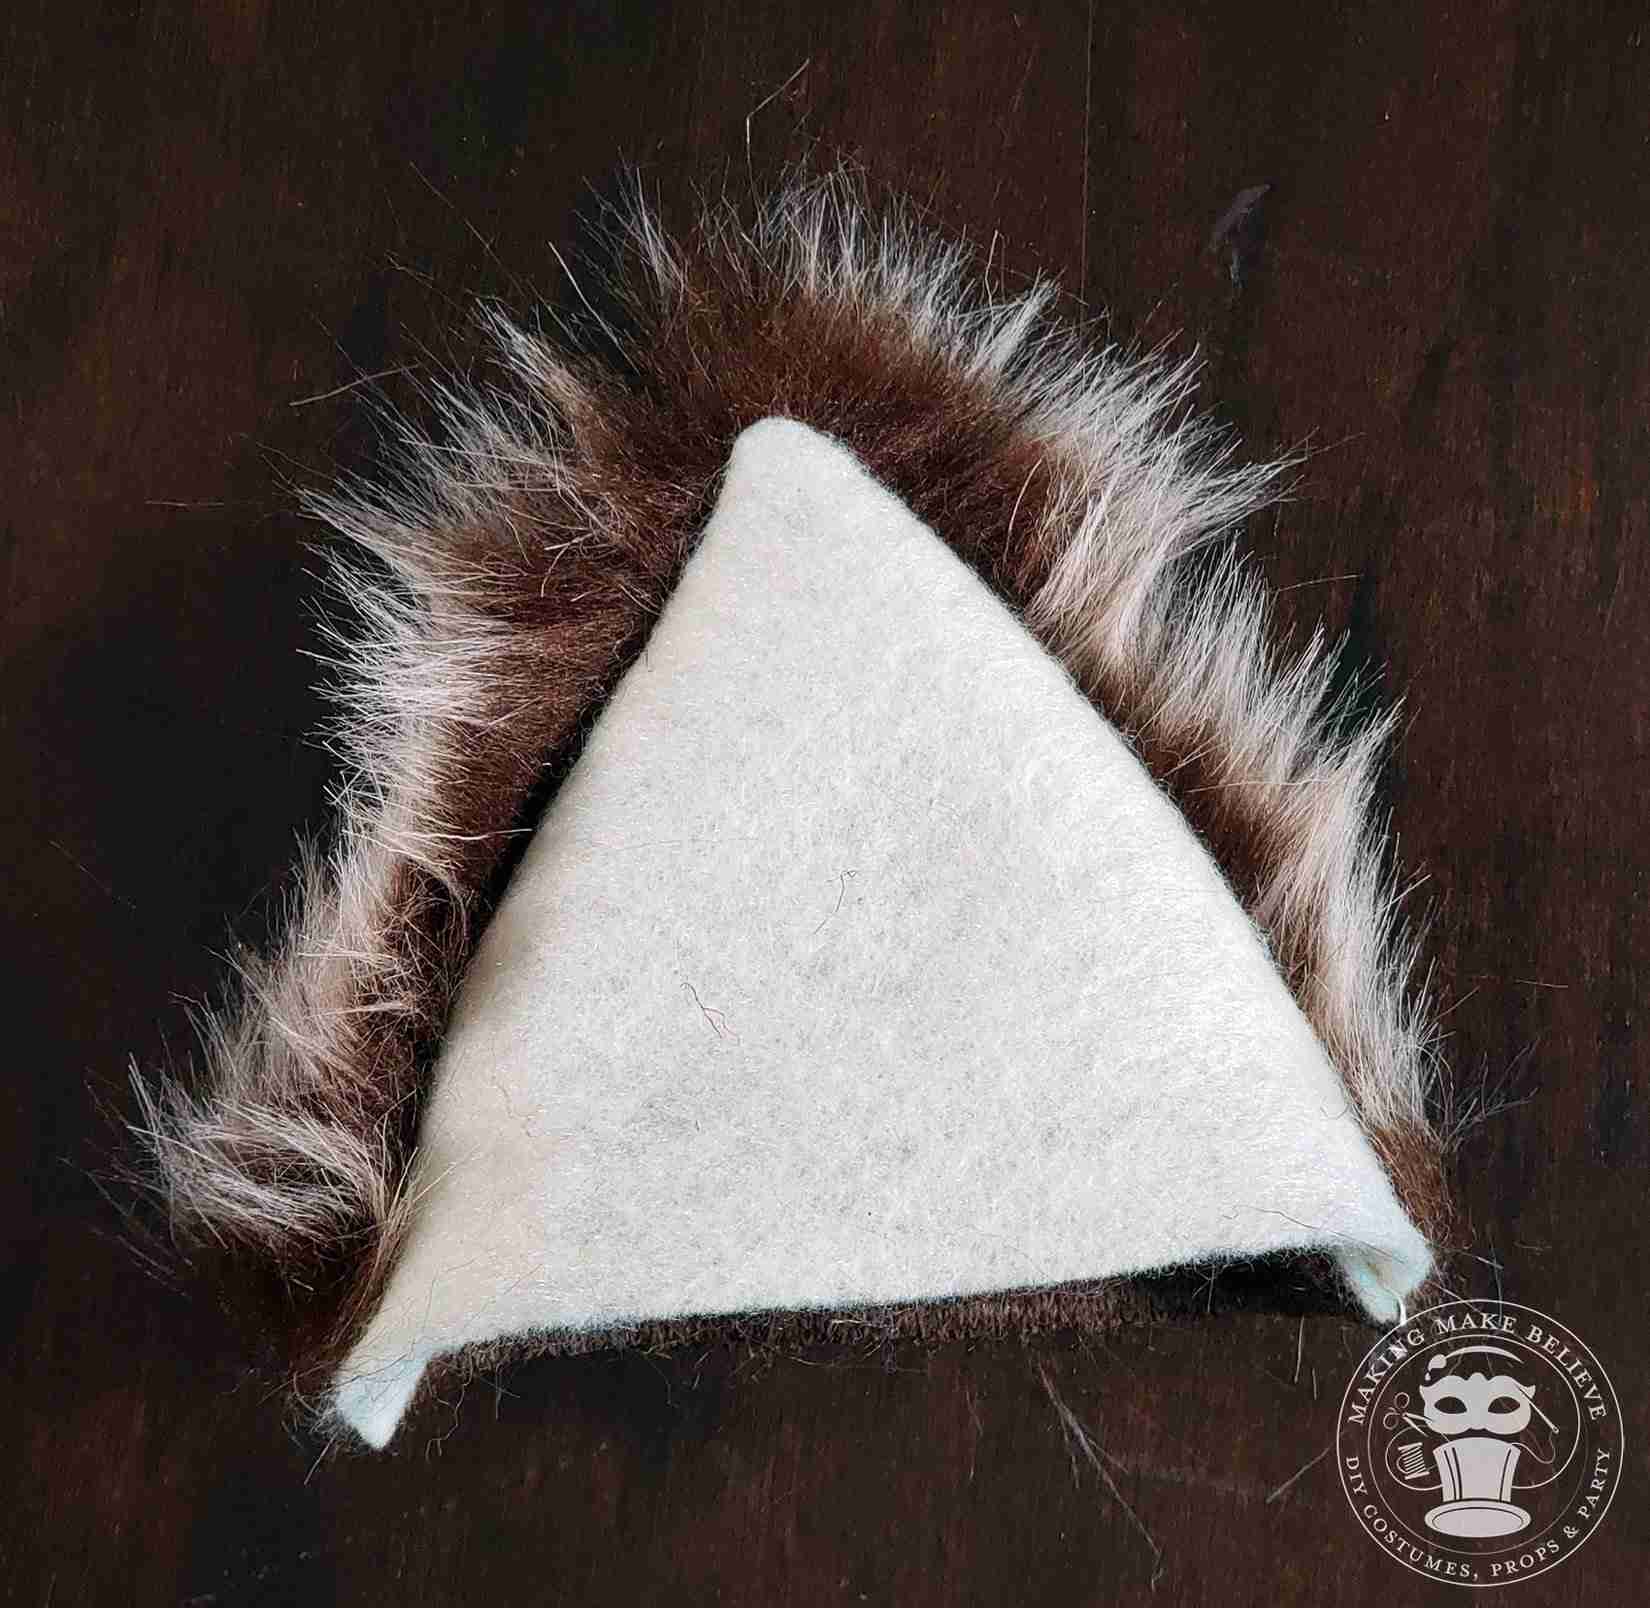
5. Turn to the right side.
TIP: To turn out the point, use a point turner or similar to gently push it out from the inside.
TIP: For fur caught in the seam, use a comb to gently work it to the outside.
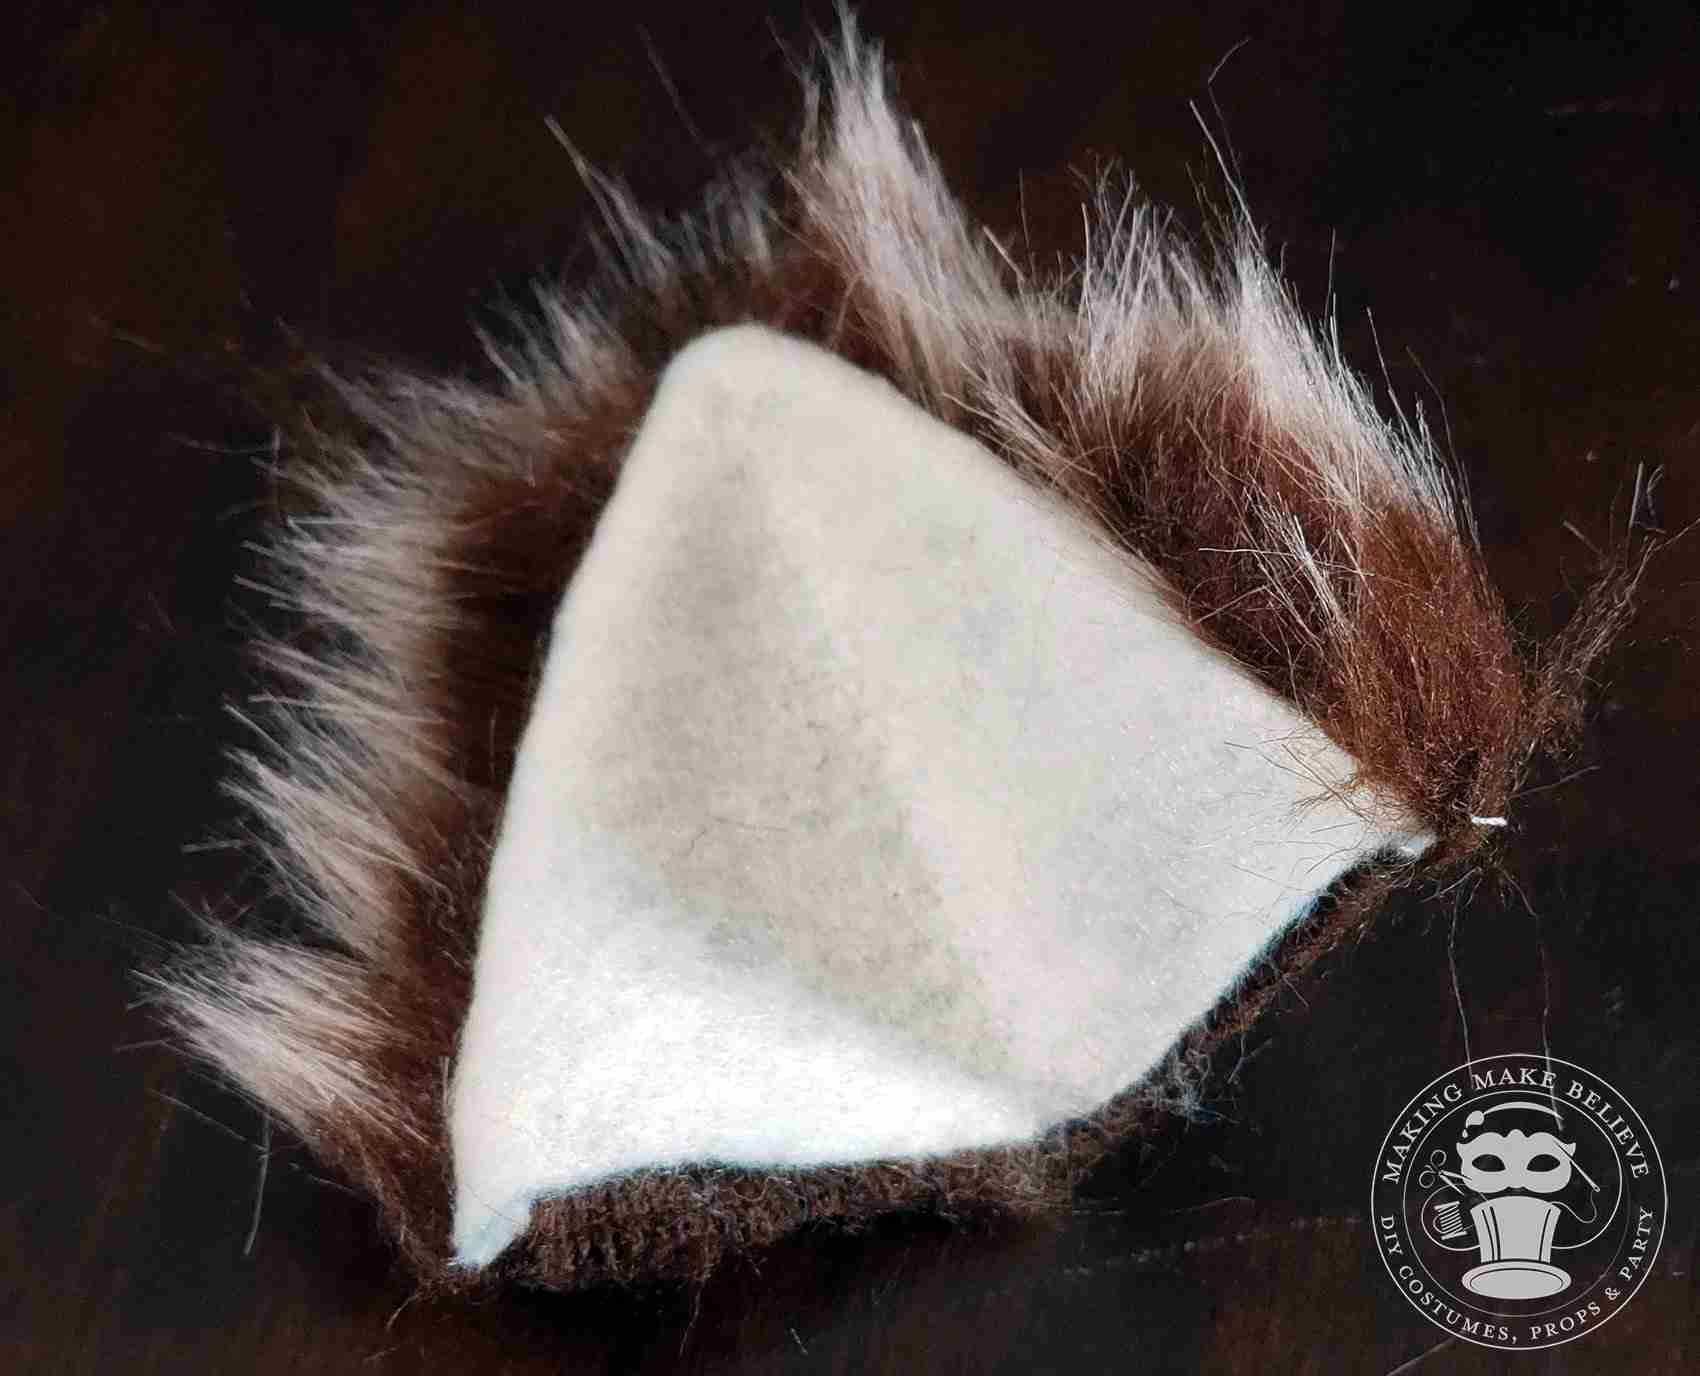
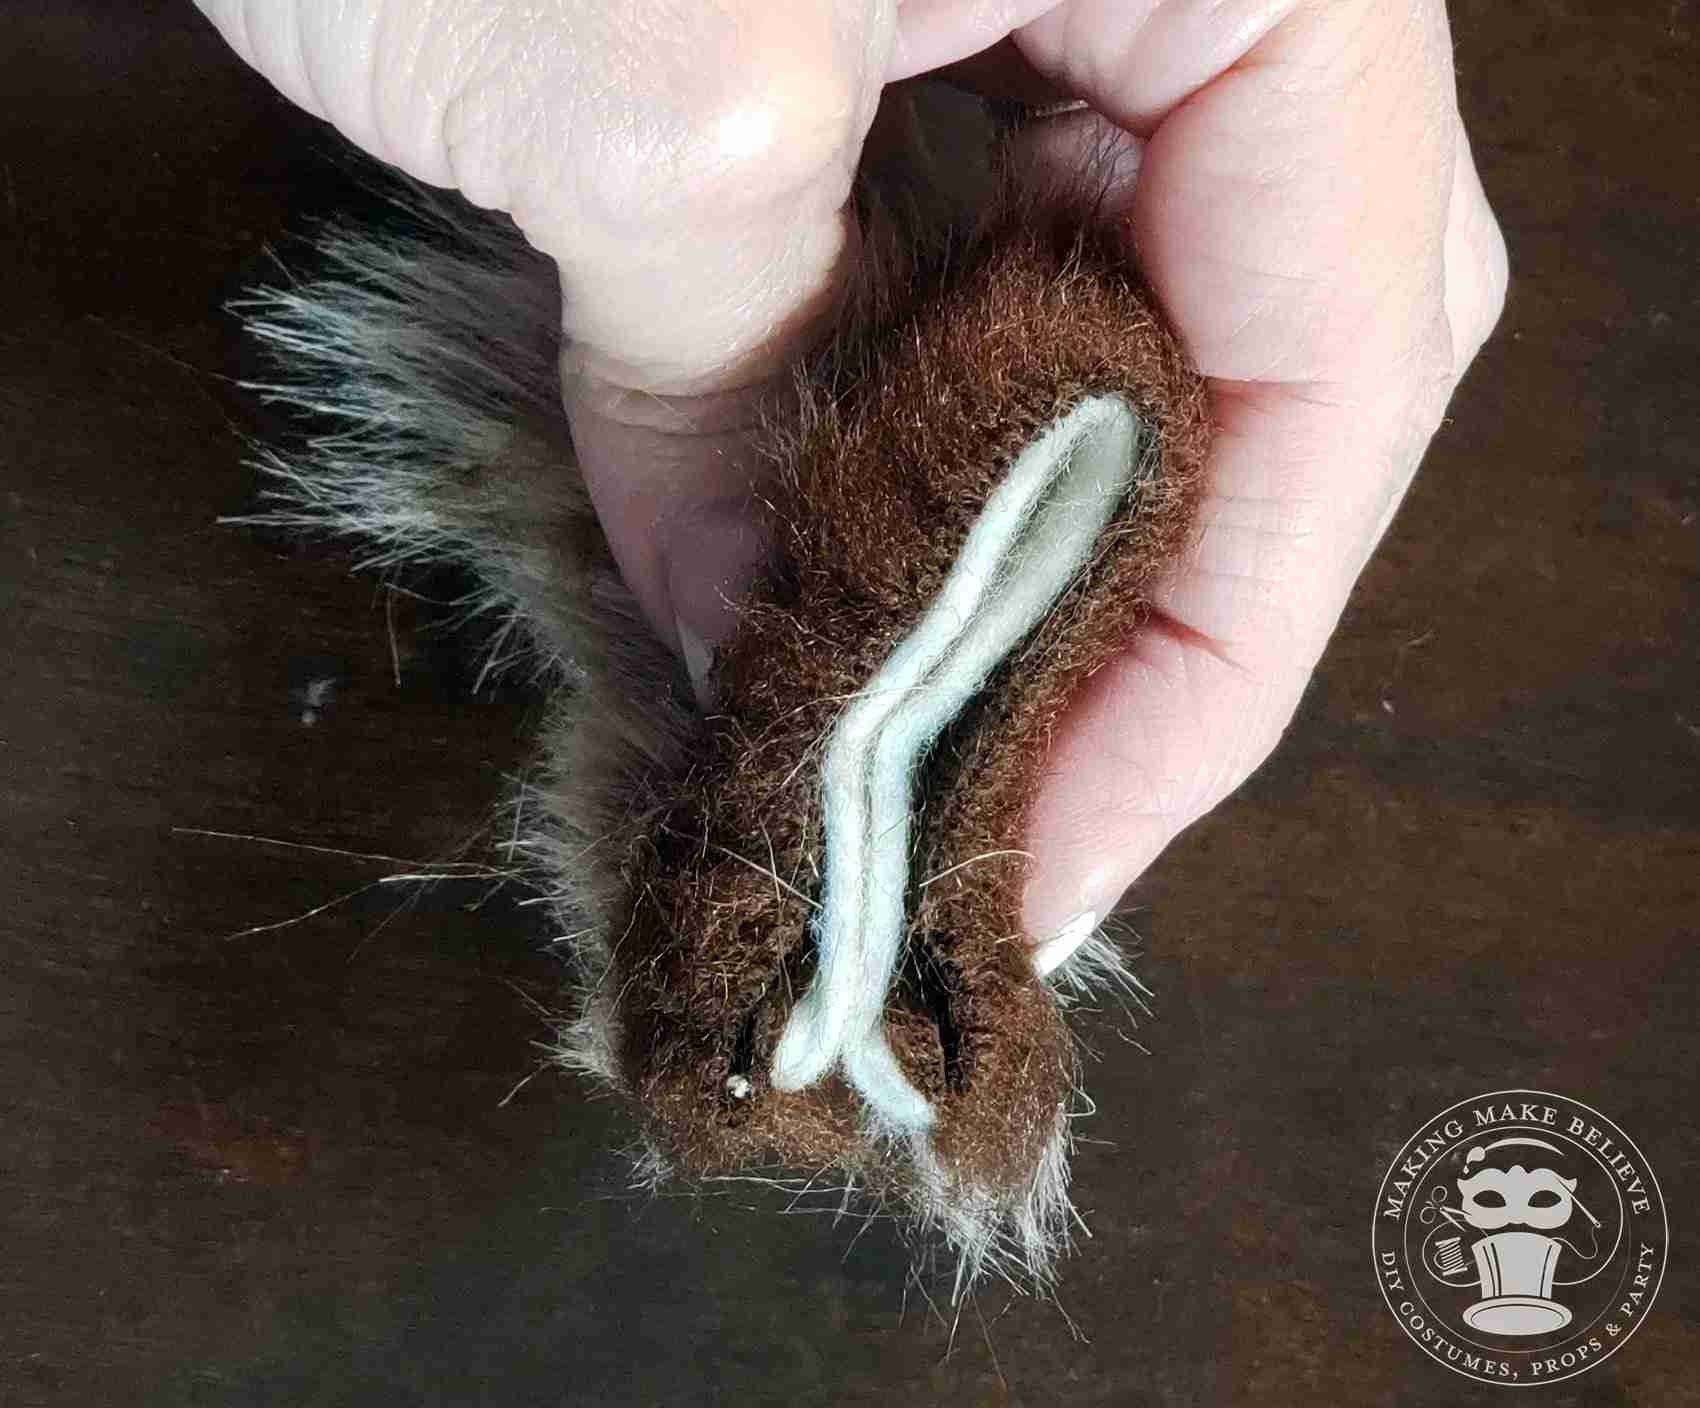
6. Fold your ear, felt side in, and match up the bottom corners.
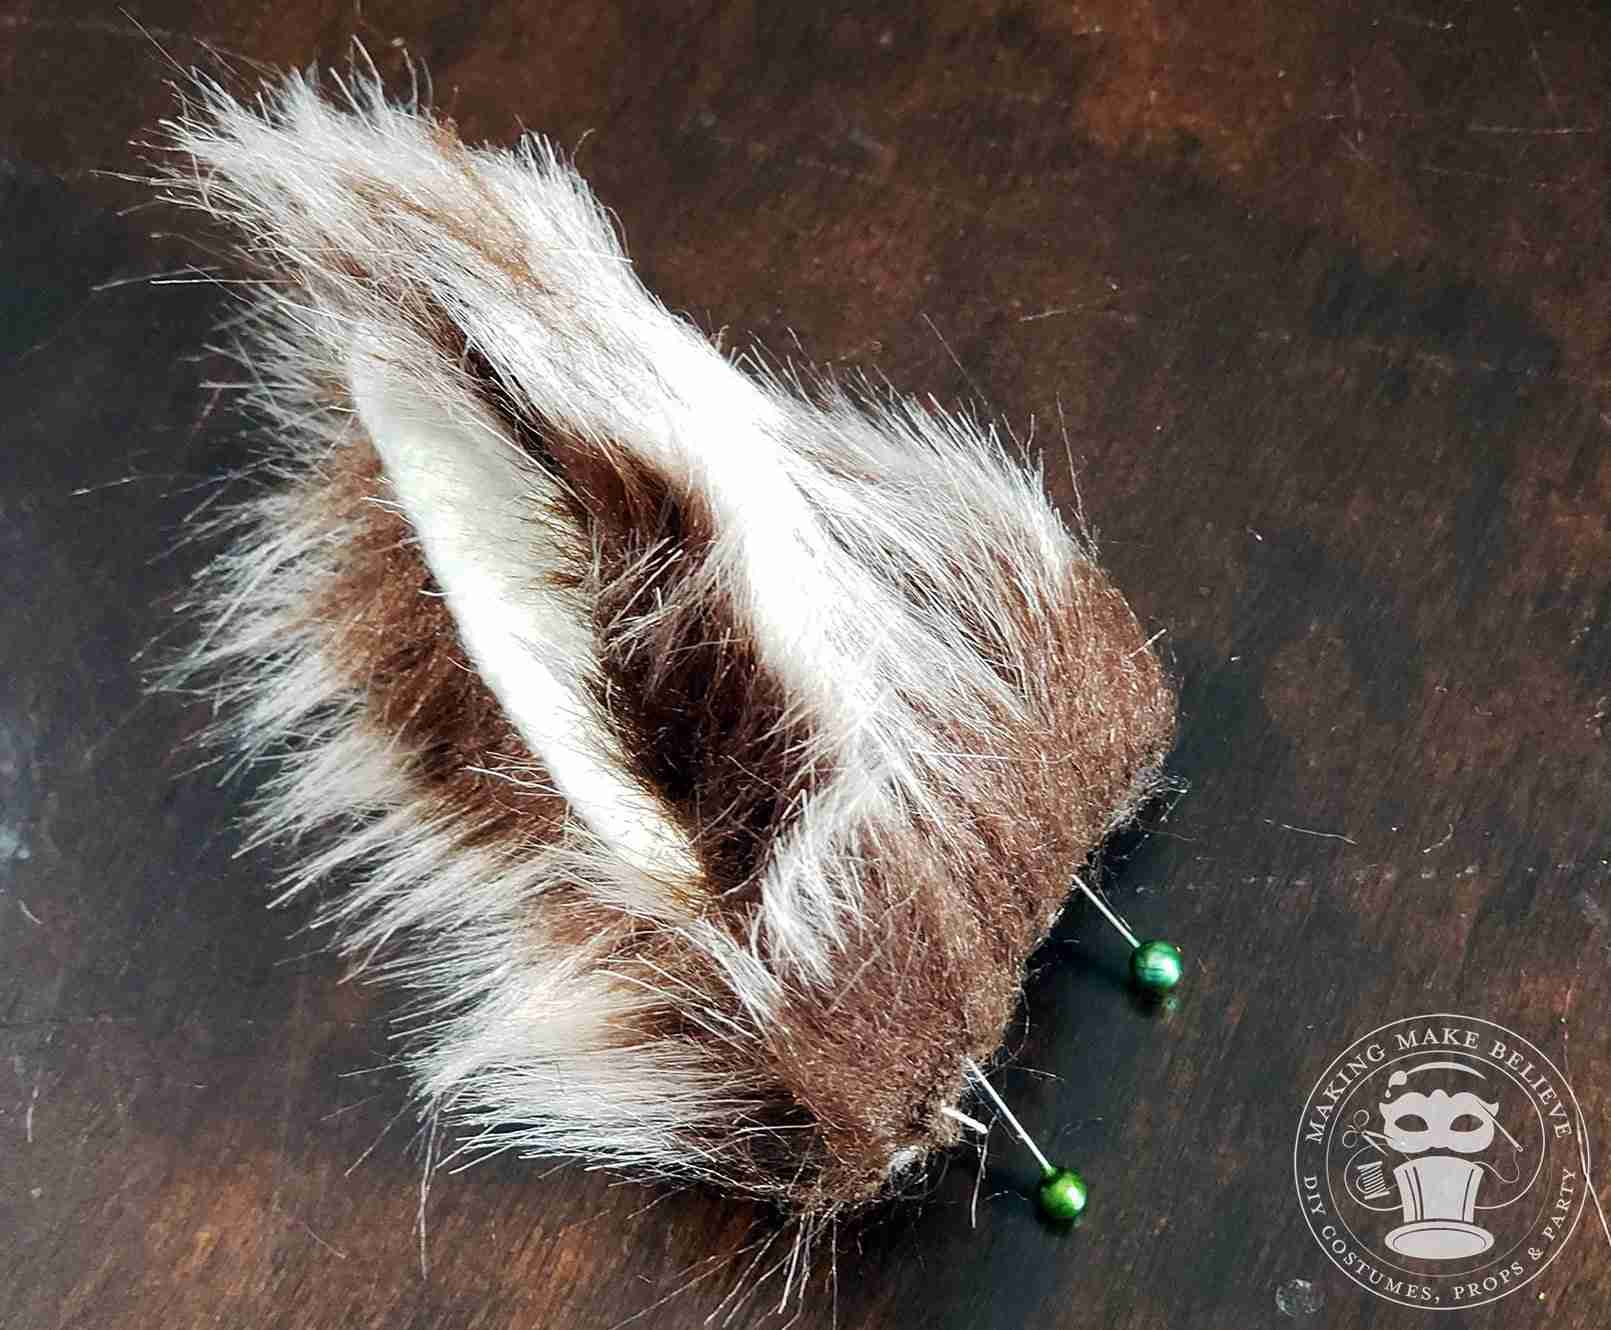
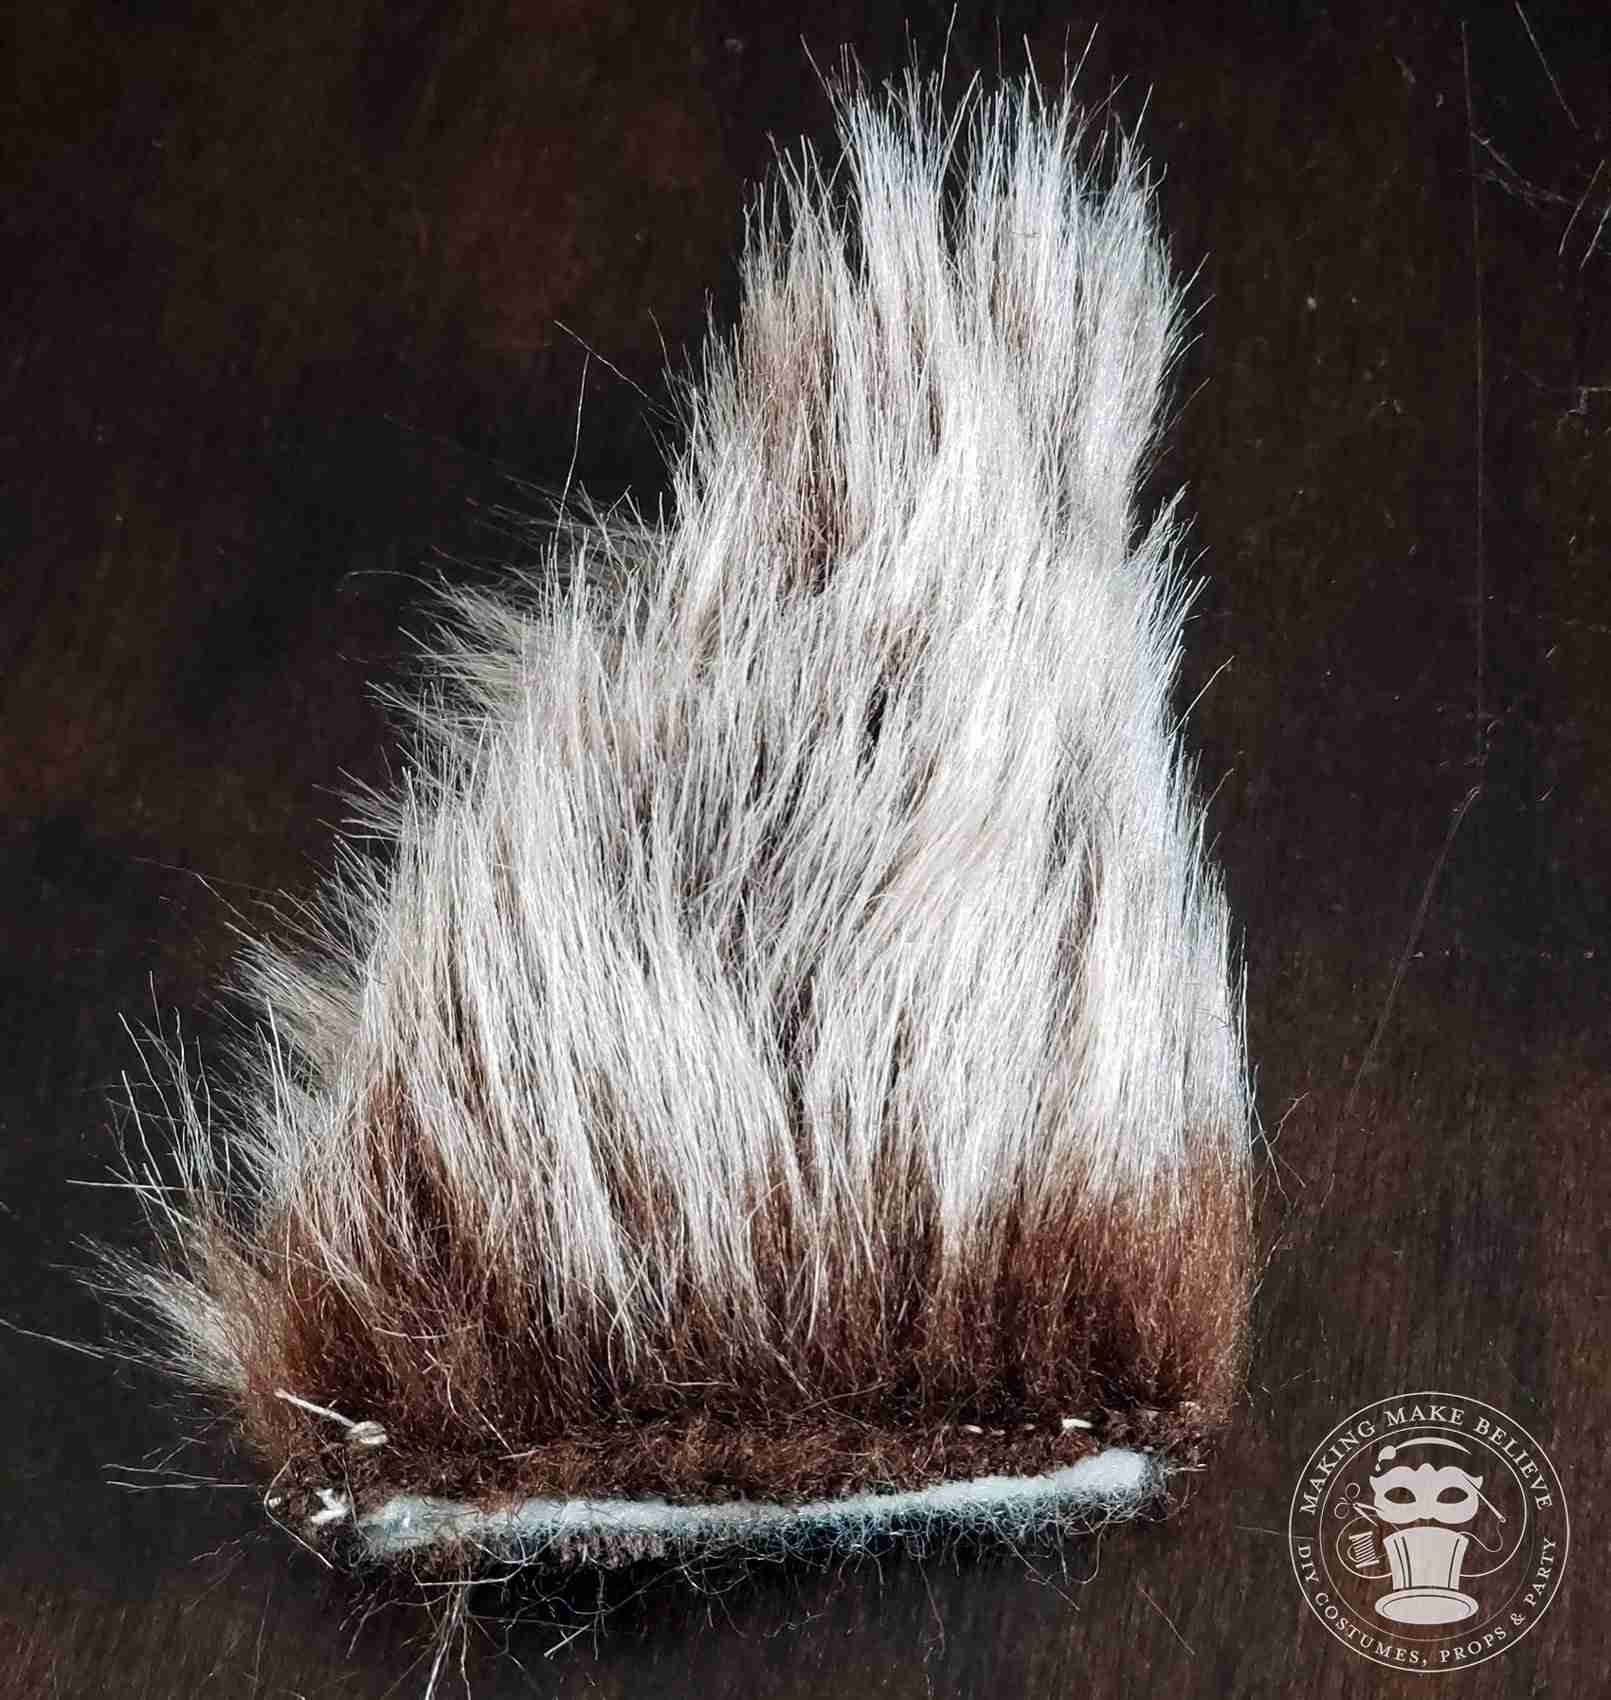
7. Pin and stitch with about a 1/8″ seam allowance.
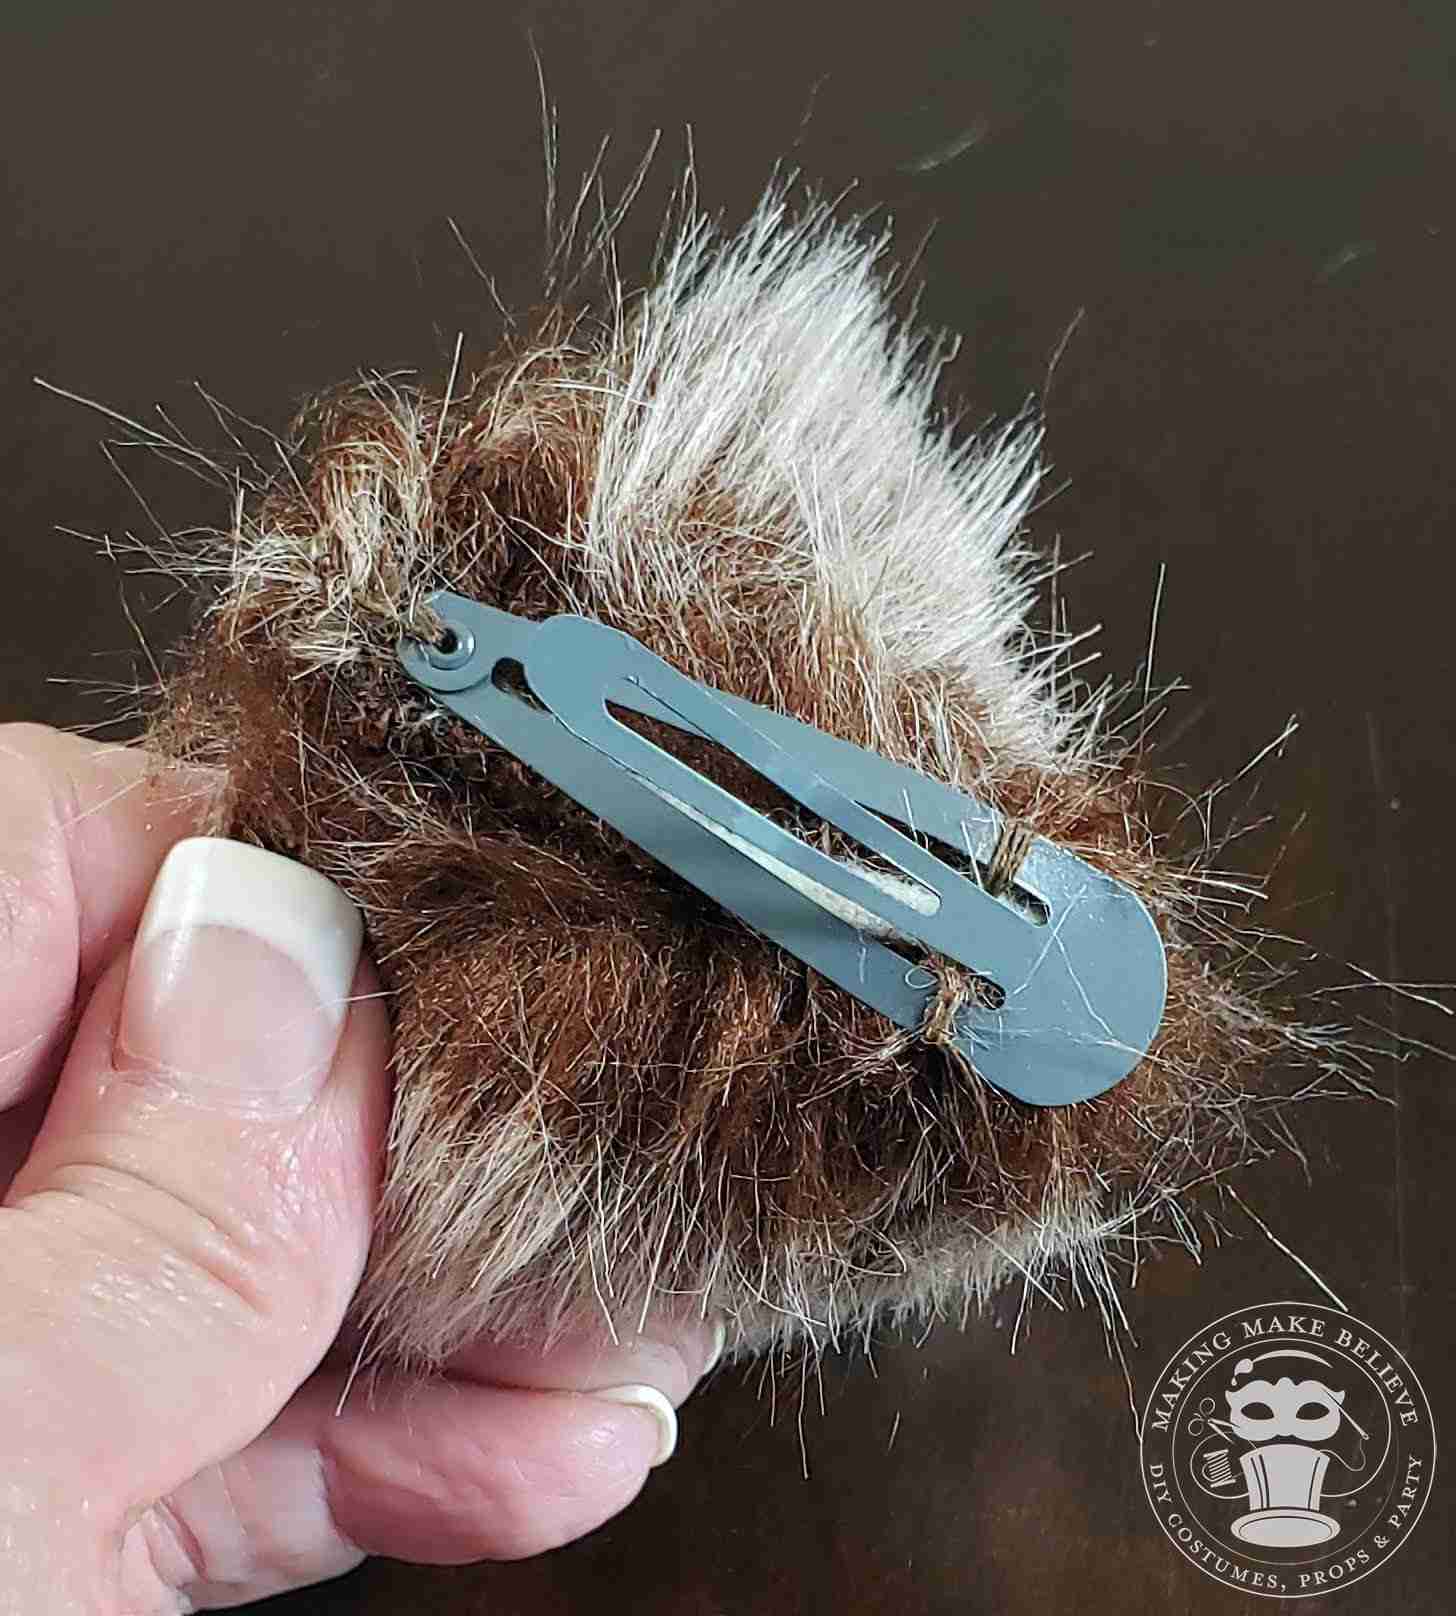

8. Add hair clip or attach to a covered headband.
TIP: For headband option, see the Slip-On Headband Cover and No Stitch Headband Cover tutorials and templates.