Around these parts, some refer to me as the Halloween or costume lady. And, it’s not unusual for someone to call or text when needing a costume or party prop. And, sometimes, I get people who gush a bit about my abilities to pull a Halloween party or costume look together. And, sometimes, I get more credit than I deserve when it comes to creating costume pieces.
A case in point is what I’m going to demonstrate today.
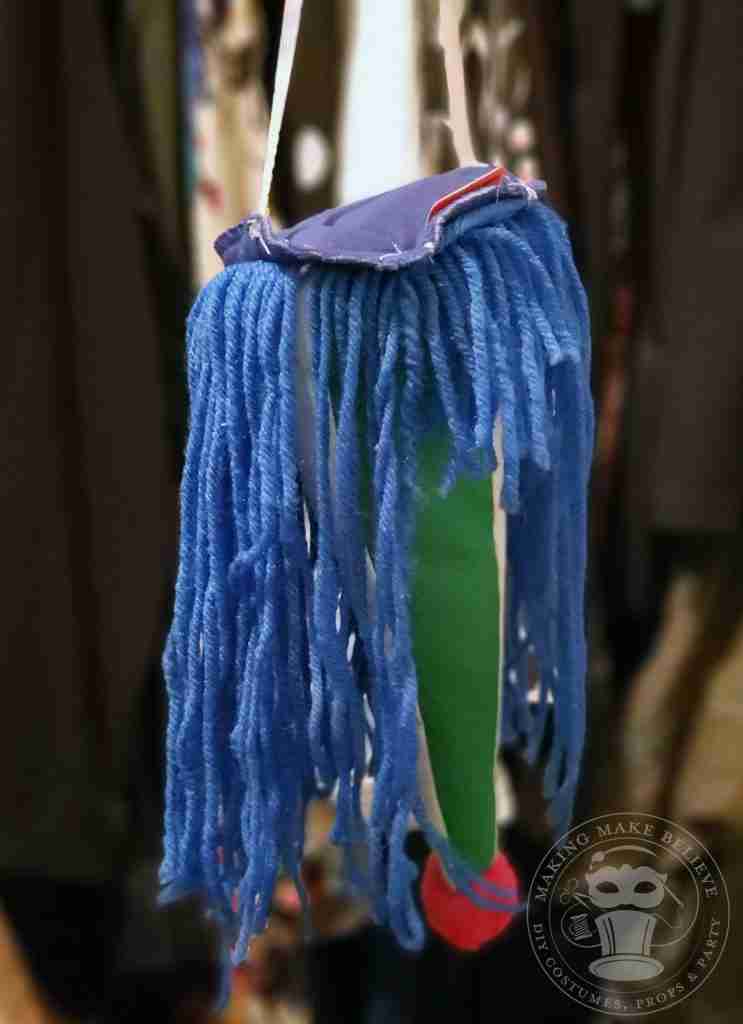
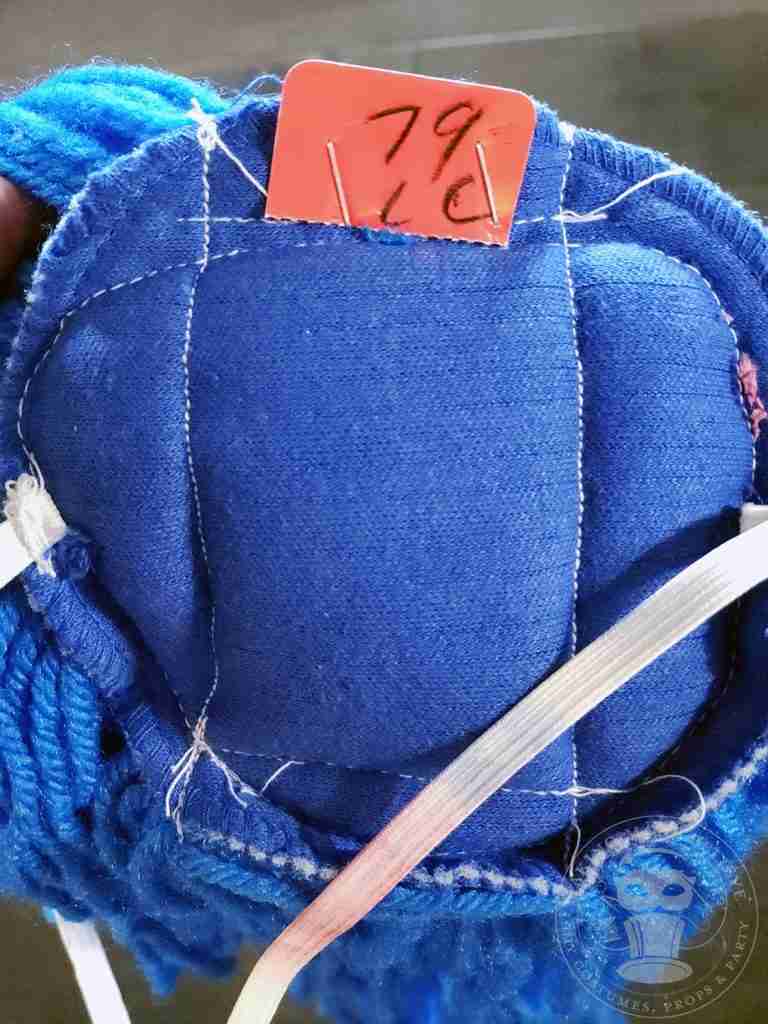
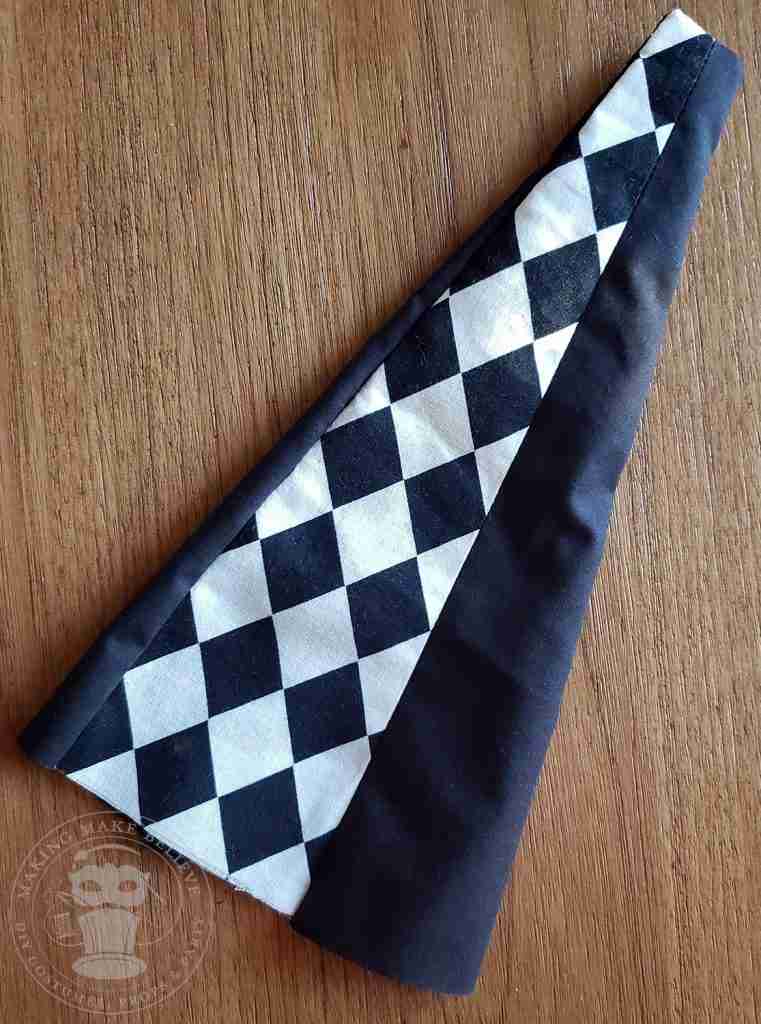
On one of my trips to the thrift store, I found this poor little, unassuming clown hat hanging from a display rack. It was nothing special. It was kind of dingy, sad-looking, and not very interesting, yet it captured my attention.
It was only 79¢, so I dropped it into my basket and brought it home.
Upon closer inspection, I realized that this little hat wasn’t too bad, and after cleaning it up a bit, I could see its potential.
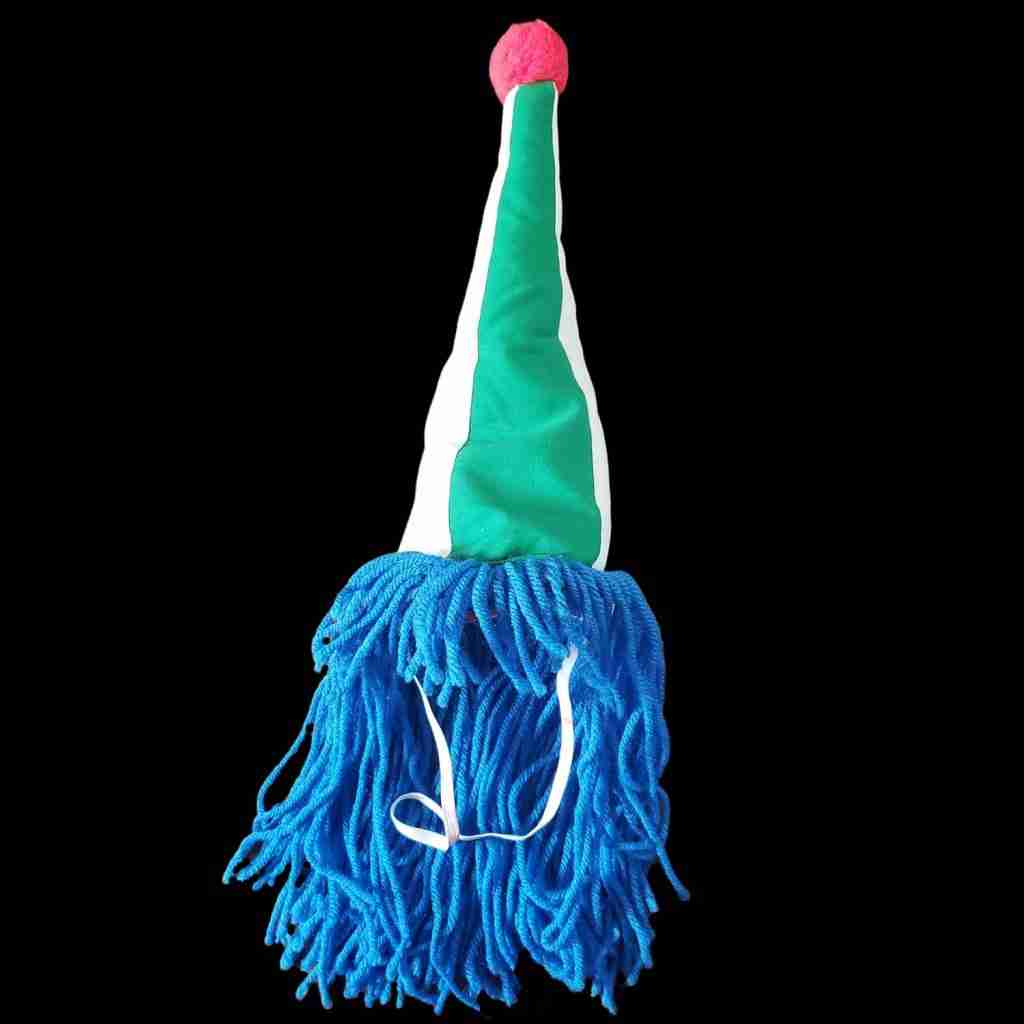
Recently, while I was working on a patriotic clown costume, I remembered this poor little hat. It wasn’t the right accessory for my clown, but it was the right style, so I decided to make a pattern based on it.
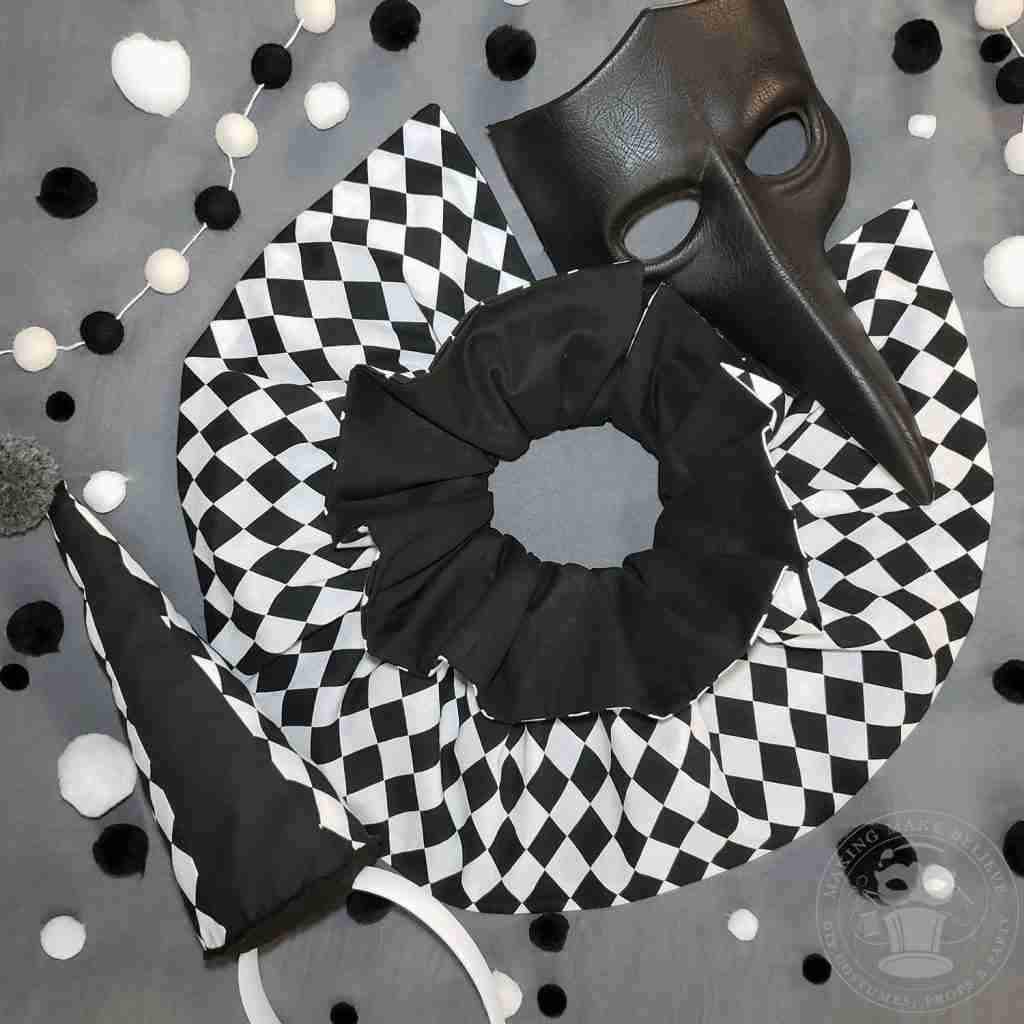
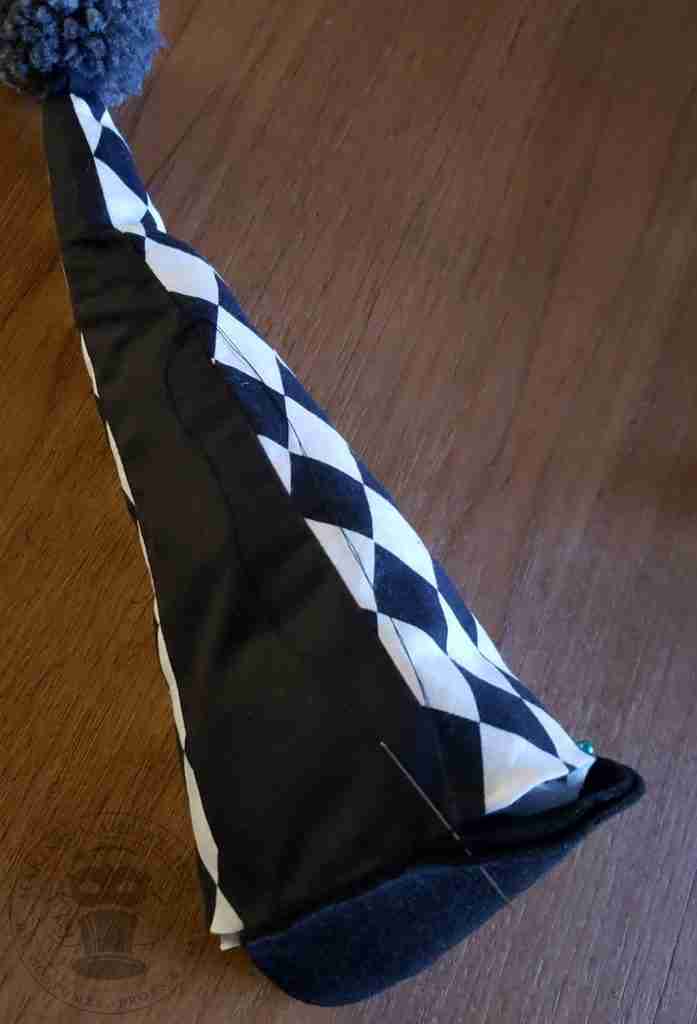
This simple, four-panel hat is easy to sew and customize. I decided to use two fabrics from my stash that I also used for a ruffle collar.
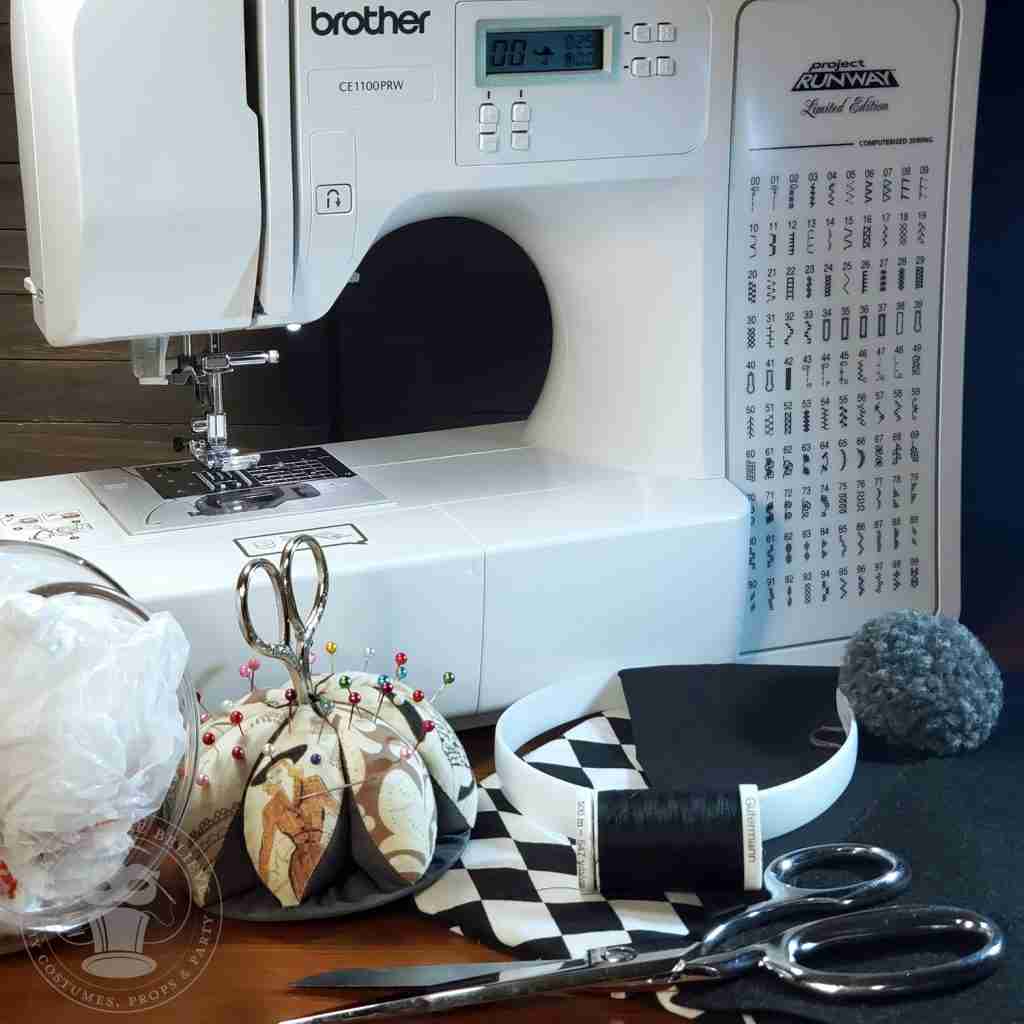
So, here’s what we’re going to need: fabric, felt, stuffing, thread, scissors, pins or clips, a needle, sewing machine (optional), and 1/4″ elastic or a 3/4″ headband. Oh, and a pom-pom, which you can make or purchase. (I make my pom-poms using the Clover maker.)
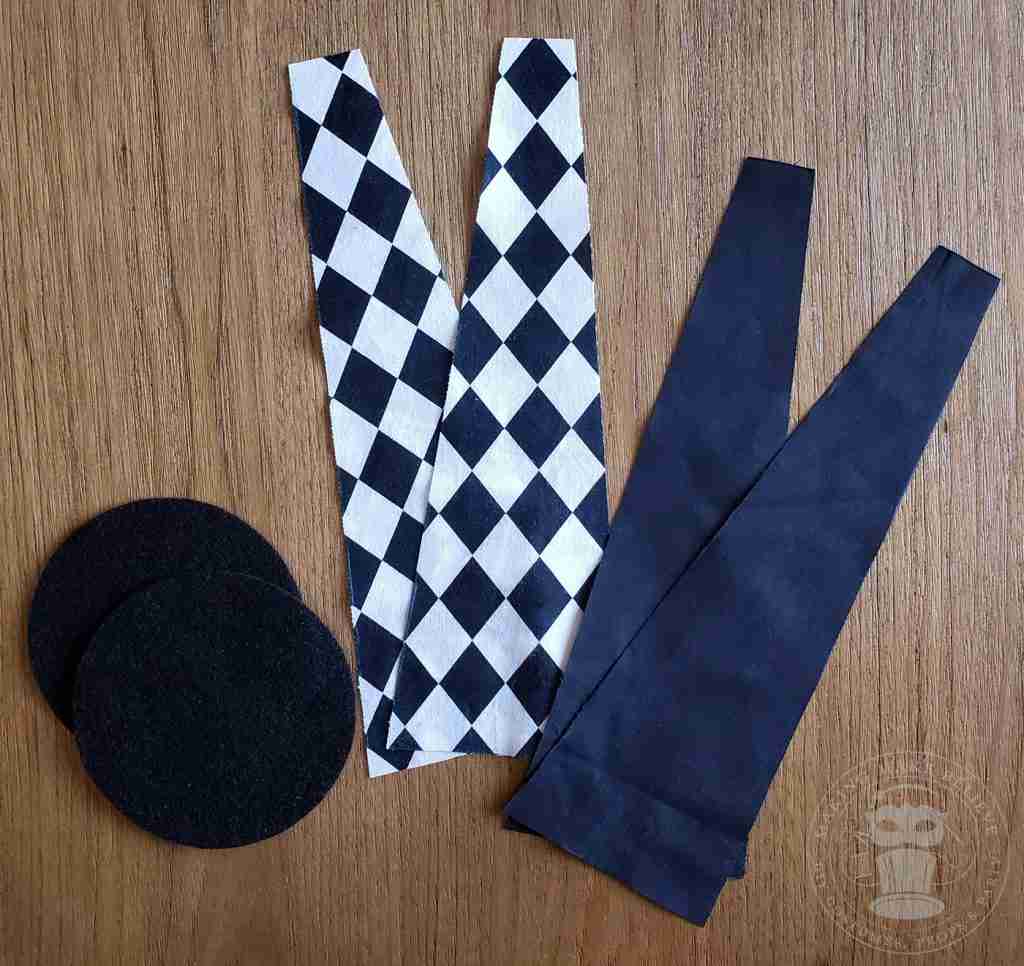
Using the pattern cut four panels. I used two fabrics, but you can do them all the same or use four different ones.
Cut two of the circles from craft felt.
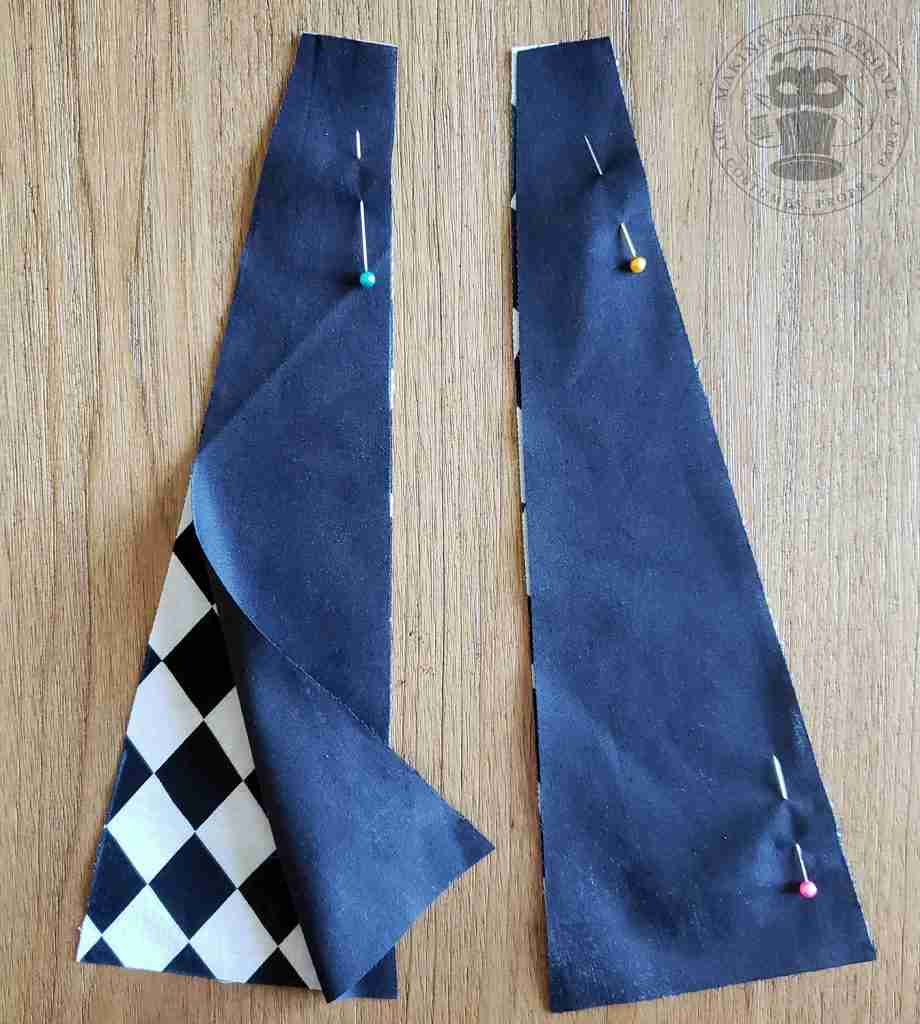
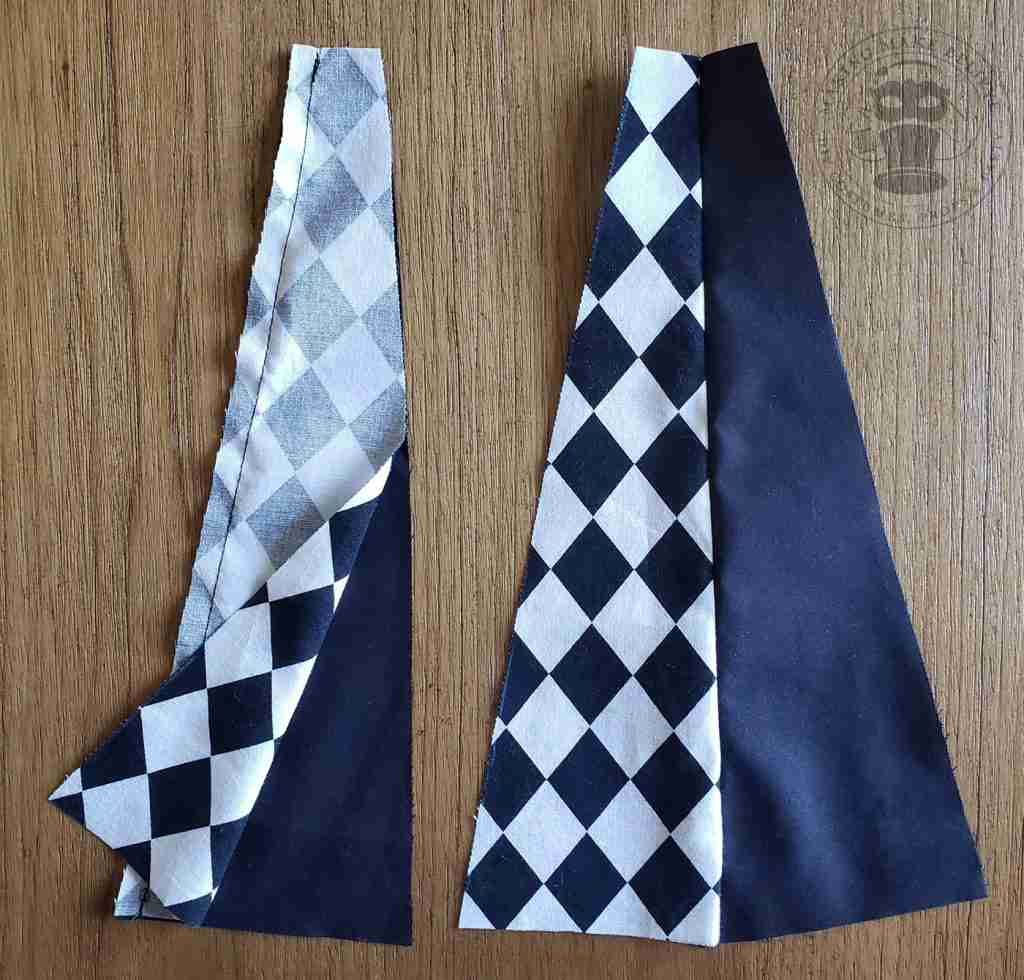
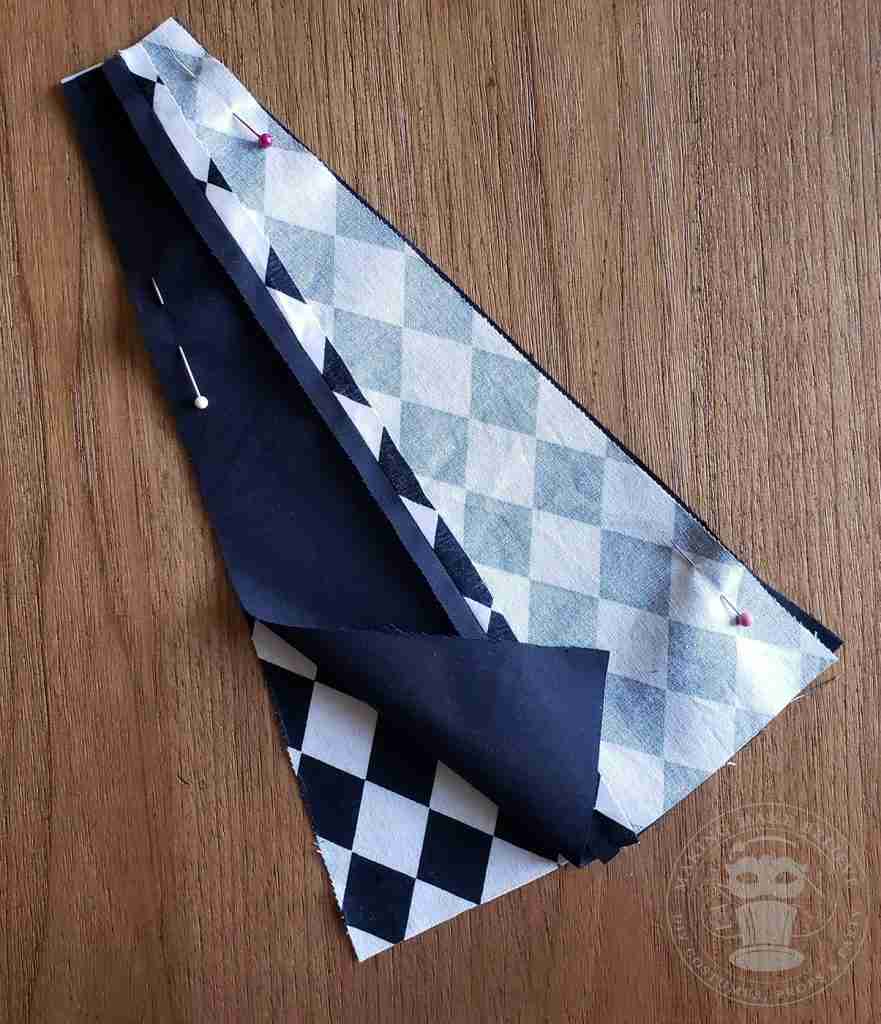
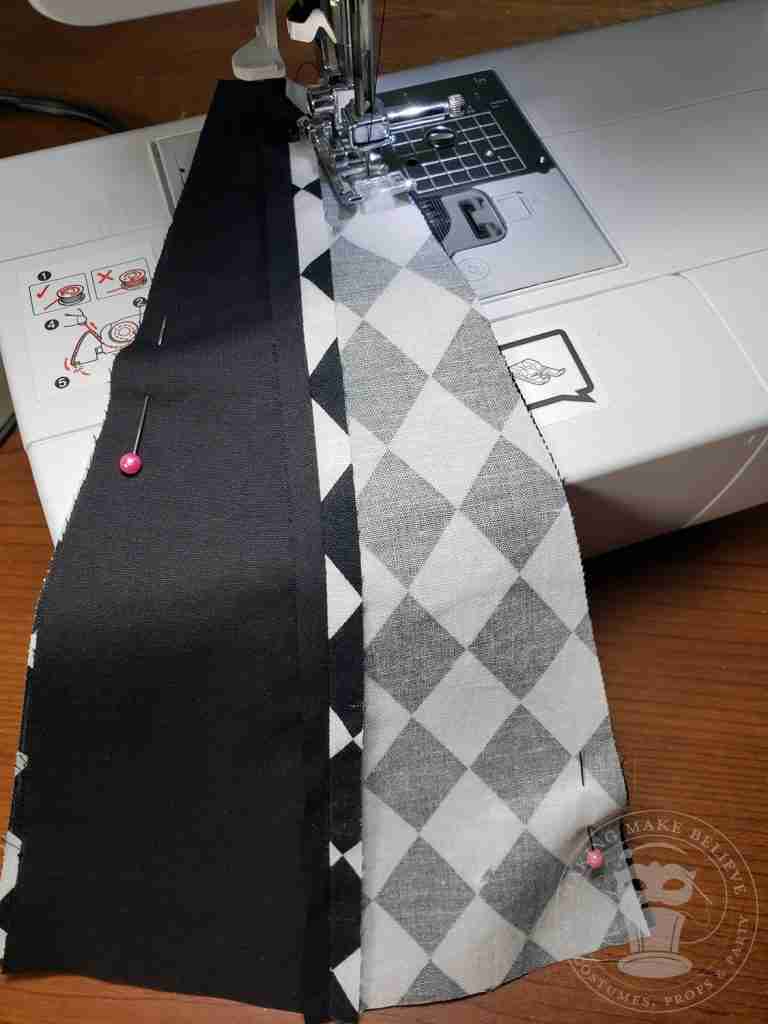
With your fabric right sides together, pin two panels together along one edge. Repeat with the third and fourth panels. Stitch each set together using a 1/4″ seam allowance.
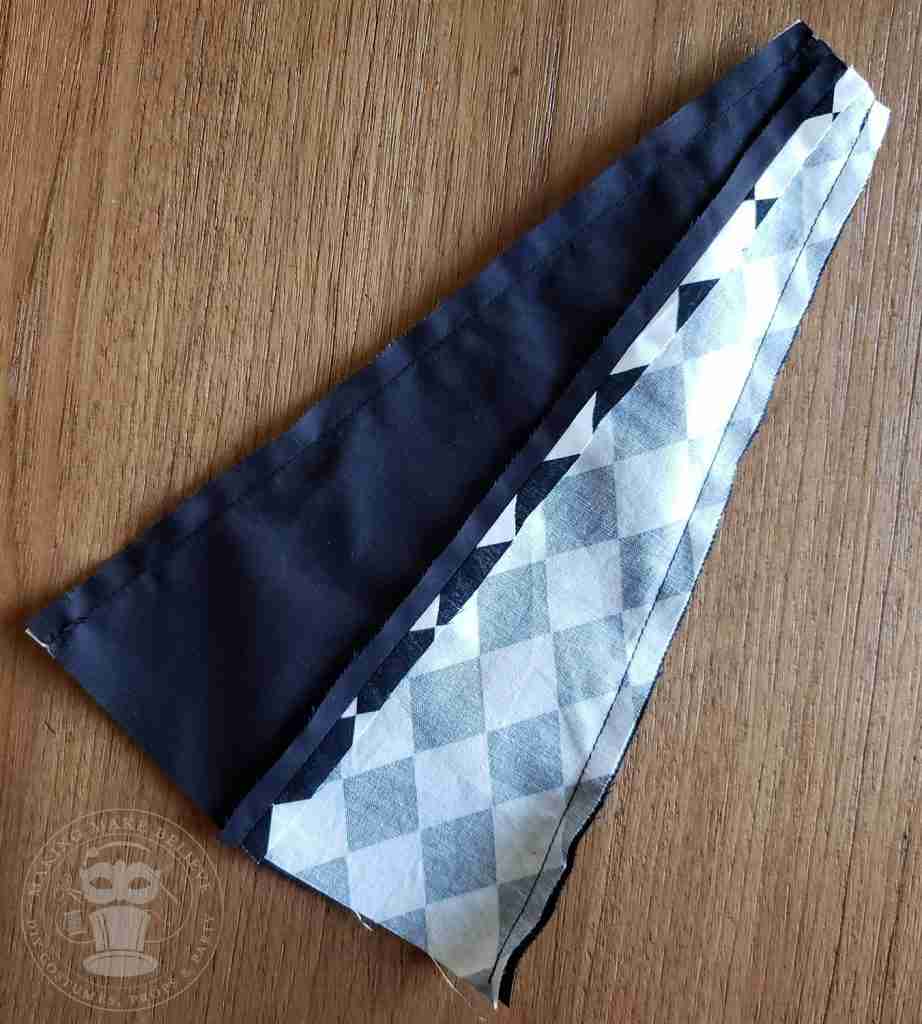
Again, with right sides together, stack one set on top of the other and stitch together on each side.
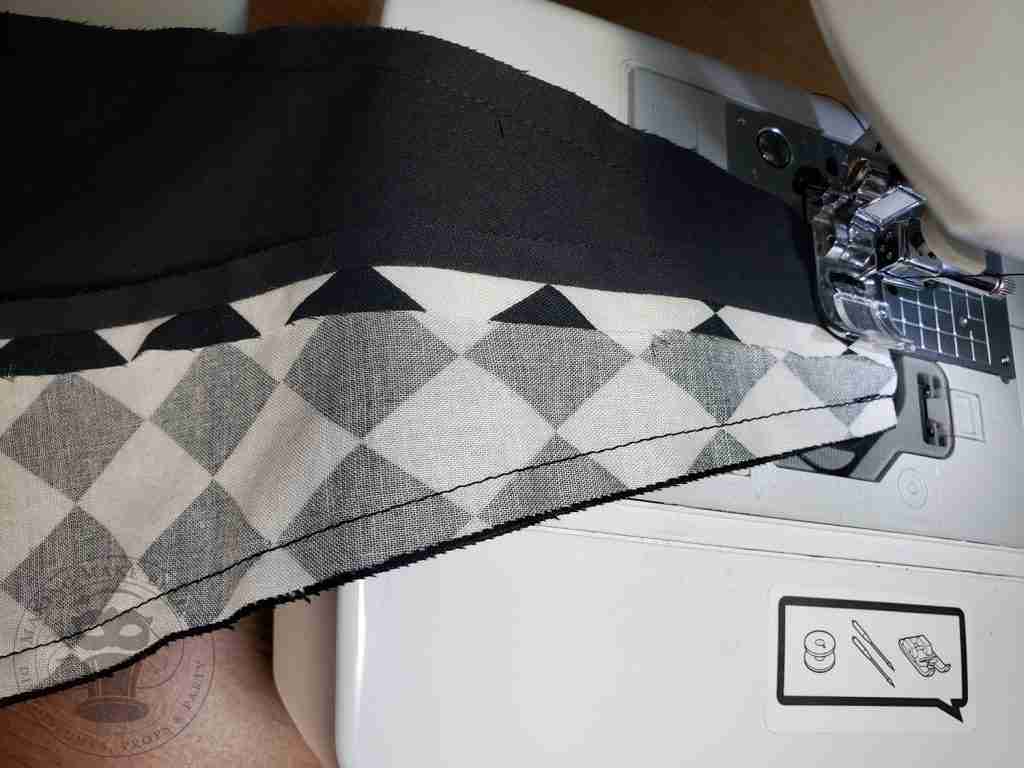
With the hat flat, stitch a 1/4″ seam allowance along the top edge, closing the opening.
Clip the corners, press your seams if desired, and turn the hat right side out.
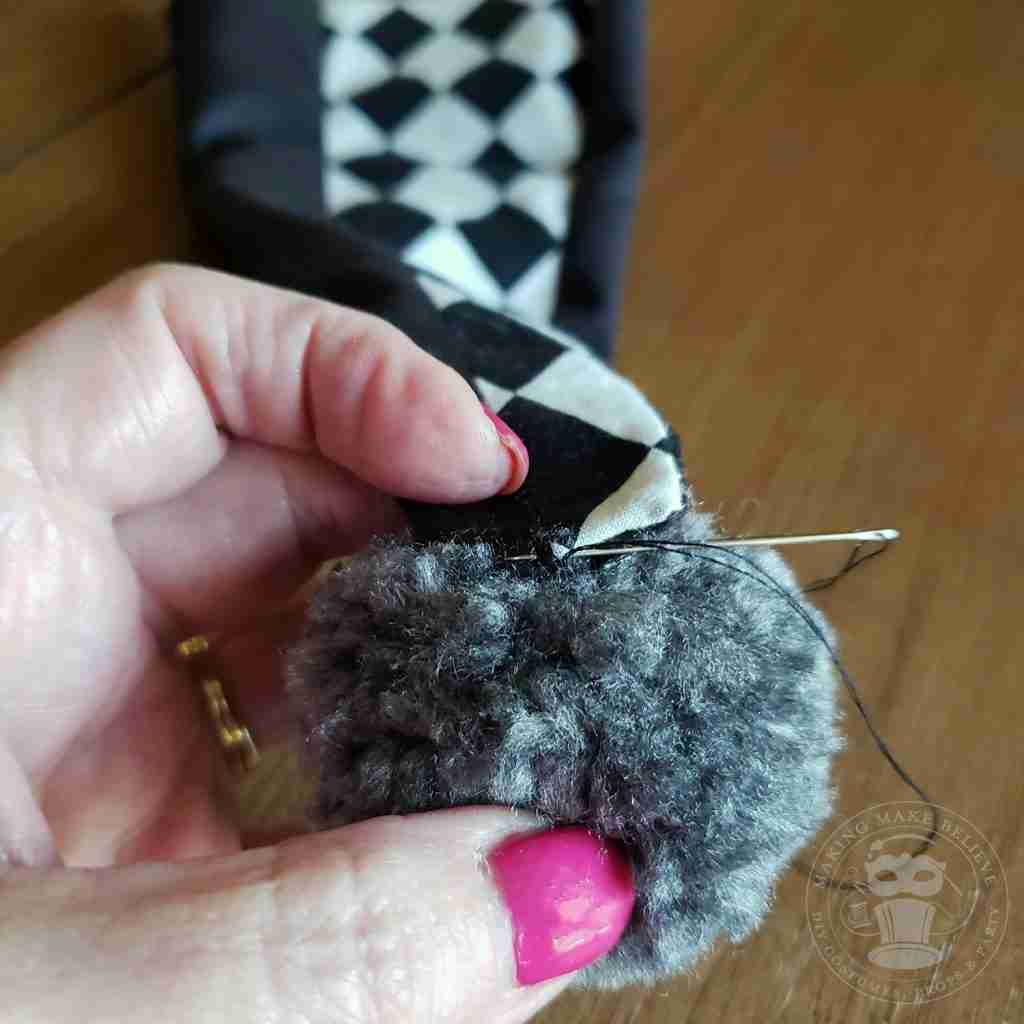
Securely stitch the pom-pom to the top of the hat.
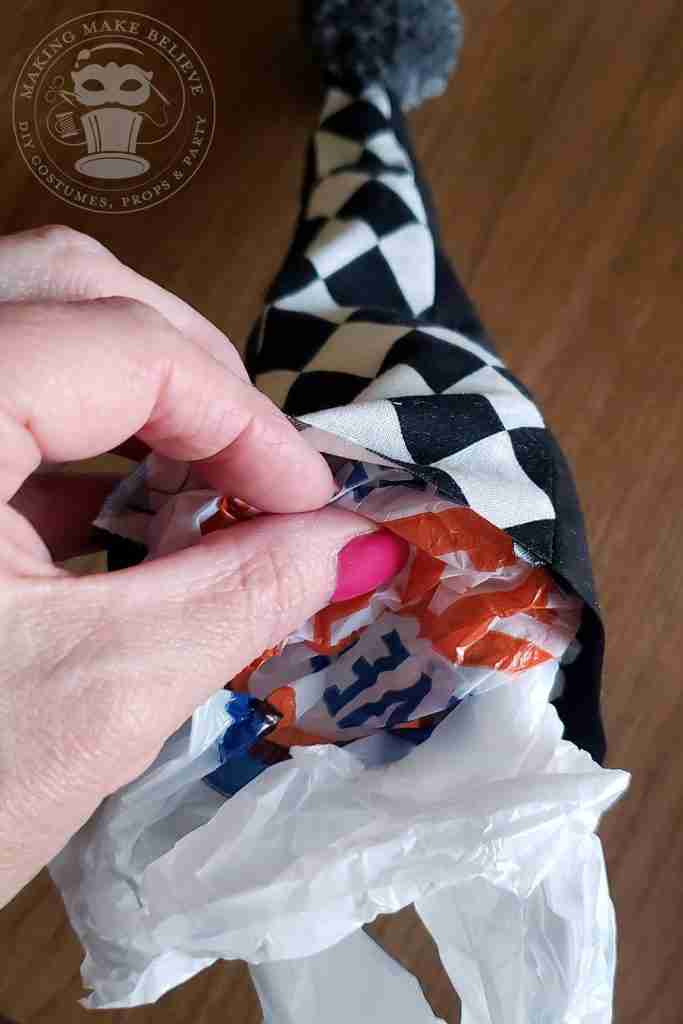
Stuff your hat as little or as full as you like.
One of the interesting things about our inspiration hat is that it appears to be stuffed with plastic bags. I was motivated to do the same with my hat as it makes the piece lighter and helps use up some of the plastic bags I have lying around.
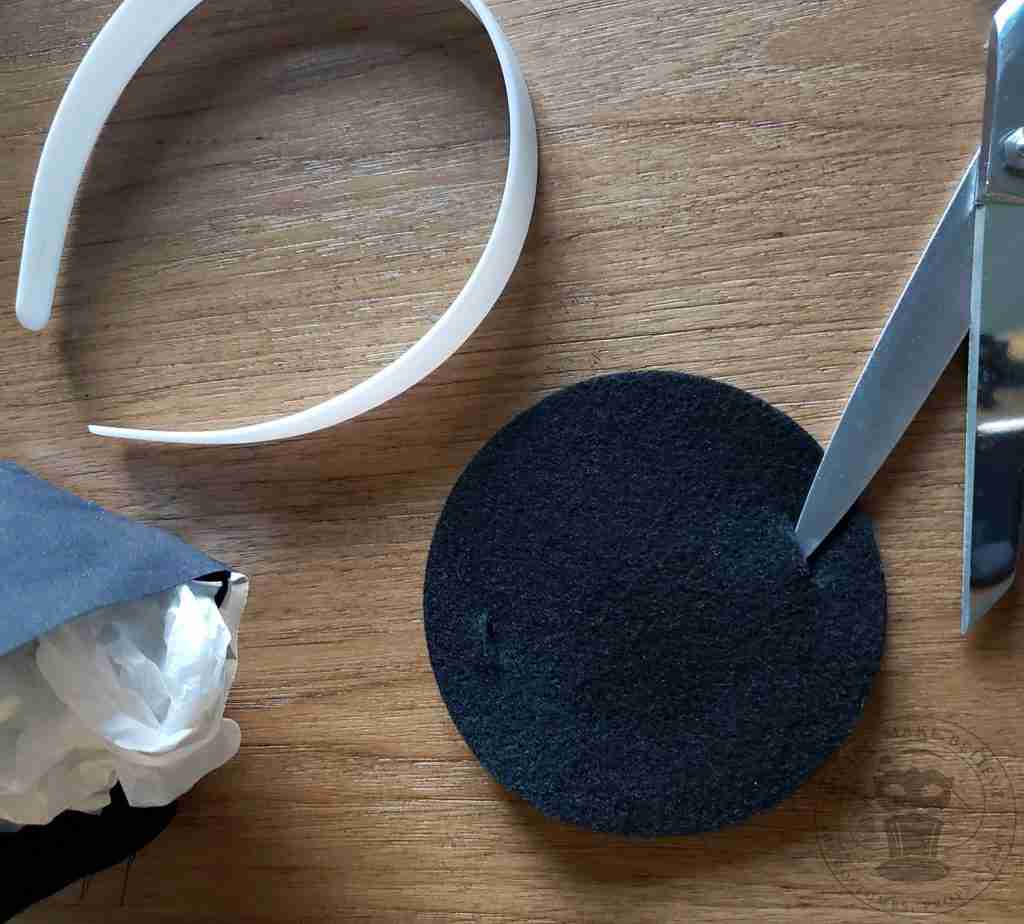
To give the hat more stability, I used two circles of felt for the base. But, before you attach the base, you will need to decide how you want to wear your hat.
If you want to use elastic, you can cut the length you need and sandwich it between the felt base and the hat. Or, you can simply tack it to the underside like our inspiration piece.
If you prefer to have the hat on a headband, you will first need to cut two slits through both pieces of the felt. To do this, stack the felt pieces together. Cut a slit slightly smaller than the widest part of your headband about 1/2″ from each side of the base. If your slits are too wide, your hat will wobble.
Stitch the base to the hat. Fold under 1/4″ of the hat’s unfinished edge and blind hand-stitch to the base. Or, if you prefer, you can use your machine to topstitch the base to your hat.
And that’s how I hacked a thrift store find, making me look more talented than I am. And, now that you know, you can do it too, so keep your eyes open for pieces you can hack and use as a pattern. And, for more inspiration be sure to see our Top 5 Reasons to Shop The Thrifts For Costumes.
I love how this turned out, but what do you think? Are you going to try out this pattern? Let me know on Instagram or Facebook.
This website uses cookies to improve your experience. We'll assume you're ok with this, but you can opt-out if you wish.AcceptRead More
Close
We Have Room
For One More
Join us and get access to our Haunted Library stocked with templates, printables, cut files, and exclusive content. Plus, you’ll receive Eerie Emails just for our subscribers.
*Stay as long as you like. Unsubscribe at any time.