6.5K
How To Make A Reversible Ruffle Clown Collar


previous post

Typically, when you think of a reversible ruffle collar, you probably think of clowns. In my world, if a character stands still looking meh more than half a minute, it gets a collar slapped on it, clown or not. It’s just a touch of extra that I fall back on if I feel something is missing.
And, because I can get a little collar crazy, I have a few different ways to construct them. A super-quick and easy method our DIY Tulle Collar.
Today, we’re going to make a reversible ruffle clown-style collar that you can customize however you wish using just straight stitching. And, we’re going to make it using leftover scraps from the stash bins.
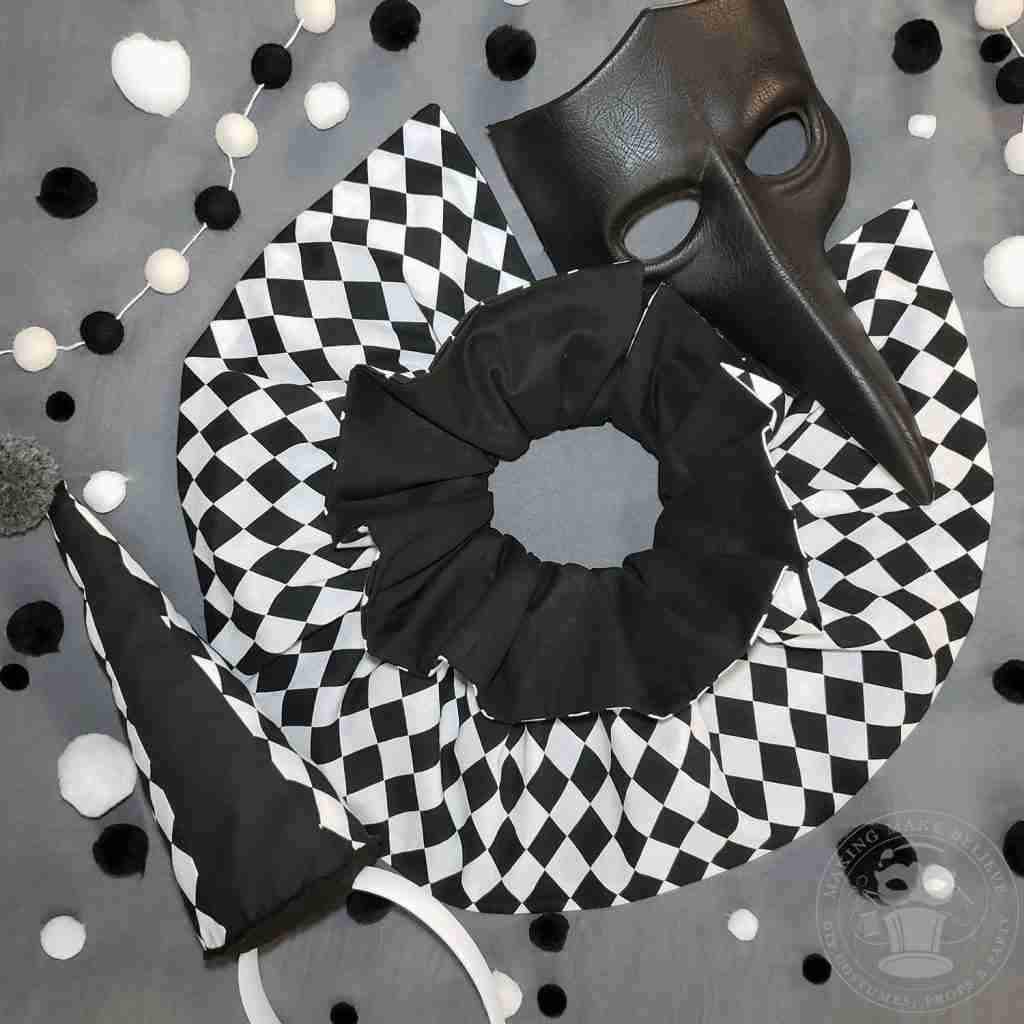
Rummaging through the stash, I pulled out a solid black fabric and a black and white harlequin fabric. Both are leftovers from a jester costume I made for our youngest, Gabe, in 2001.
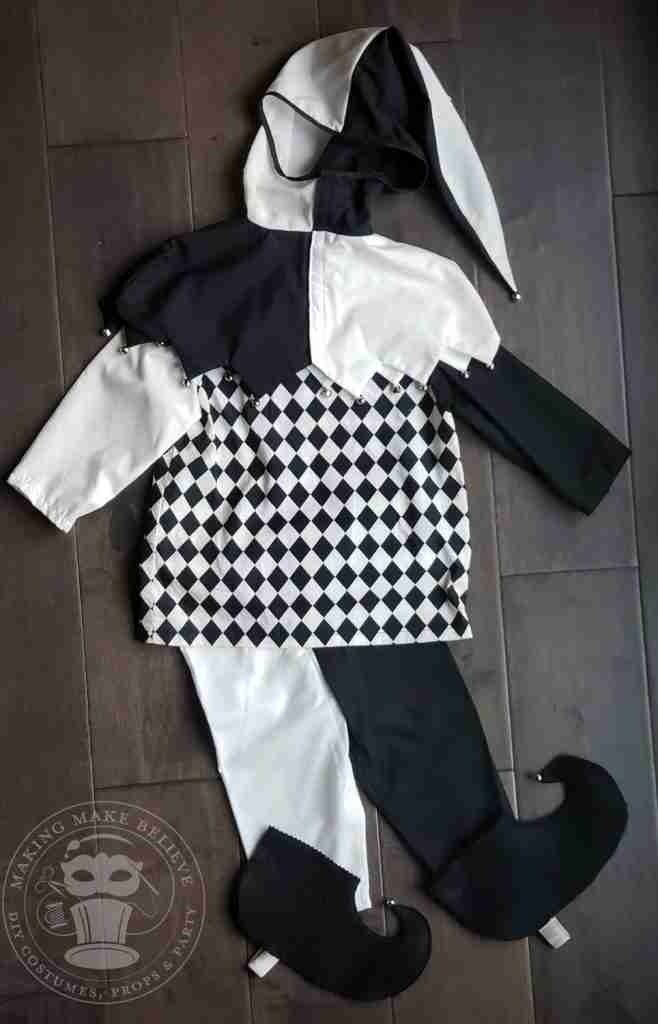
Isn’t this just adorable?! I still remember constructing this costume right down to the shoe covers and all the little bells. He was two years old at the time, so I had free reign when selecting his costume. A few short years after this, he would be wearing store-bought because Mom didn’t want to craft superheroes out of lycra.
Ok, enough of me getting side-tracked by Halloween’s of the past. Let’ get this collar made.
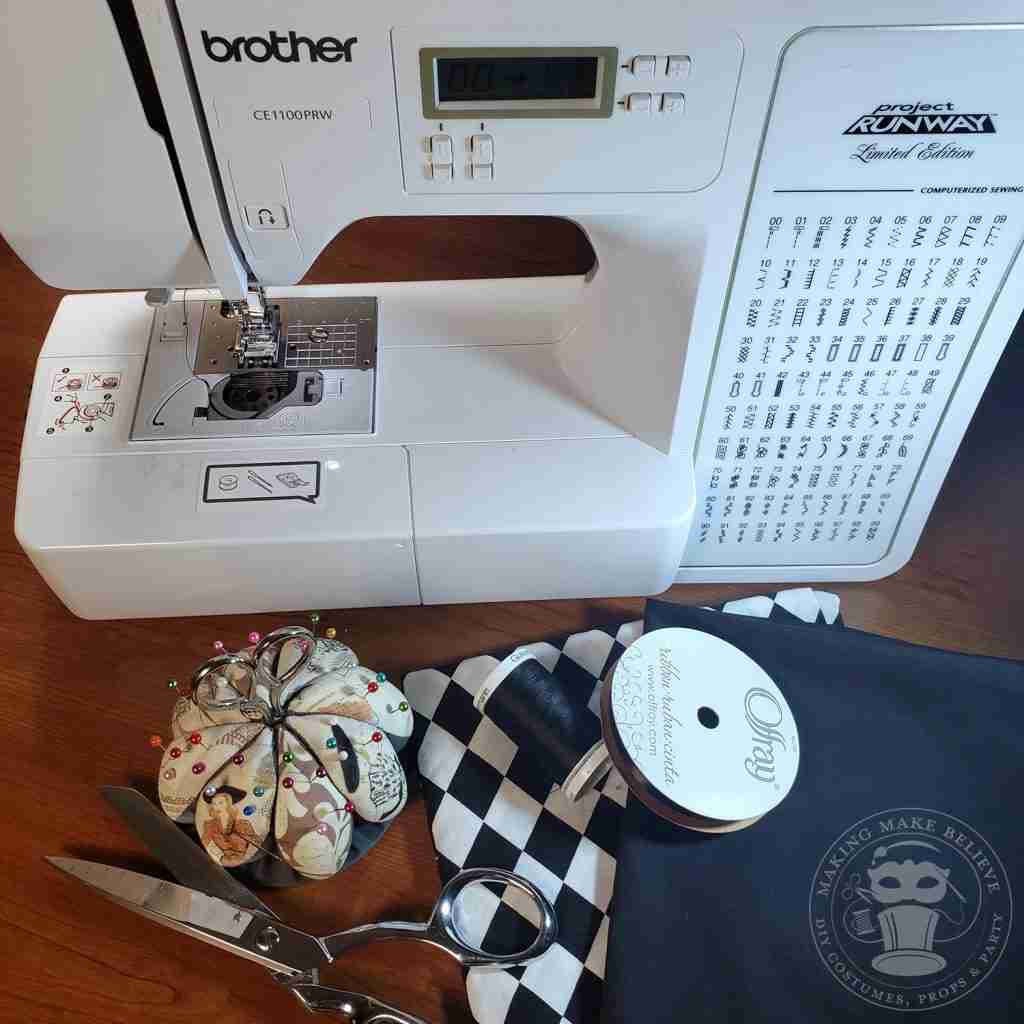
We will need some thread, scissors, pins or clips, a needle or sewing machine, and some 1/4″ ribbon or cording. We will also grab a measuring tape or yardstick and a disappearing fabric marker or chalk.
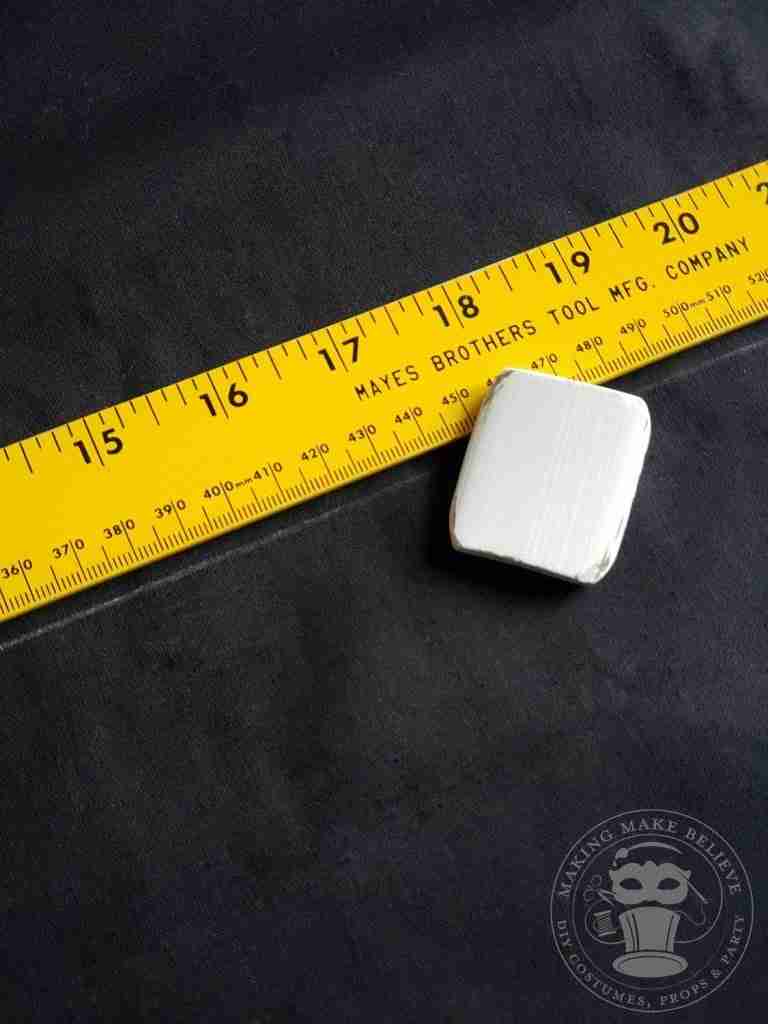
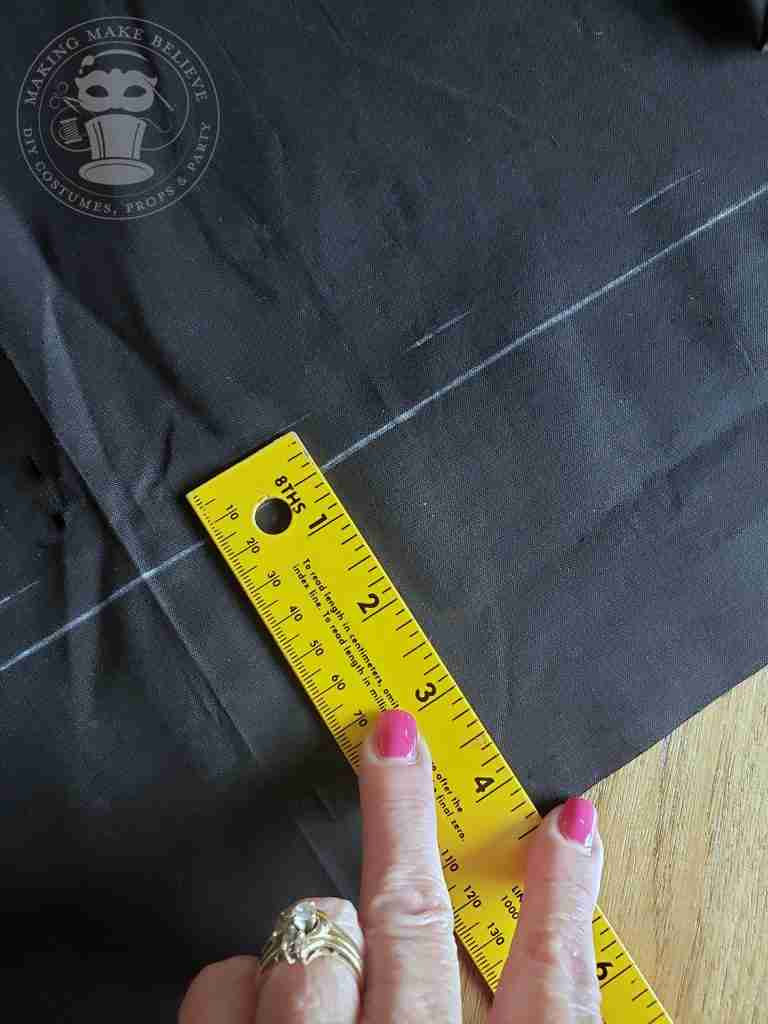
First, lay one fabric on top of the other, right sides together, lining up the edges. Using the yardstick or measuring tape, measure and mark a rectangle approximately 44″ long and 12″ high. Cut out your rectangle.
Just a quick note here. You can use any dimensions you want. Usually, I do the collars a bit longer at around 60″-70″ such as this one I made for our Poncho Clown, but I have a limited amount of these fabrics on hand so we’re going shorter today.
Separate your fabrics. With right side up, measure and mark 4″ down from the top across one end of one of your fabrics using a disappearing ink pen or chalk. Repeat this process marking at 4 1/2″ down.

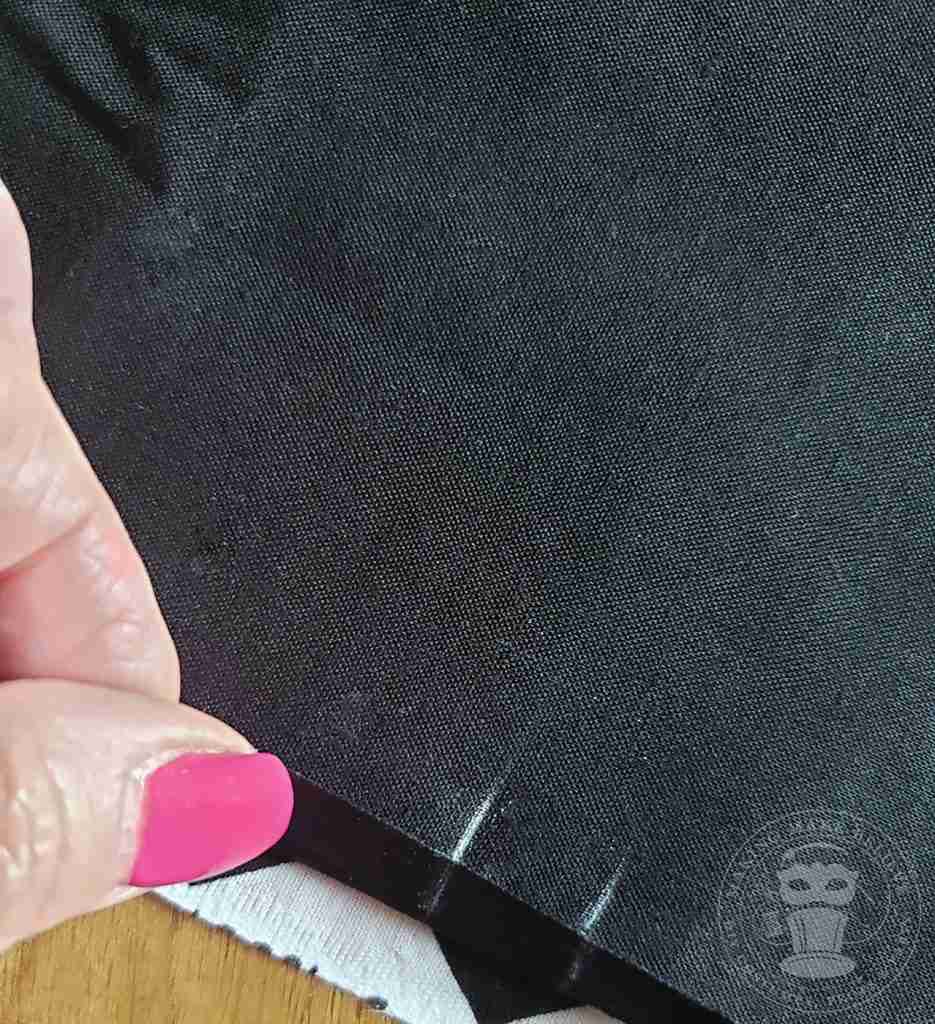
Place your fabrics right sides together. Transfer your 4″ and 4 1/2″ marks to the wrong sides of the fabric along the short ends. These areas will be left open as we stitch around the rectangle.
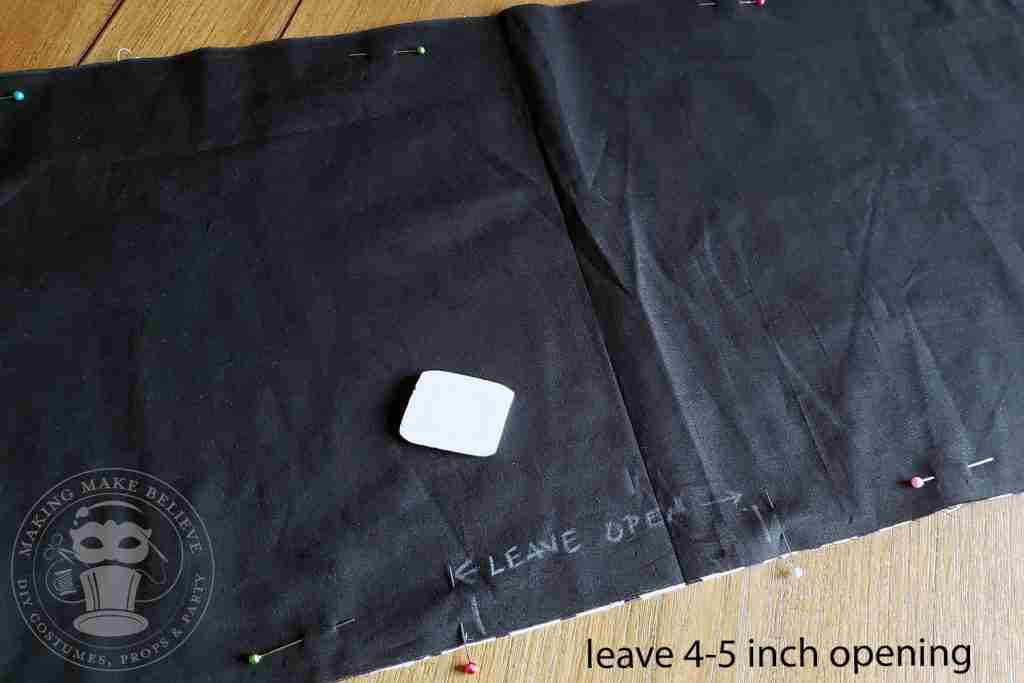
Pin or clip the fabrics together.
Mark an opening of 4-5″ along the bottom center of the rectangle. You will leave this area open when you stitch so you can turn your collar right side out.
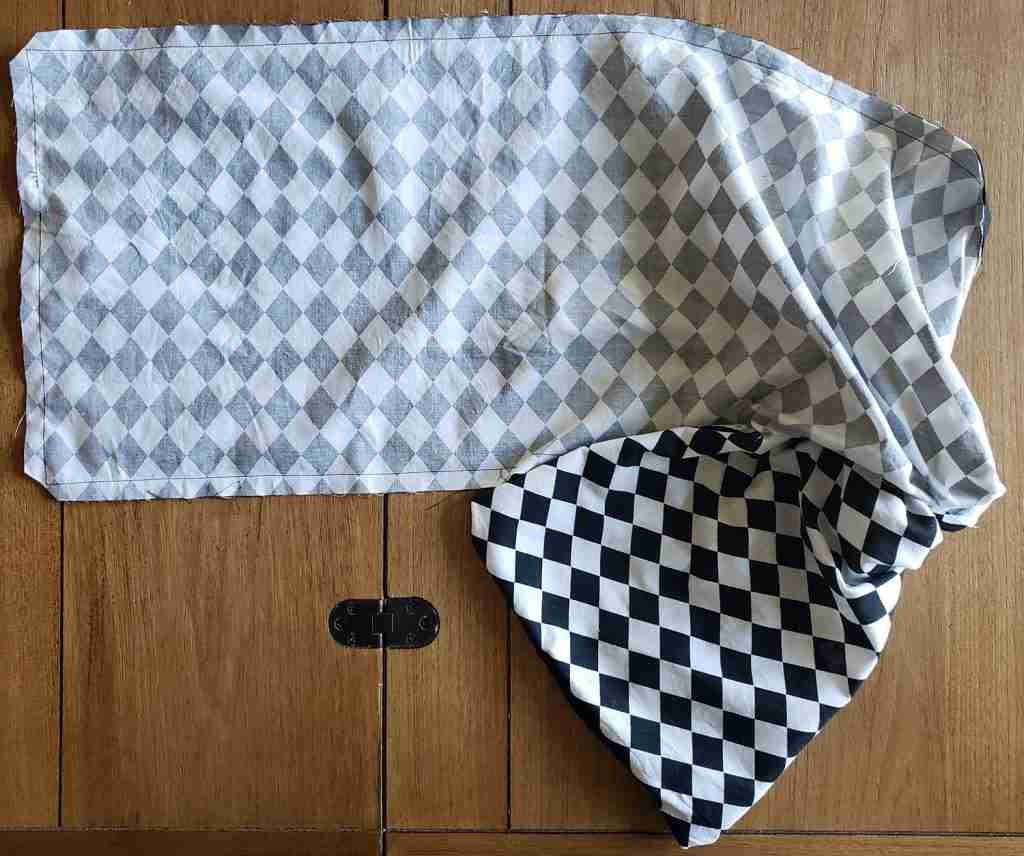
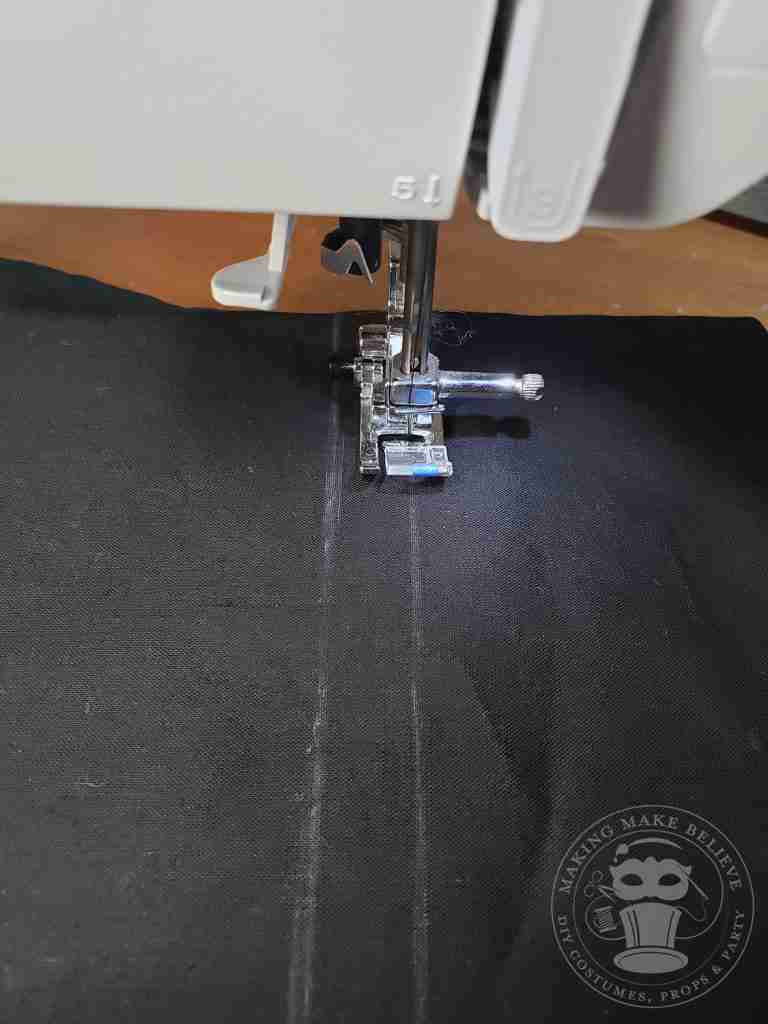
Stitch around the rectangle, being mindful of the openings. I used a straight stitch on my machine and a 1/2″ seam allowance.
Clip your corners and turn your collar right side out.
Topstitch along your top mark from end to end. Repeat for the second mark creating a casing or channel for your ribbon.
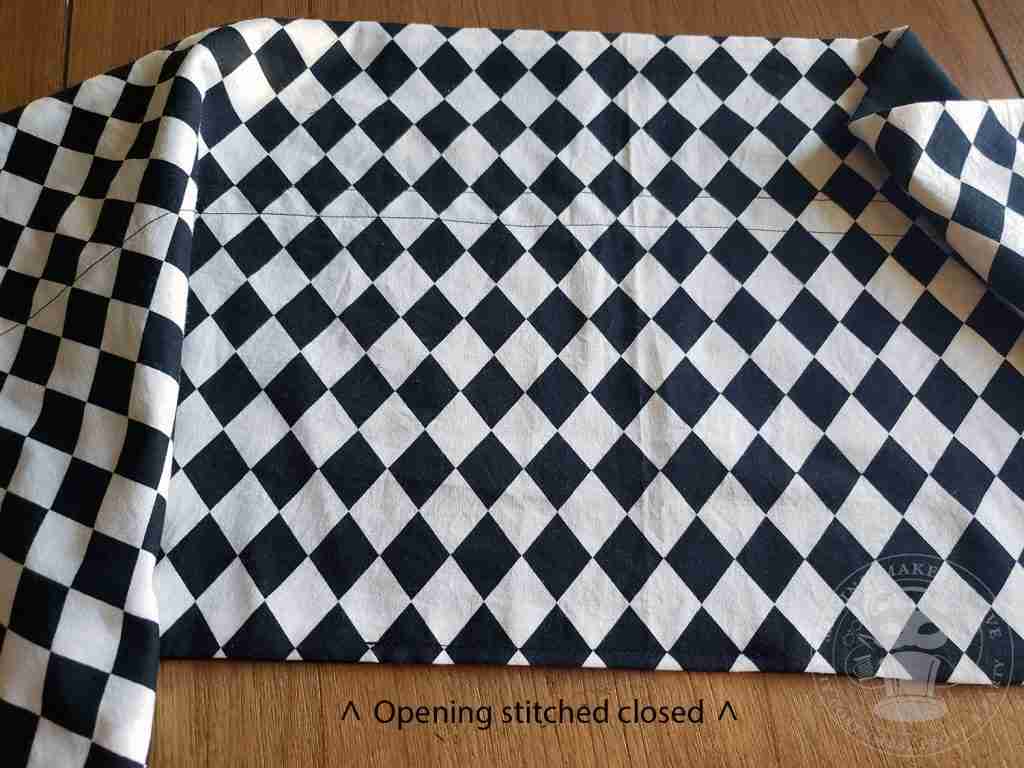
Close the opening along the bottom edge using your machine or hand-stitching.
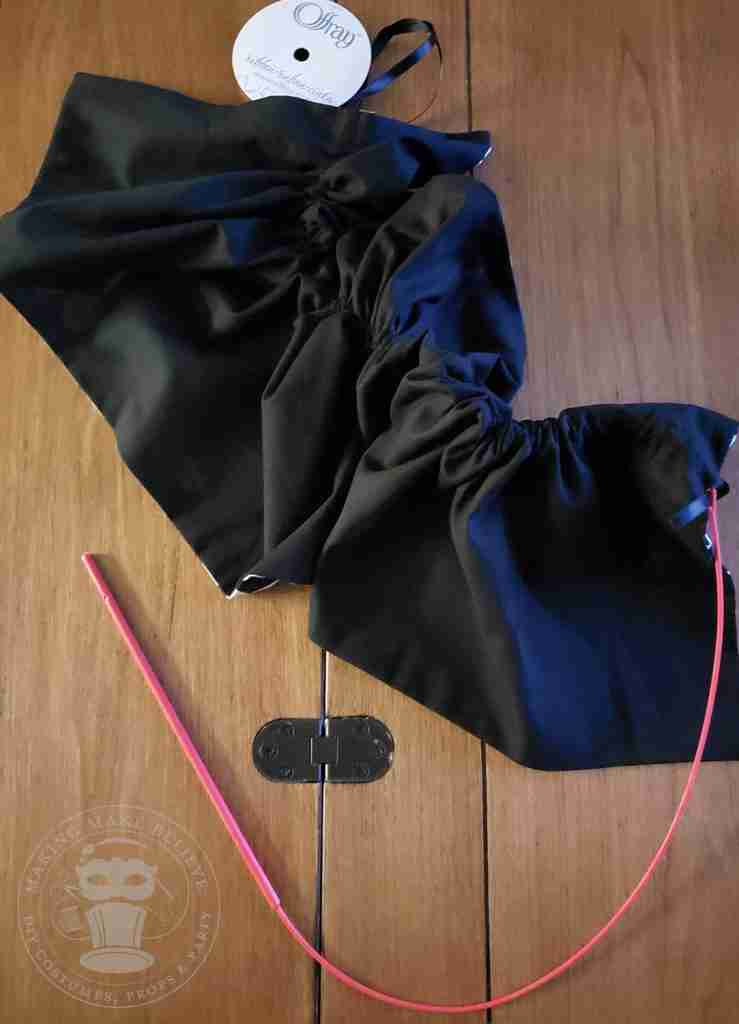
Thread your ribbon through the casing, making sure you leave enough length on your ribbon to tie a bow.
You can thread your ribbon through the casing using a safety pin. I prefer a Drawstring Threader, which makes quick work of it.
And, that’s all there is to it.
You can add trim if you like or move the casing to the center, or make your collar thinner or longer. It’s all just a matter of personal preference.
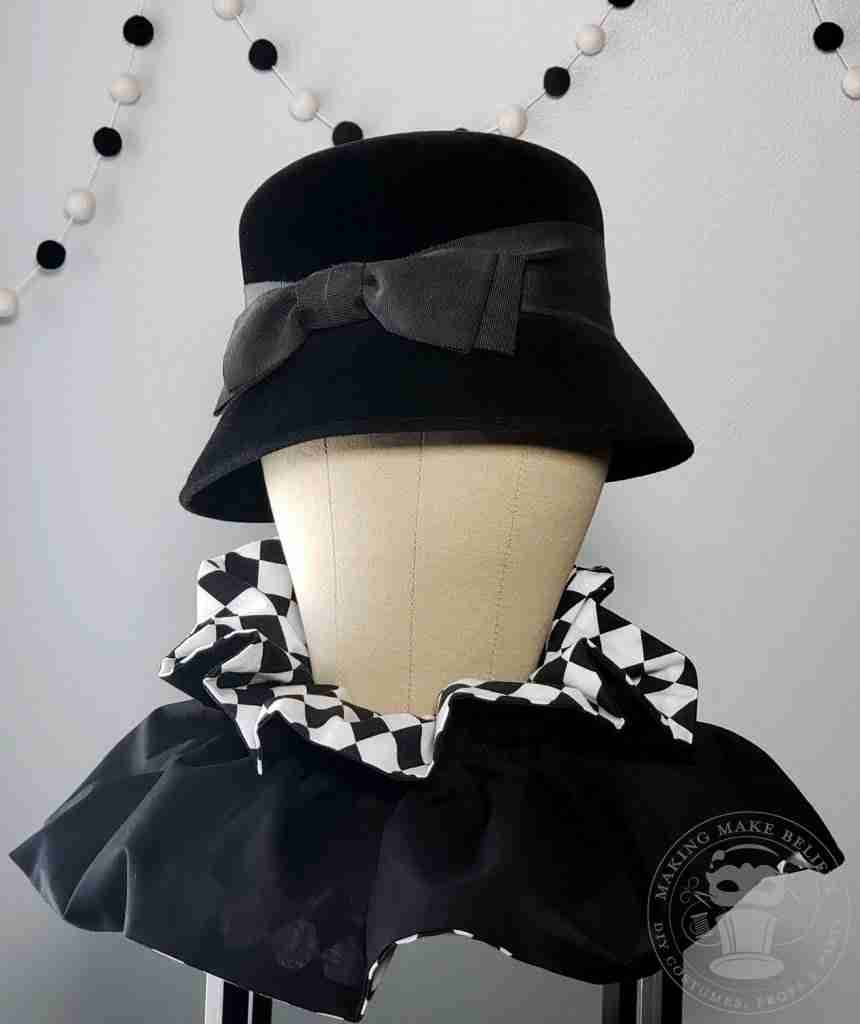
These are so simple to make and customize. These are easy to wear, adjusts to any size, and this method gives you two looks in one.
It’s a win-win for me, but what do you think? Can you see yourself sporting a ruffle collar with a non-clown costume, or will you keep this one solely for the circus?
Let me know on Instagram or Facebook.
Until next time.
Join us and get access to our Haunted Library stocked with templates, printables, cut files, and exclusive content. Plus, you’ll receive Eerie Emails just for our subscribers.
*Stay as long as you like. Unsubscribe at any time.