
3.1K


Materials:
- Lace
- Acrylic craft paint
- Fine glitter
- Trim and embellishments (optional)

Supplies and tools for Easy Lace Crowns
Steps:

Measure and cut lace

Coat Lace with Stiffener

Hang lace to dry
.

Paint Lace
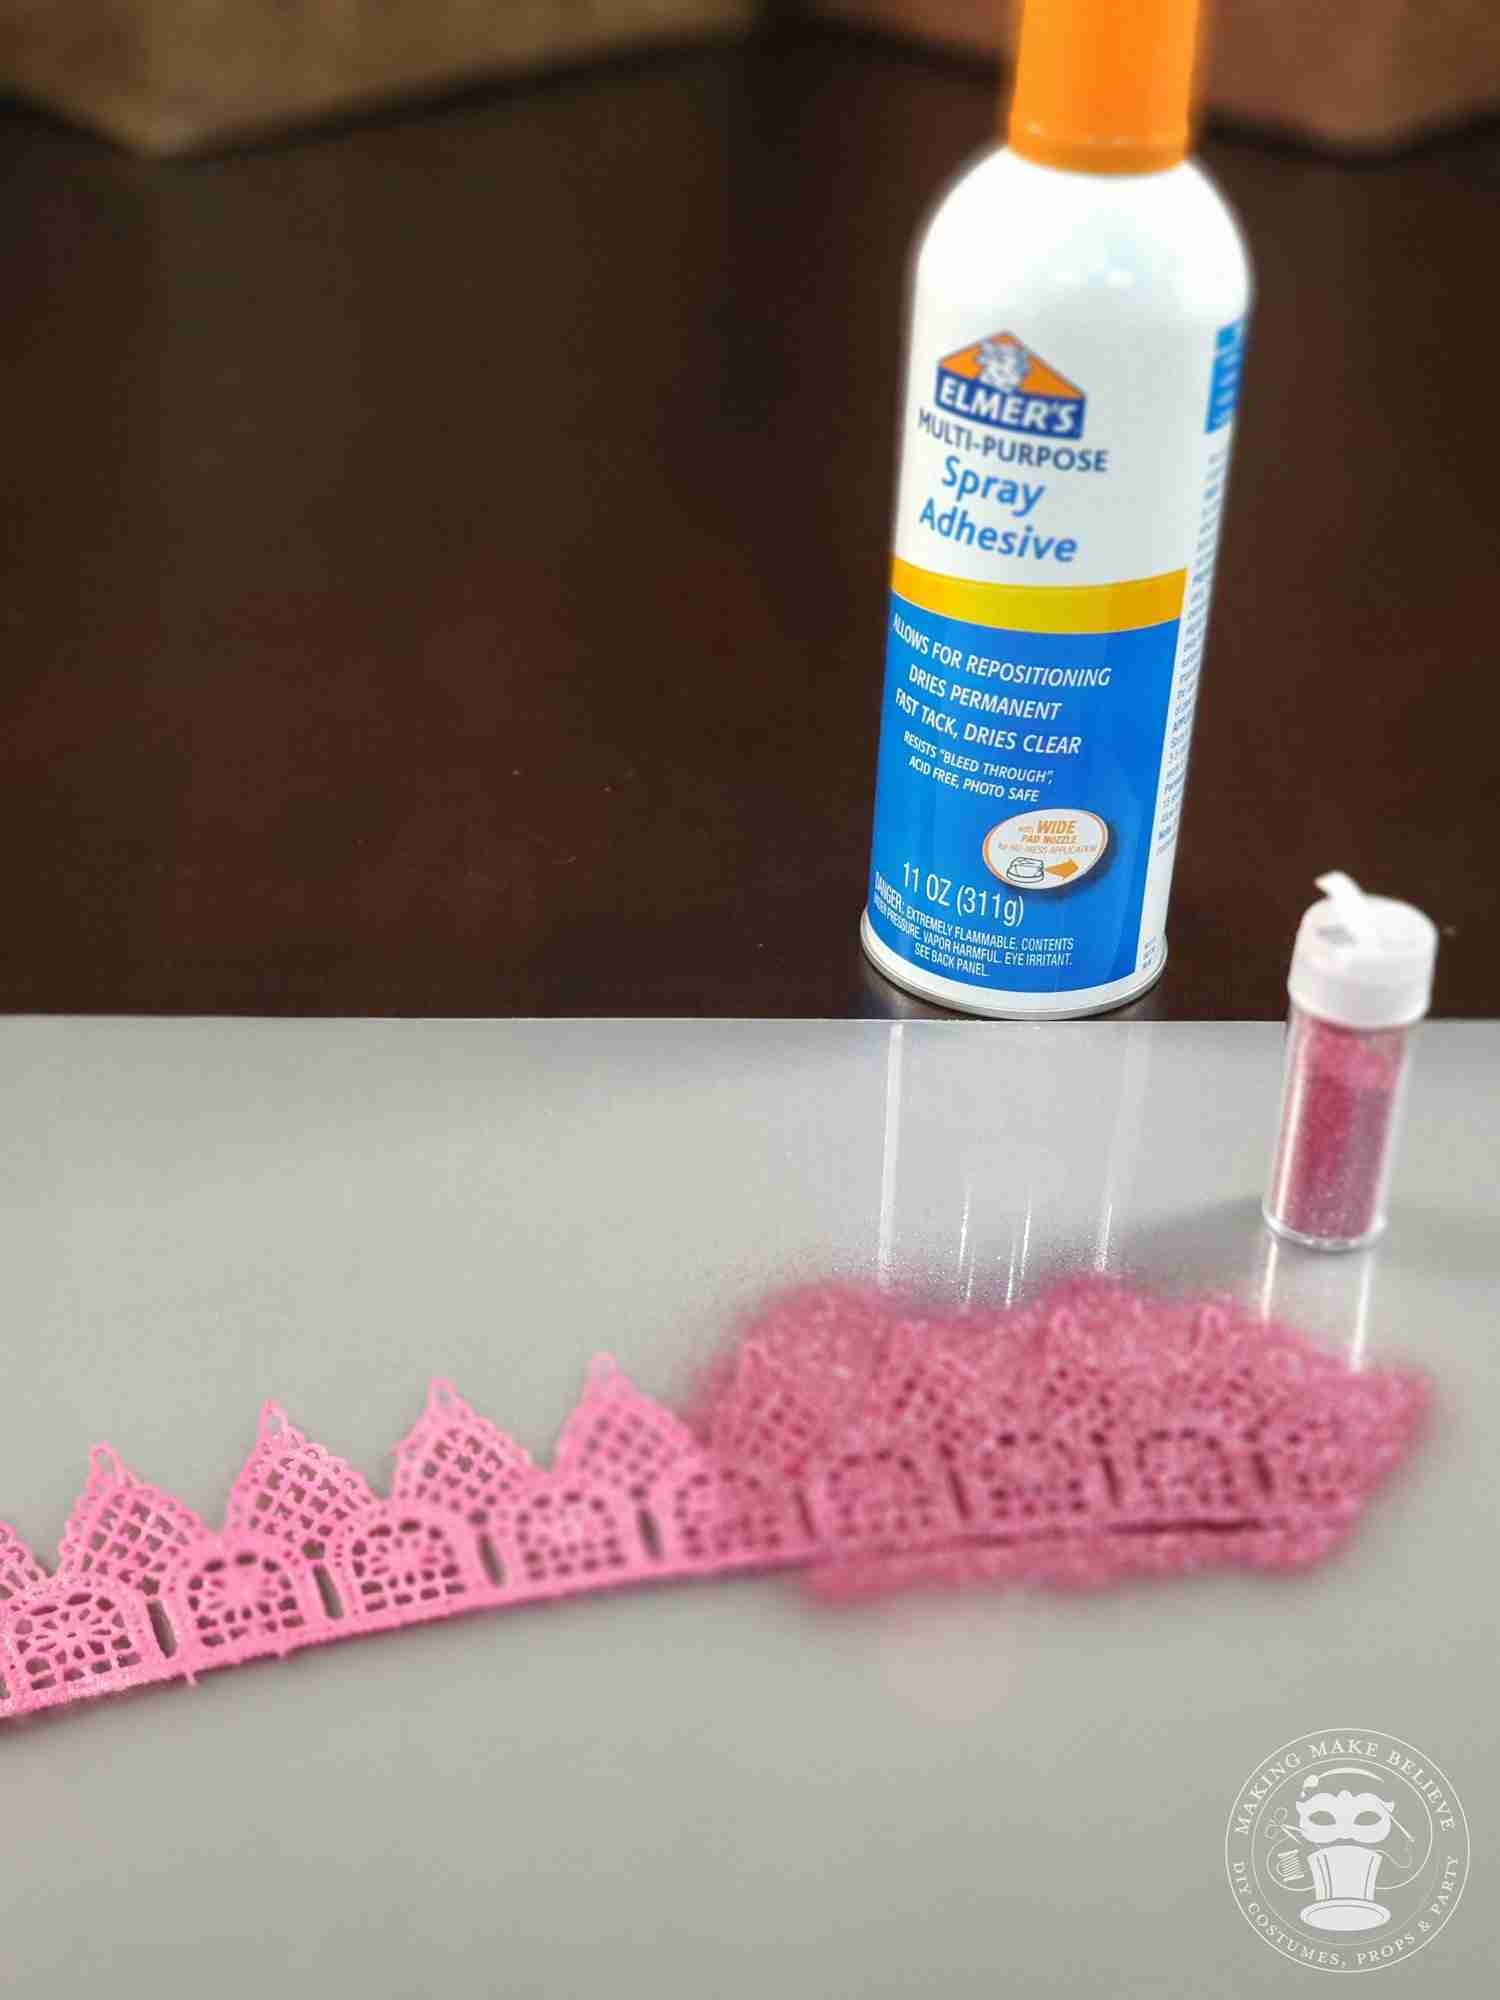
Apply glitter

Clear Coat and Glue

Embellish With Trim
