
In my haunted house, this month marks the unofficial kickoff of the spooky season. Evan as the sweltering late-summer days begin their slow transformation toward autumn, I know we aren’t completely out of the heatwave woods just yet. But I can finally see that soft, shadowy light at the end of the tunnel.
These turning pages of the calendar always stir up my favorite kind of anticipation – long evenings made for cozy crafting, comfort foods, and curling up under a throw with a good ghost story.
Autumn is the ultimate season for slow, comforting creative pursuits. While my summertime stitching took a back seat to outdoor activities, I am so ready to trade sunny porch time for a stove brimming with spiced aromas, a classic spooky film on the screen, and needle and thread in hand.
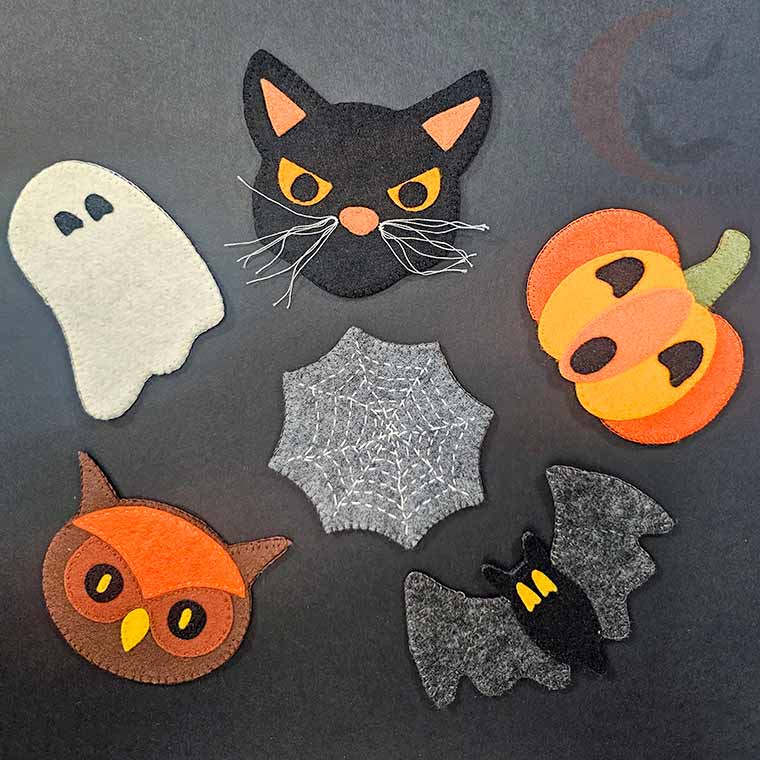
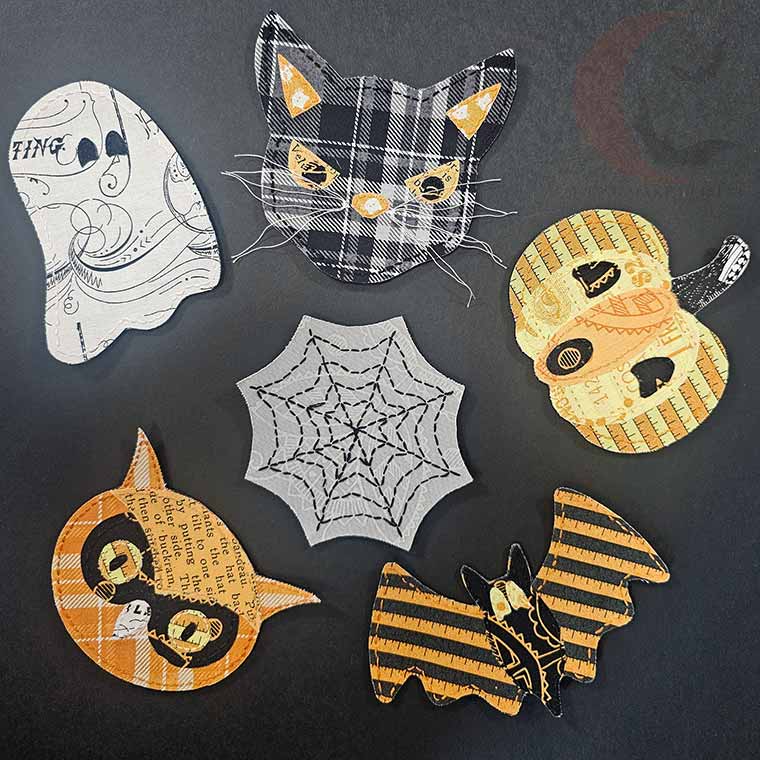
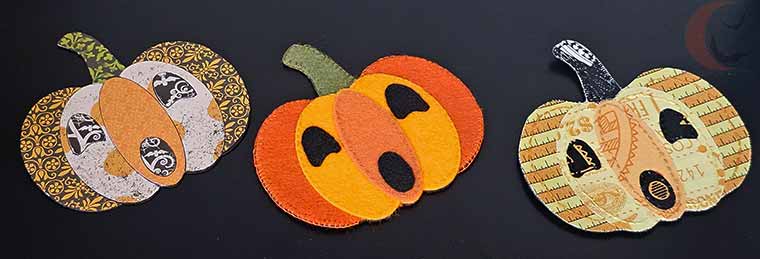
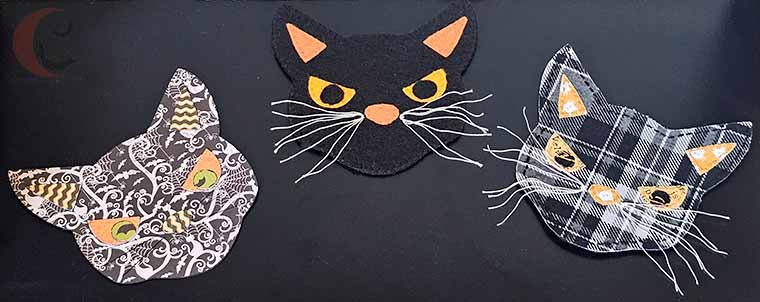
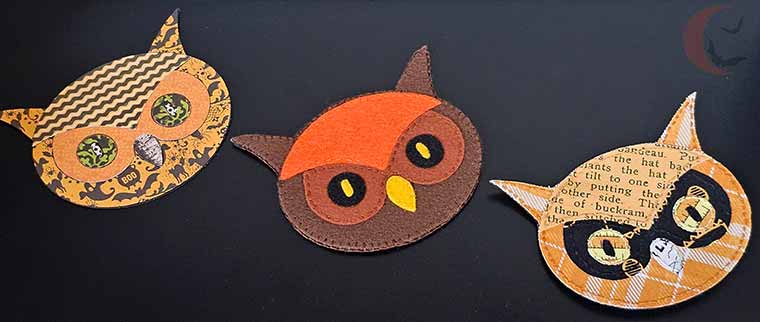
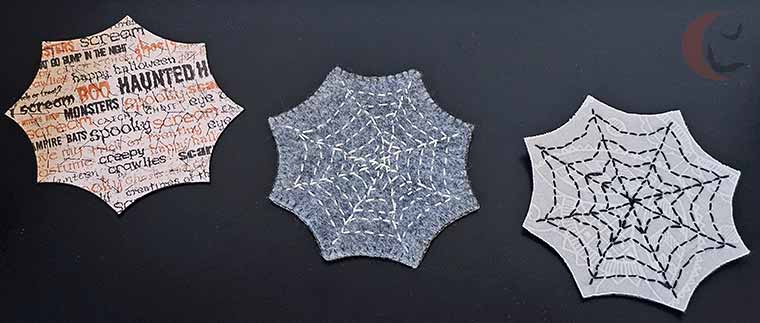
To celebrate the season stirring, I’m thrilled to introduce The All Hallows’ Curio Collection – our brand new 6-piece Halloween ornament pattern! Featuring a nostalgic crew of six classic spooks – a friendly ghost, fluttering bat, startled jack-o’-lantern, sly black cat, wise old owl, and delicate spider web – this versatile pattern set is designed for slow, mindful making. Whether you prefer to stitch them up in soft felt, colorful cotton fabrics, or cut them from vintage-inspired cardstock, these little icons are ready to haunt your autumn home.

Loving these vintage-inspired felt, fabric, and paper icons? Don’t let this project get lost in the autumn breeze! Hover over any image in this post or click the pin button below to save these 6 handmade ornament patterns to your Pinterest boards for later.
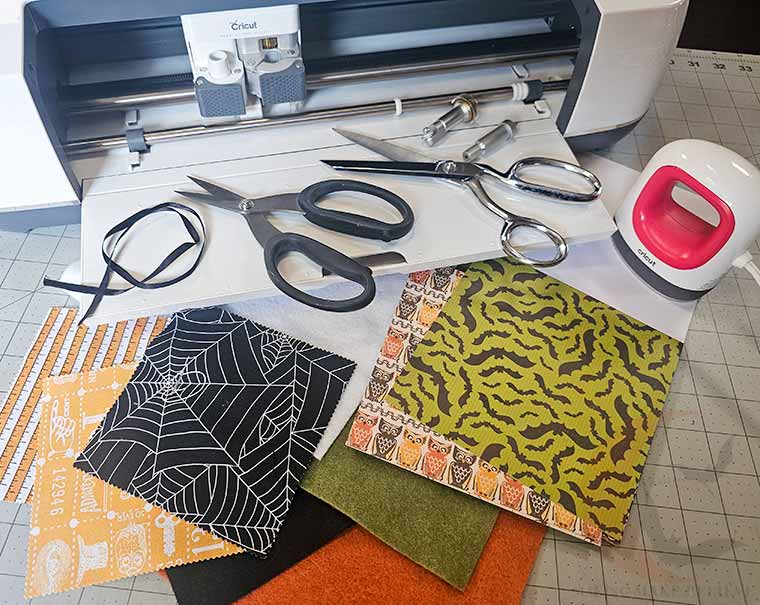
For this project, we will need a cutting machine or scissors plus:
Version I – Felt
Craft or wool felt in assorted colors
Black craft felt for backing
Iron-on adhesive such as Pellon 805 Wonder-Under
Iron and ironing mat
Ribbon, thin cording, yarn, or similar (for loop hanger)
Embroidery floss and needle (optional for embellishment)
Version II – Fabric
Cotton fabric in assorted colors – I’m using the Riley Blake Costume Maker’s Act II 5 Inch Stacker Charm pack
Black stiffened felt for backing
Iron-on adhesive such as Pellon 805 Wonder-Under
Iron and ironing mat
Ribbon, thin cording, yarn, or similar (for loop hanger)
Embroidery floss and needle (optional for embellishment)
Version III – Scrapbook Paper & Cardstock
Scrapbook paper or cardstock in assorted colors – I’m using the Paper Studios Jeepers Creepers collection
Black cardstock for backing
Adhesive – I’m using Uhu Glue Stick
Ribbon, thin cording, yarn, or similar (for loop hanger)
Fine-point black marker (optional for embellishment)
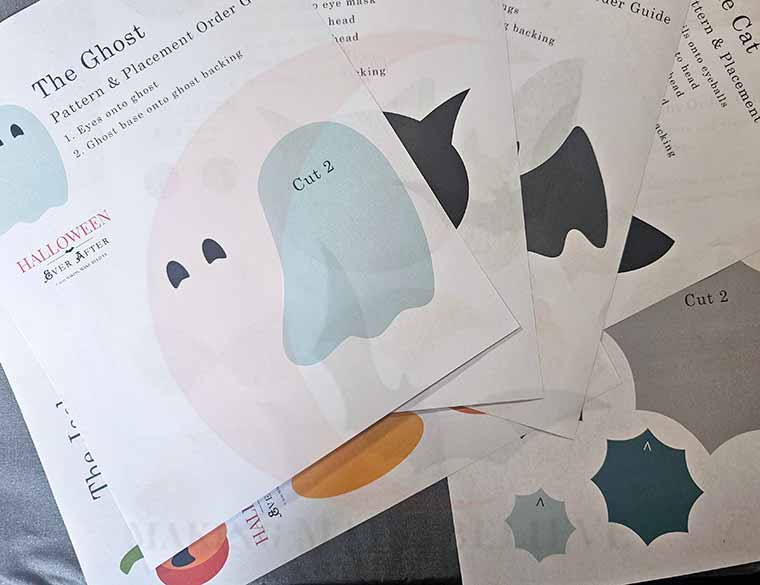
We will also need the The All Hallows’ Curio Collection from the Hauntingly Yours Shop. This collection includes the templates for six Halloween ornaments of familiar spooky icons: cat, bat, spider web, ghost, Jack o’lantern, and owl. Your download includes SVG files for machine cutting and PDF files for cutting by hand as well as a Placement Guide for easy assembly.

Whether you prefer to cut your ornaments with a cutting machine like a Cricut or with scissors, we’ve got you covered.
For hand cutting, download the PDF, print and cut out the templates, and trace them onto felt, fabric, or scrapbook paper/cardstock. Follow instructions below specific to your material and then cut the pieces by hand.
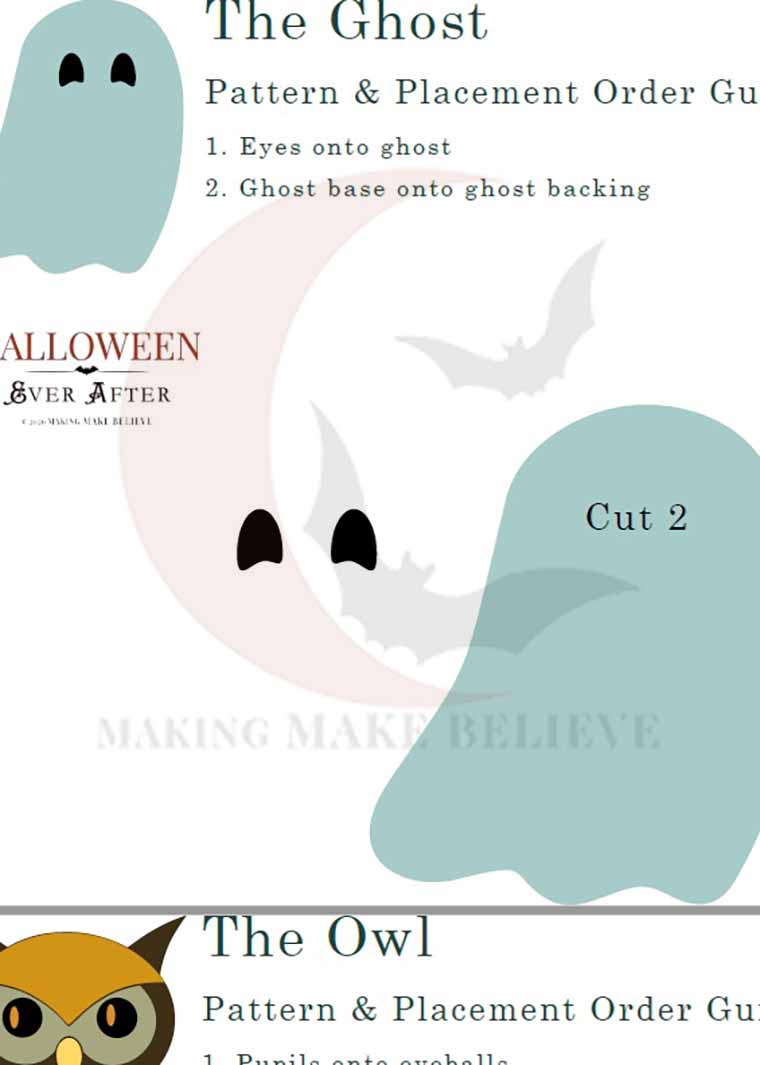
For machine cutting, upload the SVG into your favorite design software, such as Cricut Design Space, and see the recommended mats, blades, and cut settings for each version below.
Note that the settings listed are what I used; I encourage you to experiment or use the settings you’ve had success with in the past.
Begin by setting your iron to medium heat with no steam, and cut a piece of Pellon 805 Wonder-Under the size of your felt square.
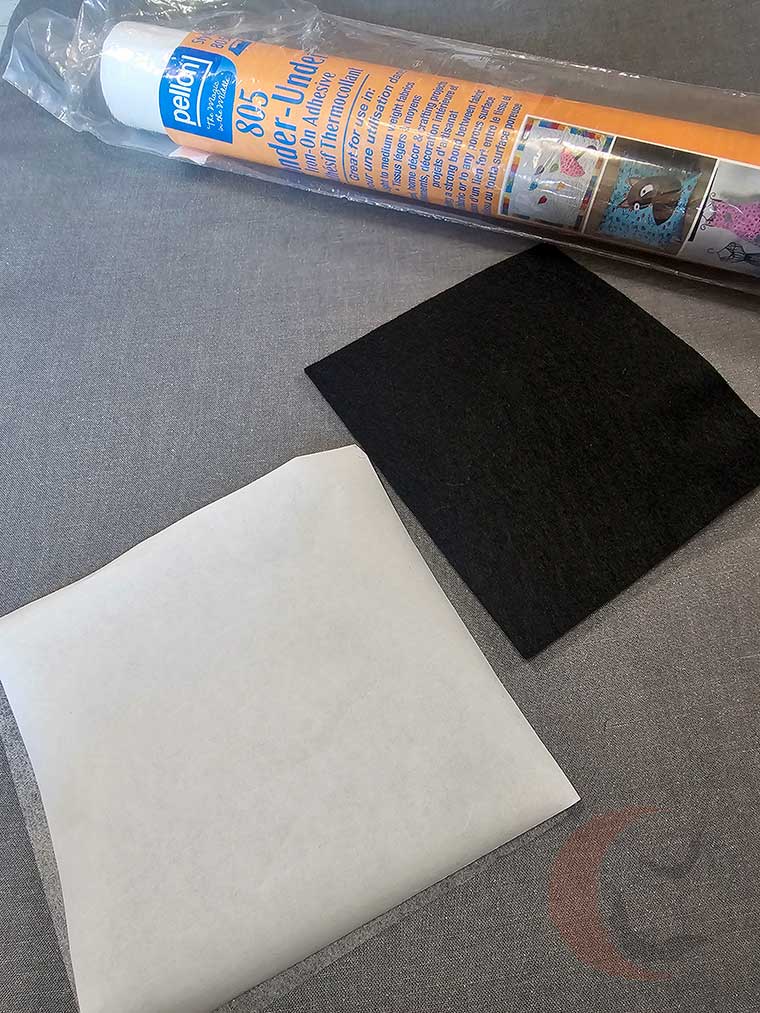
Place the adhesive (rough) side of the Wonder-Under down onto the backside of your felt and press for a few seconds.
If you are using acrylic craft felt instead of wool felt, it is best to keep the iron moving in a circular motion to prevent the felt from melting. Do this gently so you don’t stretch the felt fibers.
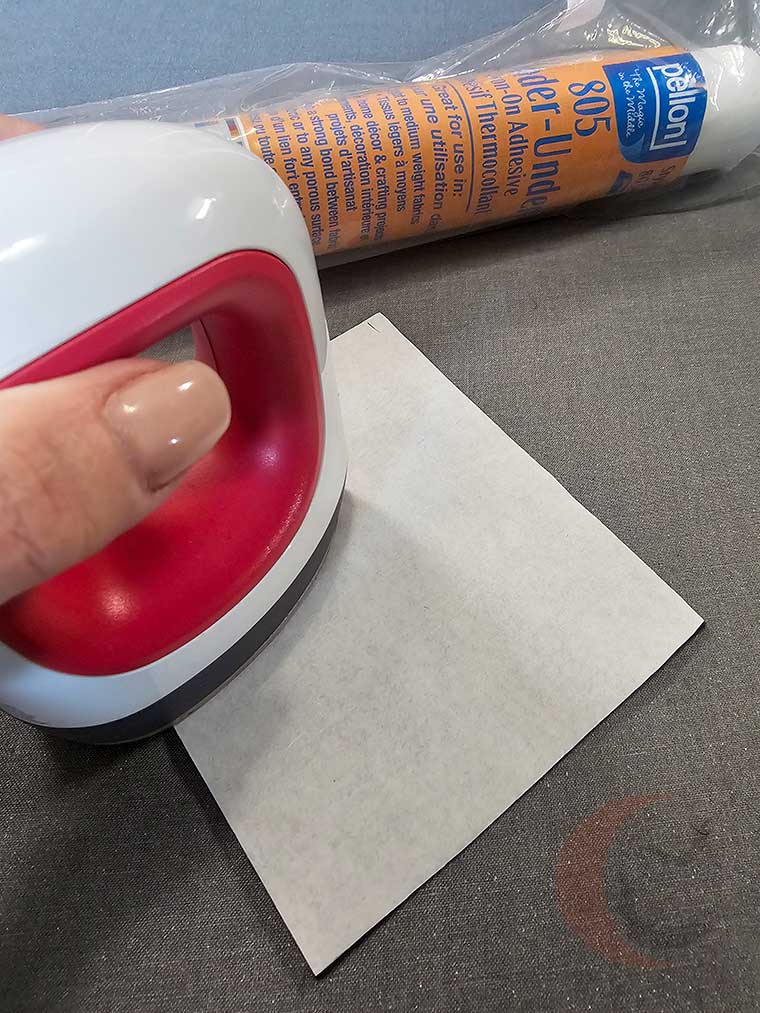
Leave the backing paper on and allow the piece to cool.
Repeat this process for each felt color, except the black felt backing piece.
Remove the paper backing from each piece of felt. We’re going to need the paper backing again later but if you accidentally rip or misplace it, grab some parchment paper.
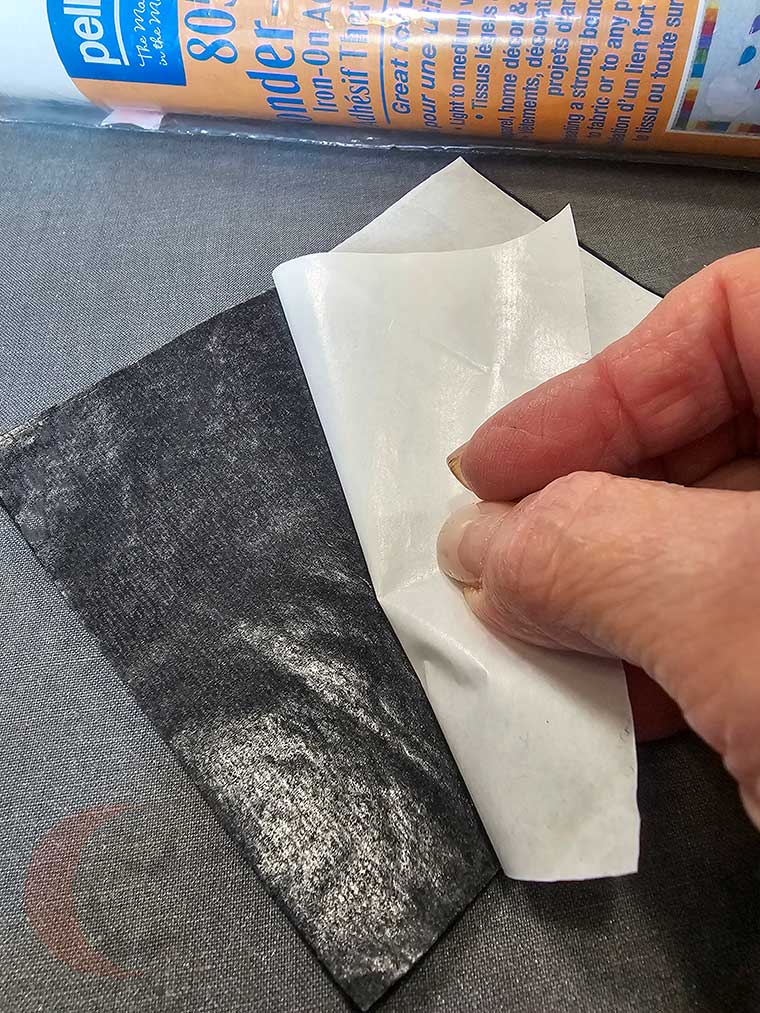
Cut the elements for each Halloween ornament from the felt using the FabricGrip Mat, a Rotary Blade, and the Cricut Felt, Acrylic Fabric setting. I also like to set the pressure level to More.
Place the felt right side up, Wonder-Under side down, and ensure it is firmly stuck to the mat.
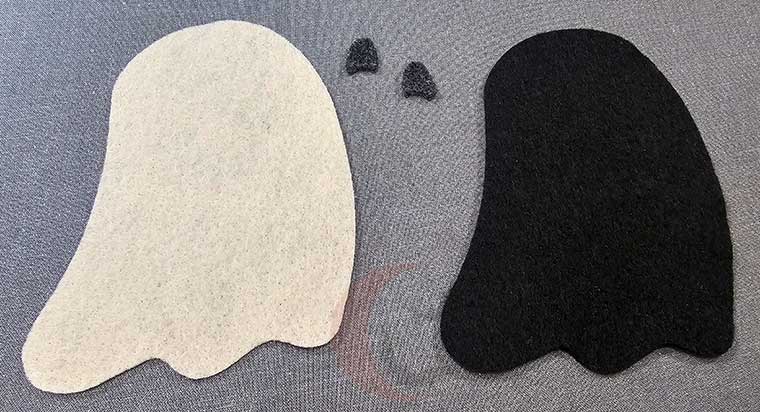
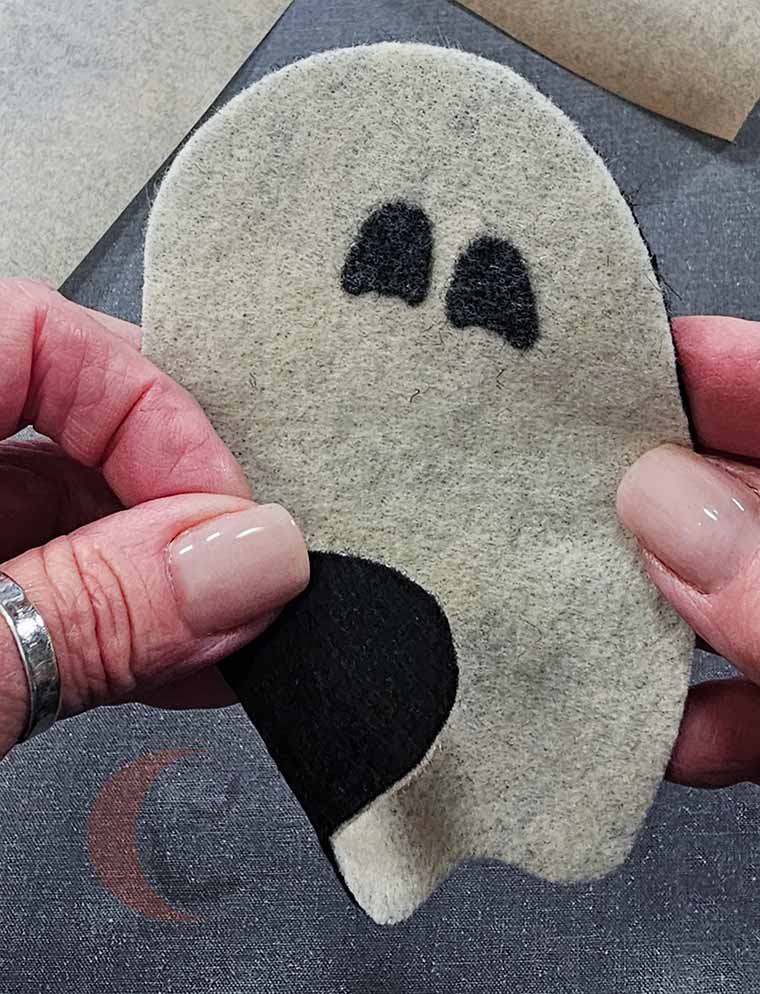
Using the included Placement Guide found in your download, adhere the pieces to the base in the order specified.
Remember that piece of backing paper I mentioned to keep ahold of earlier? Slip it or a piece of parchment paper under the ornament to protect your ironing mat. I also like to place a piece of parchment paper on top of the pieces before ironing to protect the surface of the felt.
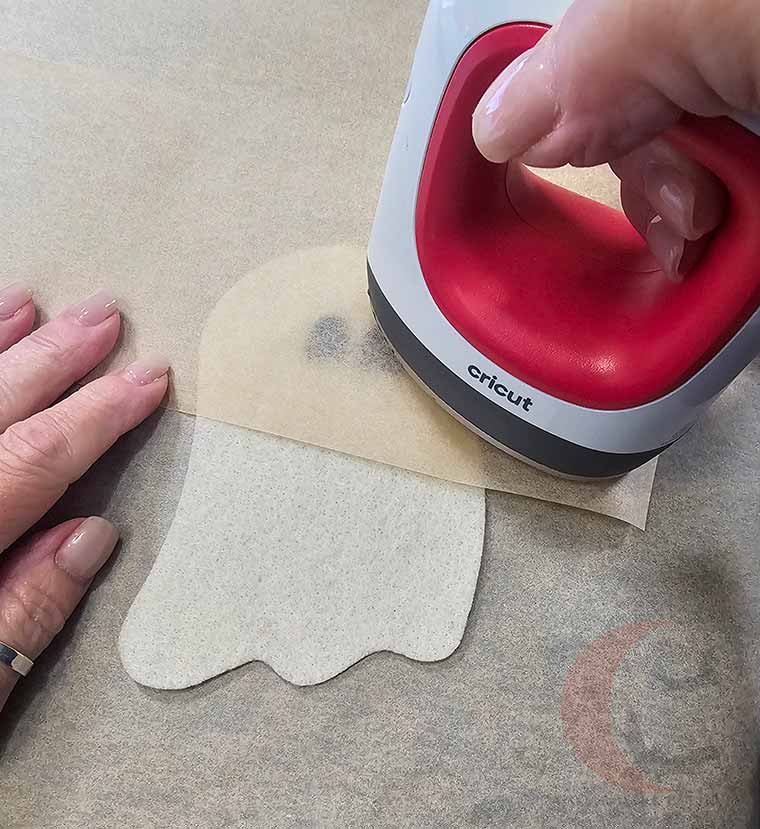
Place the first element onto the ornament base and press it firmly into place.
Repeat with the remaining elements.
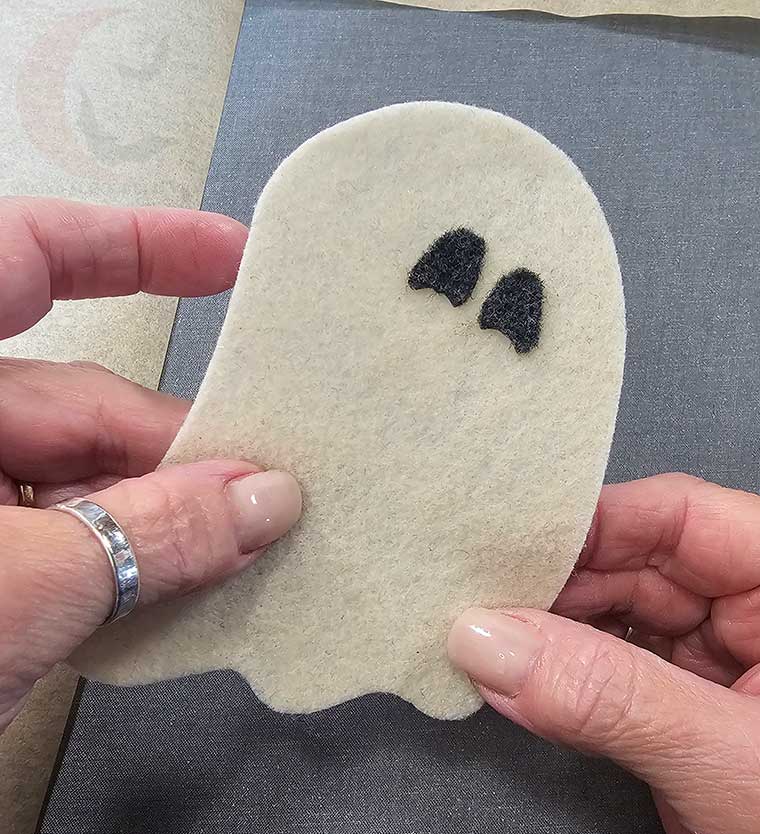
If desired, accent the interior elements using a small straight stitch and the exterior with a blanket stitch.
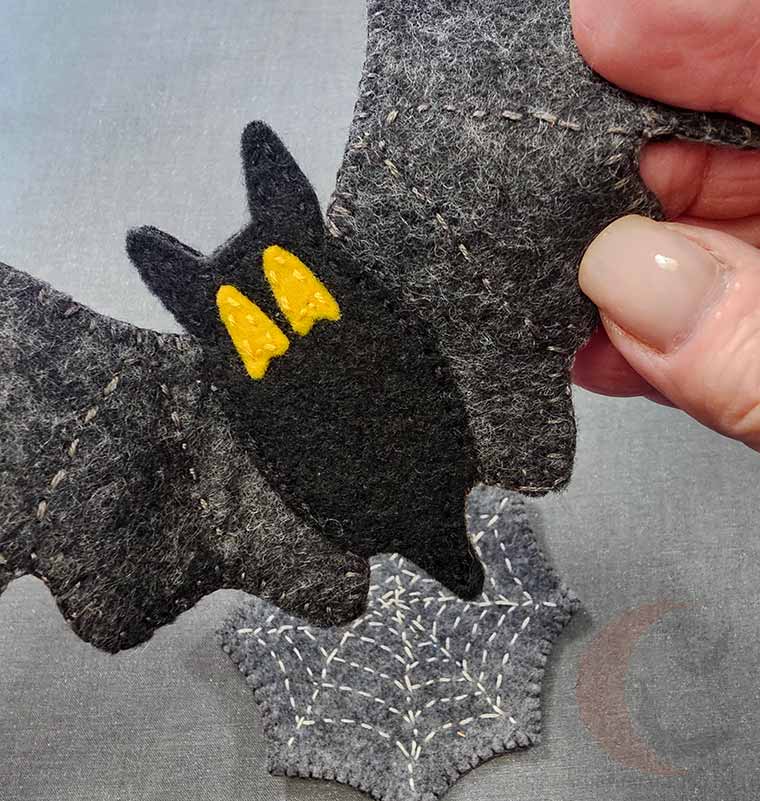
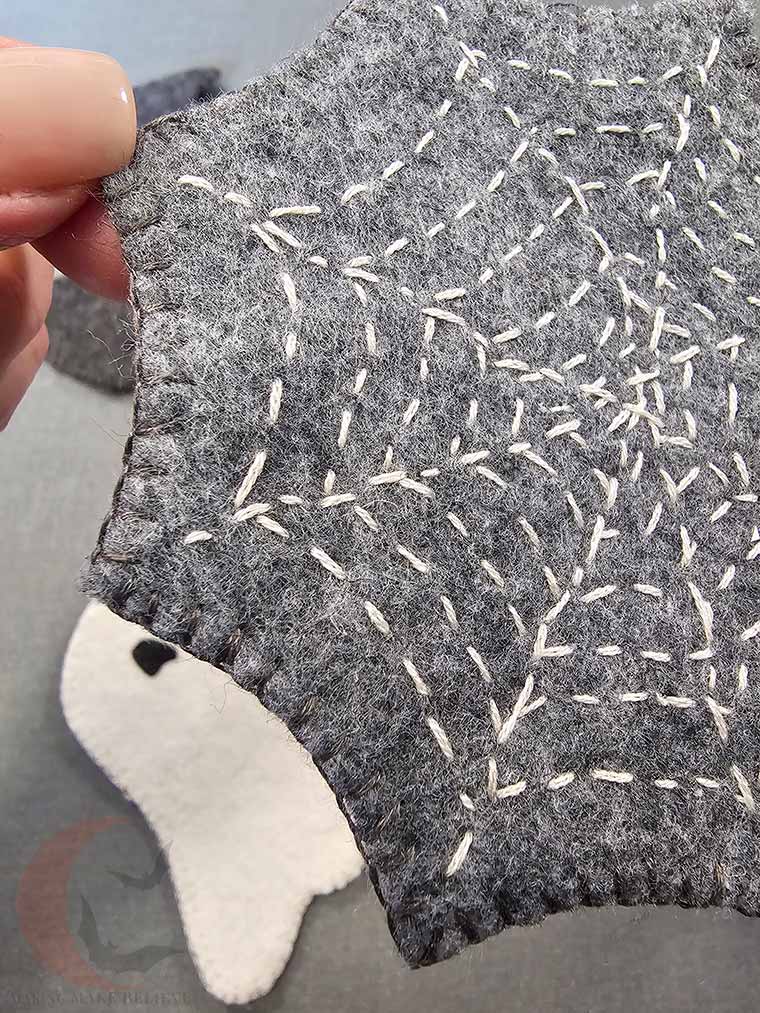
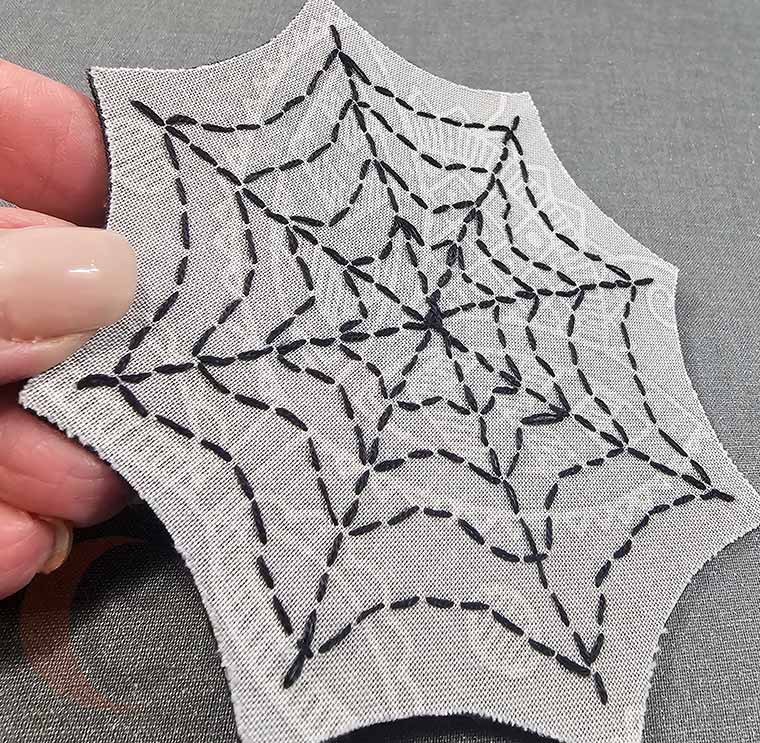
For the bat, straight stitch to emphasize wings and for the web, straight stitch spider webbing.
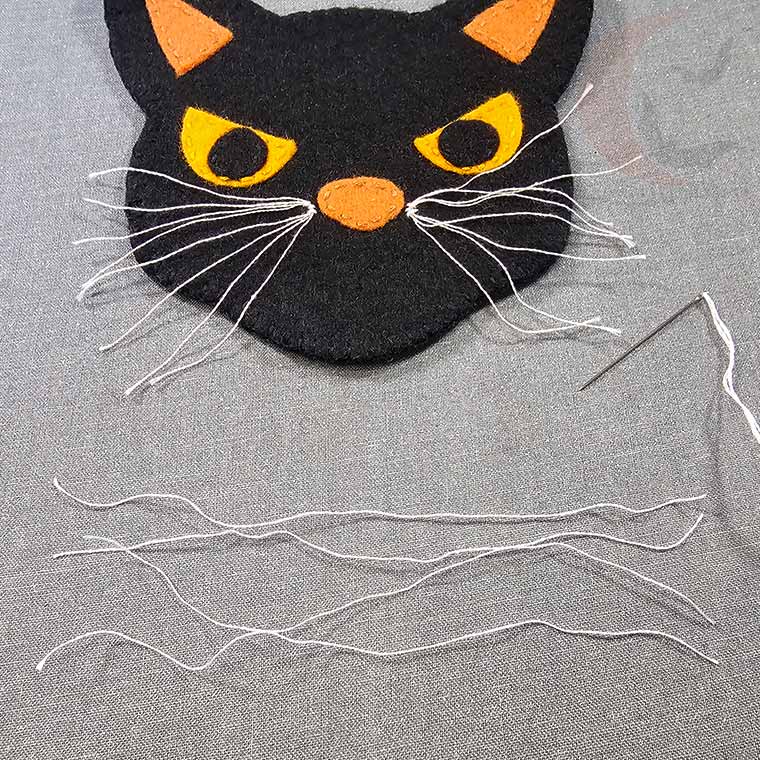
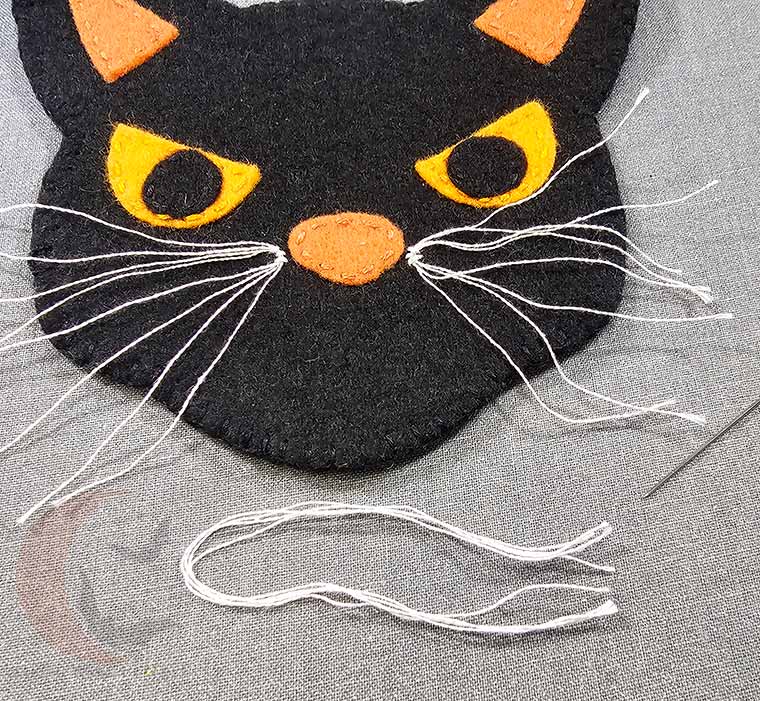
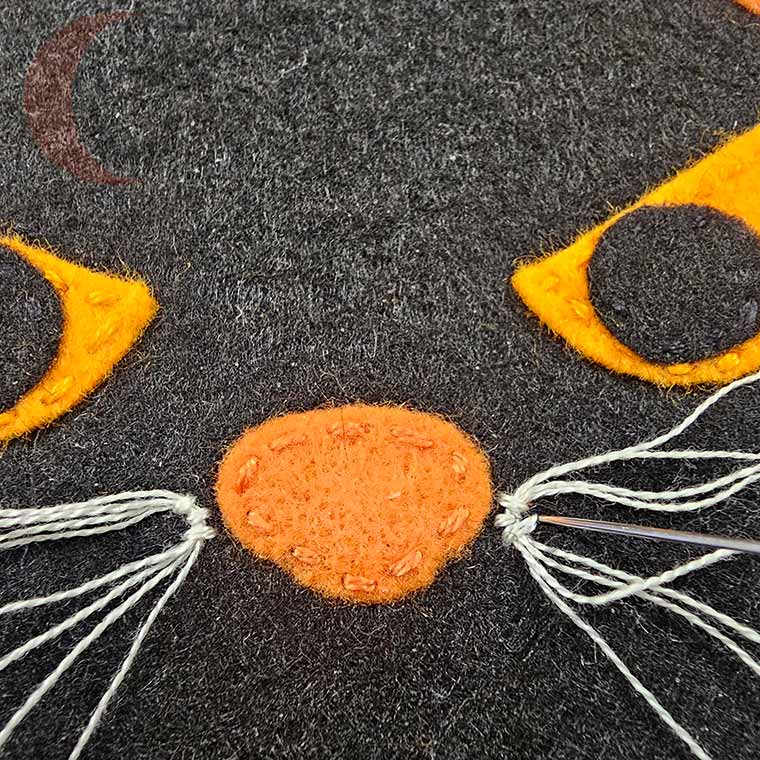
To make the whiskers for the cat, cut 4 5” strands of embroidery floss. Even up the strands, fold them in half, and then stitch the strands onto the cat next to the nose.
Repeat for the other side.
Form a hanger by fashioning a loop from ribbon, thin cording, or yarn. Slip the loop between the front layer and back layers near the top center of the Halloween ornament.
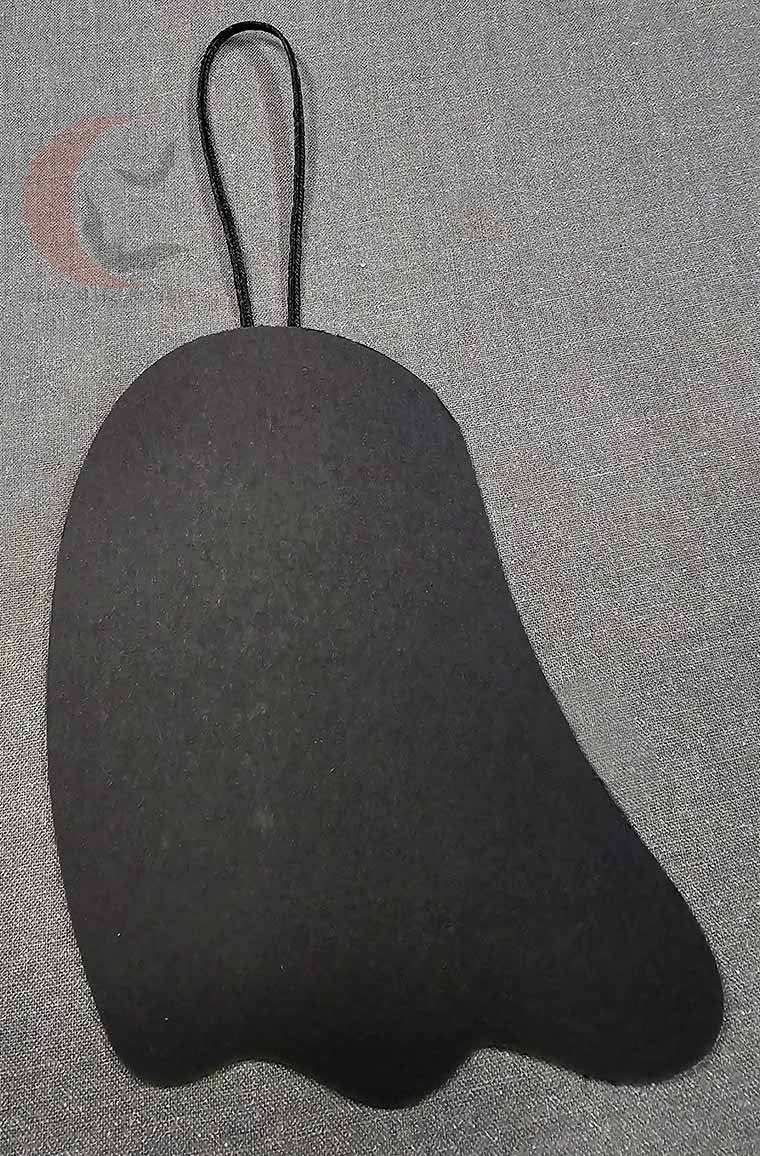
Iron the black felt backing onto the ornament.
Begin by setting your iron to medium heat with no steam, and cut a square of Pellon 805 Wonder-Under the size of your fabric square.
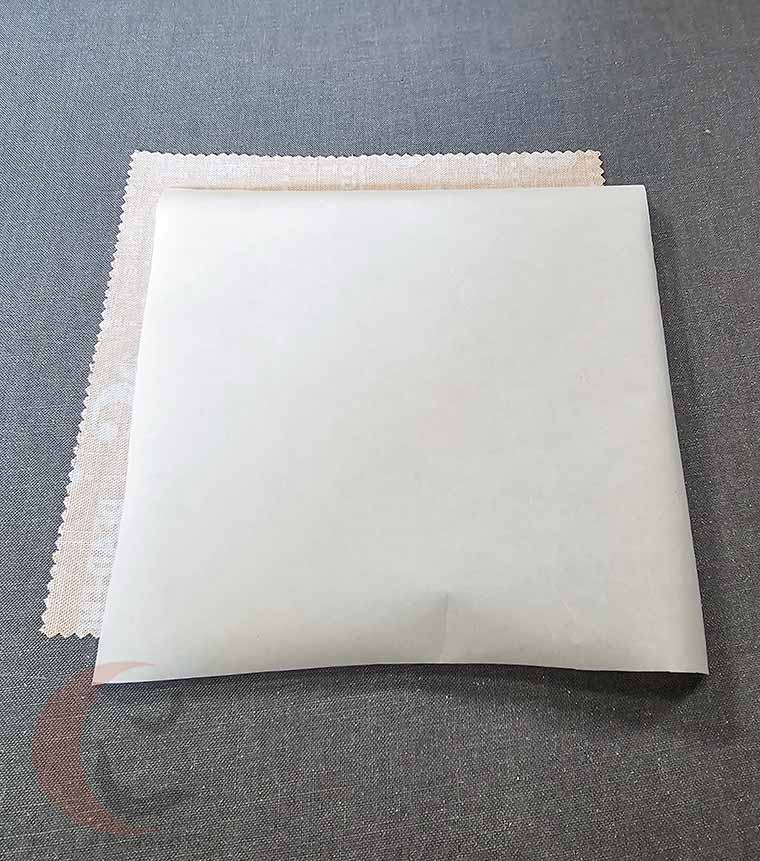
Place the adhesive (rough) side of the Wonder-Under down onto the backside of your fabric and press down firmly for 5-8 seconds.
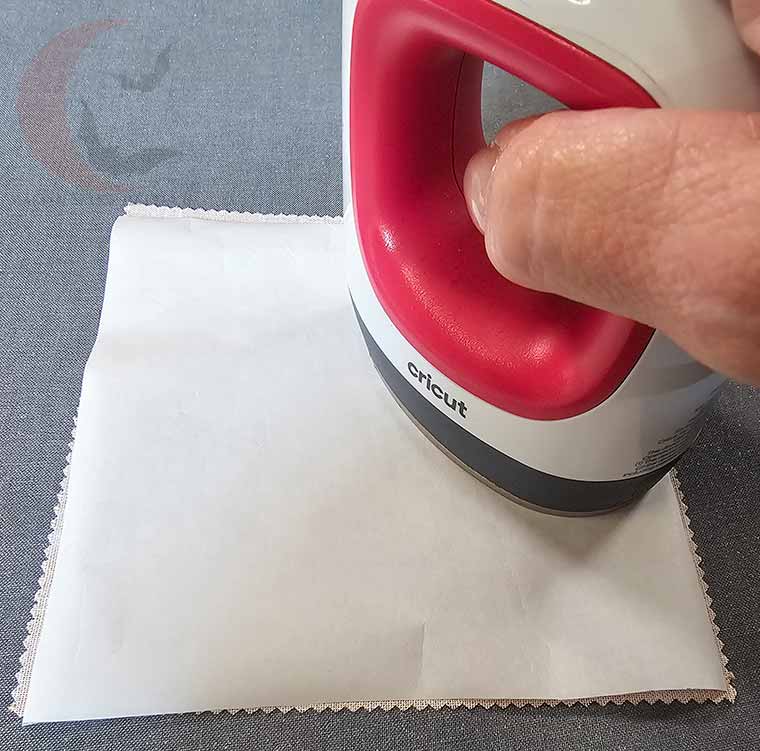
Leave the backing paper on and allow the piece to cool.
Repeat this process for each fabric pattern, except the black stiffened felt backing piece.
Remove the paper backing from each piece of fabric. We’re going to need the paper backing again later but if you accidentally rip or misplace it, grab some parchment paper.
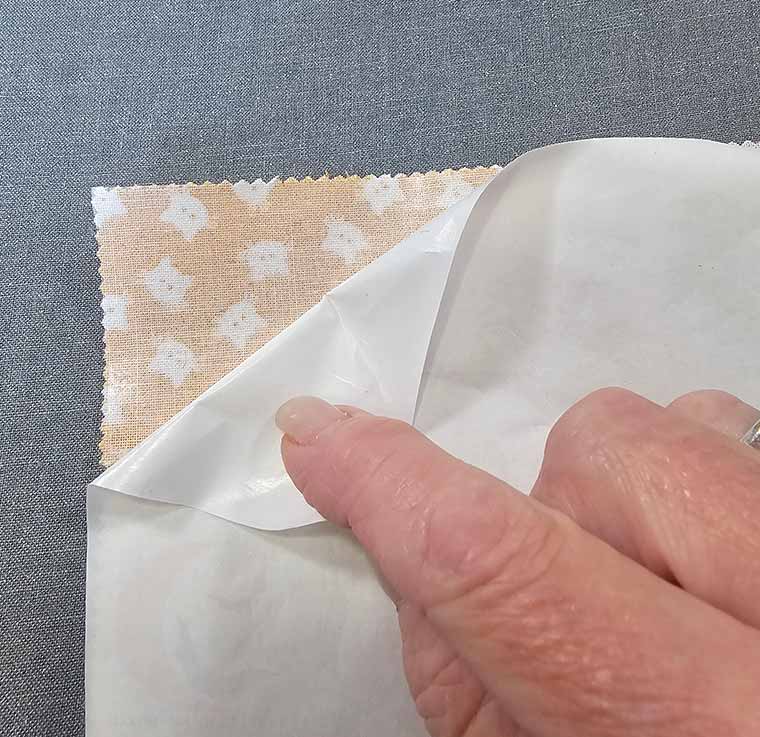
Cut the elements for each Halloween ornament from the fabric using the FabricGrip Mat, a Rotary Blade, and the Cotton, Bonded setting. Place your fabric right (pretty) side up and use the Default pressure setting.
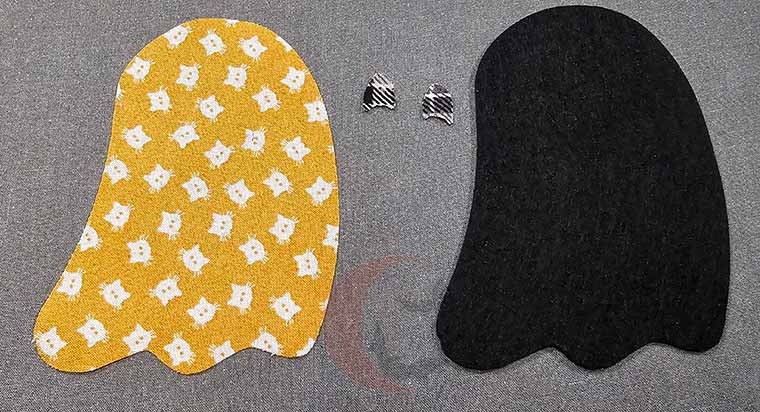
Using the included Placement Guide found in your download, adhere the pieces to the base in the order specified.
Remember that piece of backing paper I mentioned to keep ahold of earlier? Slip it or a piece of parchment paper under the ornament to protect your ironing mat. I also like to place a piece of parchment paper on top of the pieces before ironing to protect my iron from any sticky residue.
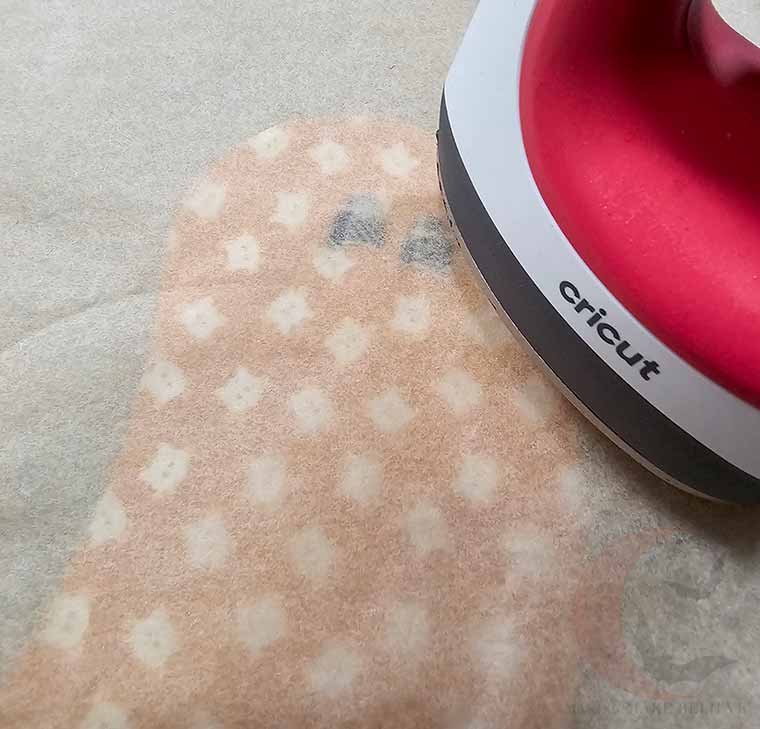
Place the first element onto the ornament base and press it firmly into place.
Repeat with the remaining elements.
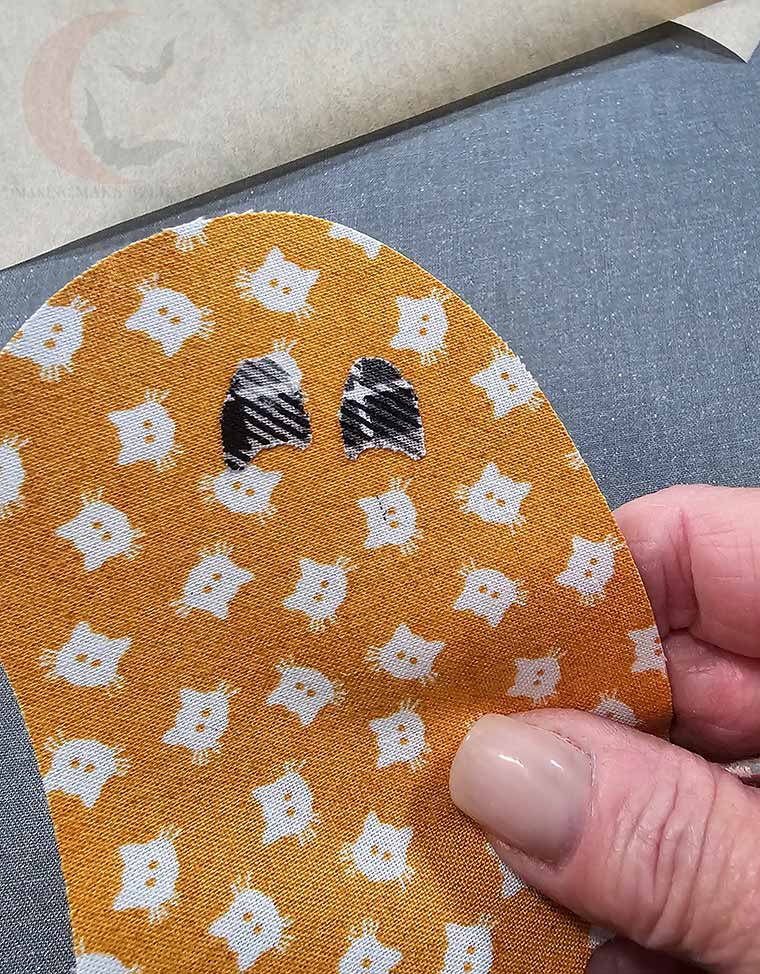
If desired, make small straight stitches around the interior elements and along the outside edge of the ornament.
For the bat, straight stitch to emphasize wings and for the web, straight stitch spider webbing.
To make the whiskers for the cat, cut 4 5” strands of embroidery floss. Even up the strands, fold them in half, and then stitch the strands onto the cat next to the nose.
Repeat for the other side.
Form a hanger by fashioning a loop from ribbon, thin cording, or yarn. Slip the loop between the front layer and back layers near the top center of the Halloween ornament.
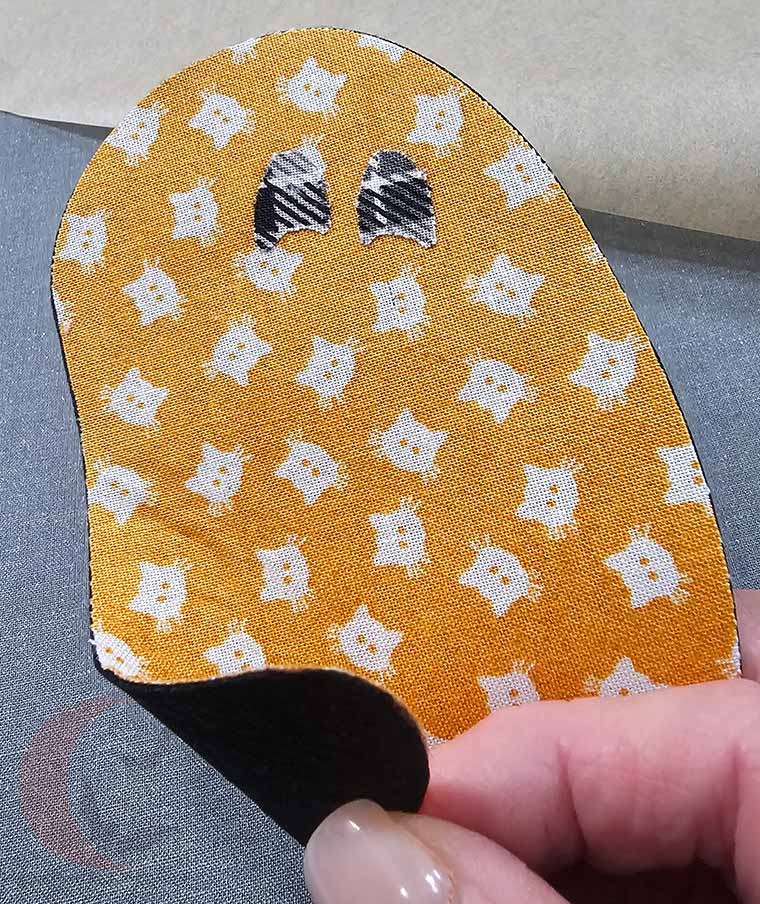
Iron the black stiffened felt backing onto the ornament.
Cut the elements for each Halloween ornament from scrapbook paper or cardstock using the Standard Grip mat, Fine Point Blade, and the settings that match the cardstock weight (light, medium, or heavy).
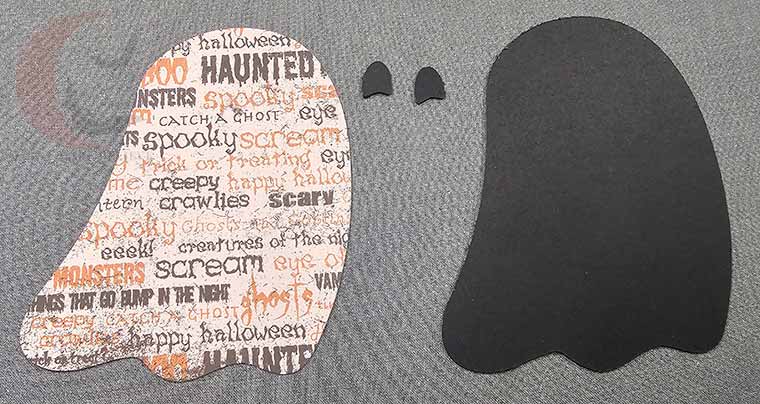
Using the included Placement Guide found in your download, spread adhesive onto the back of each element and glue the pieces to the base in the order specified.
For best adhesion, make sure to get along the edges of each piece.
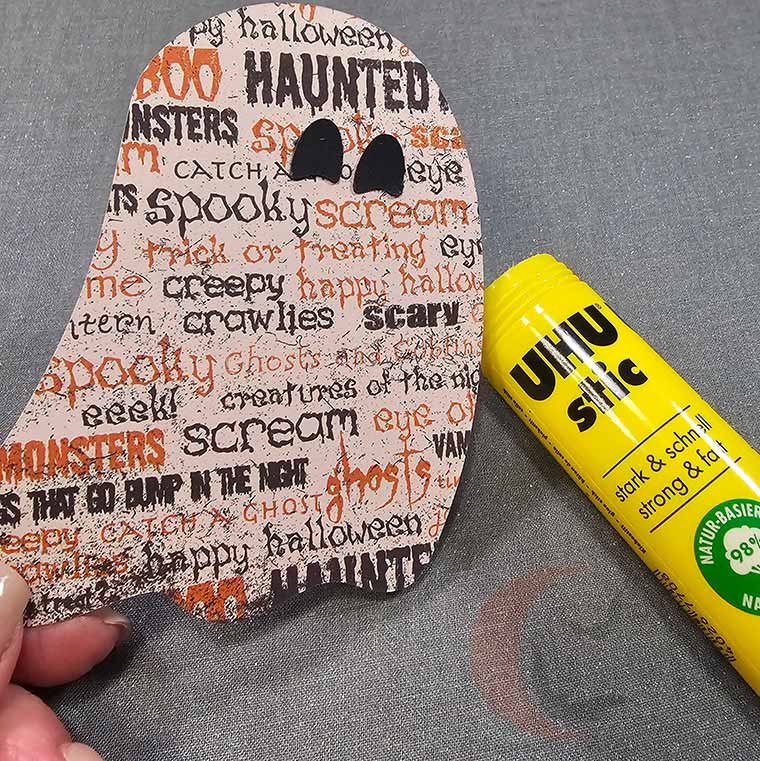
Lastly, form a hanger by fashioning a loop from ribbon, thin cording, or yarn. Slip the loop between the front layer and back layers near the top center of the Halloween ornament.
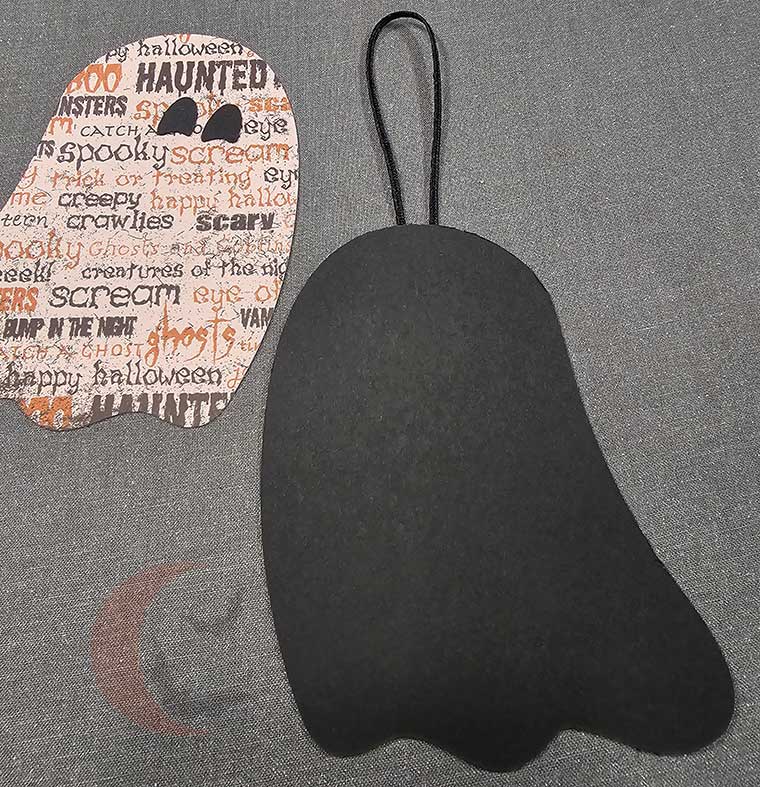
Glue the cardstock backing onto the ornament.
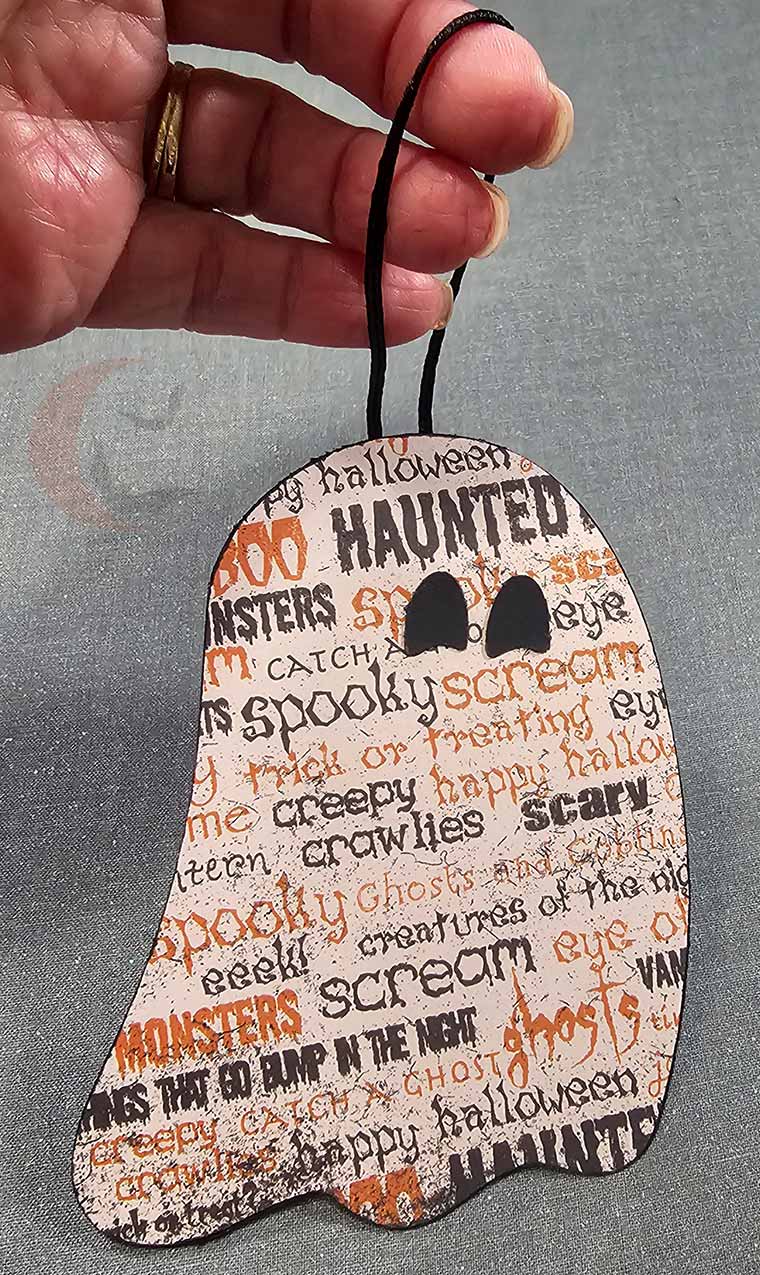
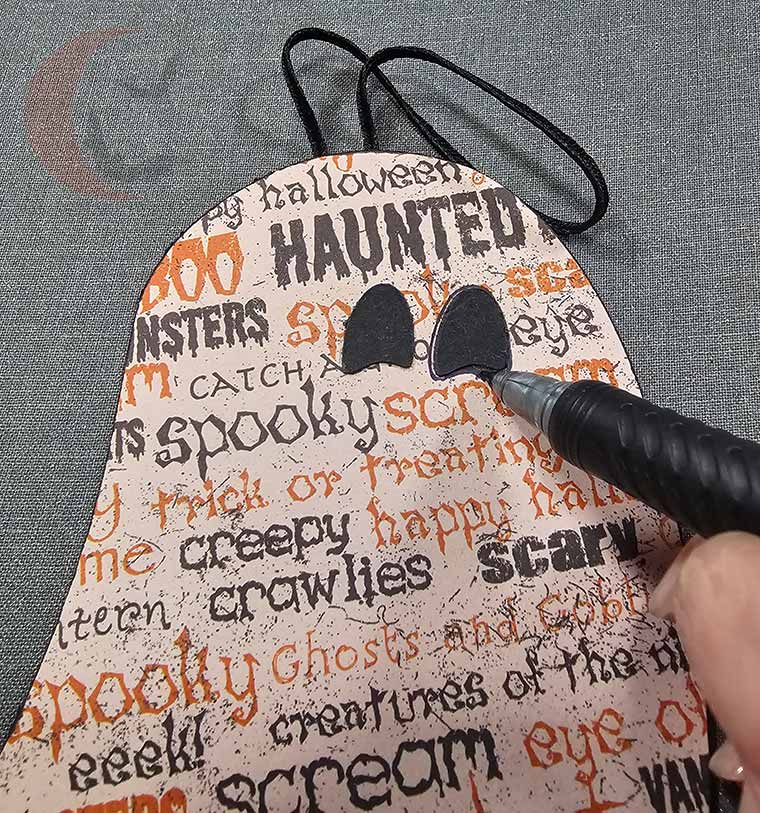
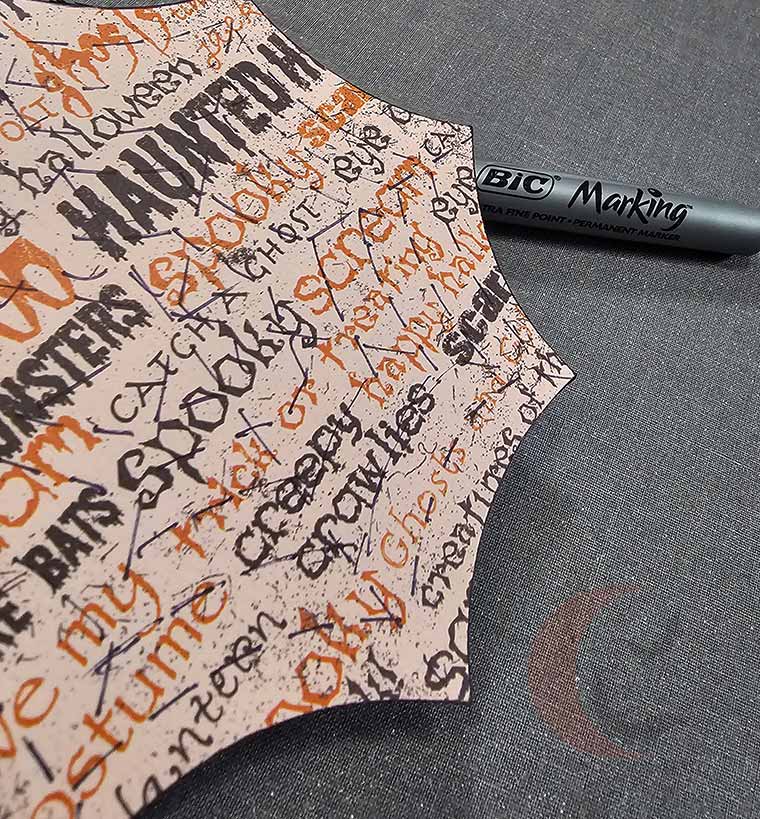
If desired, outline the interior elements with a black fine-point marker.
For the cat, draw several straight lines from the nose to the edge of the face to form the whiskers.
Draw a “stitched” line to emphasize the bat wings and to create the spider webbing.
For another spellbinding display, attach the ornaments to a length of ribbon to create a banner. Tuck the loop hanger to the back (or omit altogether), then clip each Halloween icon onto the ribbon using loop pins, mini wooden clips, or mini bulldog clips.
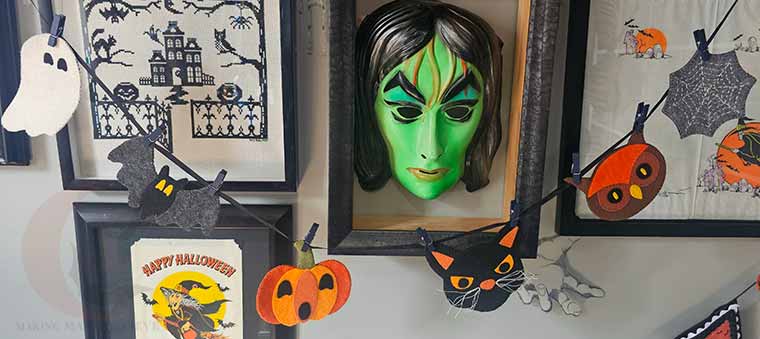
Now your ornaments are ready to haunt your house in handmade style!
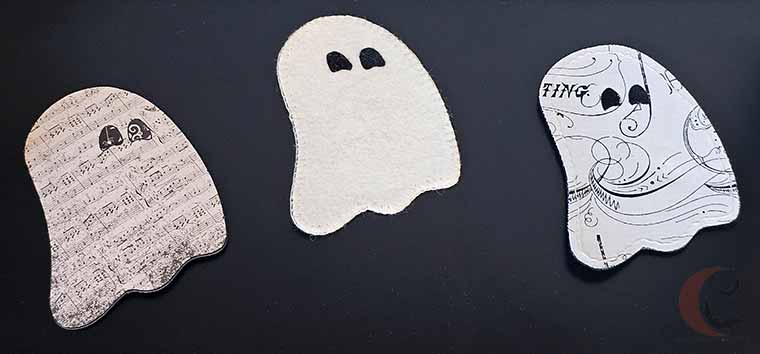
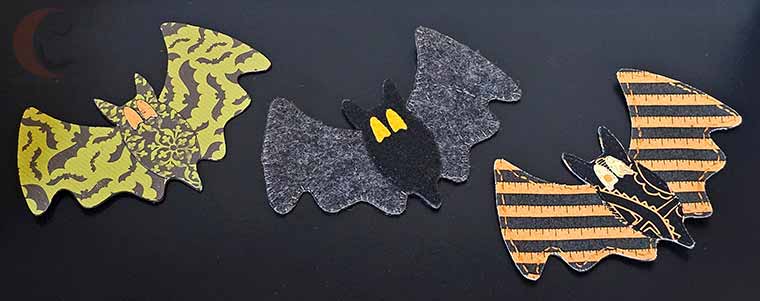
Don’t forget to visit the Hauntingly Yours Shop to grab your the All Hallows’ Curio Collection. I can’t wait to see the Halloween ornaments you create!
Until next time – stay spooky.

