
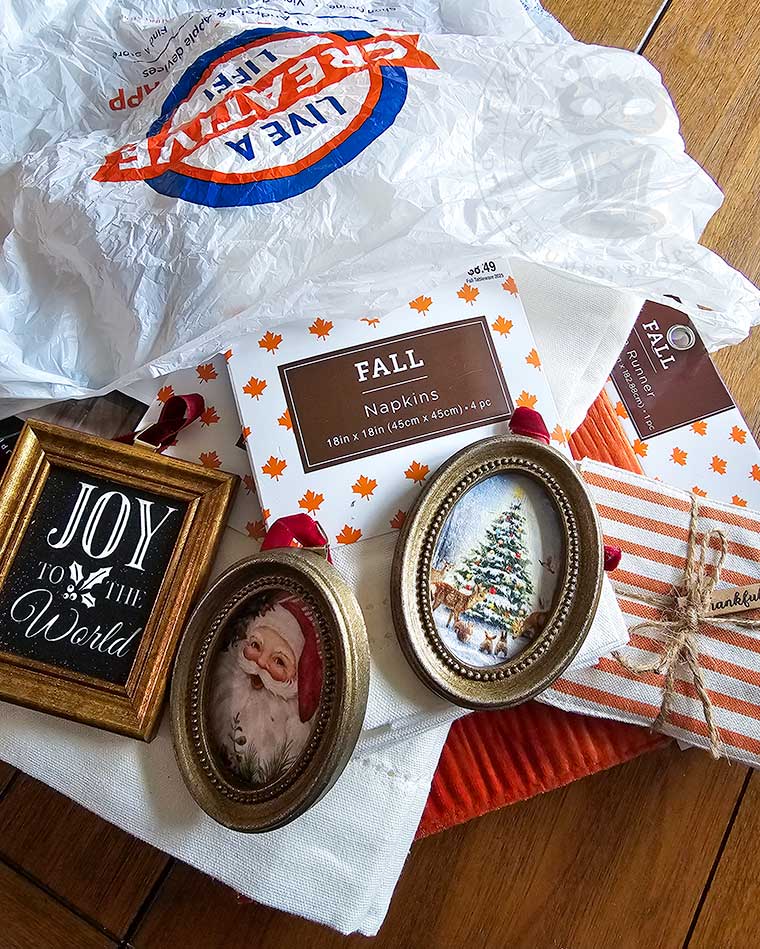
On a recent prowl through Hobby Lobby, I stumbled upon a treasure trove of seasonal goods practically begging for a haunted makeover. The Fall aisle was dripping with napkins, tablecloths, coasters, and runners – rich fabrics just waiting to trade their wholesome harvest vibes for something a bit more… sinister. And at 40% off, how could I possibly resist?
Of course, my eyes eventually wandered into the Christmas section (because Halloween fanatics have no boundaries when it comes to craft supplies). That’s where I found the spark for today’s project – delicate oval ornaments, each one encasing a picture-perfect holiday scene.
Now, don’t get me wrong, I love Christmas – it’s my second-favorite holiday. Halloween is where I thrive, so why not coax these sweet little ornaments into the shadows and let them live a double life?
With some macabre imagery, a touch of adhesive trickery, and a willingness to bend the rules of seasonal decor, we can conjure up pieces that shift seamlessly from October chills to December cheer.
If you’re ready to blur the holiday lines and embrace a touch of haunted mischief, let’s get started.

If your decorating style leans toward historical oddities and refined decay, save this project to your Halloween DIY or Gothic Printable board on Pinterest. Keep these assembly instructions and free royal portrait printables tucked away for whenever you need to add a touch of dapper dread to your haunted gallery.
For this project, we will need:
Small frame ornaments
Color printer
White paper or cardstock
Scissors
Pen or pencil (my favorite pencils)
Adhesive
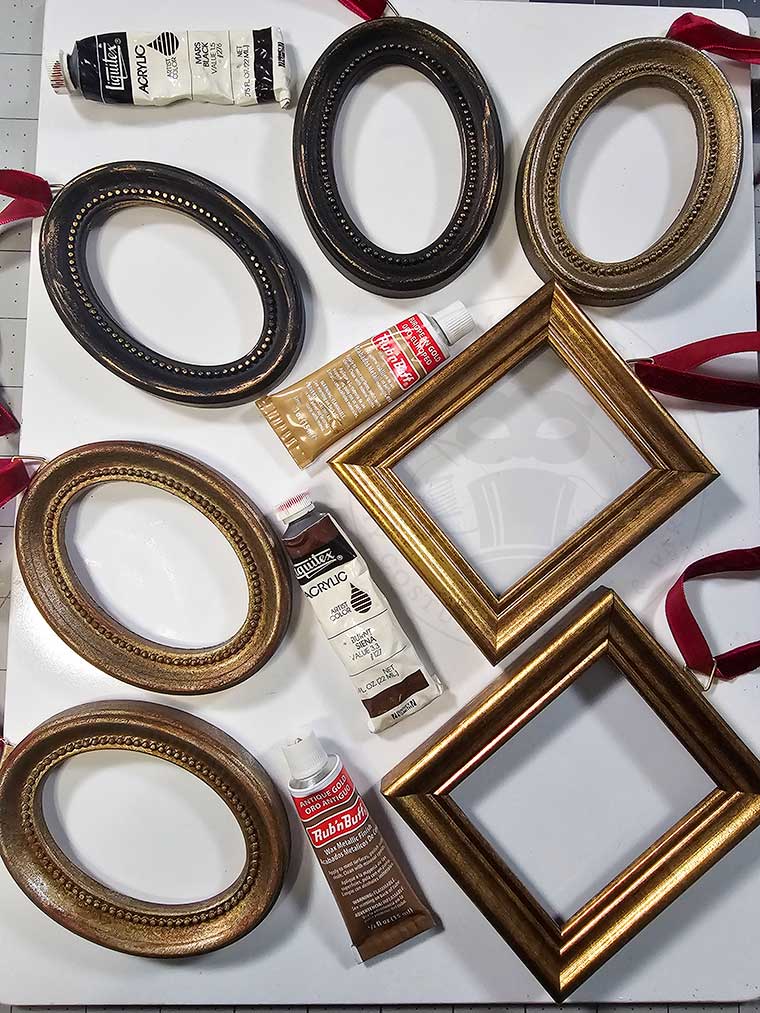
Paint or Rub n Buff (optional)

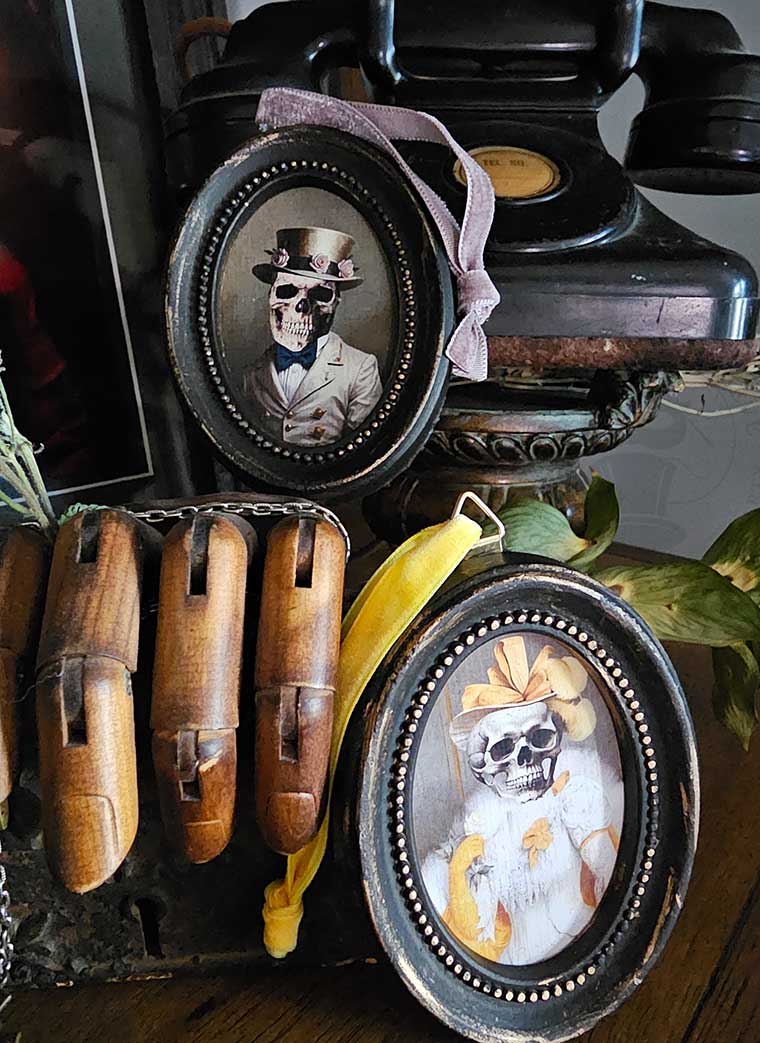
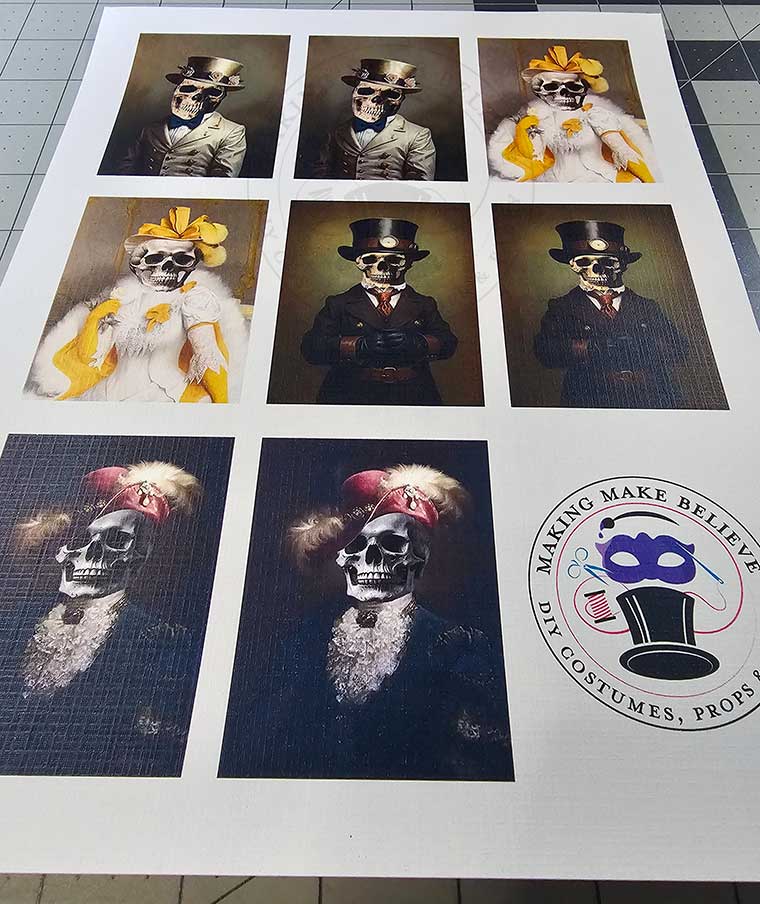
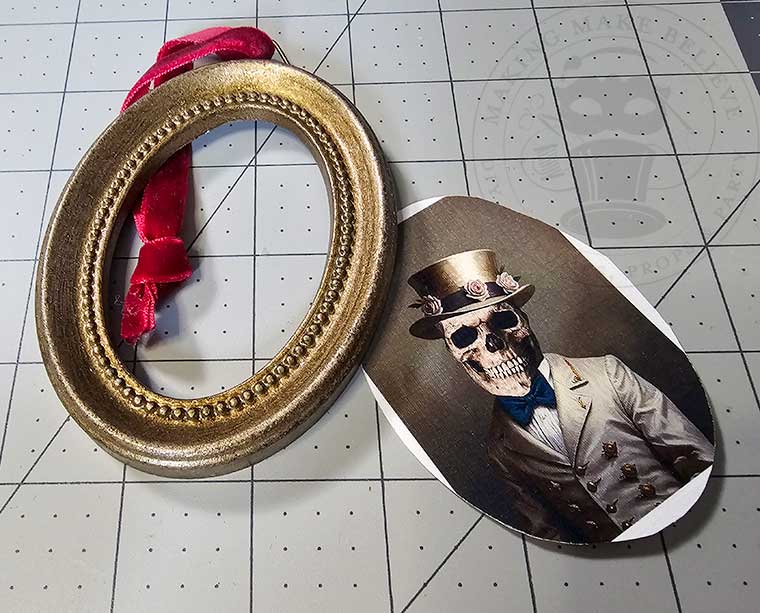
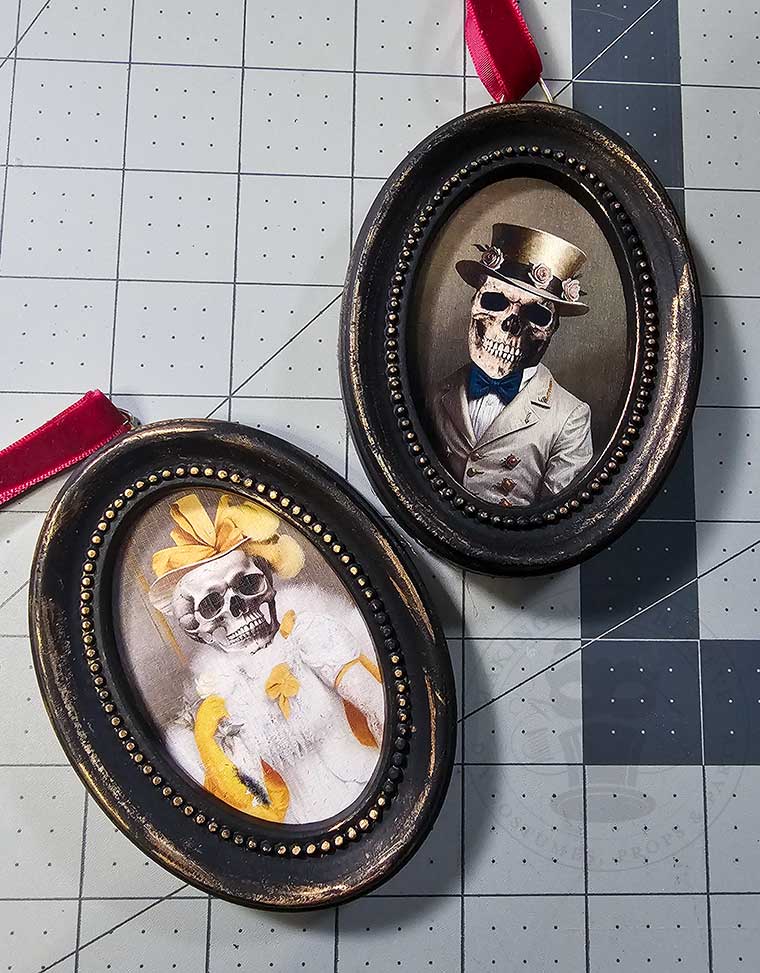
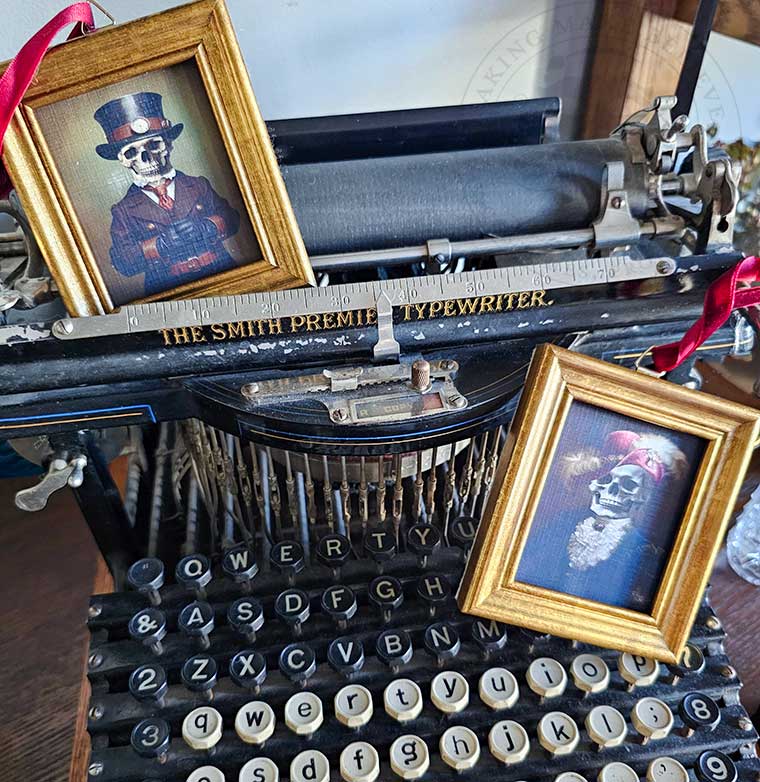
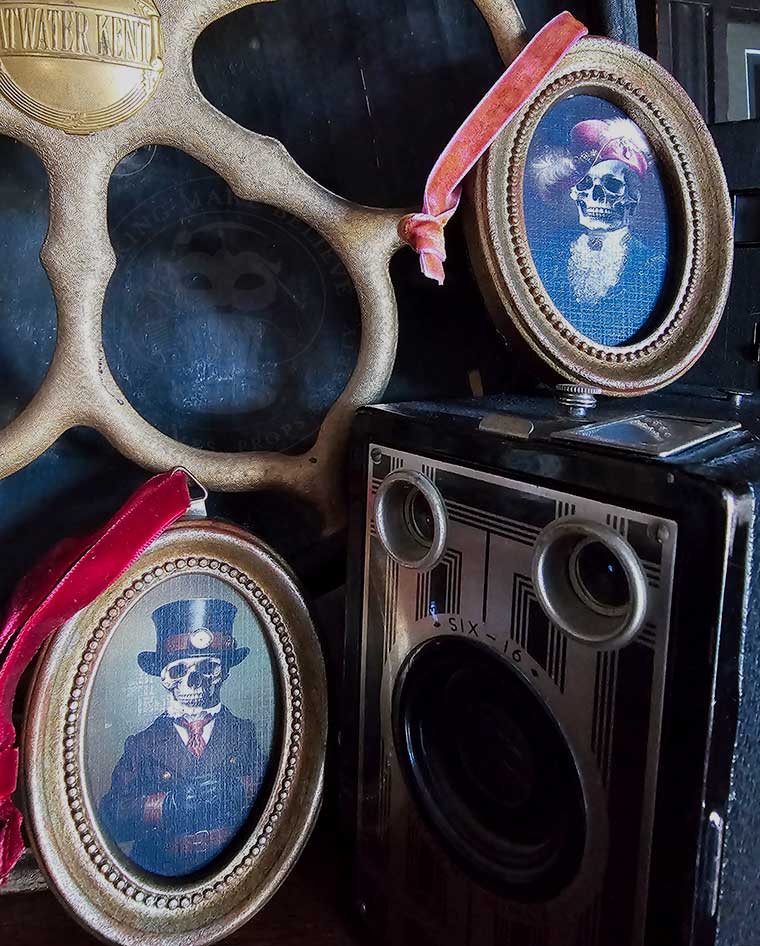
We will also need the Mini Royal Portrait Skeleton Ornaments found in the Haunted Library. This collection includes four spooktacular skellies dressed in their regal best.
The download includes two printable sheets, each sheet containing two copies of each portrait. You can choose between two sizes: 2 1/4″ x 3″ or 2 5/8″ x 3 1/8″. These images are designed to fit neatly into small rectangular frames with openings in those size ranges. If your frame is smaller or has an oval opening, simply trim the image to fit.

I grabbed my framed ornaments at Hobby Lobby, but if you can’t find something similar, any small frame will do, such as these placecard holders in the wedding aisle.
You can turn your frame into an ornament simply by adding a ribbon.
No Christmas imagery in your frame? No worries! Print or cut out any Christmas imagery you desire and trade it out with the haunted one when the holiday season rolls around.
The first order of business is to pop the canvas out from the frame.
Gently coax the canvas by pressing from the front along the edge of the frame. The first one you do will go flawlessly. The remaining ones will require you to exercise restraint, as they will not want to budge. At least, that was my experience.
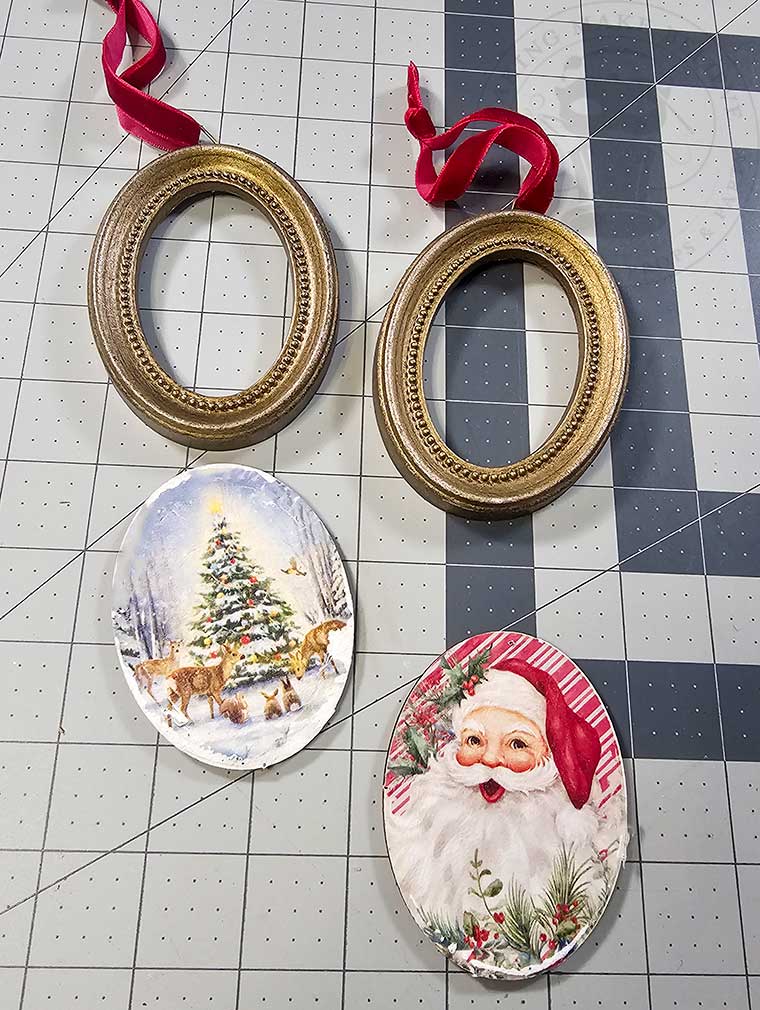
Avoid using a screwdriver to pry the canvas, as the backing is somewhat fragile. (Ask me how I know.)
I promise, this is the hardest part of this project.
The color on these frames works perfectly with the images, but if you prefer to give them a touch of ghoulish glam, craft paint and/or Rub n’ Buff are perfect for the job.
Open the Mini Royal Portrait Skeleton Ornaments file in your favorite PDF viewer (Adobe, FoxIt, etc.)
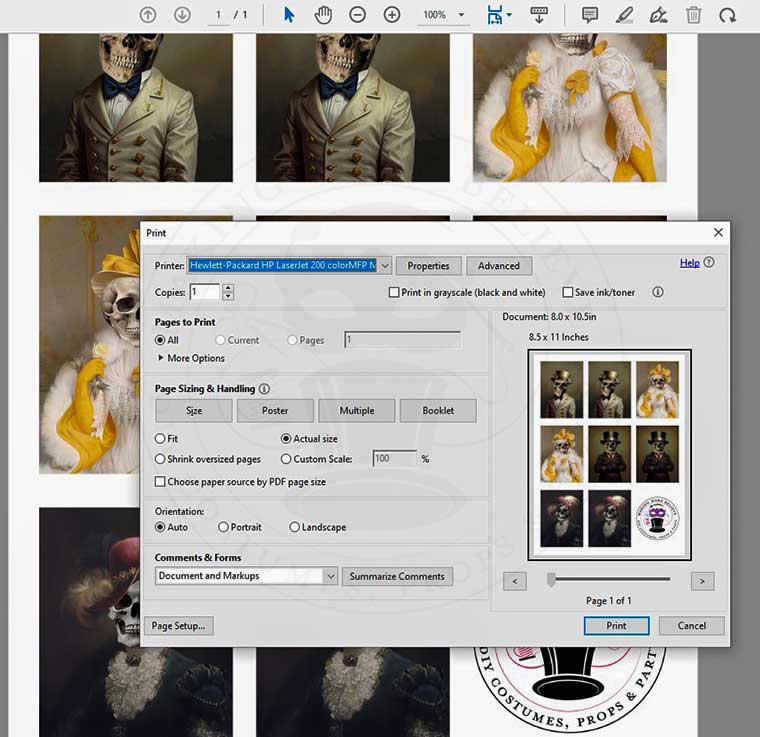
Set the page to print at Actual Size and print onto white paper or cardstock.
I opted to uplevel my prints by using linen paper, which gives the images a hand-painted, gallery impression.
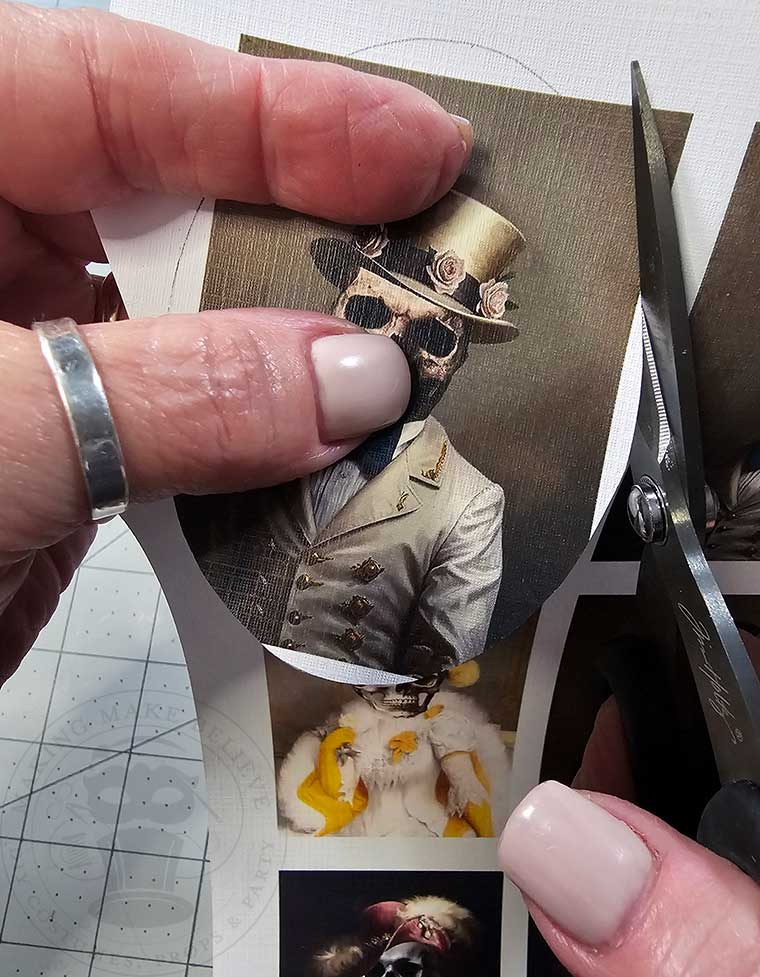
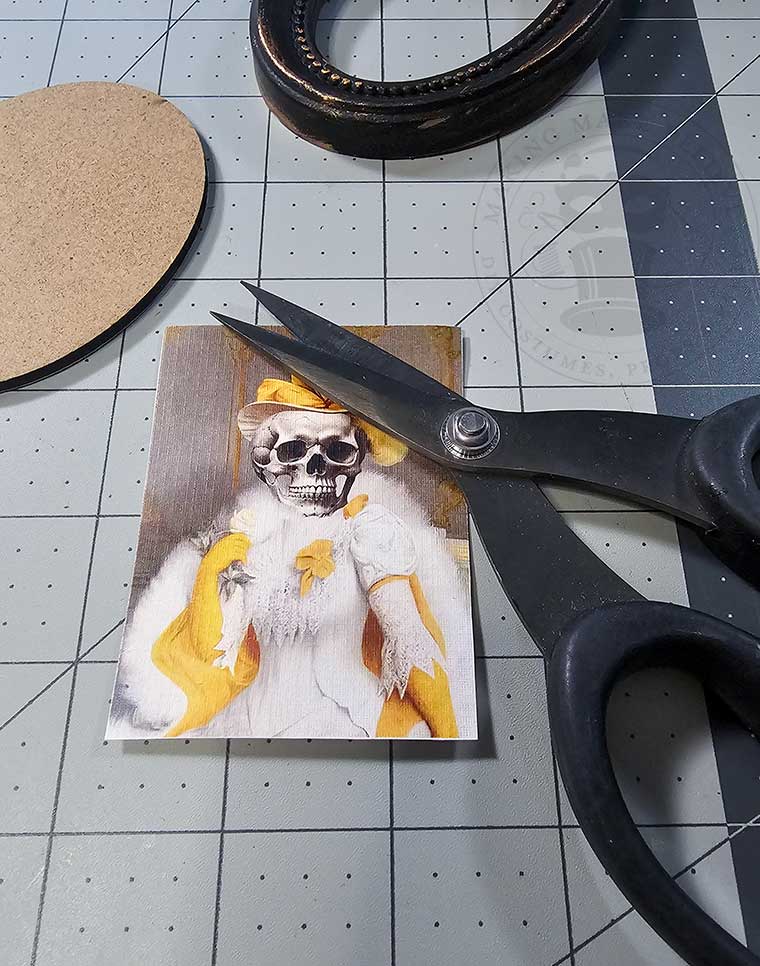
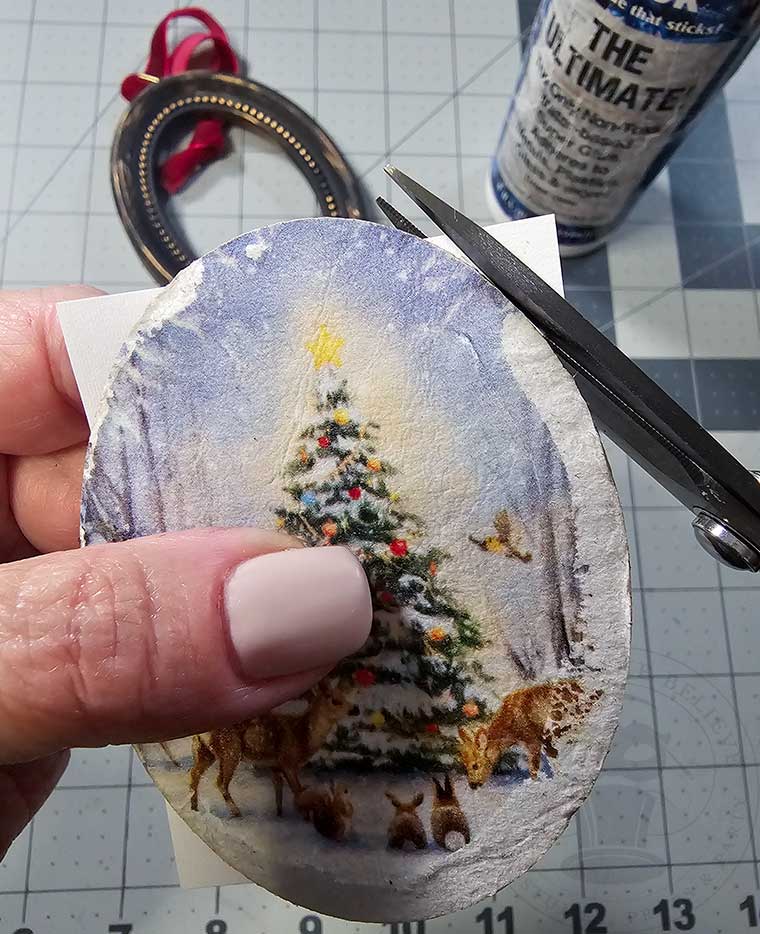
Take the frame insert, place it over the image, and trace around it.
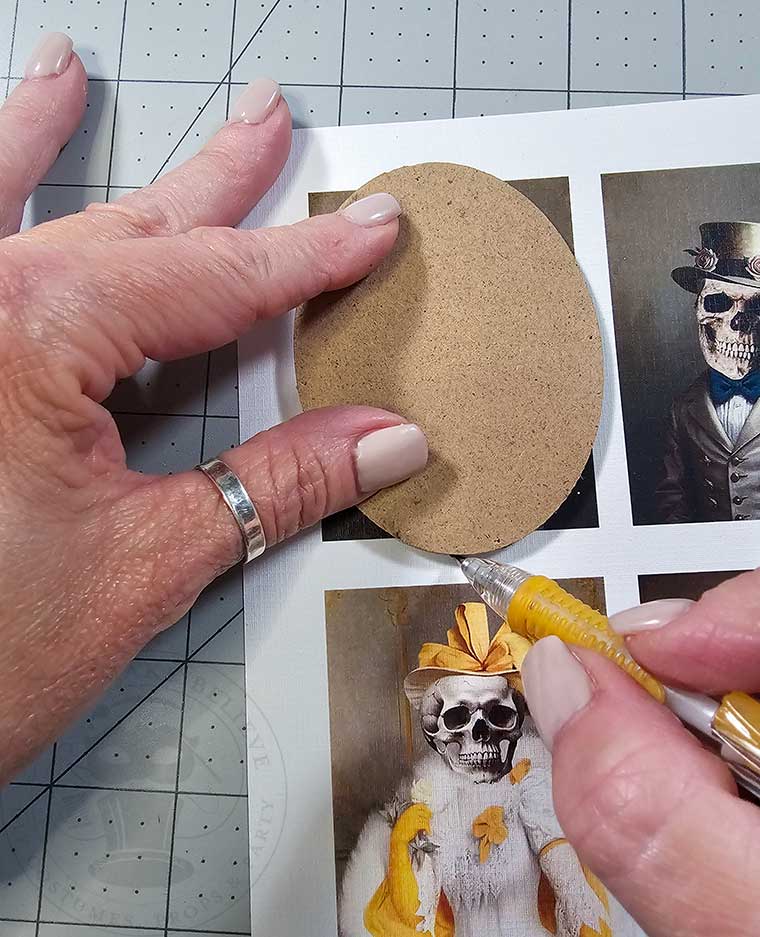
Cut just to the inside of your tracing for a perfect fit, then glue the image onto the backing.
Tracing and cutting works great but if you want a shortcut – I’ve got your back.
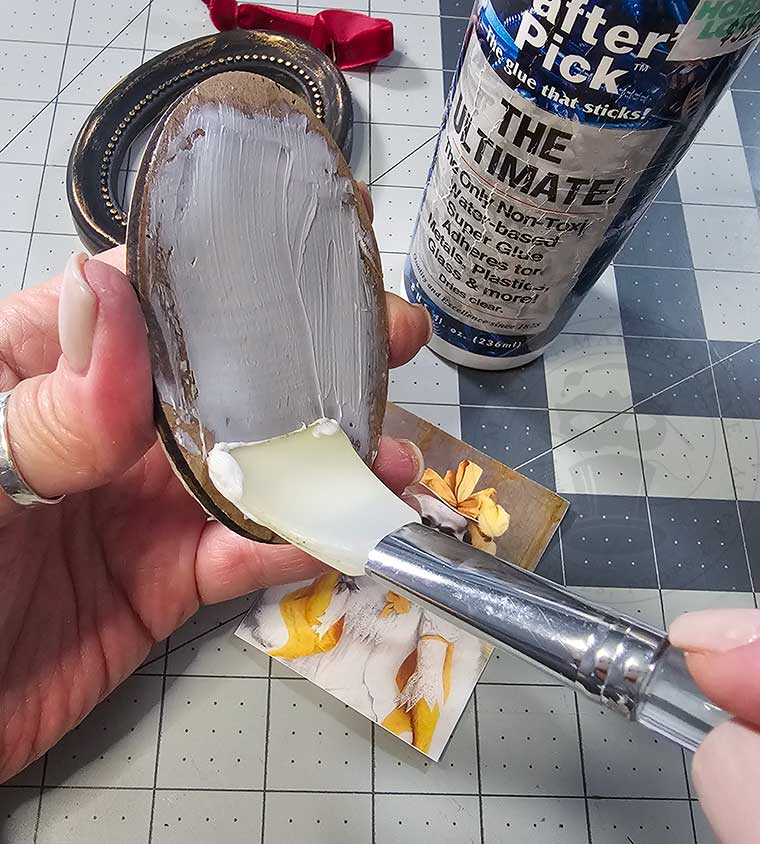
Remove any tags from your frame backing and cut out your image.
Test fit the image to ensure that it mostly covers the backing and any shortages are covered by the rim of the frame.
Spread glue on the frame backing and center your image.
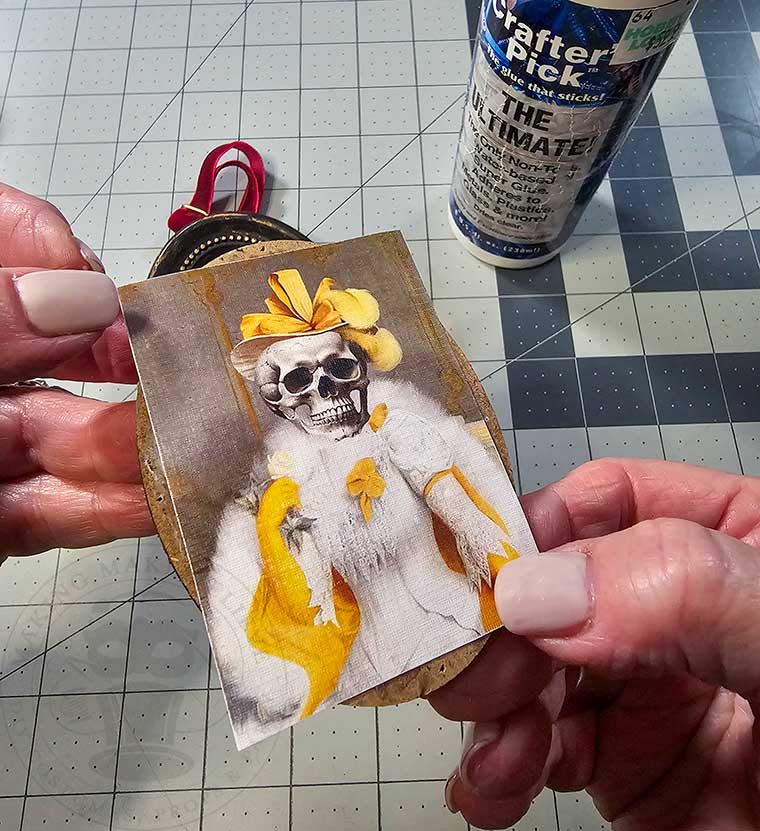
Flip the backing over and trim off any overhang.
Pop the canvas, with the Halloween image facing front, back into the frame.
If the canvas won’t stay in place, secure it with tape or a small amount of hot glue. These methods will allow you to remove the canvas and flip it for Christmas, if desired.
If you want to be a bit extra – and who doesn’t – here are a few additional touches to level up your oddly enchanting royal portrait skeleton ornaments.
To keep the flip side of your ornament from showing in your display, cover the backside by securing felt or cardstock with tiny tacks or removable adhesive.

- Paint Mod Podge over the top of the image using a cross-hatch method to imitate brush strokes.
- Add fine glitter or mica flake highlights.
- Change the velvet ribbon hanger to complement a color in the image.
- Add glow-in-the-dark paint to the skeleton’s eye area.
Now our Christmas ornaments are brilliantly disguised just in time for Halloween.
Happy haunting!
Until next time – stay spooky.
