
My least favorite holiday of the year is upon us, and I’m actually eager to celebrate it.
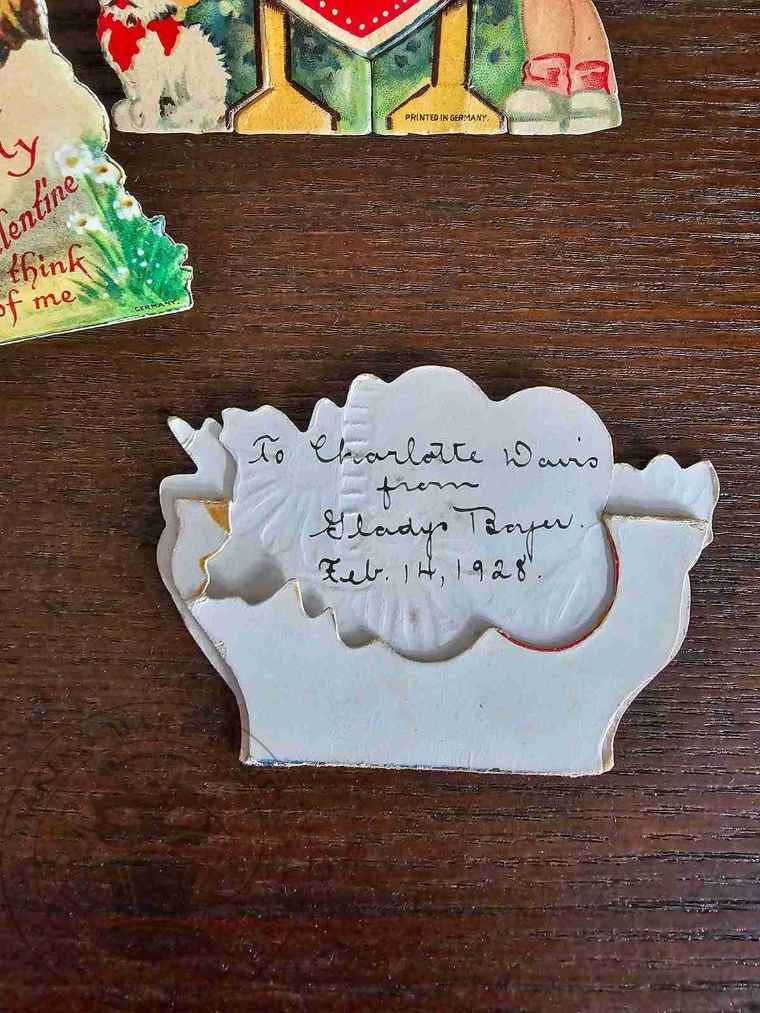
I’m excited to show off a recent acquisition: a small collection of Valentine’s cards from the late 1920s.
I discovered this group at a yard sale, and the owner wanted them gone, so he had the lot priced at only a few dollars.
One of my favorite things about these items is that most have standees, allowing them to be displayed upright. Additionally, each has the sender’s and receiver’s names and the date on the back.

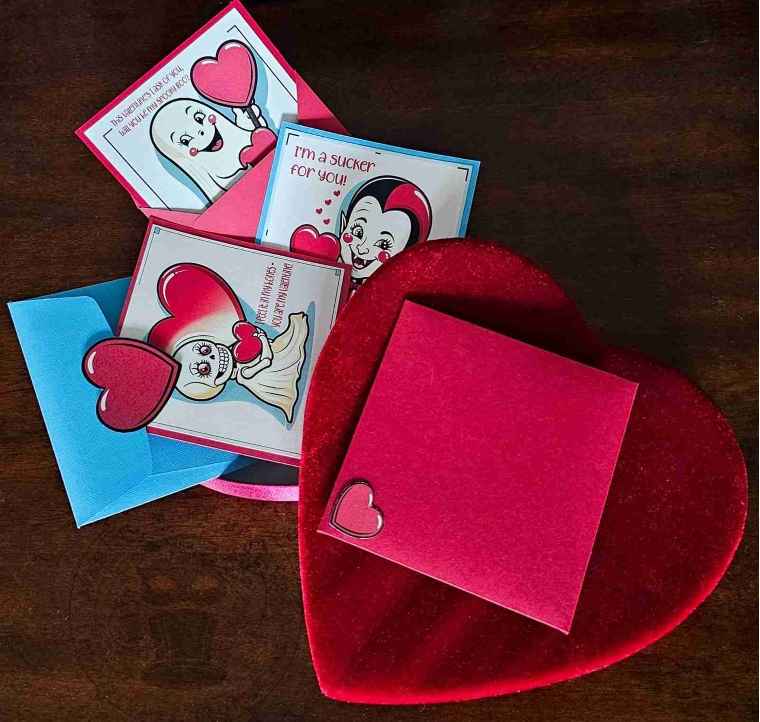
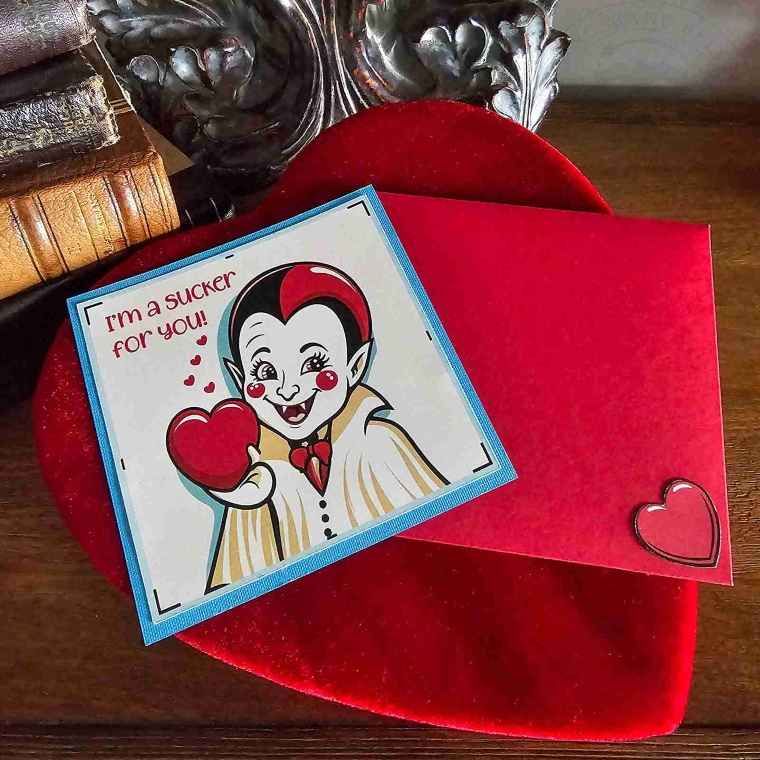
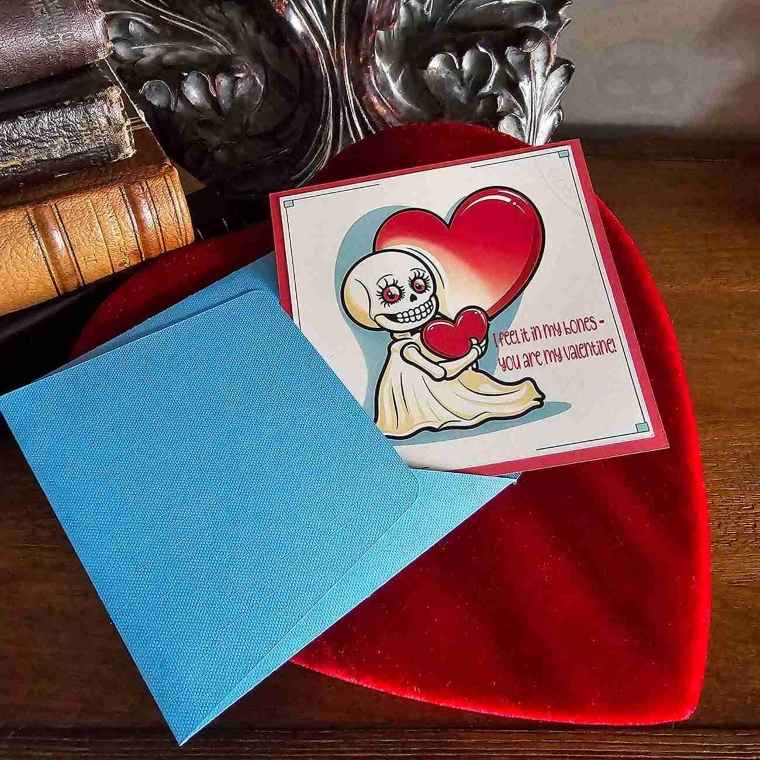
While these cards aren’t Halloween-themed, they remind me of spooky versions from the 1960s, when ghosts, bats, witches, and monsters asked the proverbial question – Will you be my Valentine?
I do not possess any of these “Valoween” cards, so I decided to do the next best thing – create some.
So, if you’re in the mood for some monster love, let’s dive in.

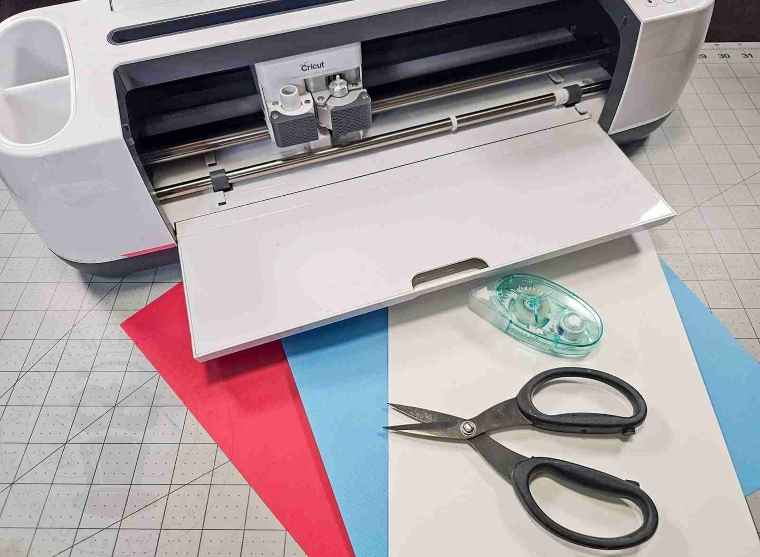
For this project, we will need:
White letter-size cardstock
Colored cardstock (optional)
Color printer (not shown)
Scissors or cutting machine – I’m using the Cricut Maker
Adhesive such as crafter’s tape
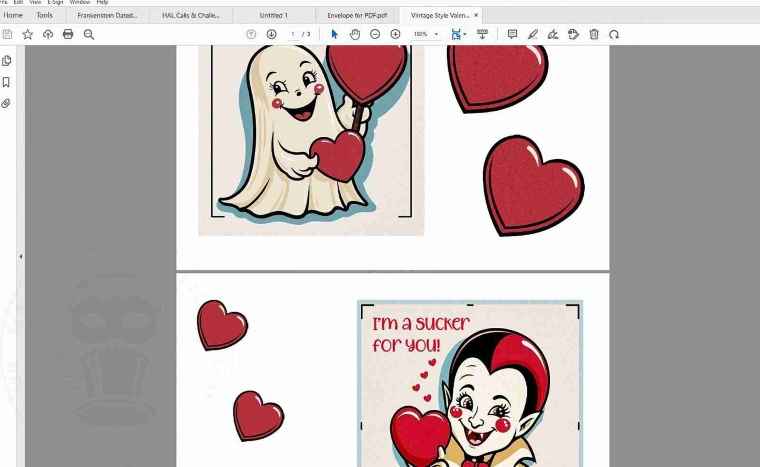
We will also need the Spooky Valentine Collection from the Haunted Library. Select the SVG + PTC for machine cutting or the PDF if cutting by hand.

If cutting by hand, open the files in your favorite PDF reader, such as Adobe, FoxIt, etc.
Set the Page Size and Handling to print at Actual Size.
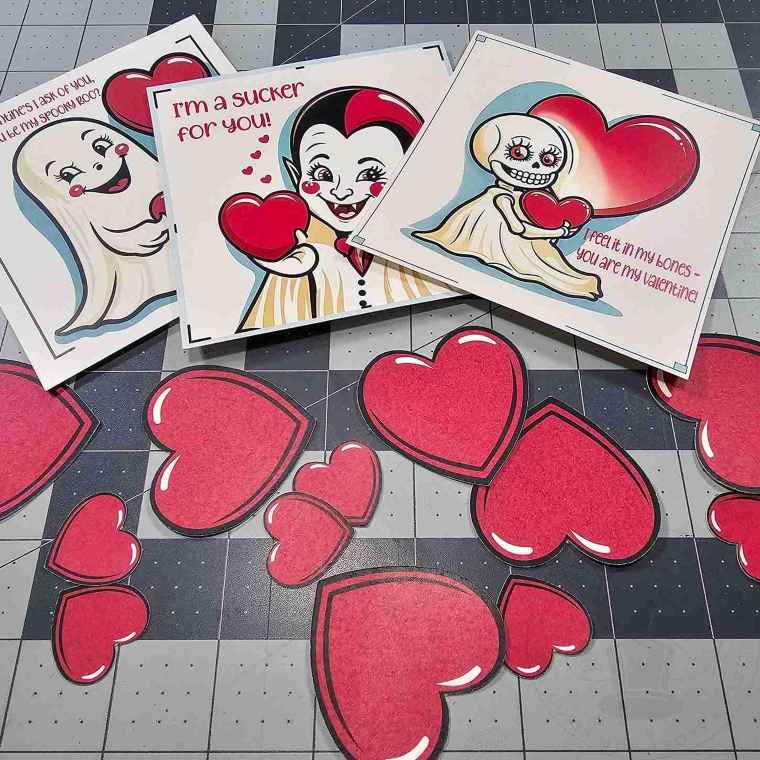
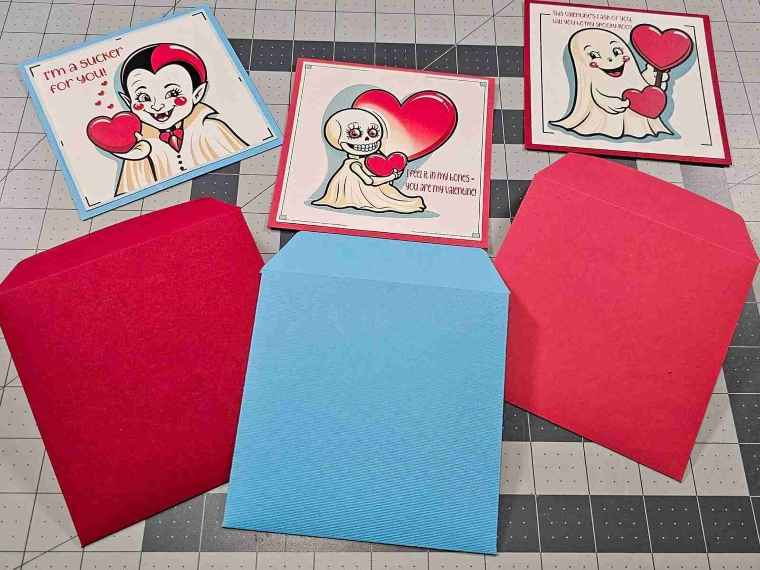
Then, print the spooky Valentine cards and hearts onto white cardstock and cut them out.
For machine cutting, upload the files to your design software, such as Cricut Design Space.
Resize the spooky Valentine cards to 4.44 x 4.44 inches square to fit inside the envelope.
The optional heart cut-outs can be resized as desired. I opted for two sizes: 1 inch and 2 inches high.
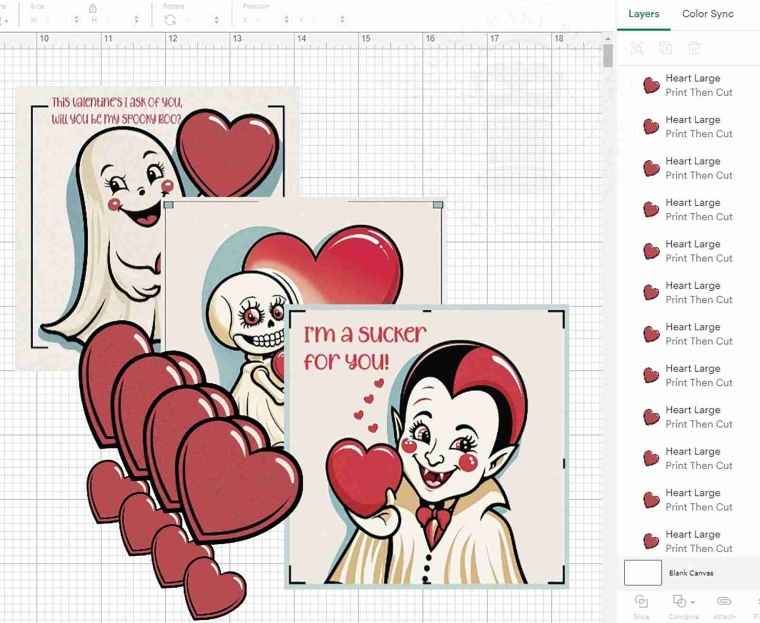
Use the Print Then Cut feature to print out the valentines and hearts.
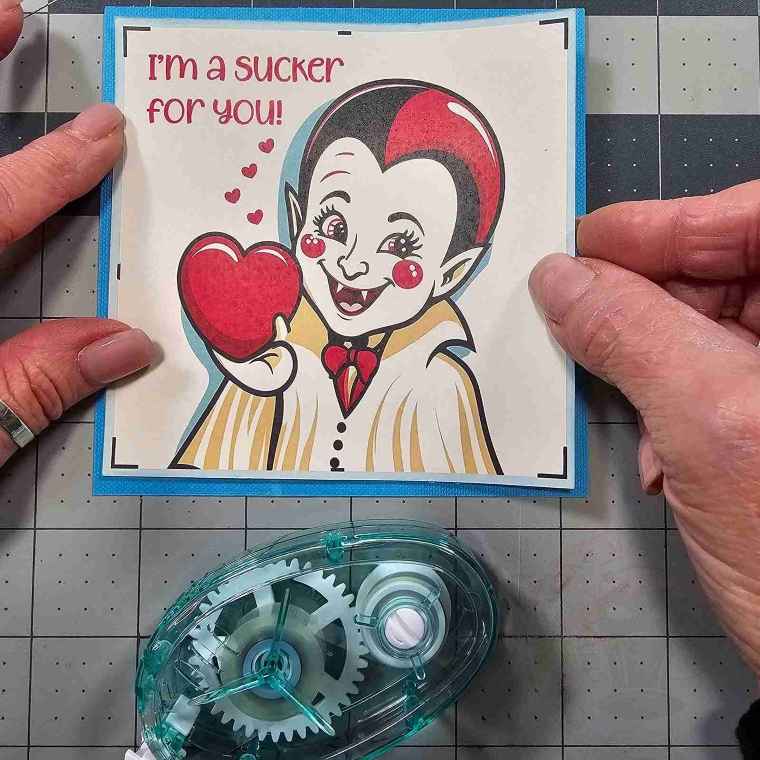
If you want to enhance the look of your cards, cut a square slightly larger than your Valentine’s from colored cardstock and glue it to the back.
(My square is approximately 4.731 by 4.704 inches.)
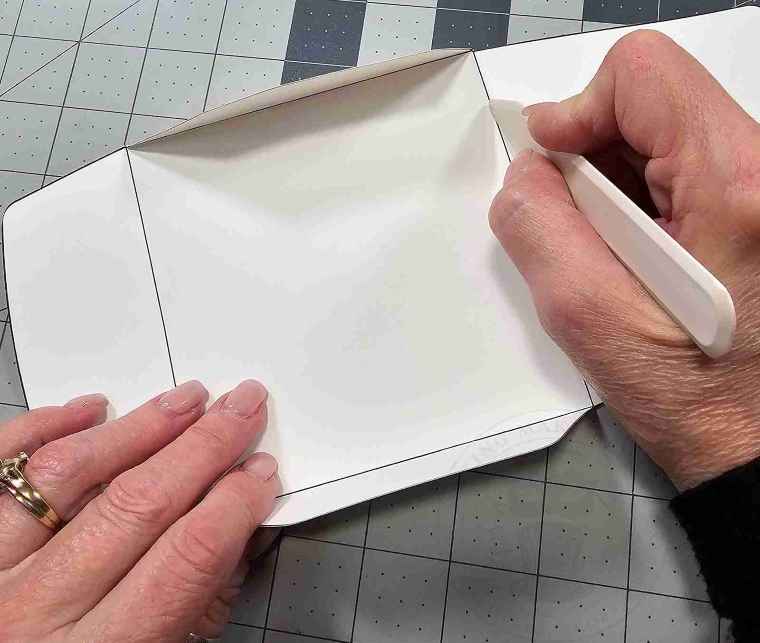
If cutting by hand, Set the Page Size and Handling to print at Actual Size and print the envelope onto cardstock.
Cut out the envelope and then score on the square outline in the center of the card using a bone folder or similar tool.
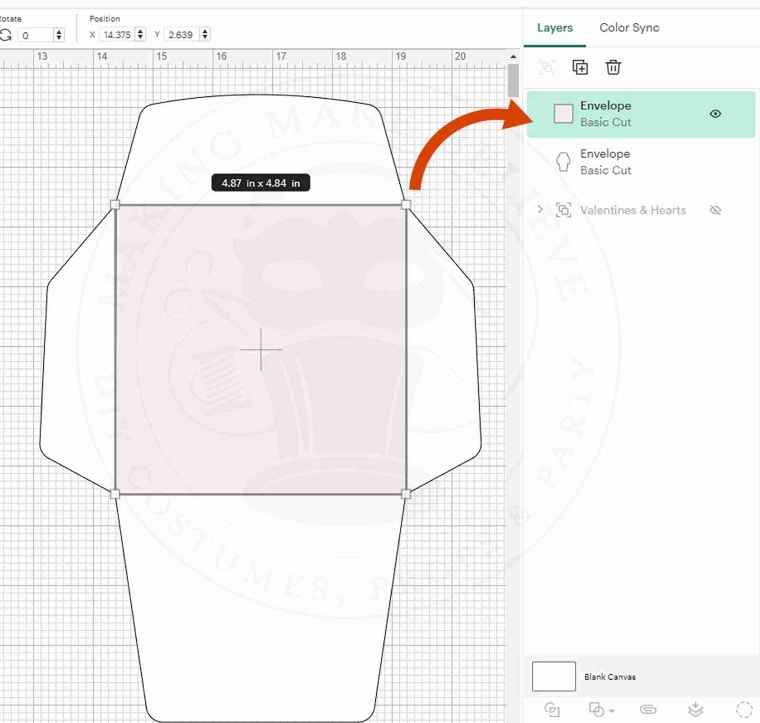
To make the envelope using a cutting machine, ensure the envelope size is 7.384 x 10.5 inches.
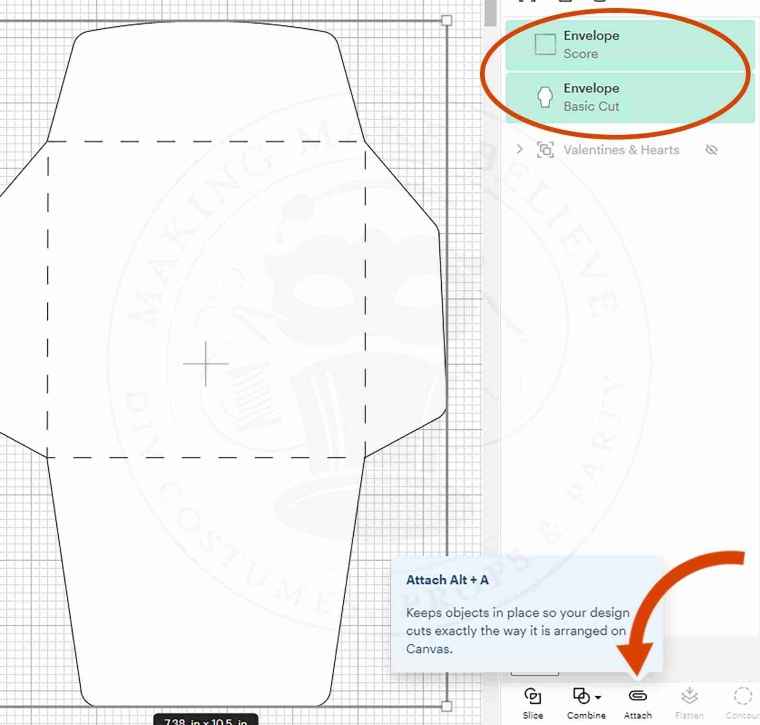
Open the file, select the Envelope from the layer menu, and click Ungroup.
Select the interior square. As a default, all the lines will be shown as a Basic Cut.
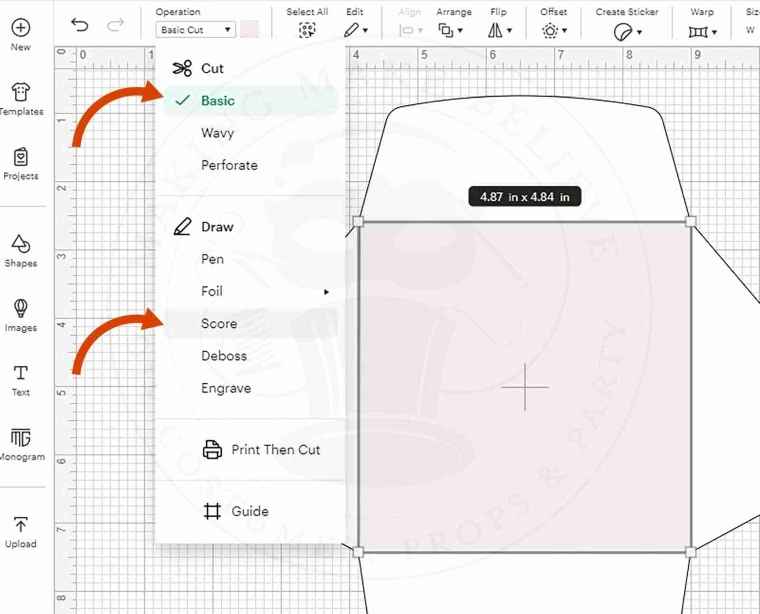
With the lines selected, choose Score from the Operation drop-down list.
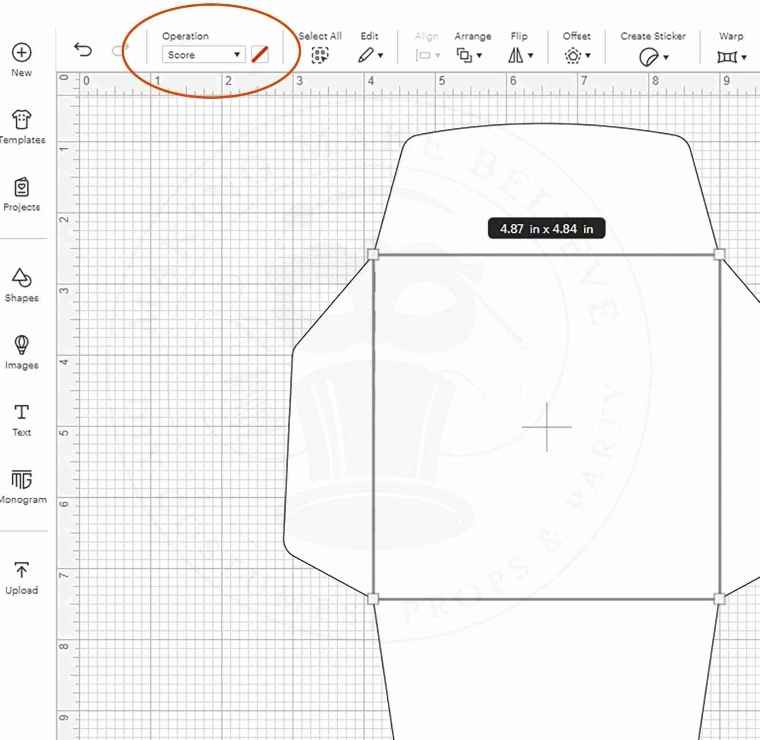
Select the base and the score lines, and click Attach.
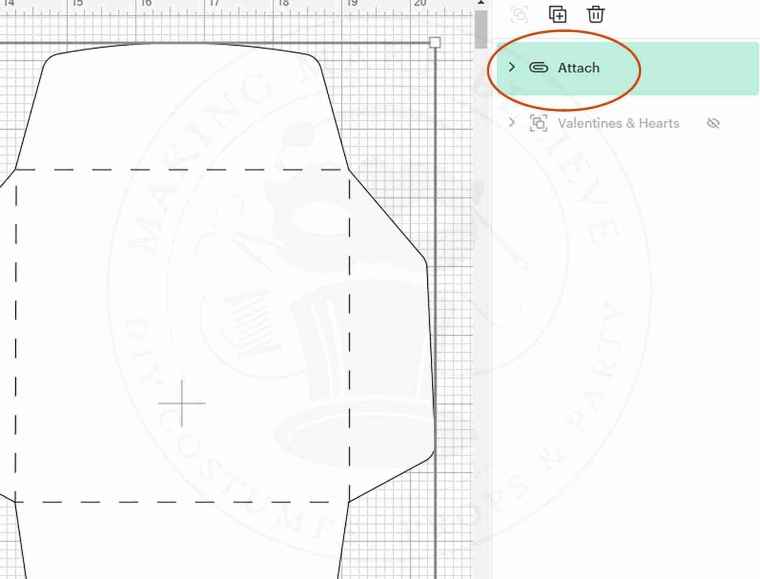
Now, you can cut the envelope from cardstock.
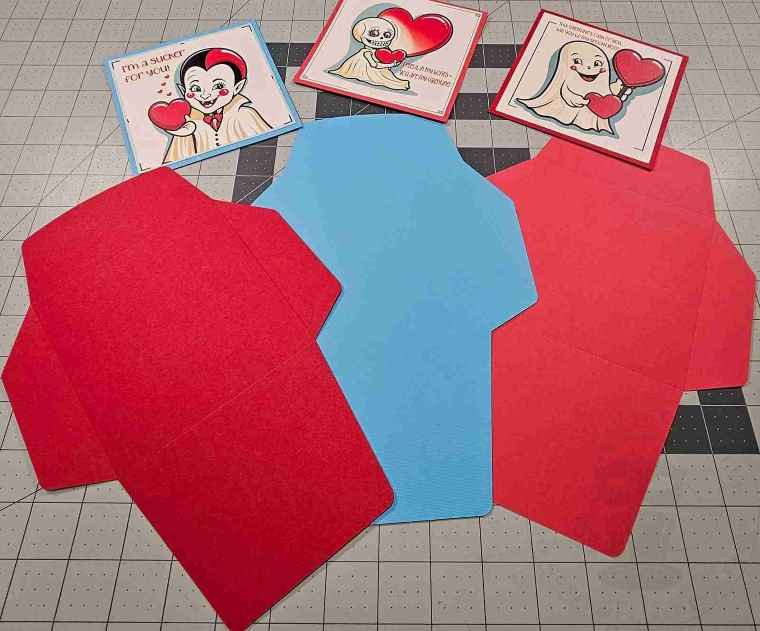
Fold along the scorelines and glue the bottom flap over the side flaps.
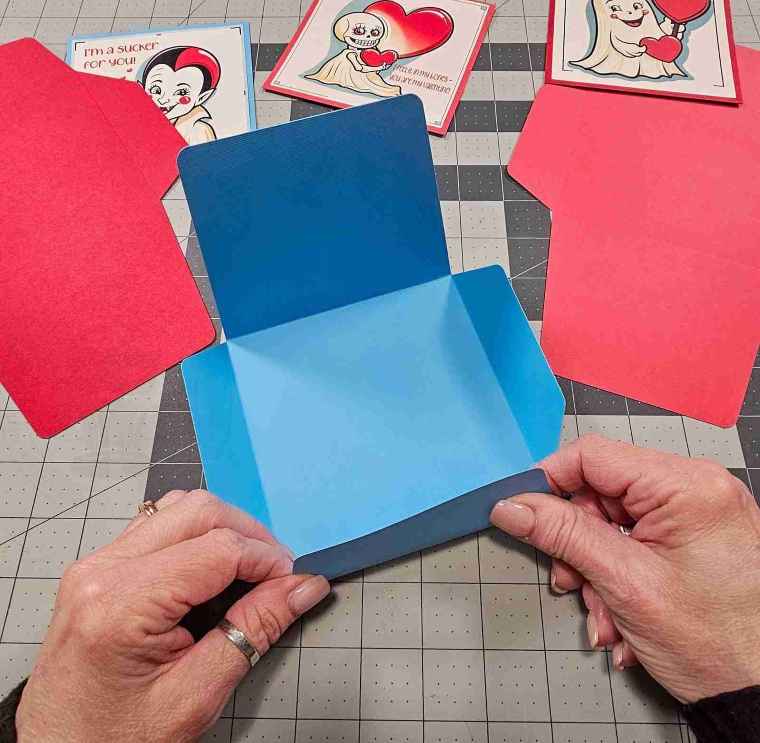
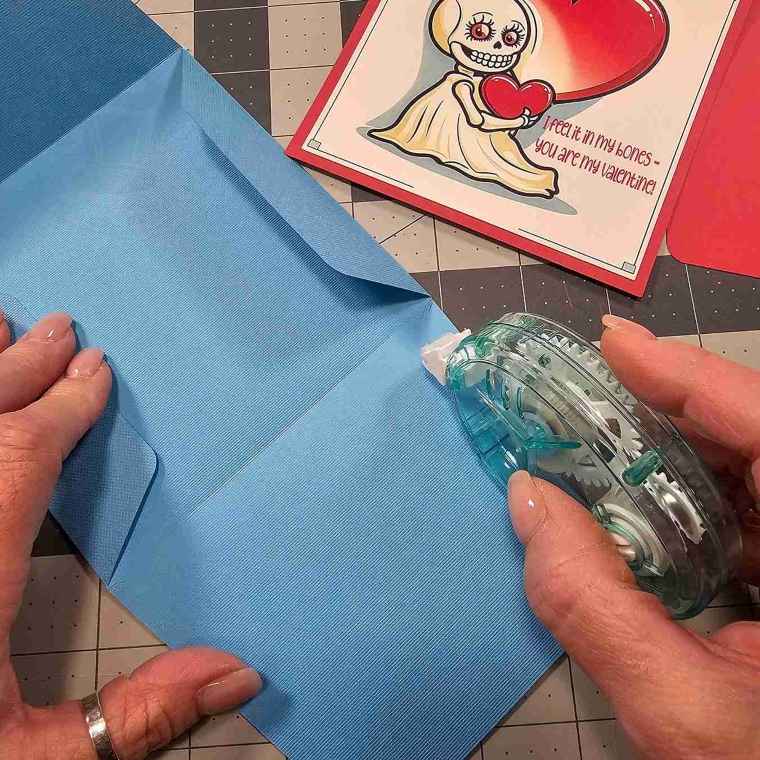
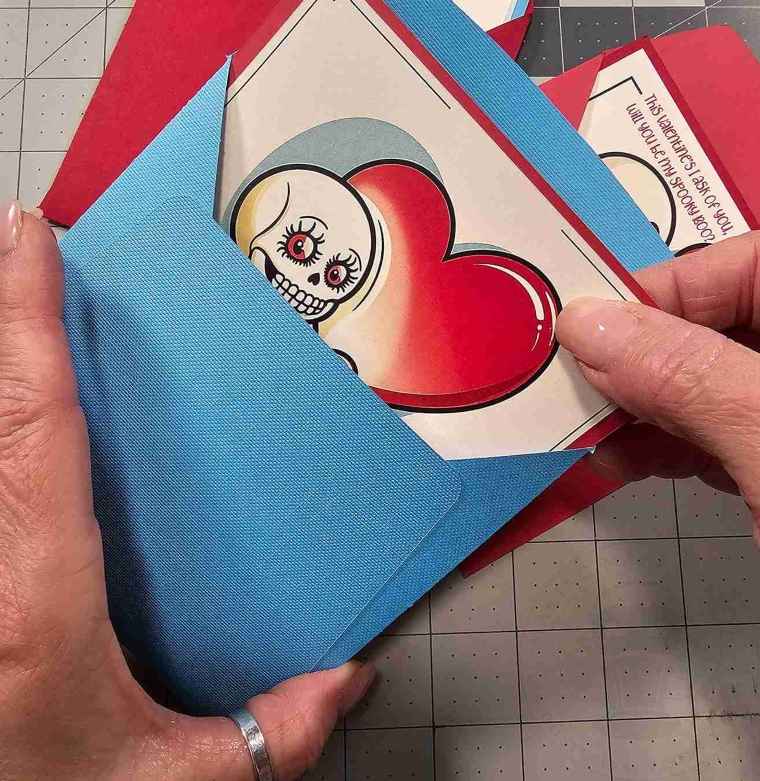
Decorate your envelope with a heart if desired. Slip your card inside and seal it with another heart.
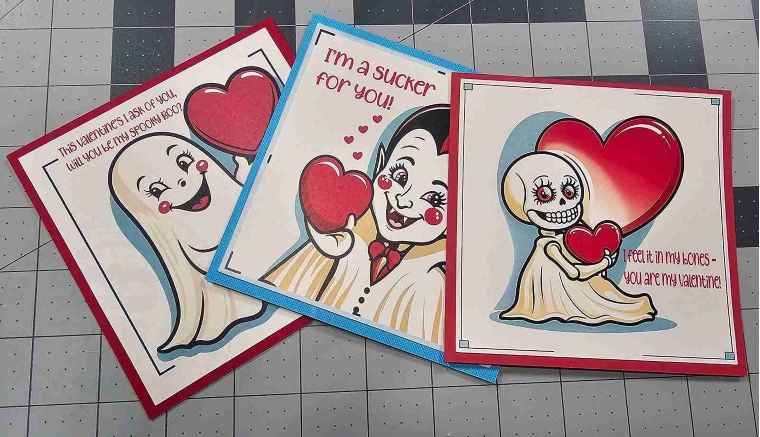
Your spooky Valentine is now complete.
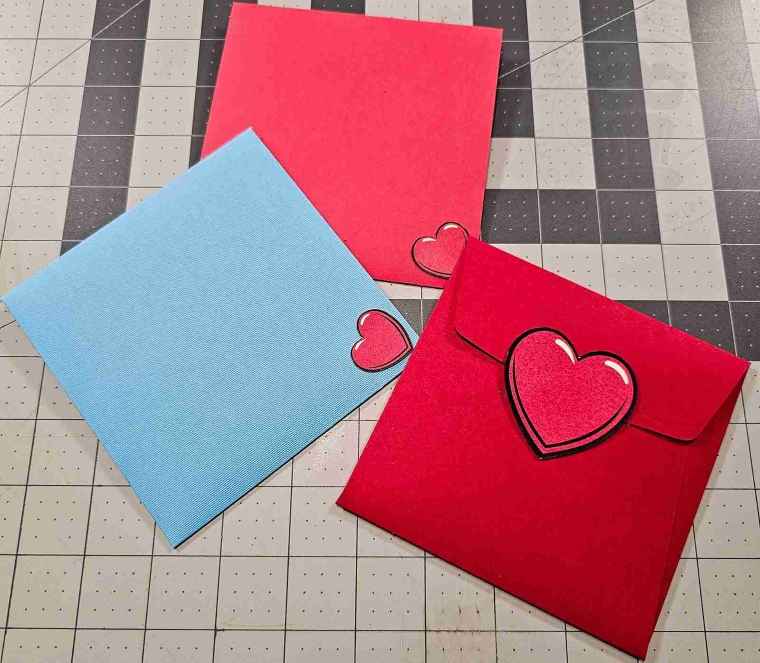
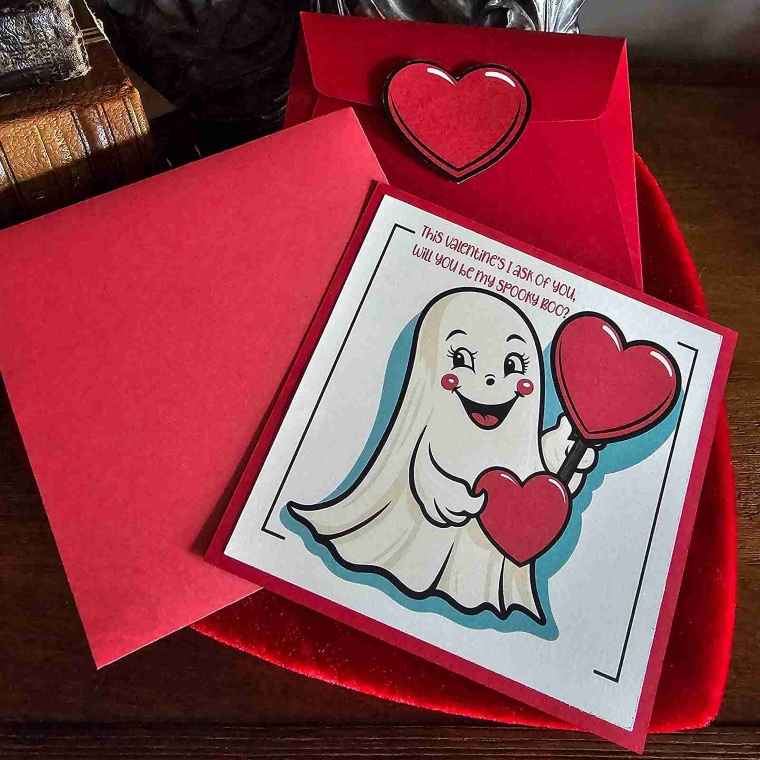
Now that’s creepy sweet.
Until next time – stay spooky.
