
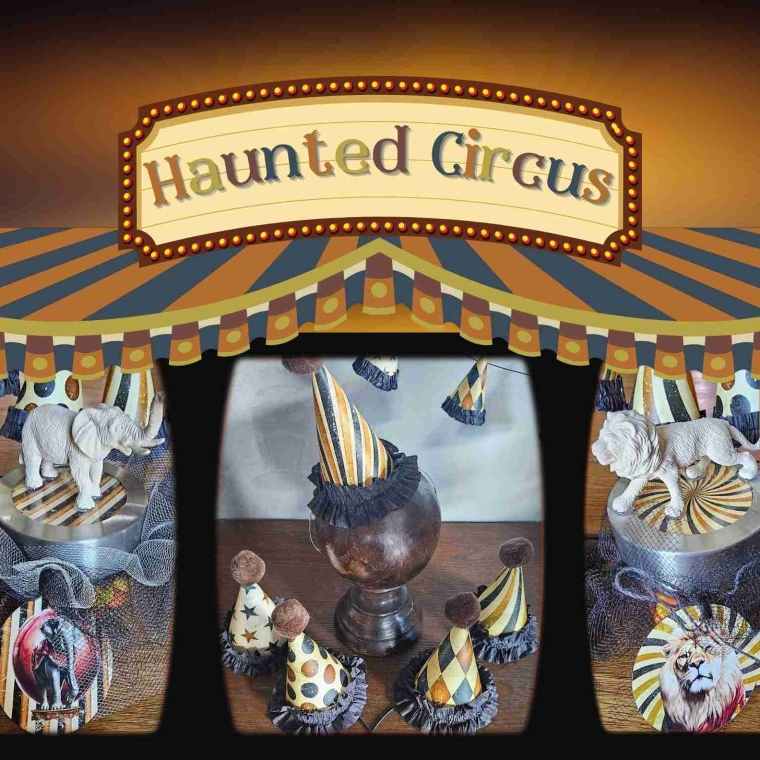
The circus is leaving town and I’m pulling up the tent stakes with this final installation of the Haunted Circus.
This theme has been a fun diversion from my typical Halloween decor, and I’m sure I’ll revisit it in the future.
In the past few weeks, we’ve made mini paper clown hats, a clown hat garland, and circus party favor jars, but before we wrap, I want to add one more thing.
Today’s project is simple and quick, so this is the ticket if you need decor fast. (And, if you need it even faster, scroll to the end for a super-quick short cut.)
So, let’s step right up to the Haunted Circus and create some decor pieces to set the proper mood for your party.

For this project, we will need:
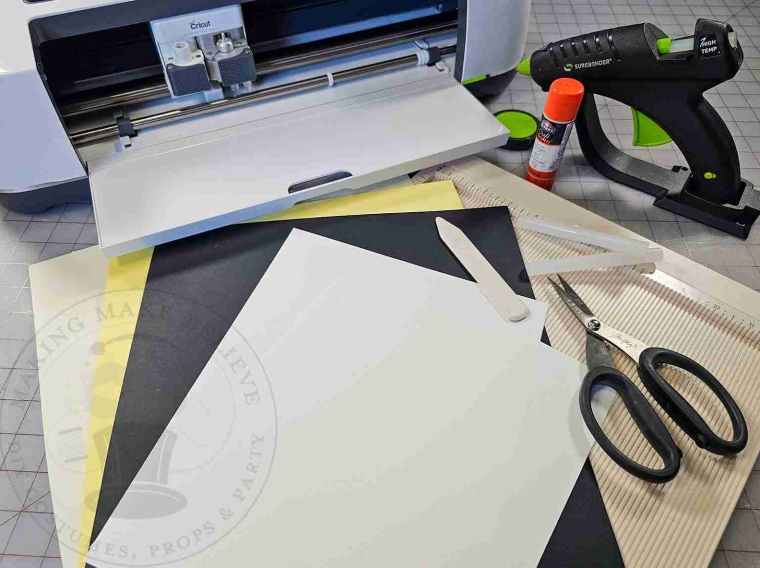
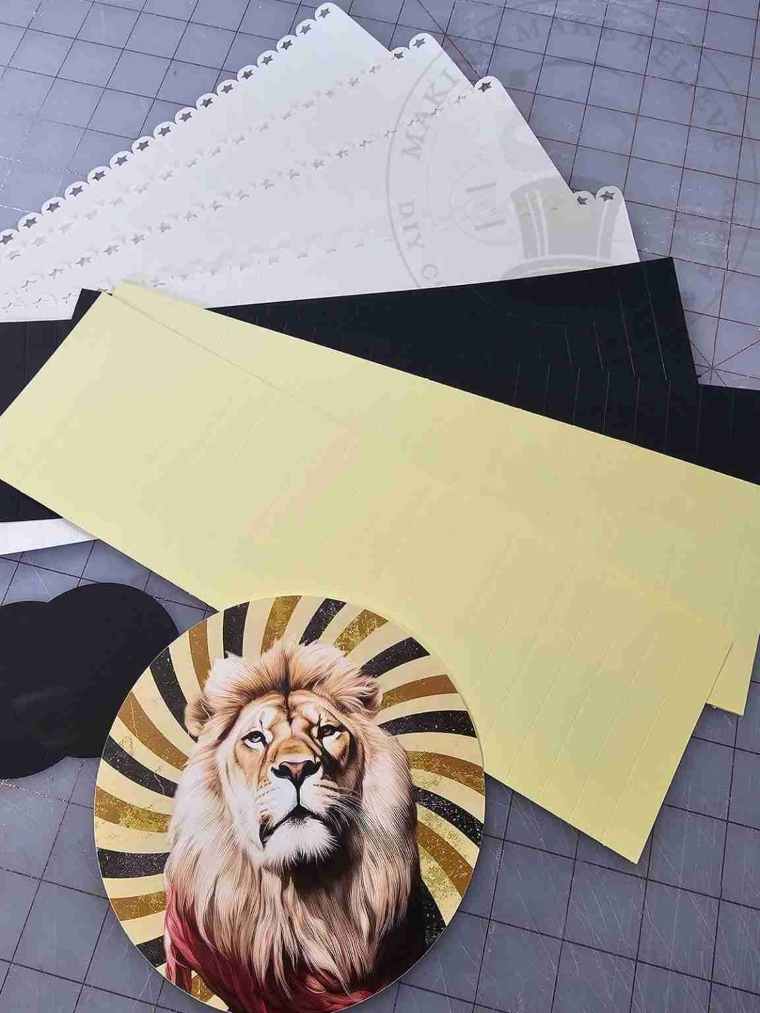
White cardstock
Color printer (not shown)
12×12 Color cardstock
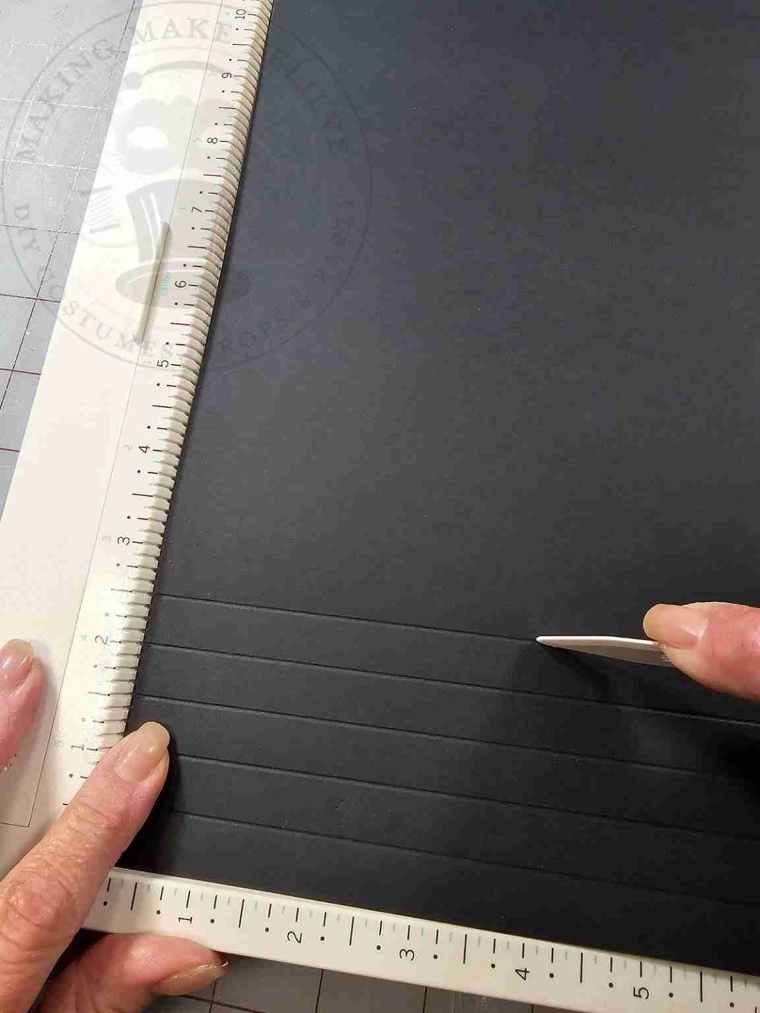
Scissors or cutting machine with blade and scoring tool
Bone folder with scoring board or straight-edge (if scoring by hand)
Hot glue
Glue stick (optional)
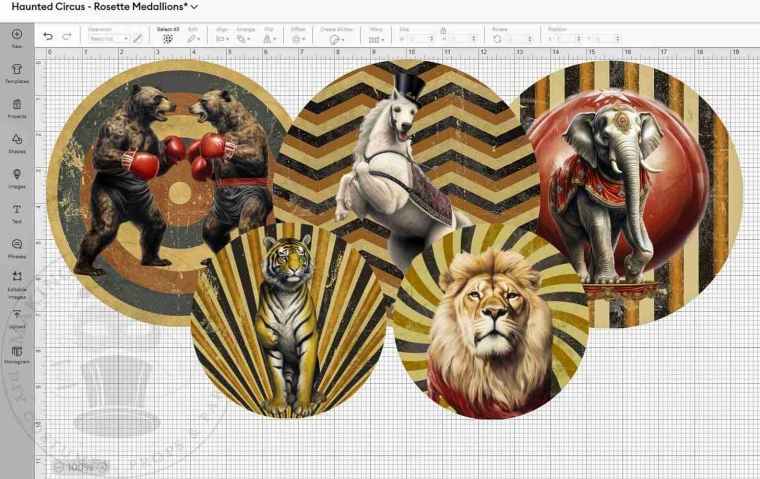
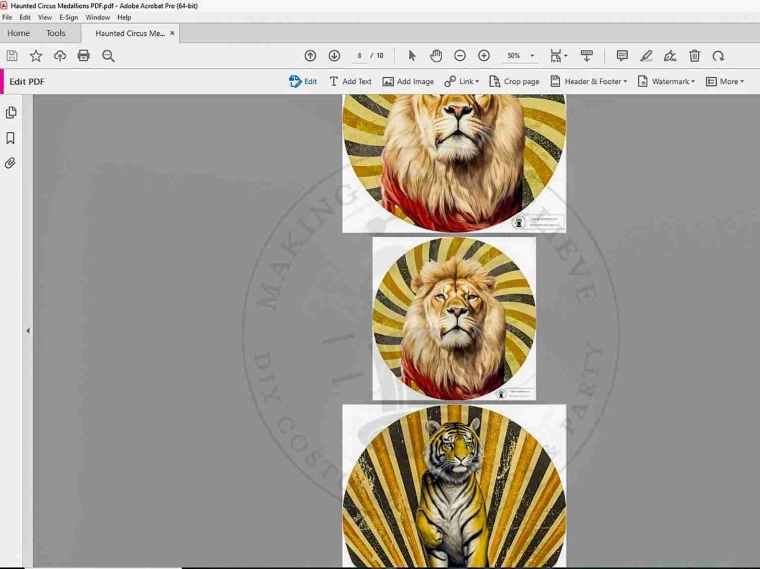
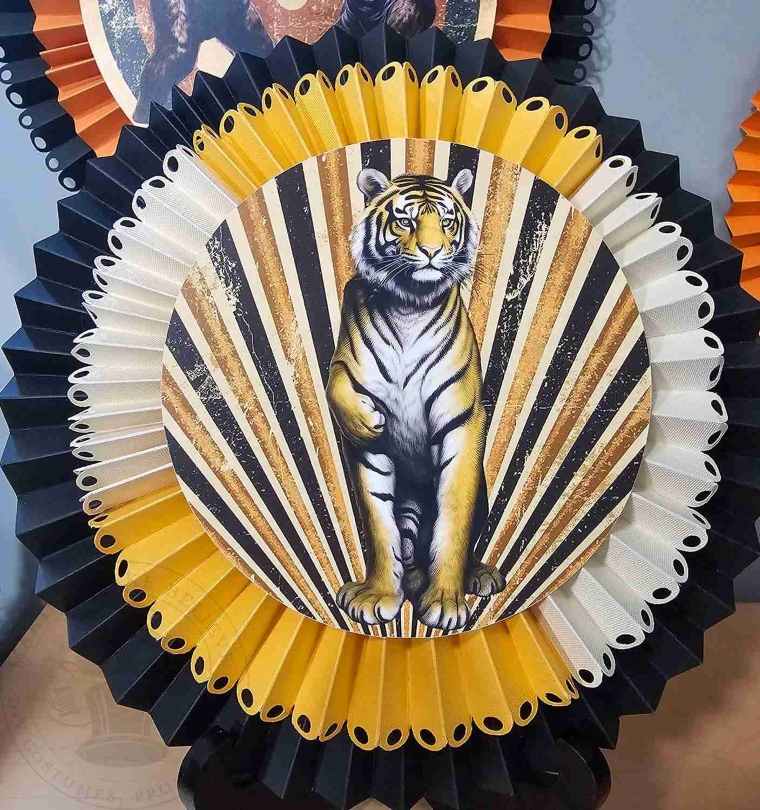
We will also need the Haunted Circus Large Medallions plus the Circus Rosettes files from the Haunted Library. Select the SVG/PTC for Print-Then-Cut machine cutting or the PDF for hand cutting.

For machine cutting, upload the circus medallion Print Then Cut file into your design software. I’m using Cricut Design Space.
Select the pieces you want to make and resize them if desired.
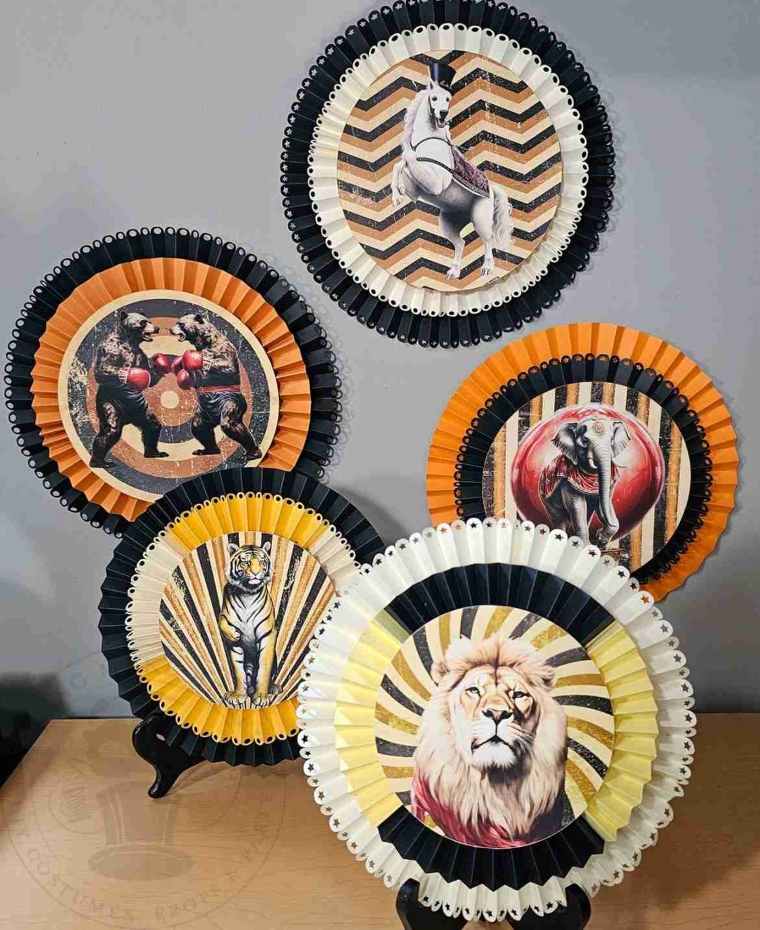
The diameter of my circus medallions are approximately 7.44 inches for the large and 5.44 inches for the small.
To cut by hand, open the template with your favorite PDF reader (Adobe, FoxIt, etc.).
Set the medallions to print at Actual Size or resize if preferred.
Print and cut the medallions.
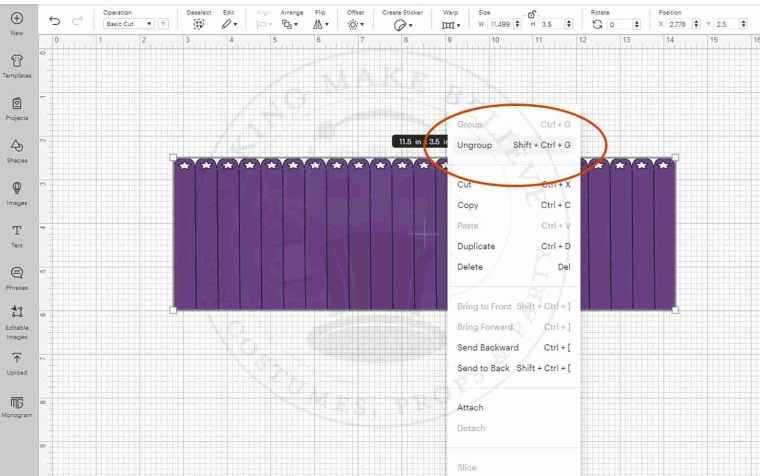
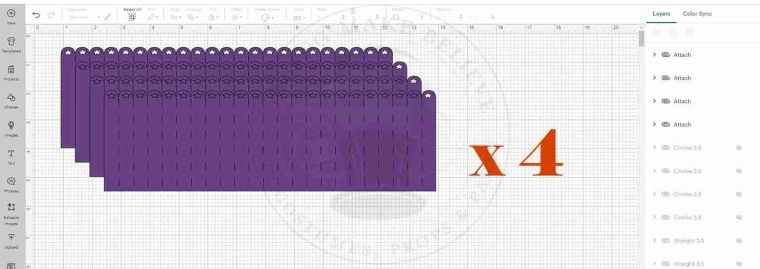
To machine cut, upload the SVG cut file into your design software. I’m using Cricut Design Space.
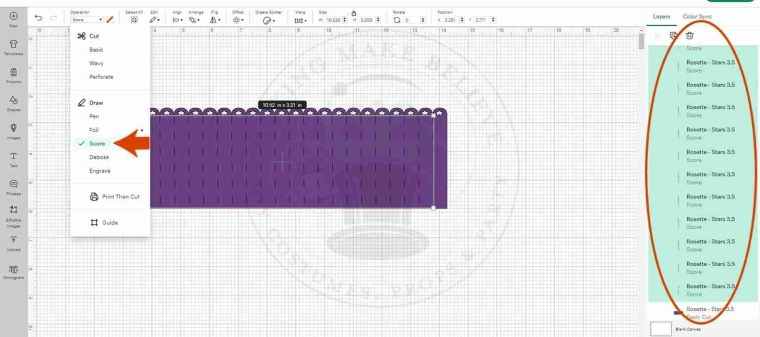
Open the file, select the image, and click Ungroup.
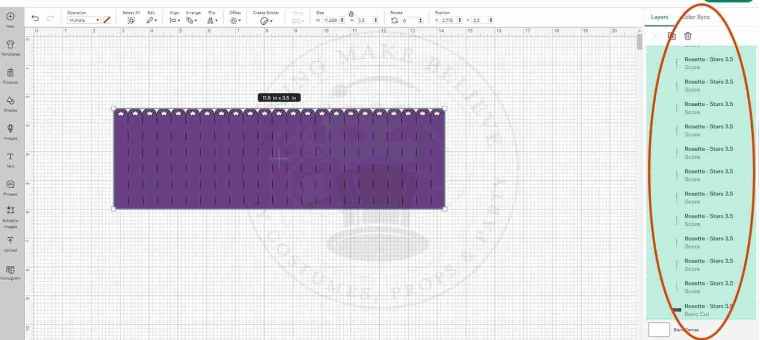
Select all of the vertical dotted lines of the rosette base. As a default, all the lines will be shown as a Basic Cut.

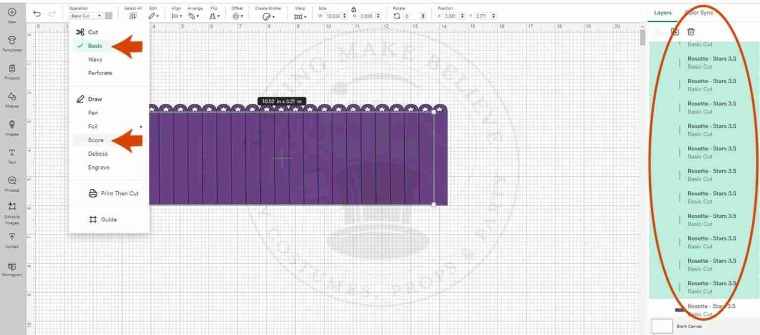
With the lines selected, select Score from the Operation drop-down list.
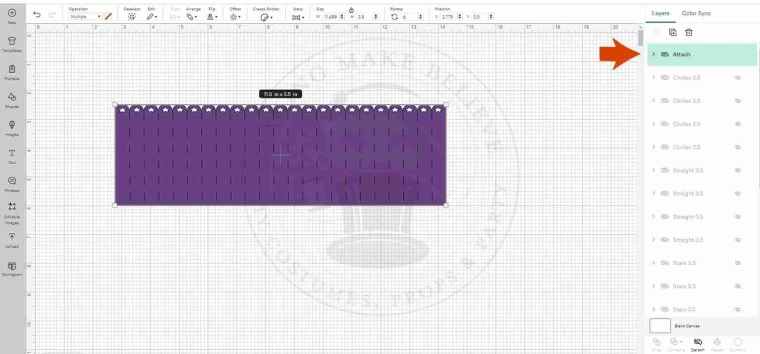
Select all elements of the base, the score lines, and the rosette base, and click Attach.
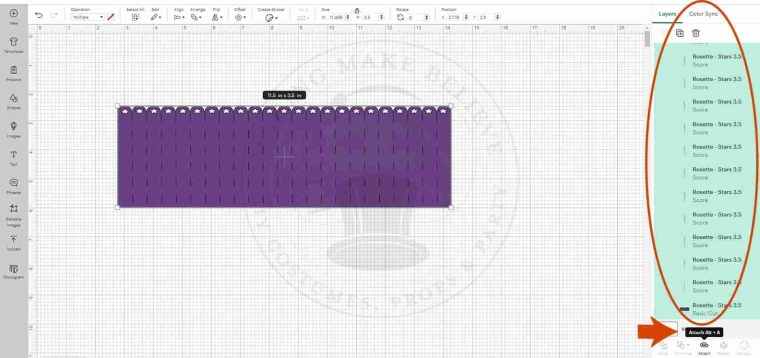
Now, make three more copies of the rosette base for a total of four pieces.
Also make a copy of the rosette center circle as you will need two circles per rosette.
Your Halloween rosette is now ready to cut.
To cut by hand, use a bone folder and a scoring board or straight-edge.
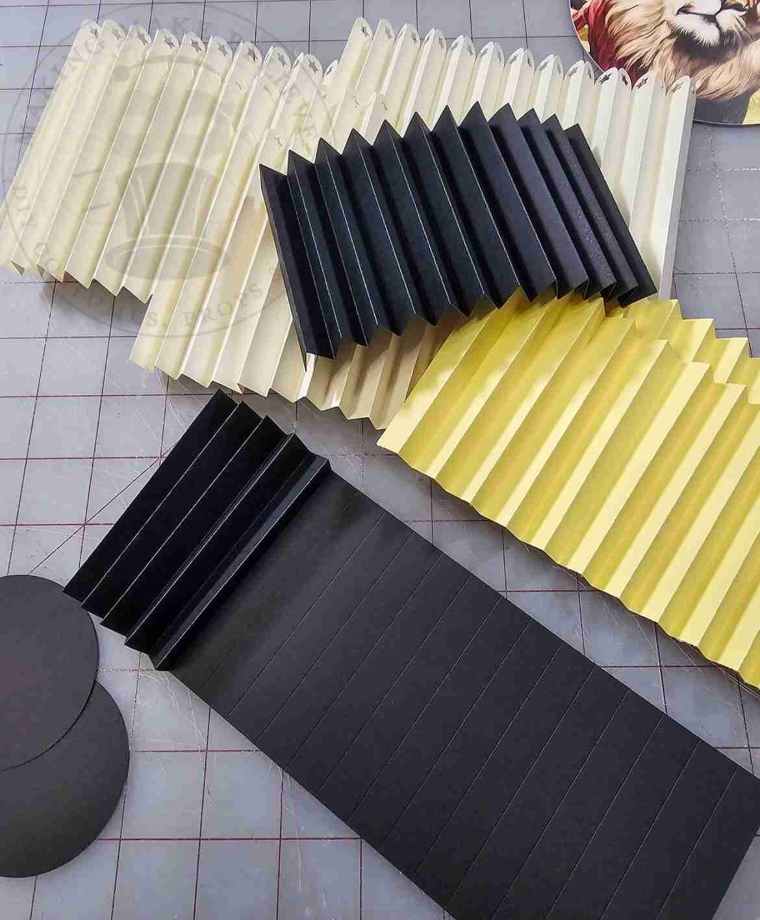
Cut or punch two 2.5-inch circles for the rosette centers.
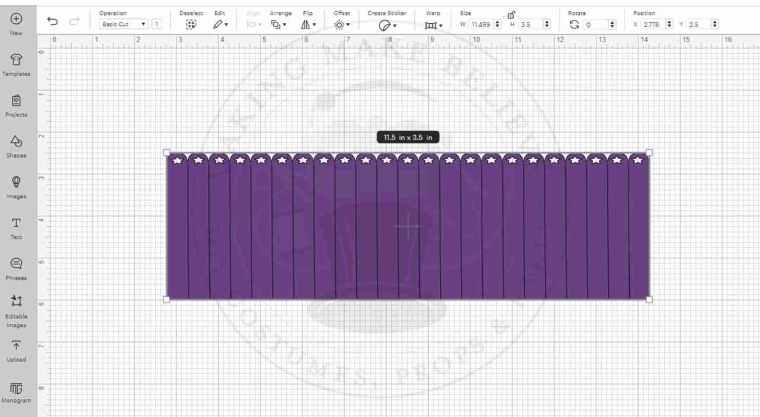
Next, cut four 11.5″ long rectangular pieces from the colored cardstock.
The width of the rectangle will determine the diameter of the rosette.
The sizing for my rosette base pieces are:
- large 11.5-inch by 5.5-inch
- medium 11.5-inch by 4.5-inch
- small 11.5-inch by 3.5-inch
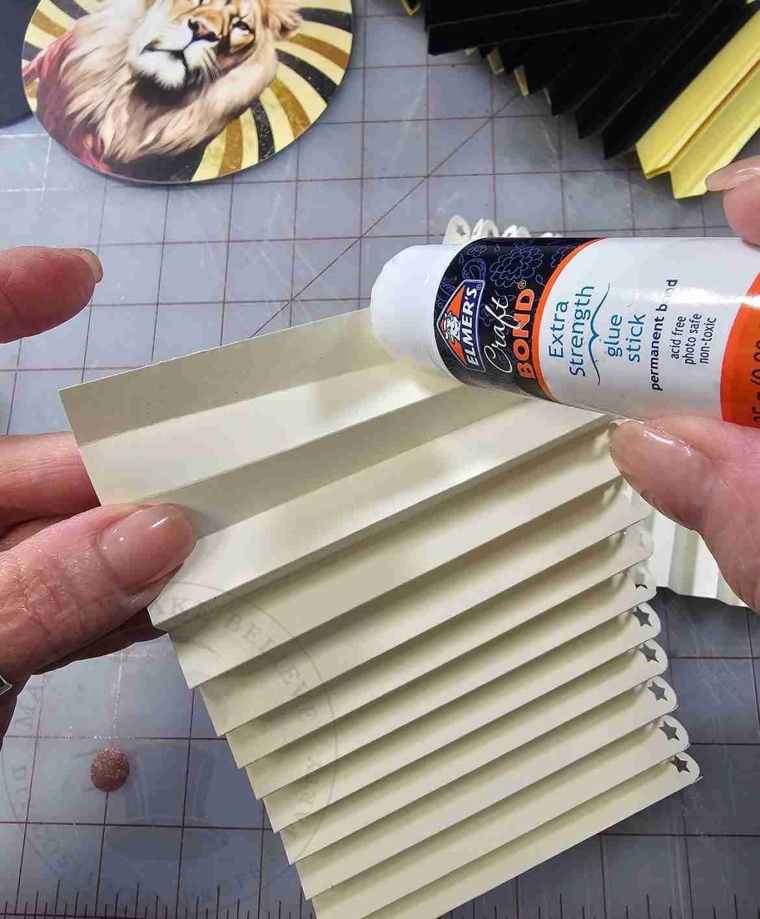
Lay the rectangular paper pieces on the scoring board and score every 1/2 inch.
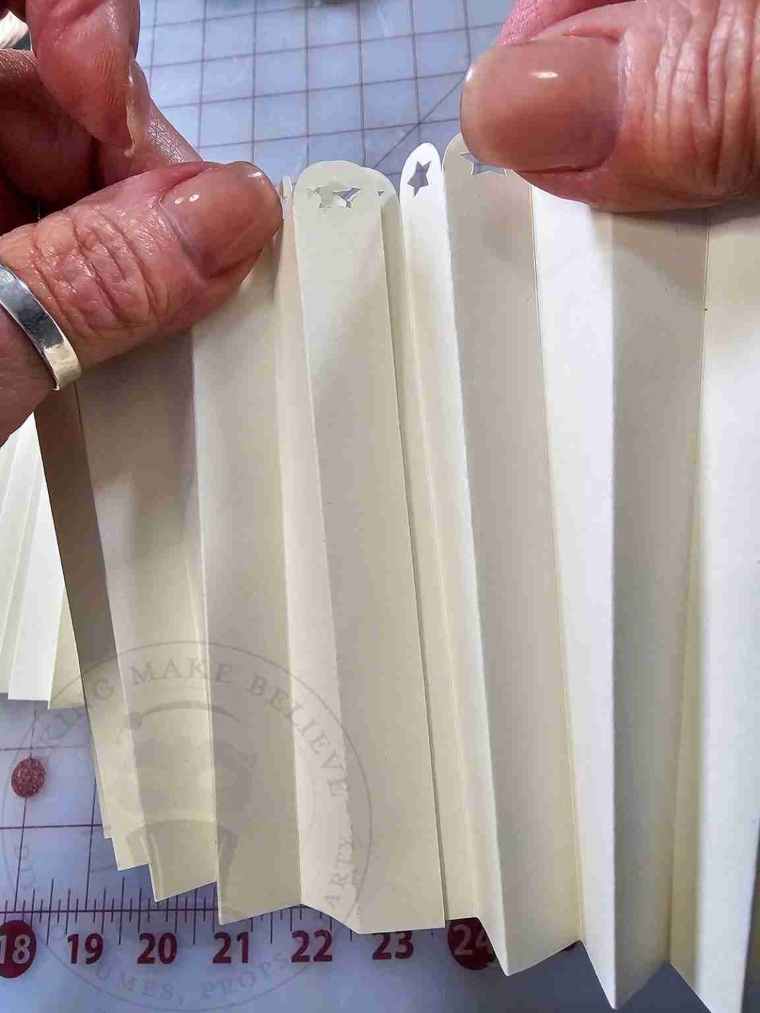
Following the score marks, accordion-fold the rosette pieces.
Attach all the sections to form a circle.
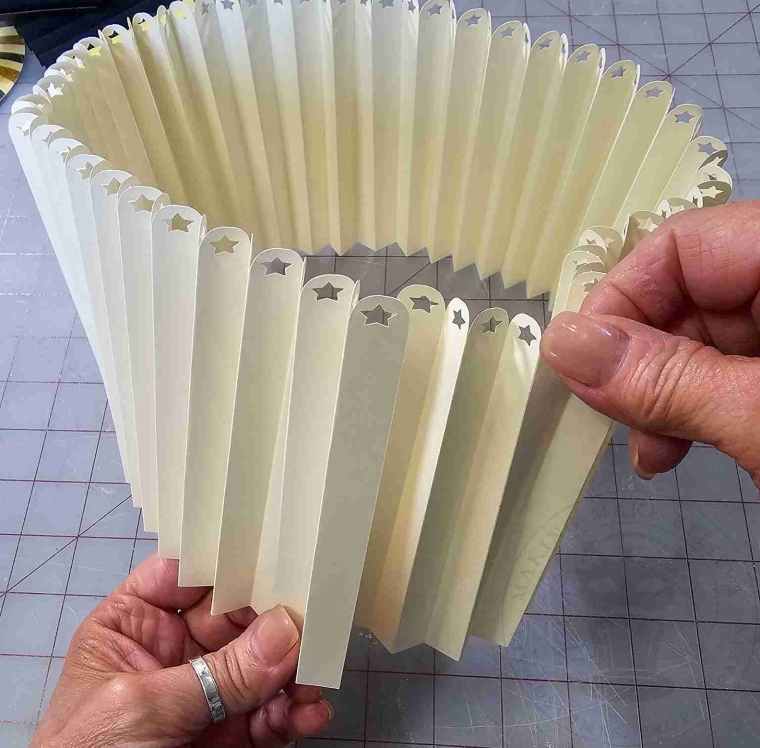
Gather the circle along the top and press down towards the center to form the rosette.
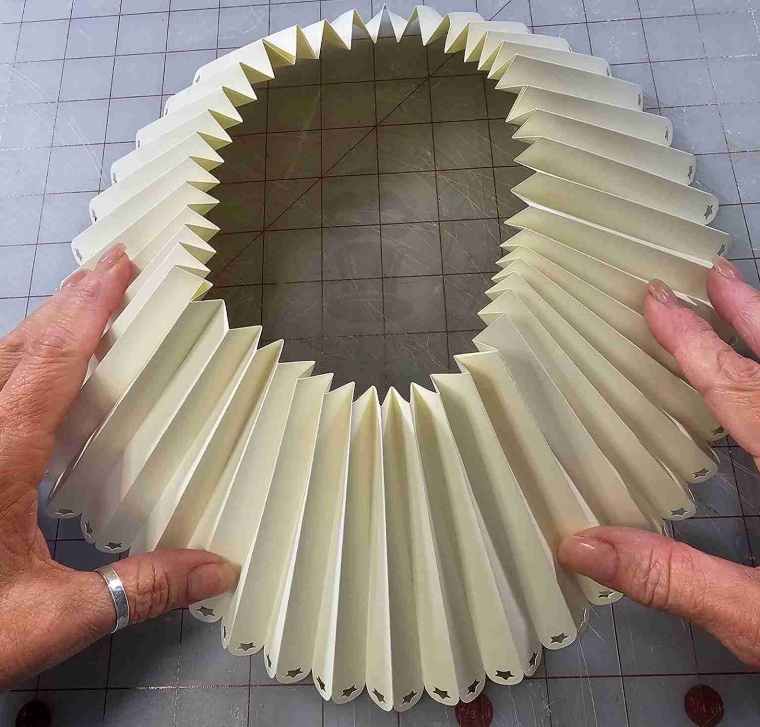
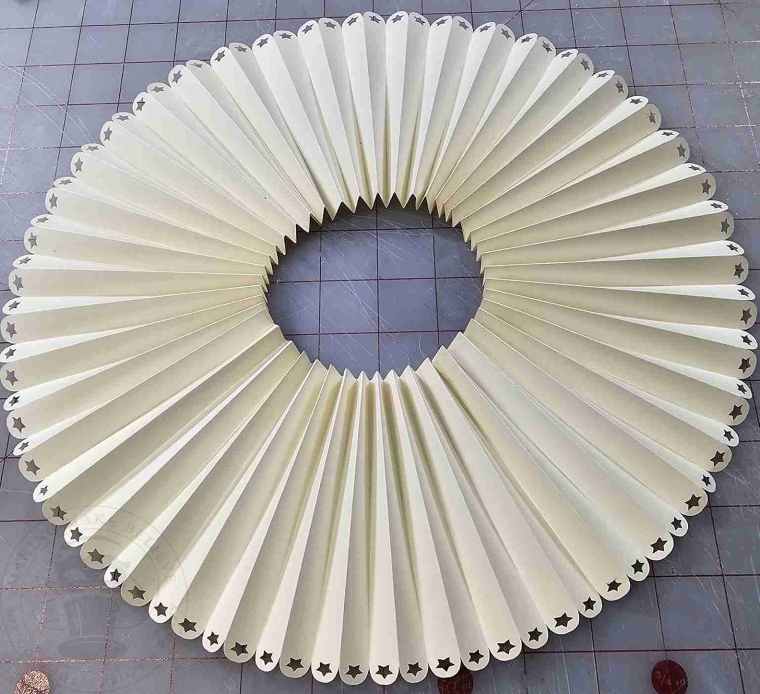
Press the circle tightly to the center.
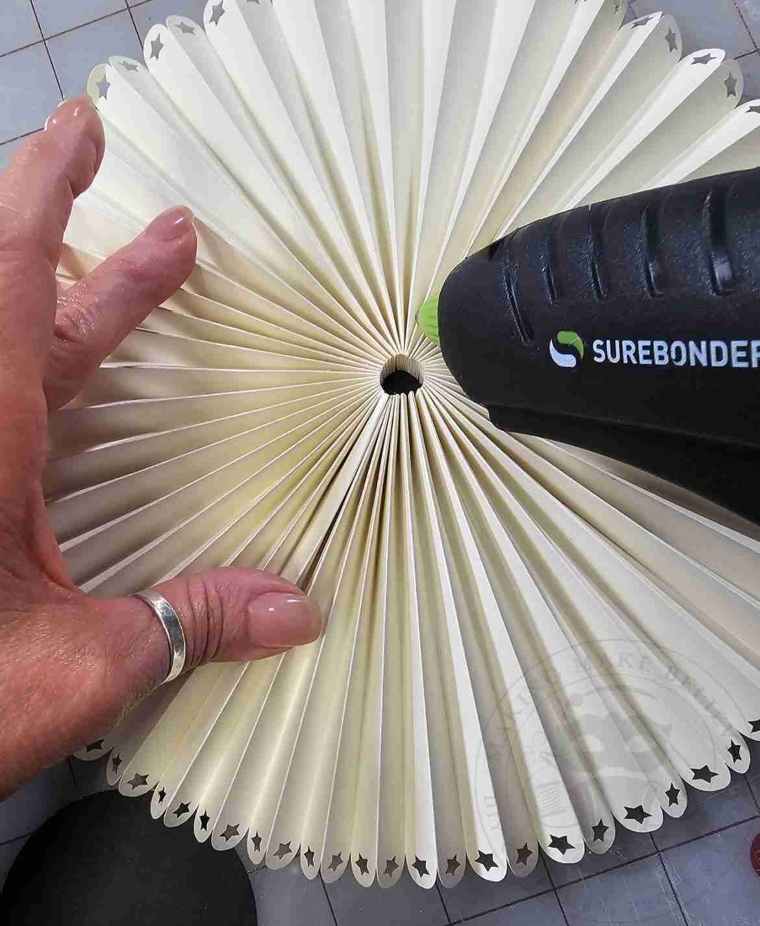
To secure, hot glue the rosette center circle piece to the backside of the rosette and hold until the glue has set.
For added security, flip the rosette over and glue a center circle piece to the opposite side.

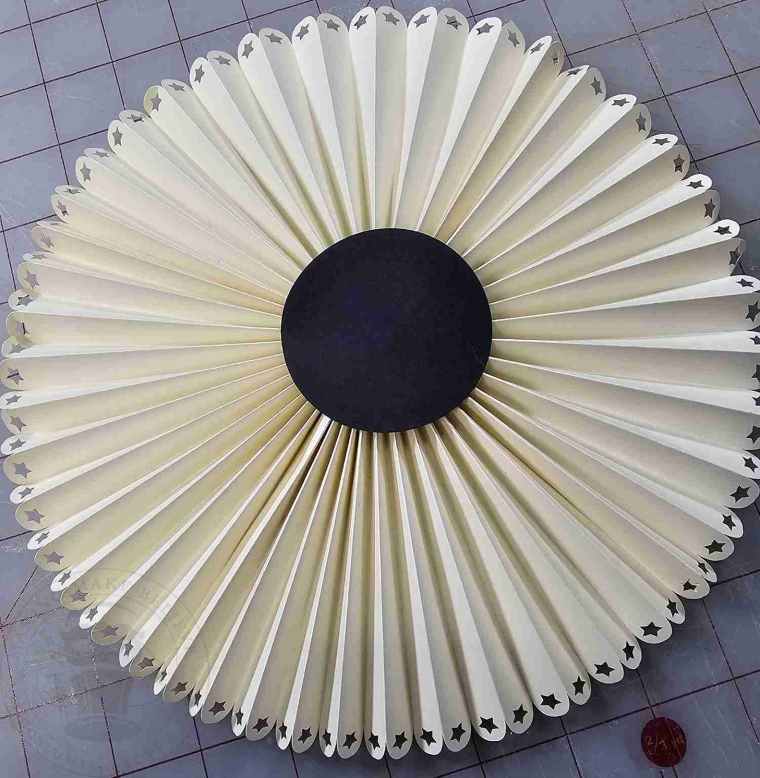
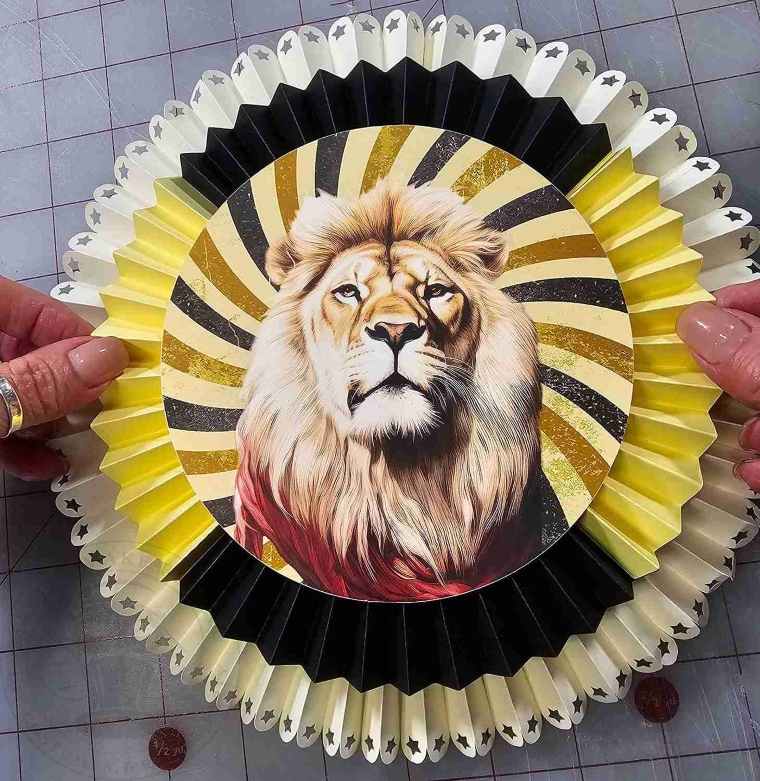
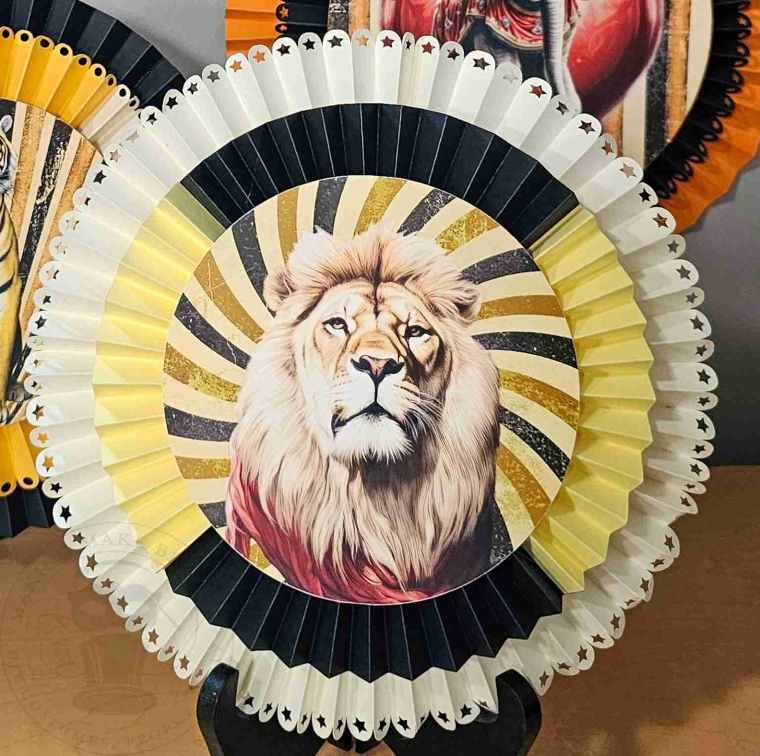
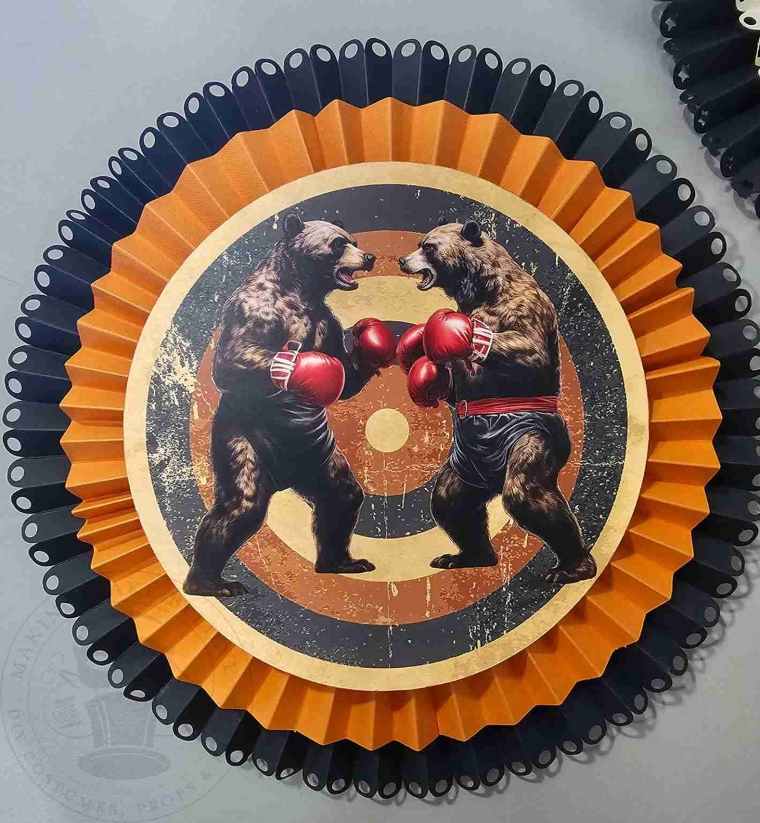
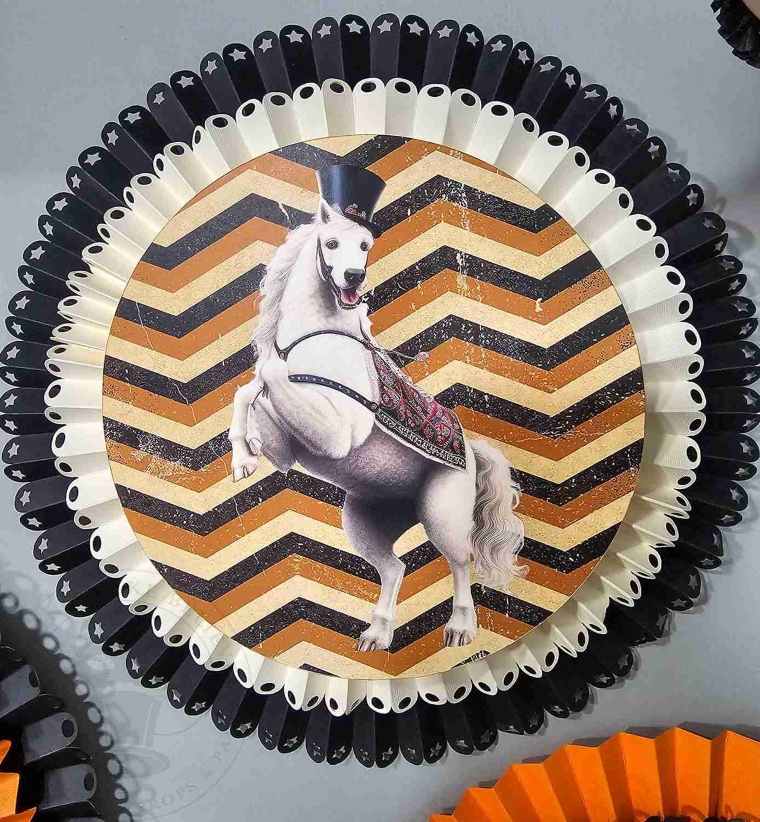
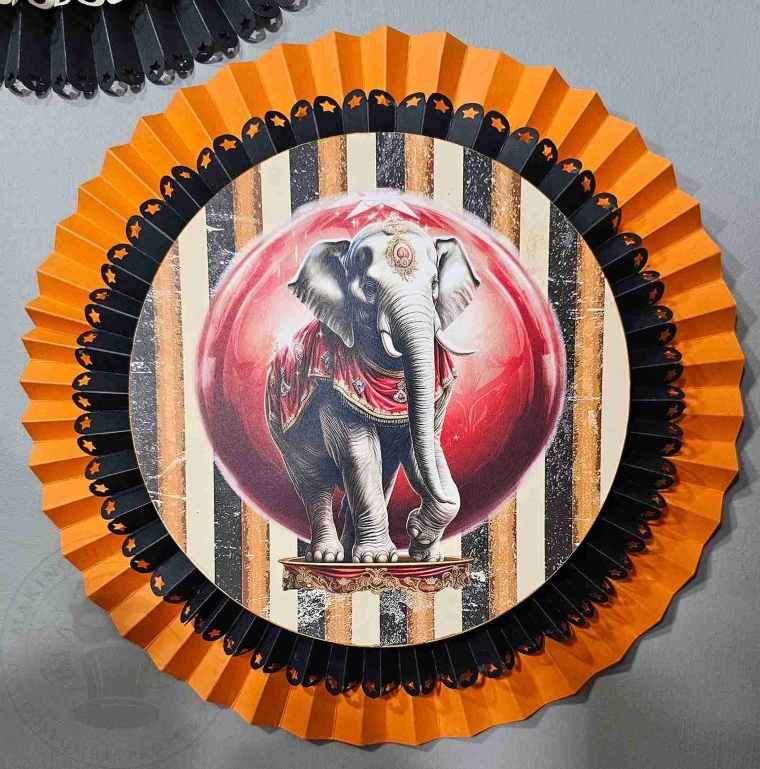
To assemble, glue a medallion to the front of a rosette.

I created a double rosette by stacking a small size rosette onto a medium one.
Hot glue a loop of string to the back to hang.
No time to make rosettes? No problem.
Grab some premade paper rosettes and glue your medallions on top for a quick last-minute fix.
And, that’s a wrap
The haunted circus is leaving town so, until next time – stay spooky.