
Are you ever haunted by the thing you didn’t buy?
I passed up a Halloween pillow because A – I already have too many Halloween pillows, and B – I am trying to focus on my “Want To Make” list.
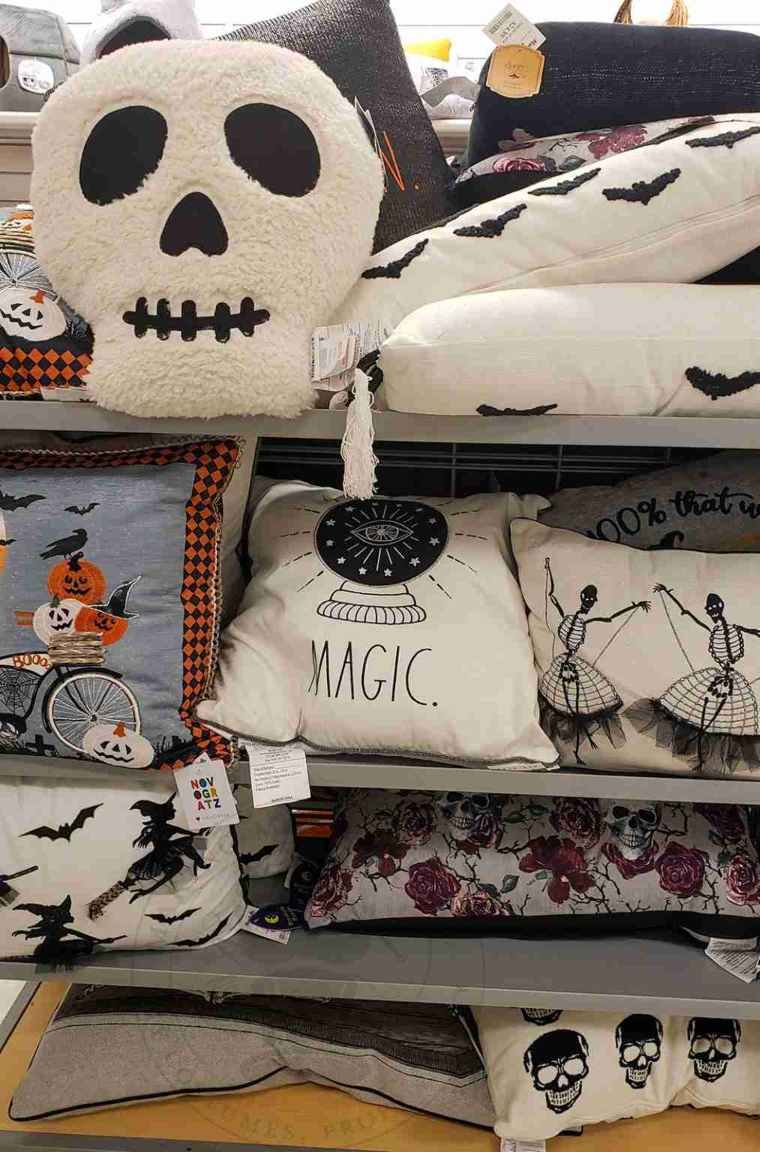
The pillow in question was a sherpa or sherpa-like skull pillow, and I had to pet it every time I walked by it in Marshall’s.
I was tempted to buy it, but I exercised self-restraint and, instead, I snapped a pic in case I was inspired to make something similar.
Today, I was inspired.
I have some sherpa faux fur in my stash, which is perfect for whipping up a skull stuffie.
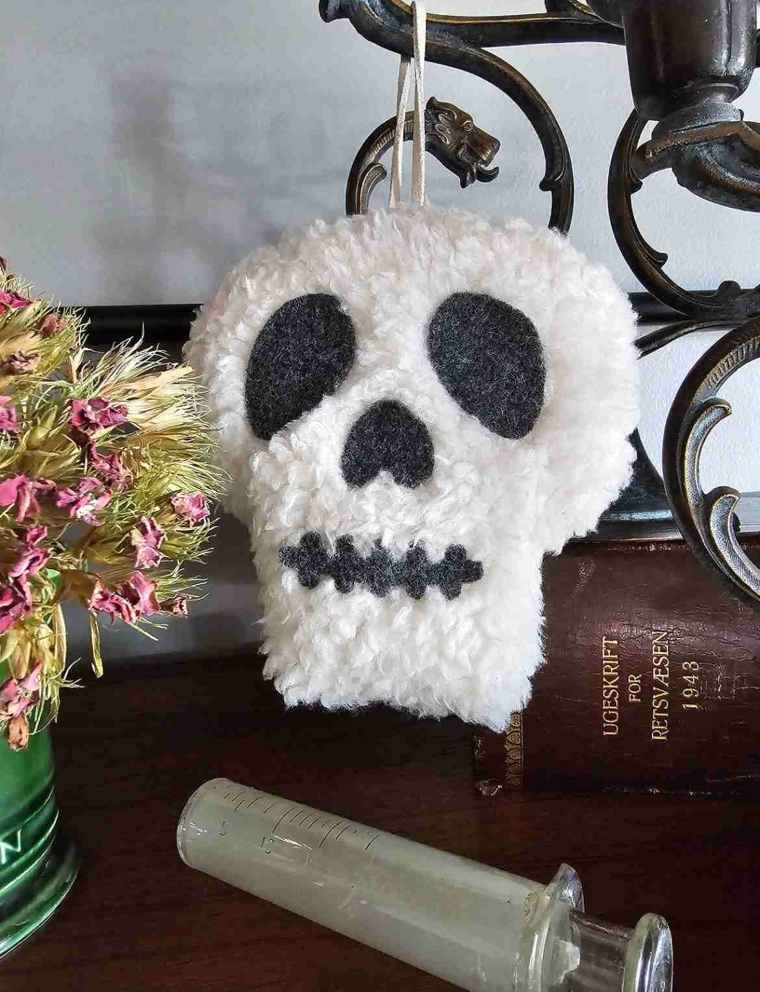
This little skully is just the right size and makes a great accent to your haunted decor. Perch it on a bookshelf, hang it from your rearview mirror, or tuck it into your Halloween tree.
This little guy would also be a great gift for the spooky lover on your list.
So, let’s get started.

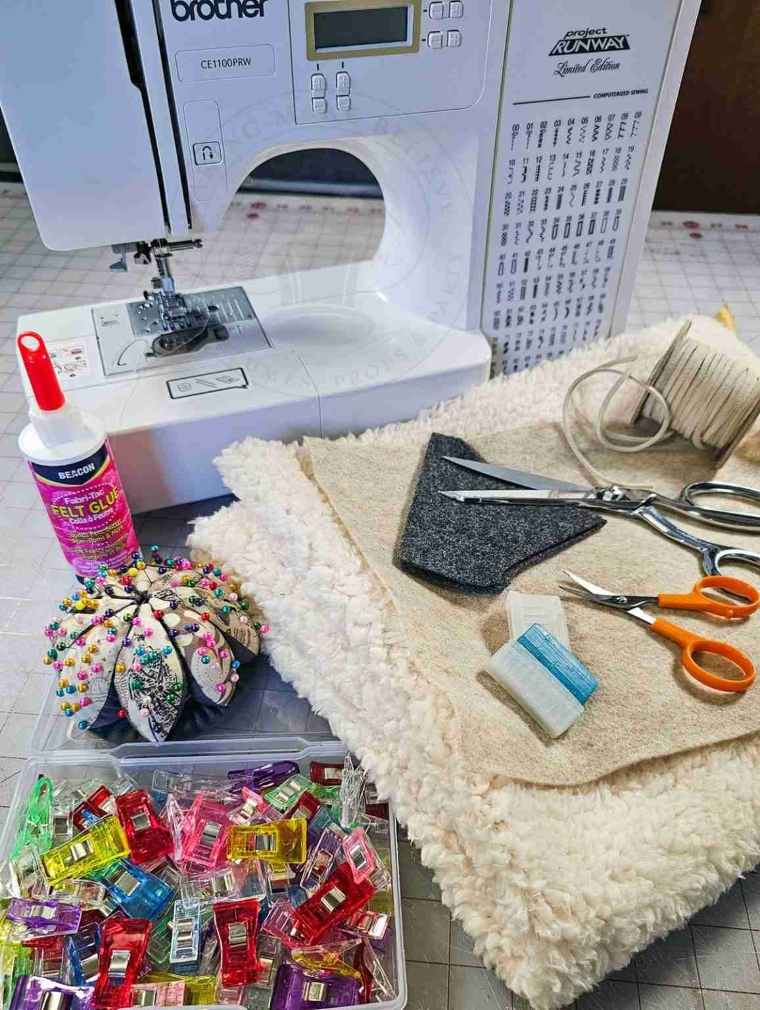
For this project, we will need:
For this project, we will need:
Sherpa faux fur fabric scrap
Felt scraps
Chalk or fabric marker
Cutting machine (optional) – I’m using the Cricut Maker
Scissors
Clips or pins
Sewing machine or needle and thread
Polyfil stuffing (not shown)
Felt glue
Ribbon (optional)
We will also need the Skull Stuffie template from the Haunted Library. Choose the SVG option for machine cutting or the PDF option if cutting by hand.

If you are cutting by hand, open the PDF, print the pieces onto cardstock or paper, cut out the pattern and transfer it to your felt and sherpa.
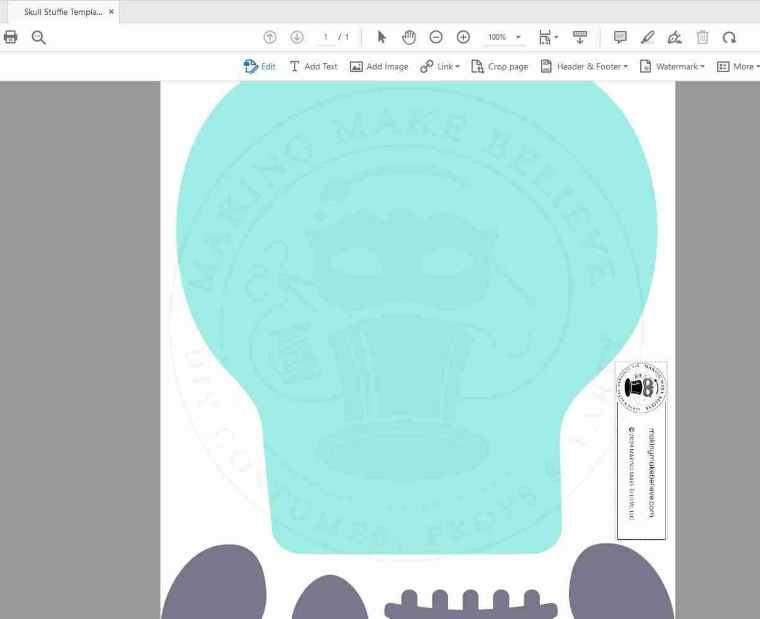
If machine cutting, upload the SVG version into your design software. I’m using Cricut Design Space.
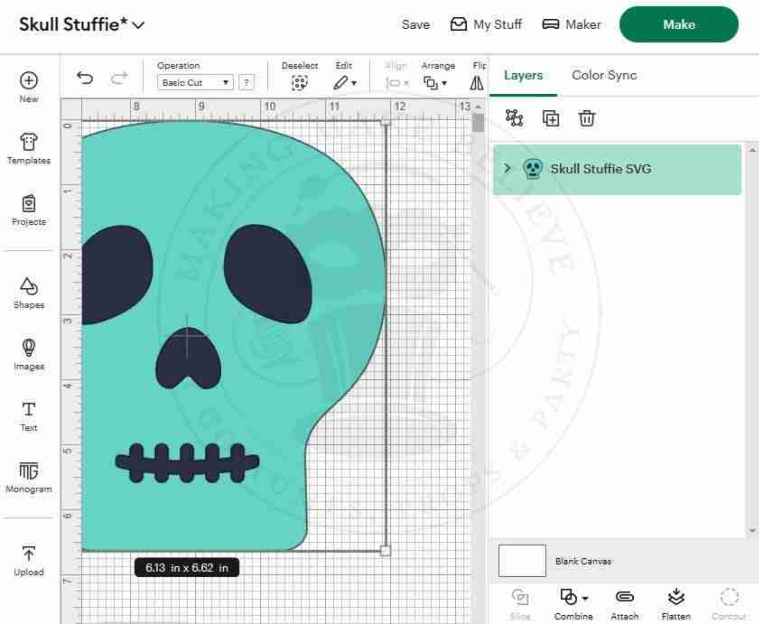
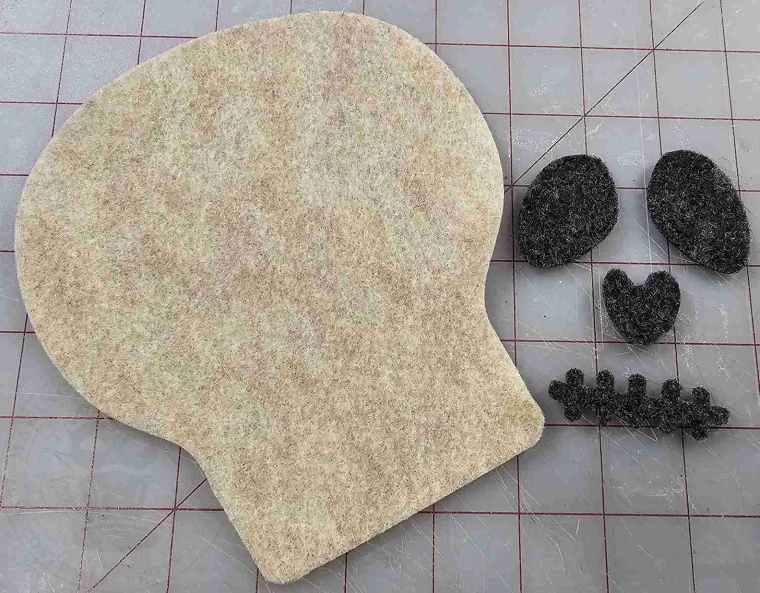
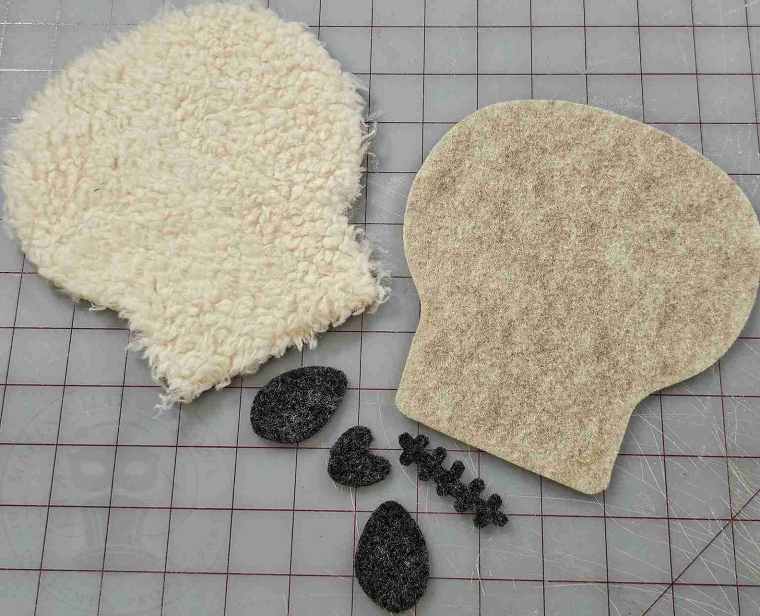
Cut the skull base and the facial features (eyes, nose, and mouth) from the felt.
I chose to make the back of the skull a different color than the features.
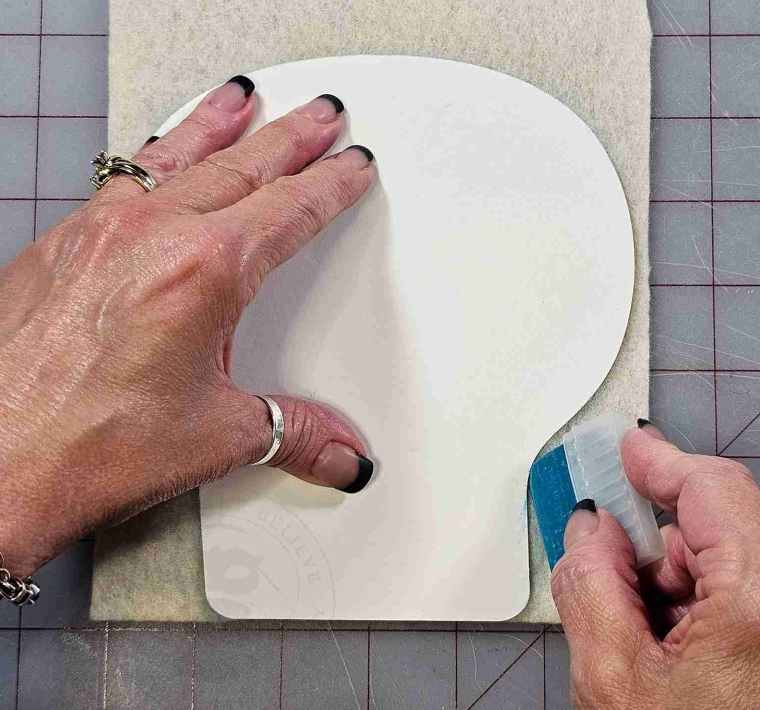
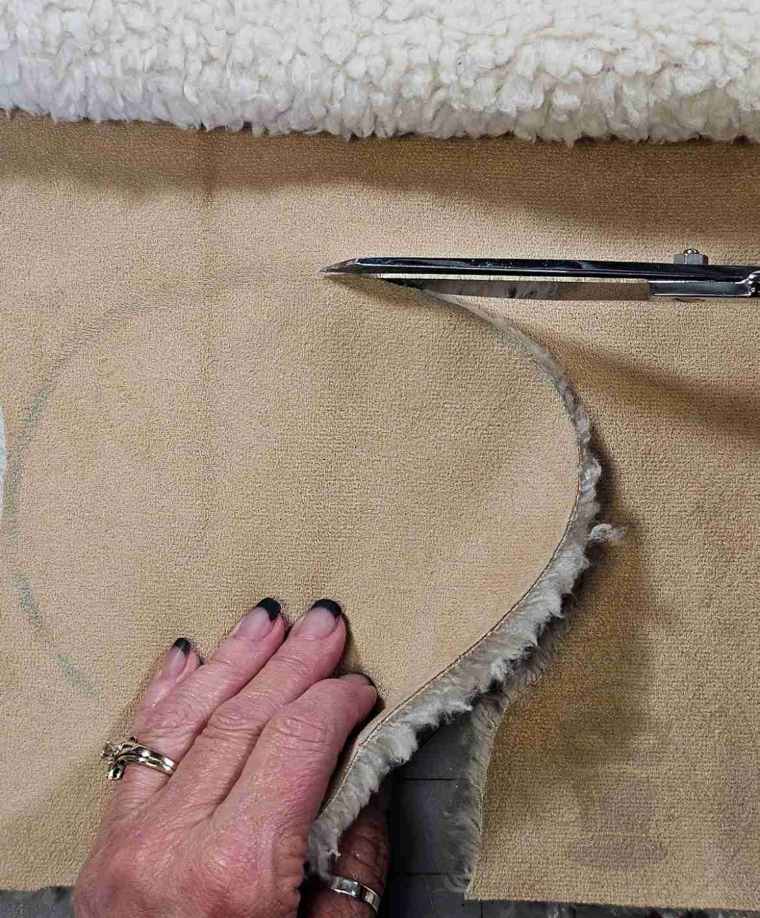
Use the paper template or the felt skull to trace the skull onto the sherpa fabric.
Cut one skull front from the sherpa by snipping the backing.
See our tutorial on How To Cut Faux Fur if you need more direction.
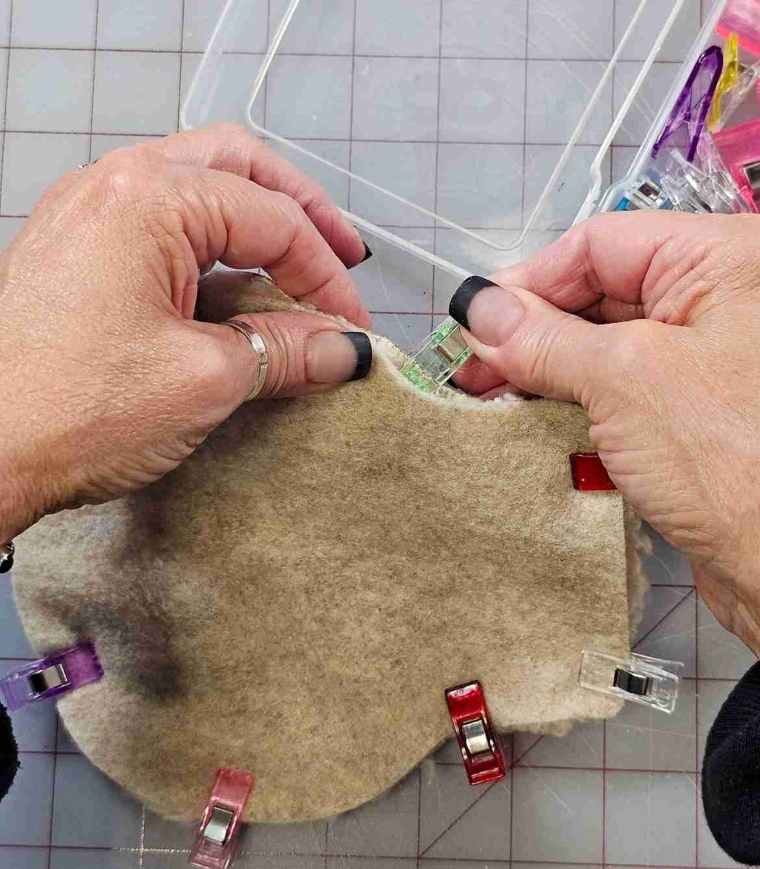
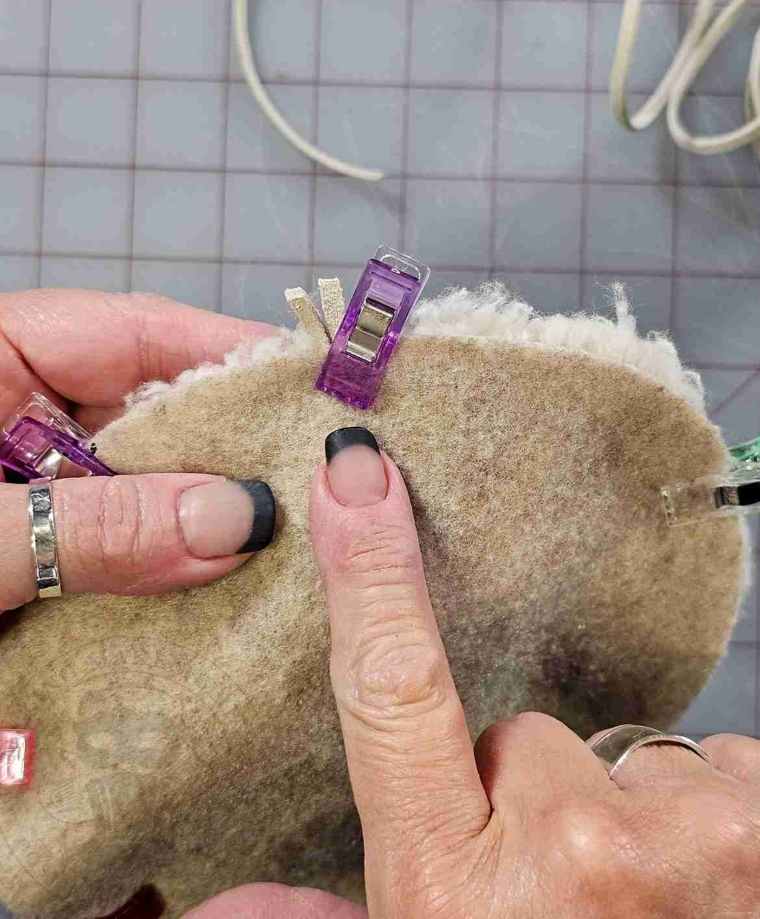
Match up the skull pieces and ensure they align as the sides are not mirror images of each other.
With right sides facing in, pin or clip the skull pieces together, pressing the fur towards the interior as you go.
If you want a hanger for your skully, add a ribbon loop prior to stitching.
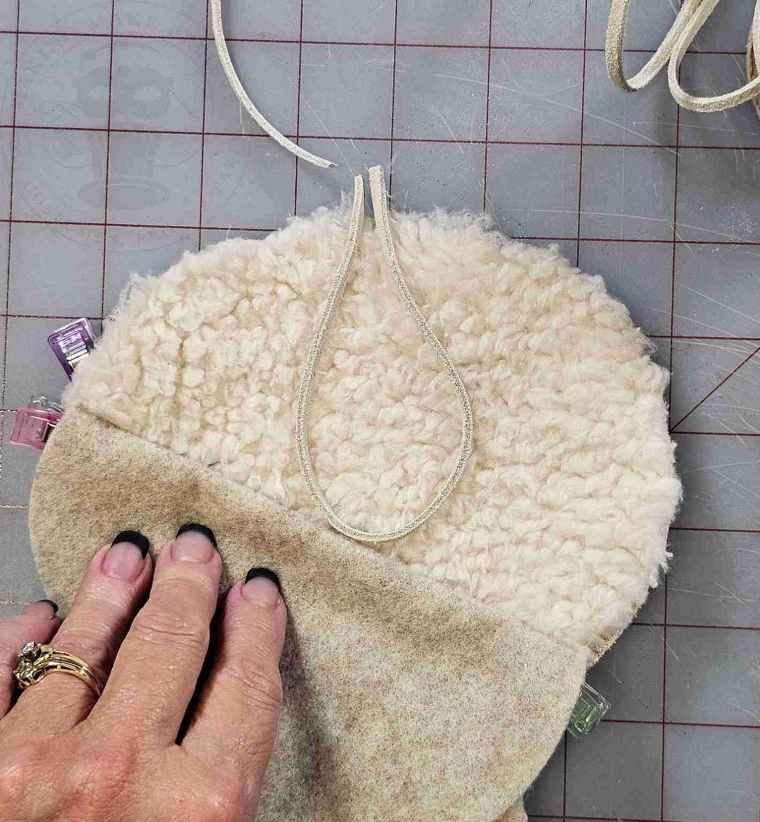
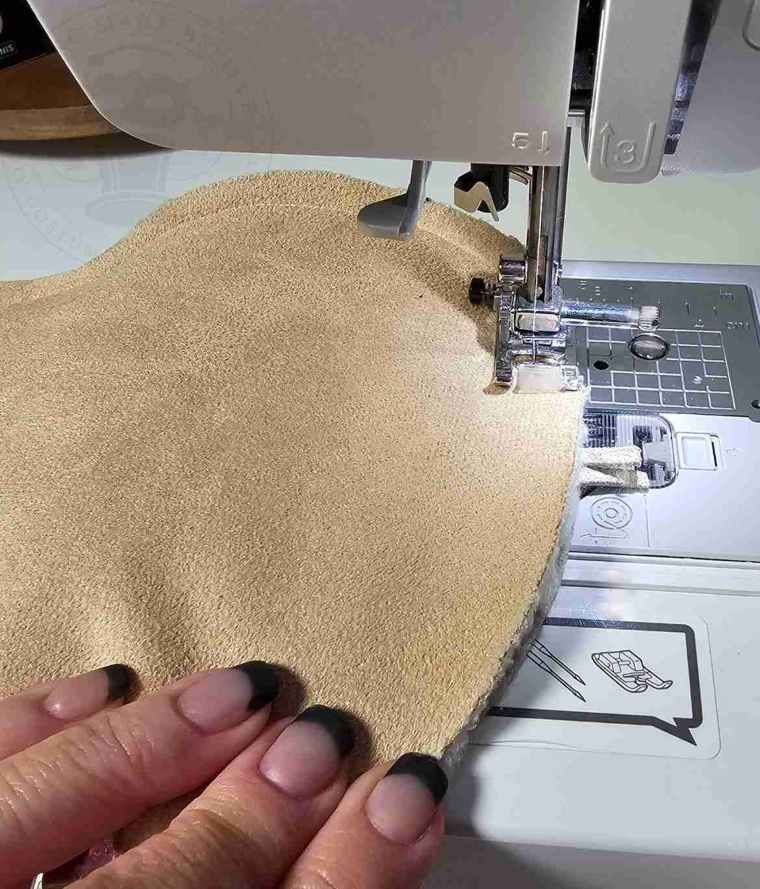
Using a 3/8″ allowance, stitch around the skull, leaving an opening at the base.
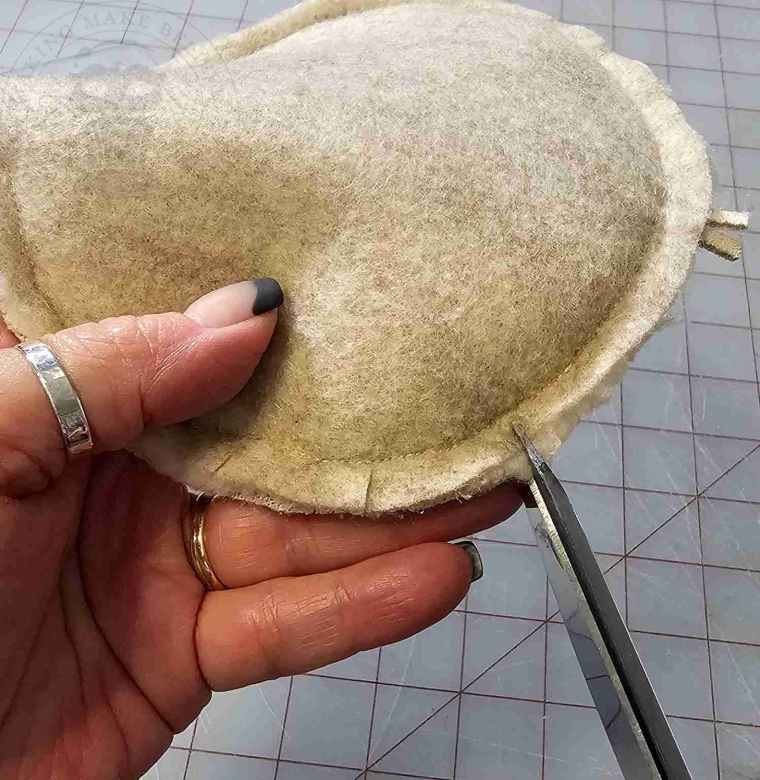
Clip the curves.
Turn the skull right side out.
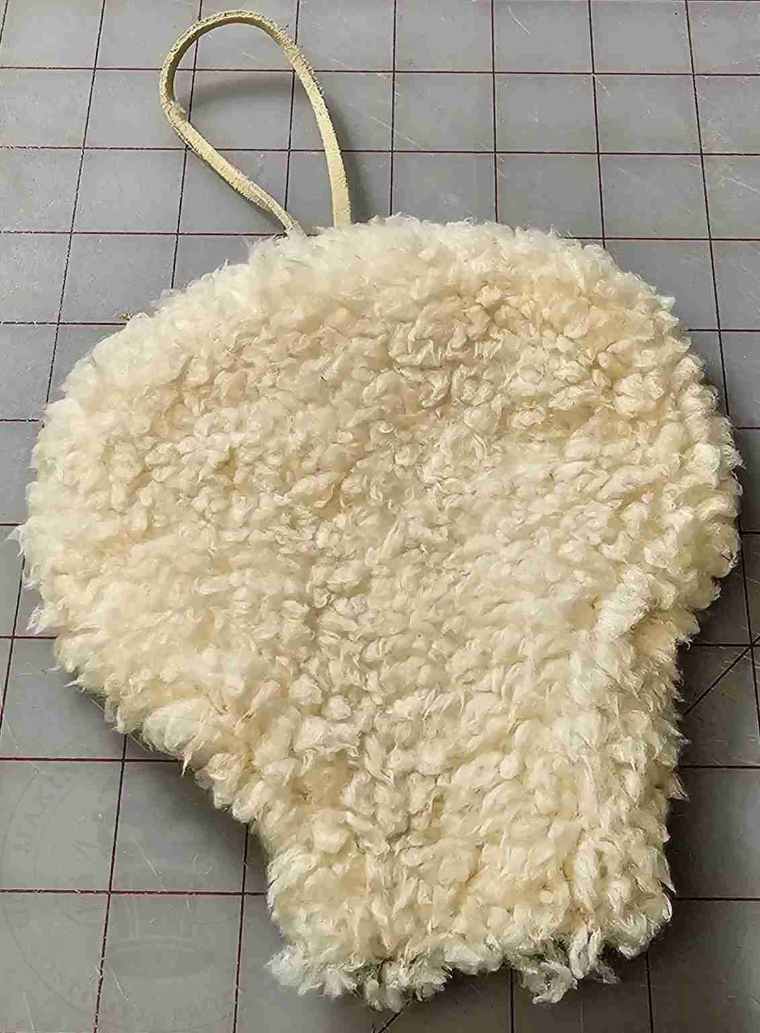
Fill the skull with Polyfil or your preferred stuffing.
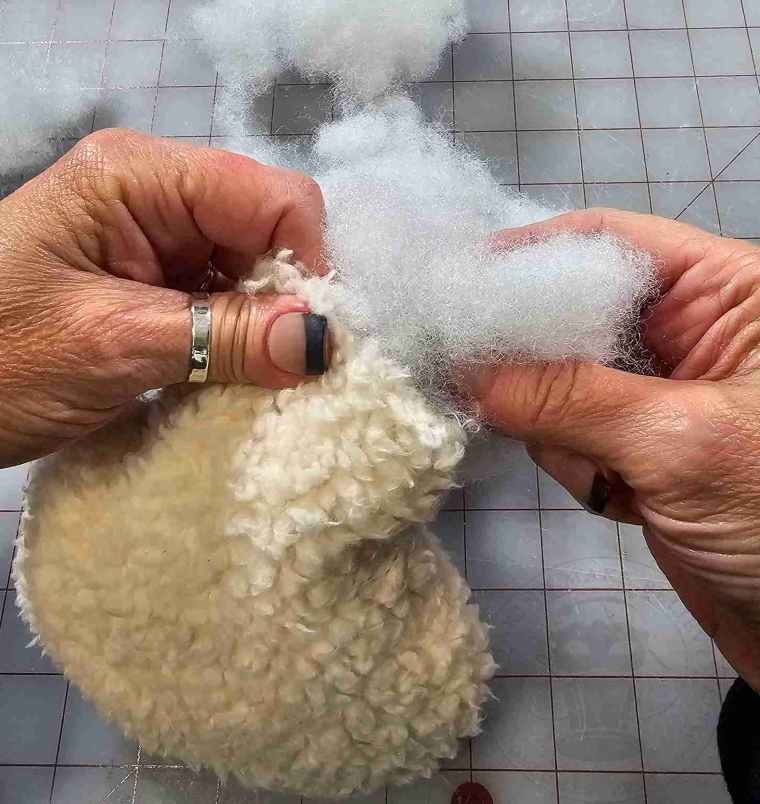
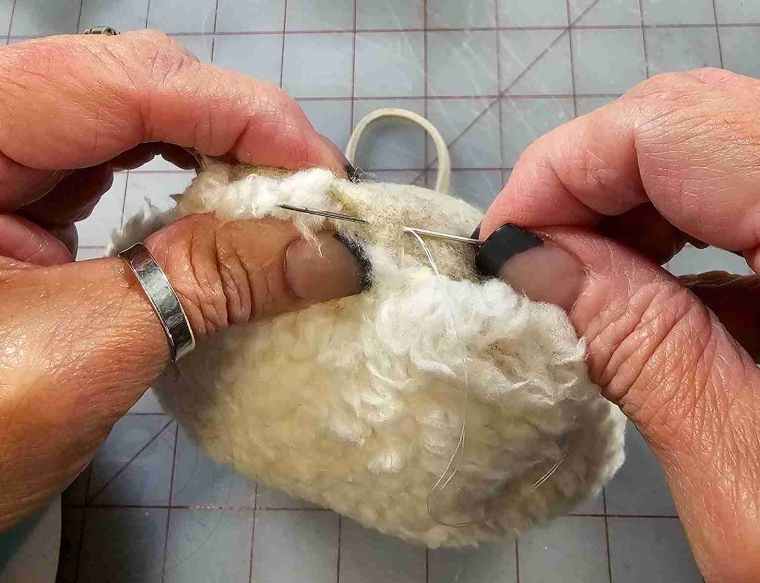
Stitch the opening closed.
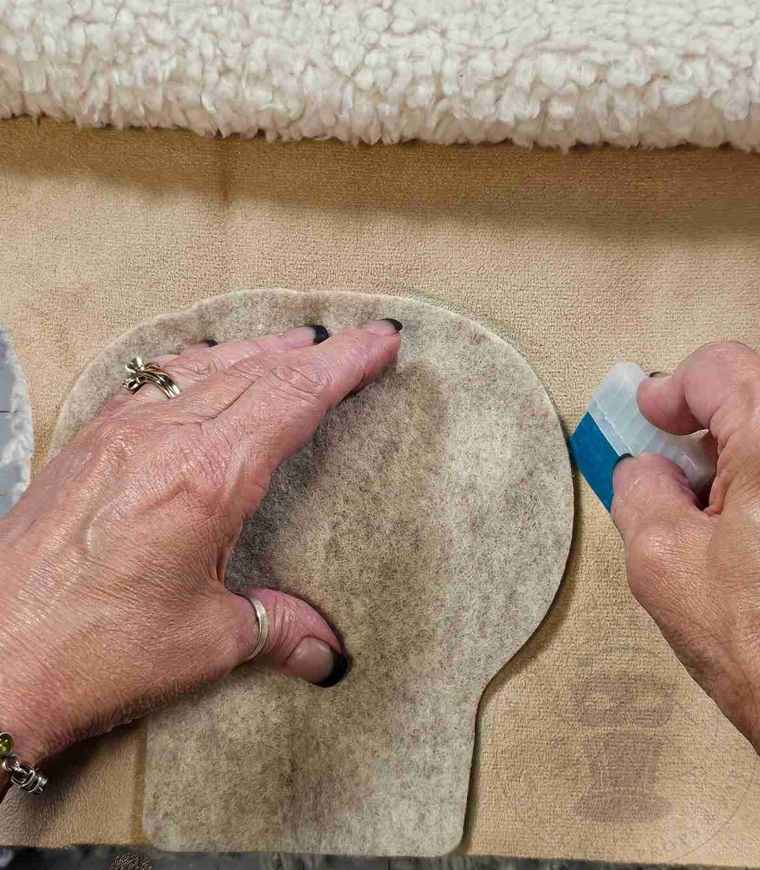
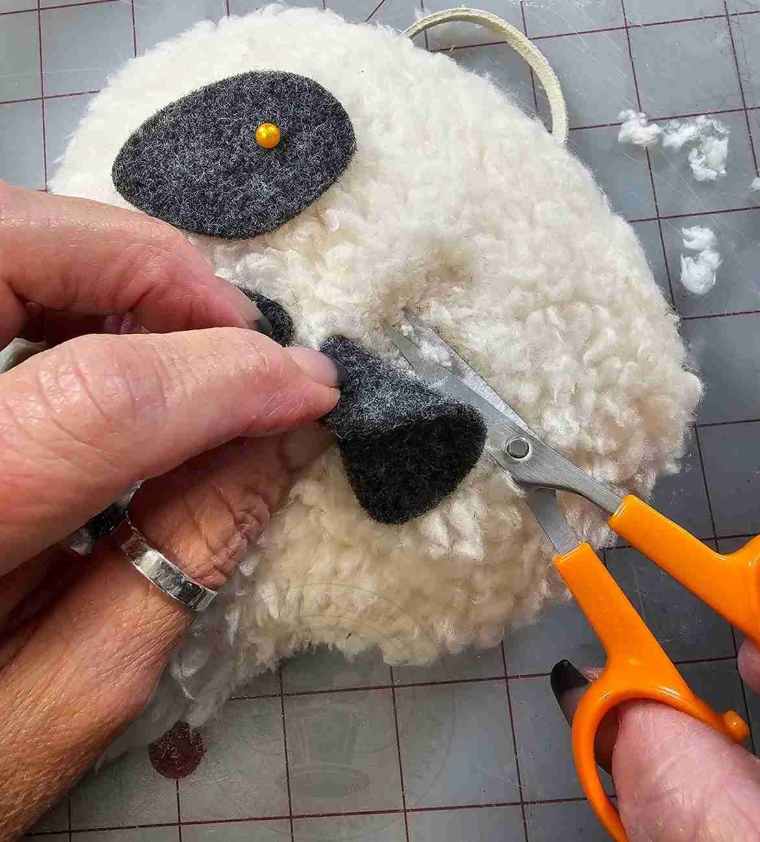
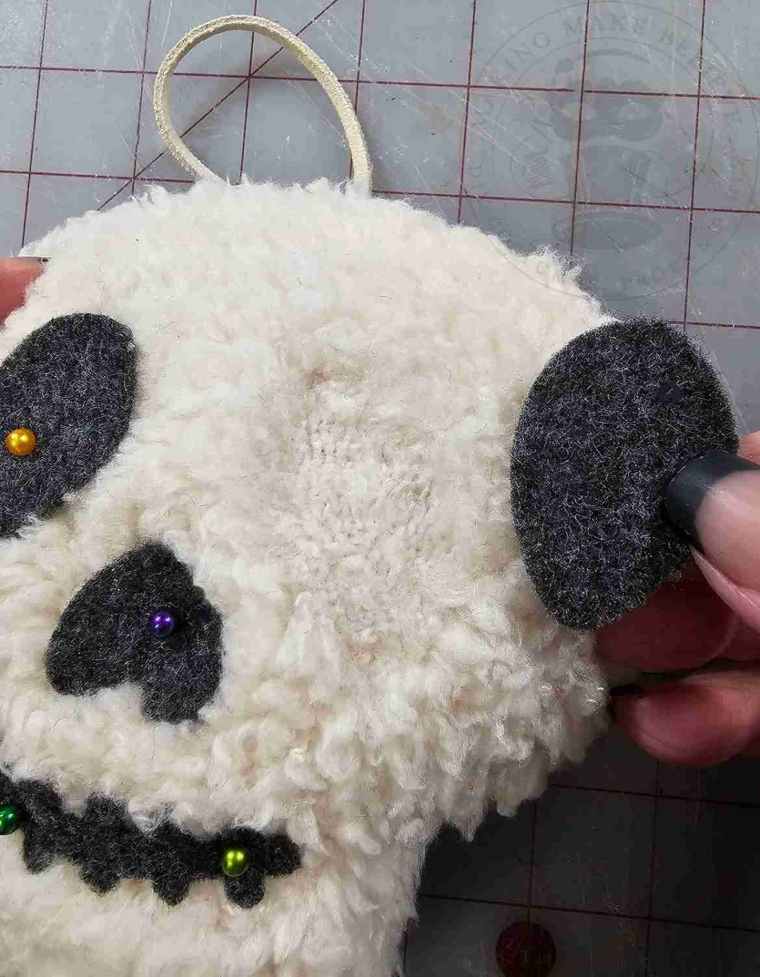
Position the facial features onto your skull as desired. A pin through the felt helps to hold them in place.
This step is optional, but if you want to nestle the felt features into the fur, trim away some of the sherpa.
I like to use small embroidery scissors with a curved tip to help me avoid cutting through the fabric.
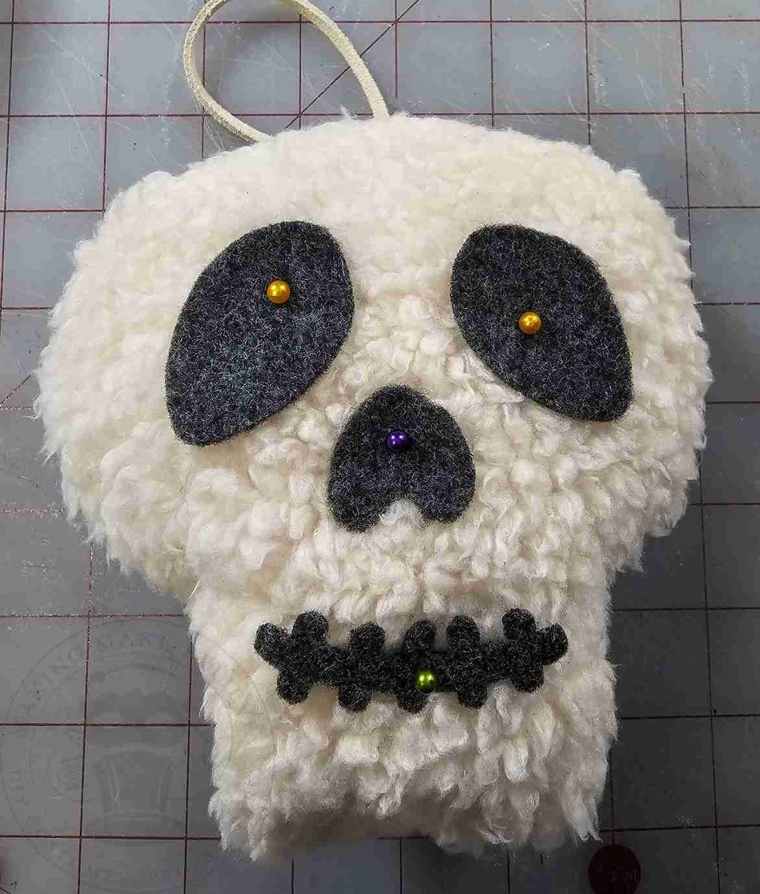
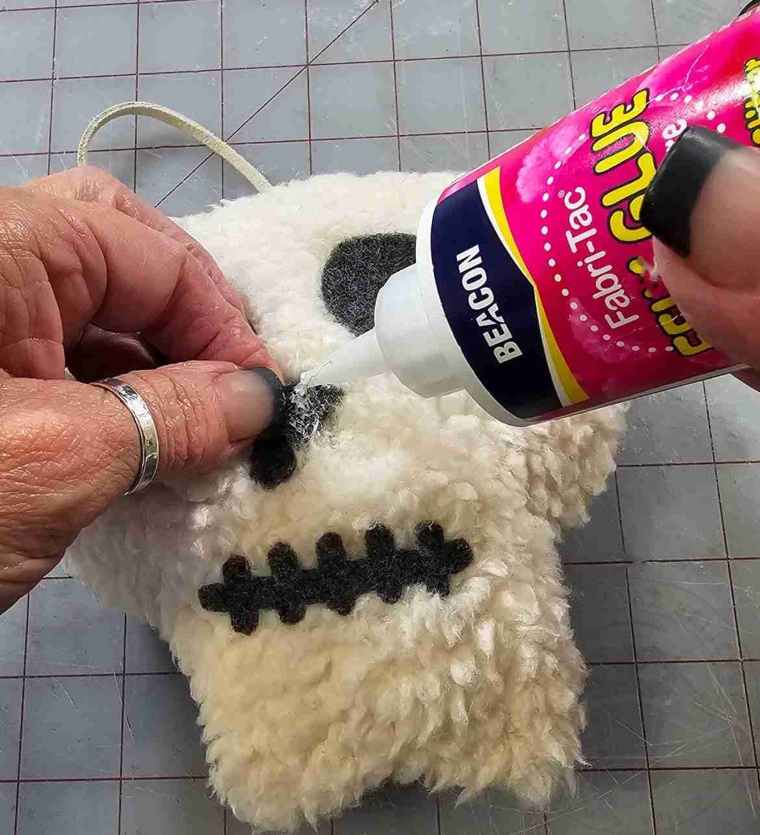
Glue the felt pieces onto the skully.
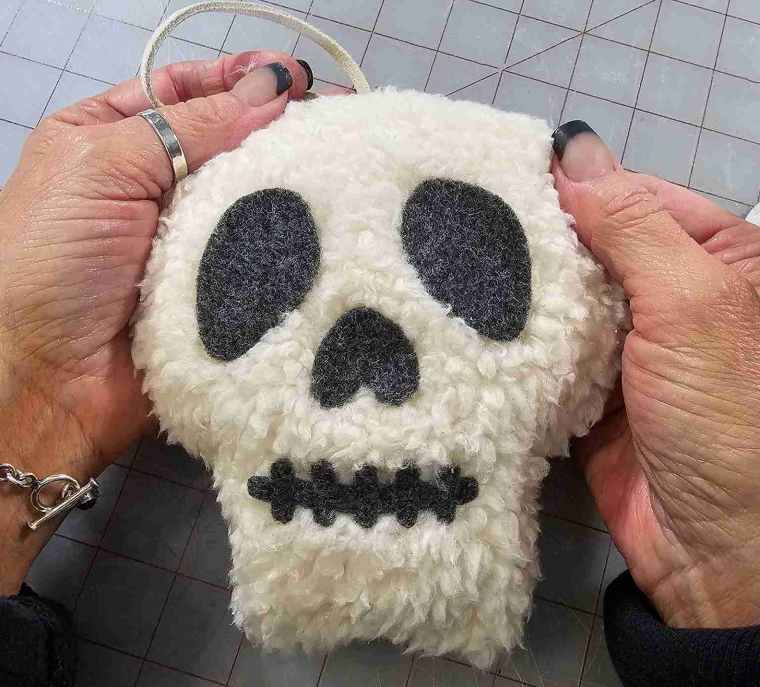
And we’re done!
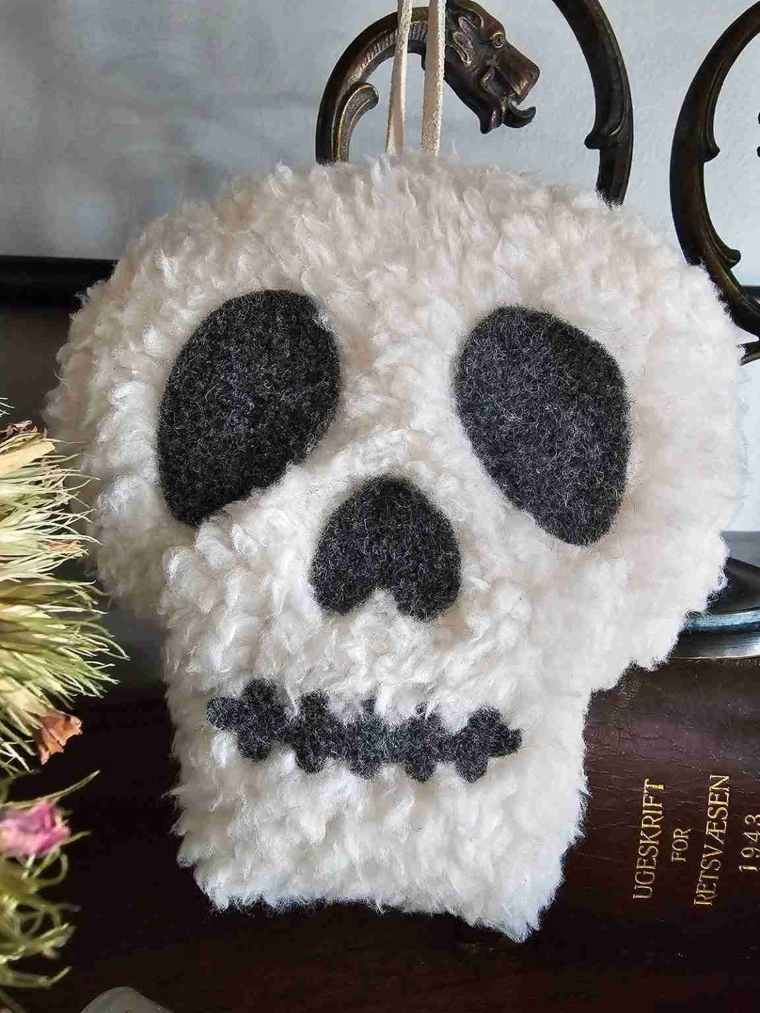
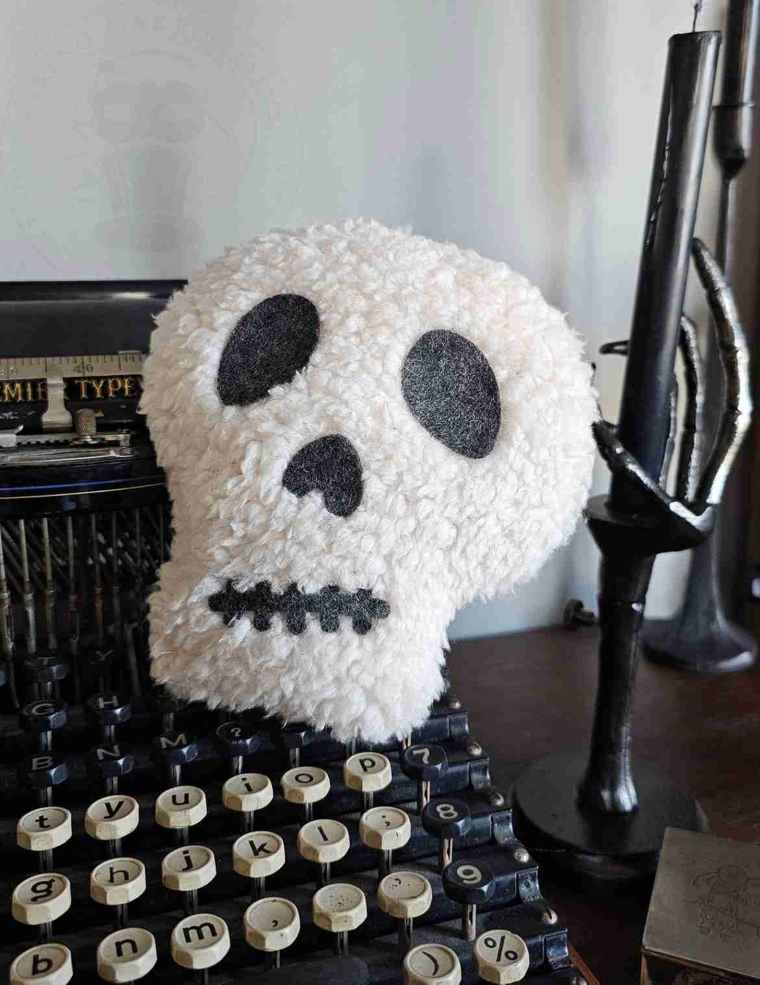

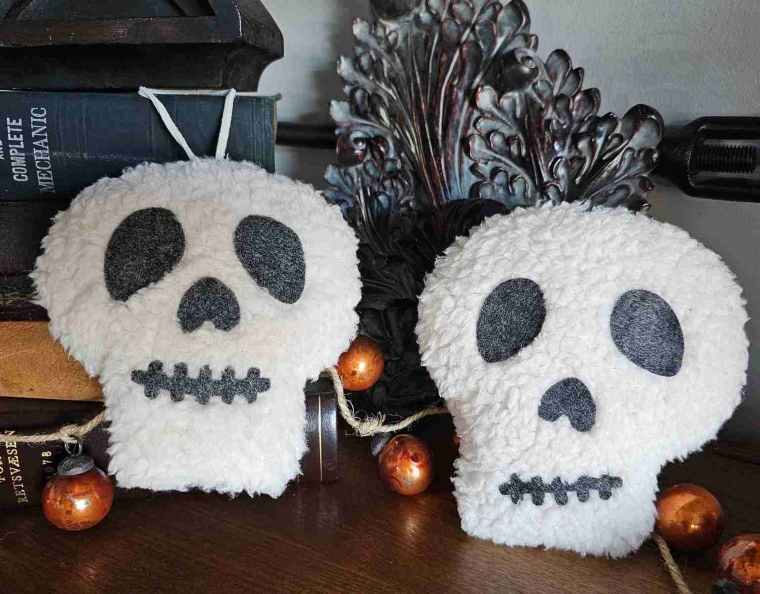
So, now I have a miniature version of that skull pillow.
Ok, actually I made a few but either way they’re the perfect compromise.
Until next time – stay spooky.