4.6K
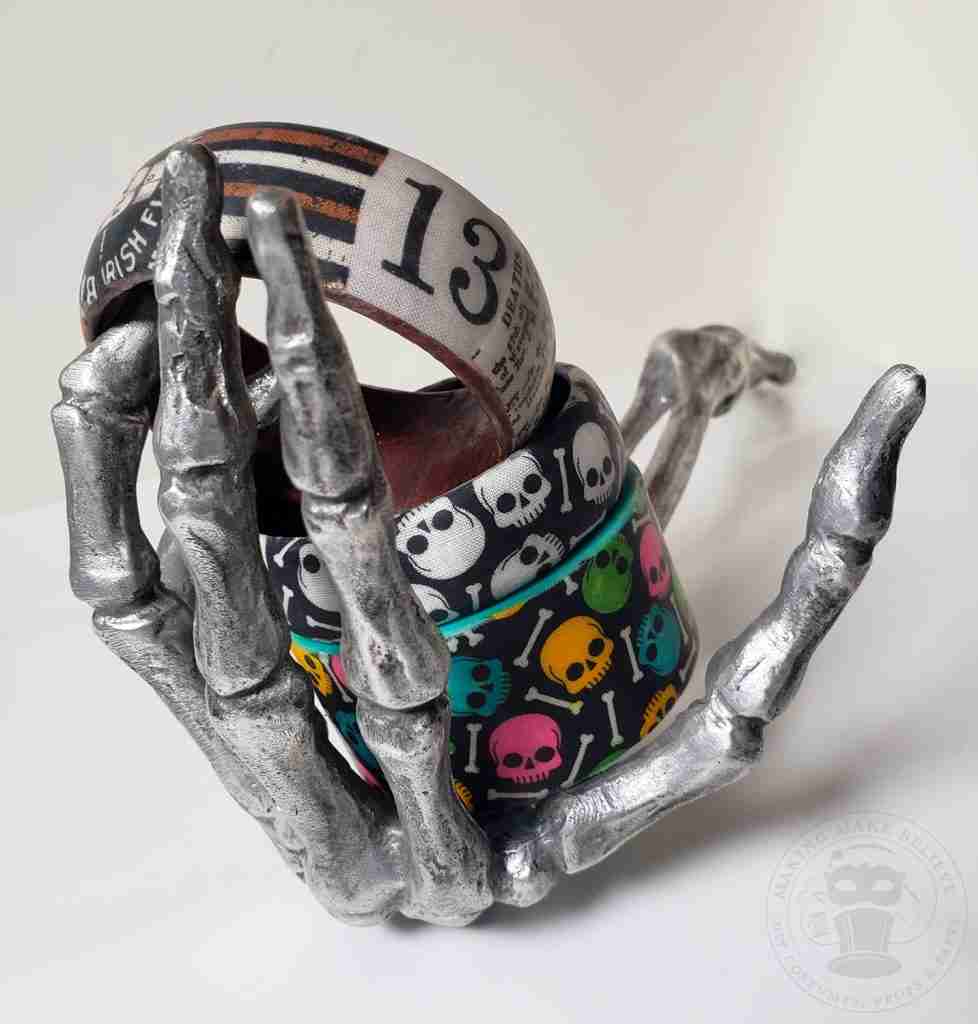


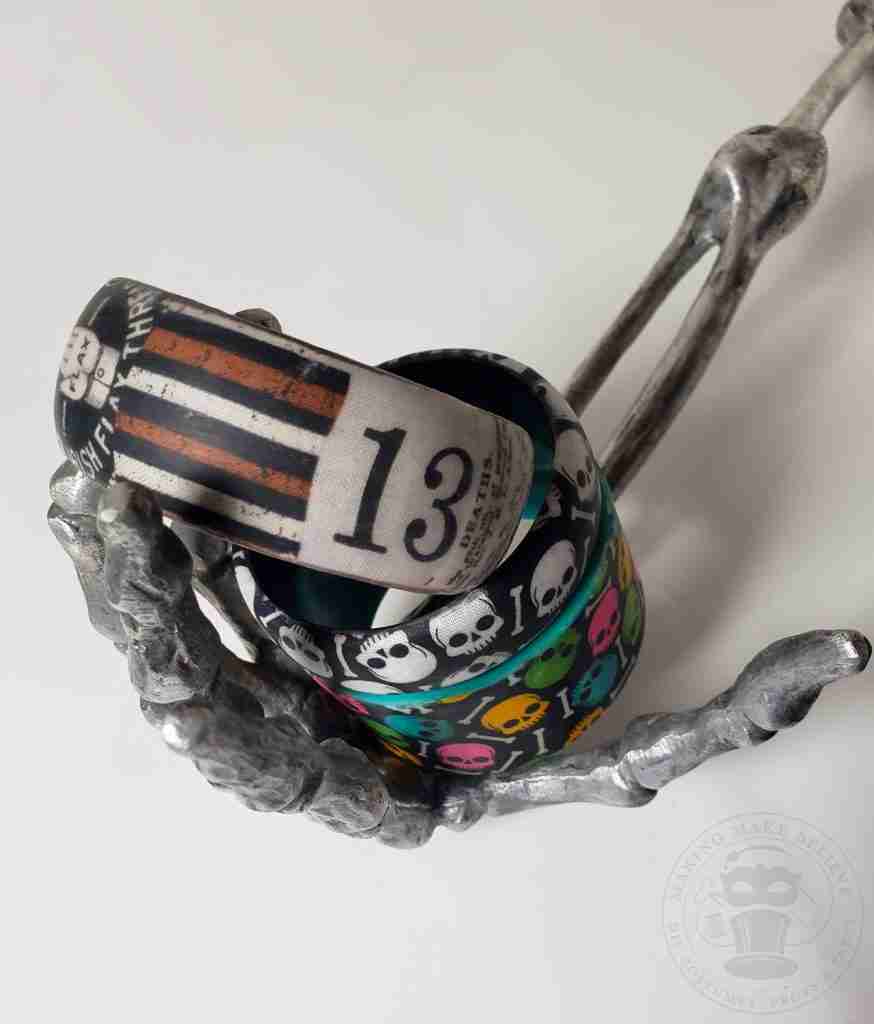
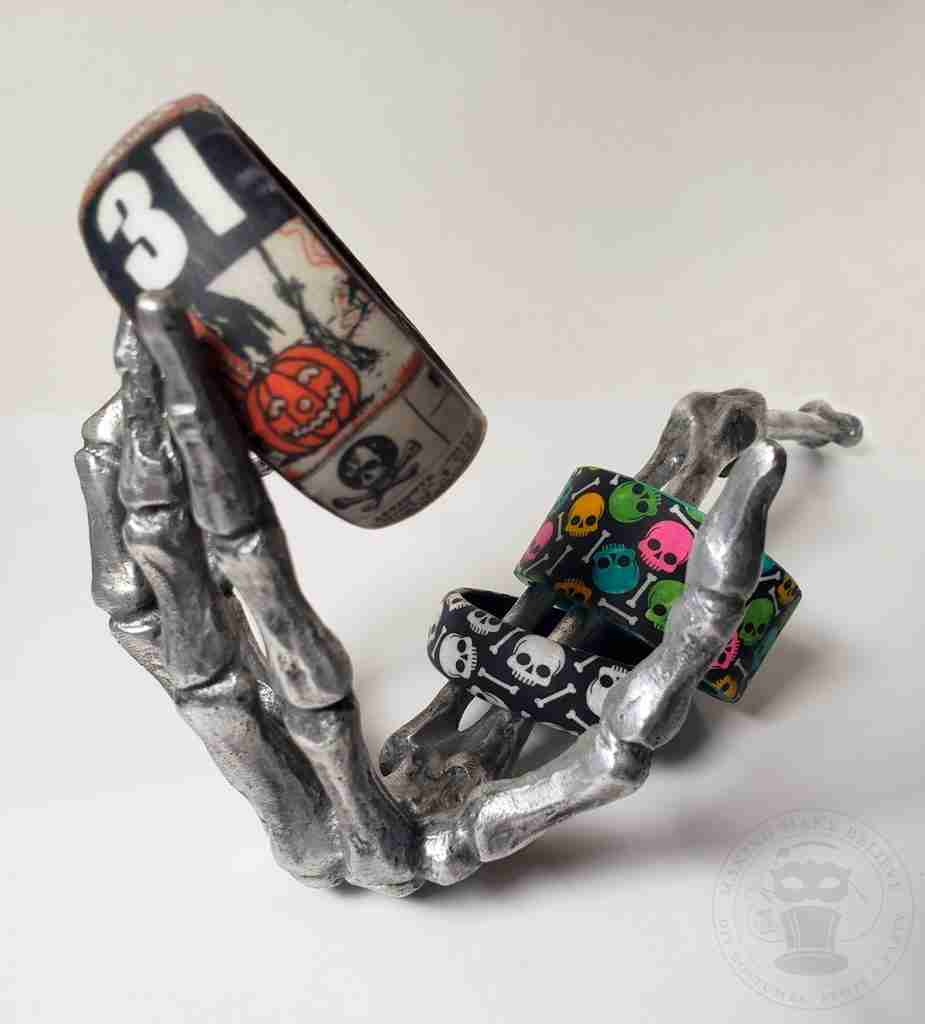
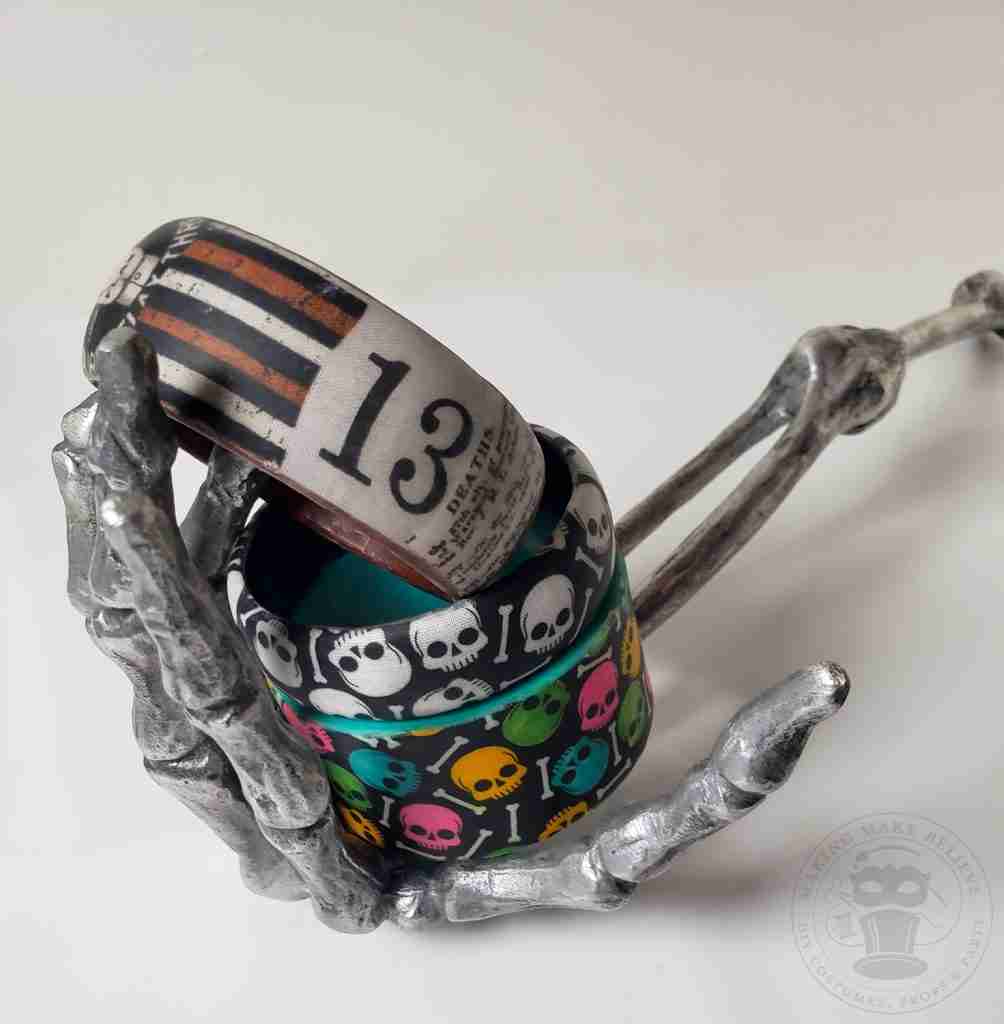

Halloween Bracelet Bangle
What to wear, what to wear?
As a kid, I would ask this question a hundred times a day as I planned my Halloween costume. My mind flitted from character to character as I imagined all the possibilities.
As an adult, I still ask this question when it comes time to pull together a costume for the haunting season. It’s so hard to decide because I love all things costume, but my favorite parts are the accessories.
As I was perusing the glue section in a store last week, I noticed a Mod Podge product called Hard Coat. I have a vast collection of glues, but I didn’t have this one, so I thought I’d try it out on this project. Of course, the original Mod Podge will also work, so pick your poison.
Ok, let’s get started.
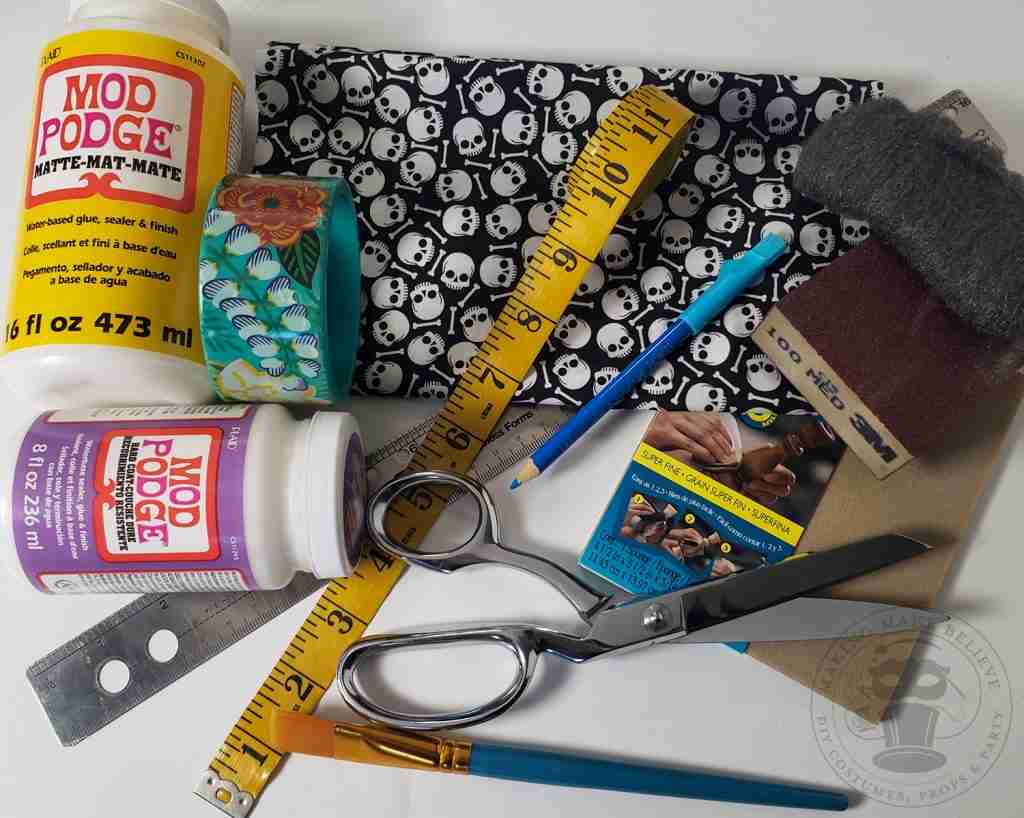
We will need:
Bangle bracelet – mine are thrifted but check these out (see tips below)
Scrap fabric in a small print – I’m using this one
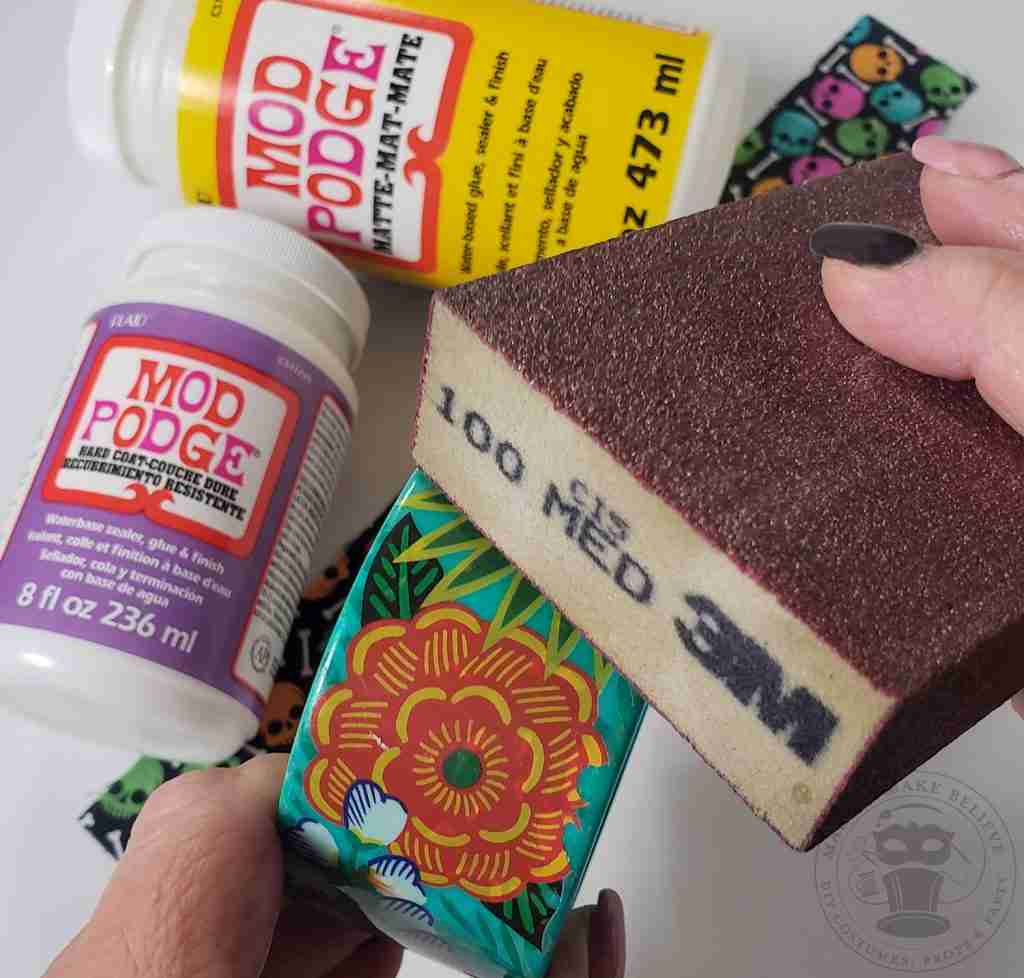
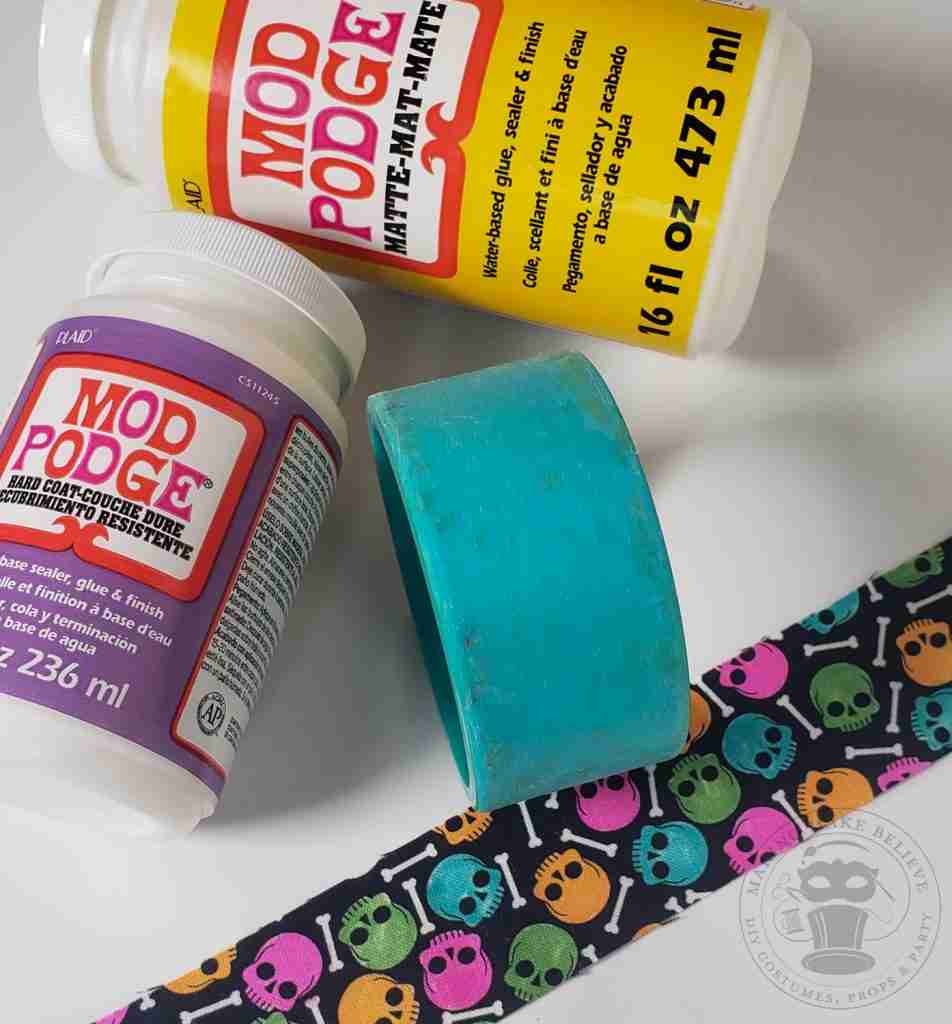
Mod Podge – Hard Coat or Original
Measuring tape
Straight edge such as a ruler
Making pencil
Scissors
Medium grit sanding sponge
Paintbrush or foam brush
Super fine sanding pad
#0000 Steel wool
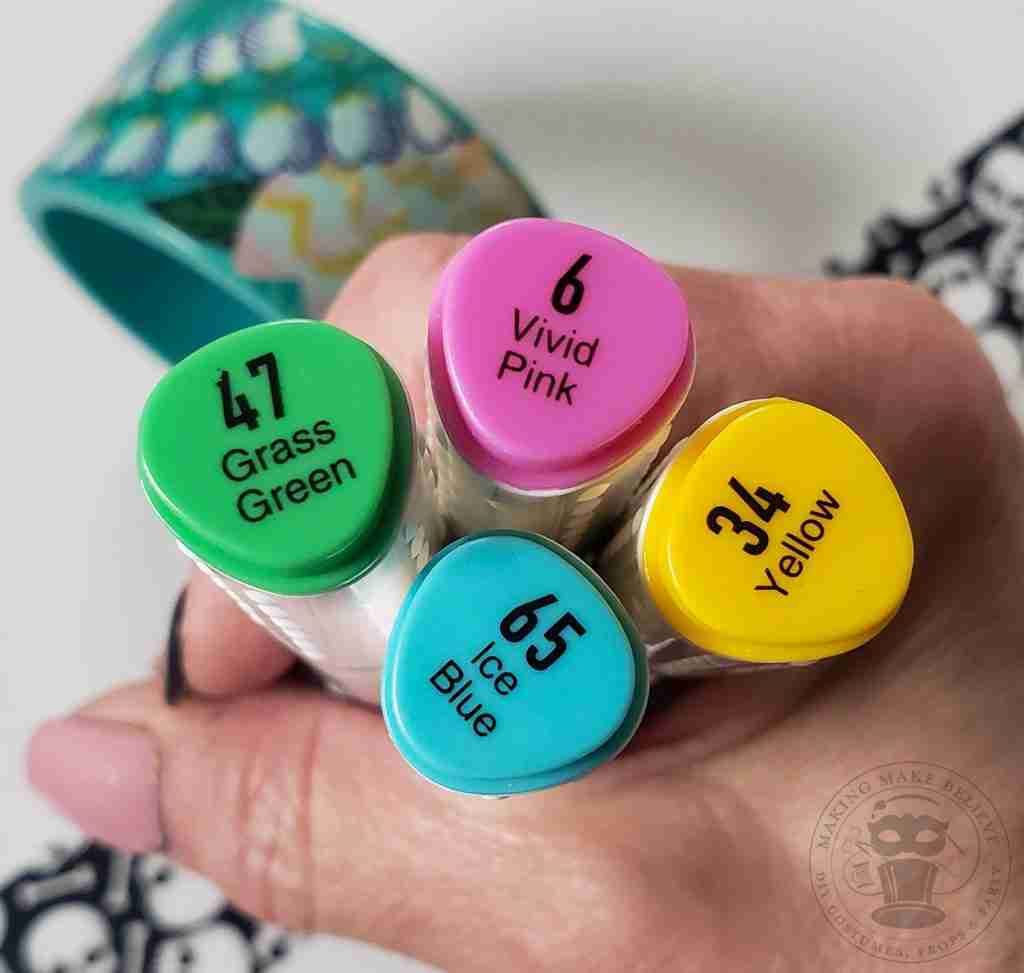
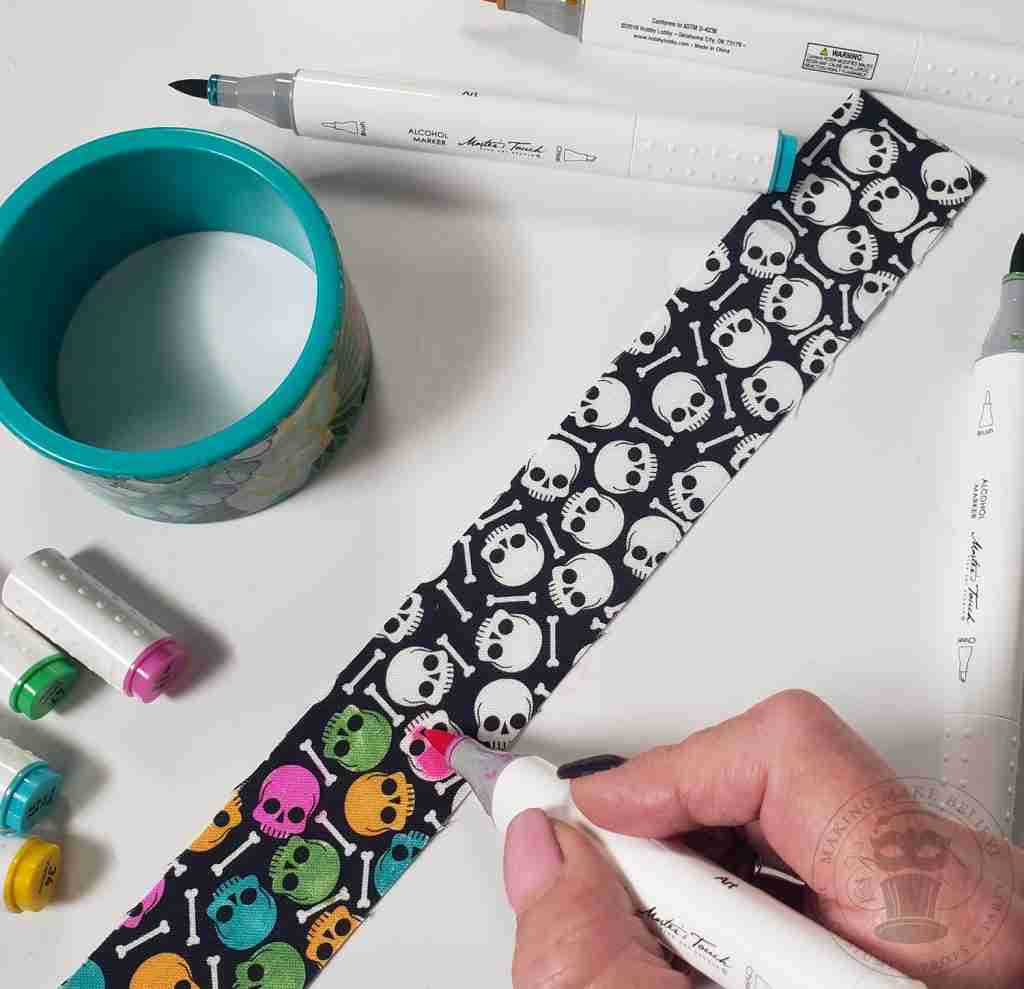
Alcohol ink markers (optional)
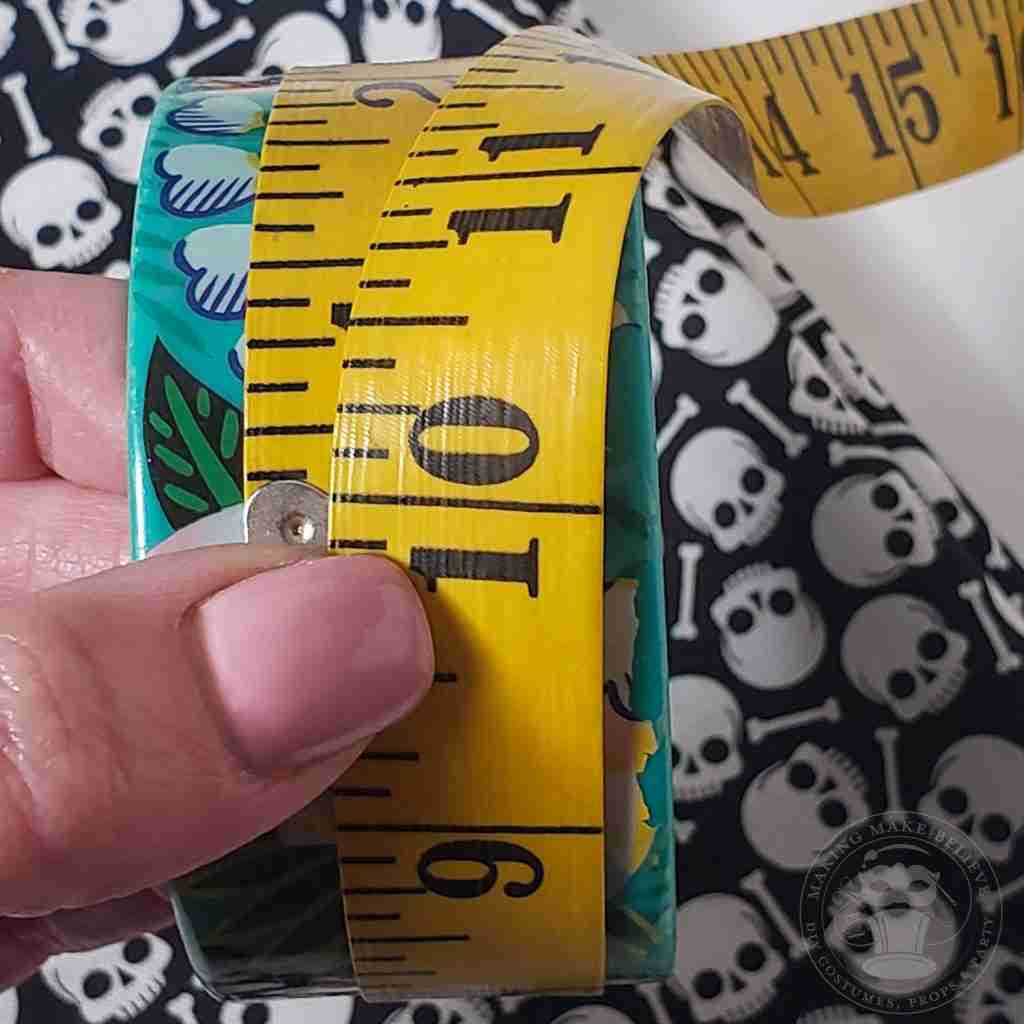
First, measure the width and length of your bangle.
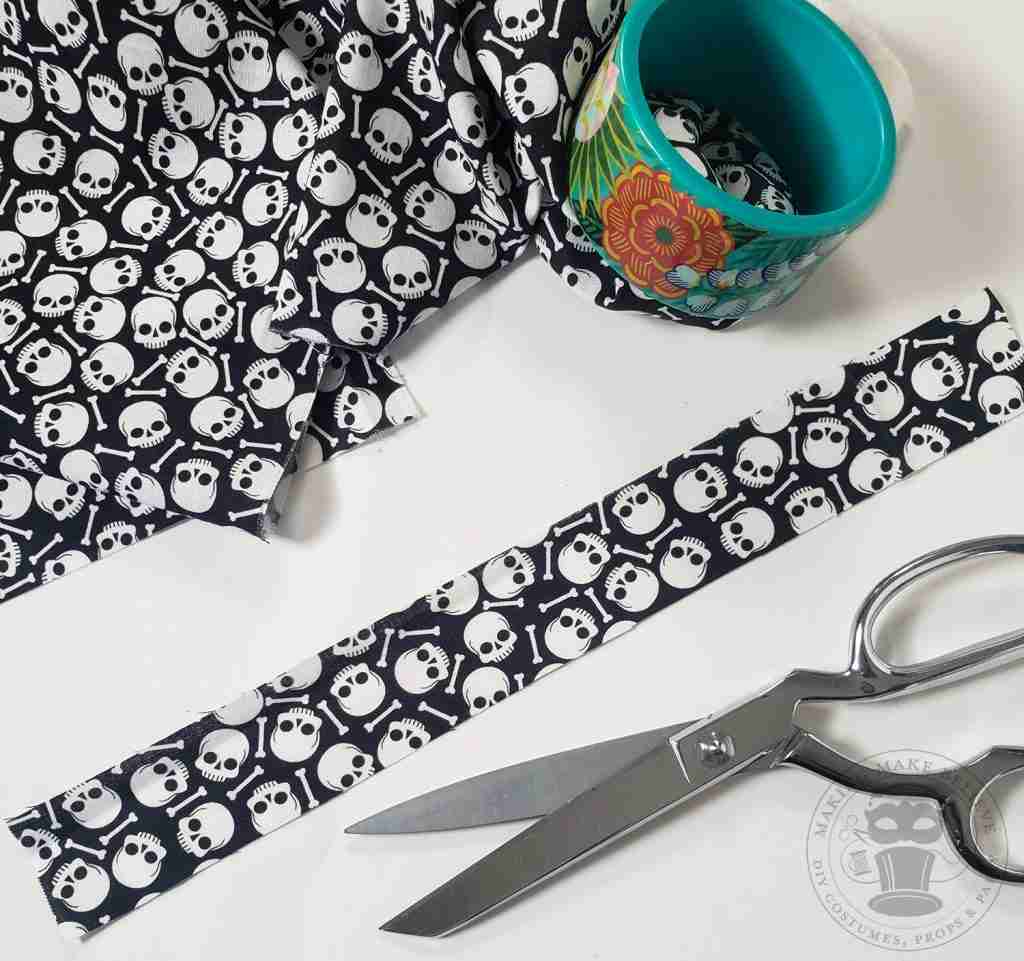
Add about 1/2″ to your length measurement and mark the pattern onto your fabric with the marking pencil.
Cut out your fabric piece.
The aqua blue bangle inspired me, so I broke out the alcohol ink markers and added some color.
Use the medium grit sanding block to rough up the exterior of your bangle.
The artwork on my bangle was already damaged, so it peeled off but roughing up the surface is all that is necessary.
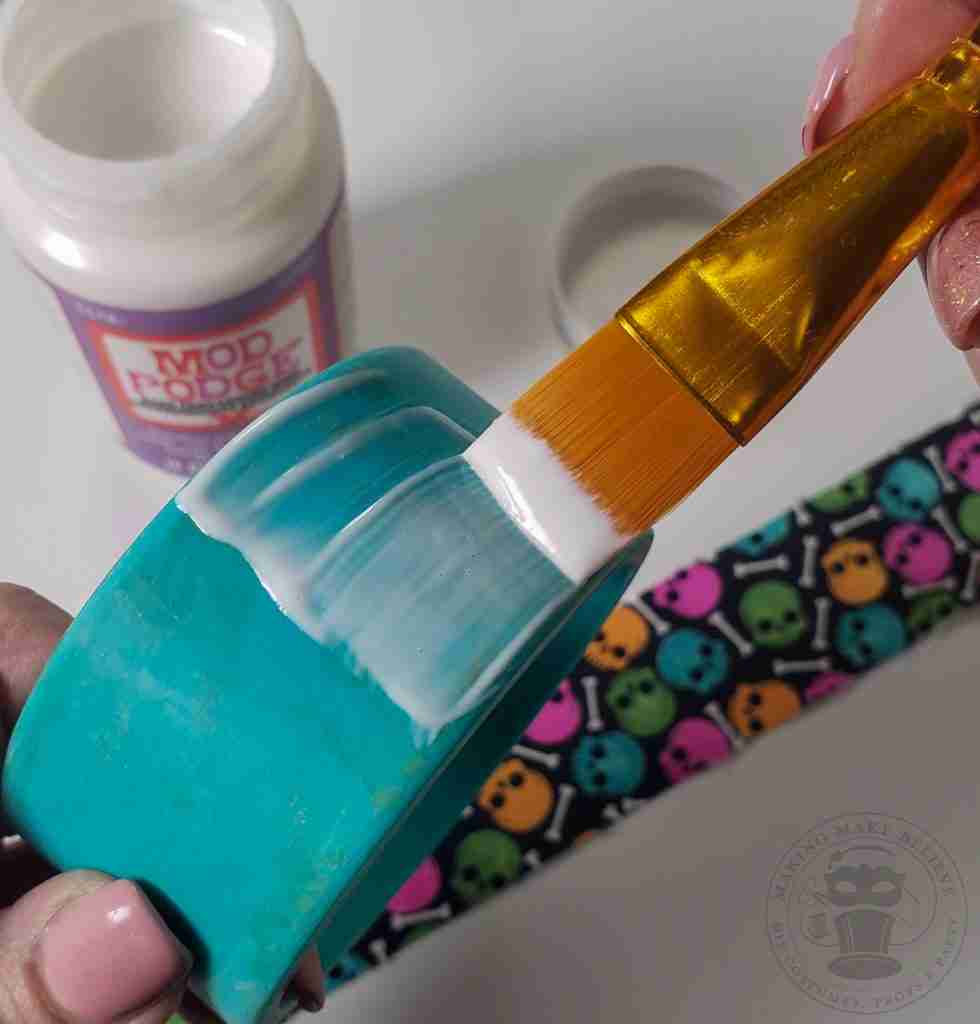
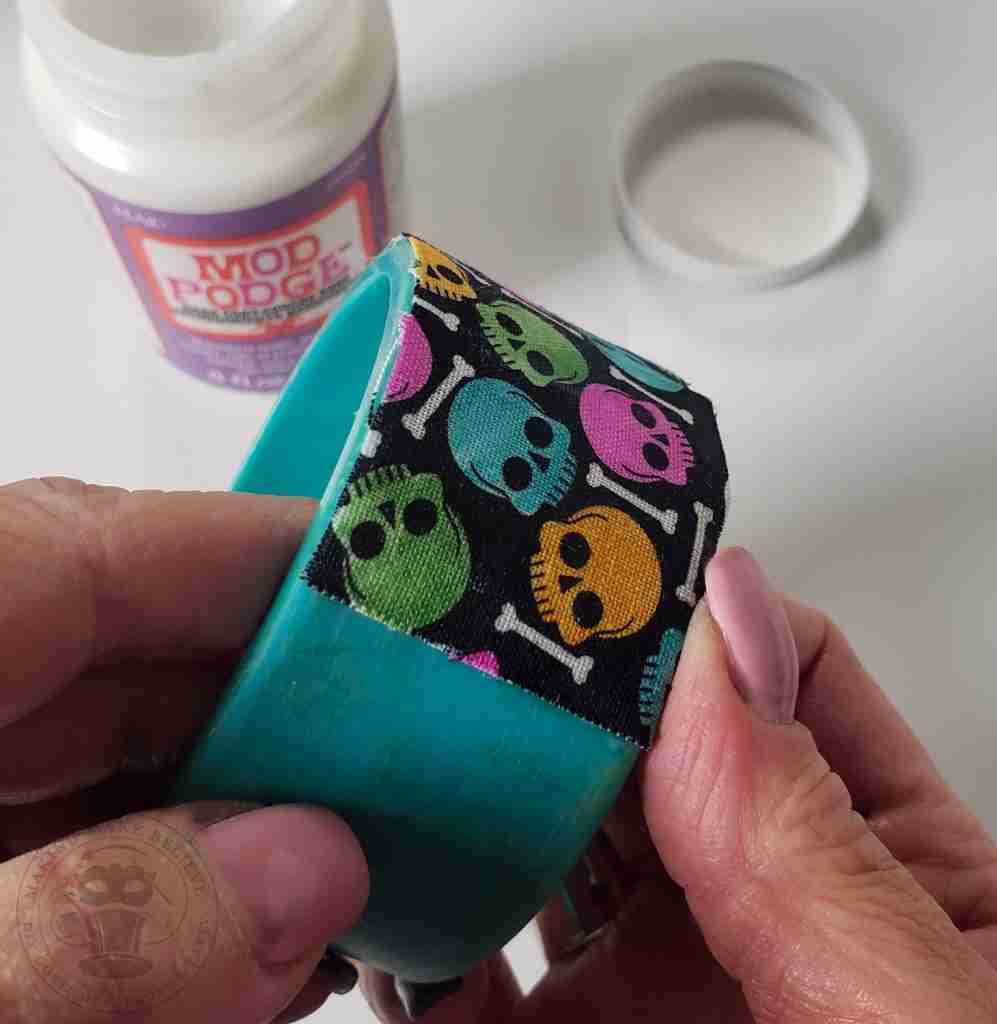
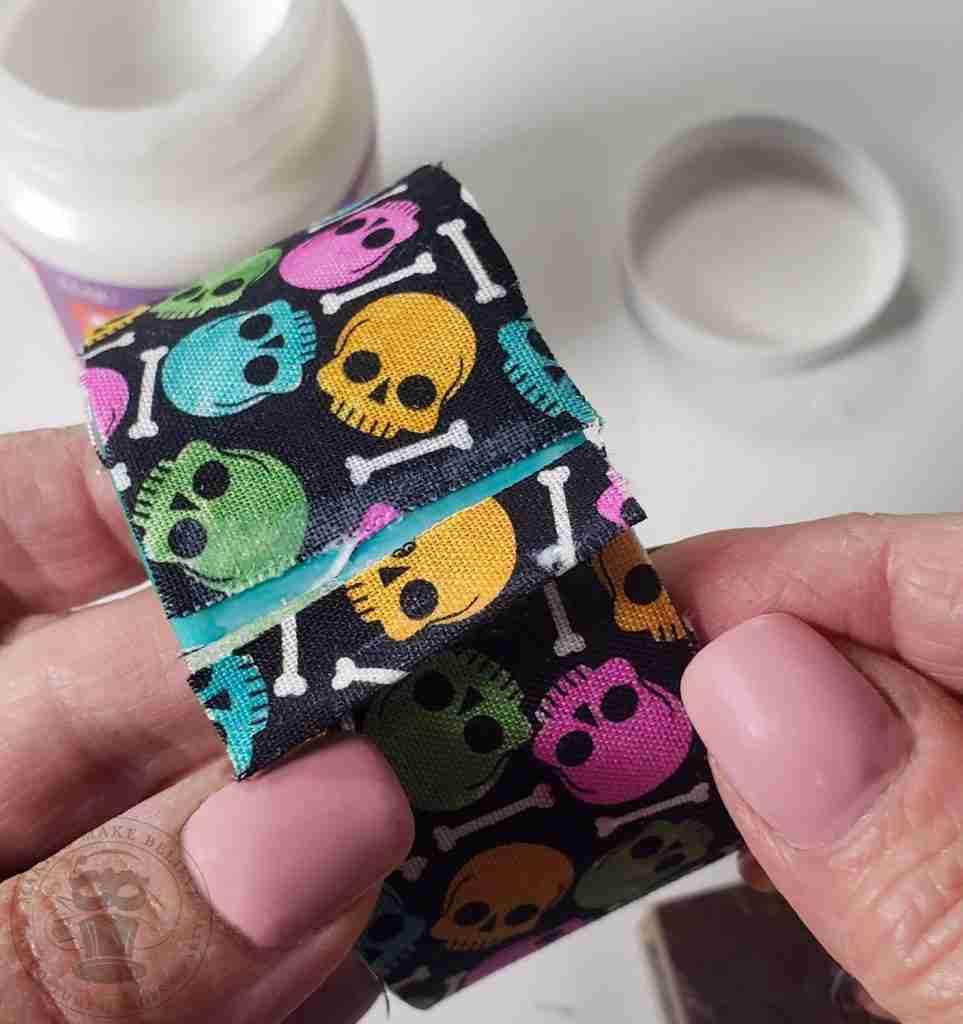
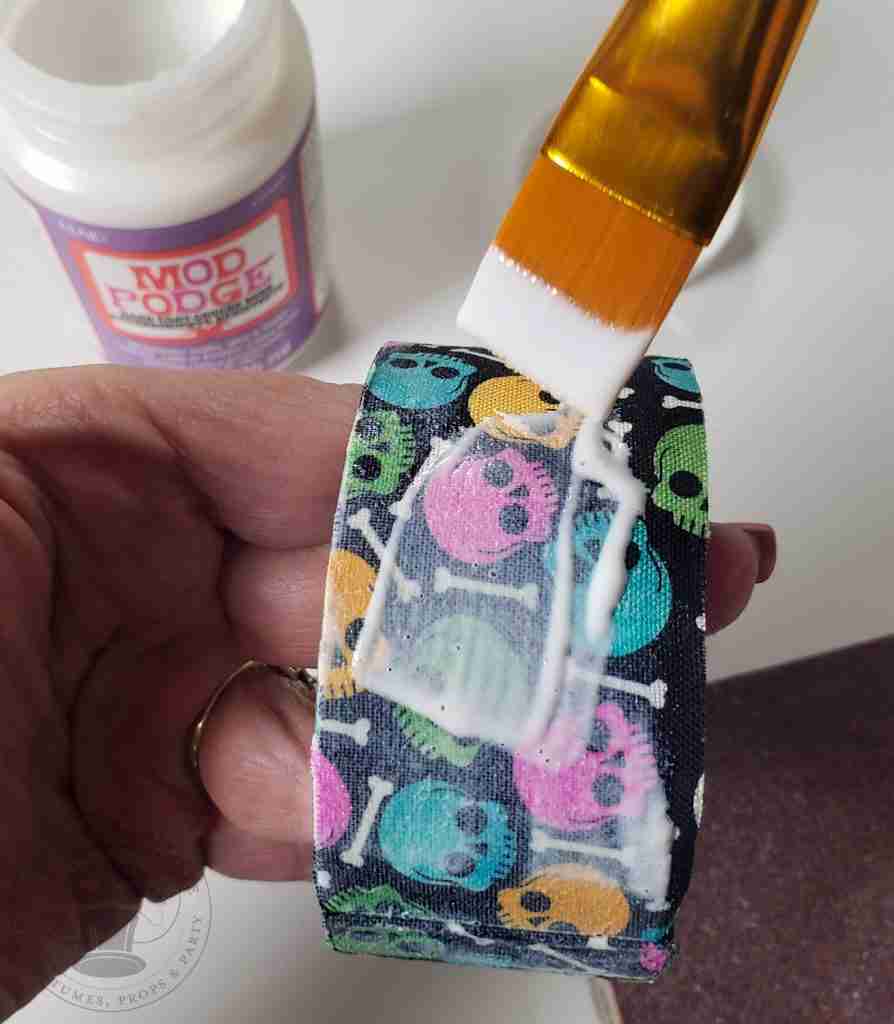
Add Mod Podge to your bangle and lay your fabric onto the bracelet. Continue around the bracelet, adding the Mod Podge and laying on the fabric.
Fold the fabric over for a clean finish when you reach the end. If you don’t want the slight bulk created by the fold, you can butt the edges. Just be aware of any fraying.
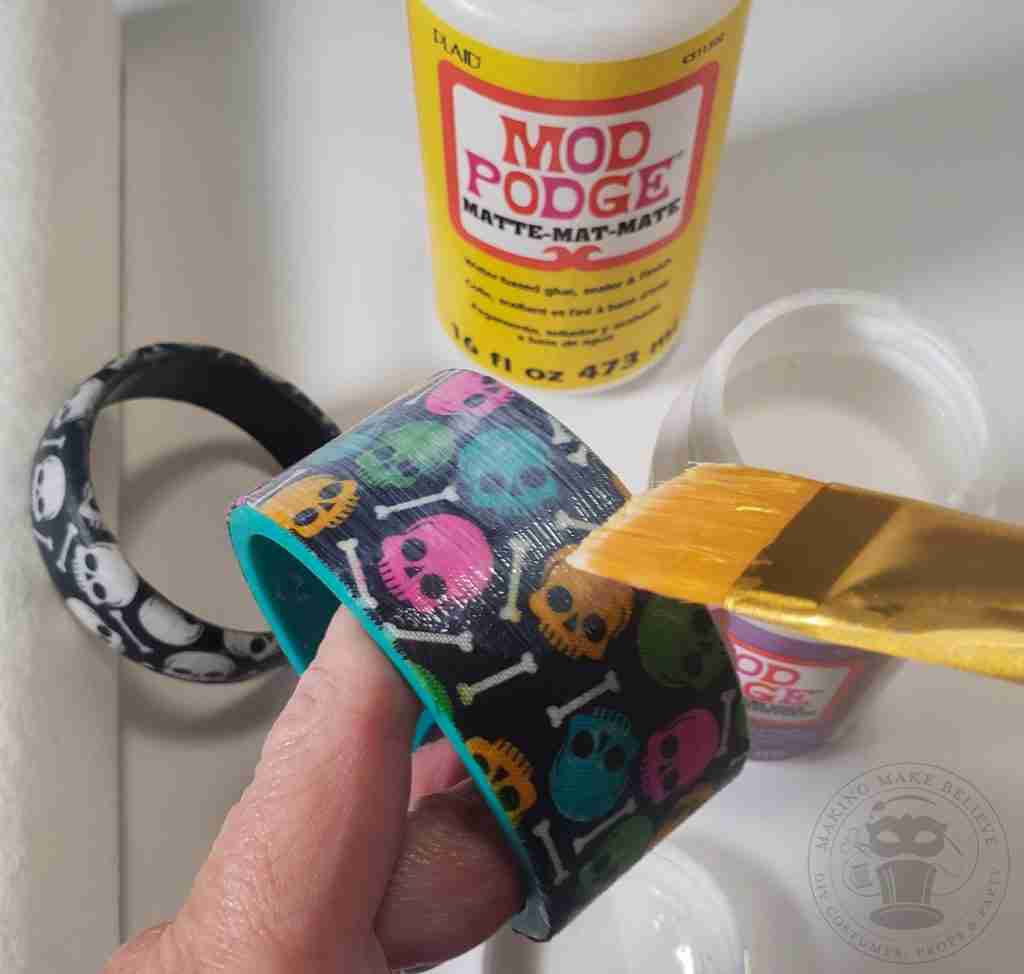
Next, add a thin layer of the Mod Podge to the top of the fabric and set it aside to dry for 15-20 minutes.
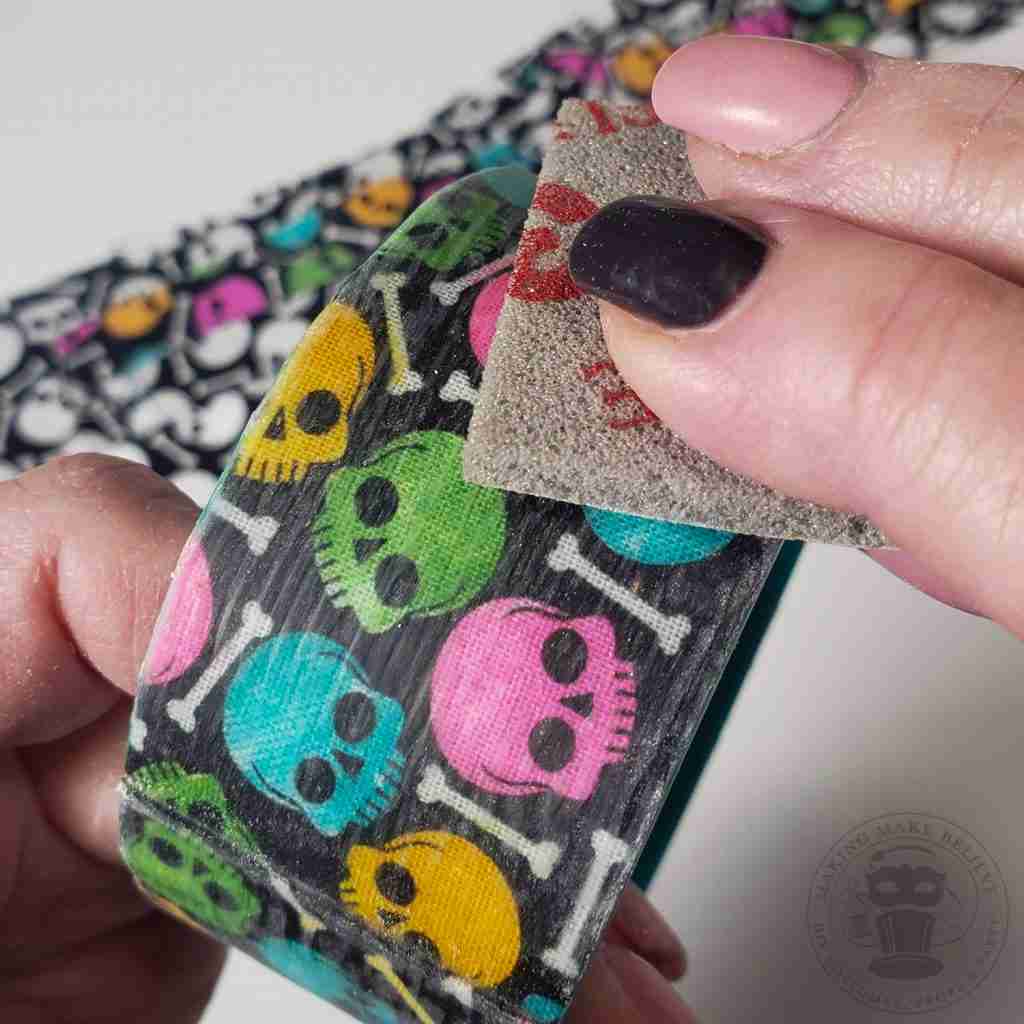
I used five thin layers, allowing for 15-20 minutes of dry time between each layer.
Once you have the number of layers desired, use the sanding pad to sand the surface of your Halloween bracelet.
Mod Podge Hard Coat instructs that you wet sand, so I used a damp paper towel. Wetting the surface exposes any brush marks and makes it easier to sand.
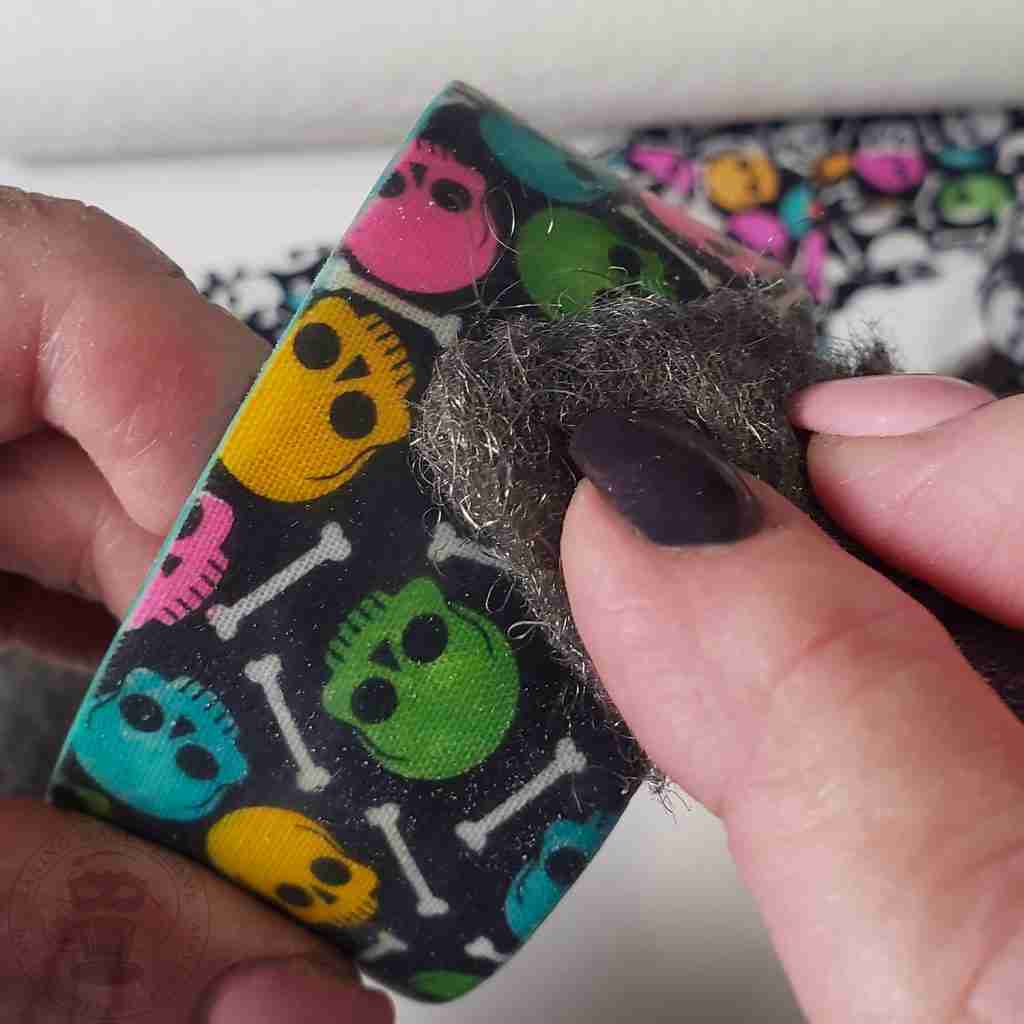
Finally, polish the surface using your steel wool.
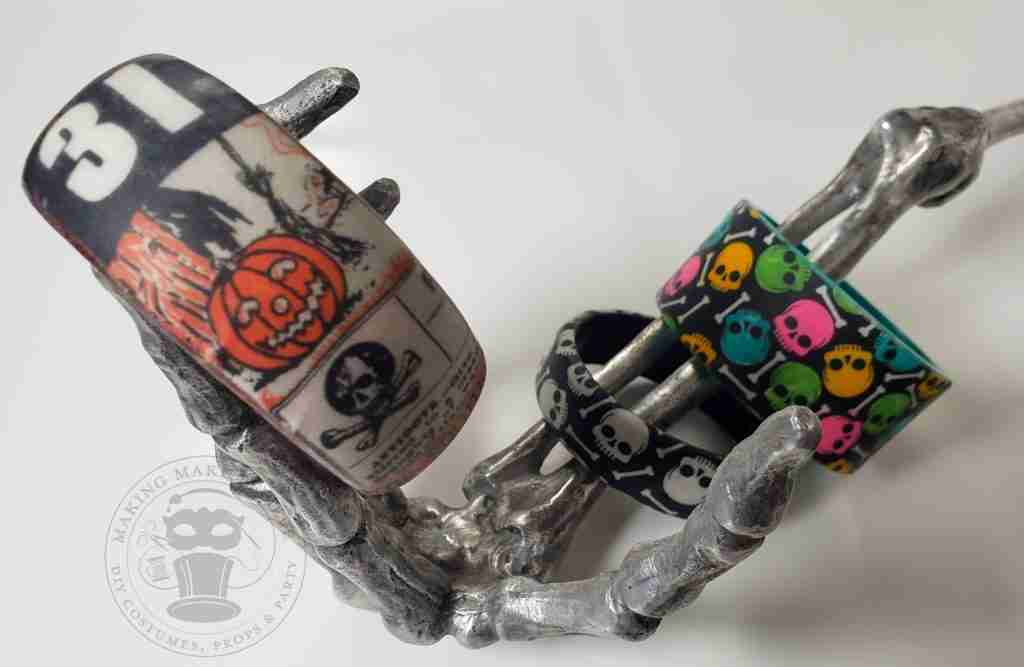
Oh my gosh! I can’t wait to wear these. They will go great with tees, jeans, sweaters… can’t wait!
Ok, before I get carried away, let’s talk about some tips.
Tips
What to wear, what to wear? Which one is your favorite?
I am so excited to wear these this Fall, and I might even make a few more.

Check your email for the Haunted Library password.
Don’t miss a moment of the mischief.
Add hello@makingmakebelieve.com to your address book.
Join us and get access to our Haunted Library stocked with templates, printables, cut files, and exclusive content. Plus, you’ll receive Eerie Emails just for our subscribers.
*Stay as long as you like. Unsubscribe at any time.