3.2K


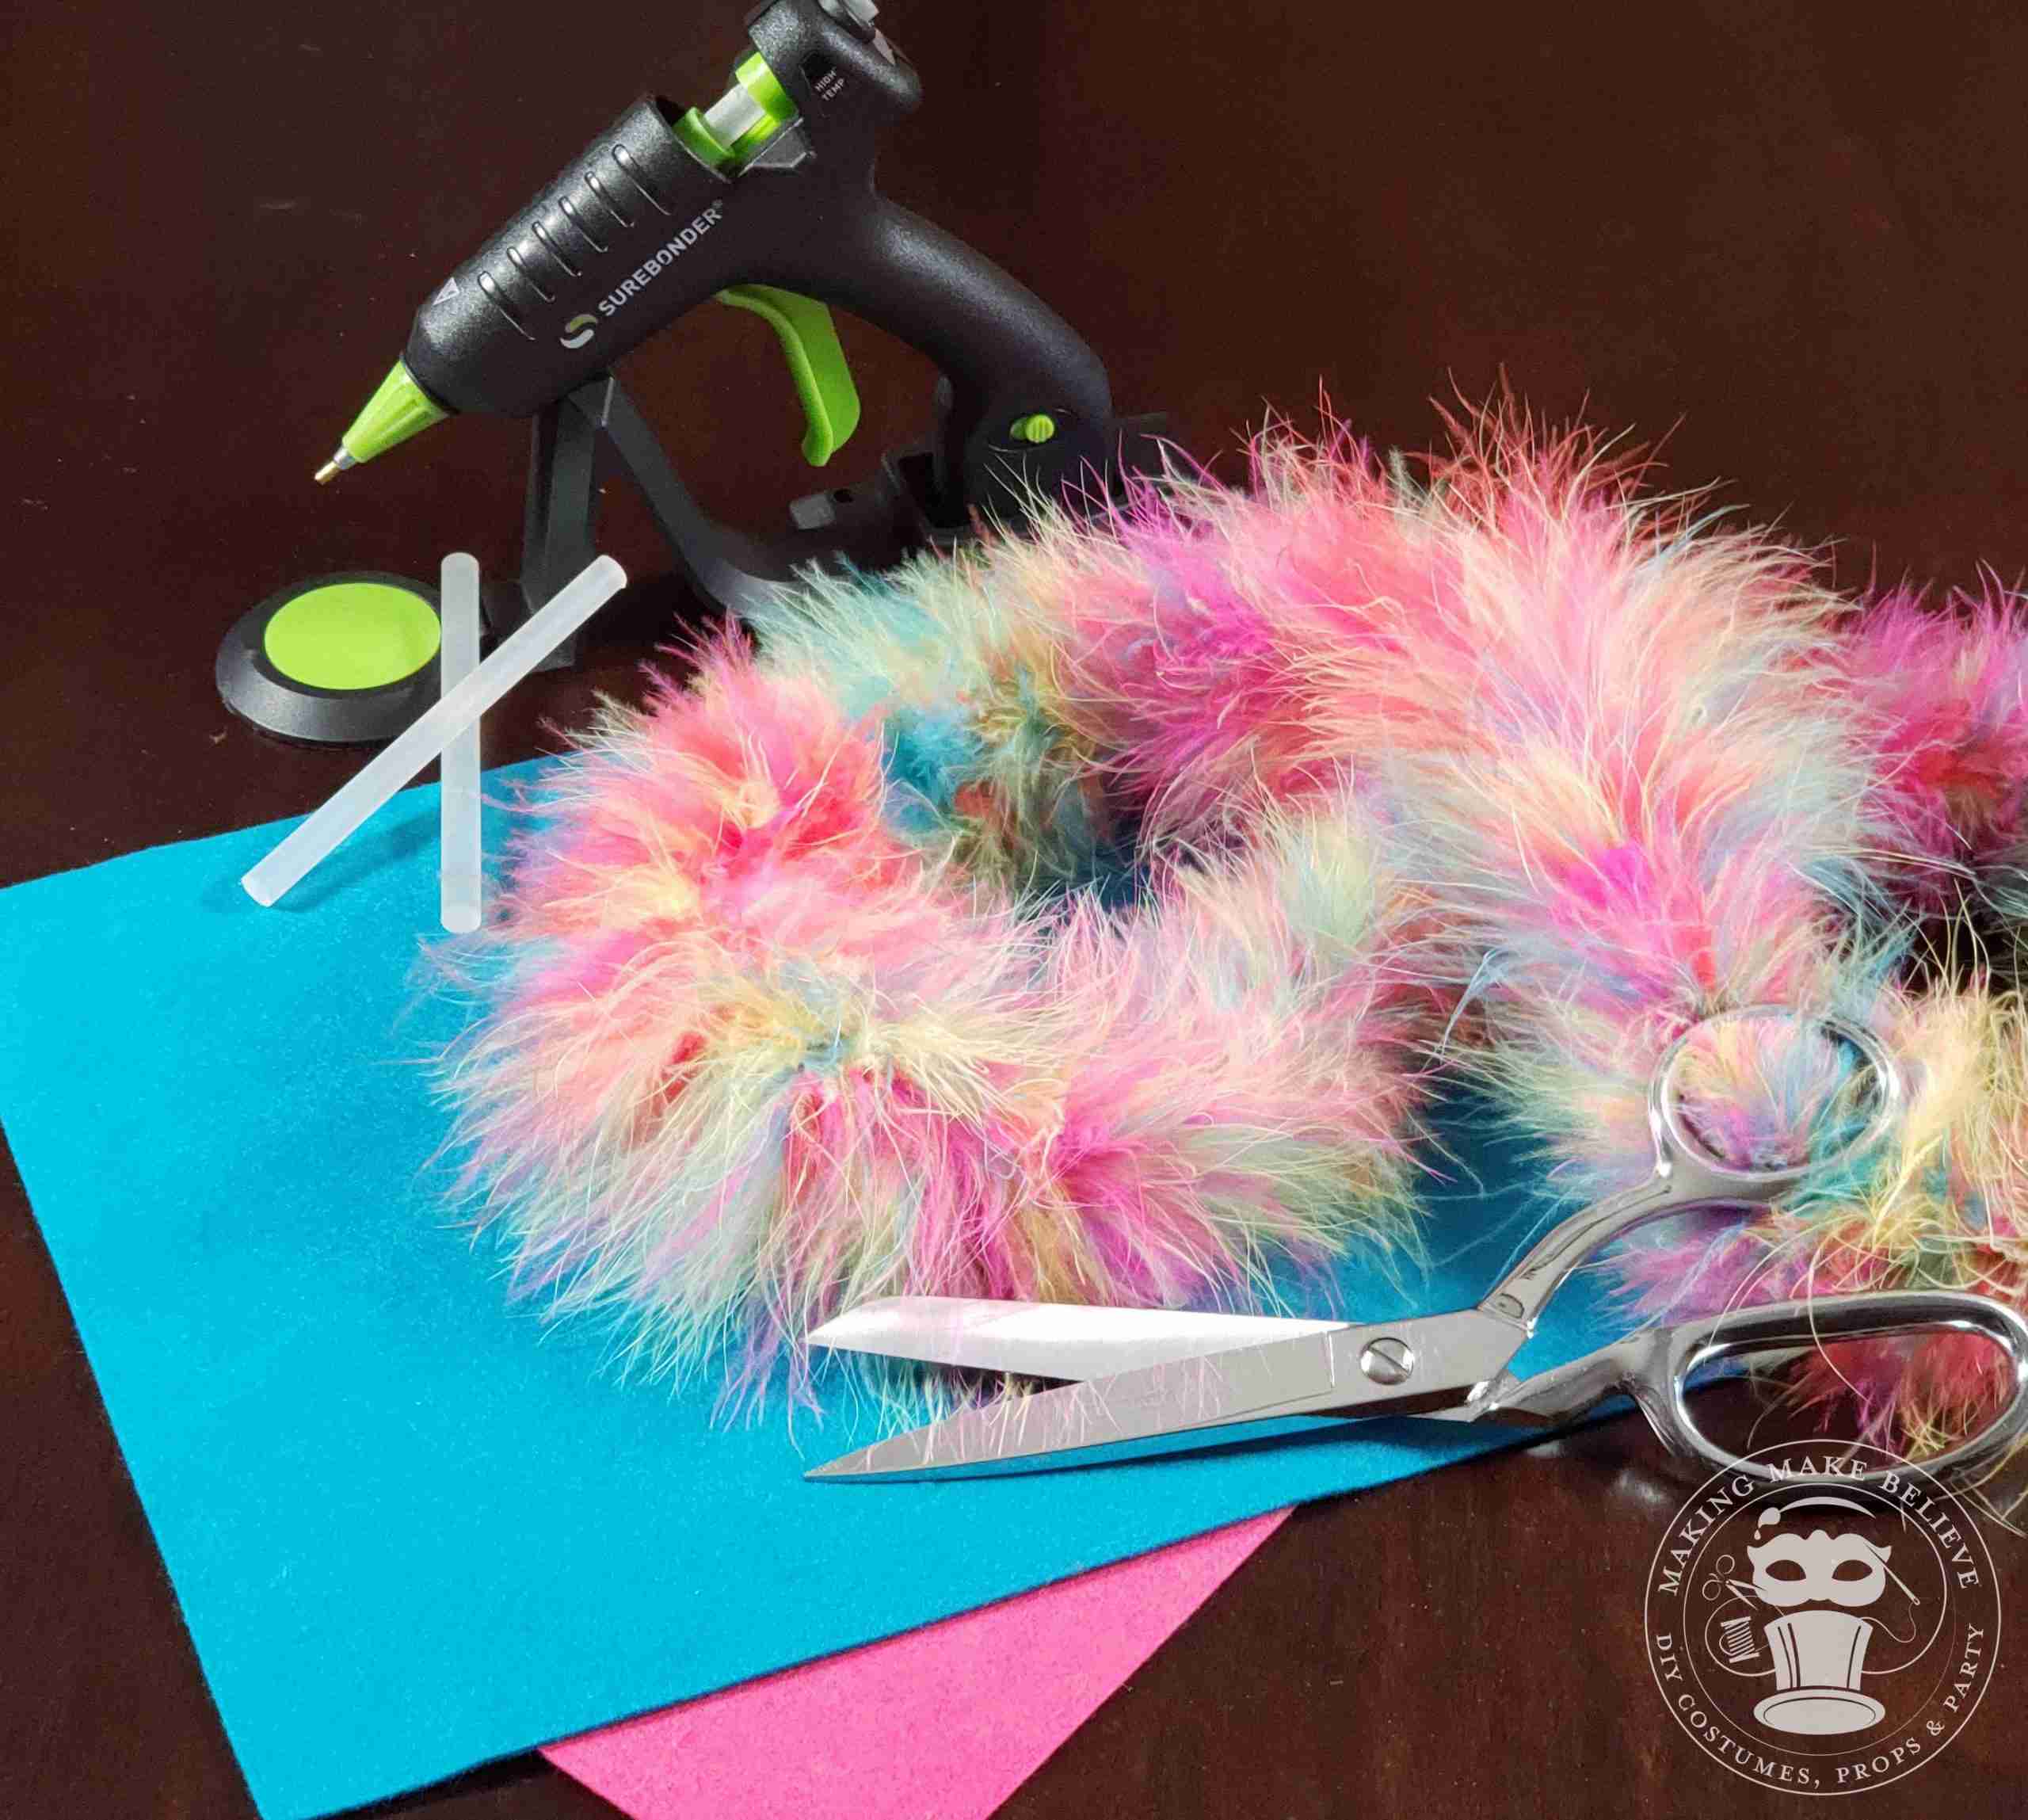
Supplies and Tools for Easy Mini Crown
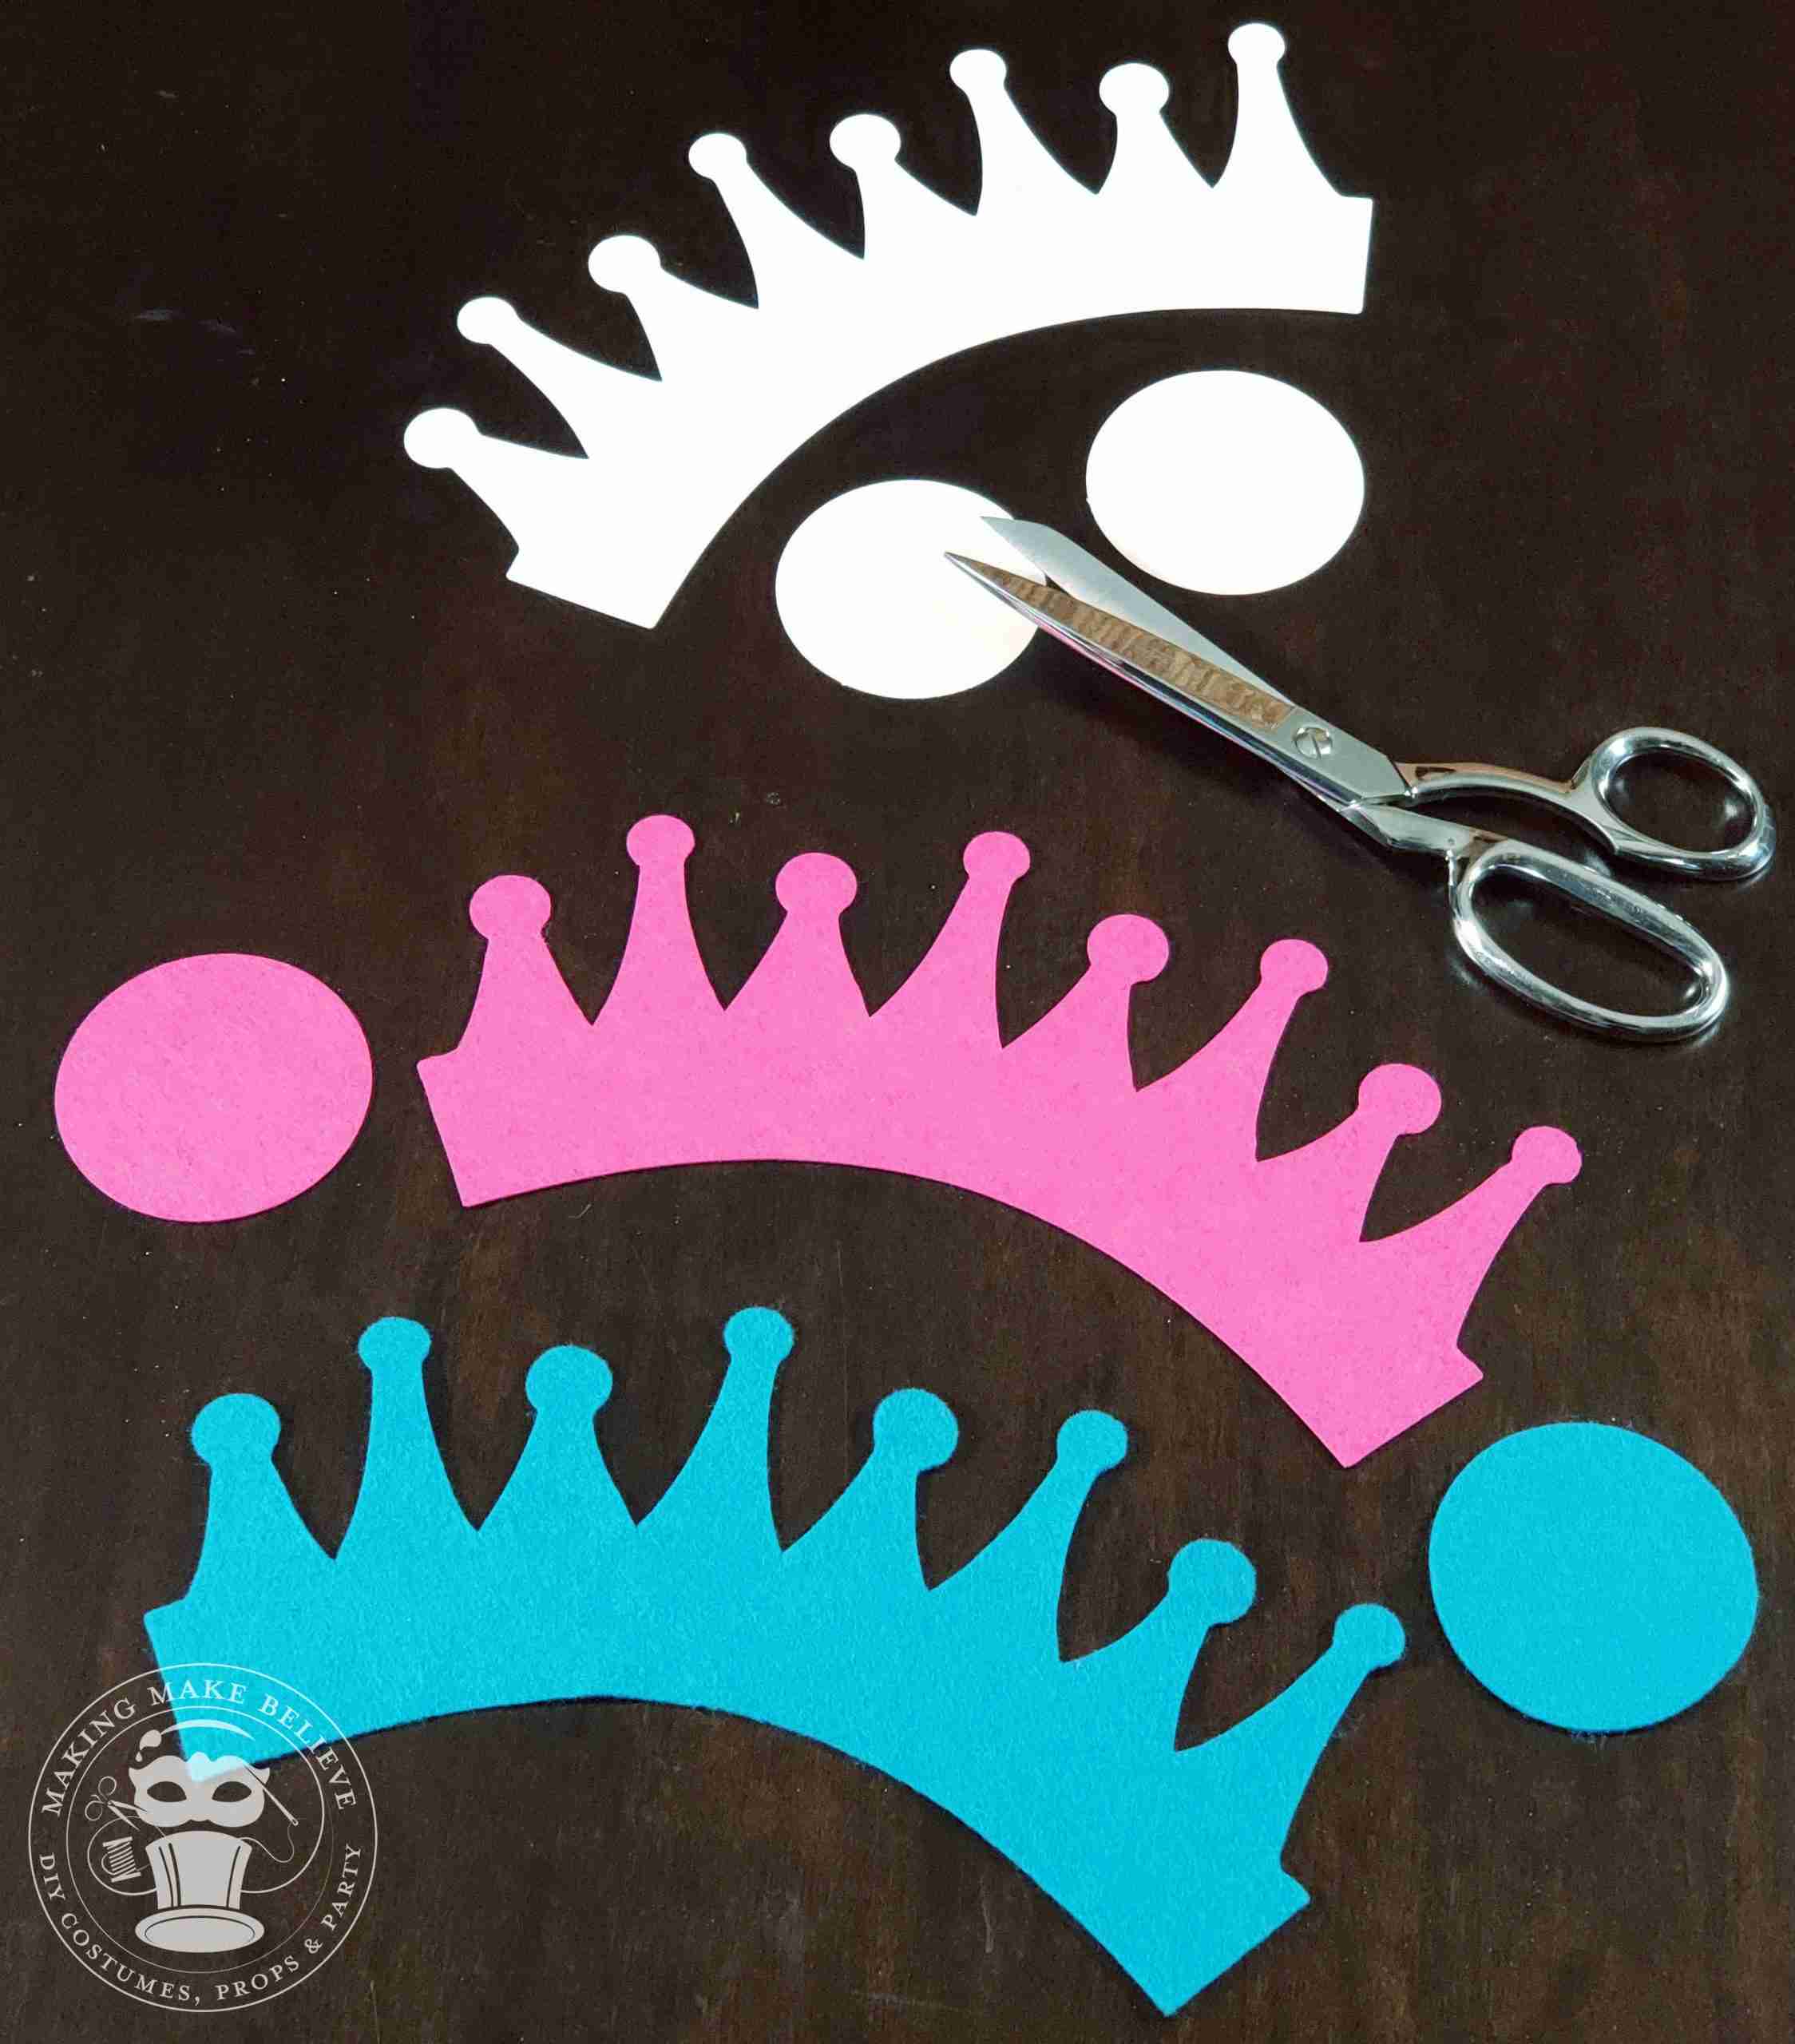
Cut Crowns and Bases

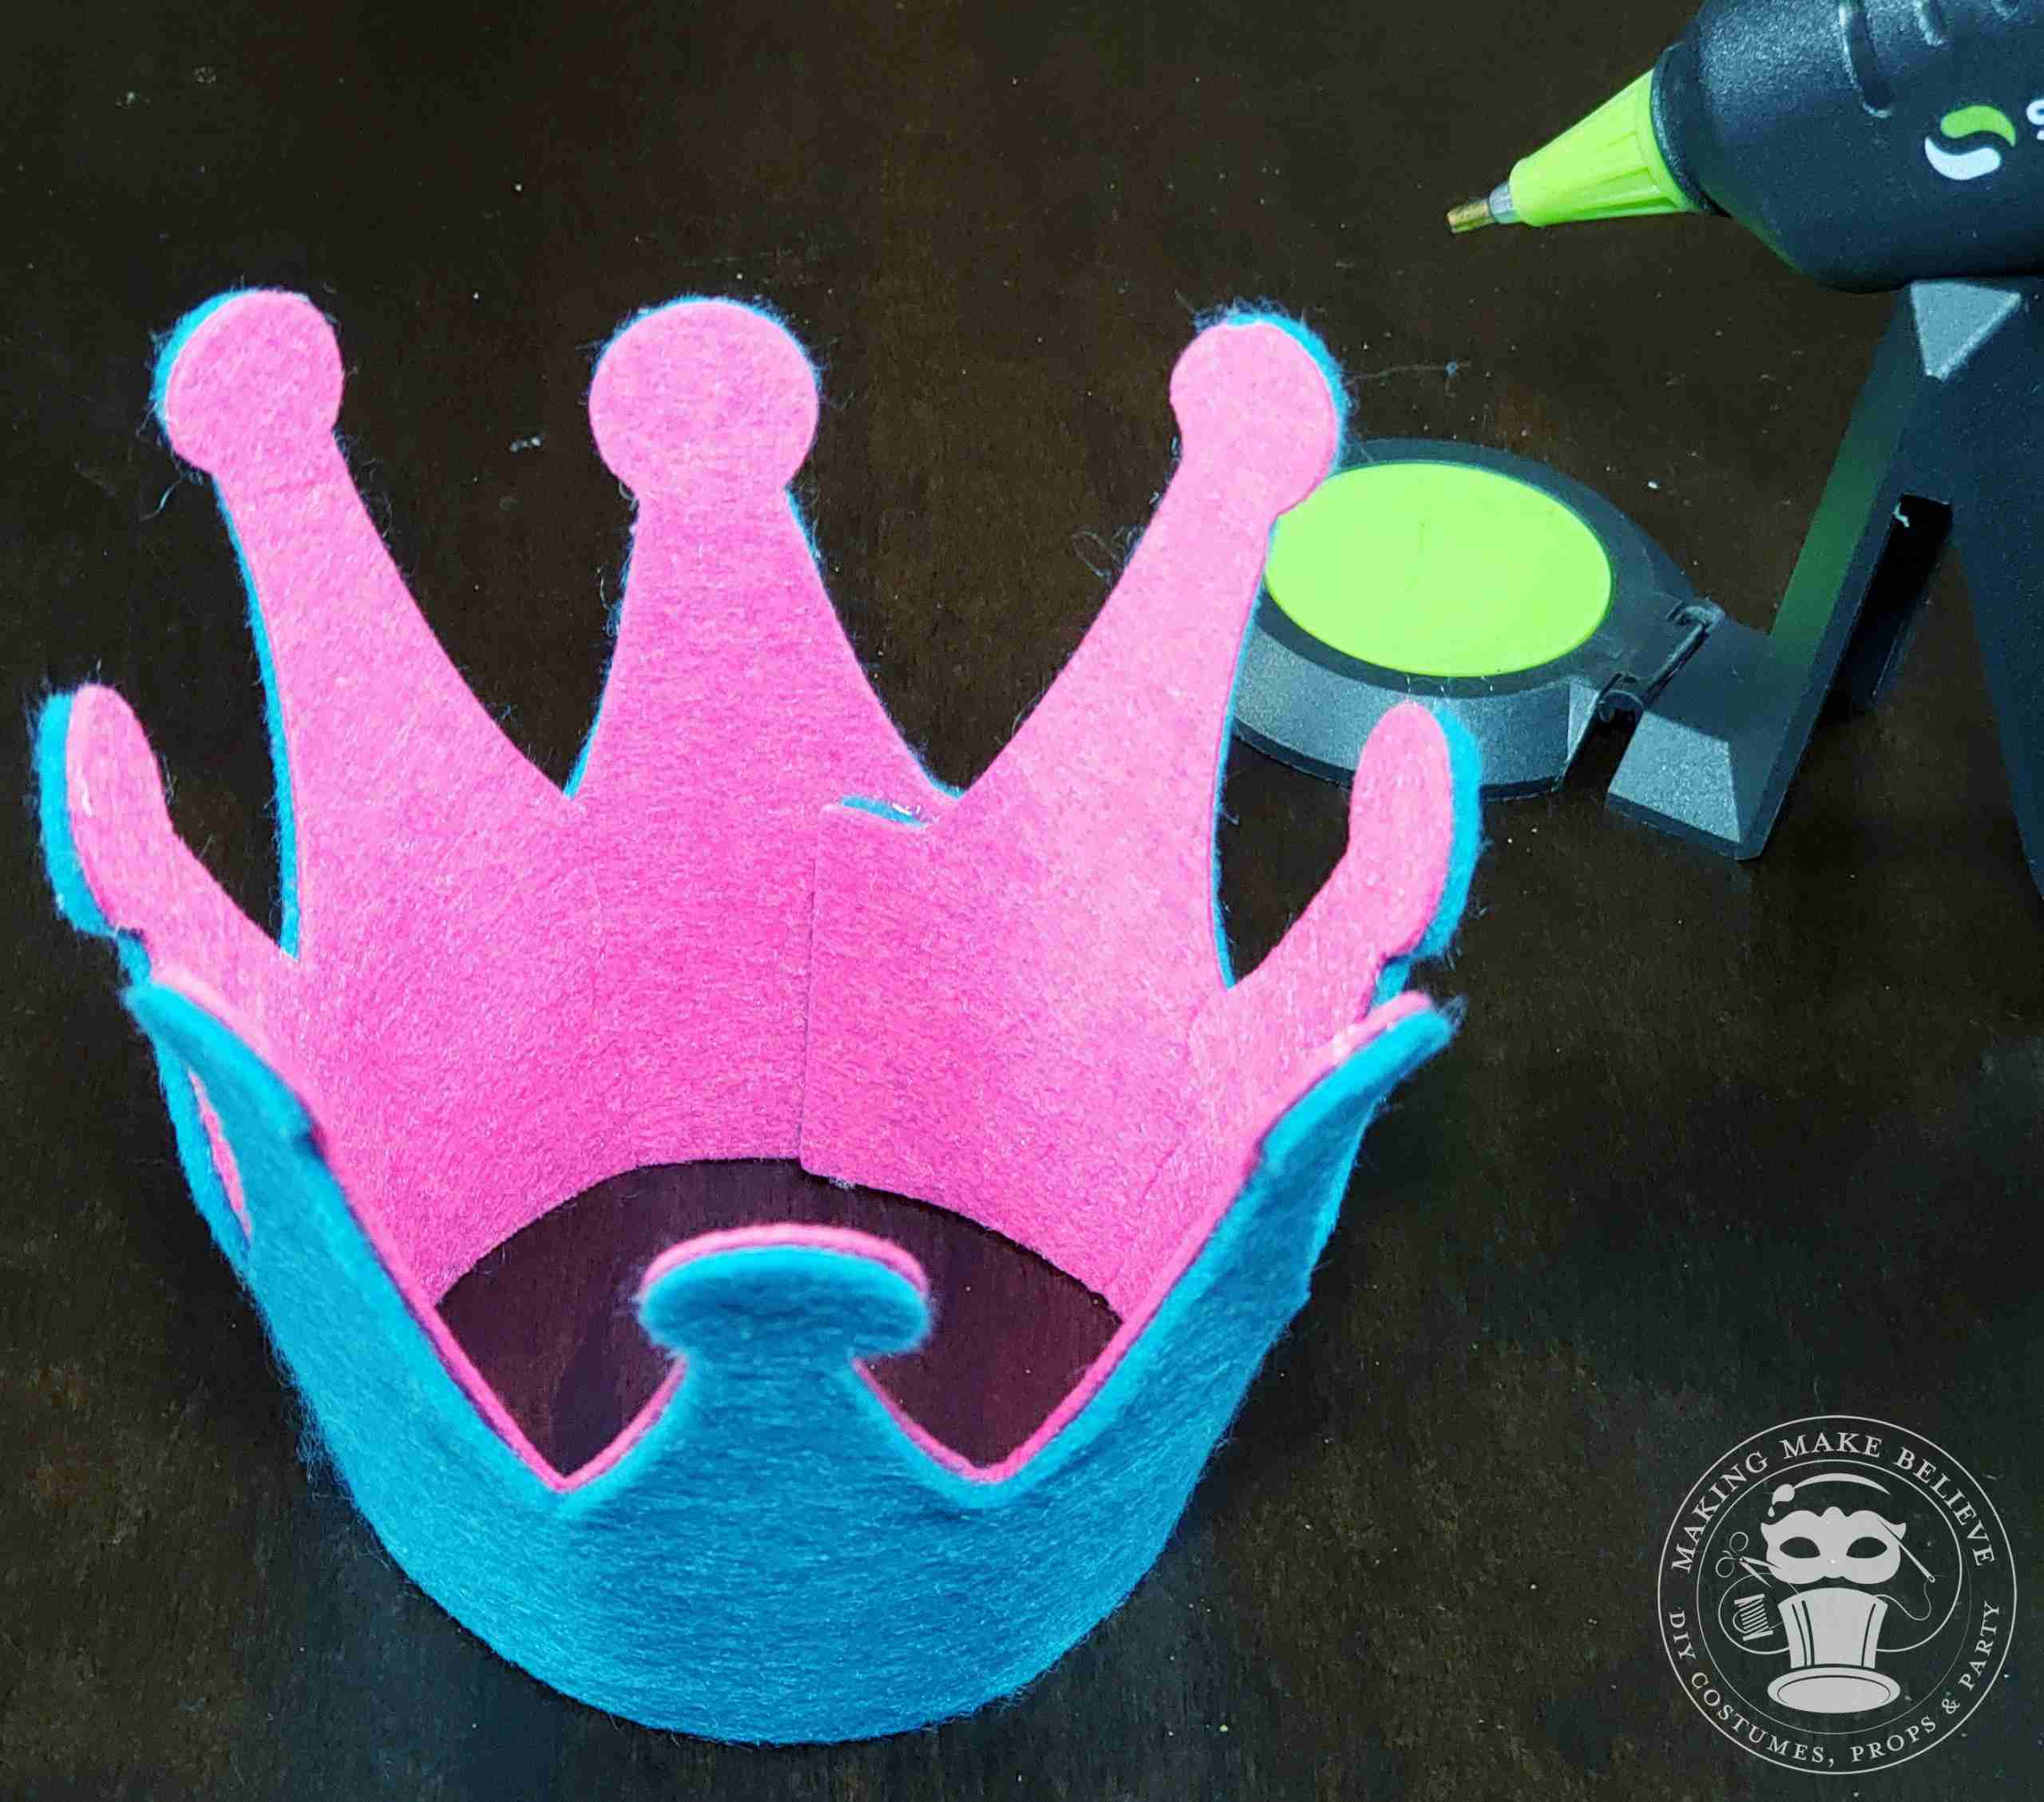
Glue crown pieces together
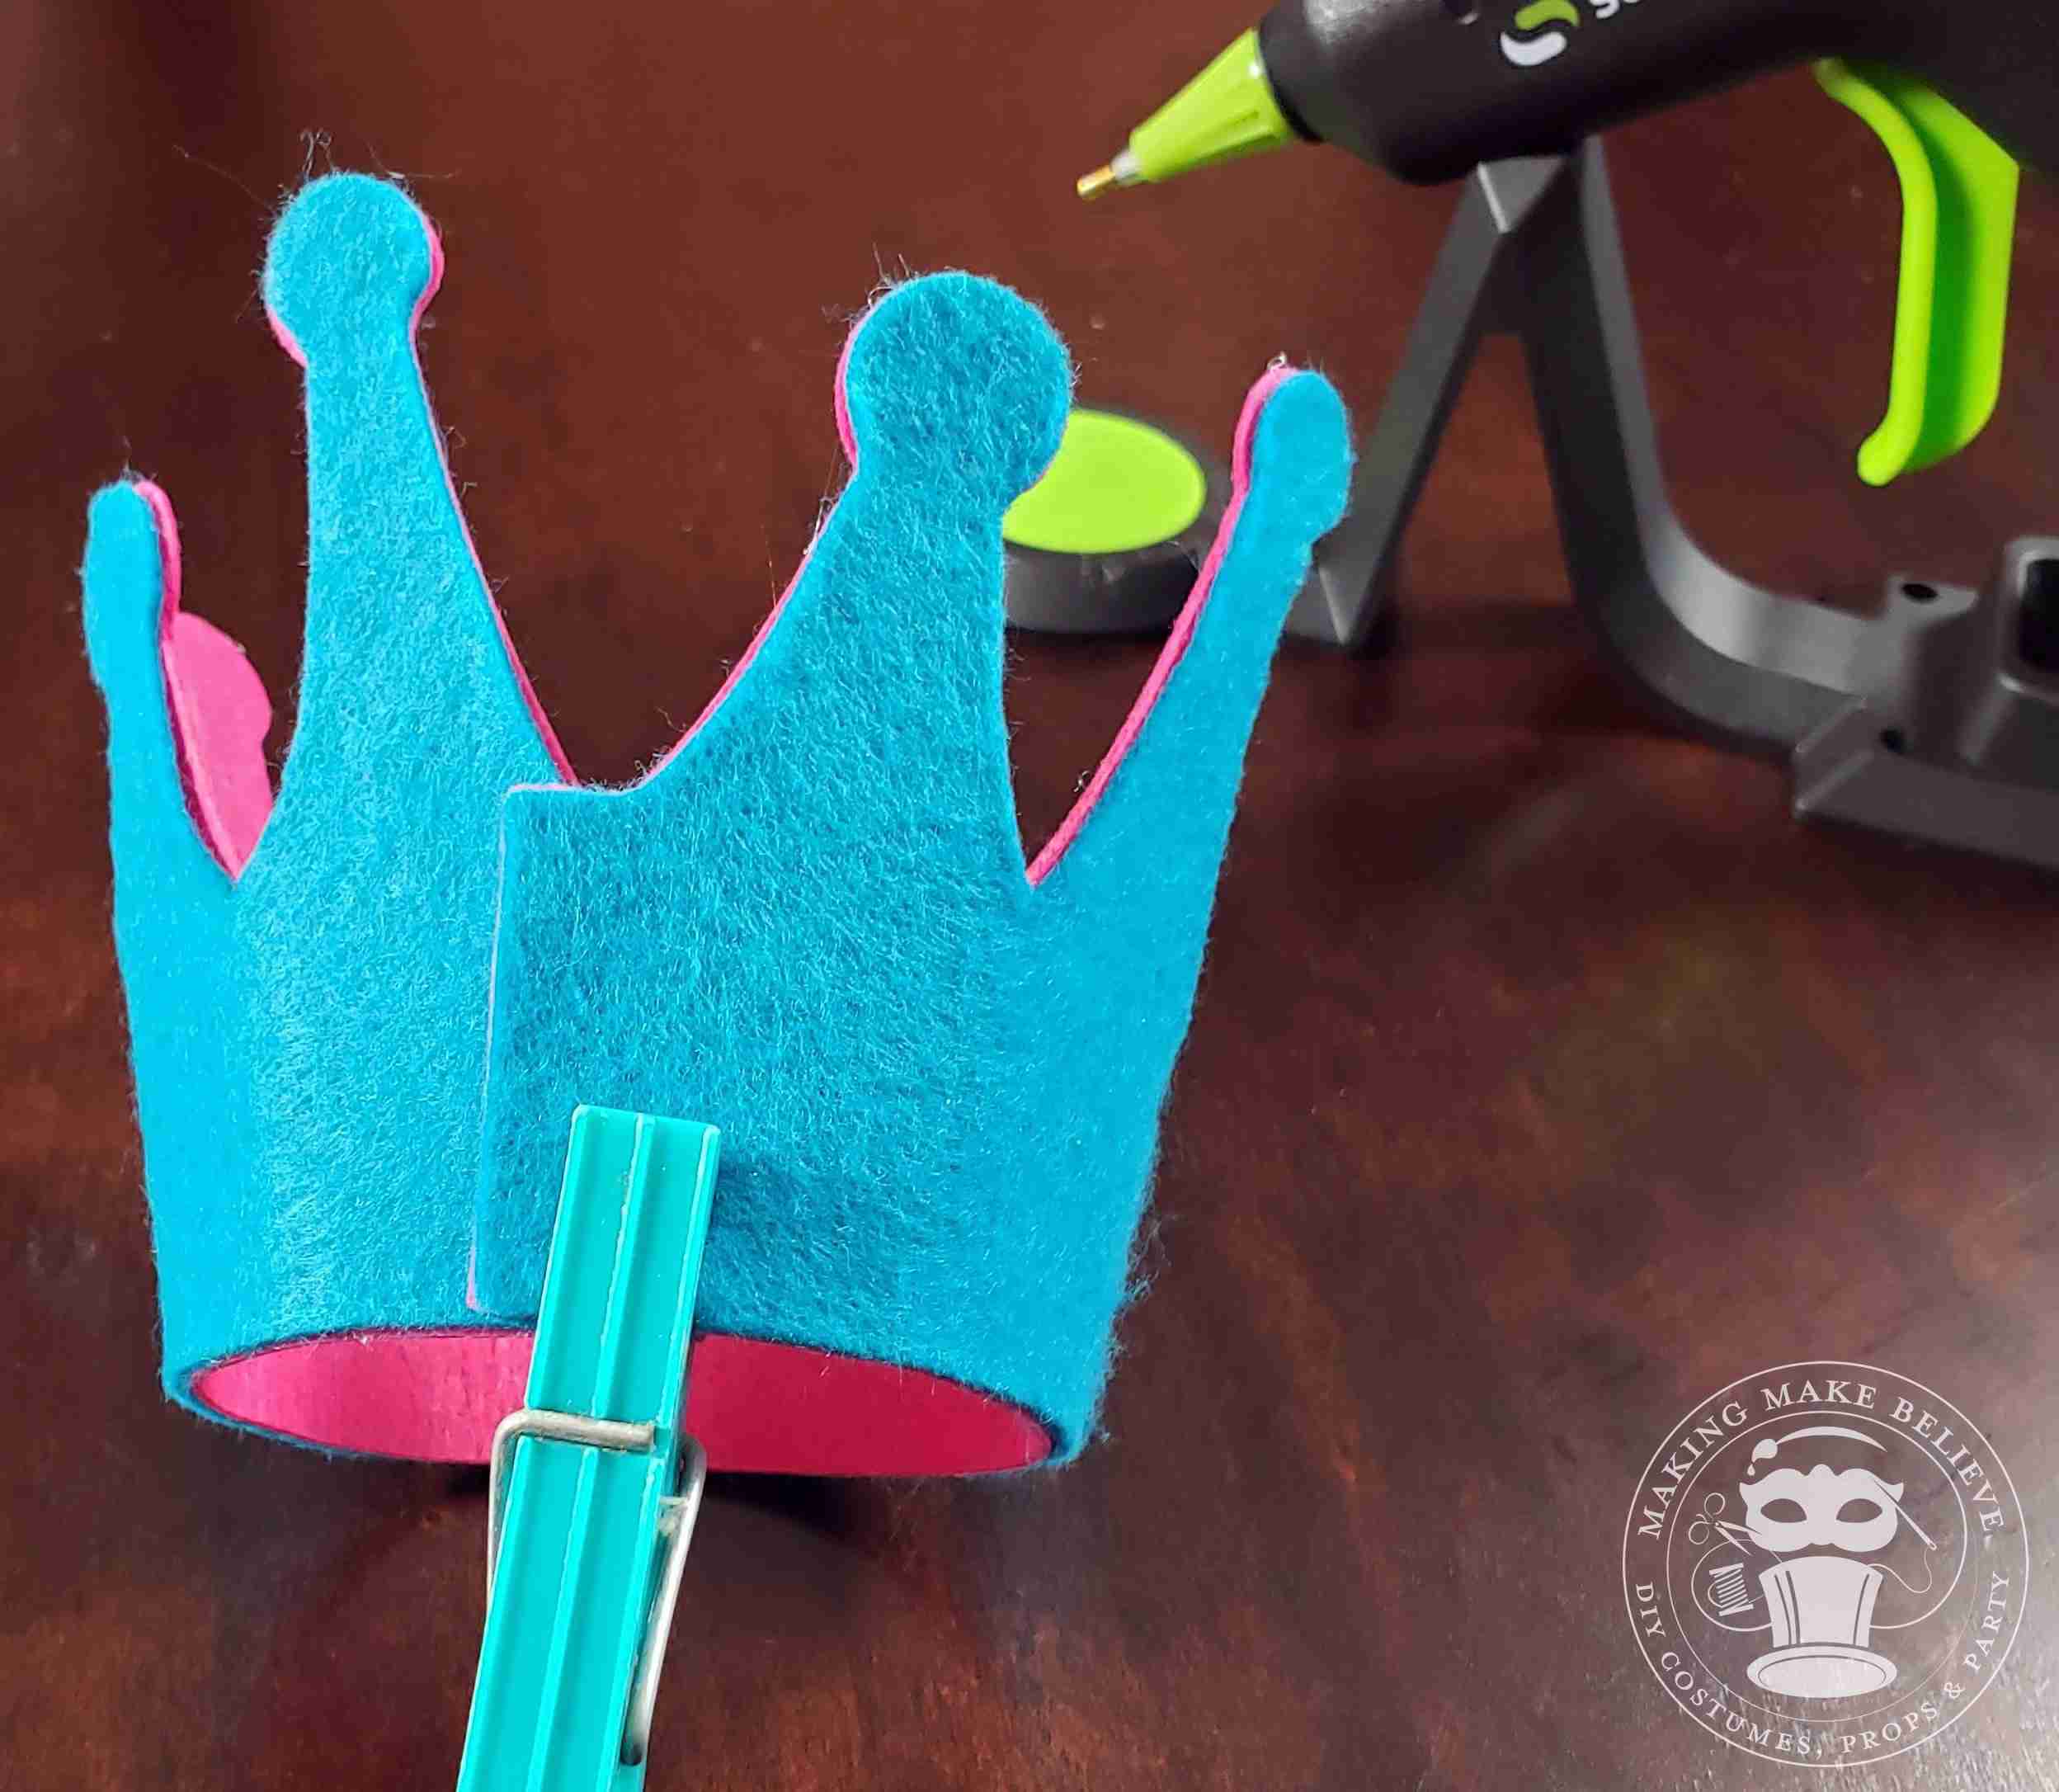
Overlap ends and glue
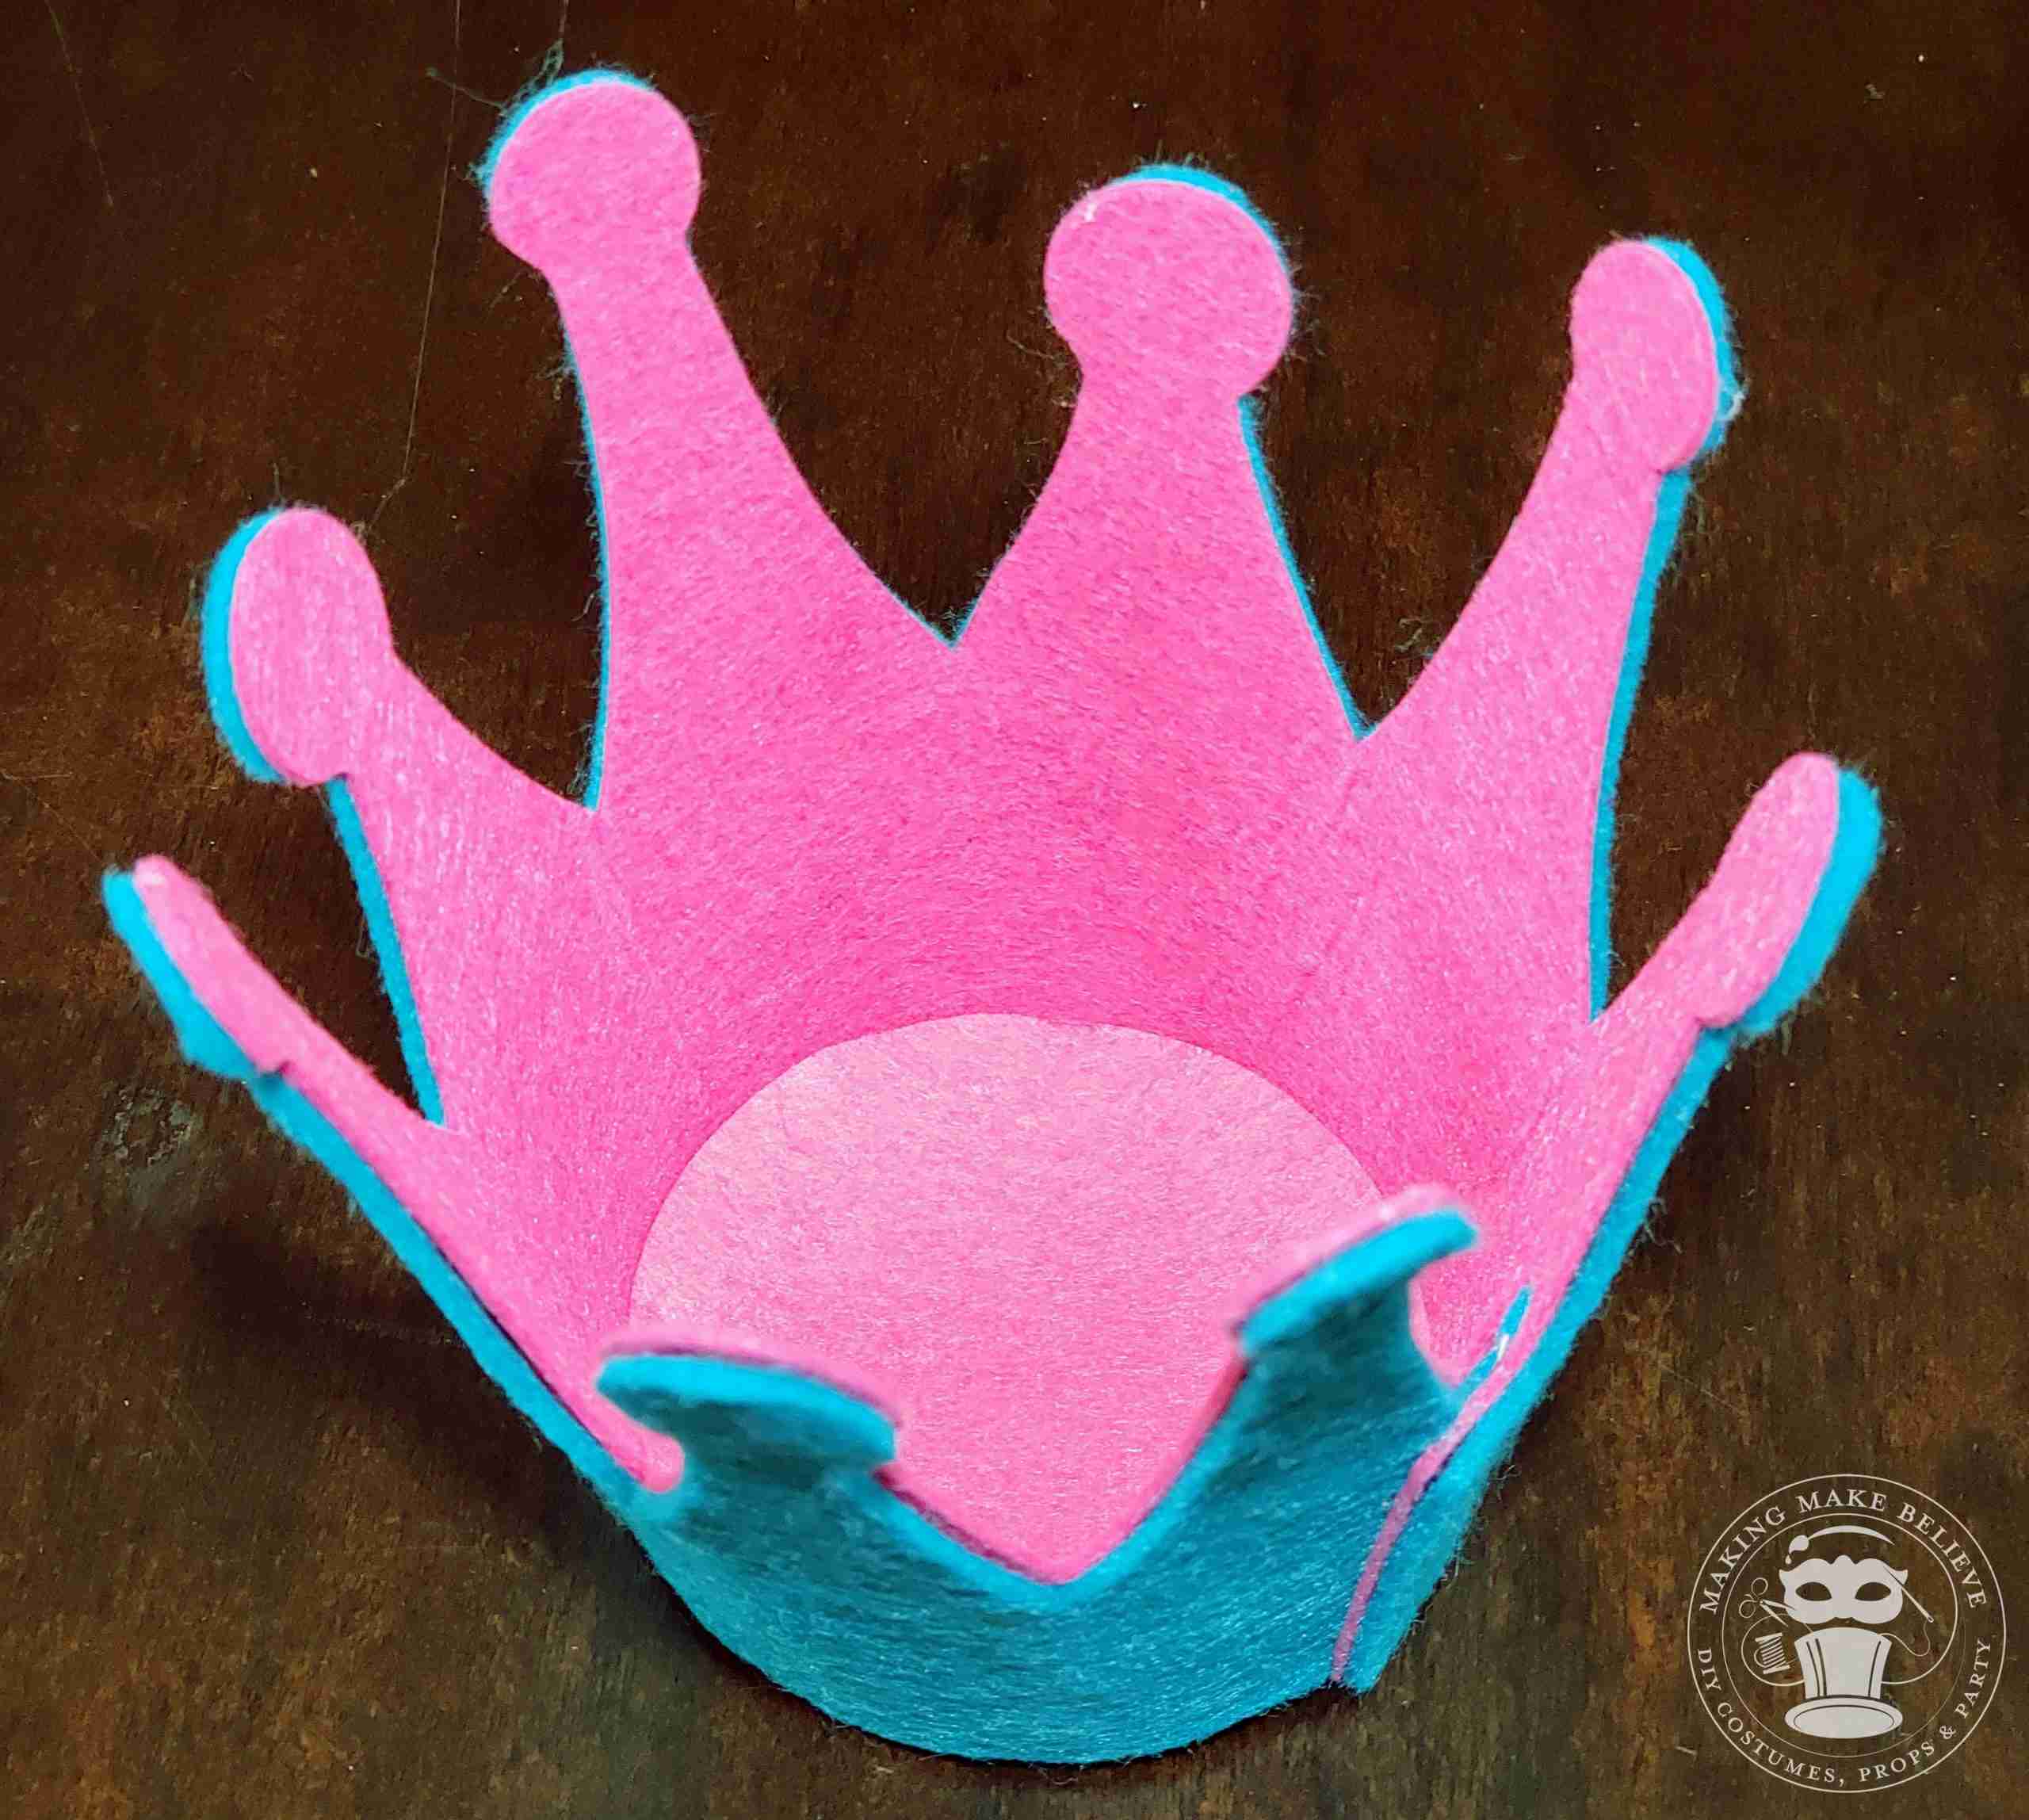
Interior with ends secured
Insert smaller base into crown
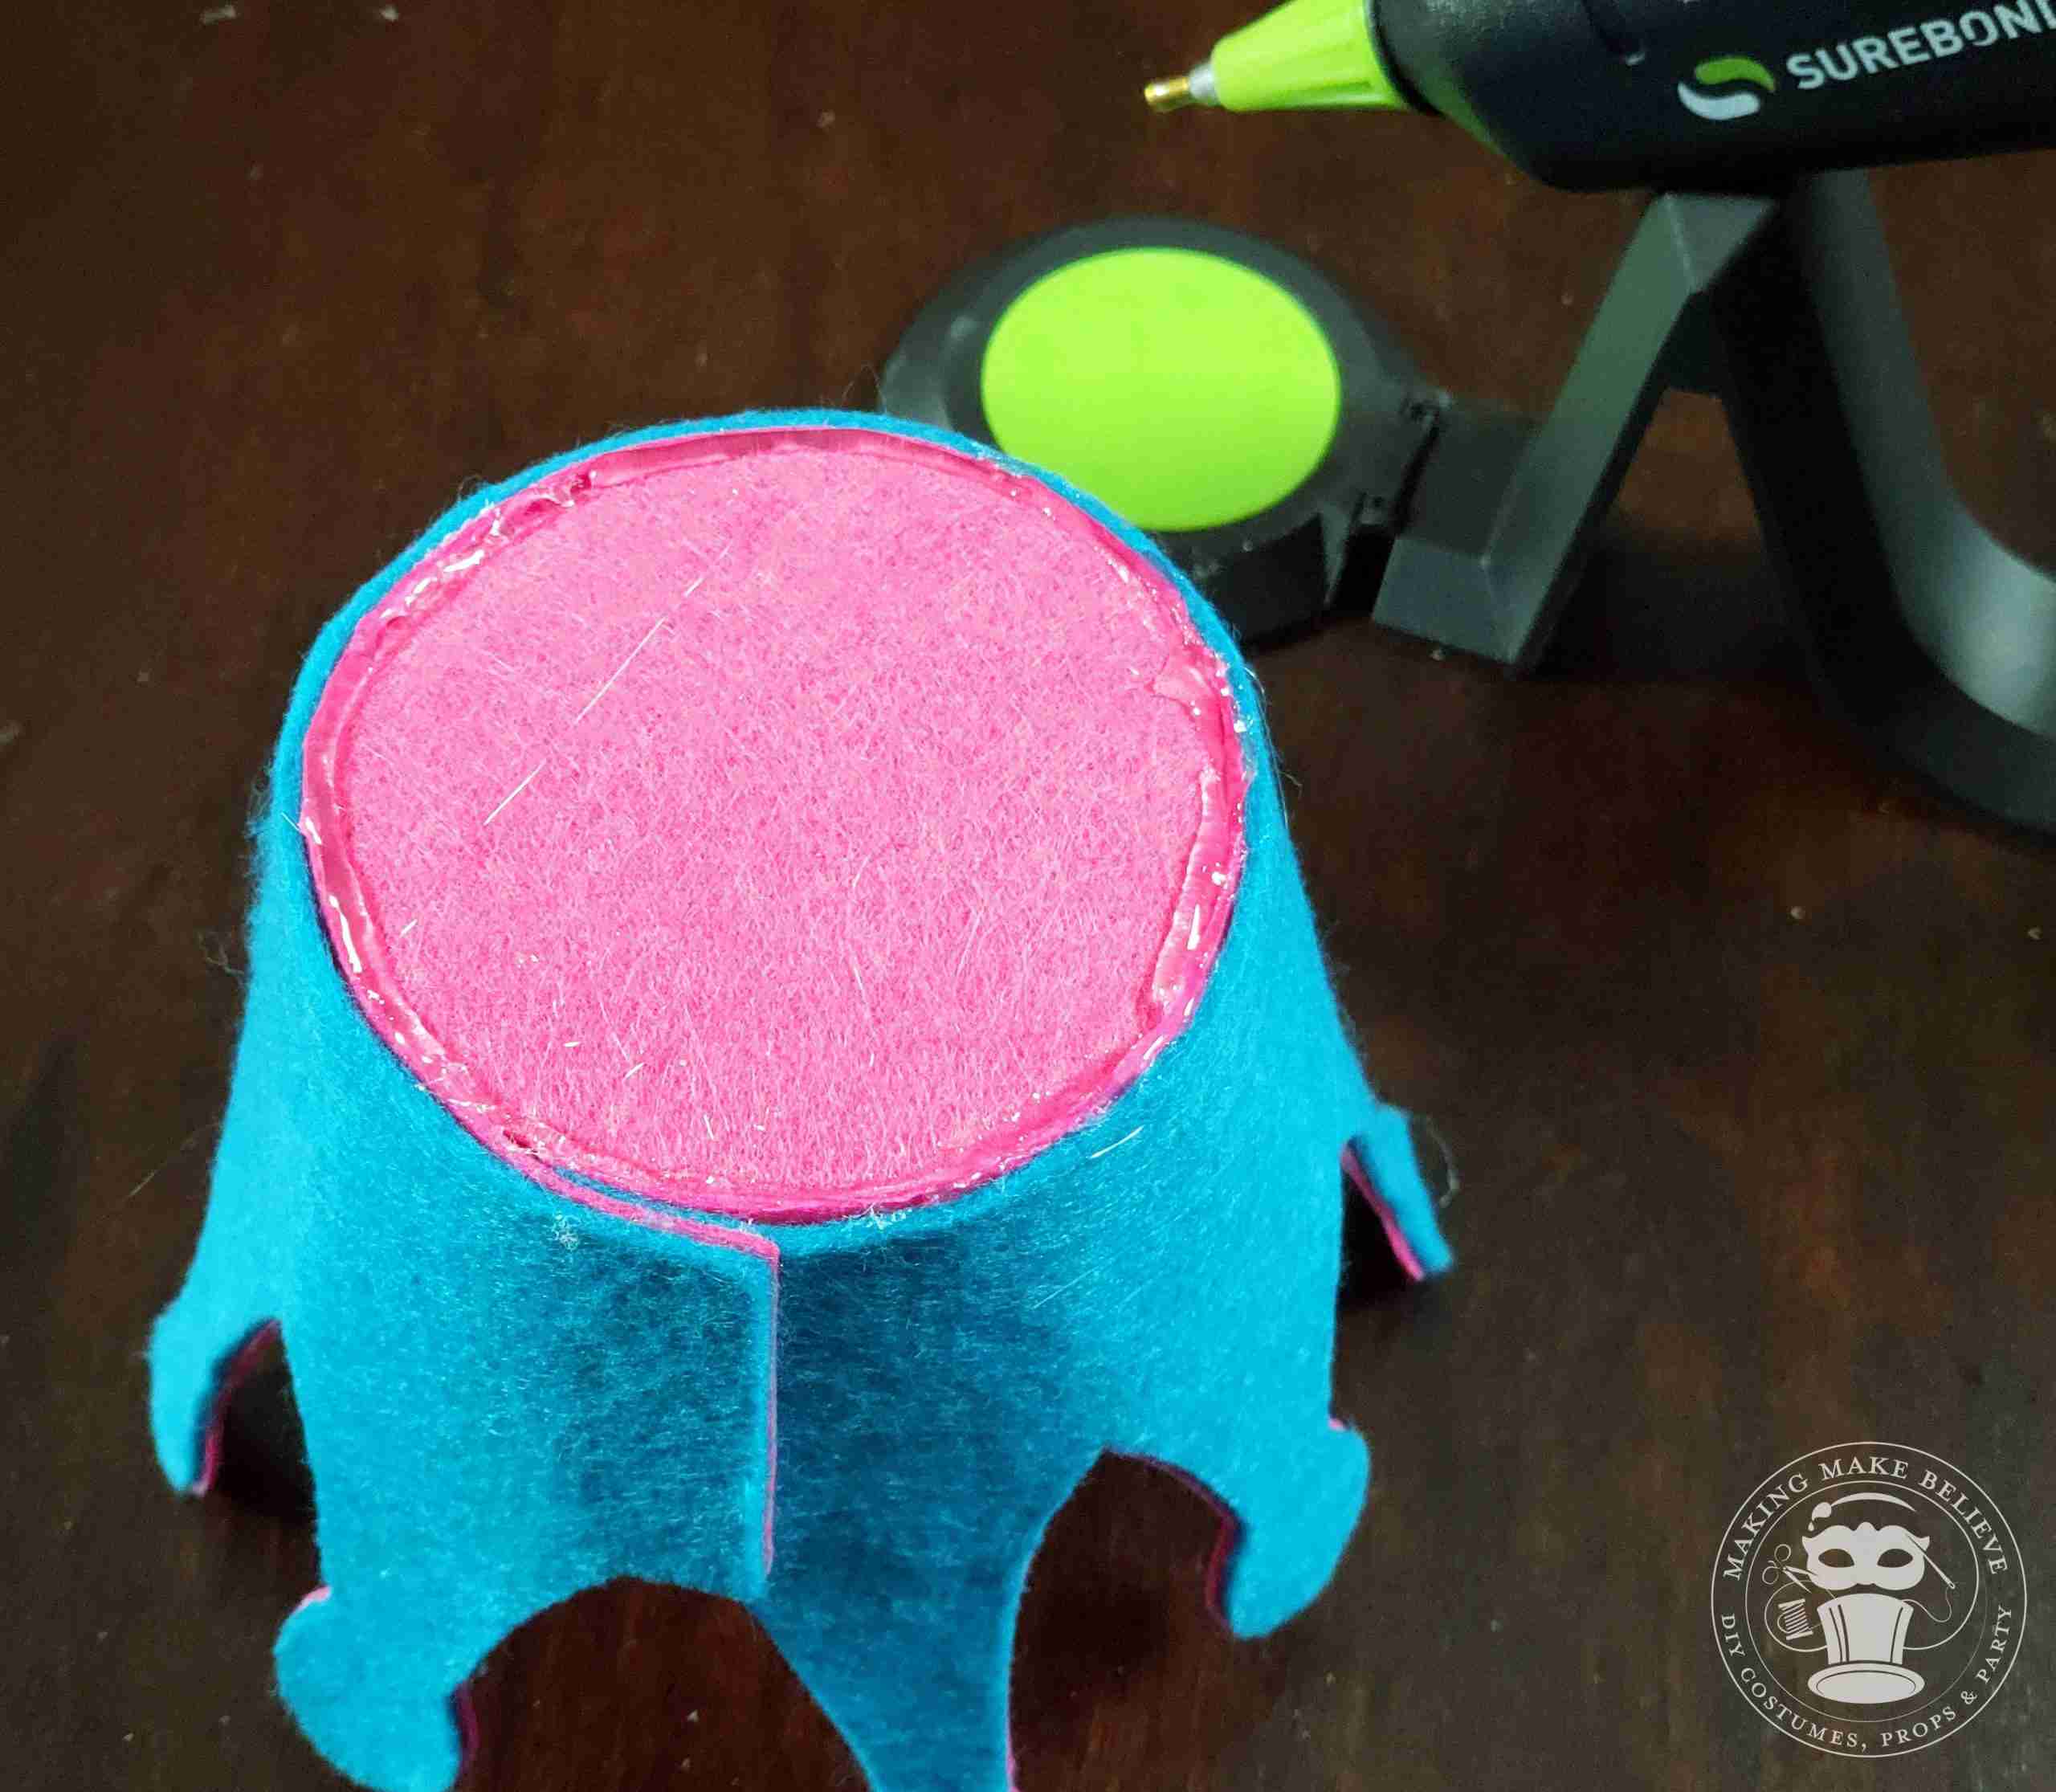
Secure interior base
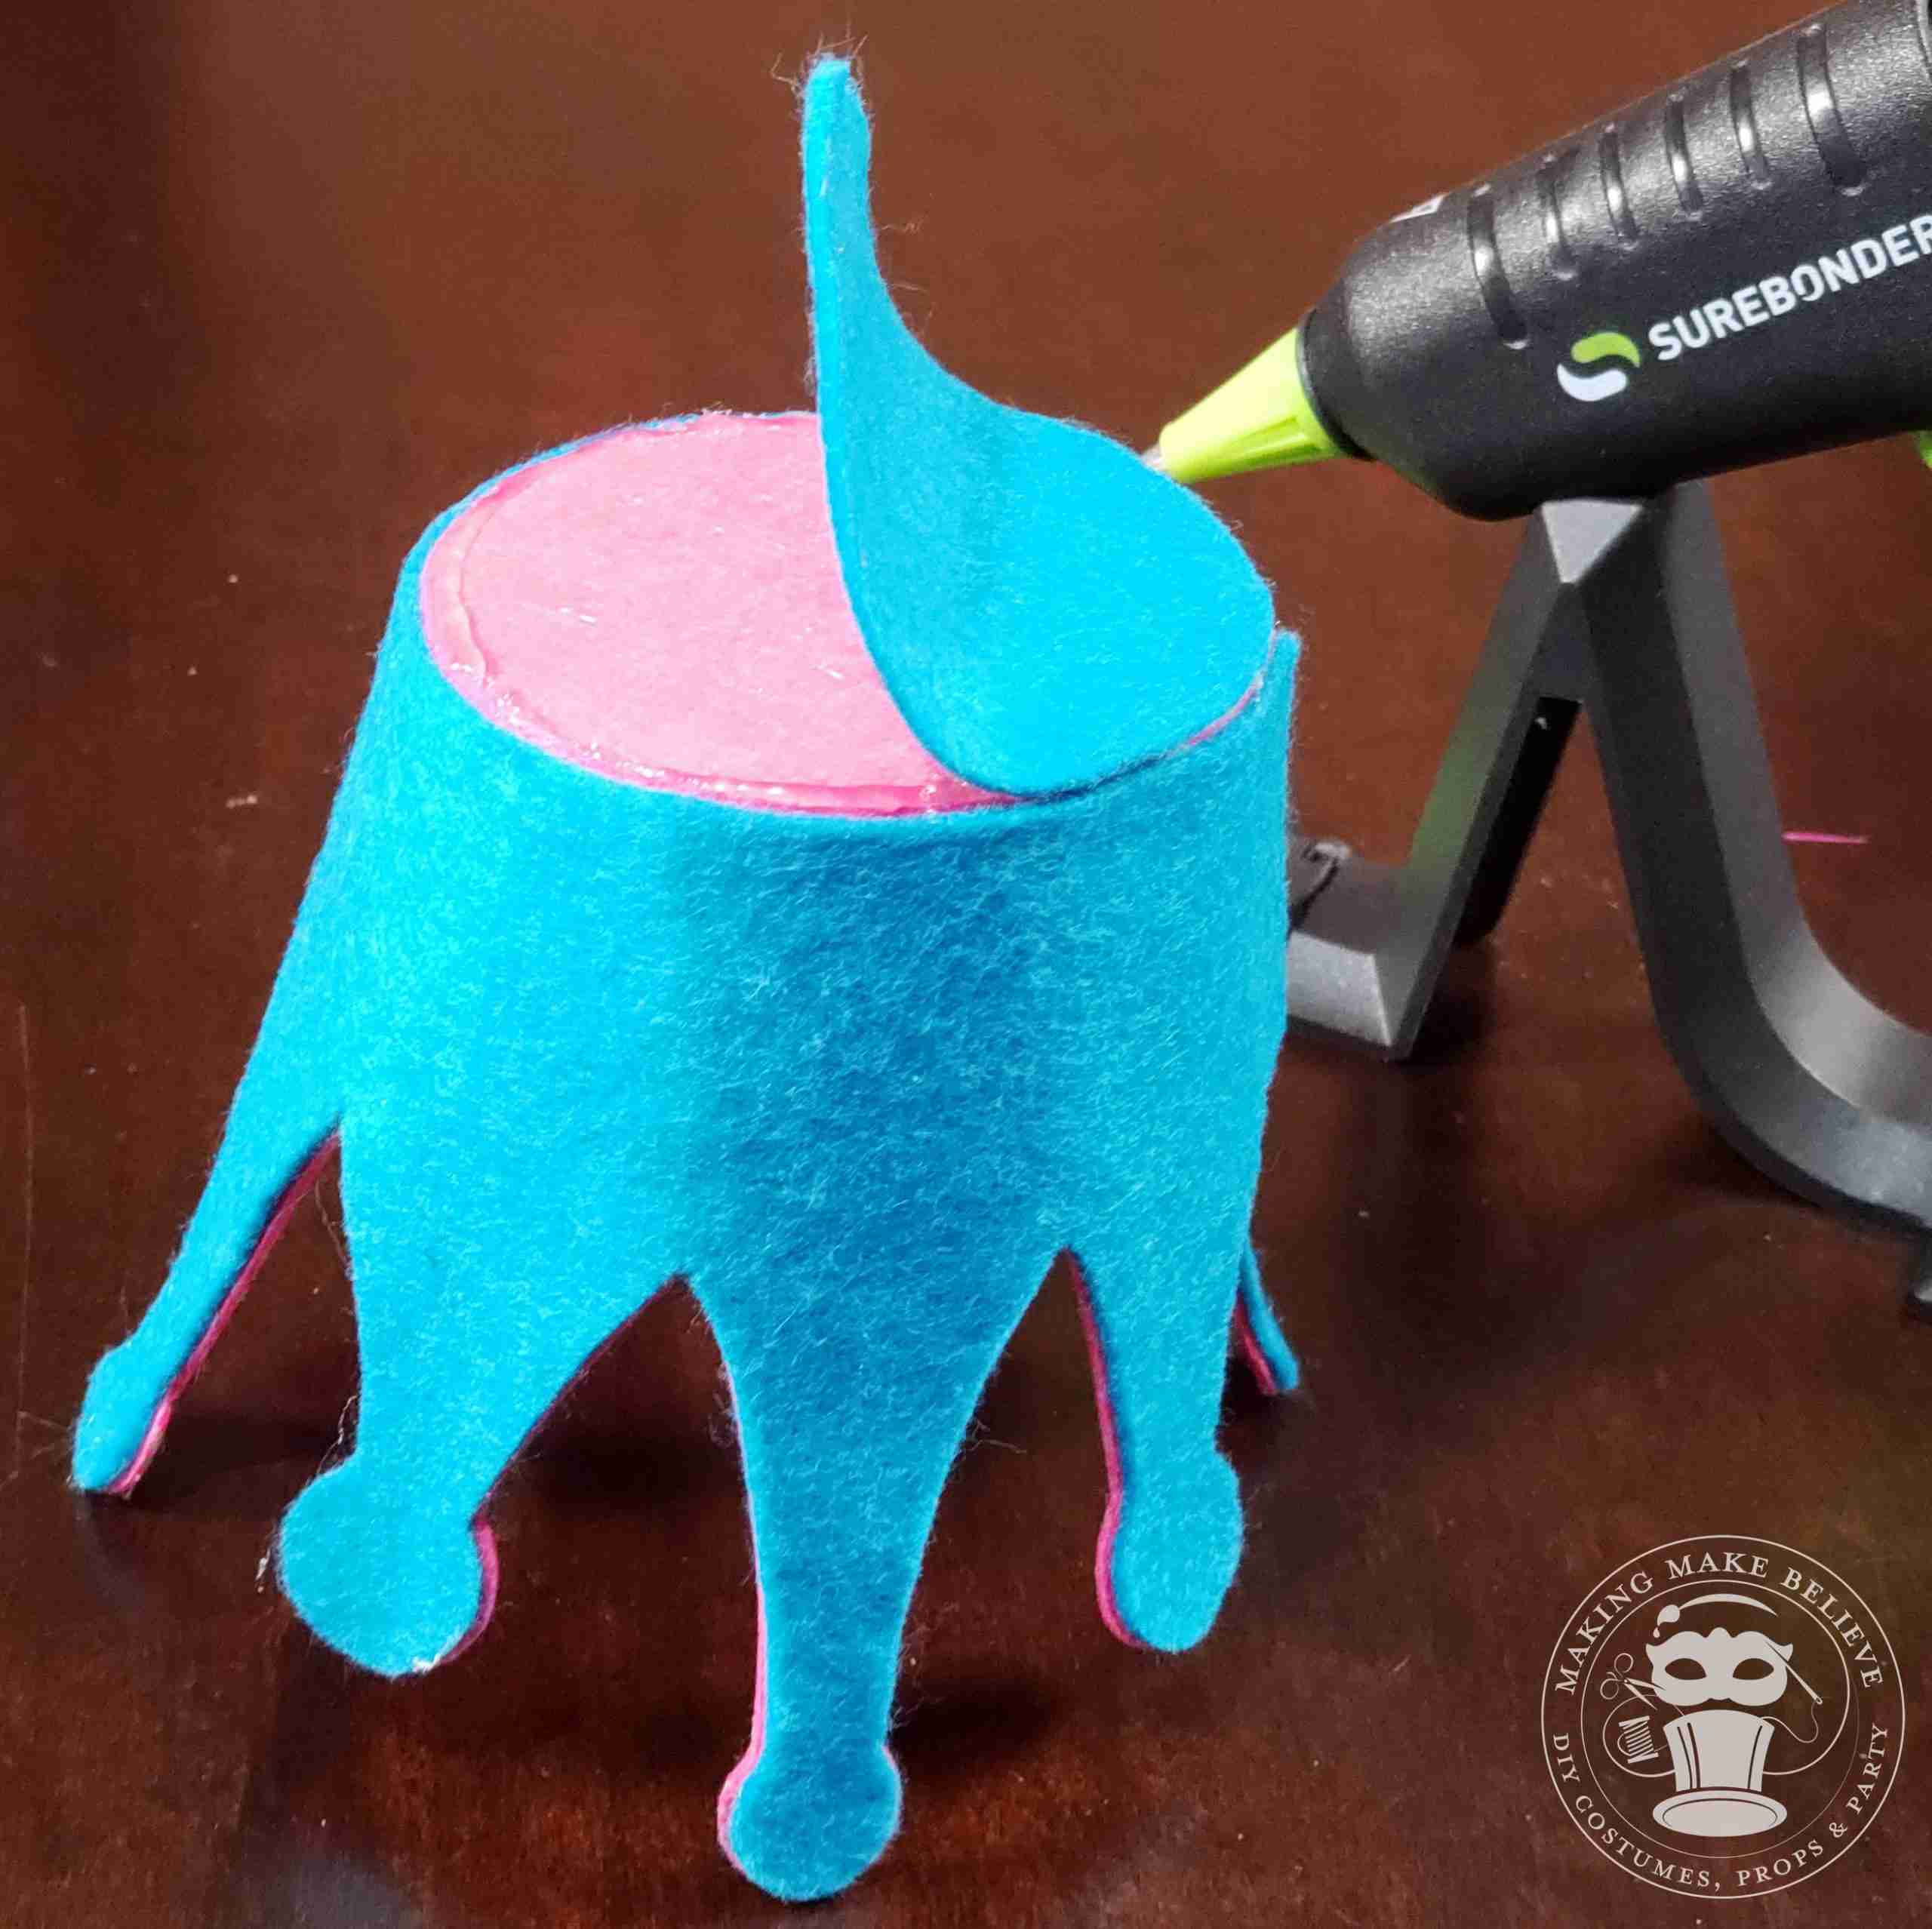
Add exterior base leaving a channel
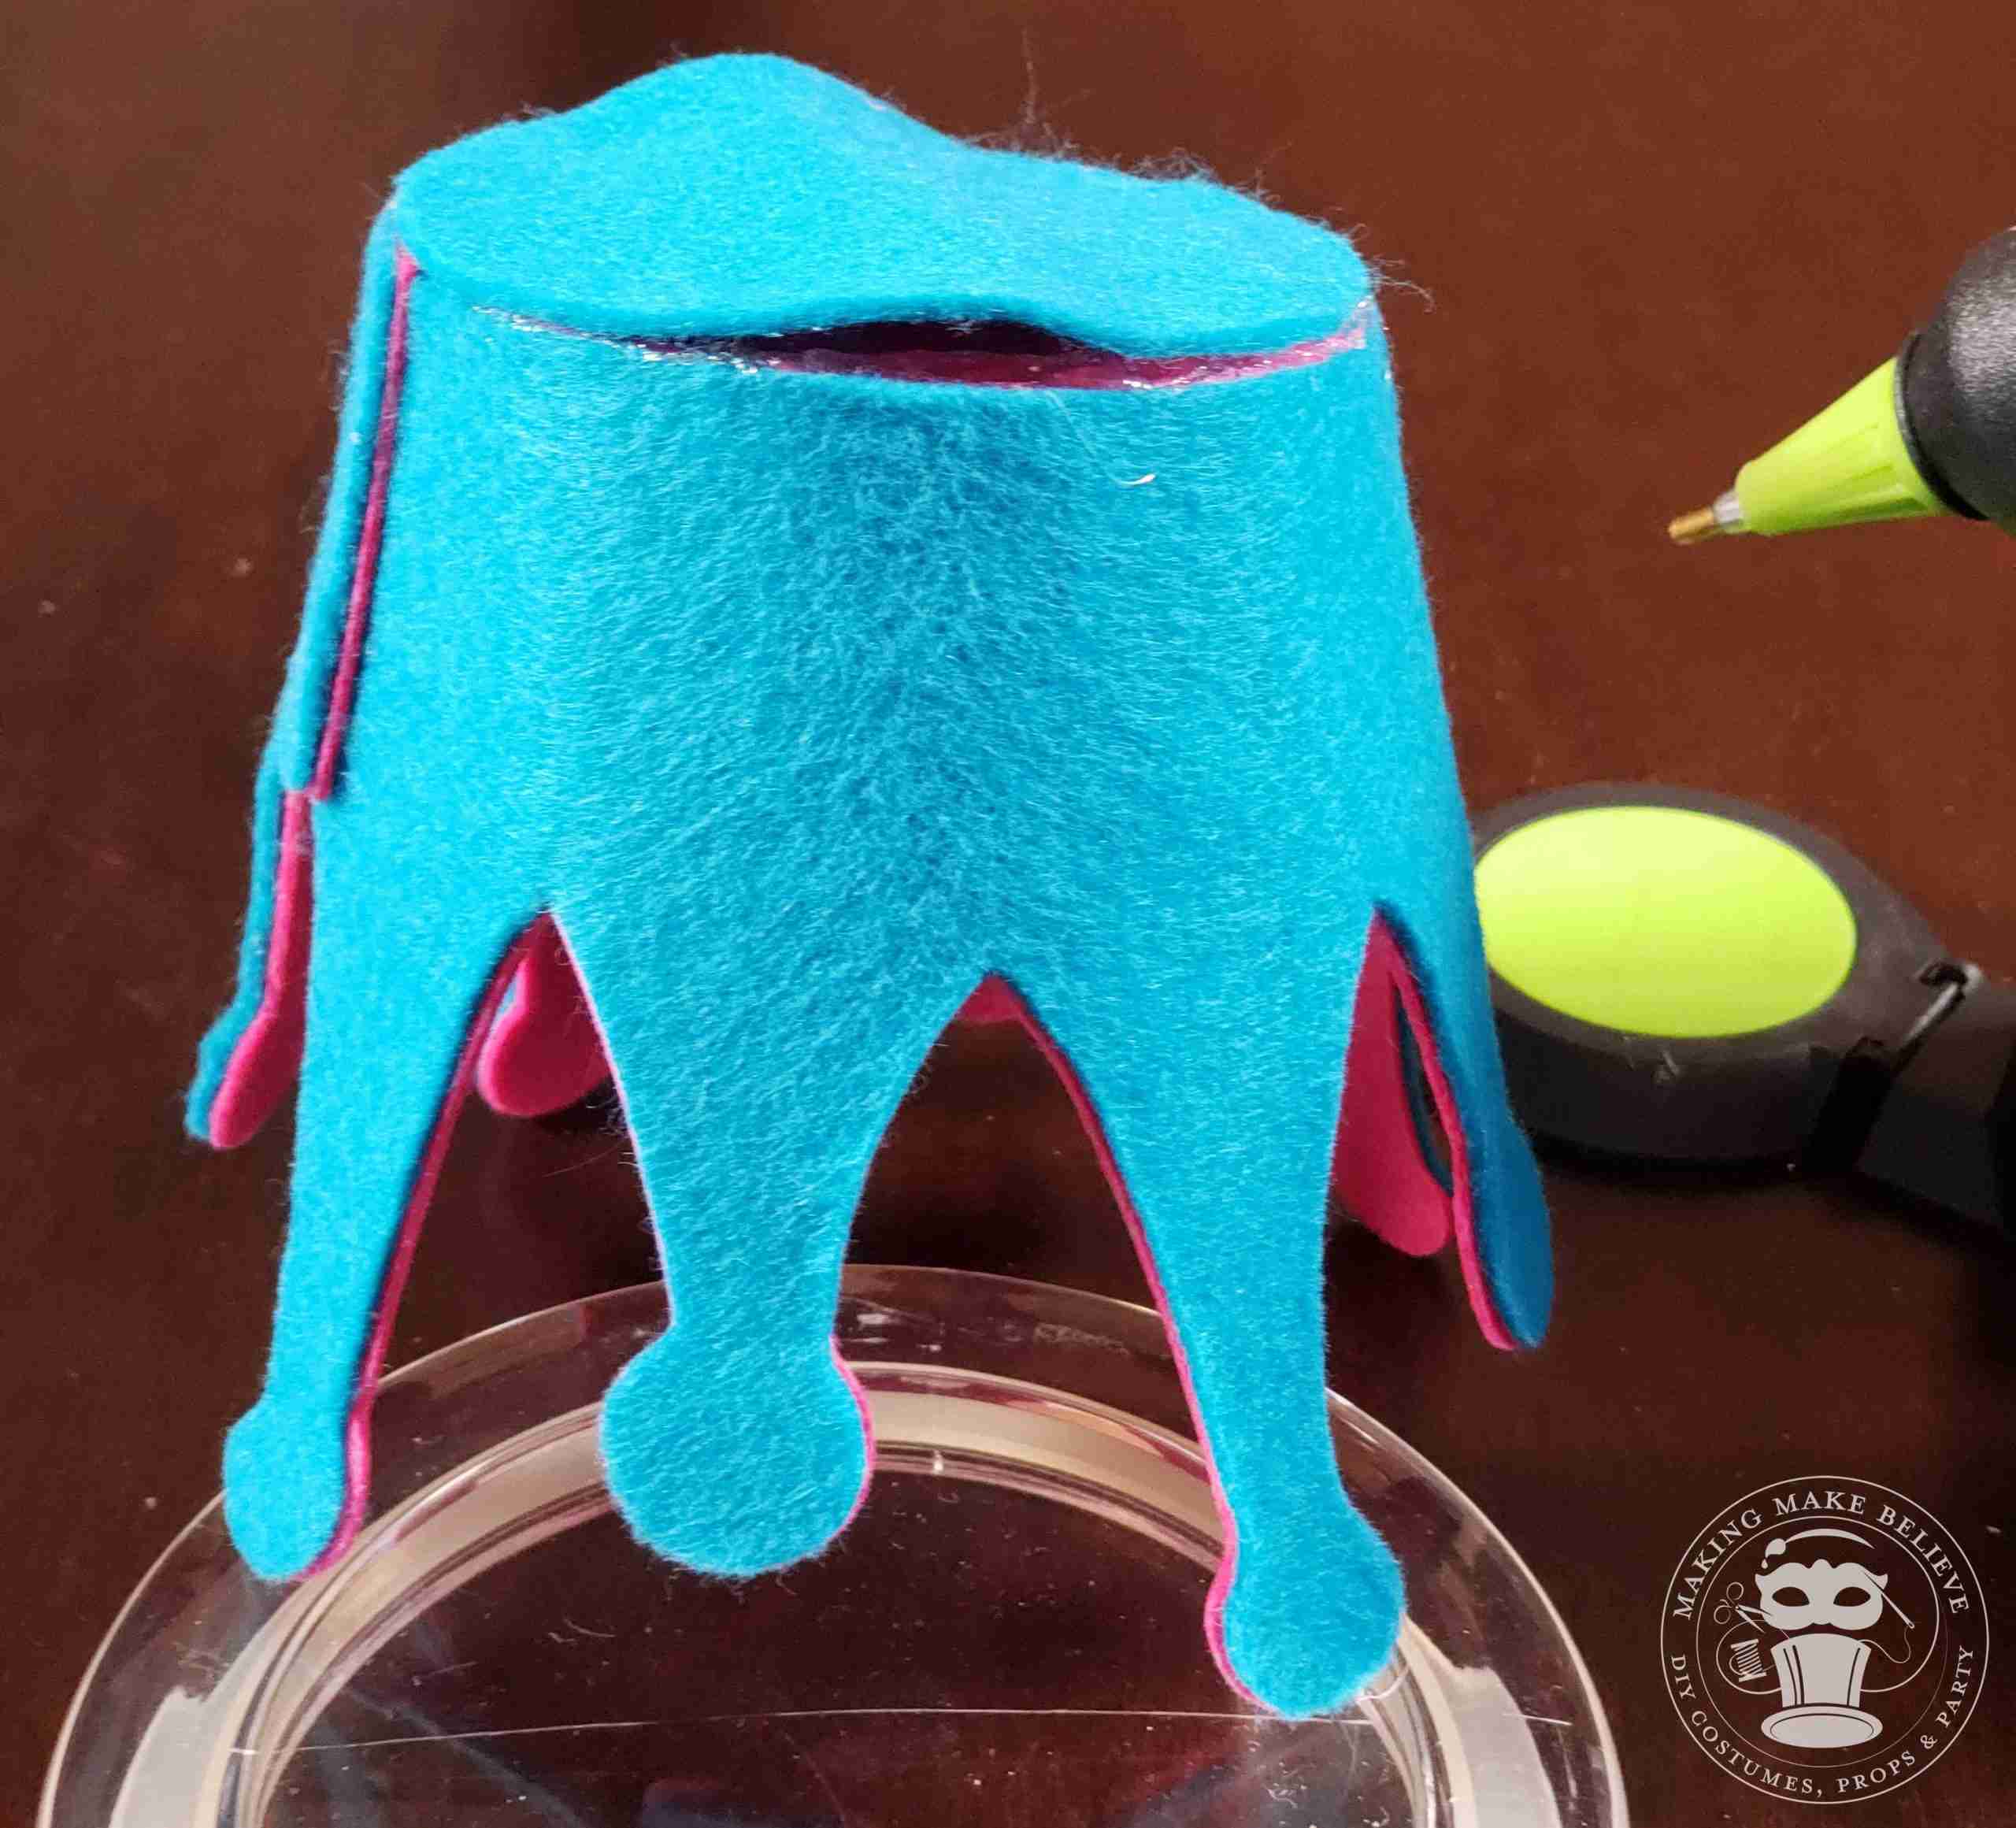
Channel in exterior base
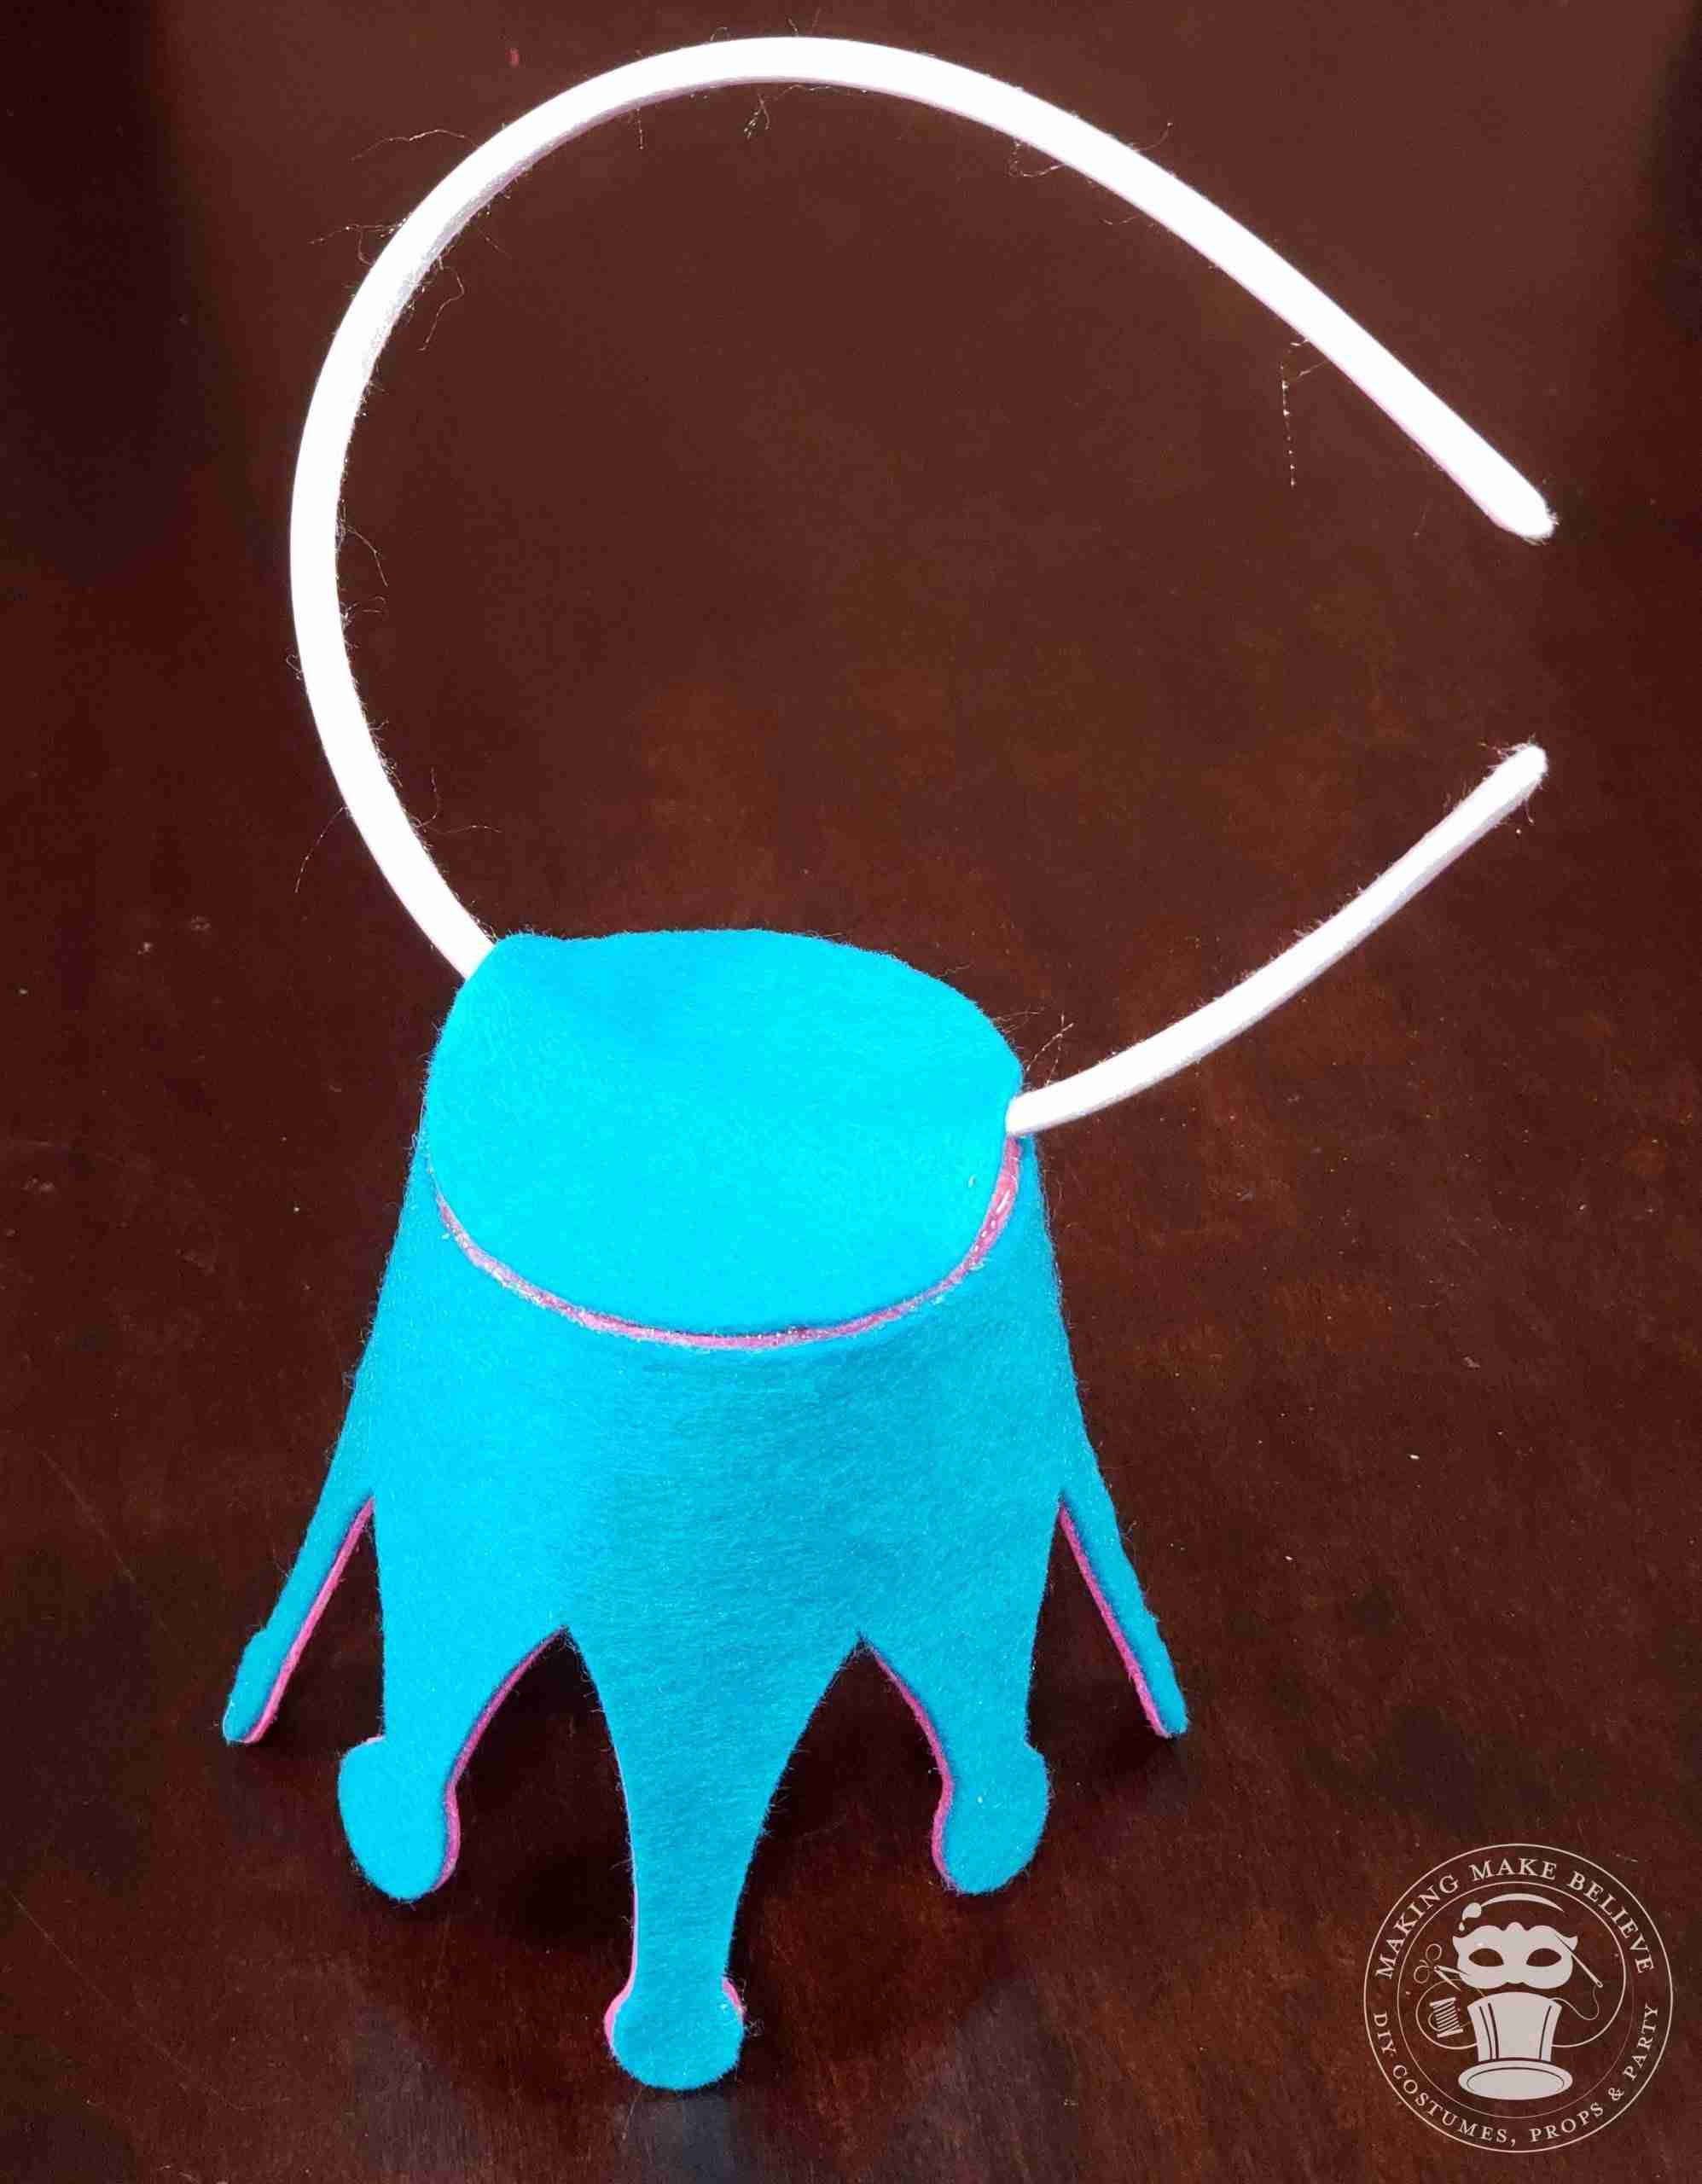
Add headband or hairpin
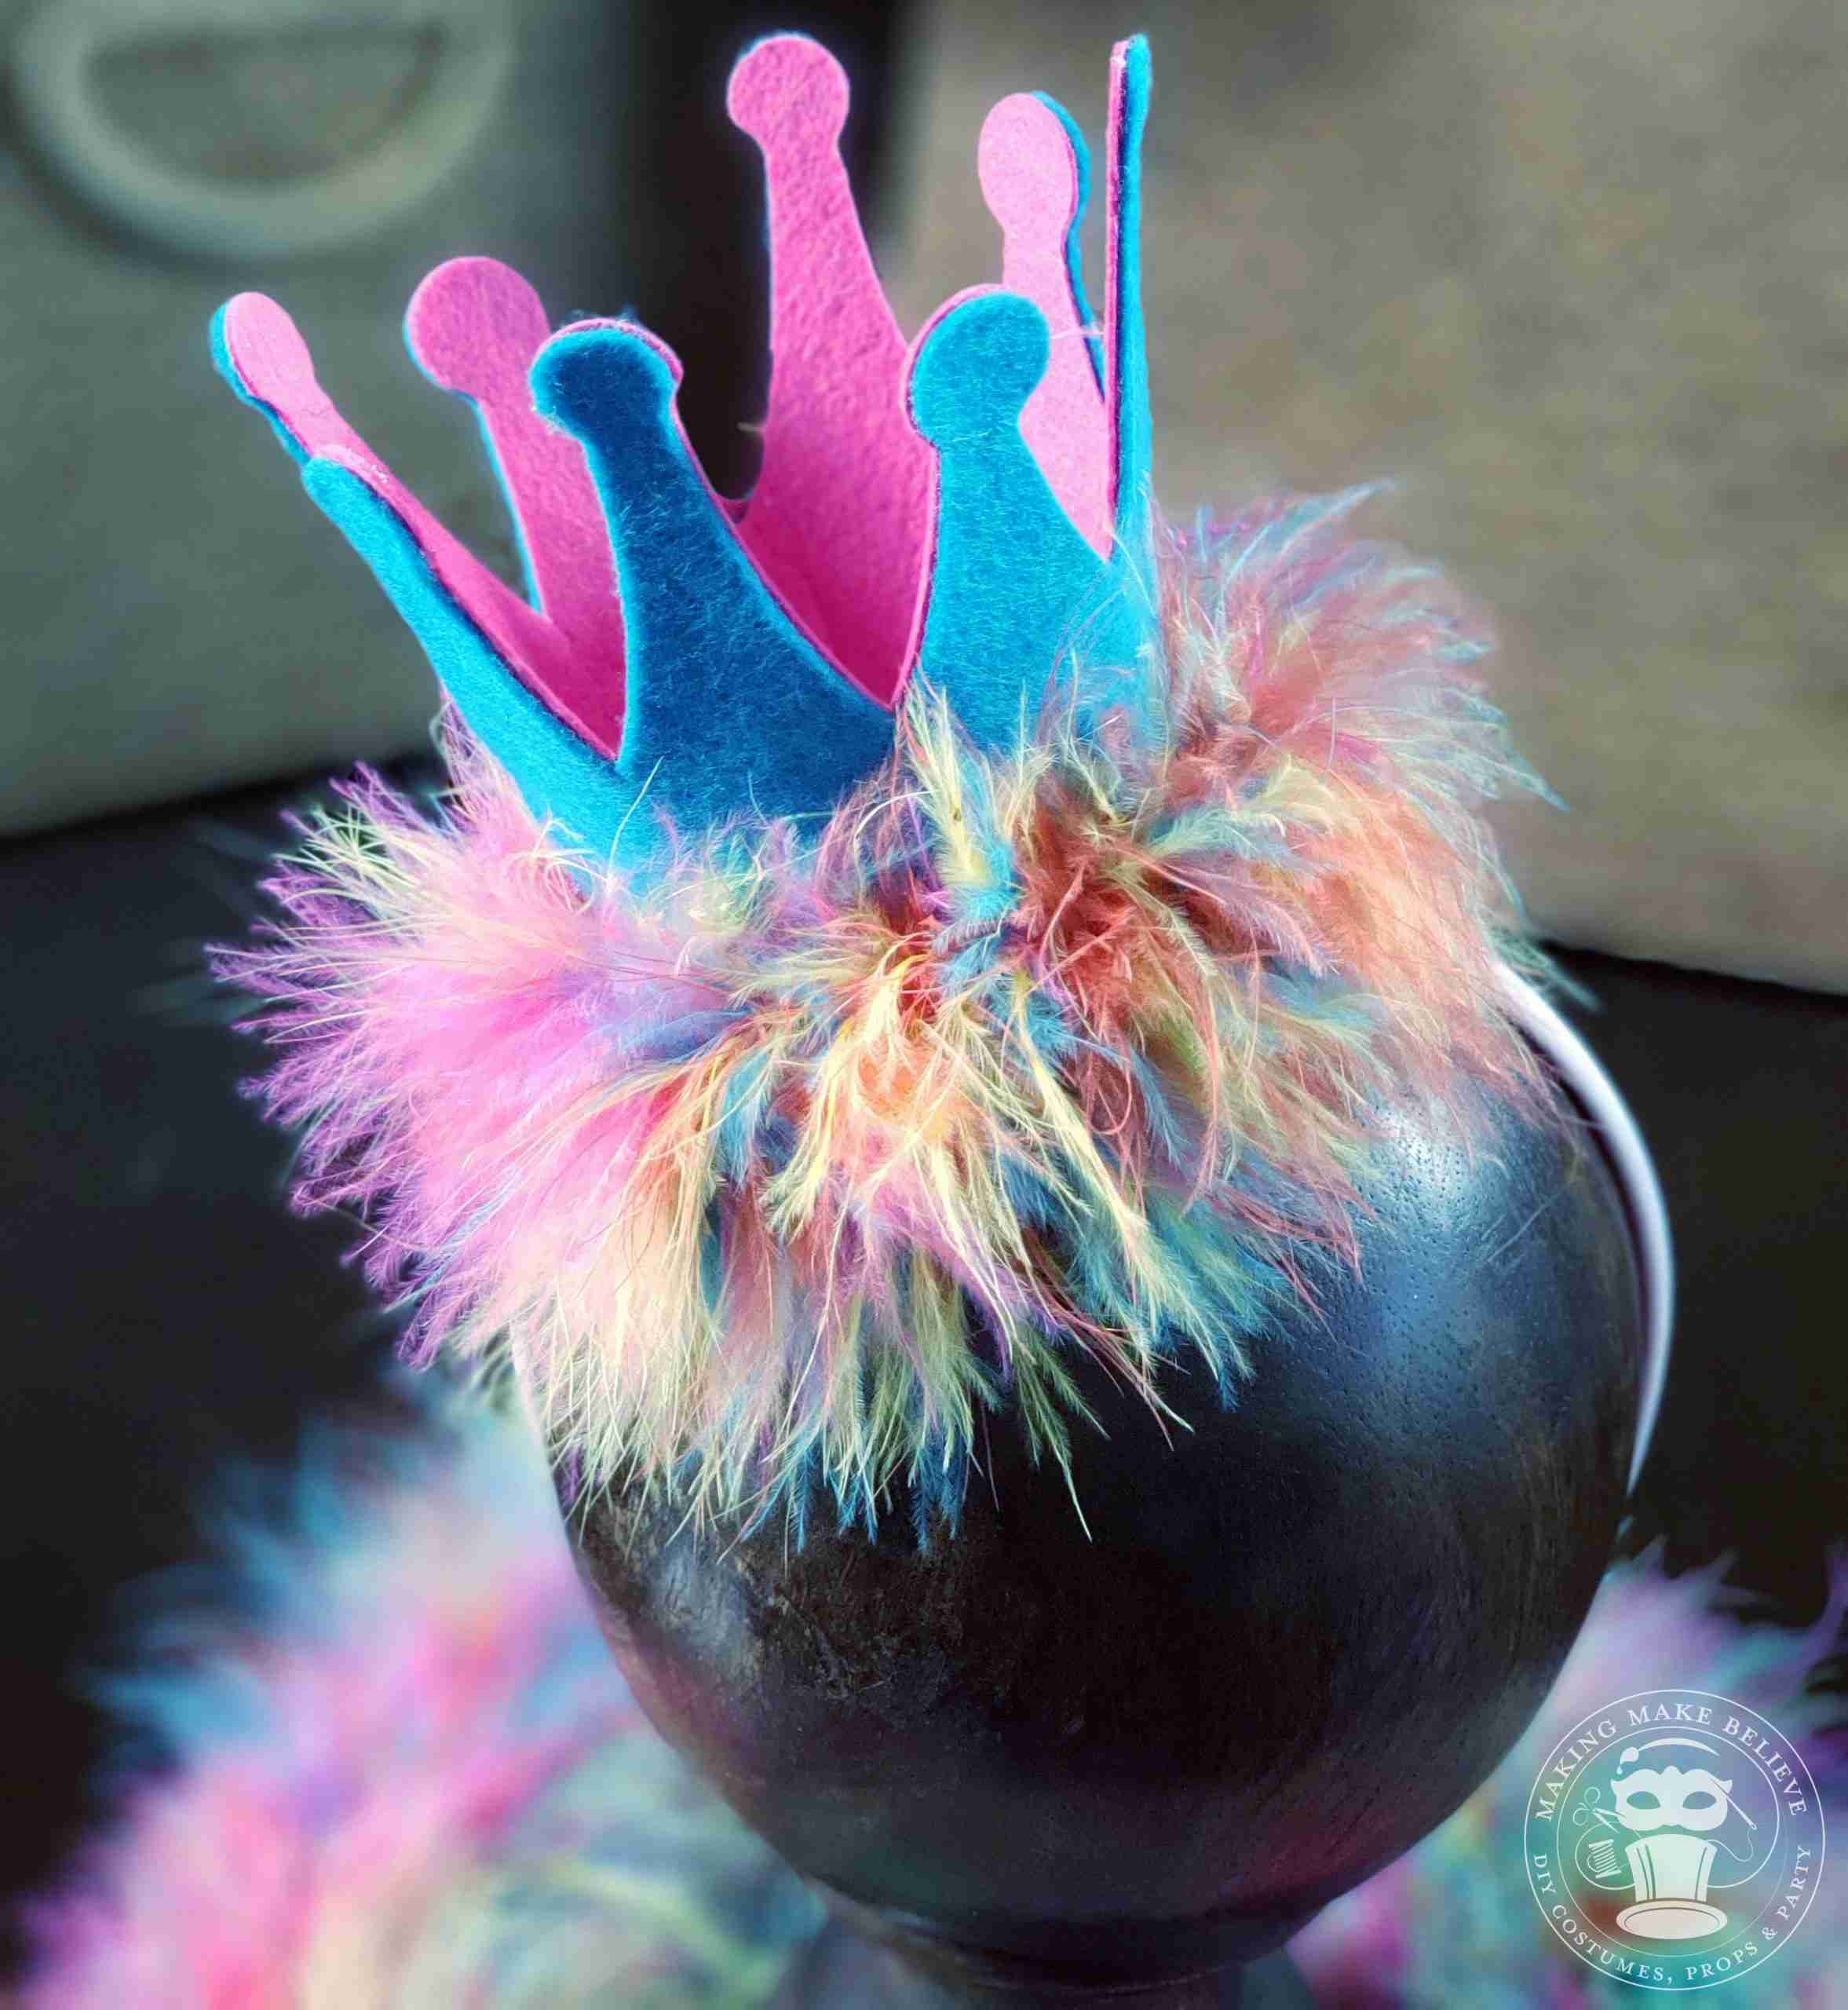
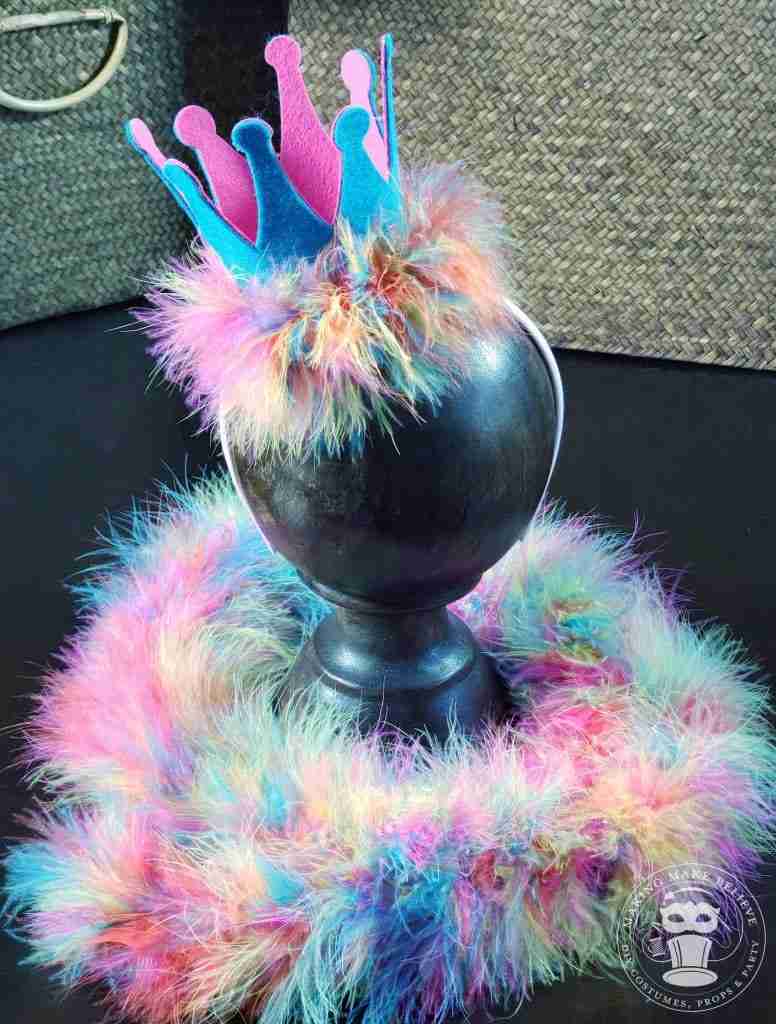
Easy Mini Crown