
I love intricate costume pieces. I love detail and craftsmanship. I love the richness and how it elevates a look. But let’s get real – creating this kind of look isn’t always possible, feasible, or desirable. Sometimes, simple is best.

One of the projects scheduled for this month is an owl mask. I originally envisioned a flurry of feathers perfectly arranged around a mask featuring a substantial beak. But, as life doesn’t always go as planned (my mother landed in the hospital), I was required to rethink it.
No worries, this version is quick and simple. Perfect for when you need something that comes together quickly using easy-to-source, affordable materials.
If that sounds like a hoot to you, let’s dig in.

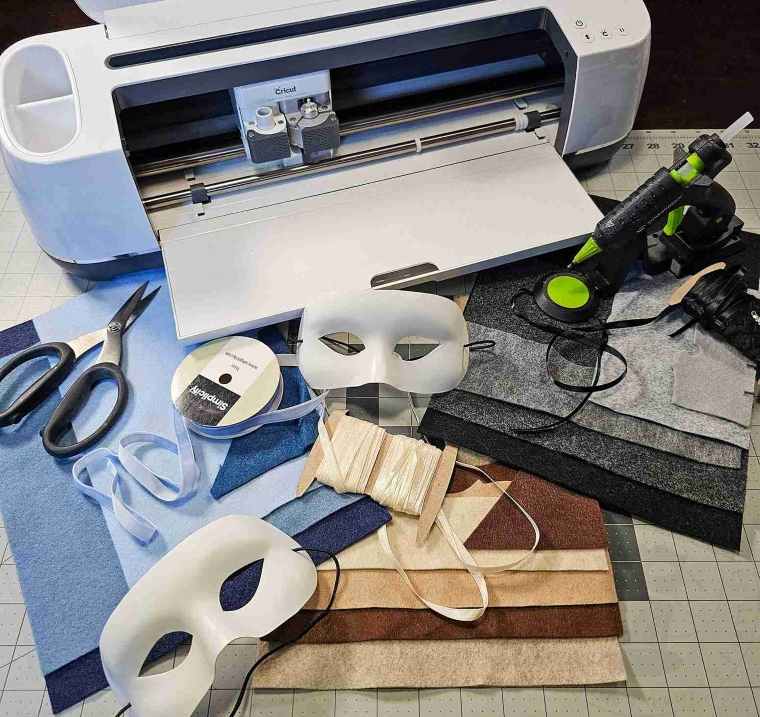
For this project, we will need:
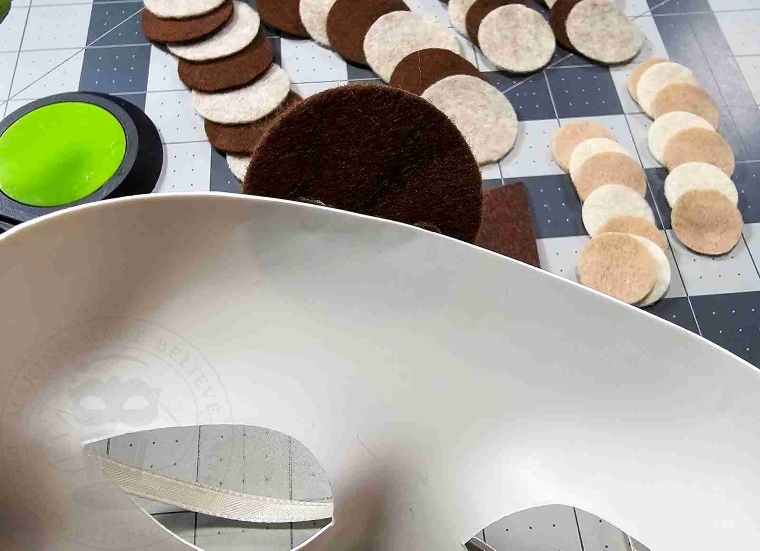
Blank mask
Craft felt scraps
Scissors or cutting machine – I’m using the Cricut Maker
Hot glue
Ribbon (optional)
We will also need the Woodland Owl Mask Felt template from the Haunted Library. Select the PDF for hand cutting or the SVG for machine cutting.

Open the PDF in your favorite reader (Adobe, FoxIt, etc.) or upload the files to your preferred design software. I’m using Cricut Design Space.

For hand cutting, print the template and transfer the patterns to your felt.
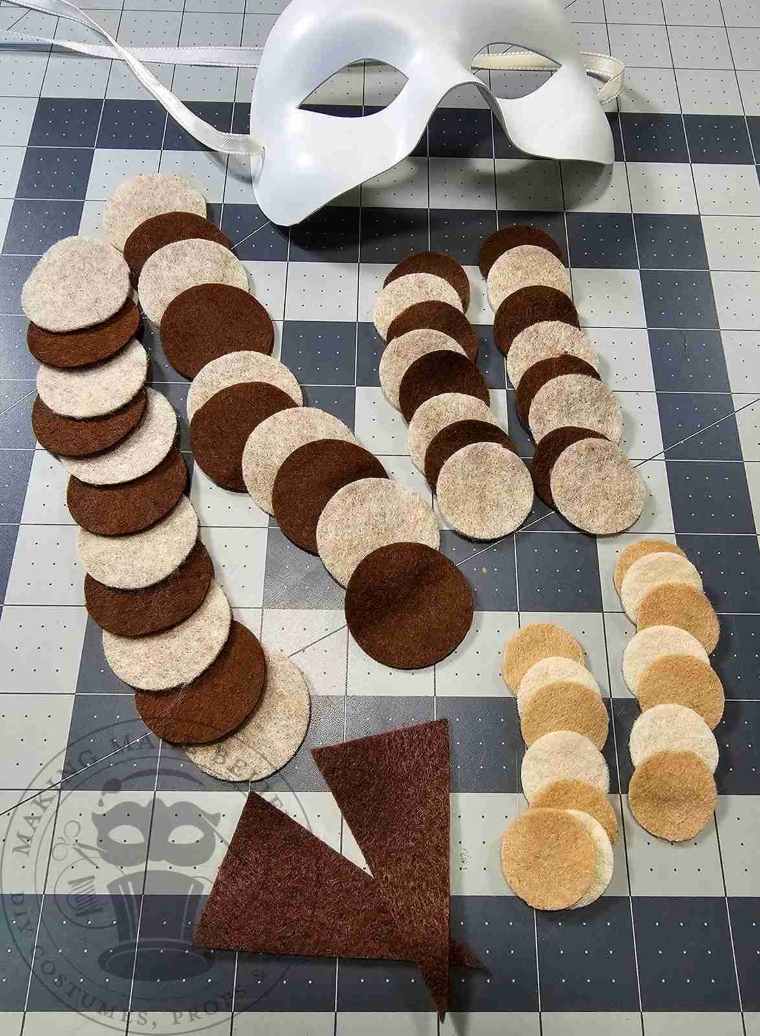
For machine cutting, duplicate the circles until you have enough for your project.
For the mask size shown here, you will need 21 large circles, 16 medium, and 14 small. (Cut more circles to create a fuller mask if desired.)
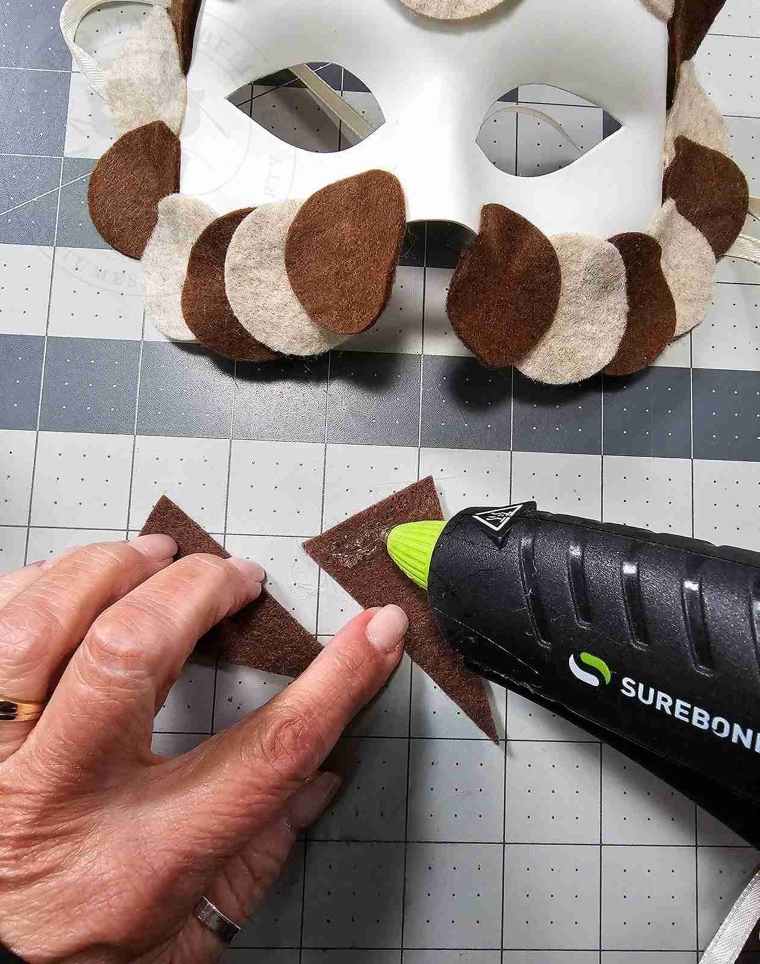
Also, cut two of the beak pieces.
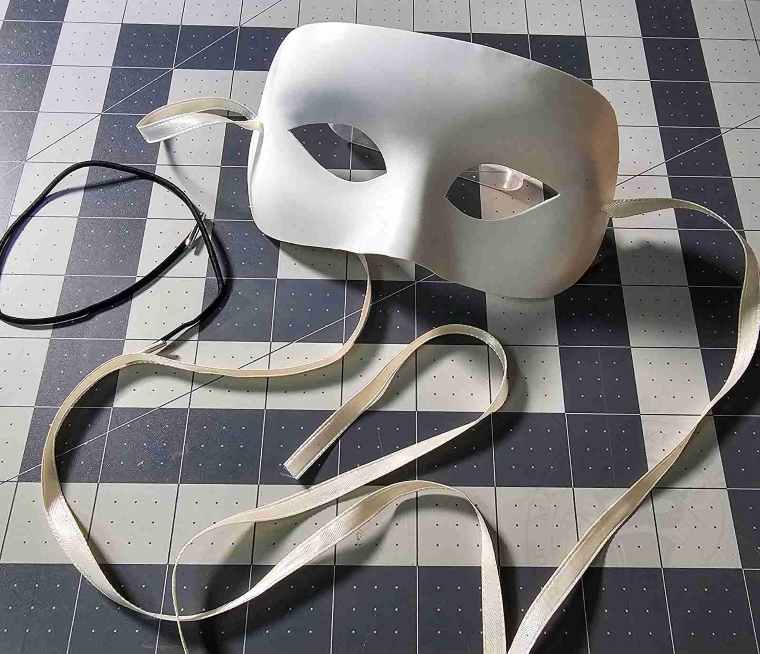
If you wish to replace the elastic headband with ribbon, now is the time to switch them out.
We will need ten large circles for each side of the owl face.
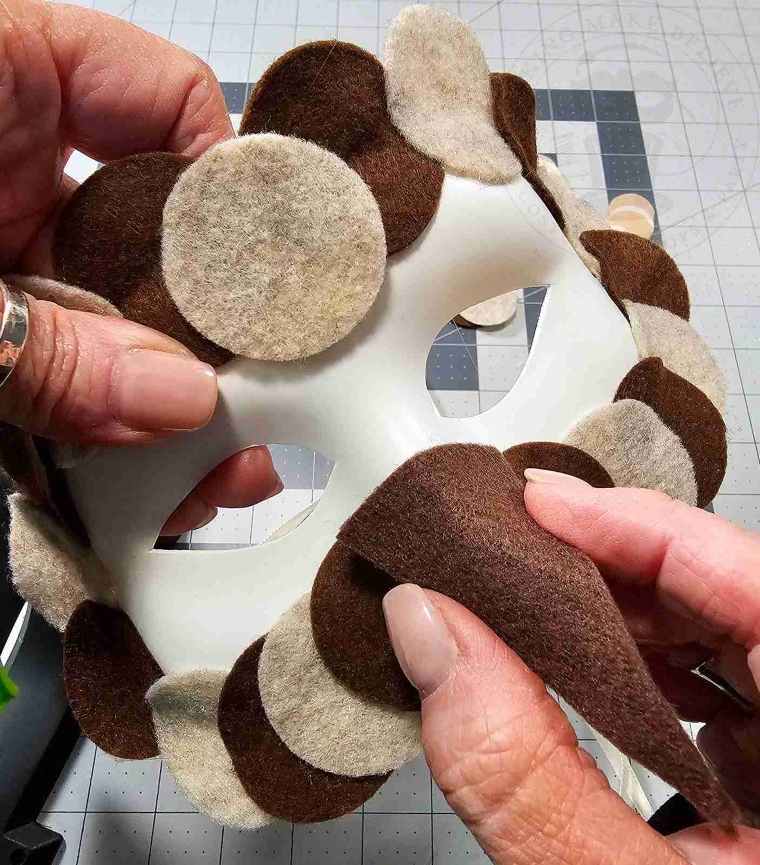
Begin by gluing a large circle just to the right of the center along the top of the mask, allowing 2/3 of the circle to hang over the edge.

Continue around the outside of the mask, overlapping the circles.
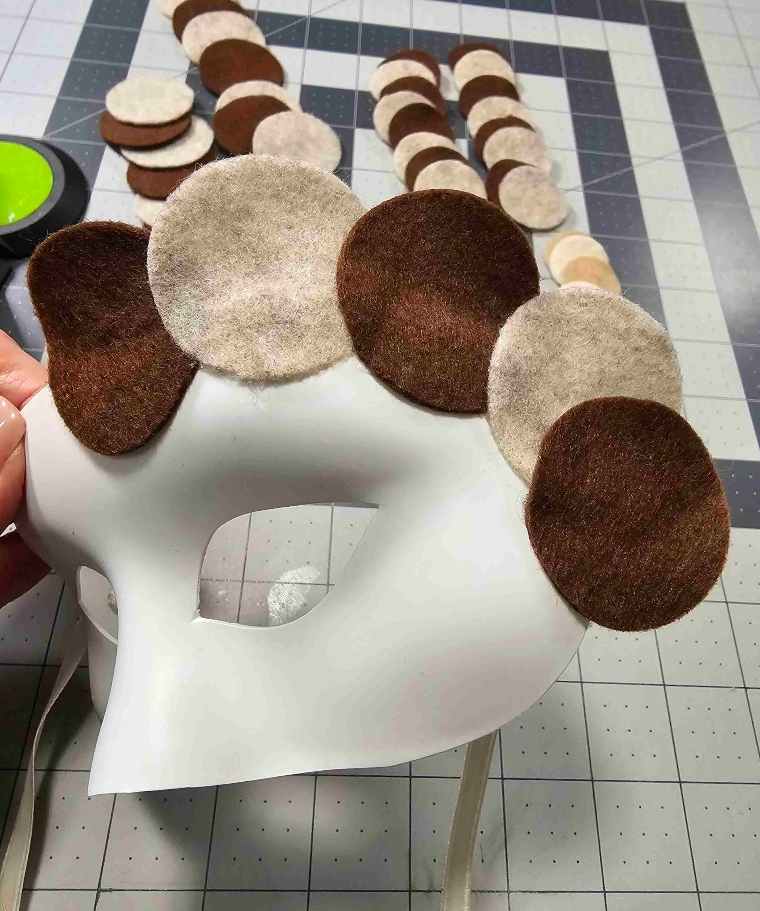
Place the final large circle right before the nose of the mask begins.
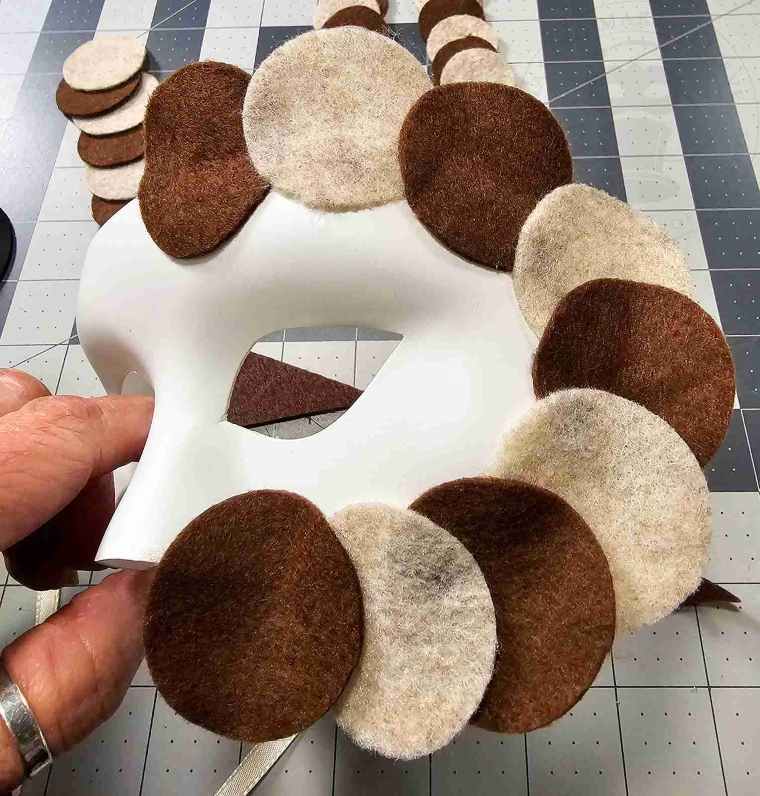
Repeat on the left side.
Add the final large circle in the center.
Glue the two beak pieces together and then hot glue them to the nose of the mask.
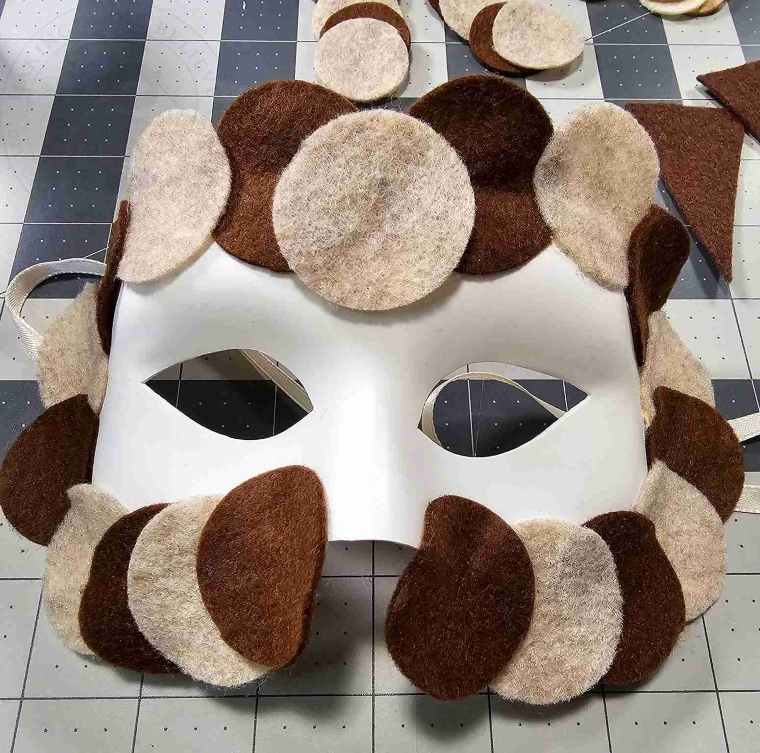
For the next layer, we will need eight medium circles per side.
For this layer, glue the medium circles around the eye area, leaving the outside edge of the circle loose.
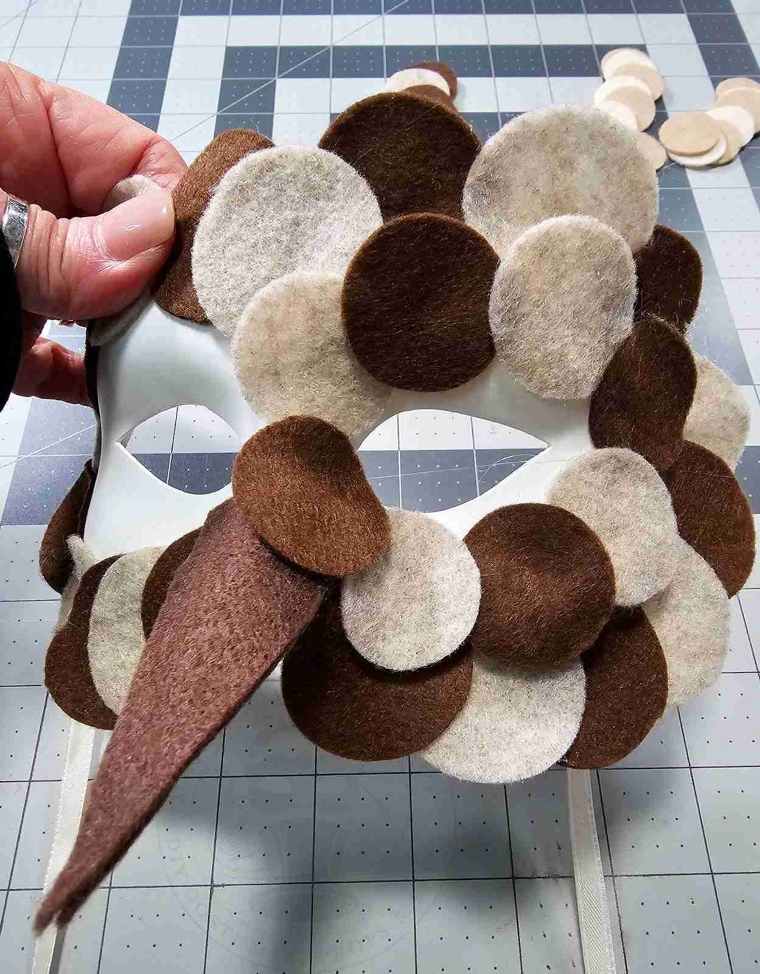
Repeat on the left side.
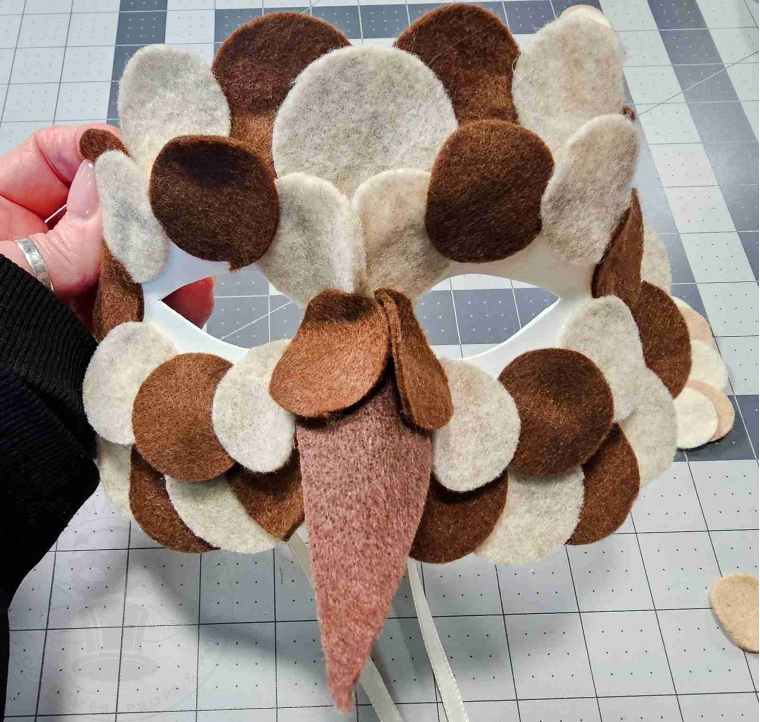
Next, beginning at the right side of the nose, glue the small circles around the eye area, again leaving the outer edges loose, leaving enough of an opening for the wearer to see clearly.
Repeat on the left side.
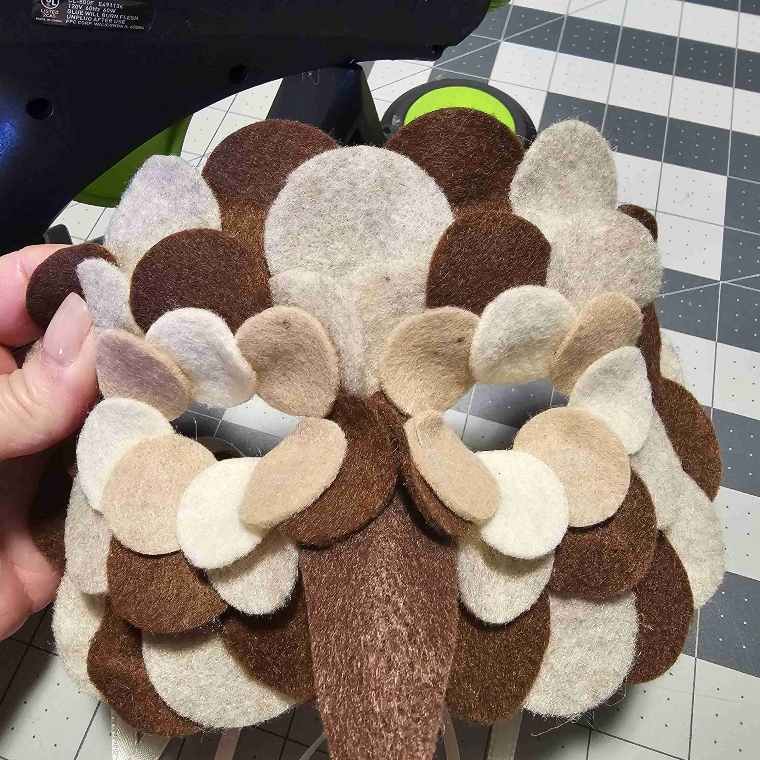
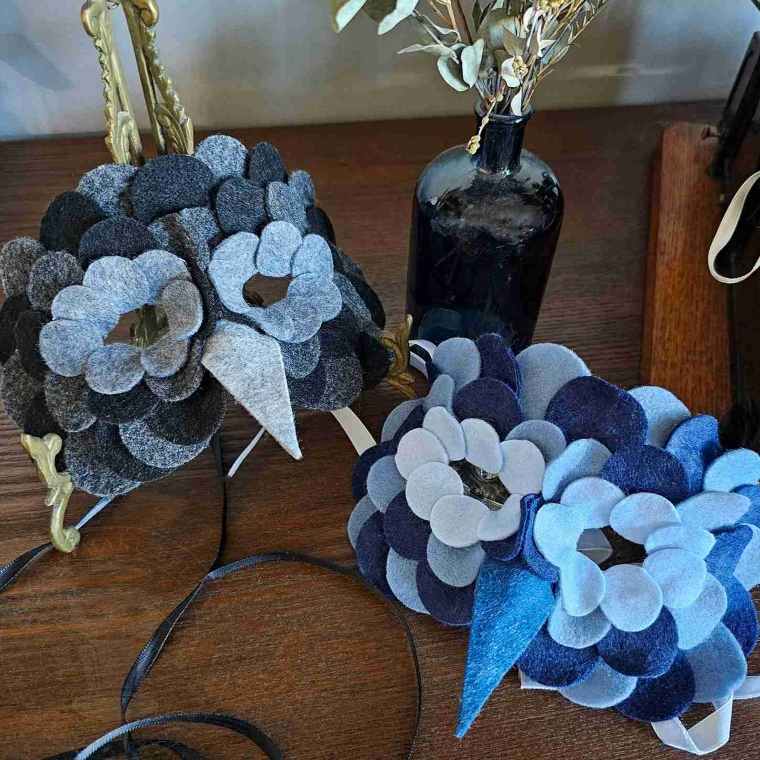
Fluff out the top ends of the felt circles.
So simple yet so owl-dorable.

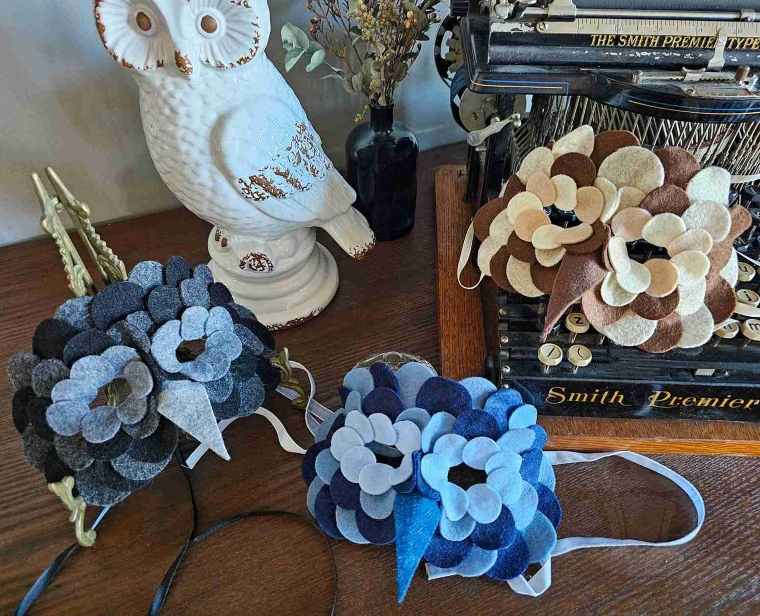
Gotta fly.
Until next time – stay spooky.